 ben.brochtrup
Introduction
I am a high school student applying for the Repairs You Can Print Contest. Although I realize this isn't quite the kind of "repair" hackaday.io might be looking for, I thought it would make for an interesting submission.
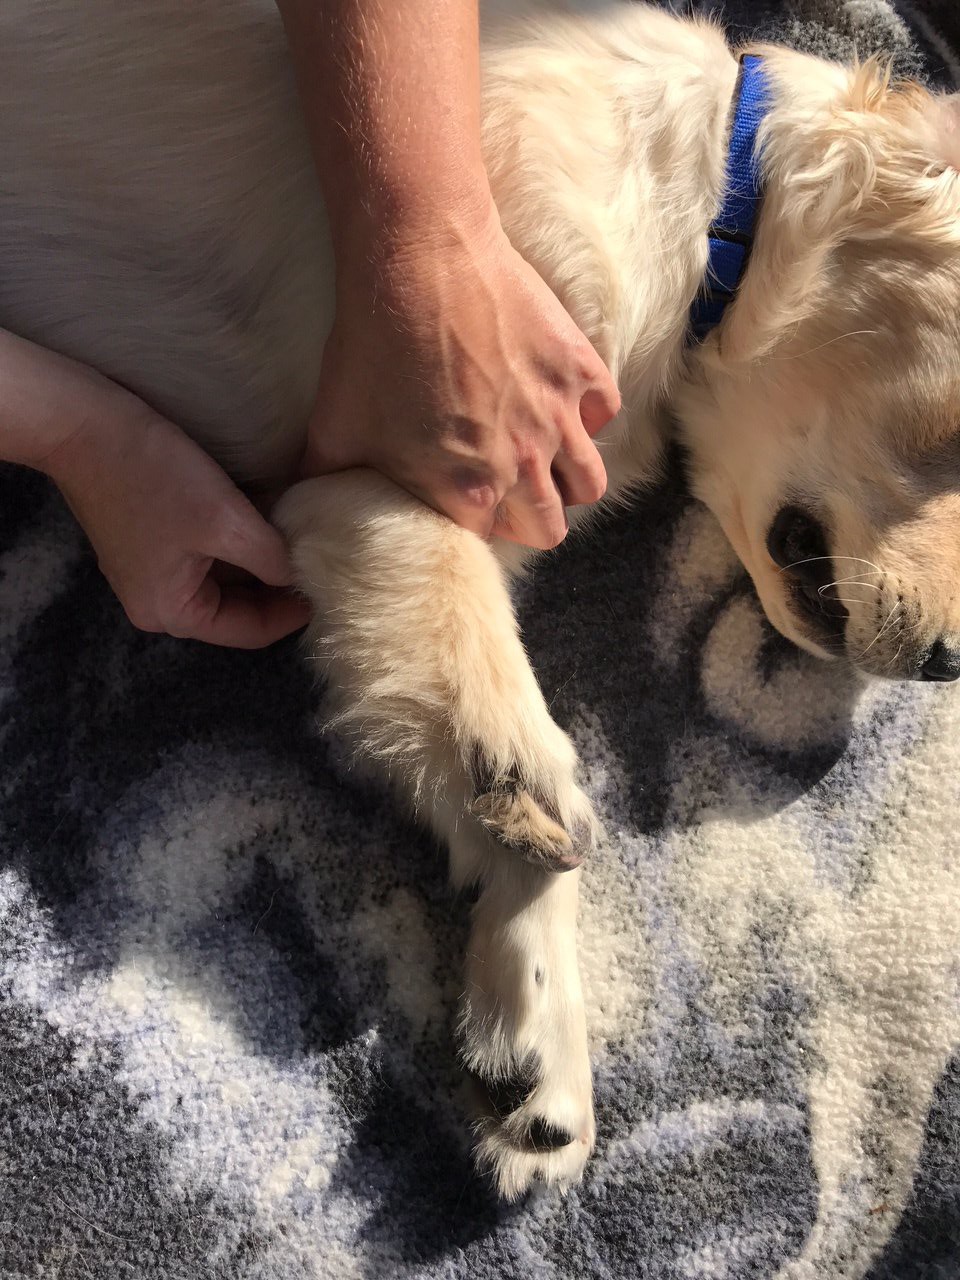
As you may be able to tell in the picture below, Grey's right paw is significantly shorter than his left. He was born without his right one fully developing.
Although he can hobble around on his three legs pretty well, his owners are afraid that it will lead to premature hip and back problems. To combat this, we have been working on developing a prosthetic to make his legs of equal length. Luckily, one of the owners of Grey is a large animal veterinarian so he's available to provide some expertise on the issue; however, he's not used to working on this scale. I definitely would not have felt comfortable doing this project without an expert to consult when regarding the comfort and safety of the prosthetic.
Design Process
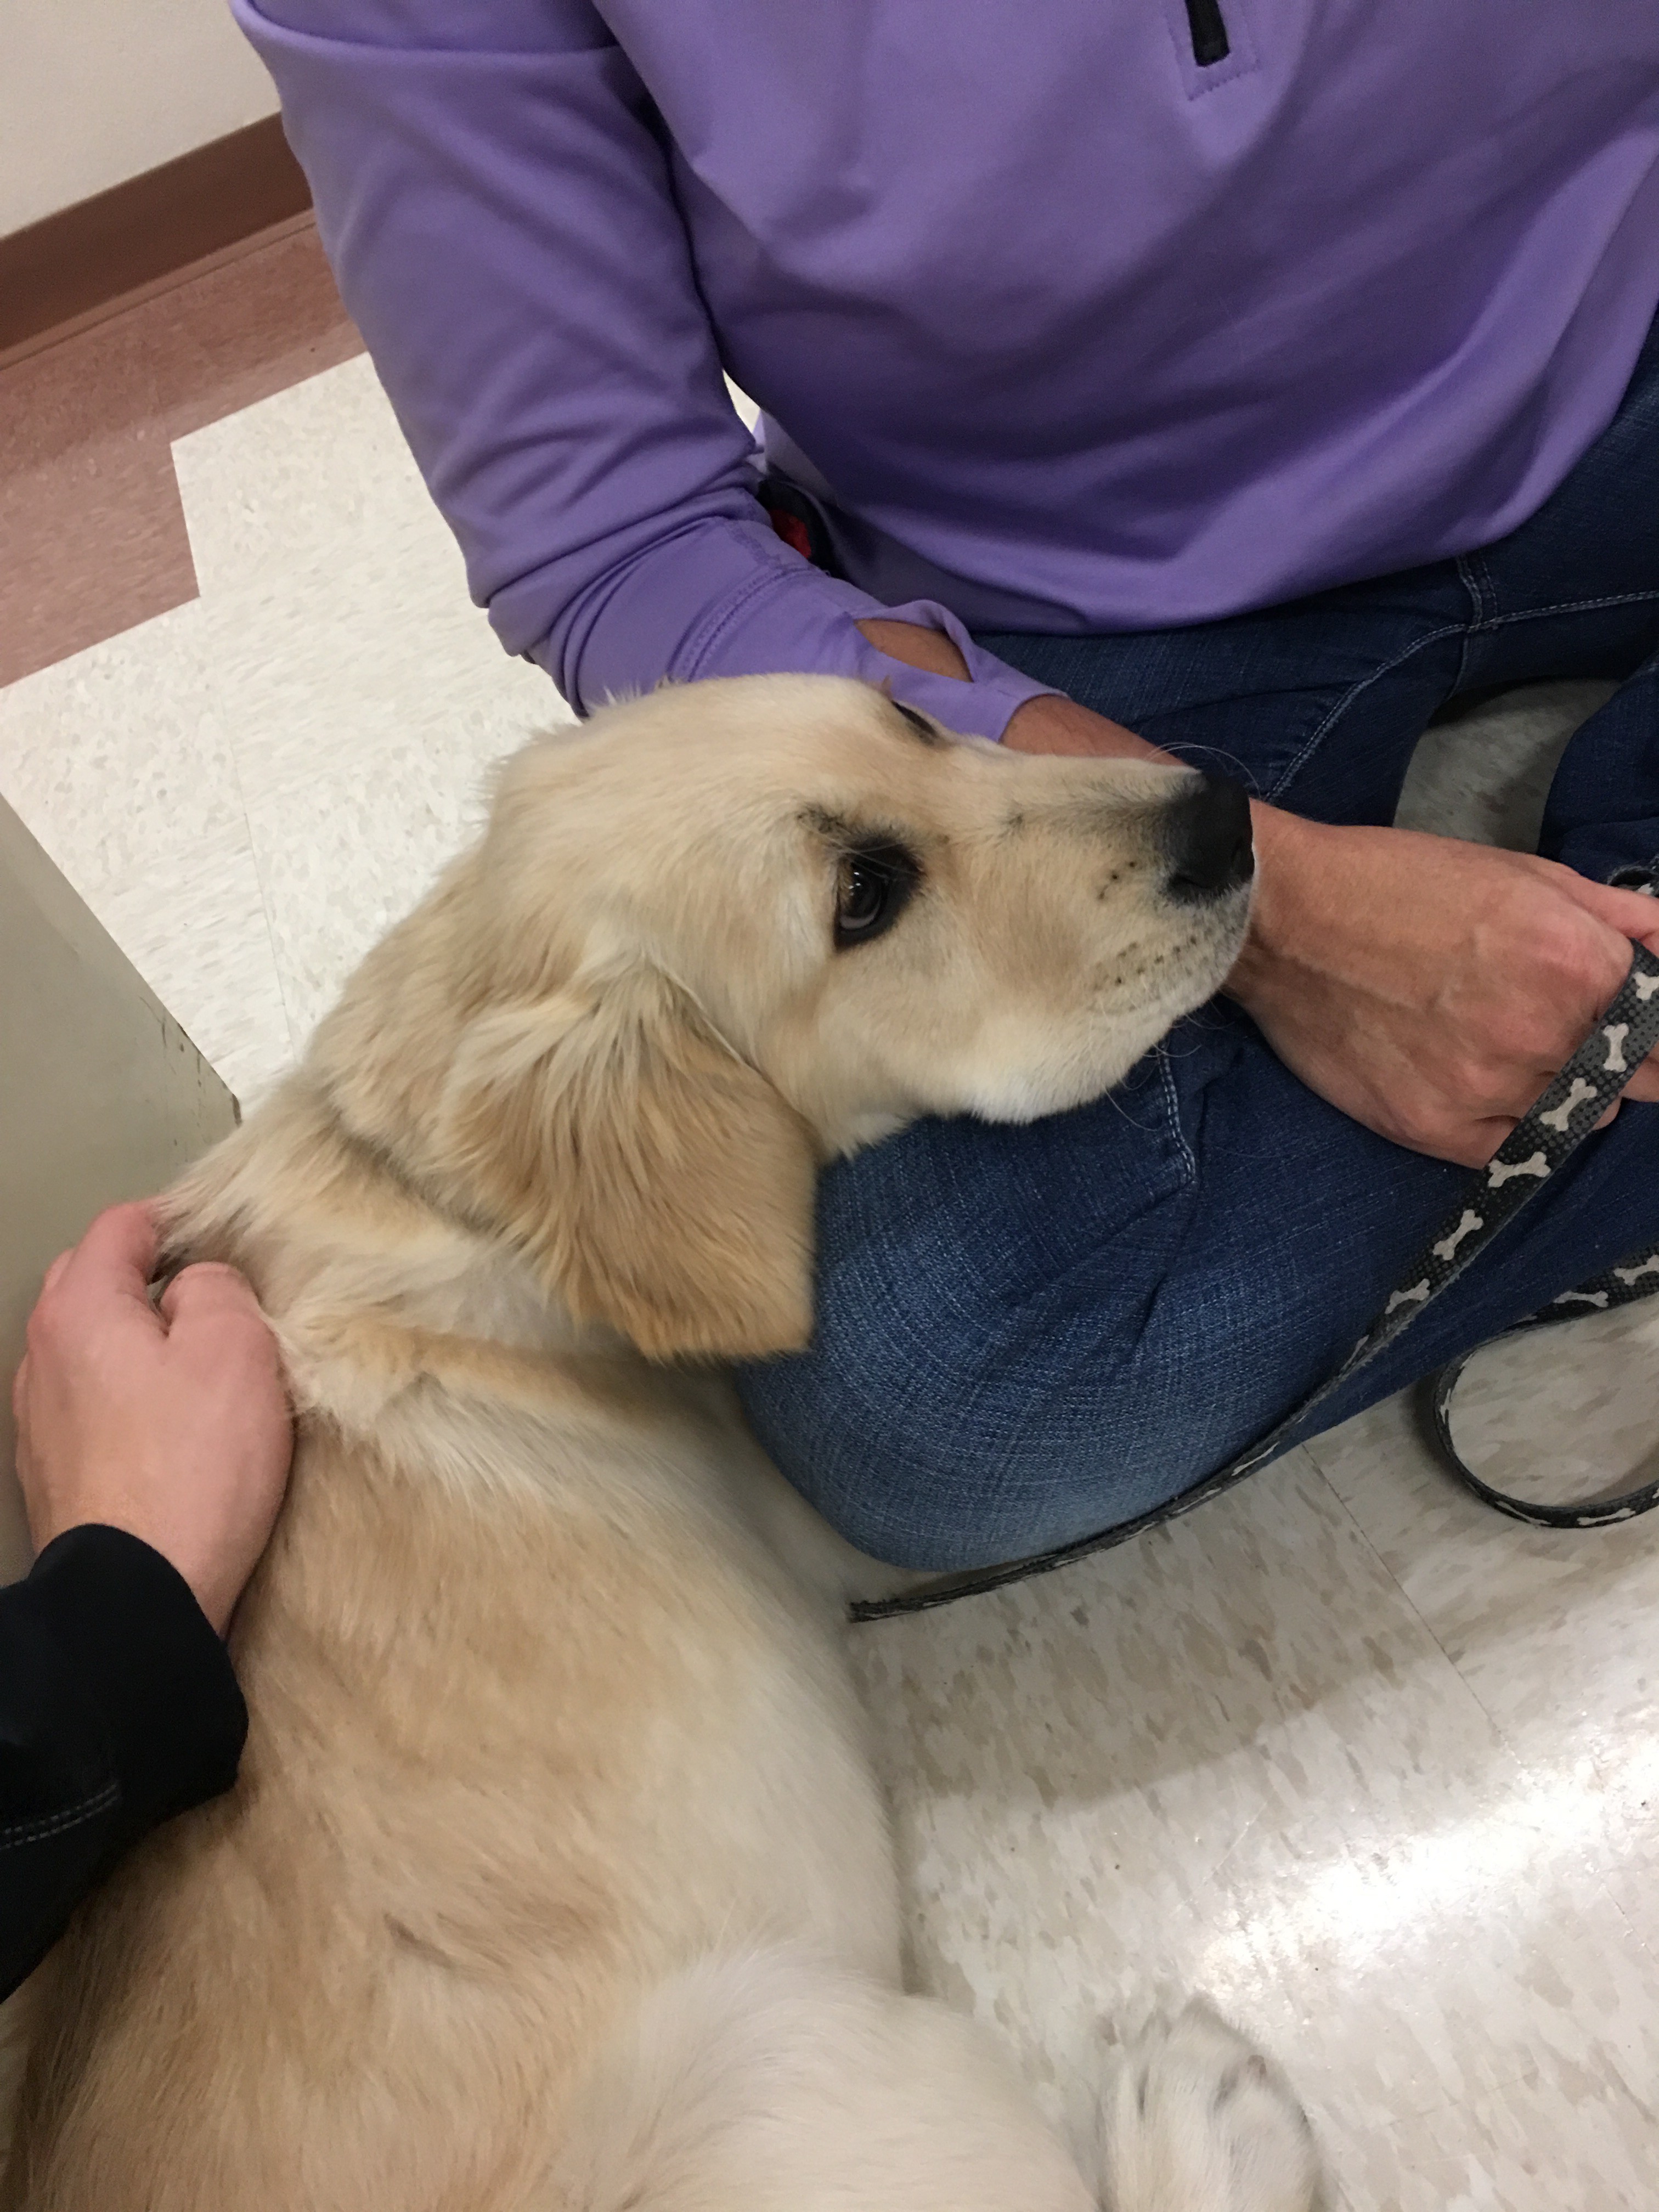
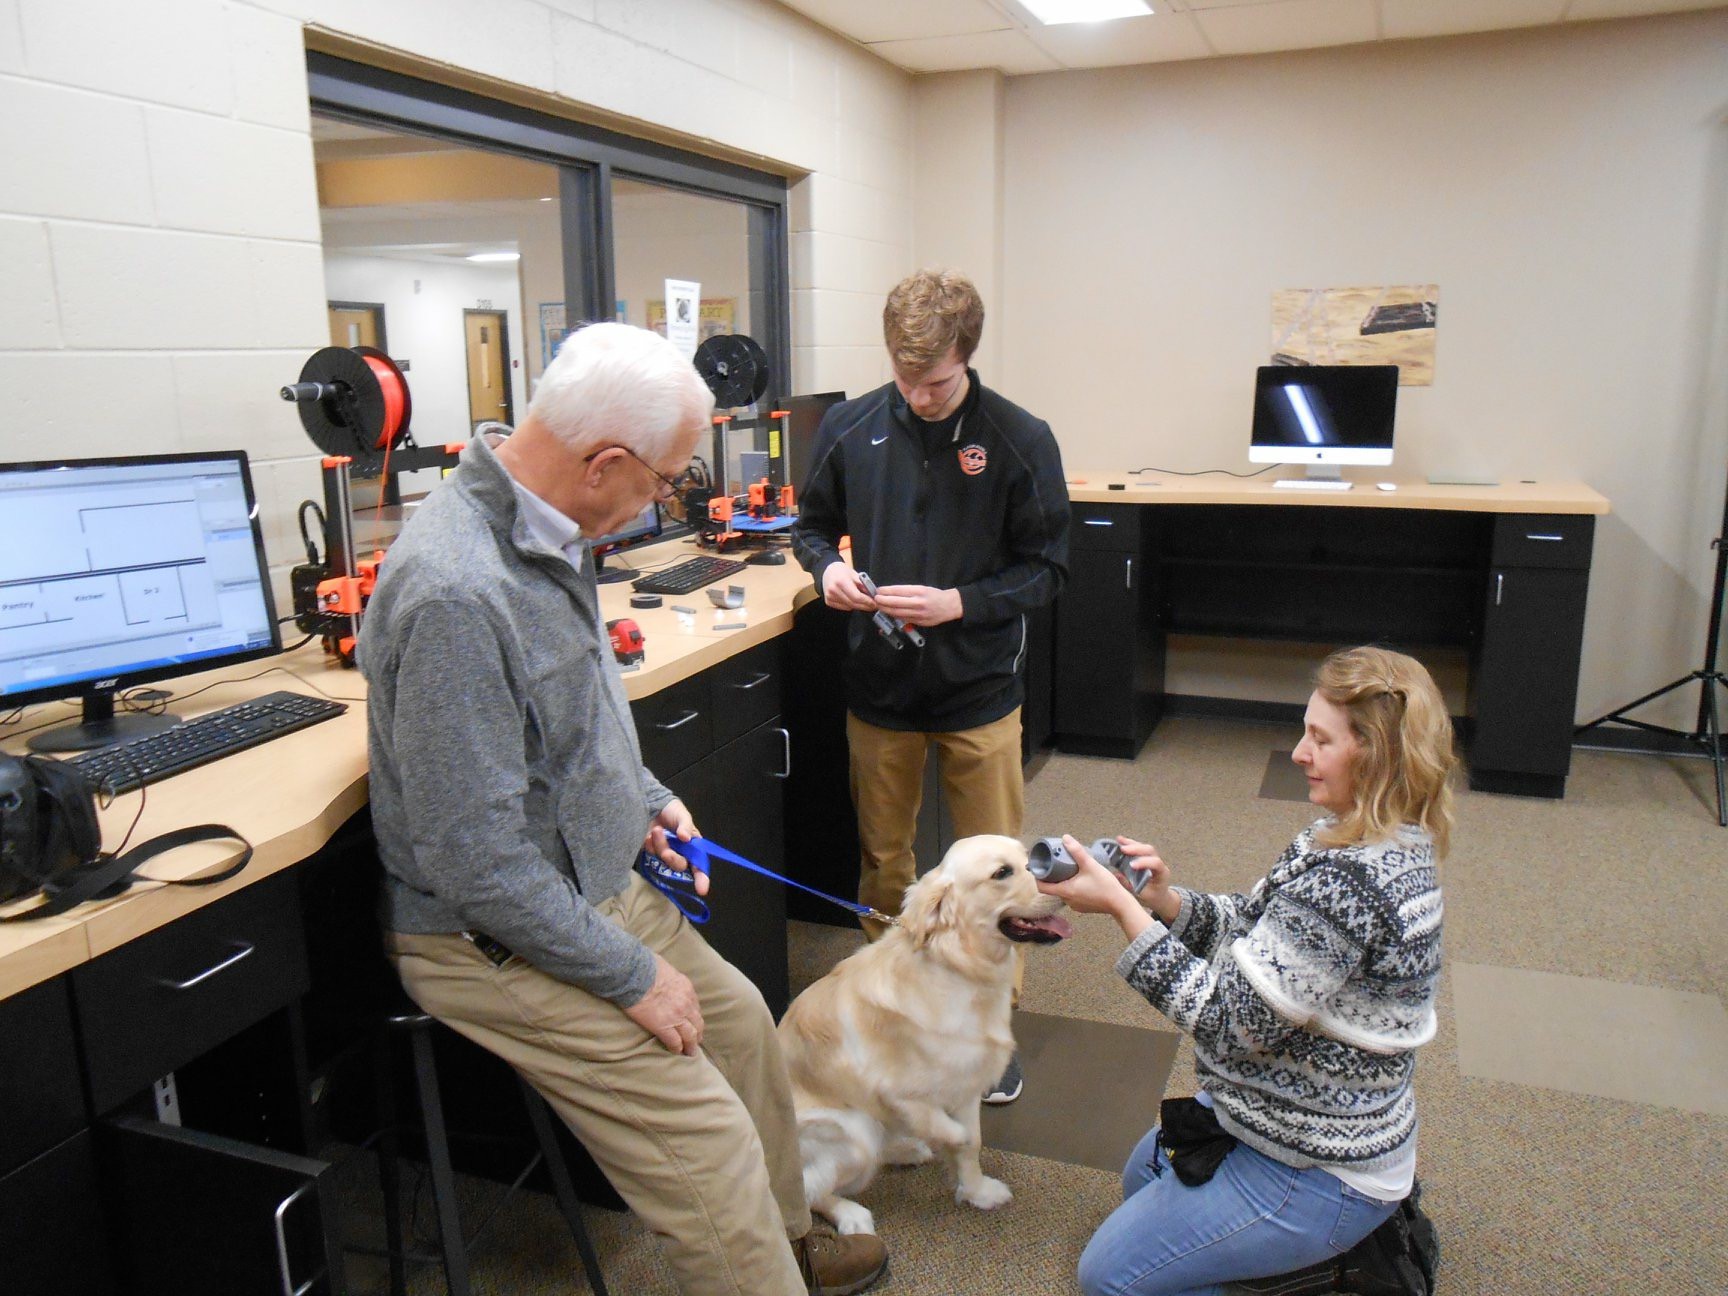
Taking measurements of Grey was pretty difficult. I used a combination of a tape measure, calipers, and a measuring tape. I usually relied on the circumference of limb which led to a few inaccuracies in the measurement. As I went about designing the part, I tried to keep it as modular as possible. The reason for this was so that the prosthetic could "grow" as Grey gets older and bigger. As you can see in the pictures below, he got pretty big in just a few months. Grey still had a functional elbow so I tried to allow for the use of that joint to make the walking motion more natural.
Prosthetic Pieces
Attached below are some of the pieces of the prosthetic:
Whole Assembly
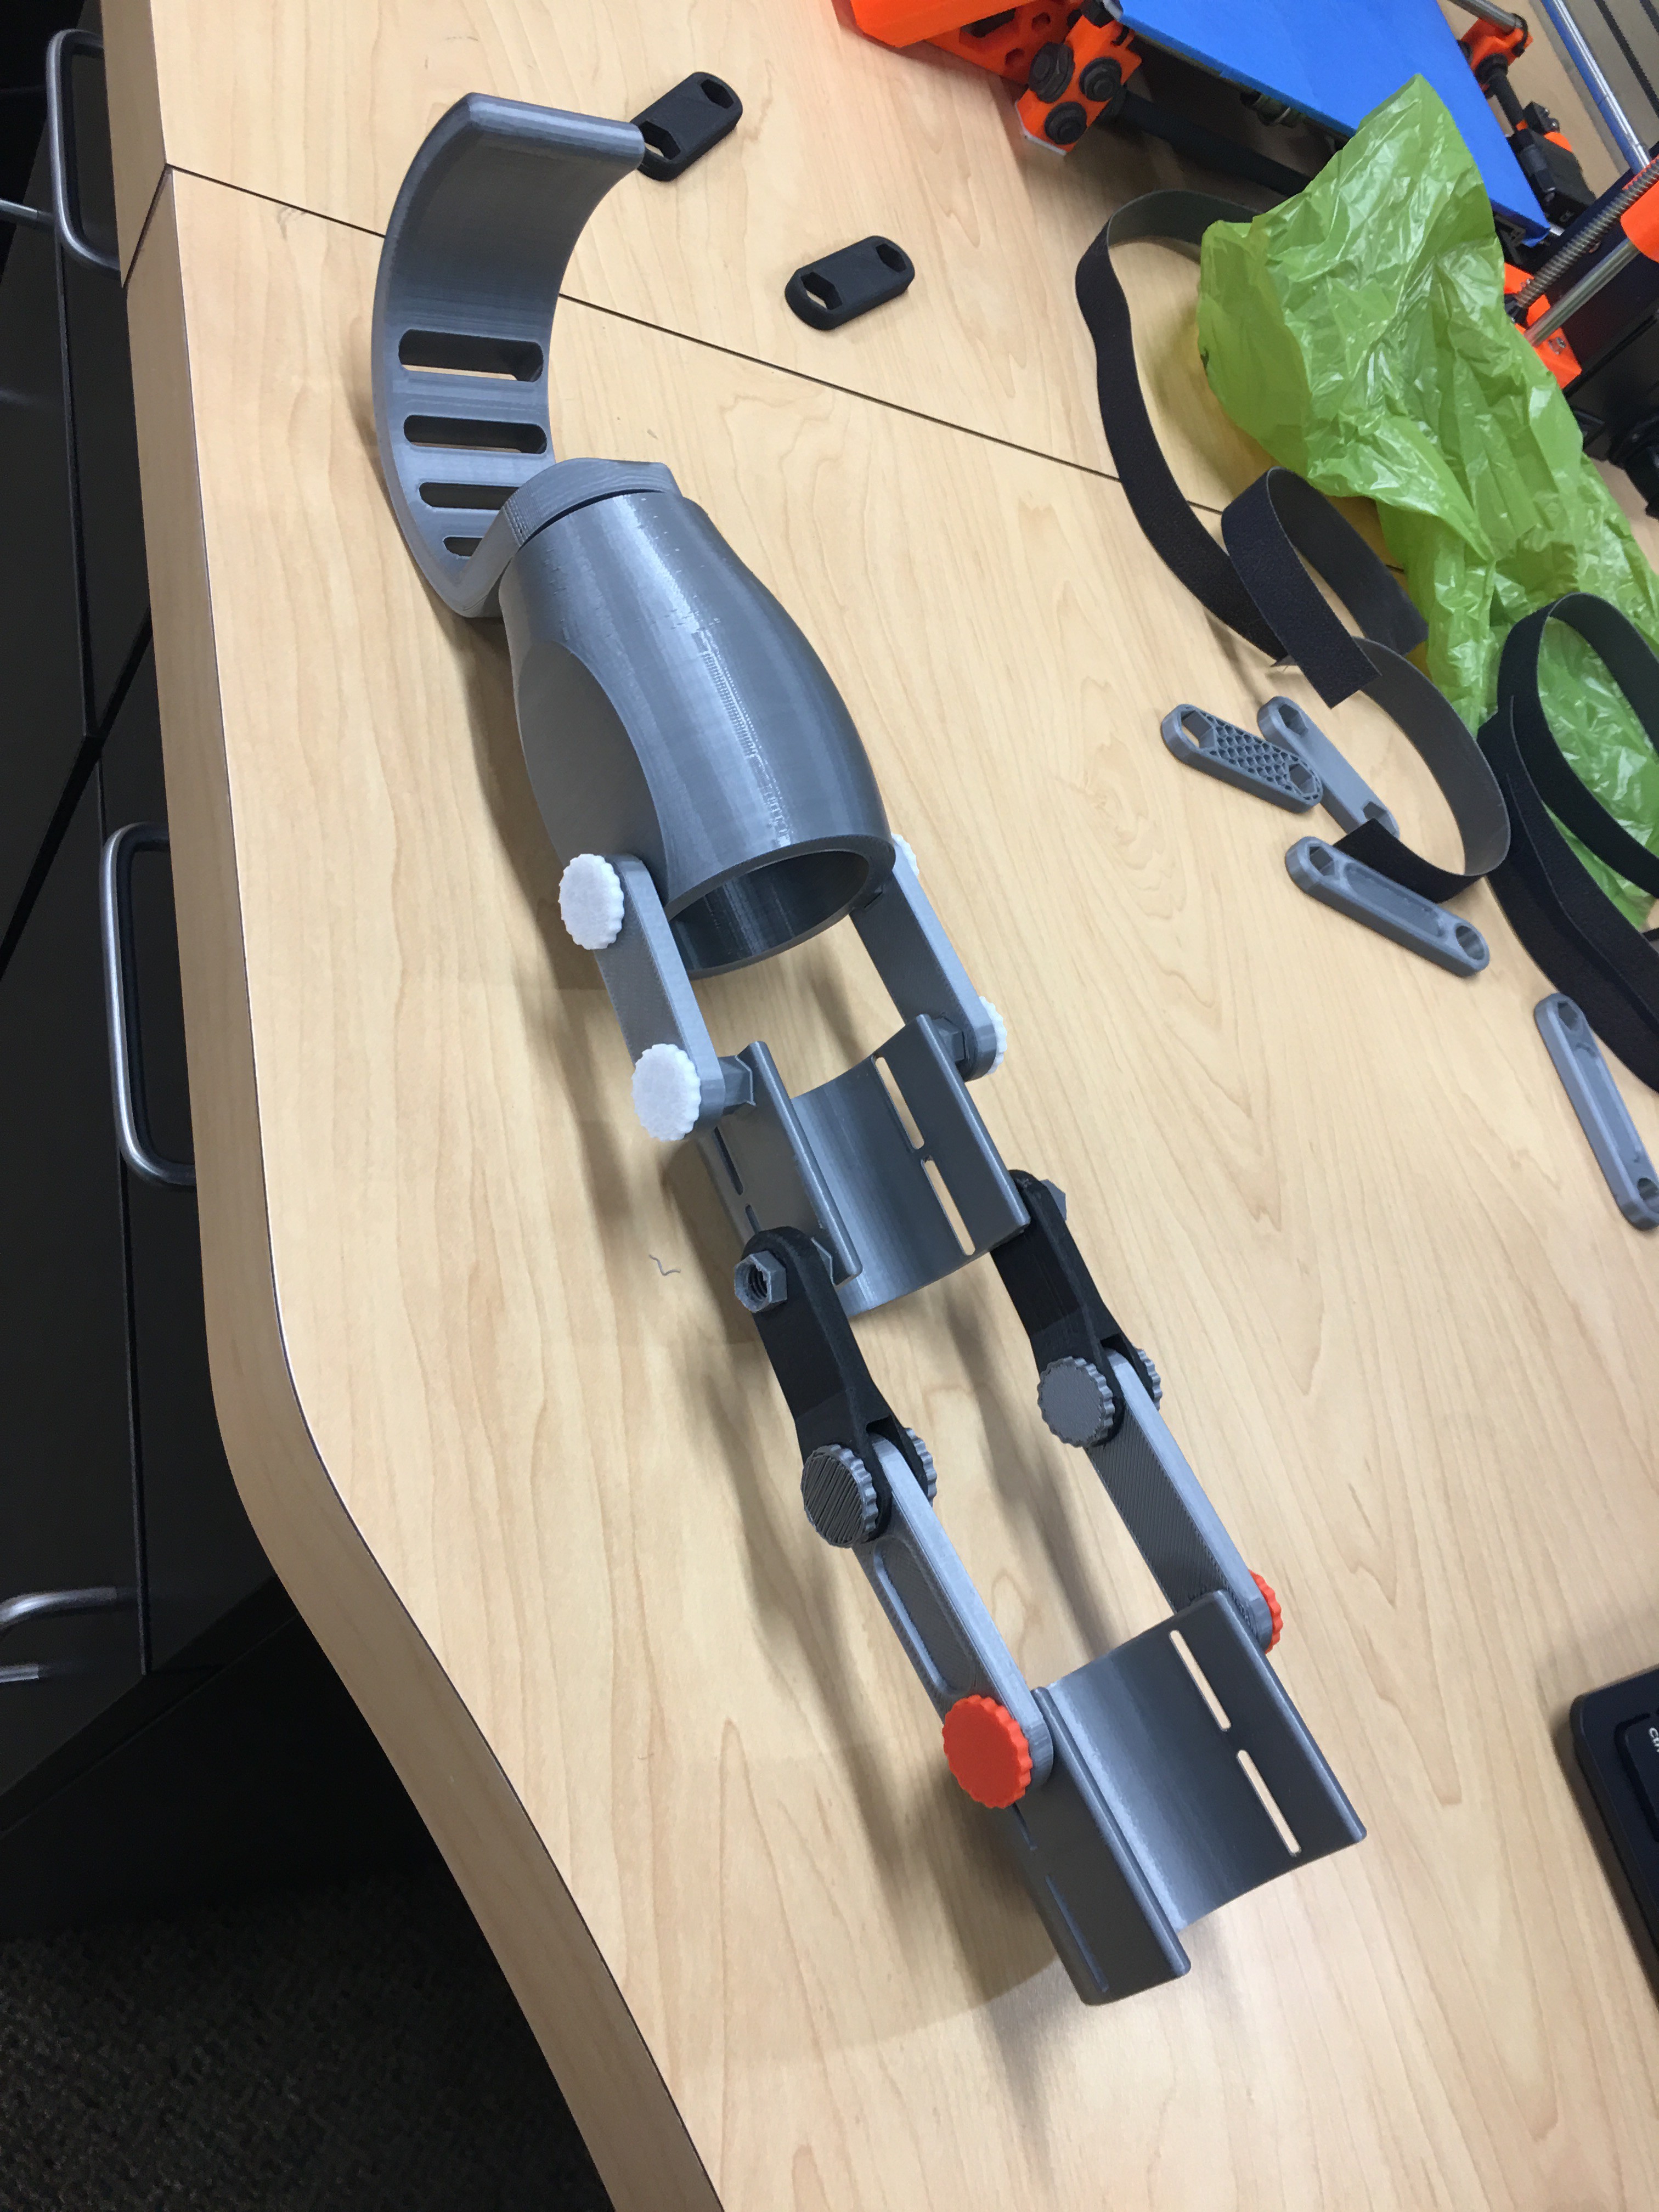
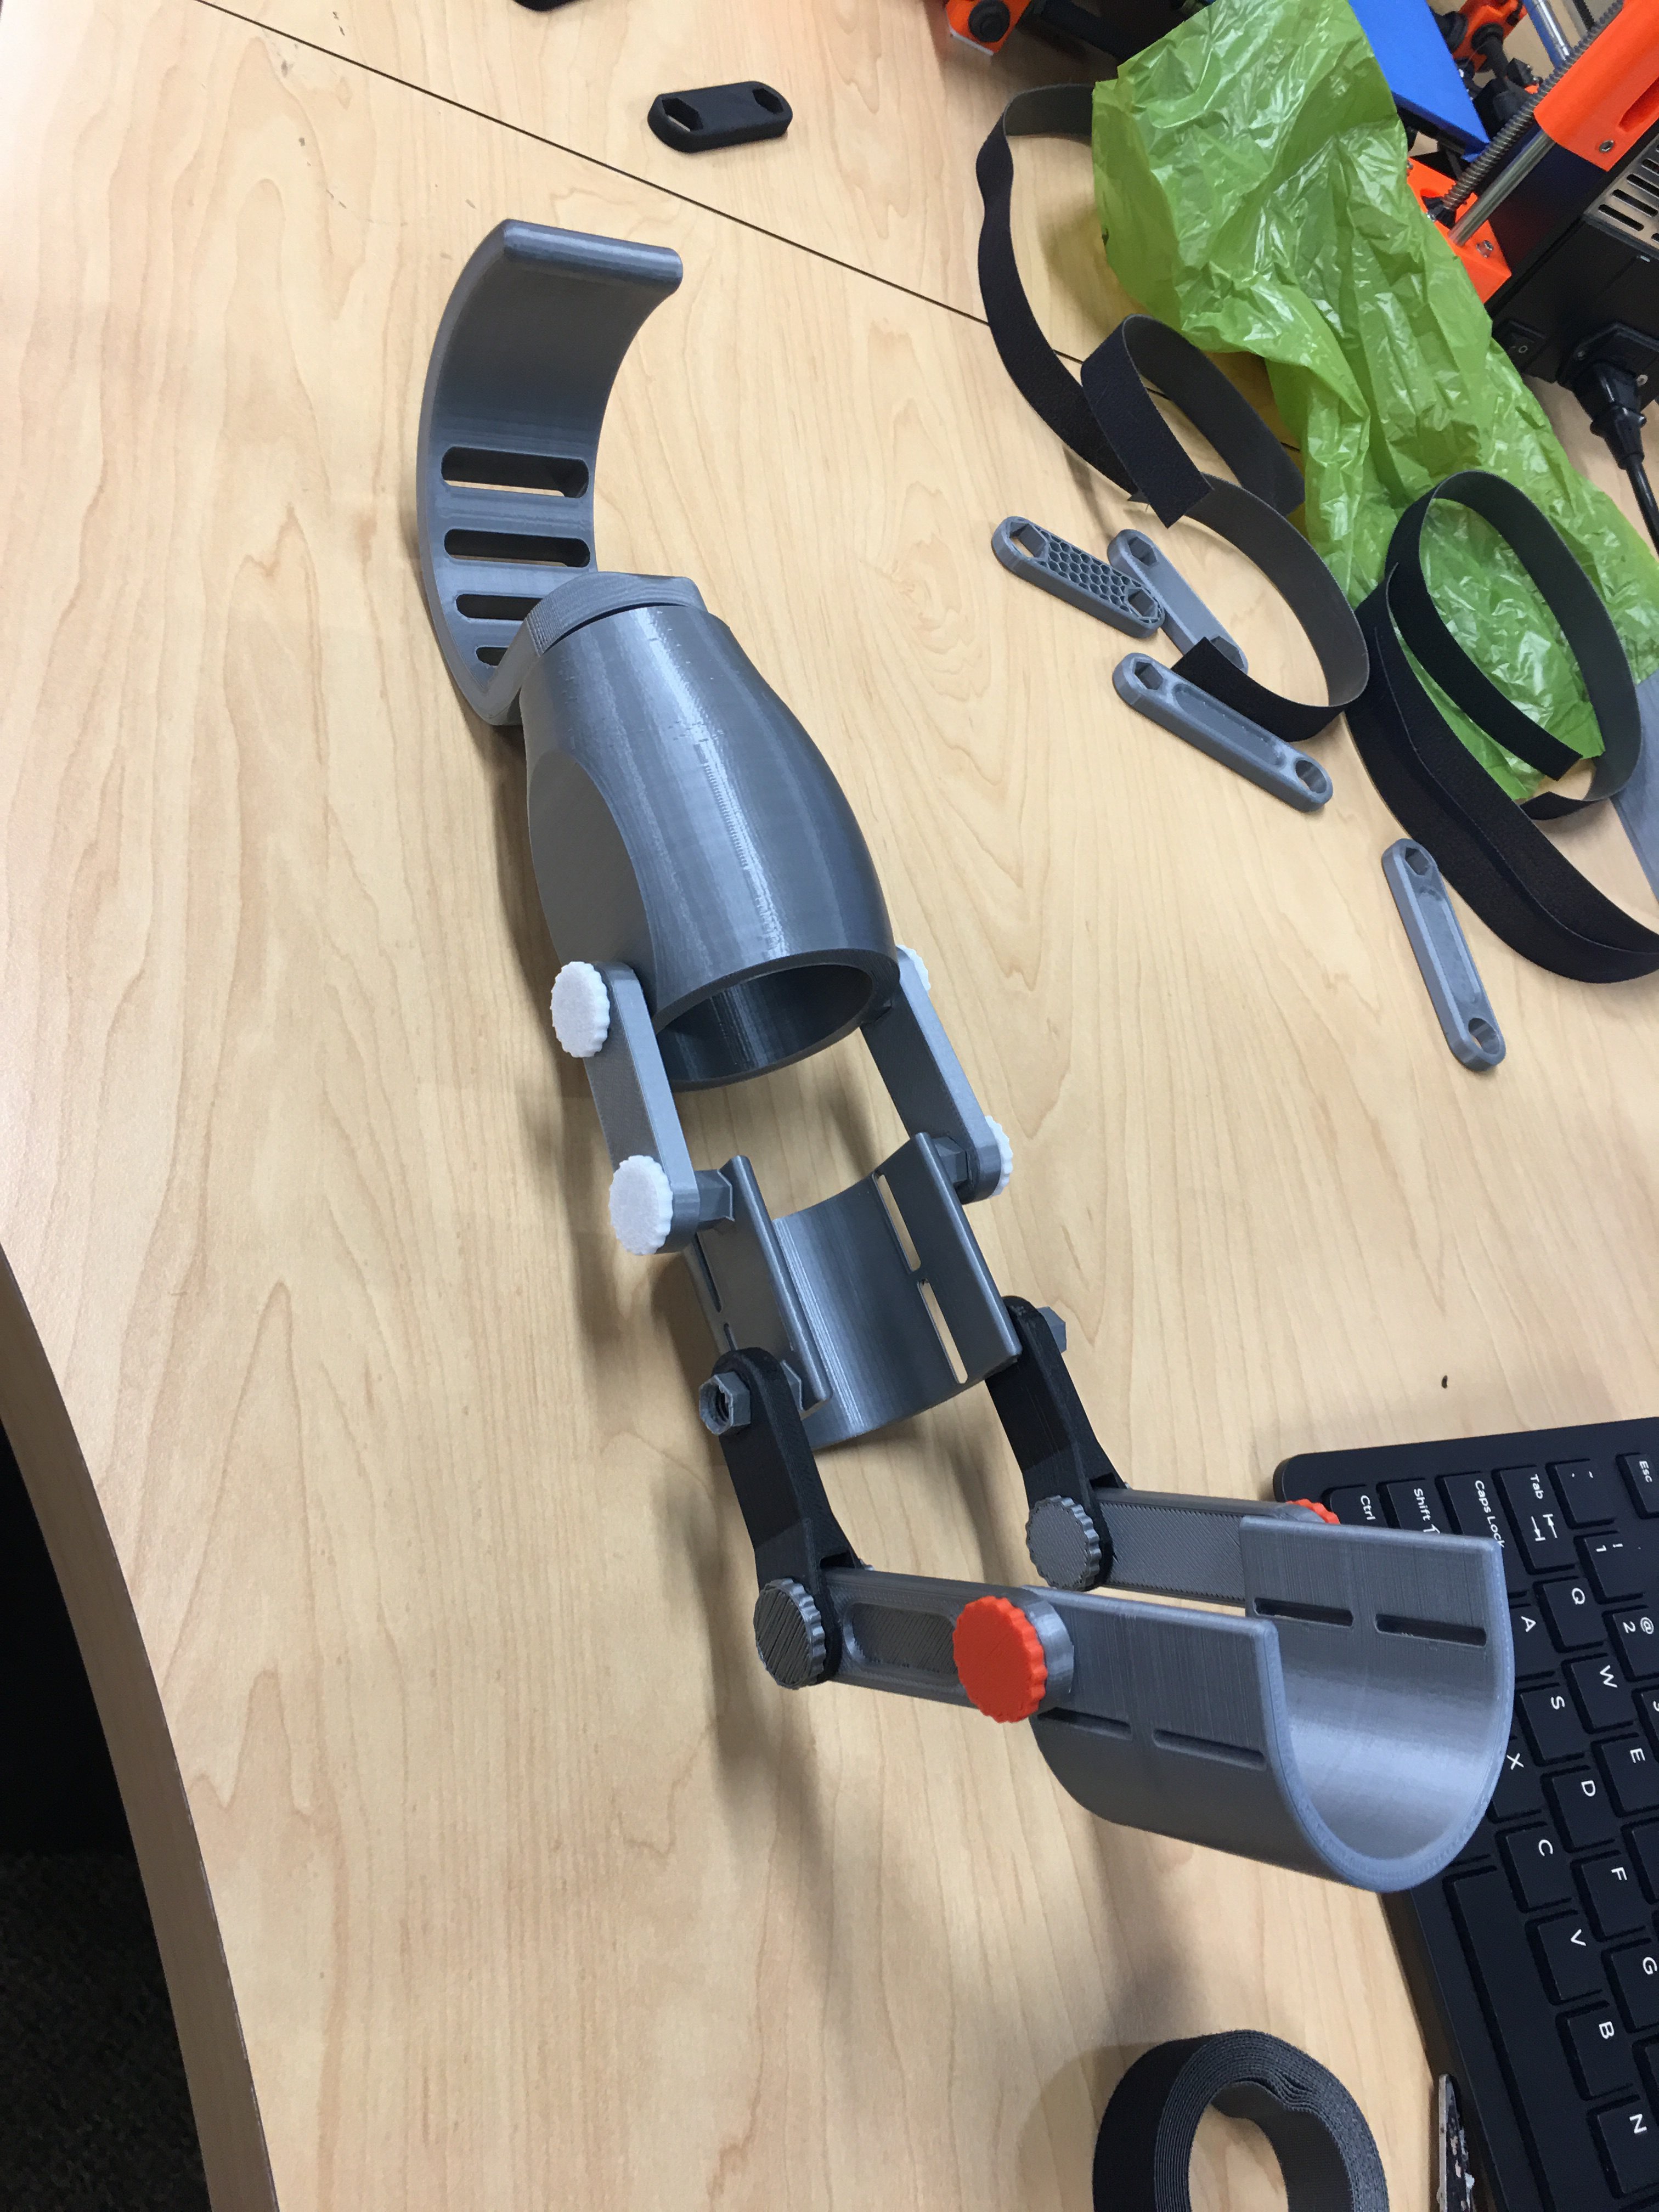
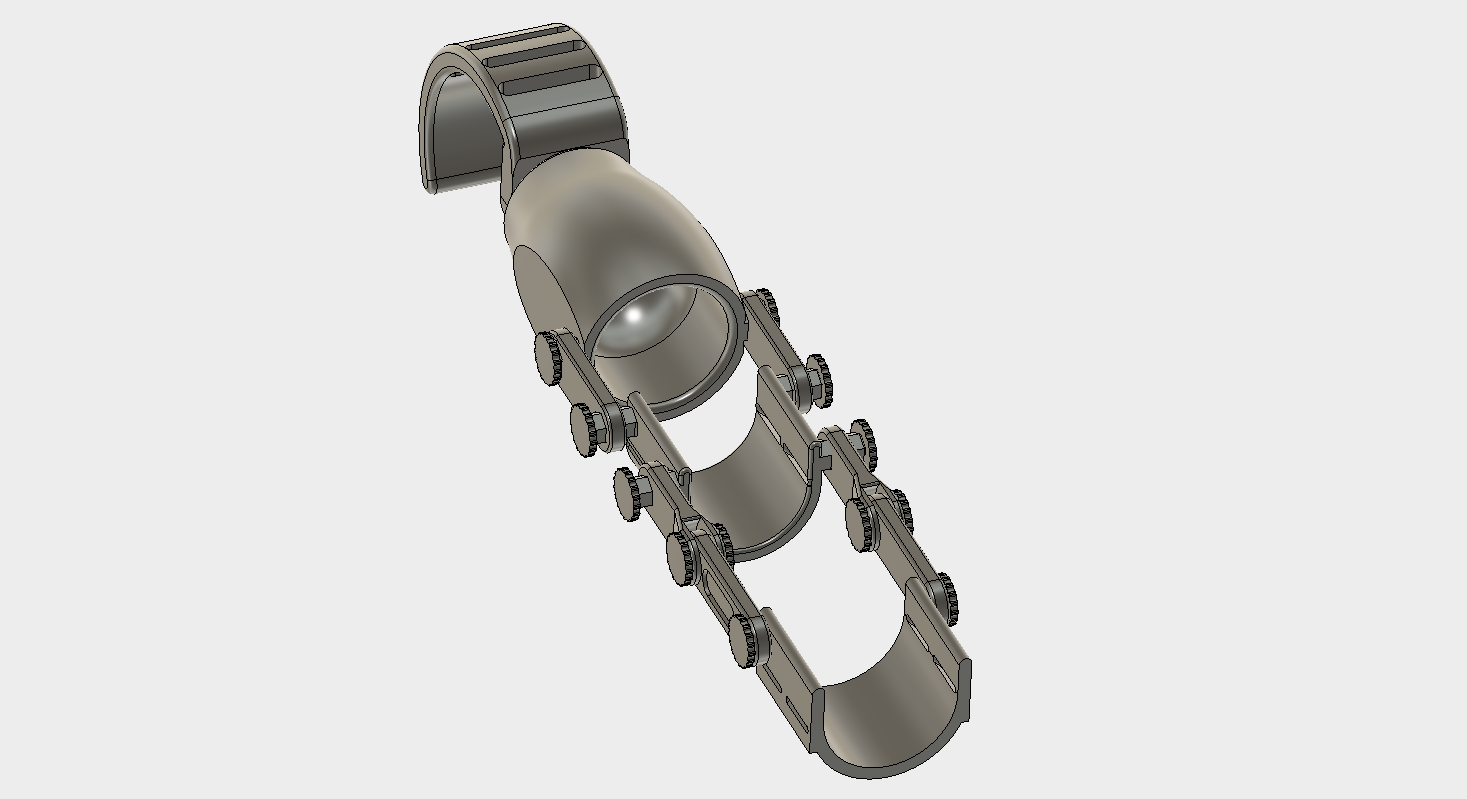 The picture above is the entire assembly. All the linkage pieces you see are secured by 3D printed screws that screw into corresponding threads. As you can see there is a total of 20 parts. I tried to make sure that each piece could be individually changed and swapped out so that the prosthetic could be customized to best fit the dog. Between the two brace pieces is a pivot point where the upper part of the assembly can rotate independently of the lower part. I included this to ensure that Grey could still use his functional elbow joint to encourage a natural walking pattern.
Boot
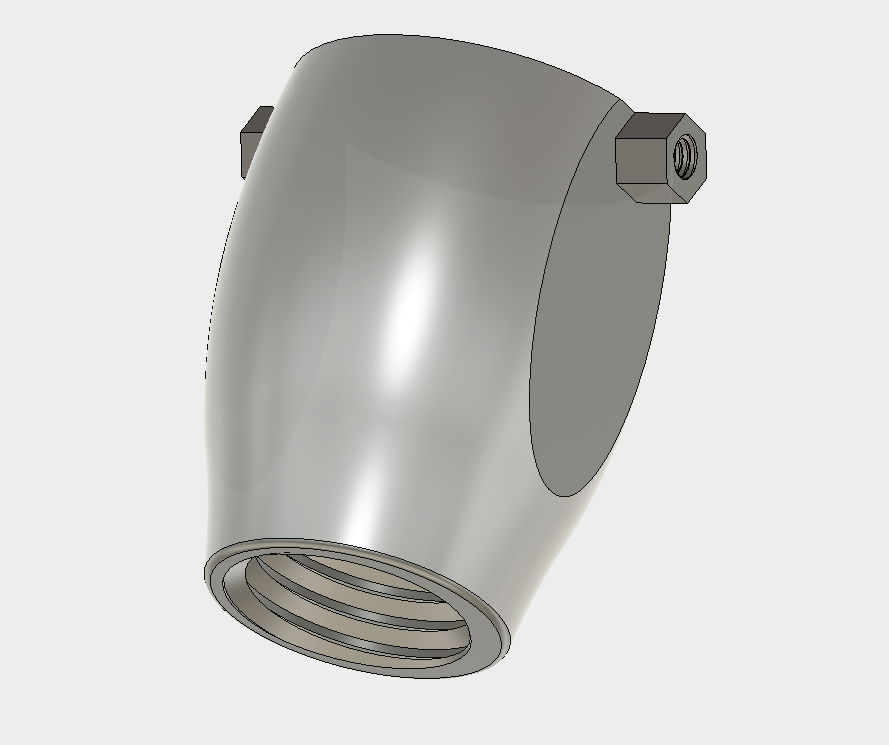
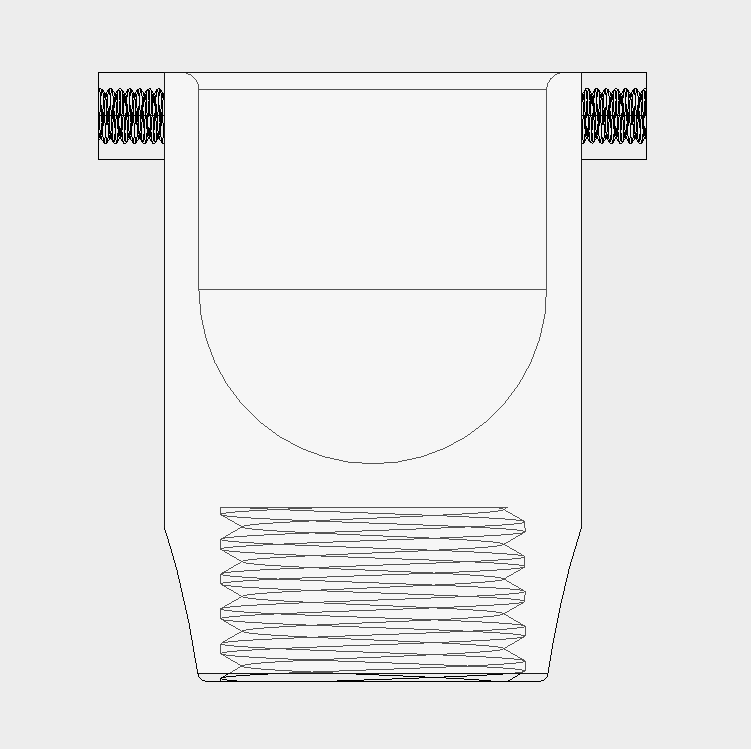
This is the boot that Grey's paw slides into. As you can see in the wire frame image, it has a rounded cup for comfort and to help distribute the pressure from the base of Grey's paw. In addition, it has padding on the inside for added support. At the base of the boot you can see threads where the artificial "paw" screws into. I added the threads to ensure that the boot could accept various different printed paws. These paws would grow in size as Grey grows. In the future I was planning on designing different style paws for different ground textures (i.e. hardwood vs snow/ice).
Leg
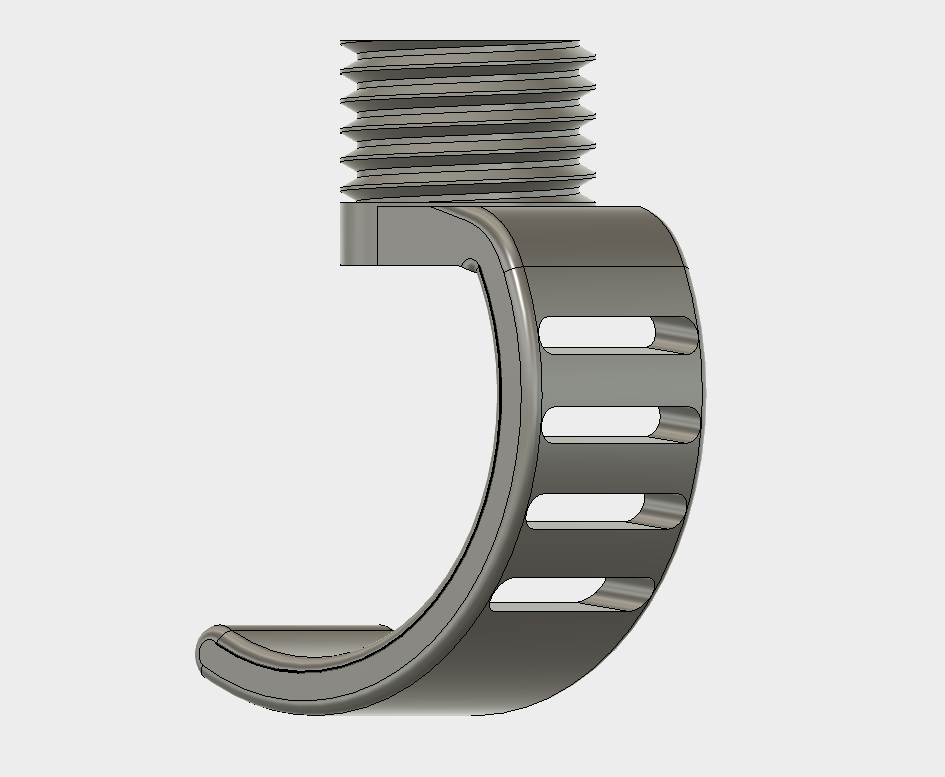
As you can see on the top of this picture, the leg has threads that screw into the base of the boot. I included the cutouts in the middle to increase flexibility as well as eliminate weight. The piece is still very strong regardless of the cutouts and has a generous amount of flex. In the future, I plan to create a rugged texture on the bottom to increase traction on ice and snow.
Brace
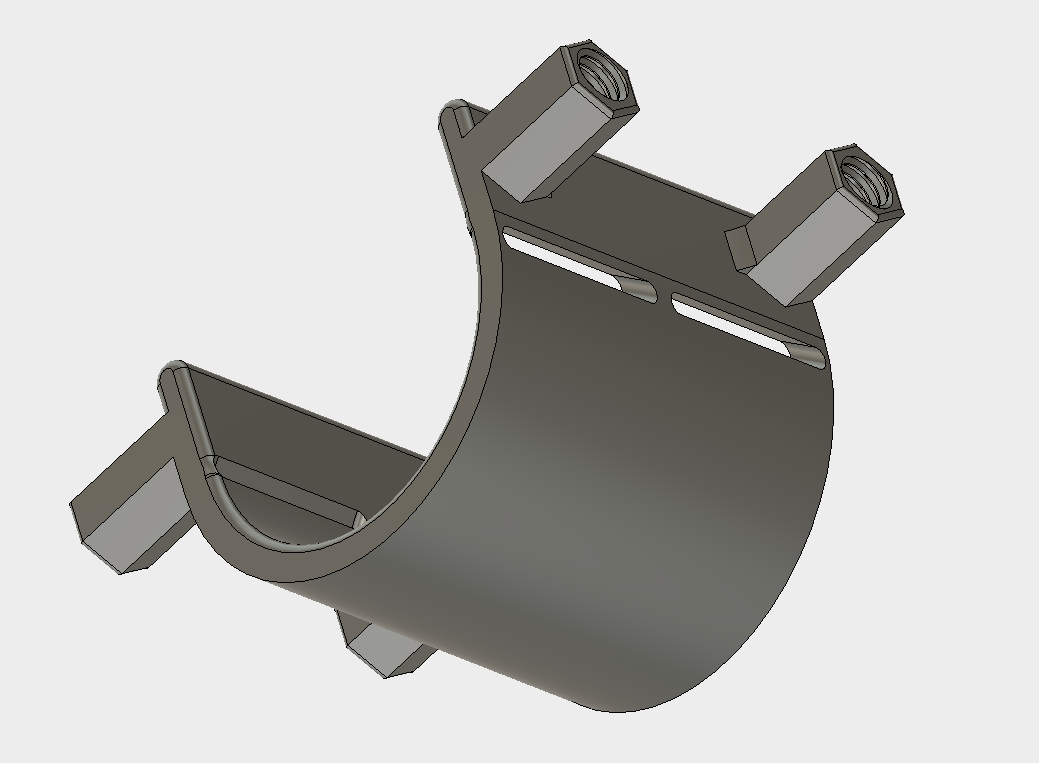
This piece is the brace that holds the prosthetic onto Grey's leg. The slots in the side are for Velcro straps to slide in and wrap around the leg. The hexagonal extrusions on the sides are spots for the linkage pieces to attach. The reason they are so long is because Grey could only come in once every few weeks dew to scheduling conflicts so I made them larger to allow for more flexibility until we got the prosthetic to fit. On the edges of the extrusion are threads so that 3D printed screws can screw in and secure the linkage pieces.
Effectiveness
The prosthetic fit around Grey's paw very well and matched the length of his functional leg. The...
Read more »


 GPPK
GPPK
 John Opsahl
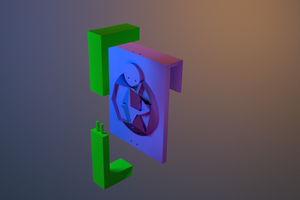
 Alessia Ianni-Palarchio
 Josh Cole
Hello. My name is Kevin Rick. Not sure if you are still actively monitoring this but I dont see any contact information for you the author/creator of this project. So here is my story. I am very new to 3d printing. I just got a bambu x1 carbon a few months ago. Well a week ago my buddy from high school who is located in Ohio, I am in Georgia by the way, contacted me telling me that the vet found bone cancer in his pups hind leg. So they did everything they could for the pup to make her comfy.
So 2 days ago I found out they had decided to go with amputation. So Freya now only has 3 legs. So I got an idea. Maybe I could 3d print a leg for Freya. Only problem is I have no idea where to start or what to do. I just ran across your project and really liked the idea. My X1 Carbon can print pretty much any material. Did you go any further with this idea? Have you made any more prosthetics for the pup? What materials did you use? My main problem here aside from not knowing where to start is I will be doing this all remotely and ill have to send parts back and forth in the mail between my buddy and I since he is in Ohio and Im in Georgia. Very impressive project by the way.
My email is kevin.rick09@gmail.com. If you still are monitoring this project I would love to hear back from you!
Kevin