 Ted Yapo
I picked up a few TinyFPGA boards to play with on Tindie, and was impressed at how easy it all worked. @Luke Valenty has done a great job of lowering the barrier to entry on this technology, and opening it up to a wider audience. I've had some fun with the A2 boards, and their MachXO2-1200 FPGAs. The only thing missing was a clean way to do ugly prototyping with them. Those that have seen #Ugly SMD Adapters know that I prefer to prototype over a ground plane, and through-hole headers make that difficult. So, I rolled up my sleeves and cranked out a very "tiny" board. It's still a work-in-progress, so check the logs for updates.
The first version is in GitHub for anyone interested, but be warned that it hasn't been tested yet. Once the PCBs arrive and I have a chance to test them, I'll remove this warning.


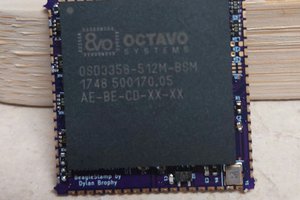
 Dylan Brophy
 technolomaniac
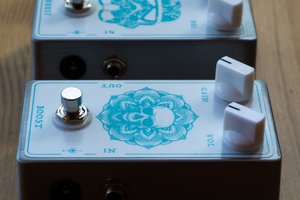
 Ben Holmes
 Josh Kittle
Which components are which?
I'm assuming the resistor is at the top right of your OSHPark render there.