 Mike Maluk
With V2 in the works, this will be blank for now. I plan to update this section with some Open Rocket calcs and other fun stuff.
0%
0%
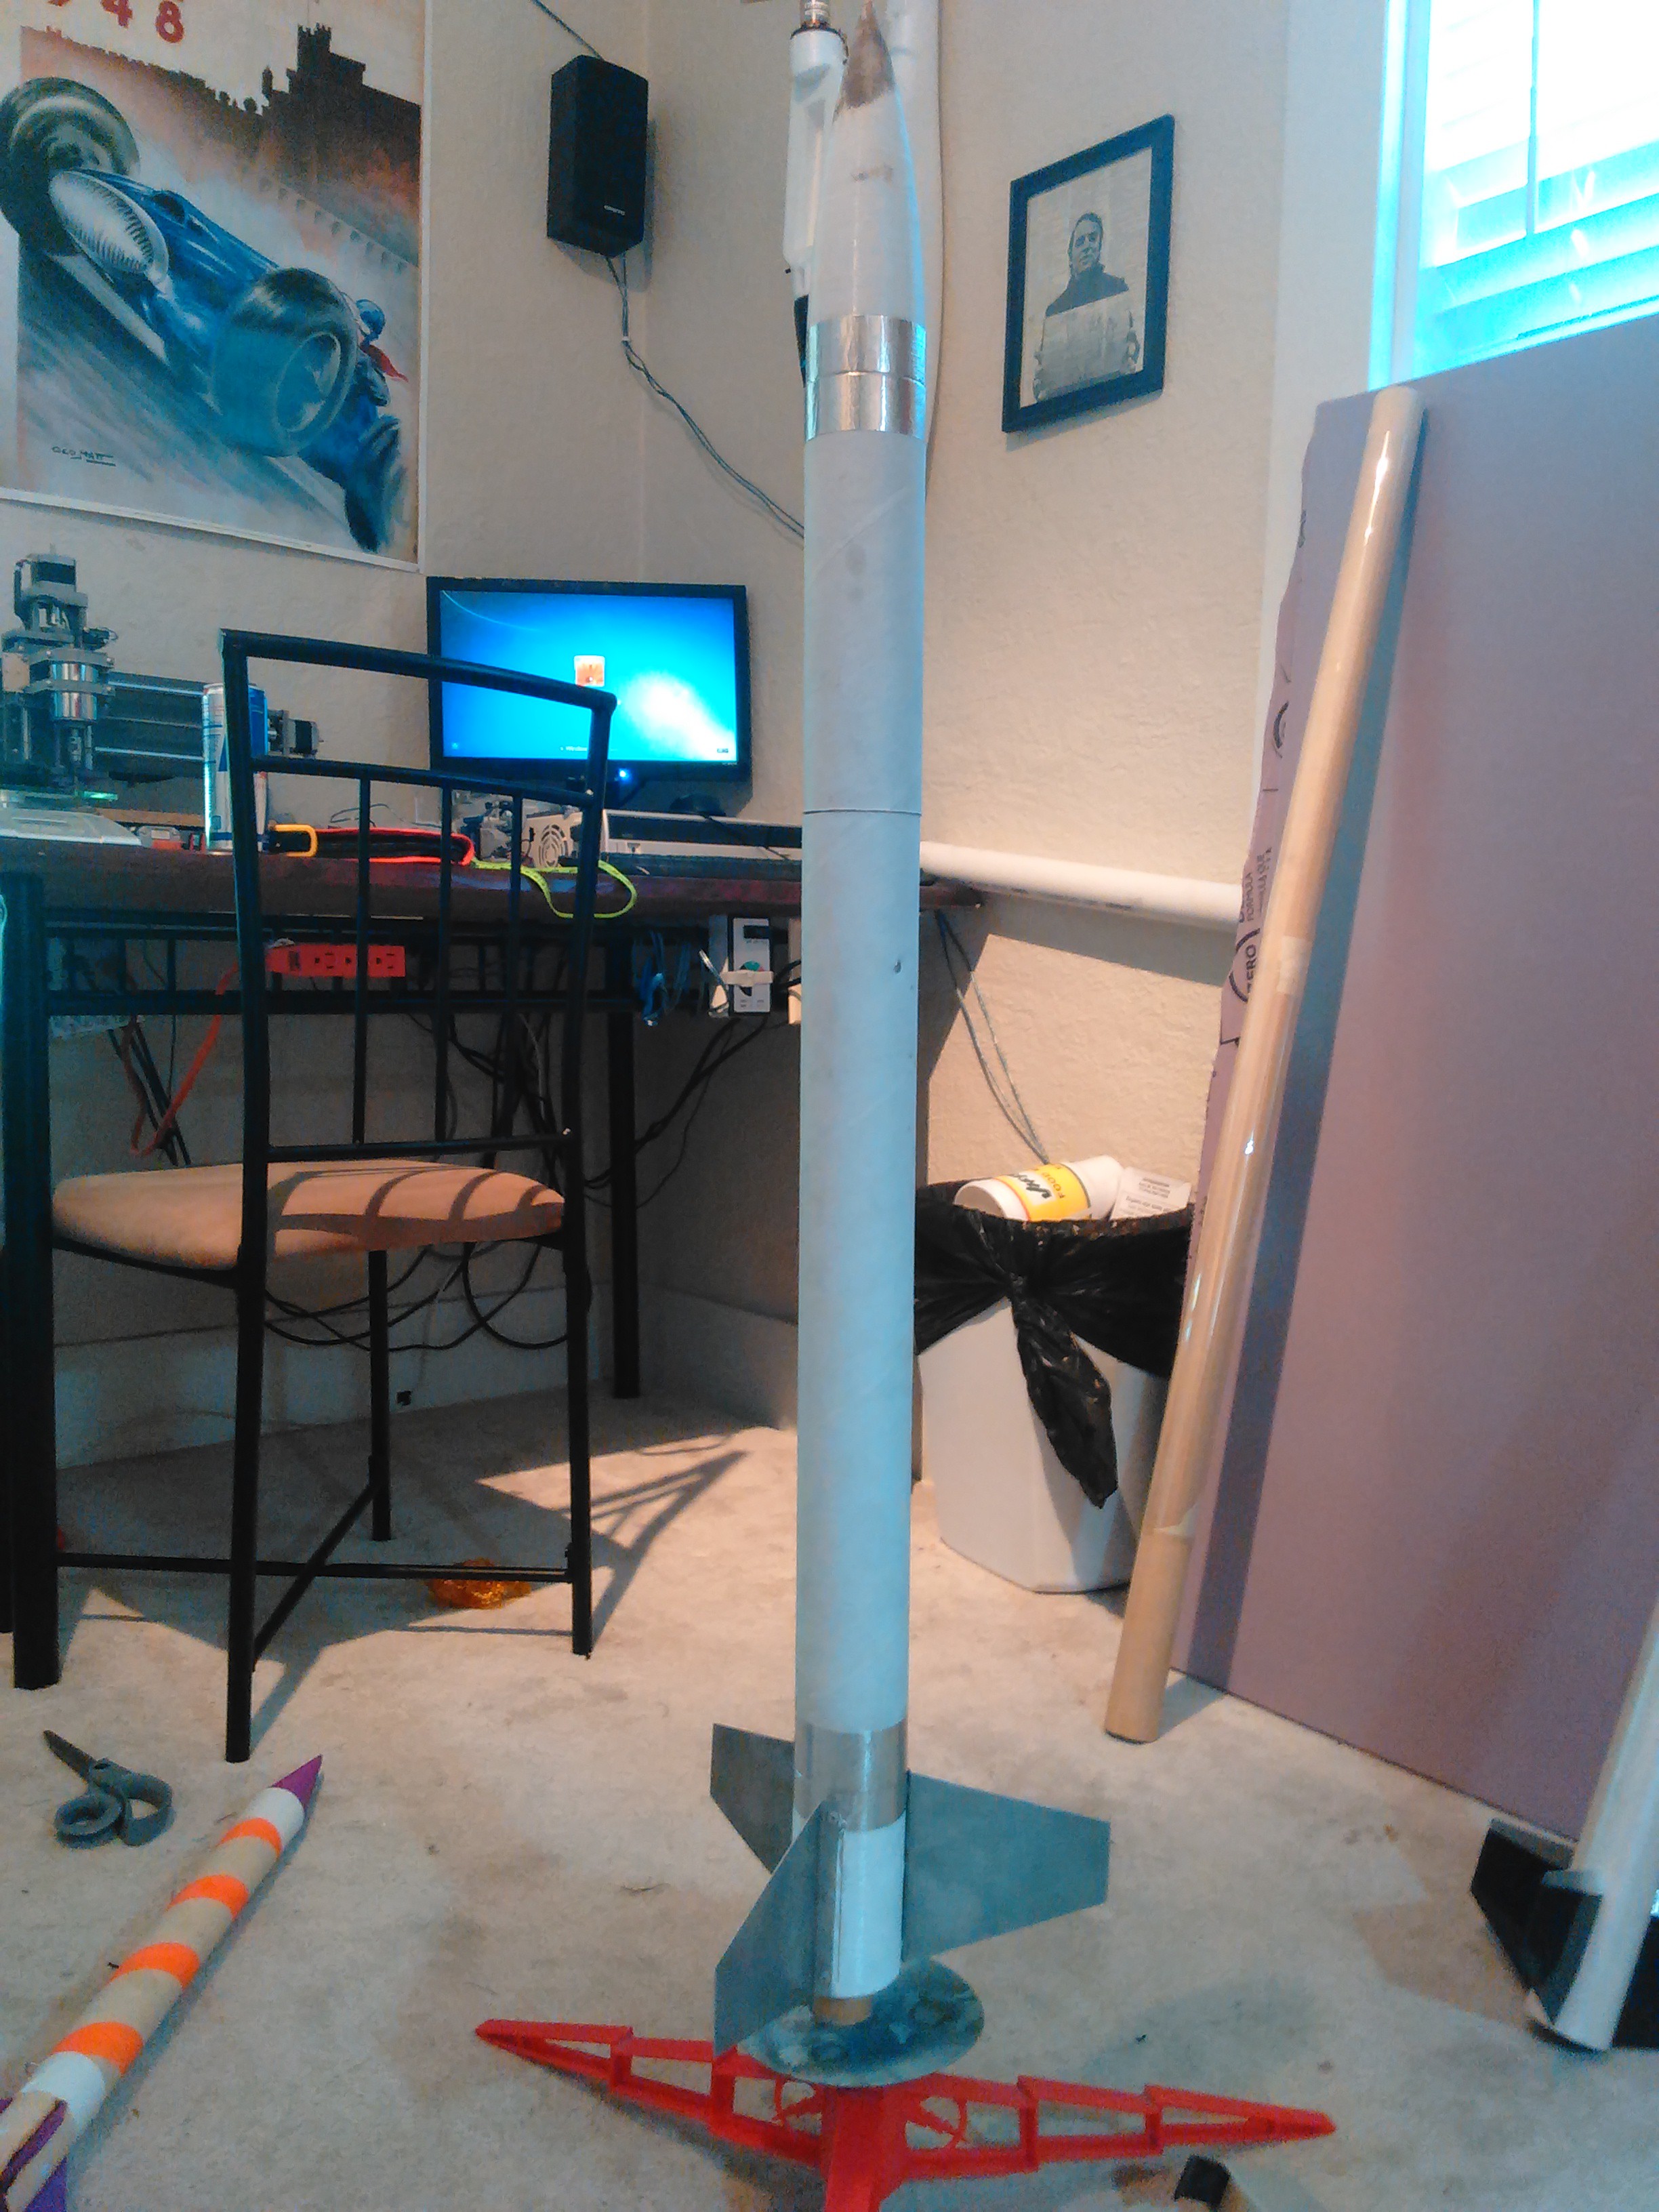
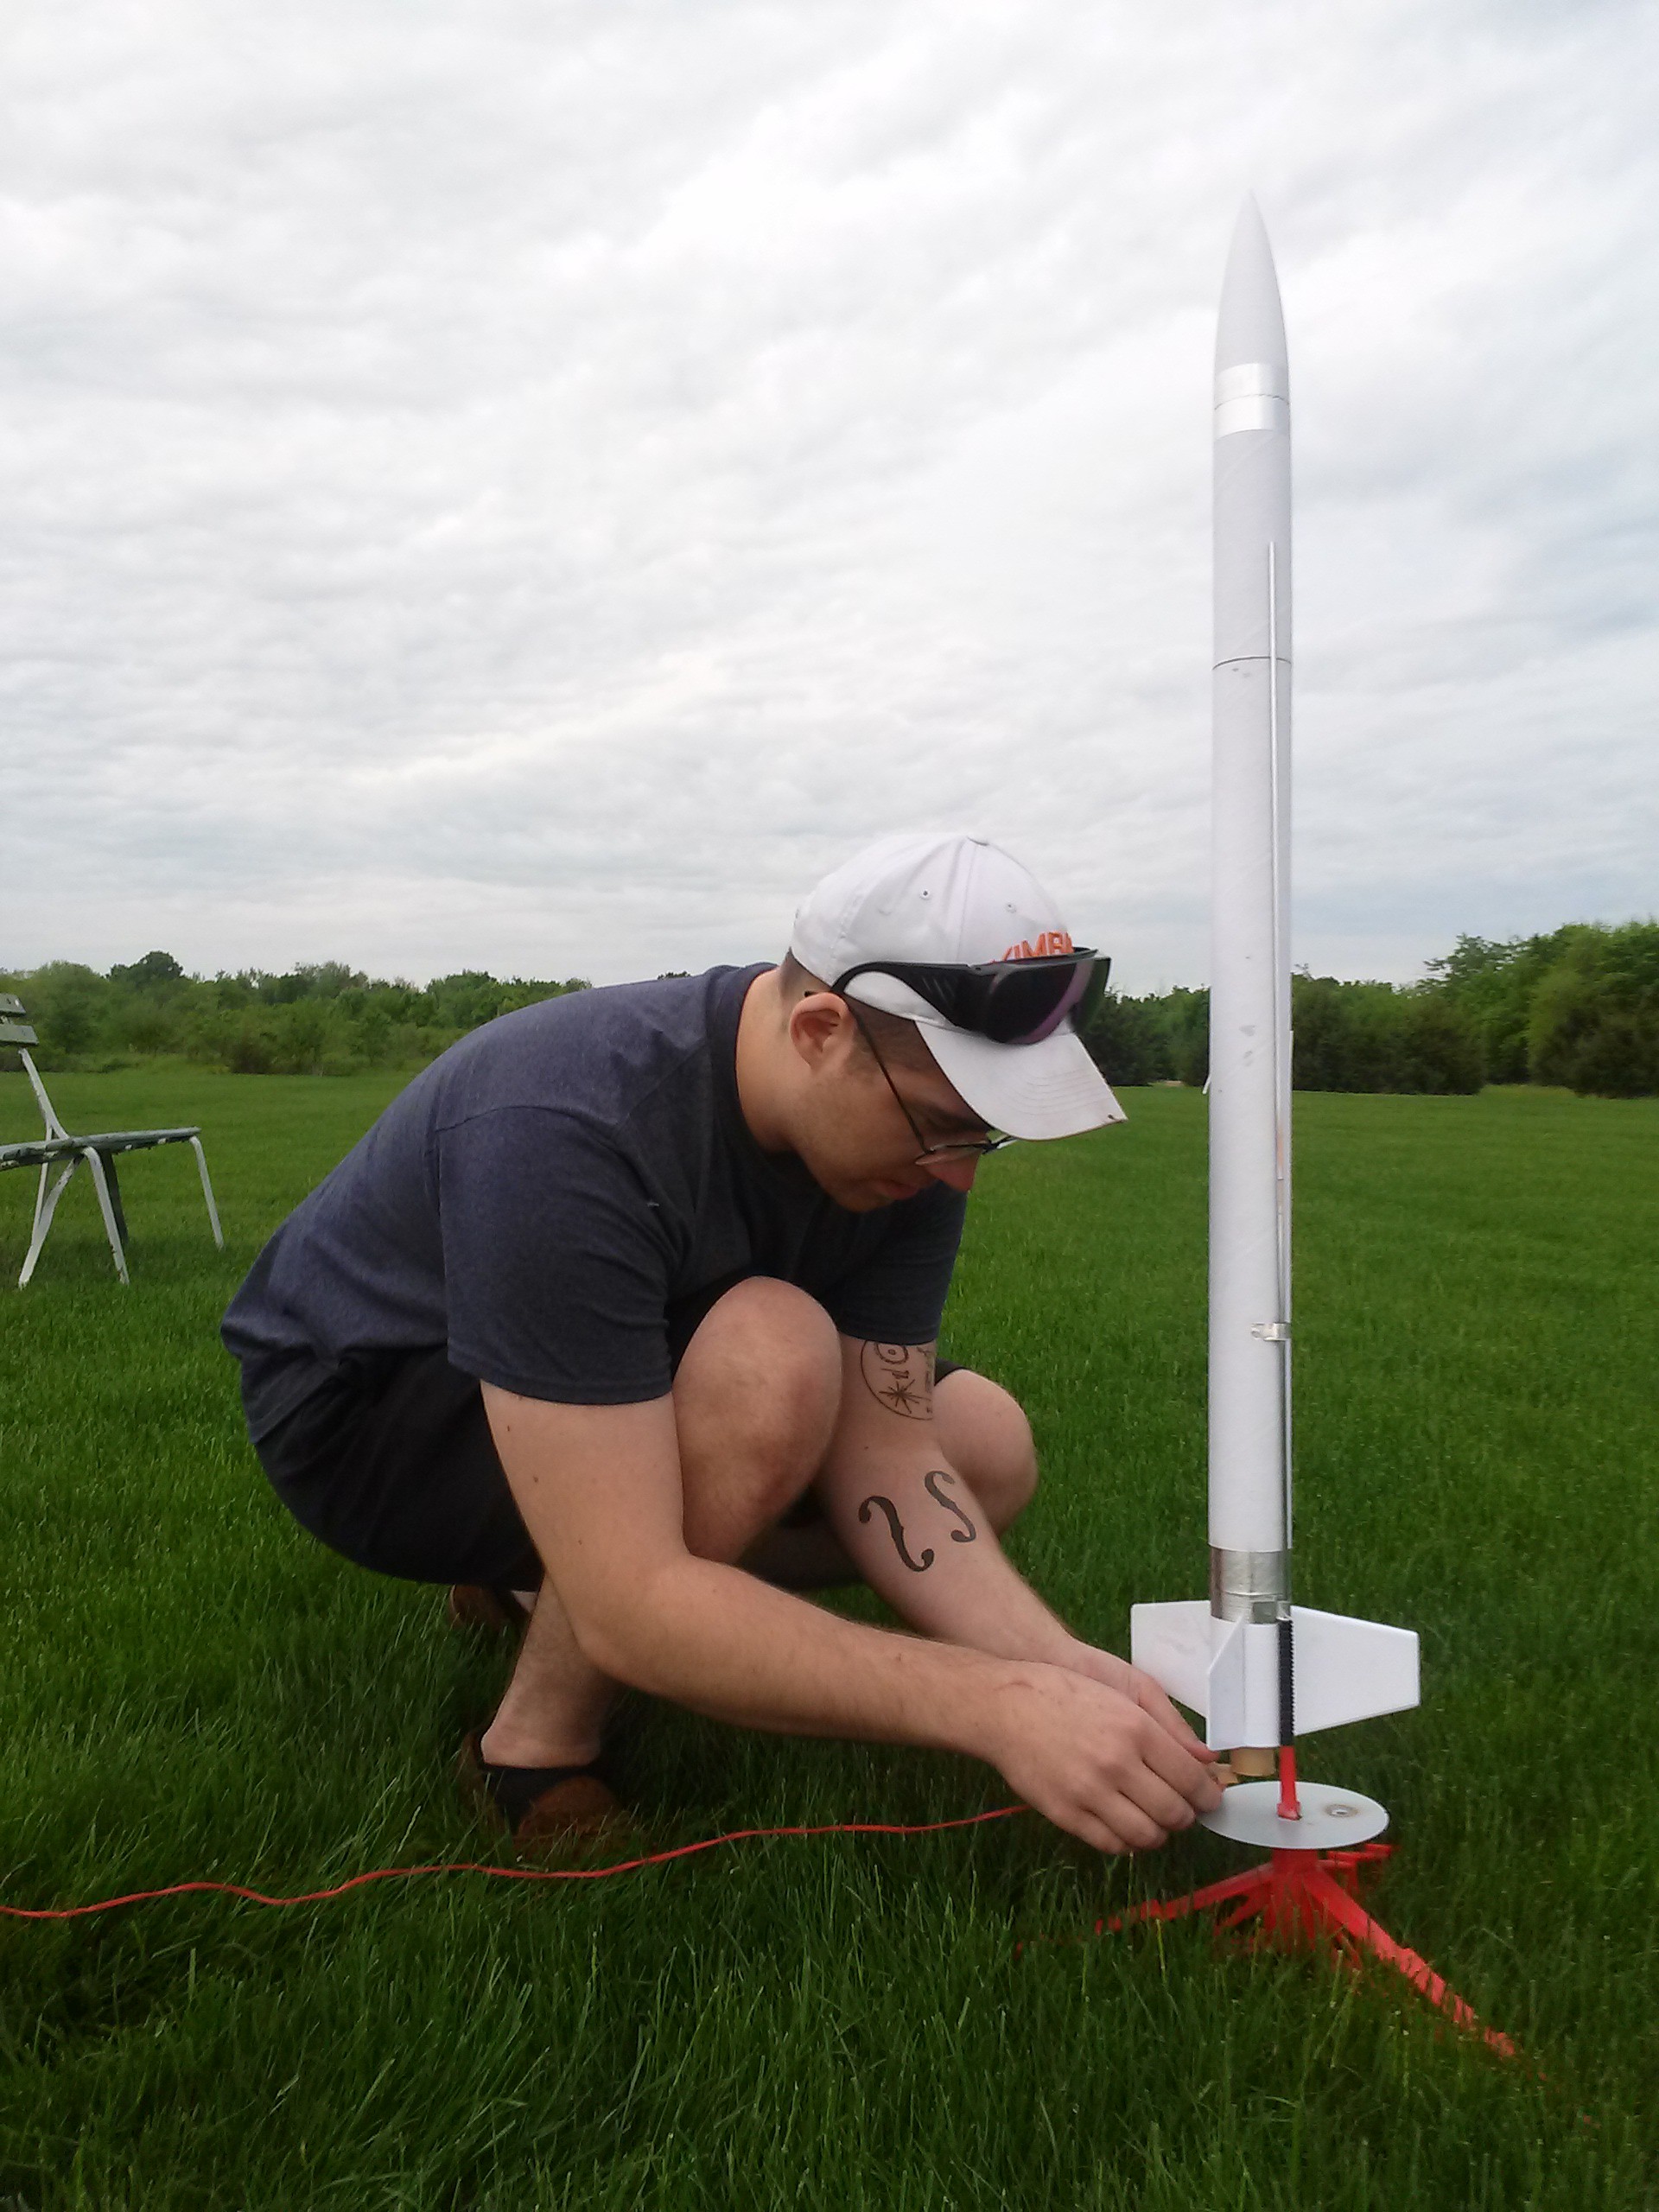
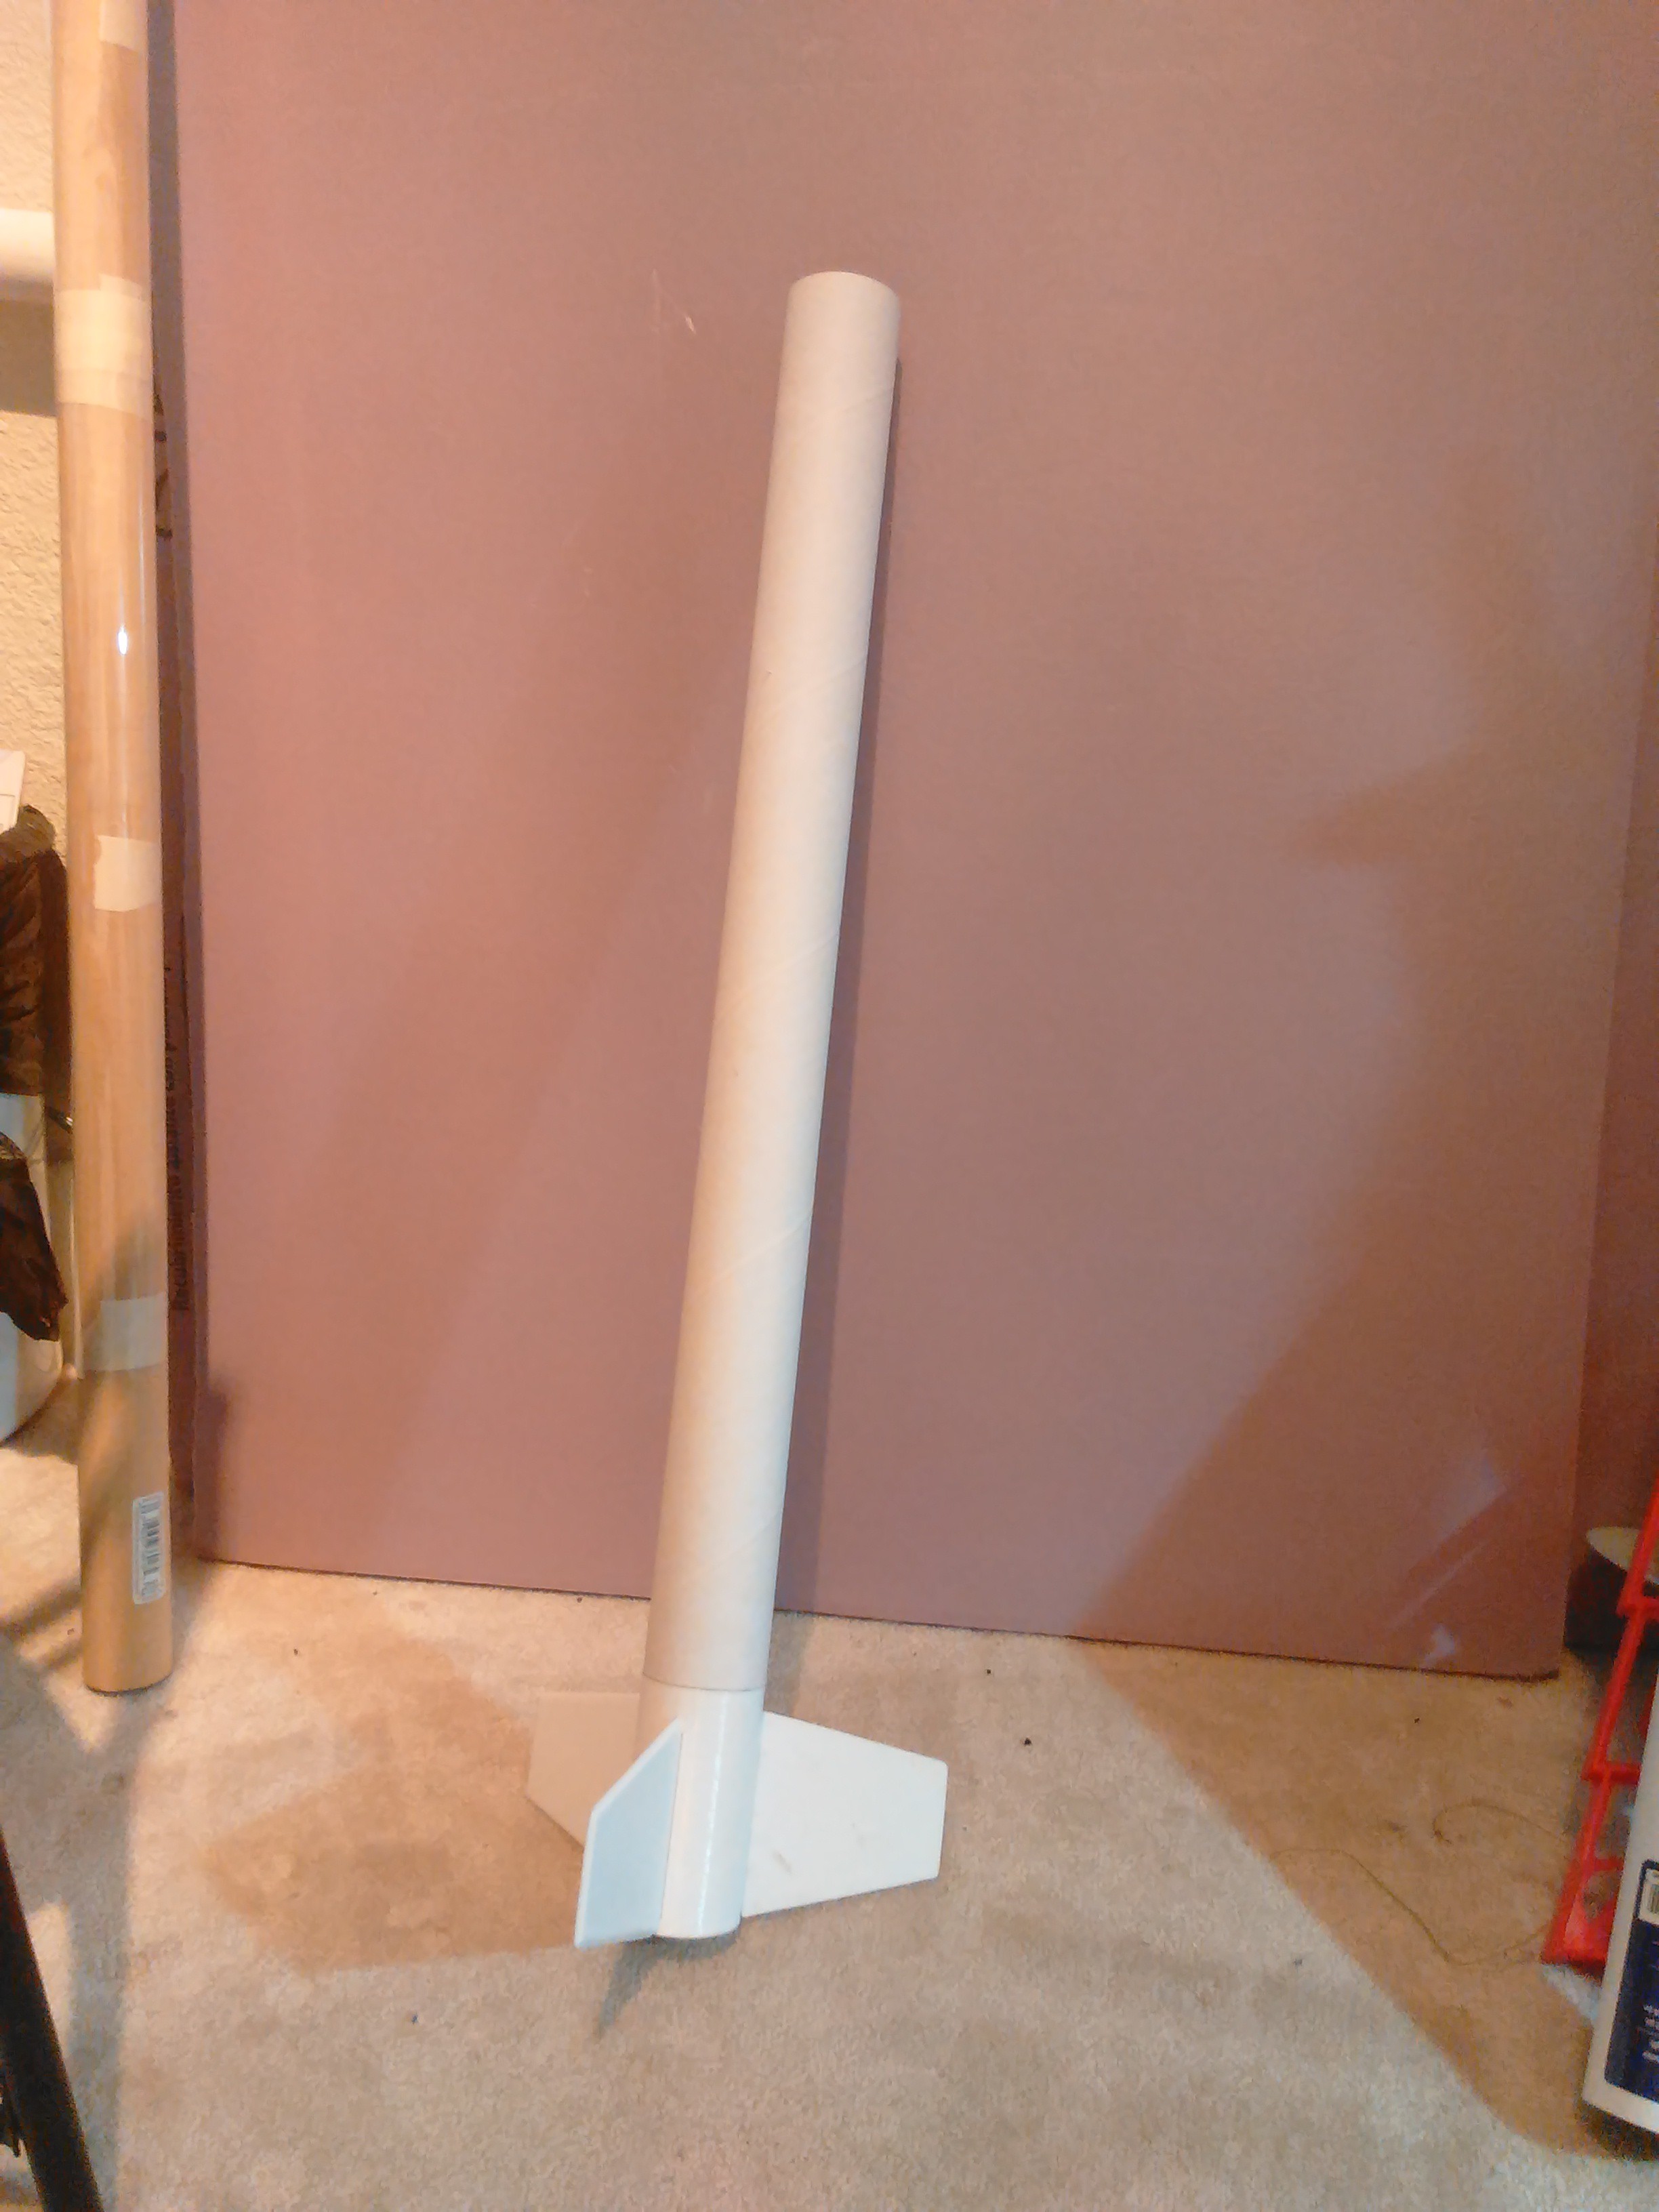
3DPMRS - 3D Printed Modular Rocket System
Collaborative rocket design.
Become a Hackaday.io member
Already have an account? Log in.
Just one more thing
To make the experience fit your profile, pick a username and tell us what interests you.
Pick an awesome username
hackaday.io/
Your profile's URL: hackaday.io/username. Max 25 alphanumeric characters.
Pick a few interests
Projects that share your interests
People that share your interests
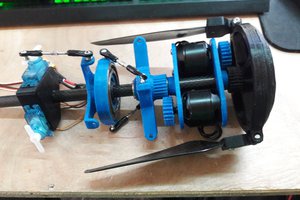
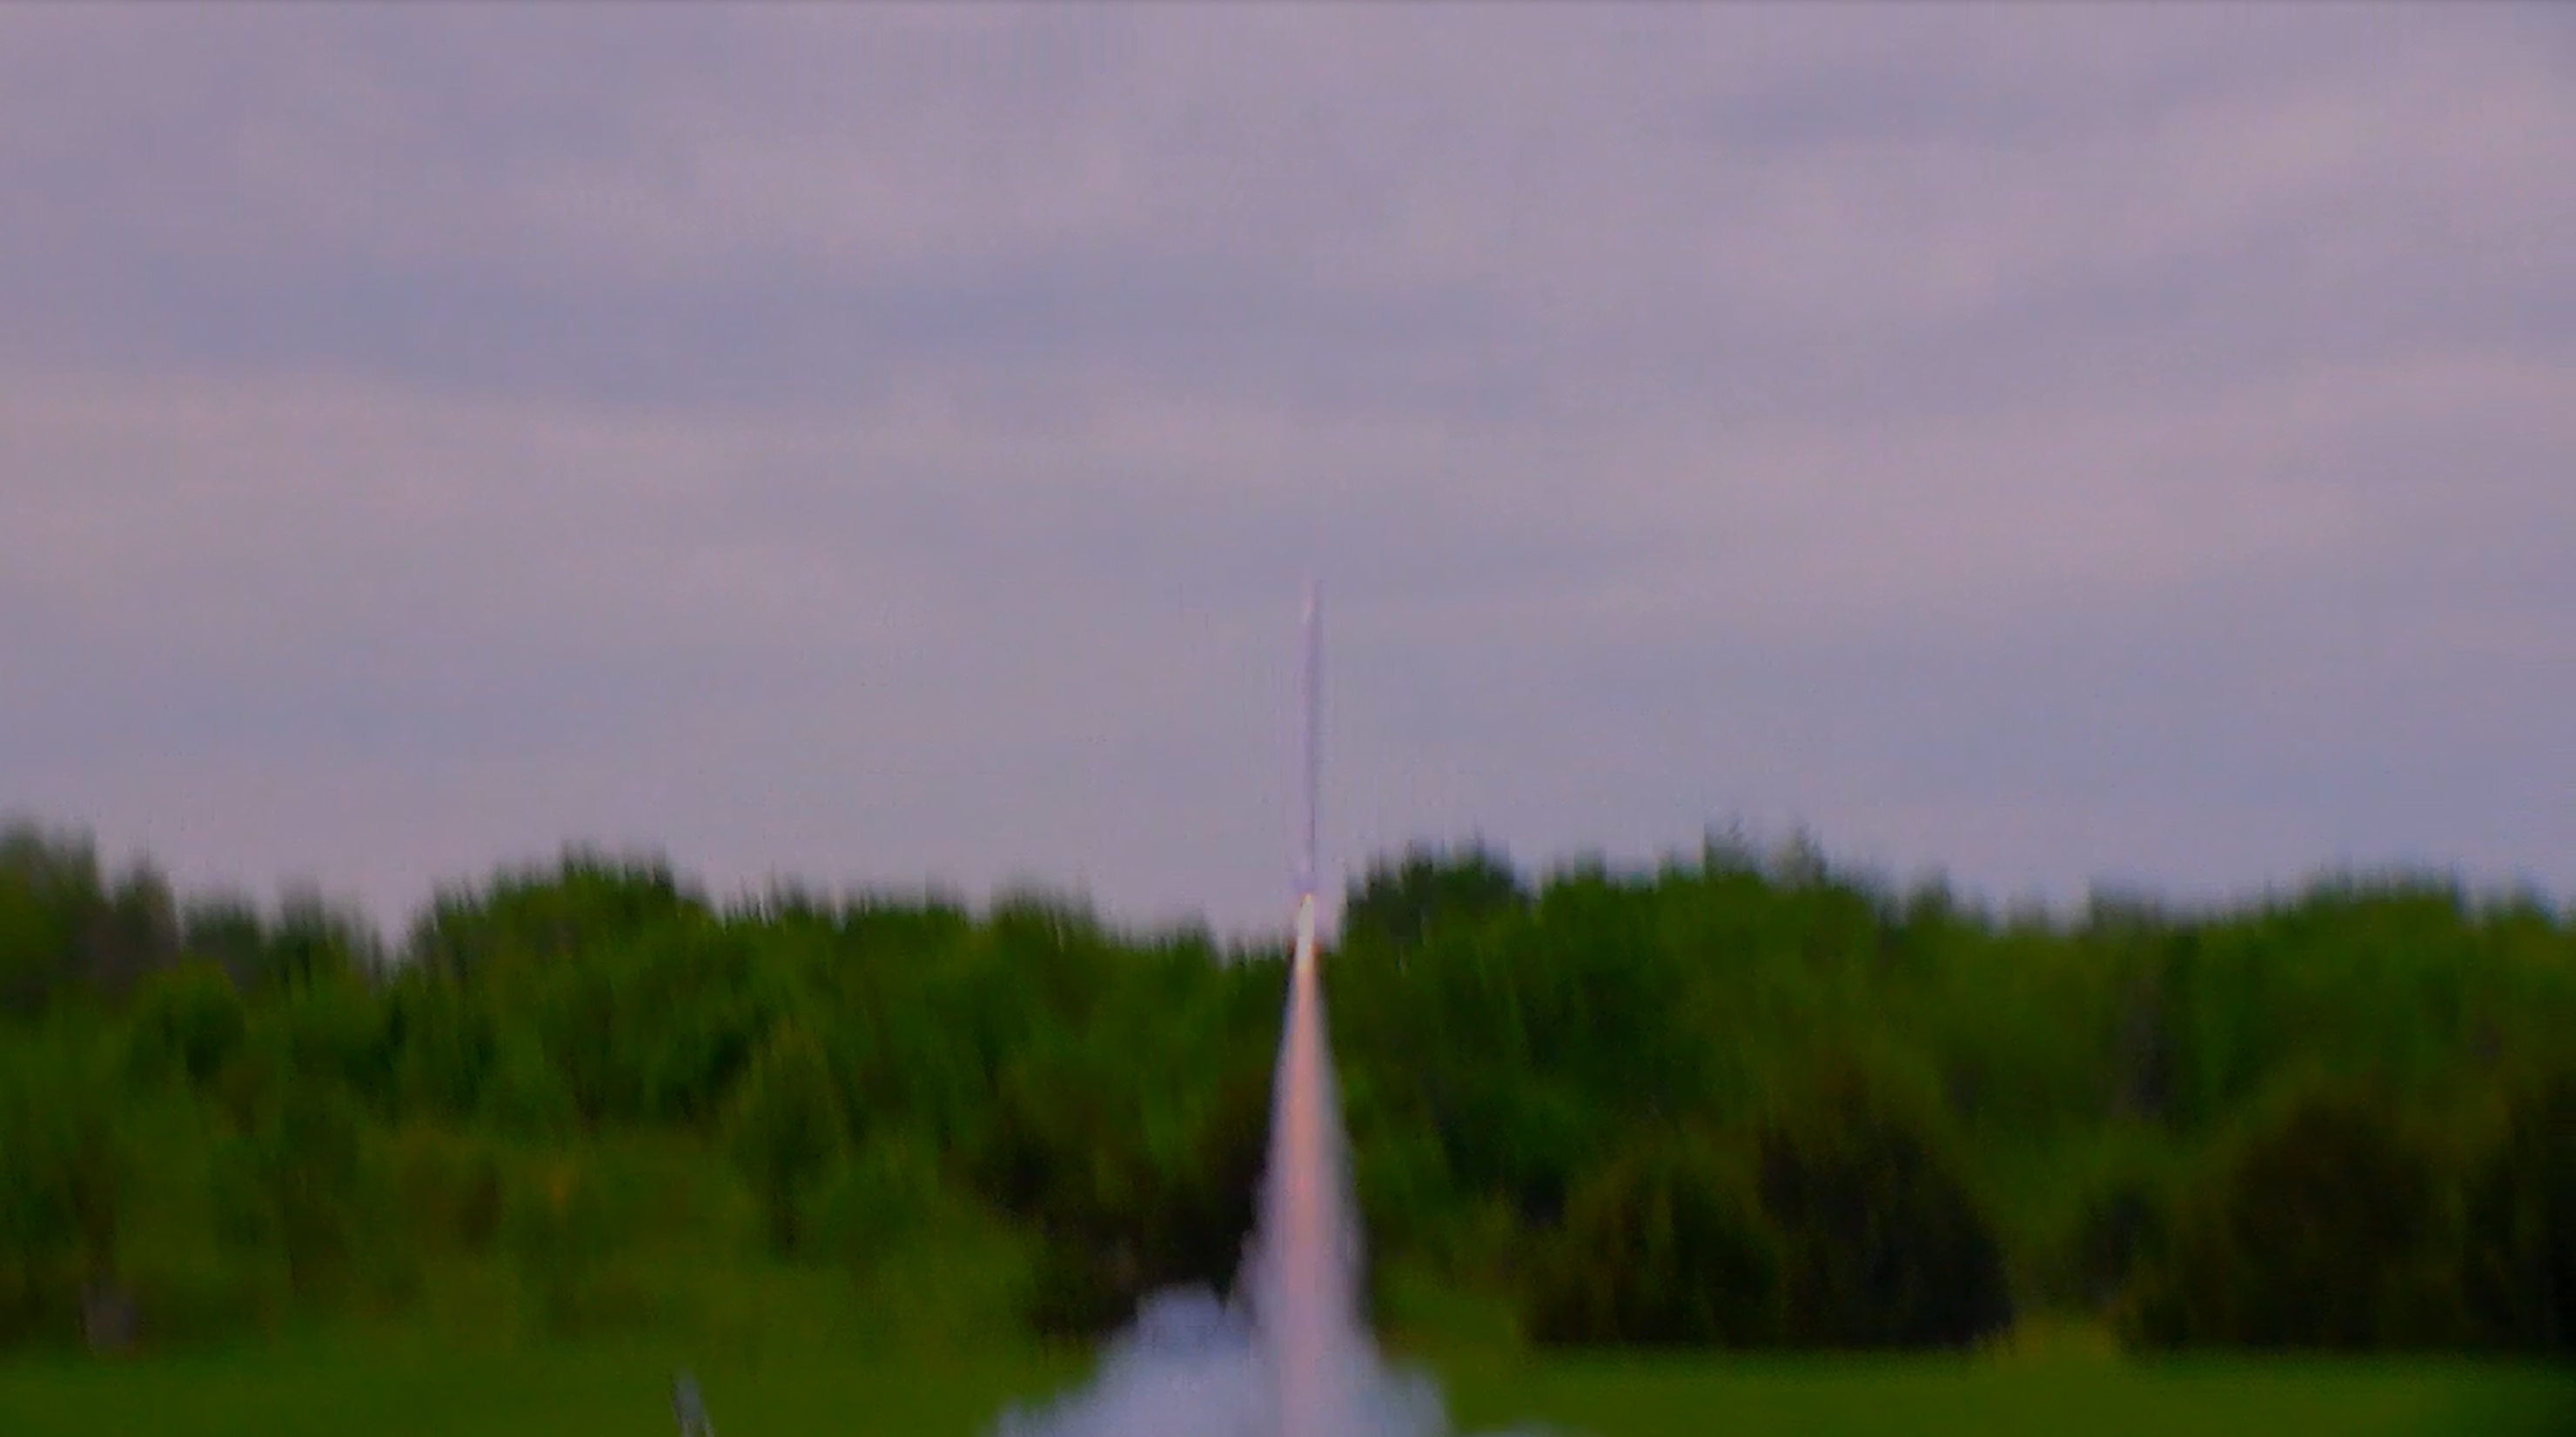 The issue appeared when the rocket weathercocked hard as the motor burnt out.


 Steve
Steve
 Will F.
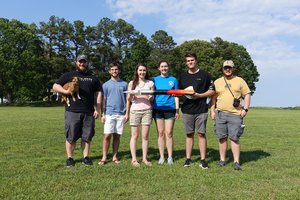
 Glytch
I'm curious, why 3D print vs wood fins?