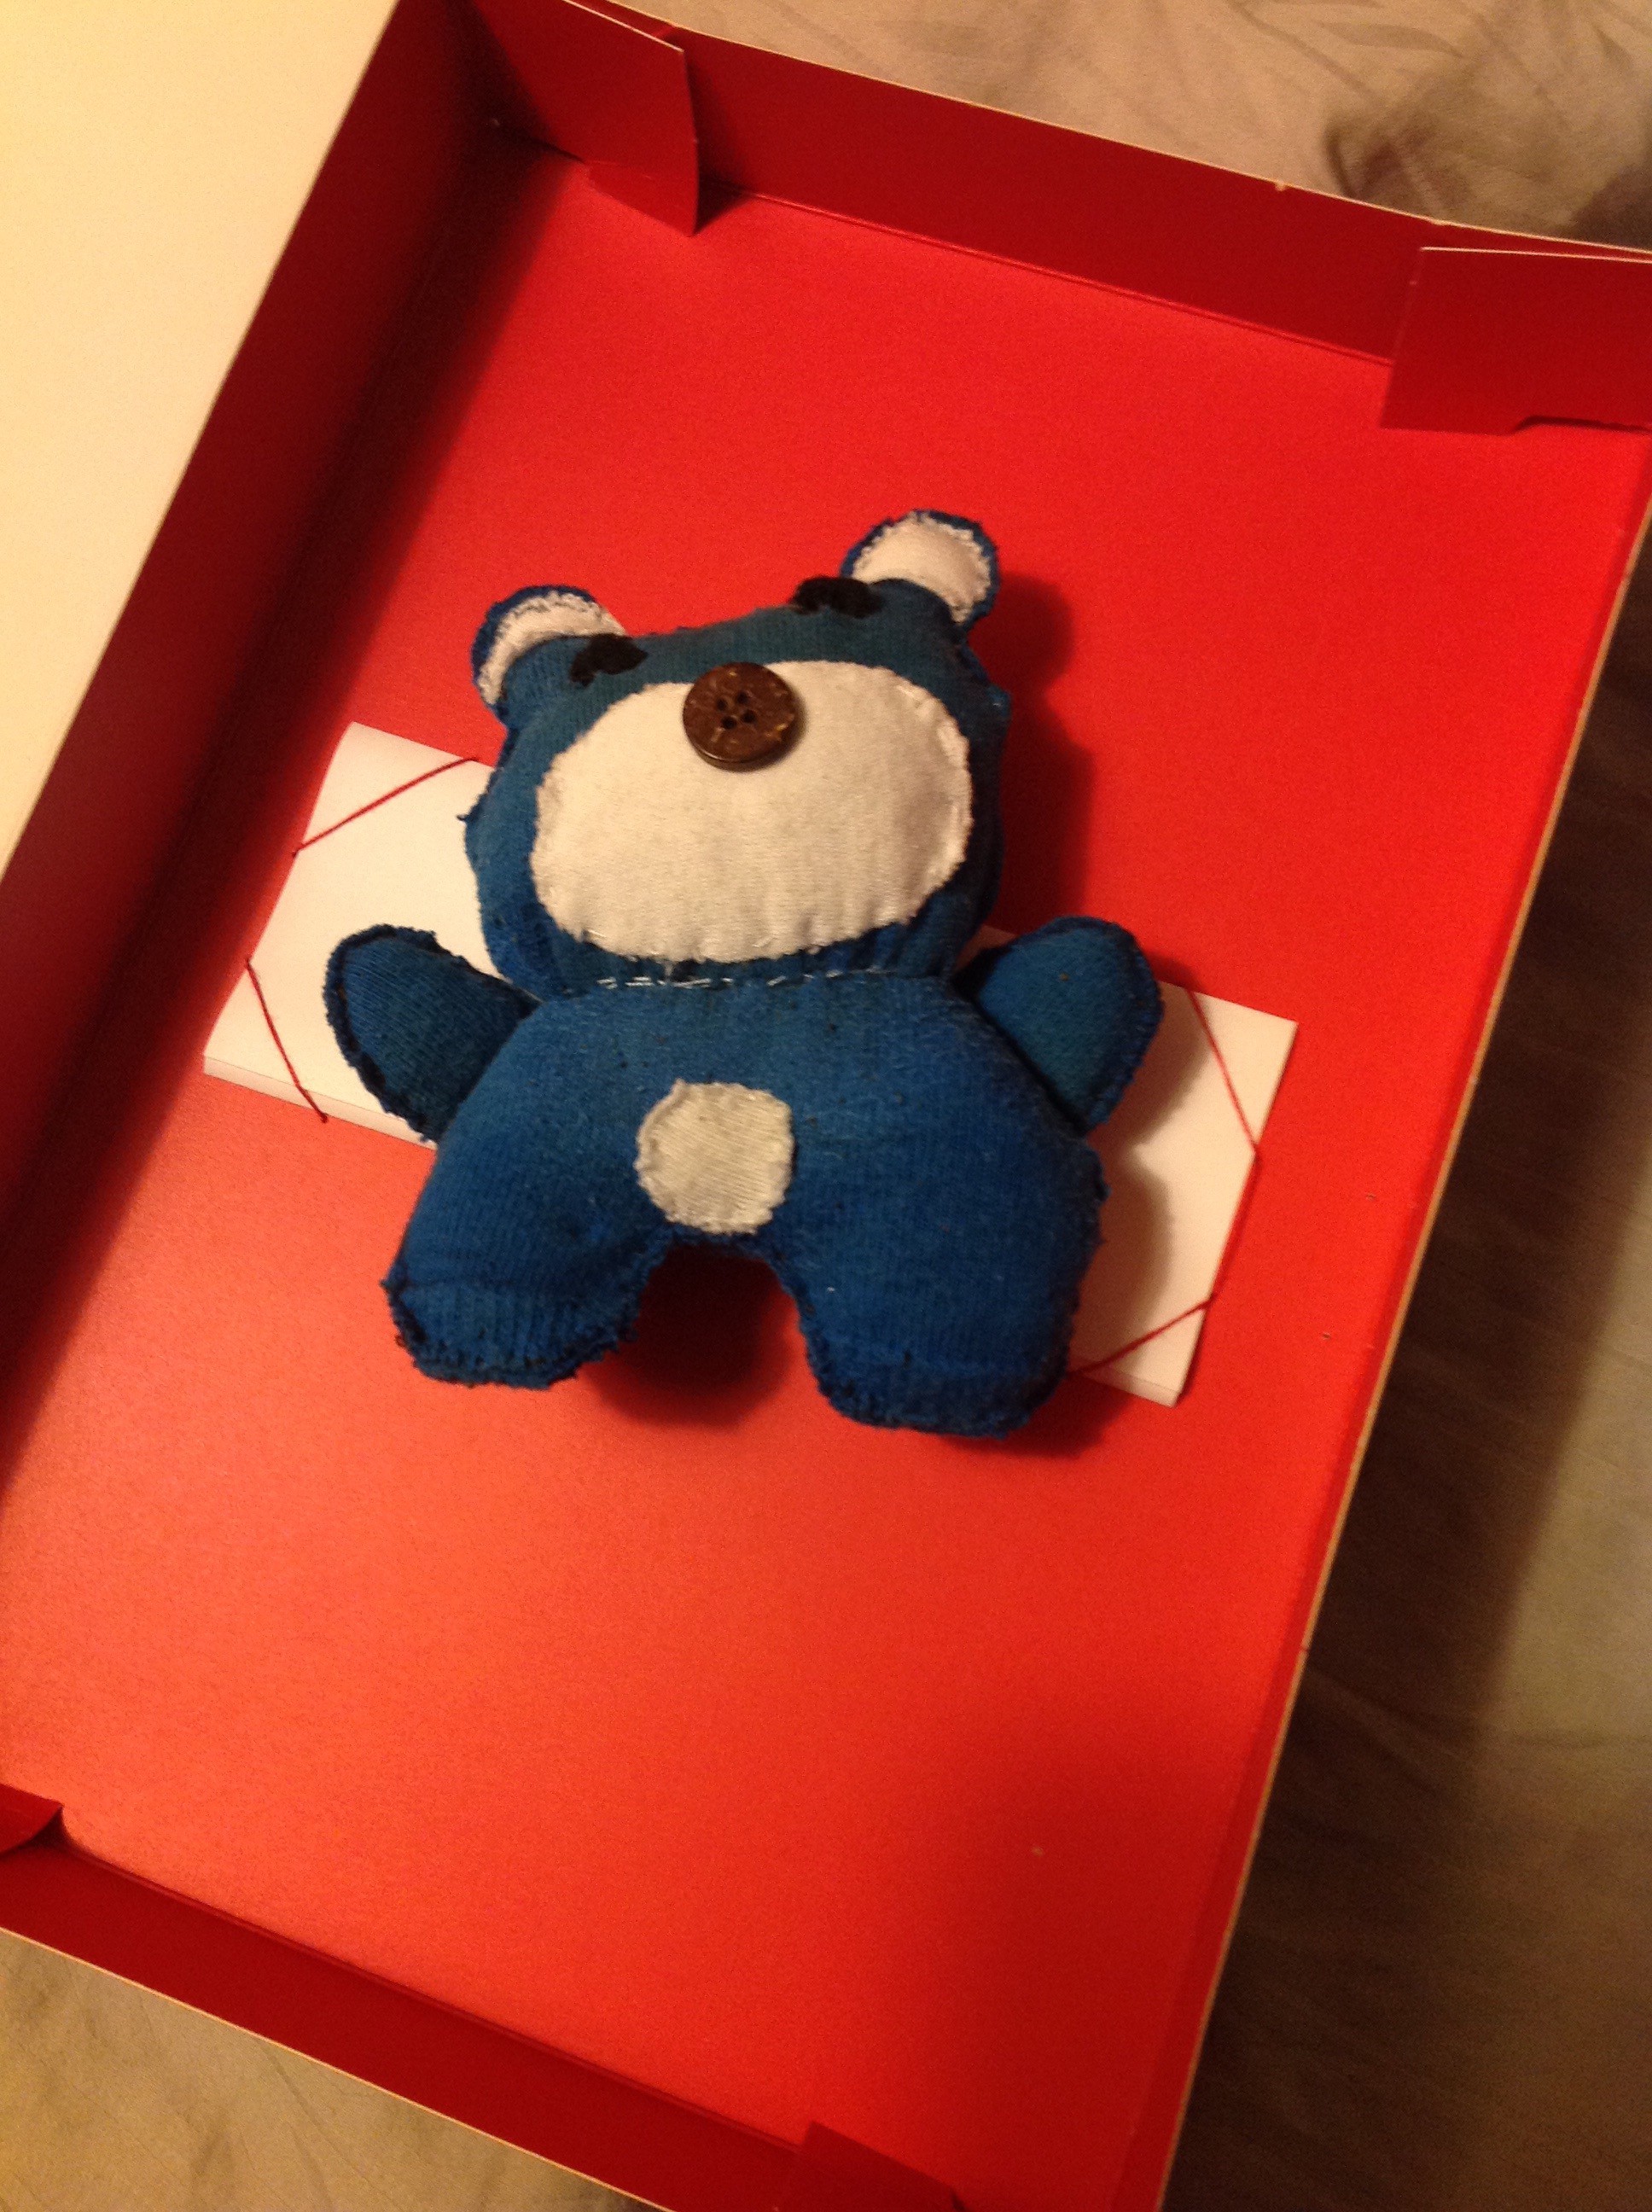
Close
0%
0%

i♥Me4e

Me4e is a cute little [blind] bear that can't quite dance, but used to spread l0v ;p

Similar projects worth following
Both a project I HaD to work on ( wanna sew interactive pluches, anyone ? ^^ ) & a Valentine's day present, Me4e can be squeezed ( arms & body or told stg ) to react gently ( currently only by saying stuff )

Technically:

- uC: Espruino Pico
- Mikes: Adafruit Electret Microphone Amplifier - MAX4466 with Adjustable Gain
- Spk: cheap & tiny piezo
- touch: custom made switches
- microSD card: hacked microSD->SD adapter
- battey charging: Adafruit Pro Trinket LiIon/LiPoly Backpack Add-On
- battery: LiPo 3.7V 1200mA
+
- l0v
  • 1 × Espruino Pico µC
  • 2 × Adafruit Electret Microphone Amplifier - MAX4466 with Adjustable Gain an electret breakout from the Adafruit friends
  • 1 × Piezo among the cheapest & tiniest speaker
  • 1 × MicroSD -> SD adapter
  • 1 × Adafruit Pro Trinket LiIon/LiPoly Backpack Add-On also from Adafruit, the tiniest battery charger I could find

View all 7 components

View project log

  • 1
    Step 1

    The "original" Me4e is the one pictured in the project's cover image and in the following.

    Unfortunately, I don't have photos of its wip, and don't have it in my possession to take some ( yet I may be able to ;p )

    Bear in mind it's was my first try a sewing stuff & that I didn't have on hand the correct tools & Cie ( ex: torn demakeup as stuffing .. )

    I also didn't have quite the time to do what I initially intended, such as stuffing it with electronics :)

    Last but not least, the "original" Me4e had eyes, while the interactive one dones't ( and currently is still a vegetable since I din't had the time to finish writing its brains .. yet* )

    * incoming on step 18 ? ;P

  • 2
    Step 2

    The first step is to take some old sock(s) out of a drawer and start thinking about the design of the pluche

    The one thing we gotta take in account is the size of the socks we're using: for an SD style, use short ones, else use regular ones

    Once this is done, we start sewing each of the basic shapes that we'll use: the head, torso, & arms

    Also, we have to start thinking about how we'll stuff all our electronic stuffing ..

    .. and also which one we'll choose between a speaker & a piezo ( the speaker 'd be internal while the piezo 'd serve as nose too, hence "pienoze" ^^ )


  • 3
    Step 3

    Then, we have to prepare the arms & tummy switches.

    The tummy one 'll be made out of a quite rigid foam, while the arms ones 'll use thin cardboard.

    Both 'll have conductive copper tape on their insides.

    Using foam for the tummy switch provides the added benefit of being able to sew stuff to it, as well as sew it to the insides of the body, to further center it with cotton.

    We could have used velostat to have pressure sensors instead of simply switches, but I didn't have any at the time, plus I didn't get the expected results with the conductive foam I had on hand :/

    the following pics illustrates how I did the arms switches.

    We start with four identical faces with copper tape, & two hollowed shape so as to have just a little space between the two copper plates.

    The wires ends are held in place by the copper tape., while the hollowed shapes are glued to one of the two plates of each arm.

    If we have the expected results when pressing it ( not too hard , but not too soft considering we'll be stuffing cotton before & behind it ), we can glue together the plates of each arm.

    Once this is done, we use Kapton to secure the overall part & make it as compact as possible.

    Now that we completed one arm switch, we do the same for the other, and then test both before sewing the arm tightly to maintain both the switch and the cotton as wished.

    Try to center the switch so as not to be able to feel it ( and instead feel the softness of cotton, nothing else ).

    Don't hesitate to stuff more and more cotton in the arm, but just make sure that it won't turn on the switch by accident once we sewed the arm after testing ..

    So, does our switches work ? ..

    .. it does indeed ! :)

    .. and hopefully, the same goes for the tummy switch.

    Now that we know all our switches are working correctly, we can firmly sew the arms, and we'll also sew some sock part to the tummy switch: we'll use it to attach the bottom of the switch to the insides of the pluche, so as to better hold it in place.

    Quick advice: don't try to have both wires as close as can be, but instead mark their separation & sew them firmly to their support where there tend to get out.

    Here's the tummy switch, with it's ugly amount of glue to hold the wires firmly & avoid any direct contact with the copper.

    Once we have all the above done, we can think about the next steps, & start attaching the arms to the body ..

View all 18 instructions

Enjoy this project?

Share

Discussions

Eric Hertz wrote 02/18/2016 at 03:54 point

d'awww

  Are you sure? yes | no

StéphaneAG wrote 02/18/2016 at 17:11 point

;)

-> I'll post the step by step pics & comms this evening, so if you wanna start sewing yours, you know here to look ;)
ps: nice SD/DVD hacks page by the way :)

  Are you sure? yes | no

Eric Hertz wrote 02/19/2016 at 07:29 point

Hah! I hadn't even considered it a plausibility to be able to sew a stuffed-animal, got me curious ;)

  Are you sure? yes | no

Similar Projects

Does this project spark your interest?

Become a member to follow this project and never miss any updates