 StéphaneAG
-
1Step 1
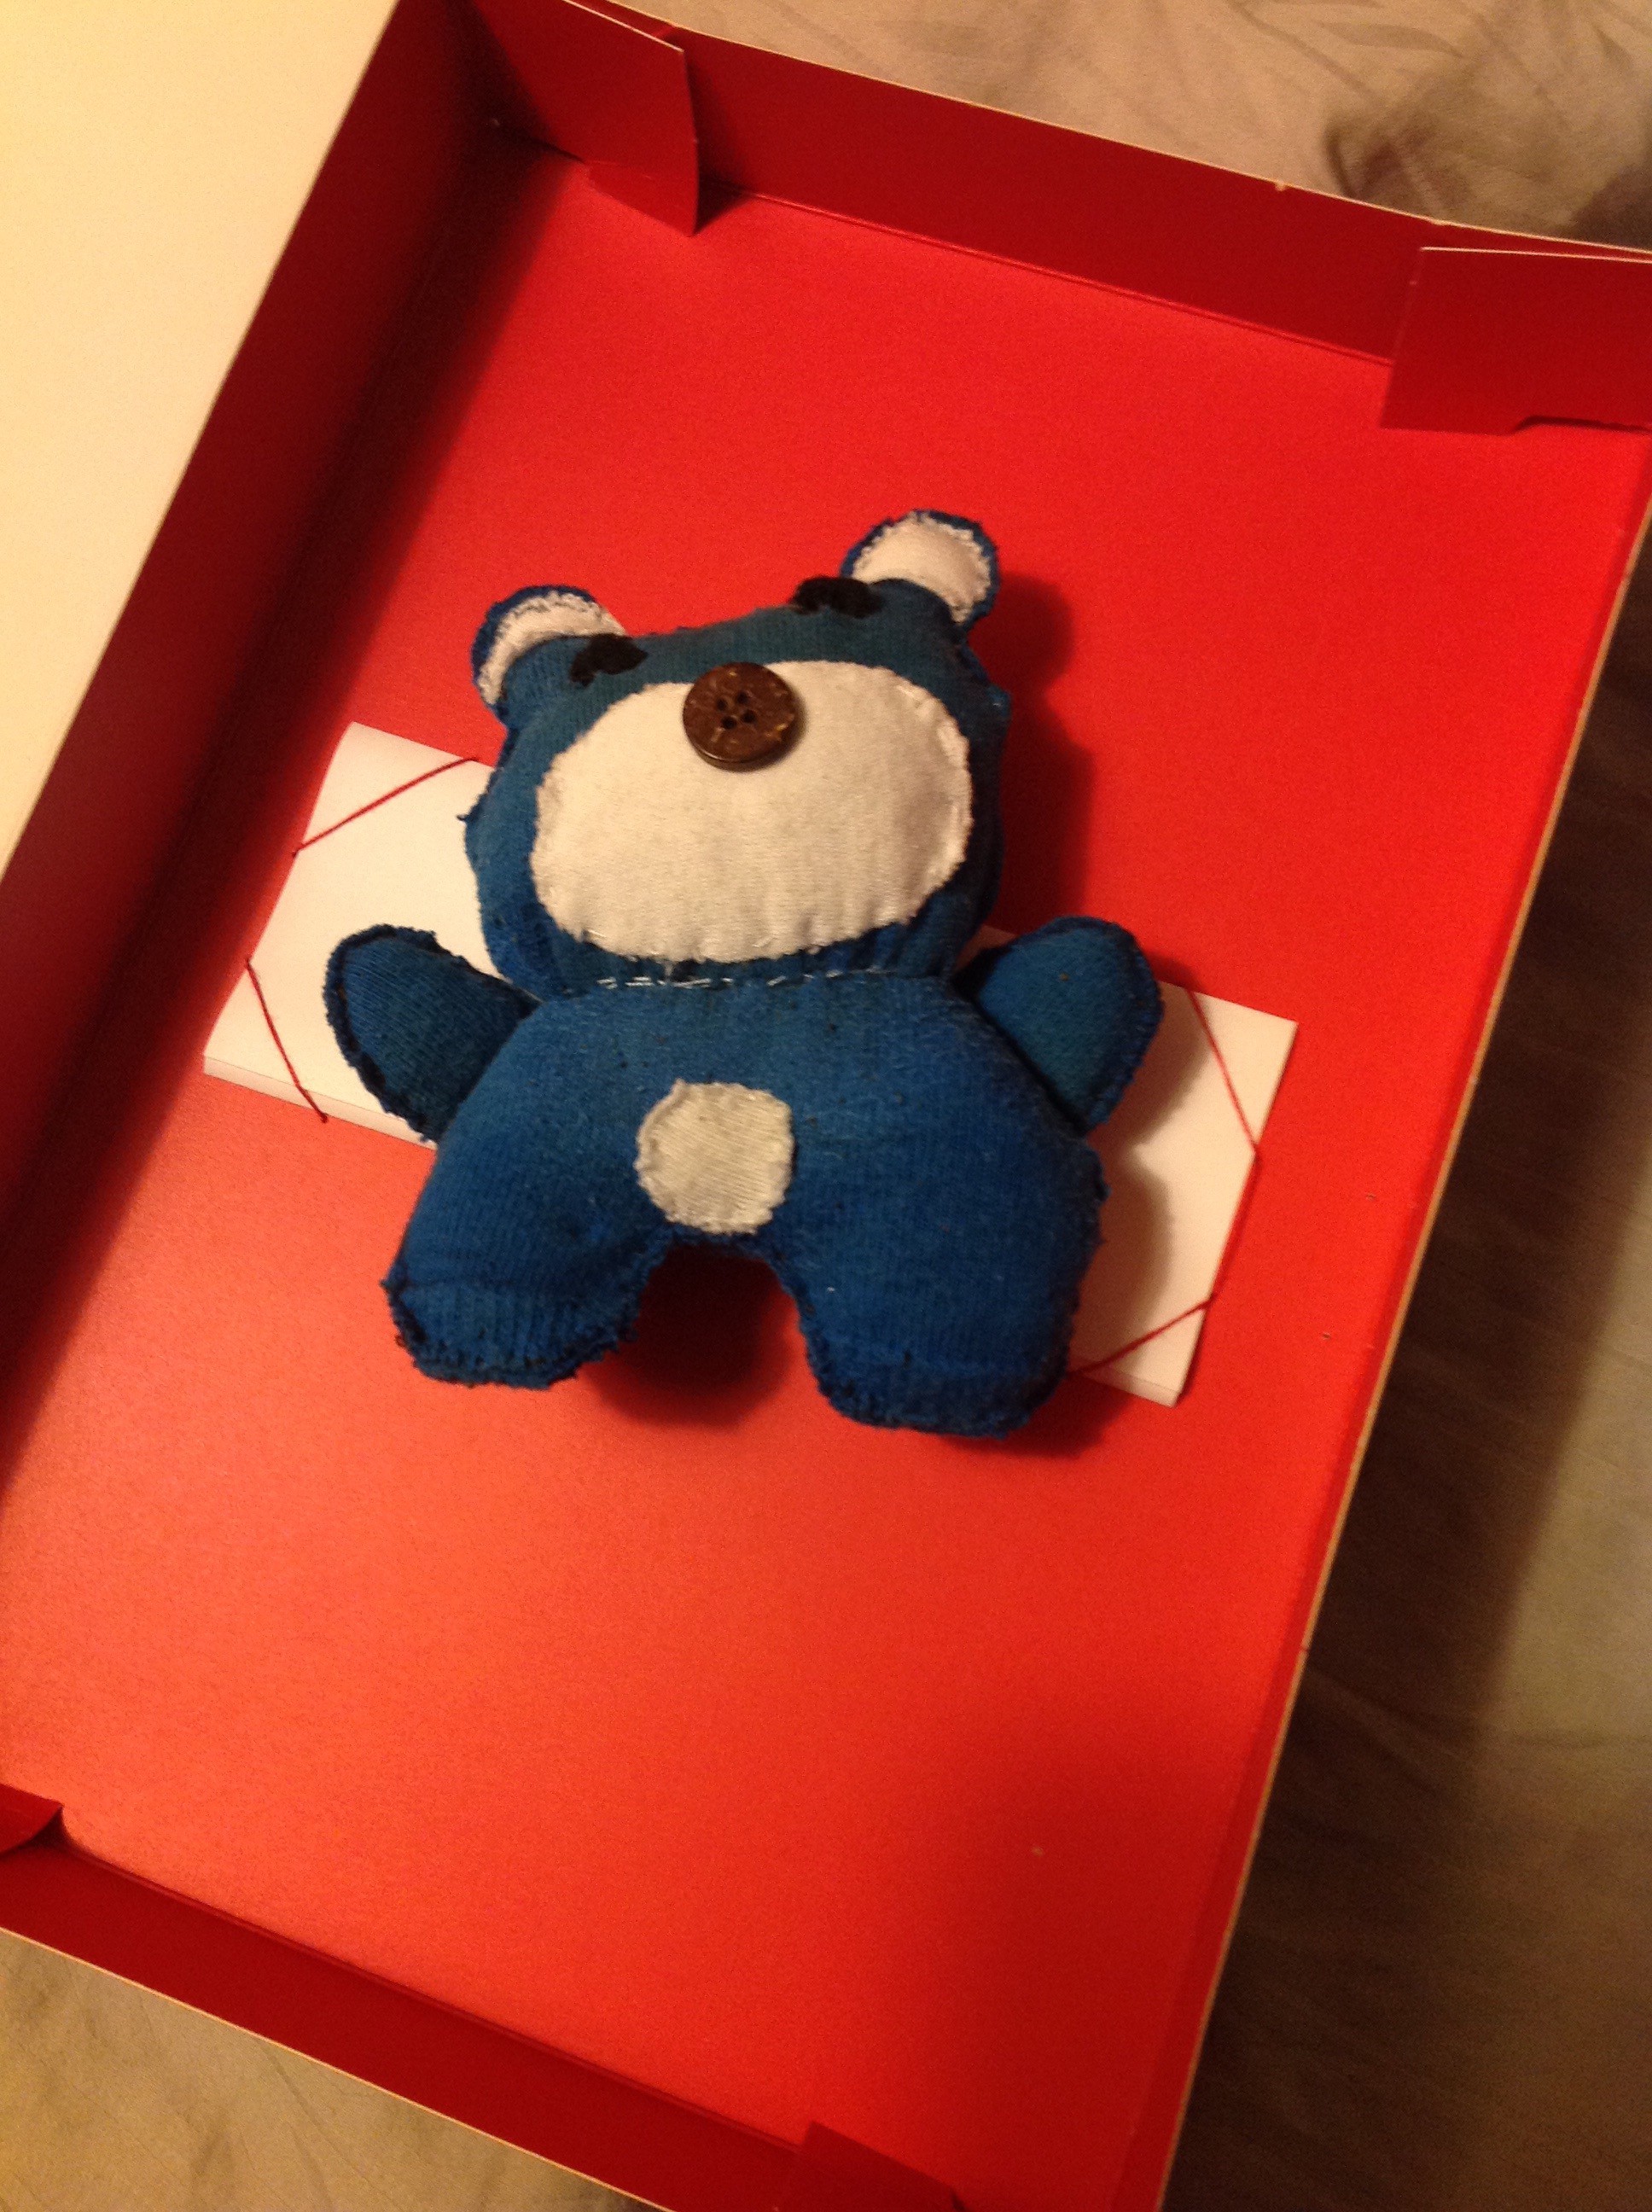
The "original" Me4e is the one pictured in the project's cover image and in the following.
Unfortunately, I don't have photos of its wip, and don't have it in my possession to take some ( yet I may be able to ;p )
Bear in mind it's was my first try a sewing stuff & that I didn't have on hand the correct tools & Cie ( ex: torn demakeup as stuffing .. )
I also didn't have quite the time to do what I initially intended, such as stuffing it with electronics :)
Last but not least, the "original" Me4e had eyes, while the interactive one dones't ( and currently is still a vegetable since I din't had the time to finish writing its brains .. yet* )
![]()
* incoming on step 18 ? ;P
-
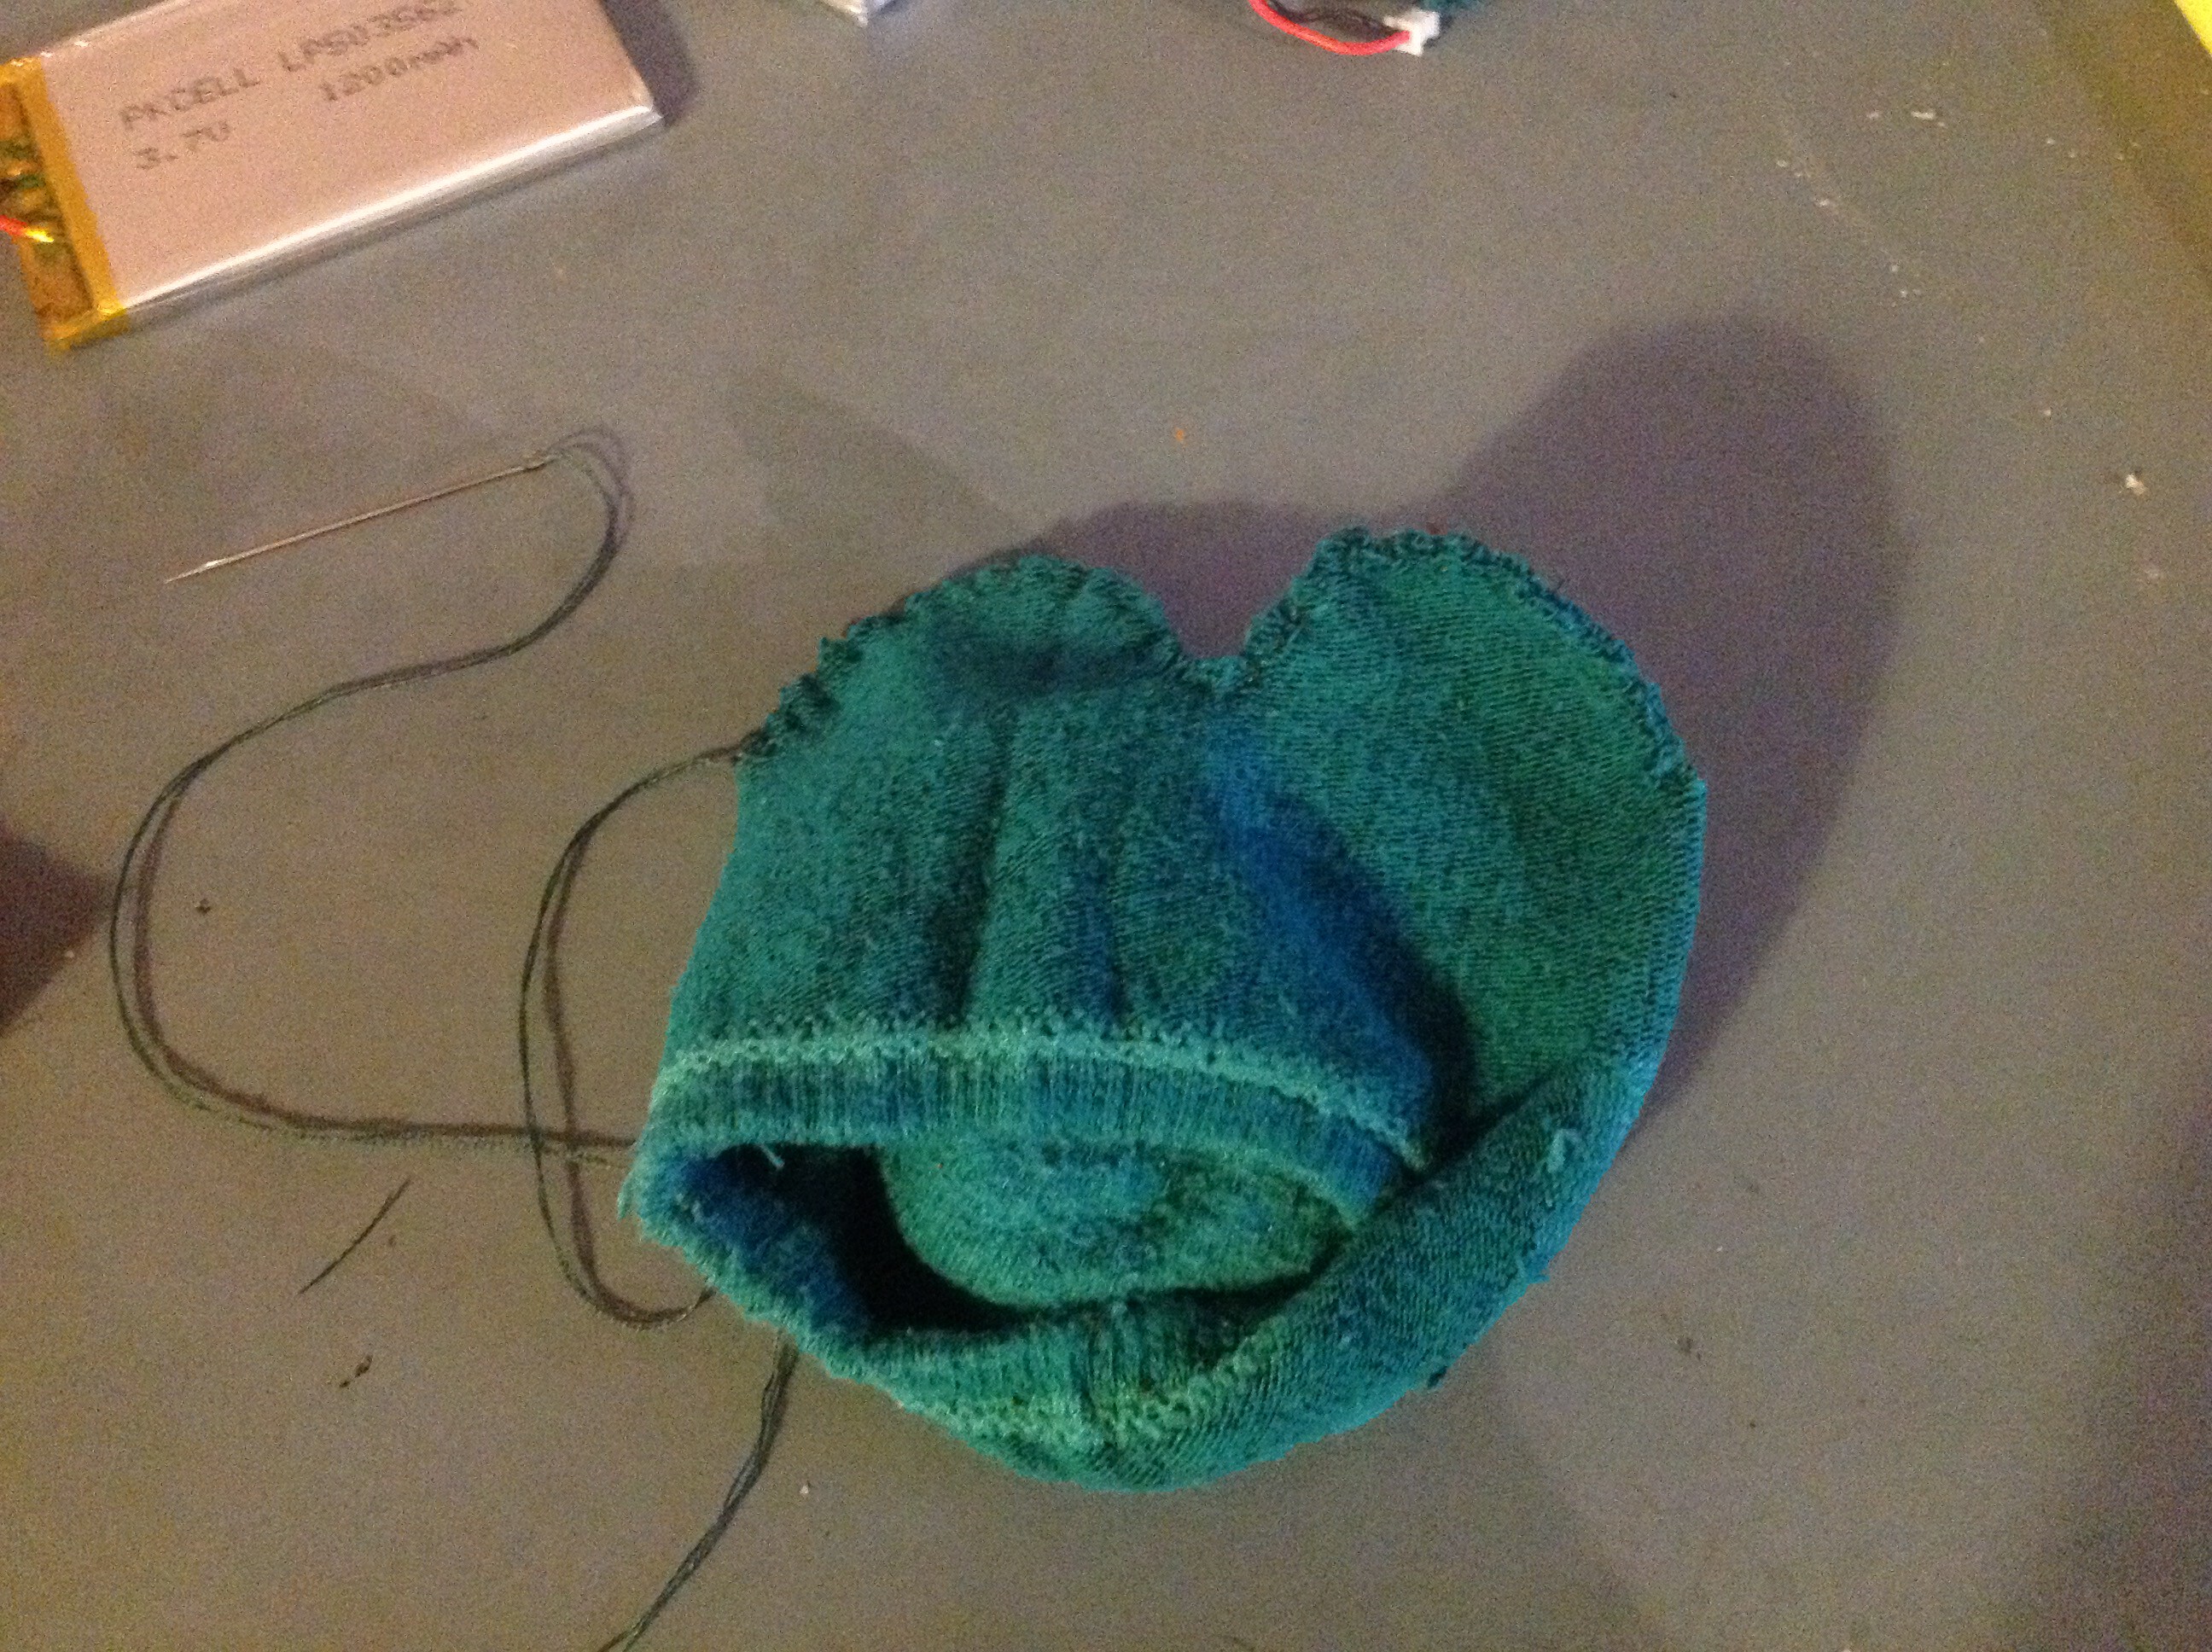
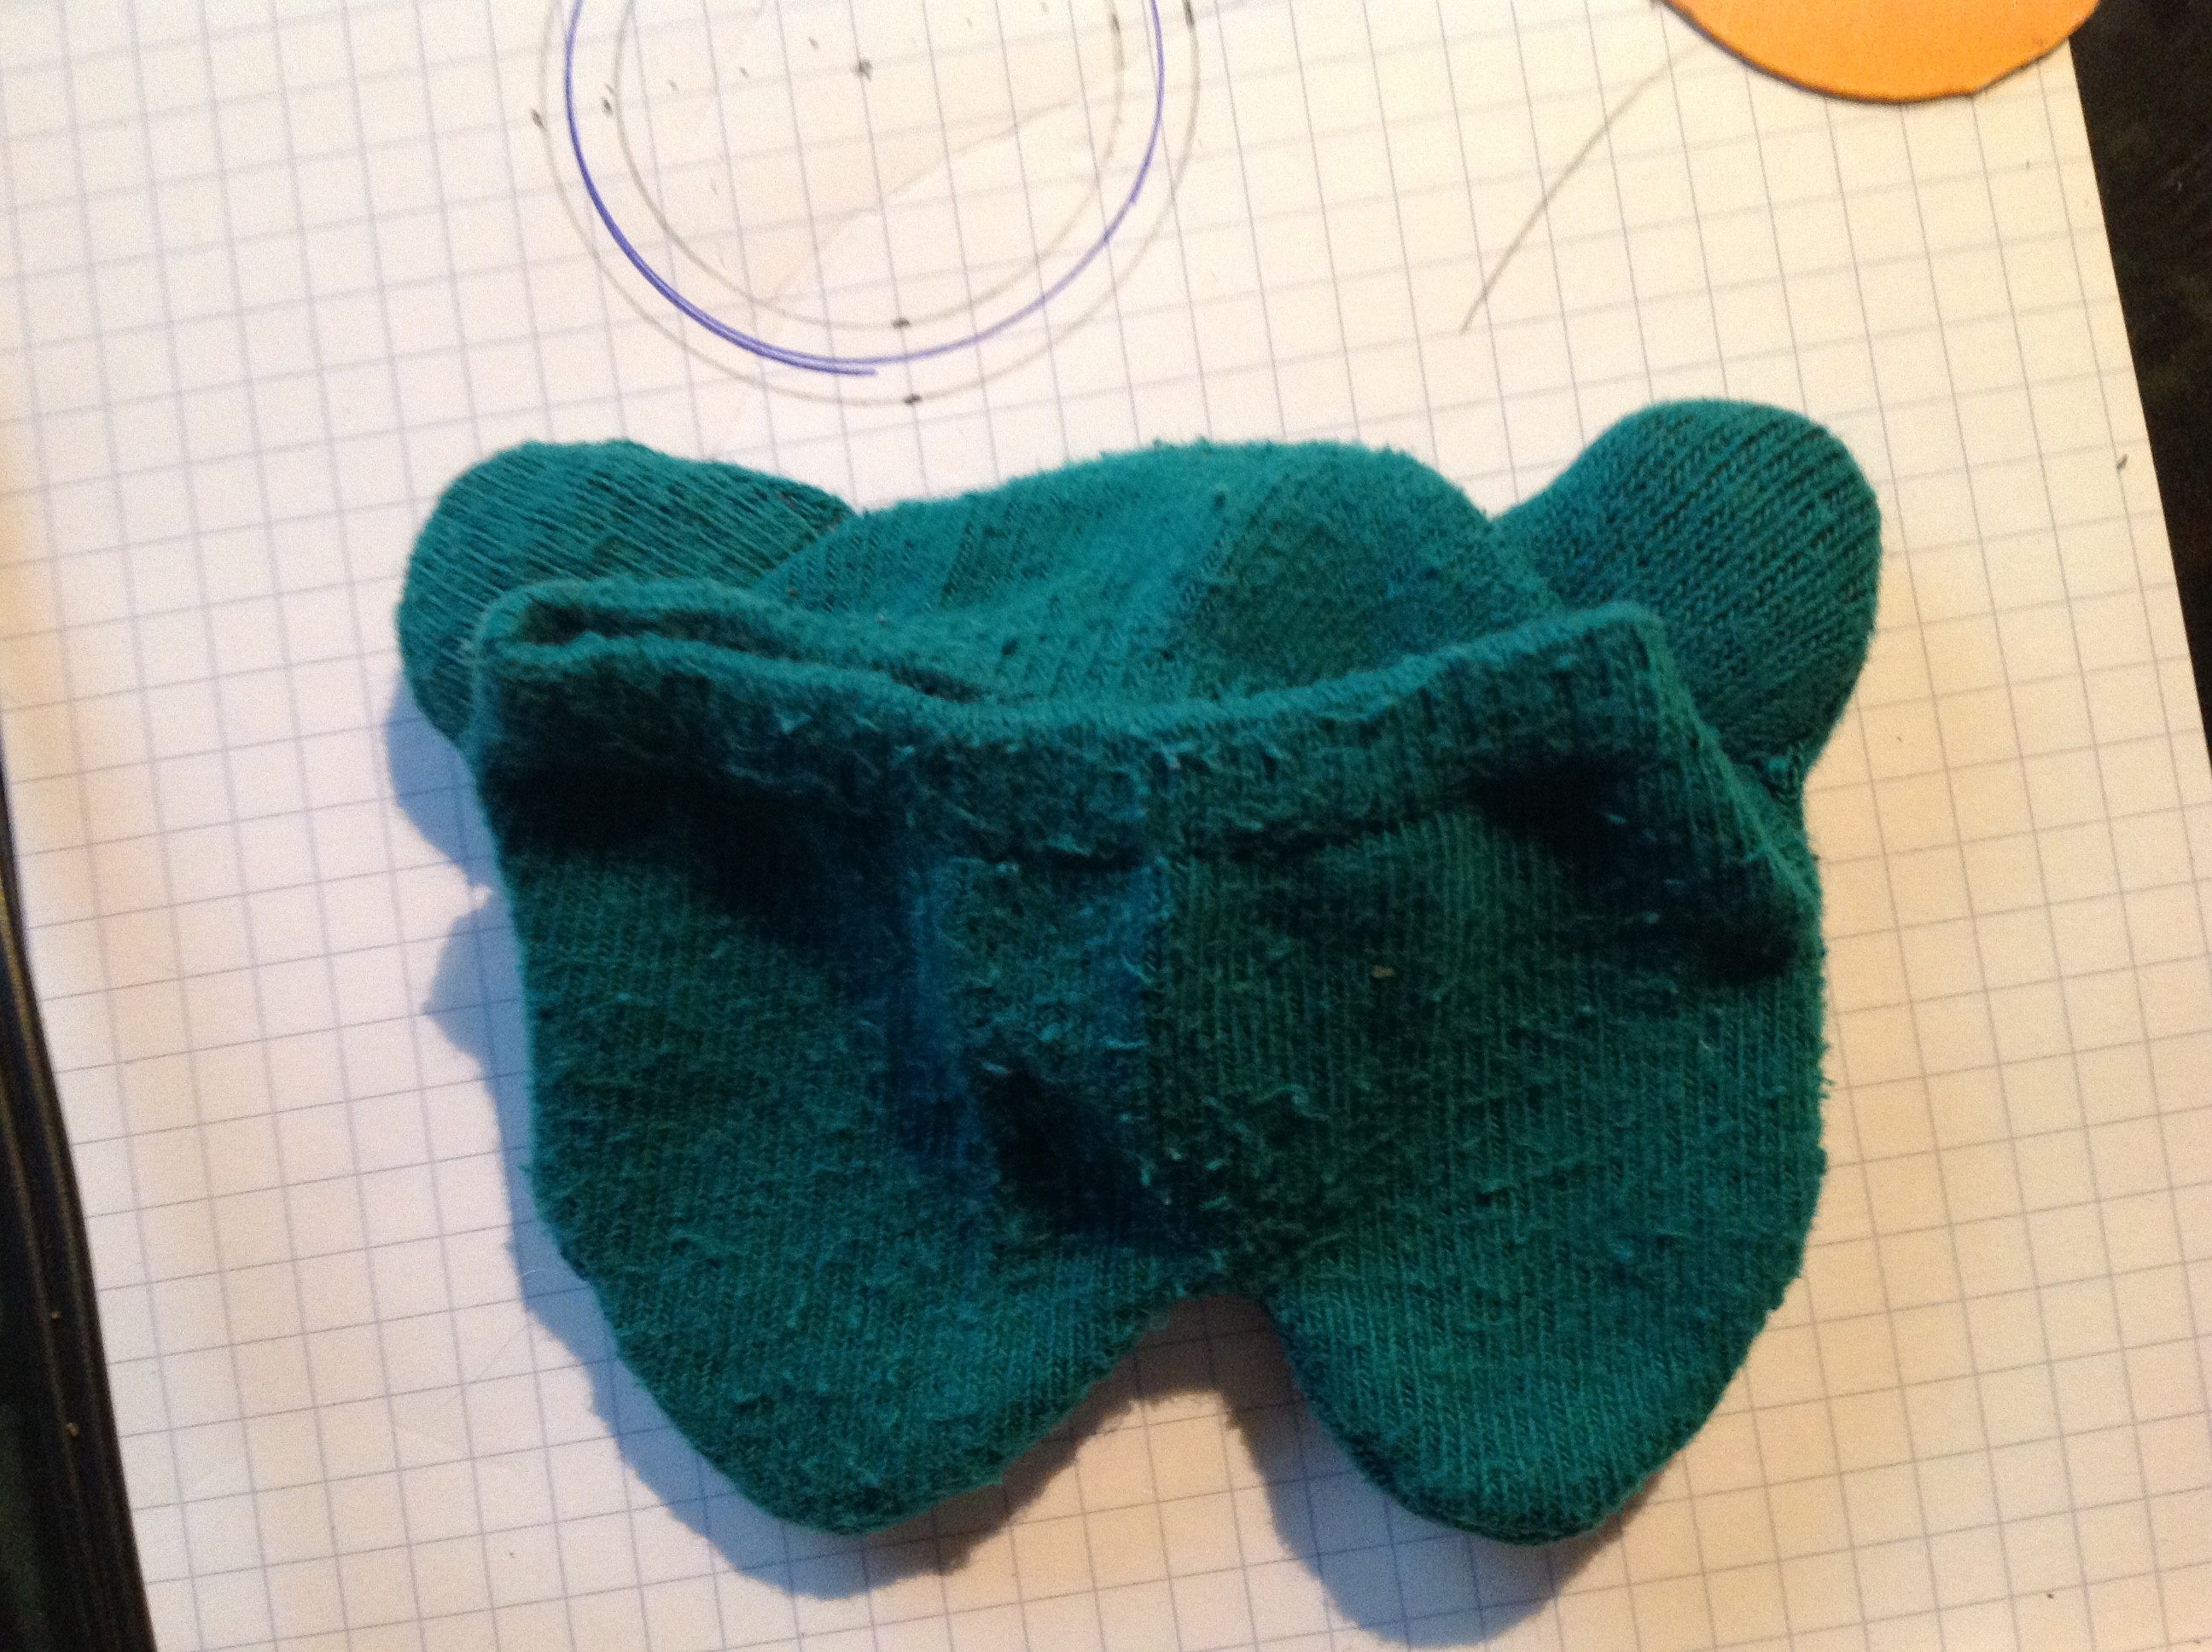
2Step 2
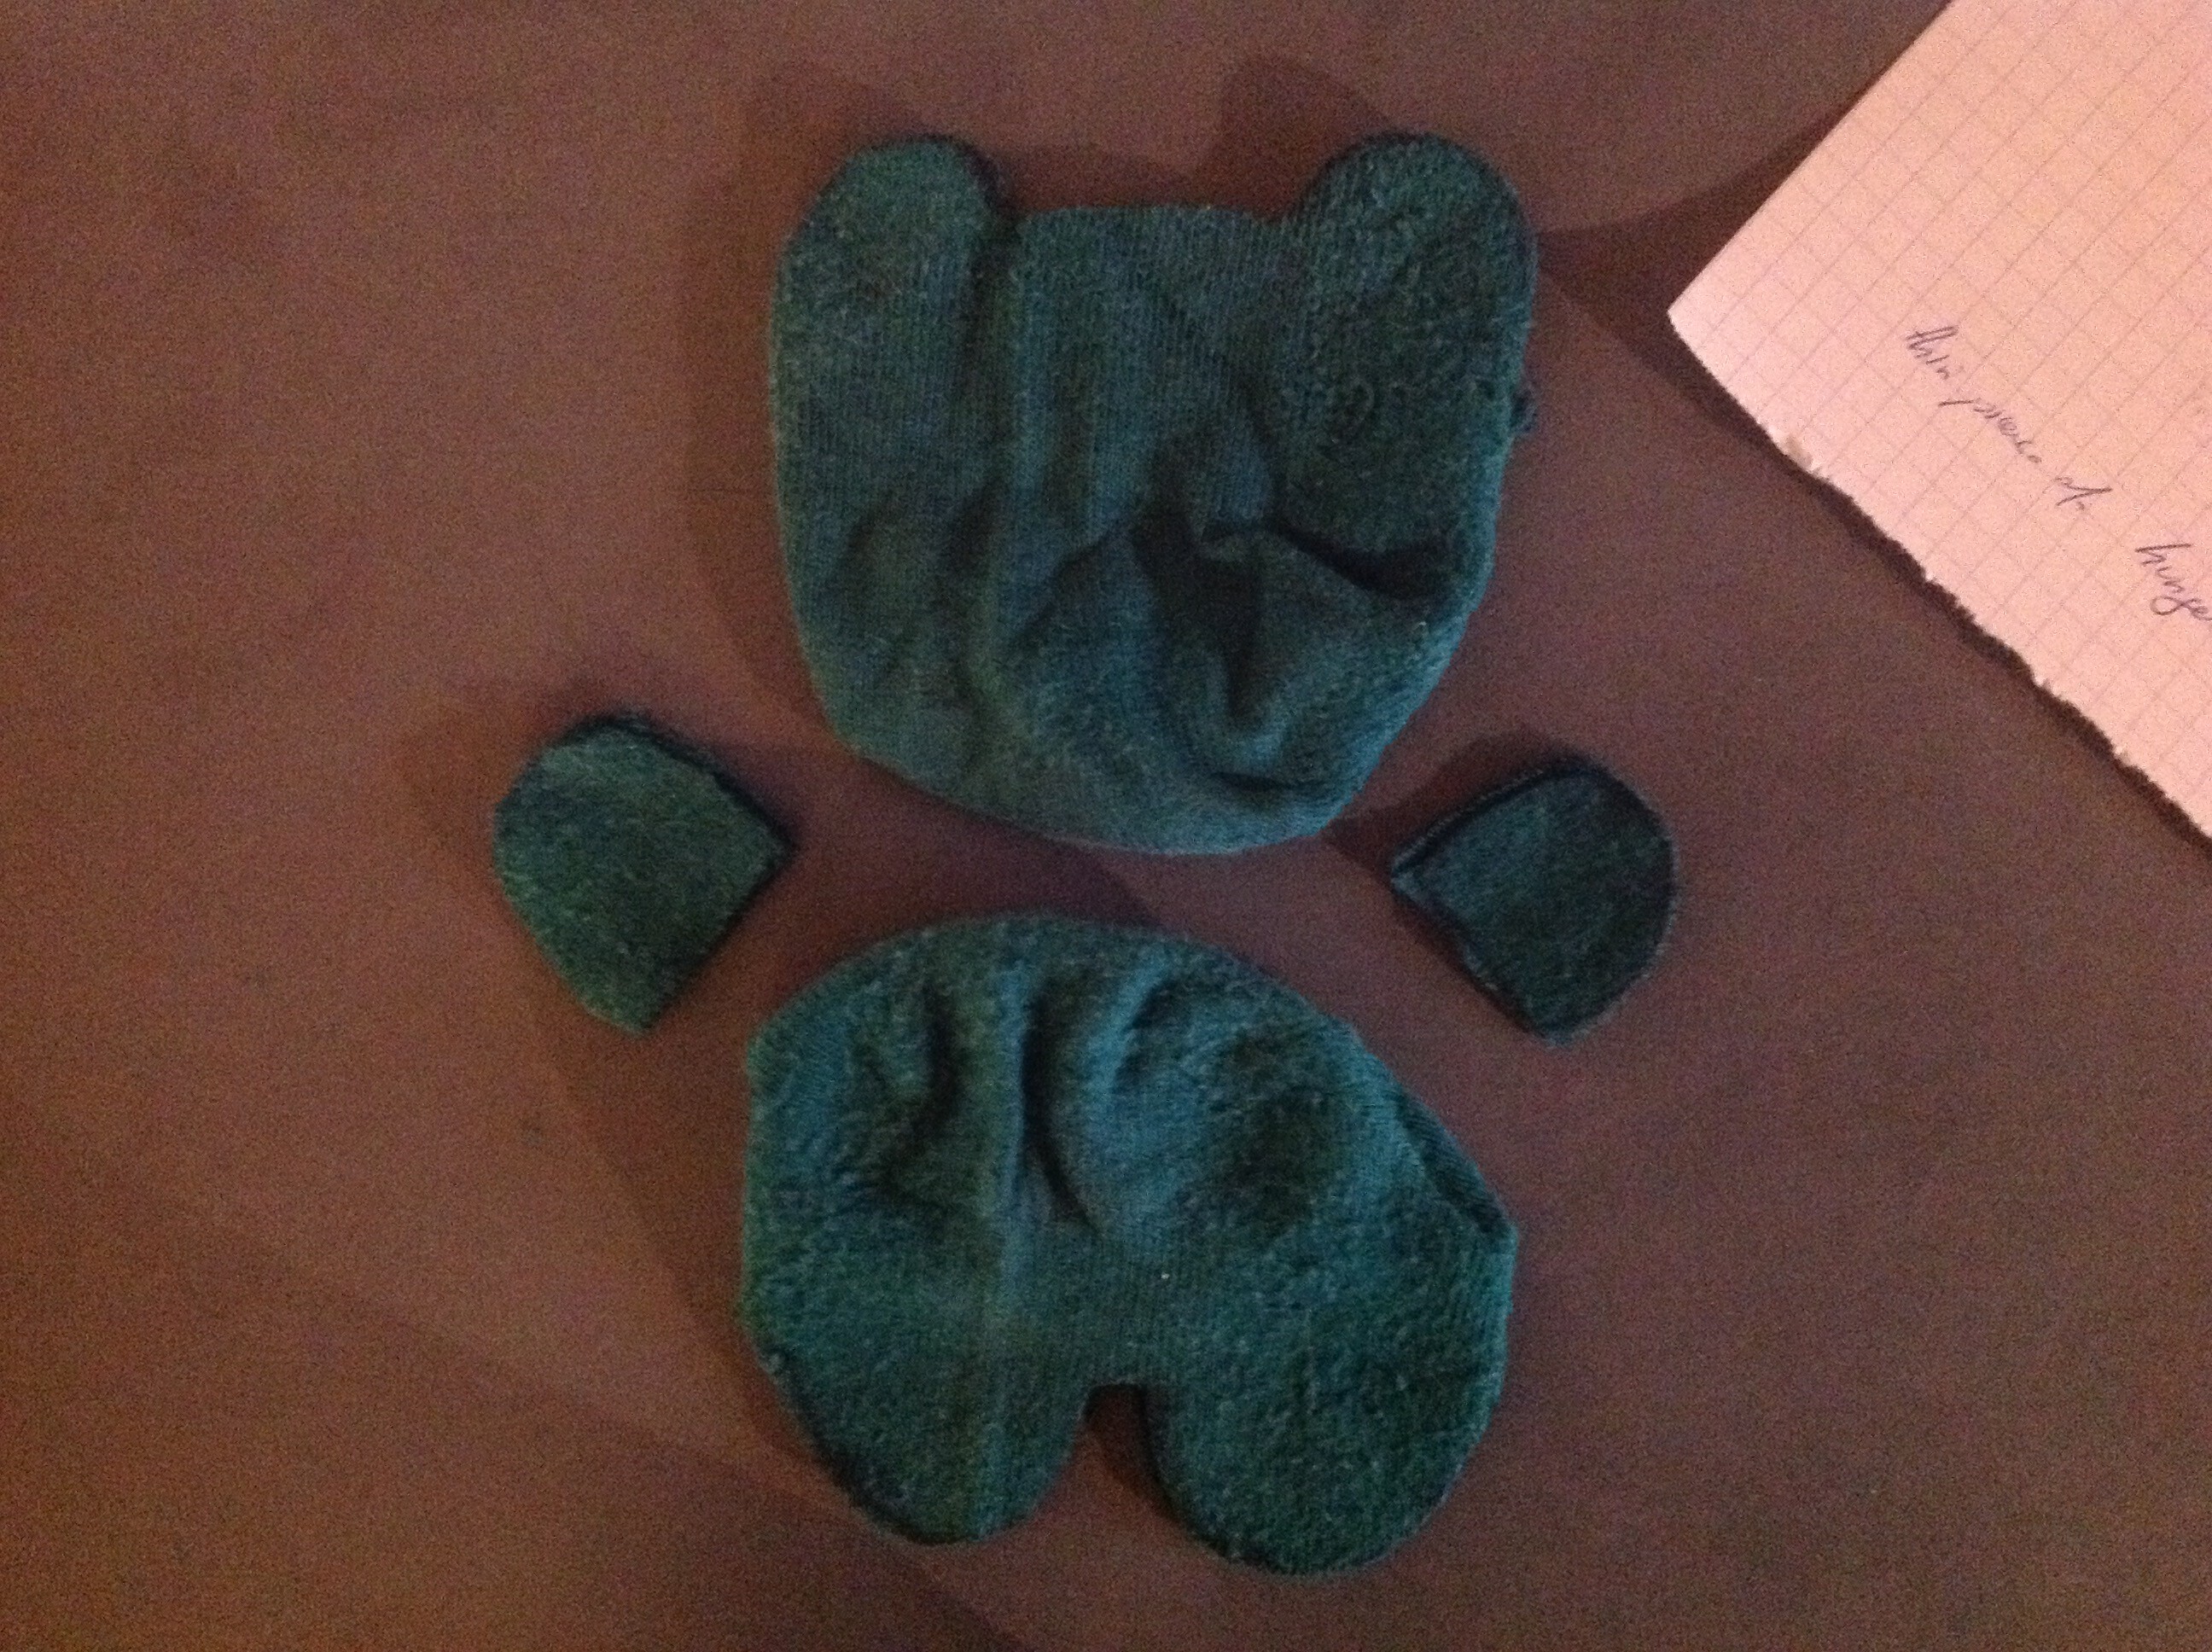
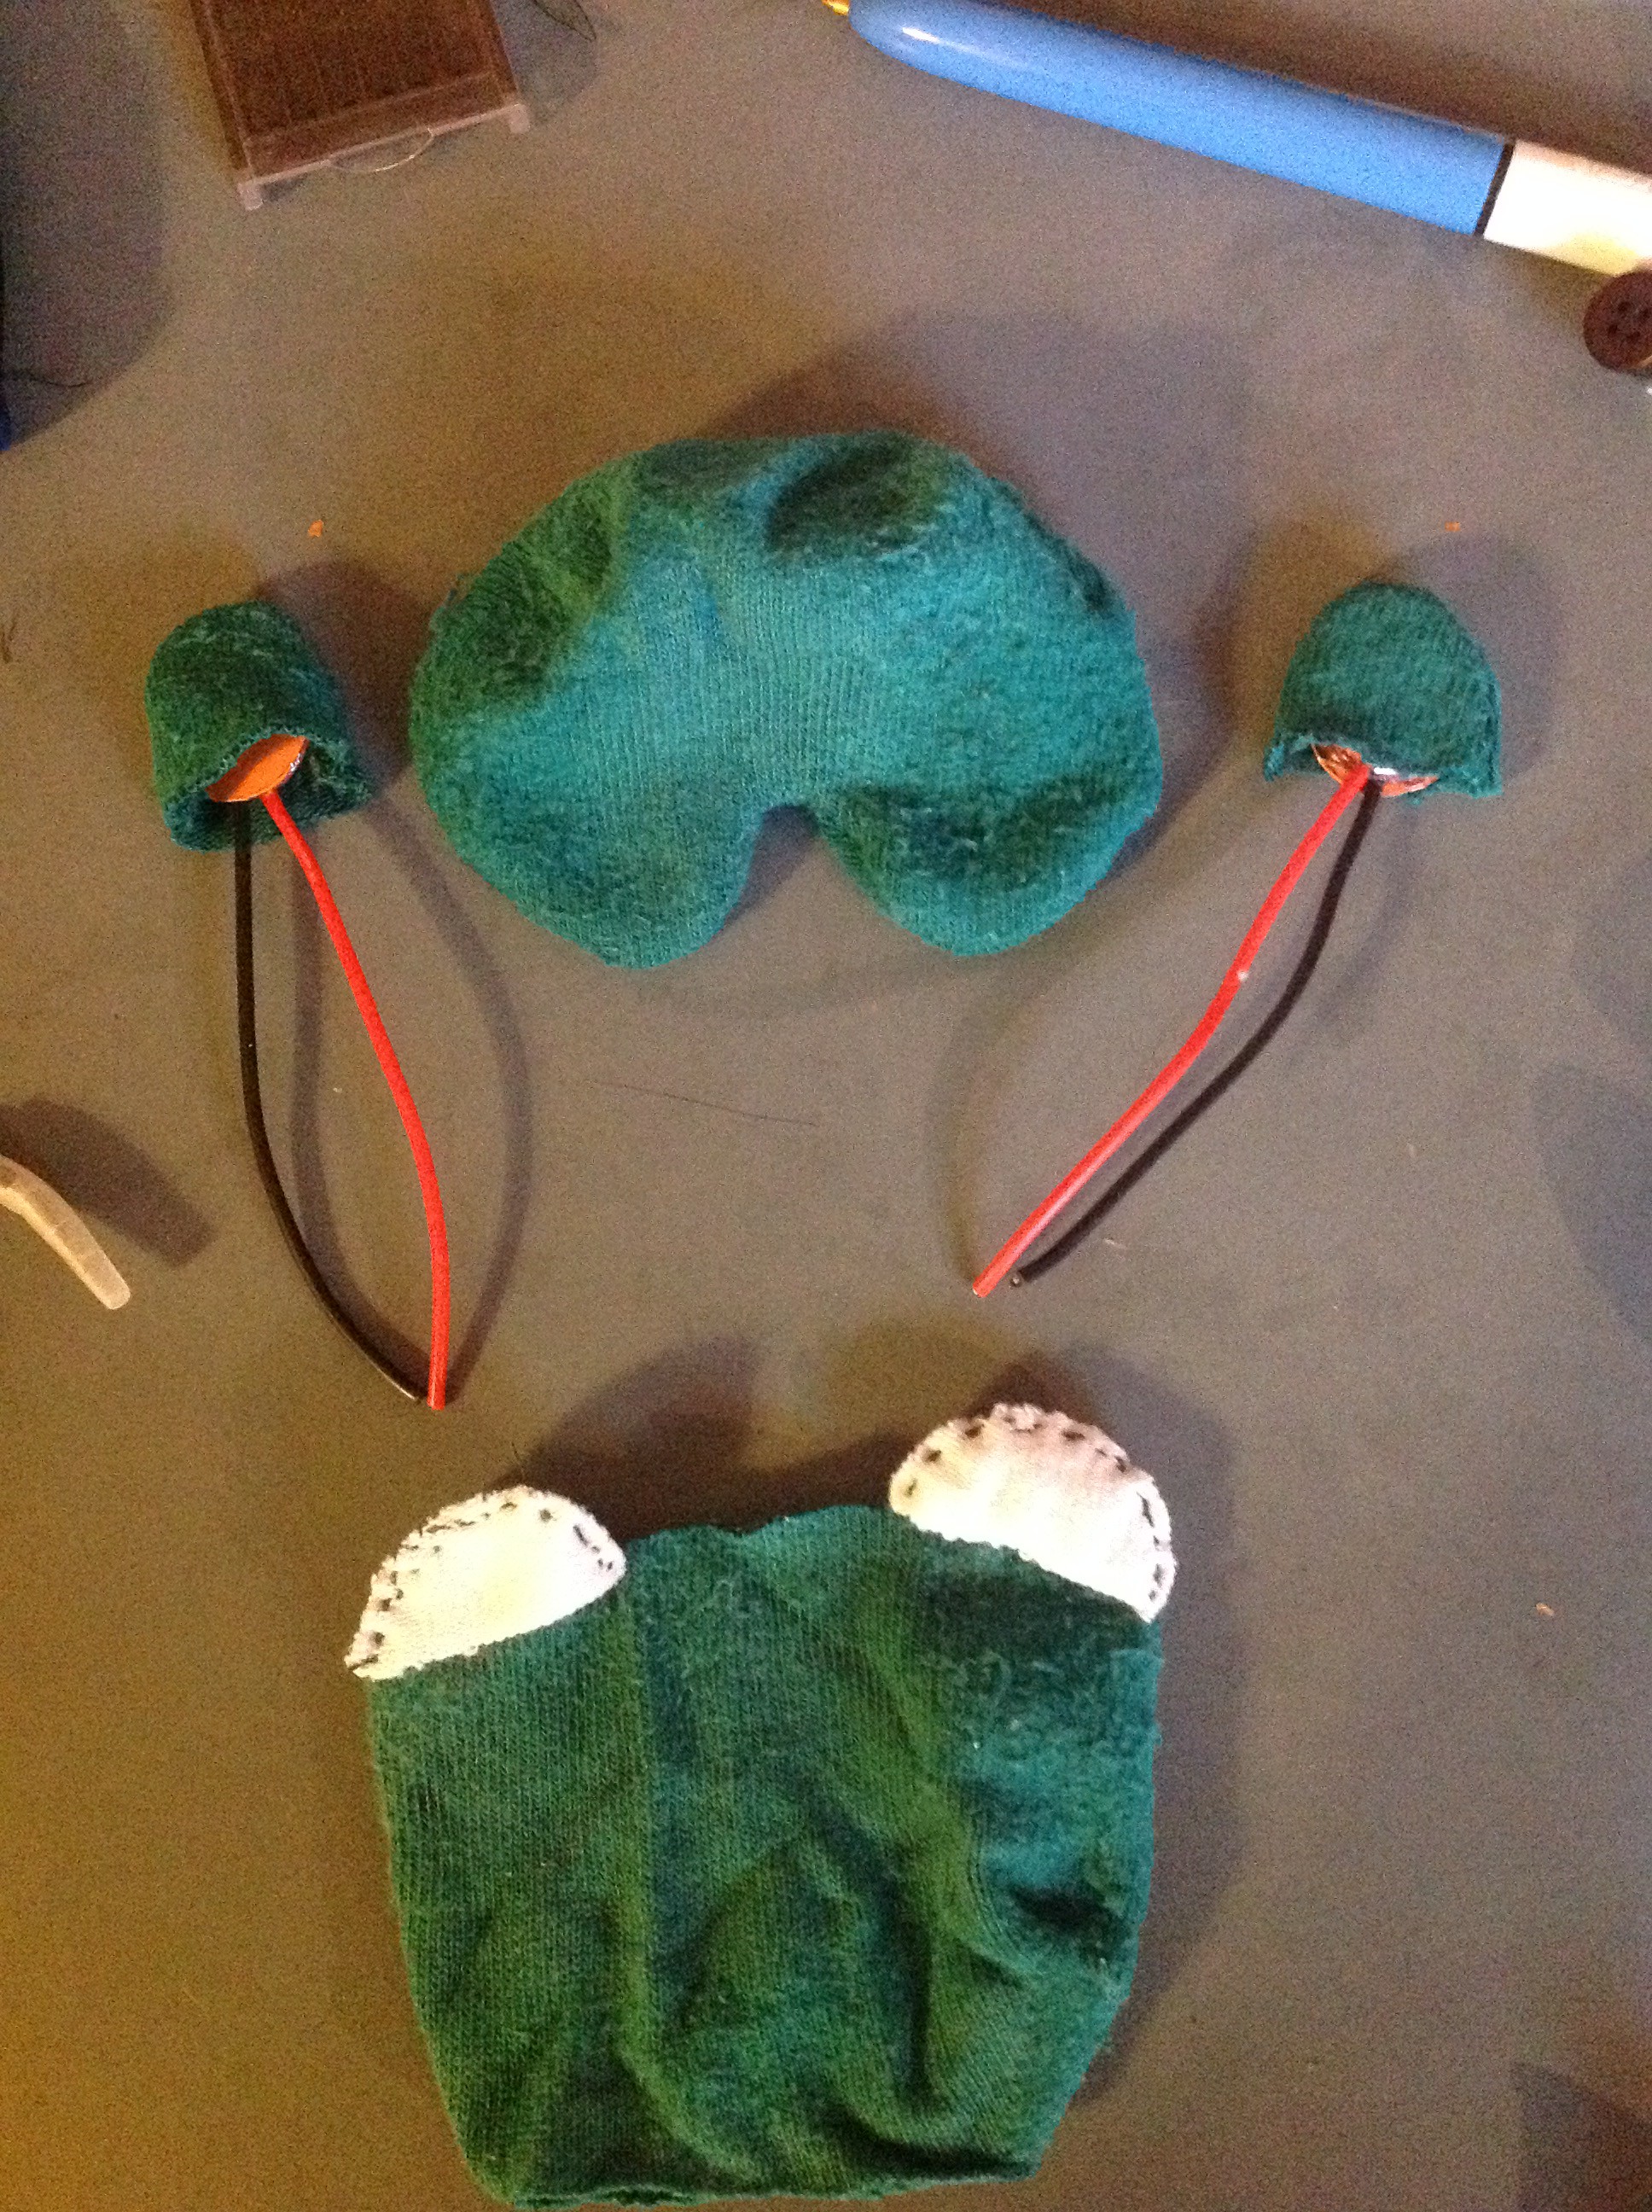
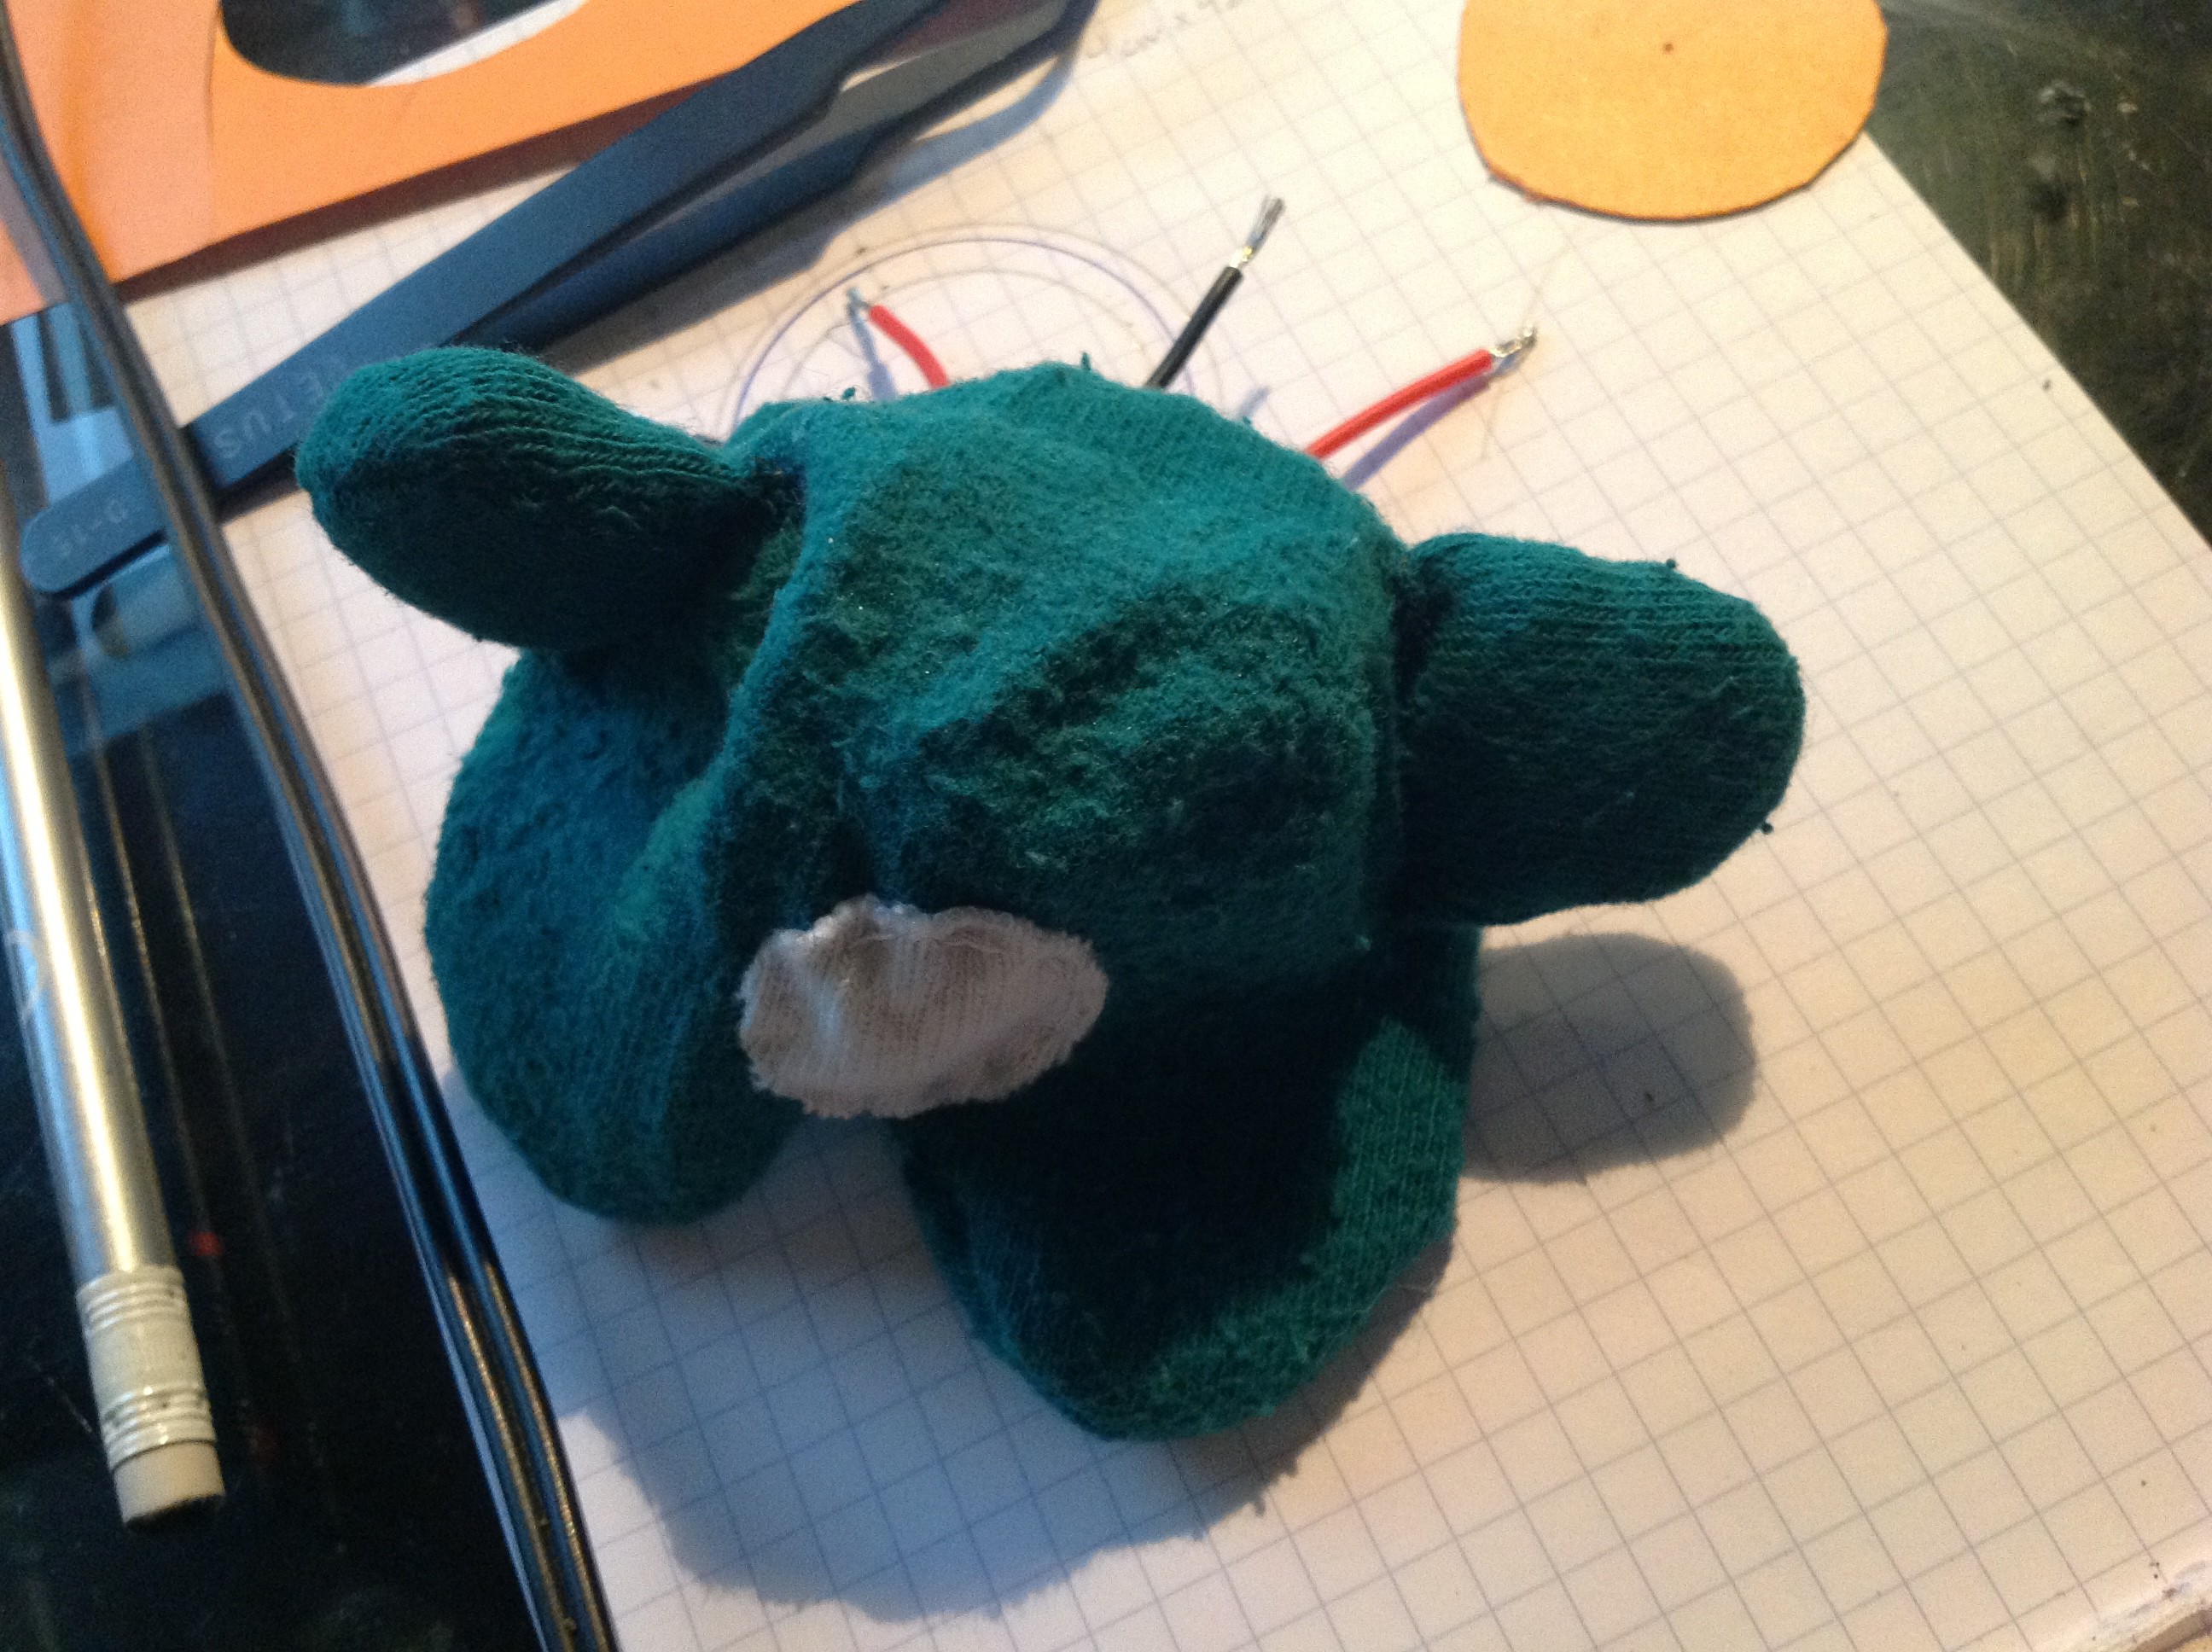
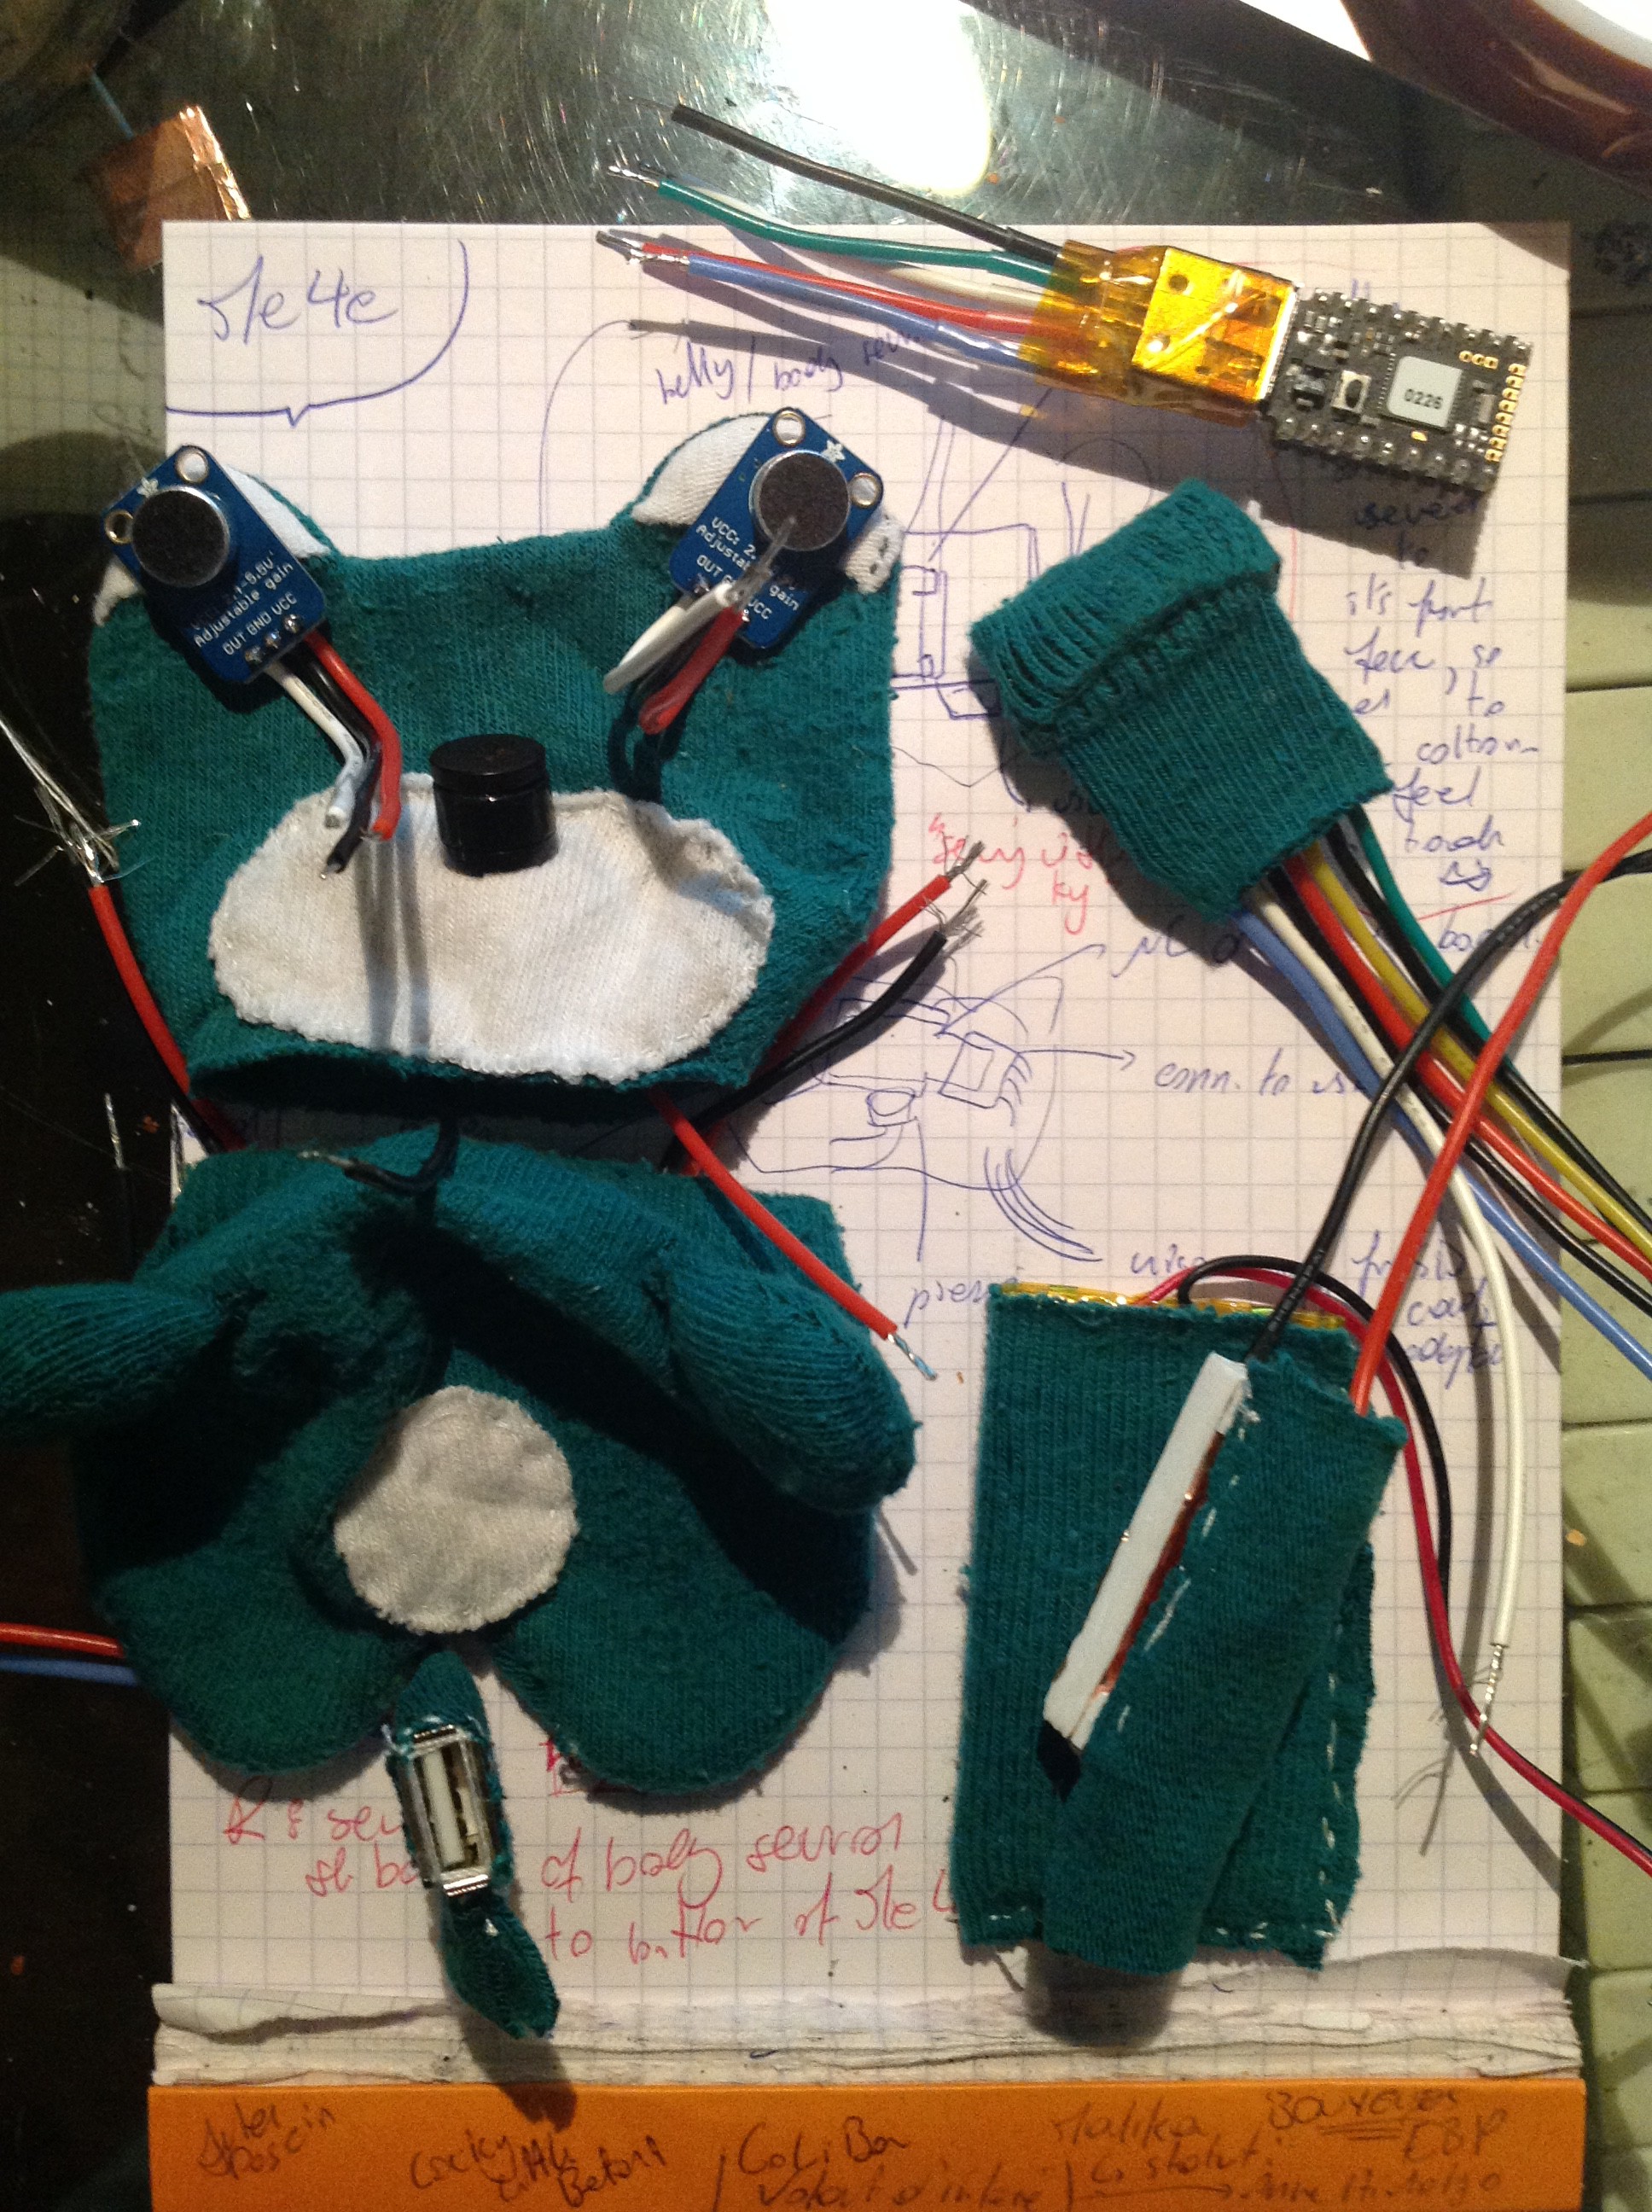
The first step is to take some old sock(s) out of a drawer and start thinking about the design of the pluche
The one thing we gotta take in account is the size of the socks we're using: for an SD style, use short ones, else use regular ones
Once this is done, we start sewing each of the basic shapes that we'll use: the head, torso, & arms
![]()
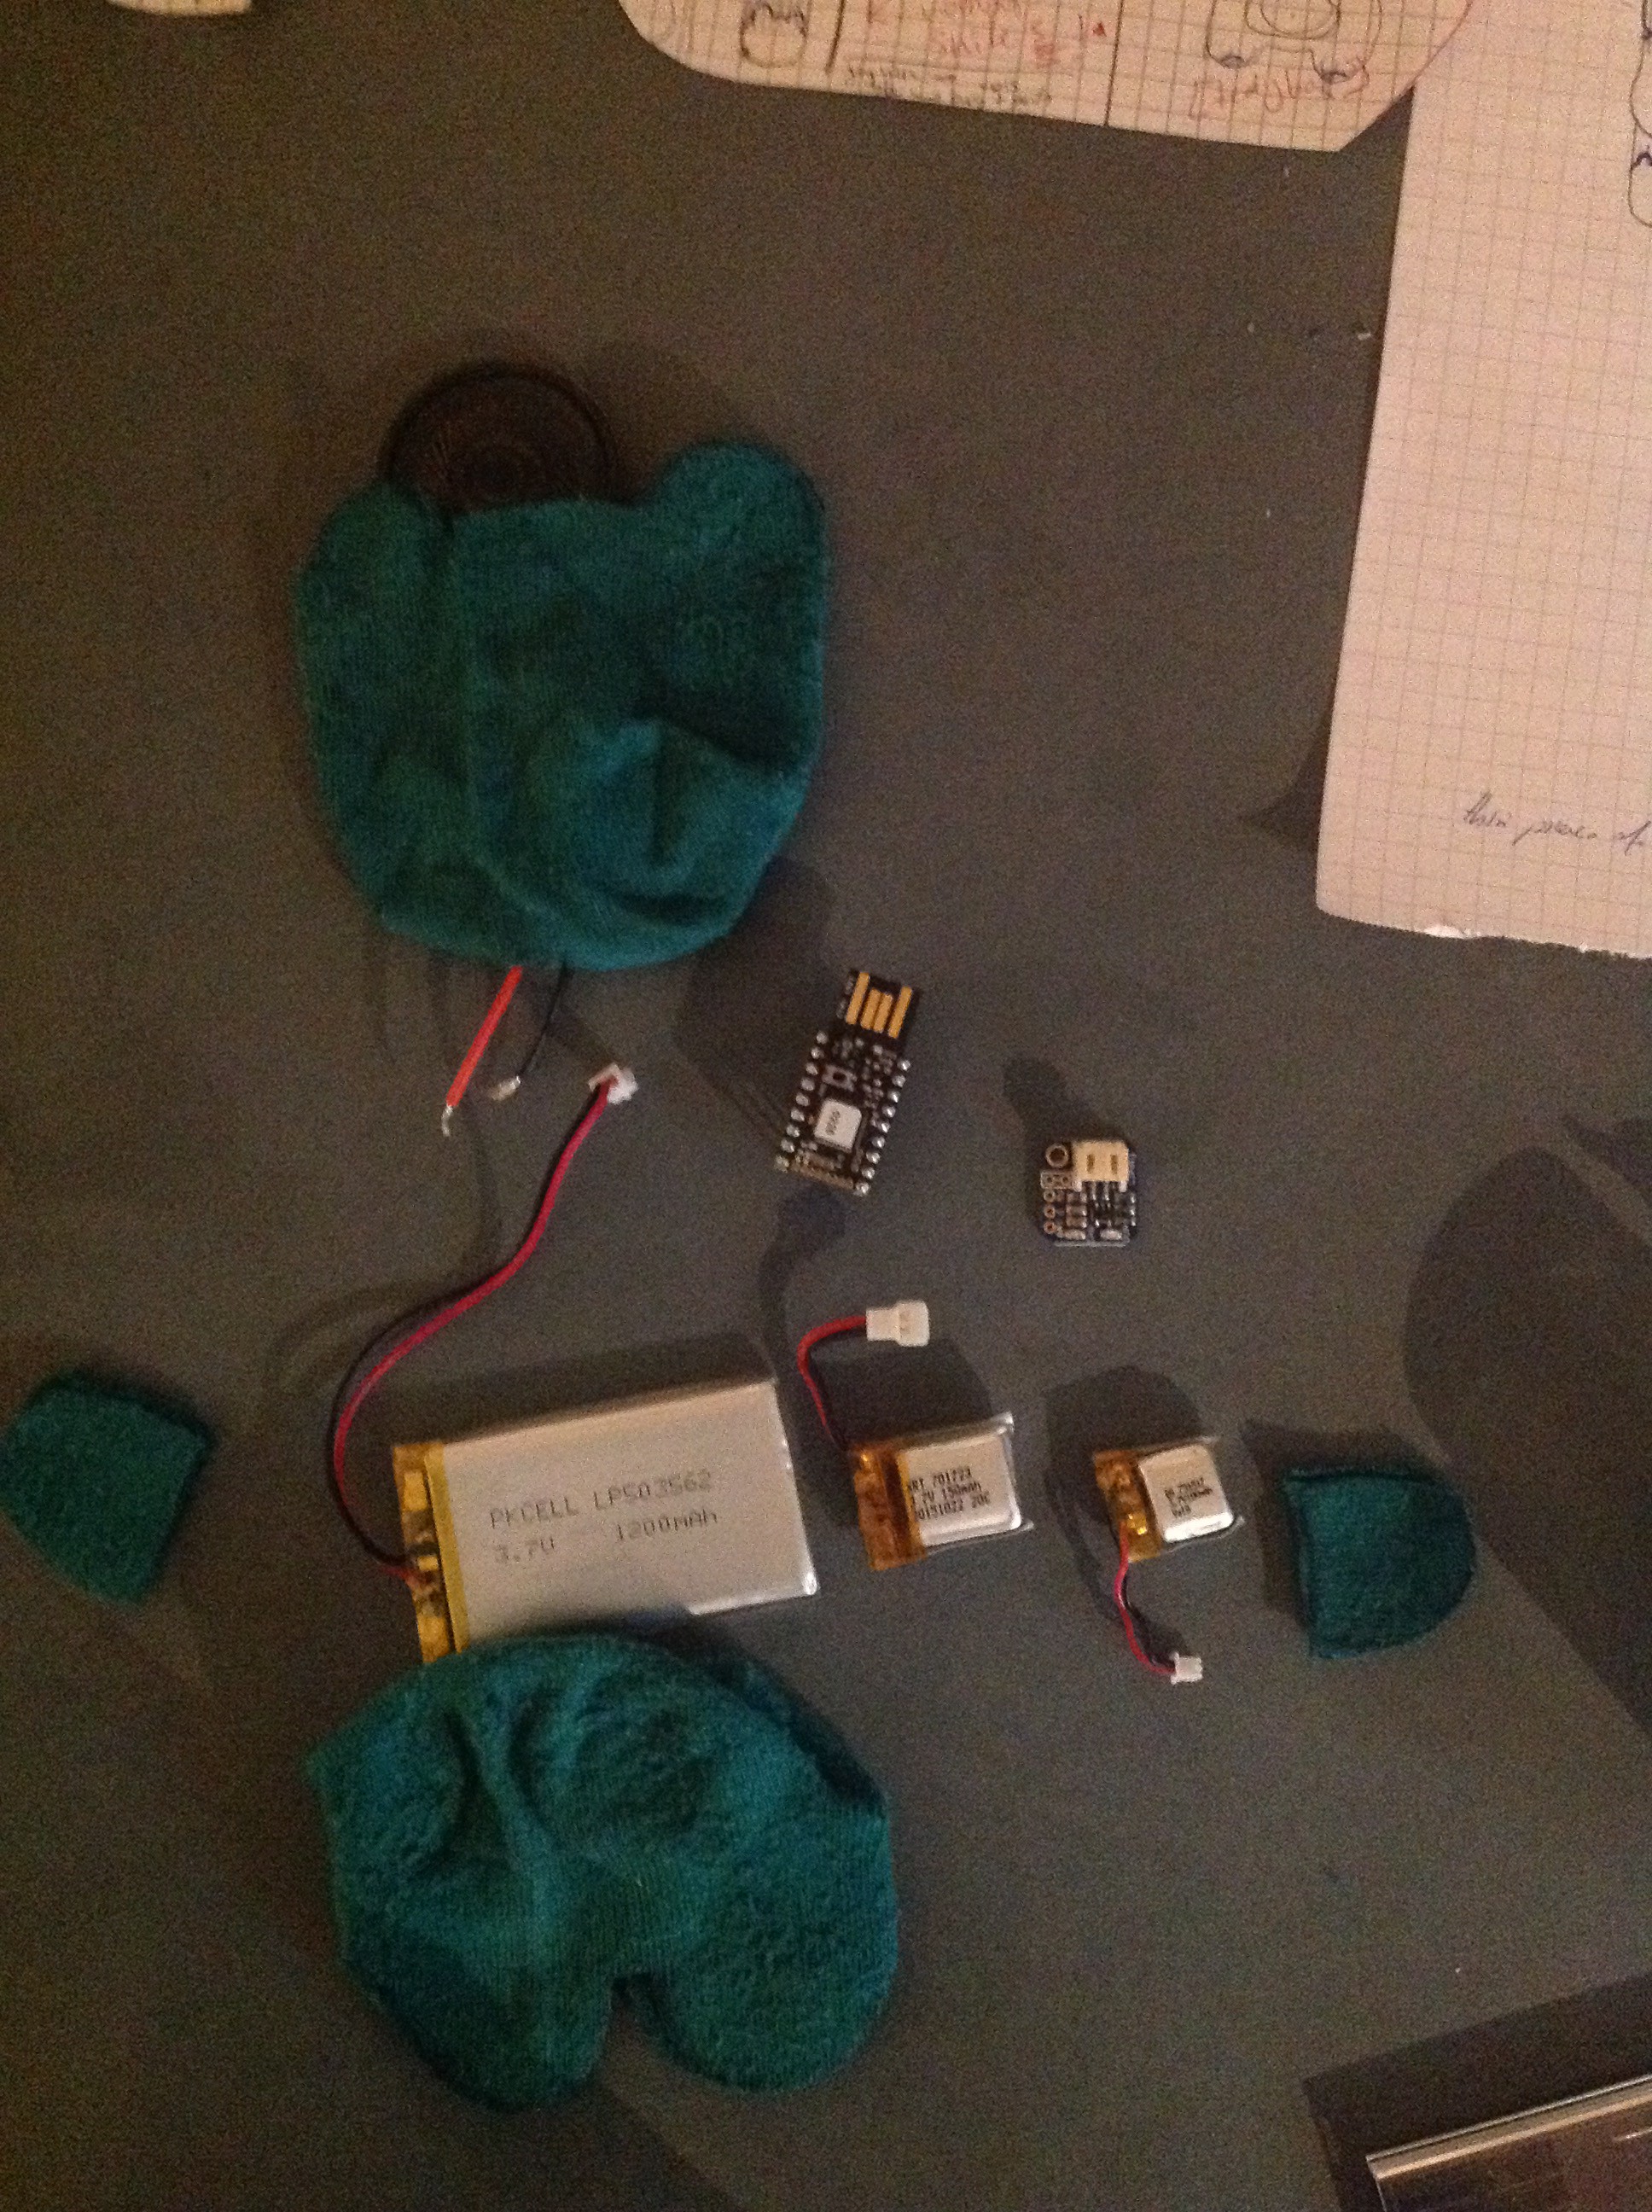
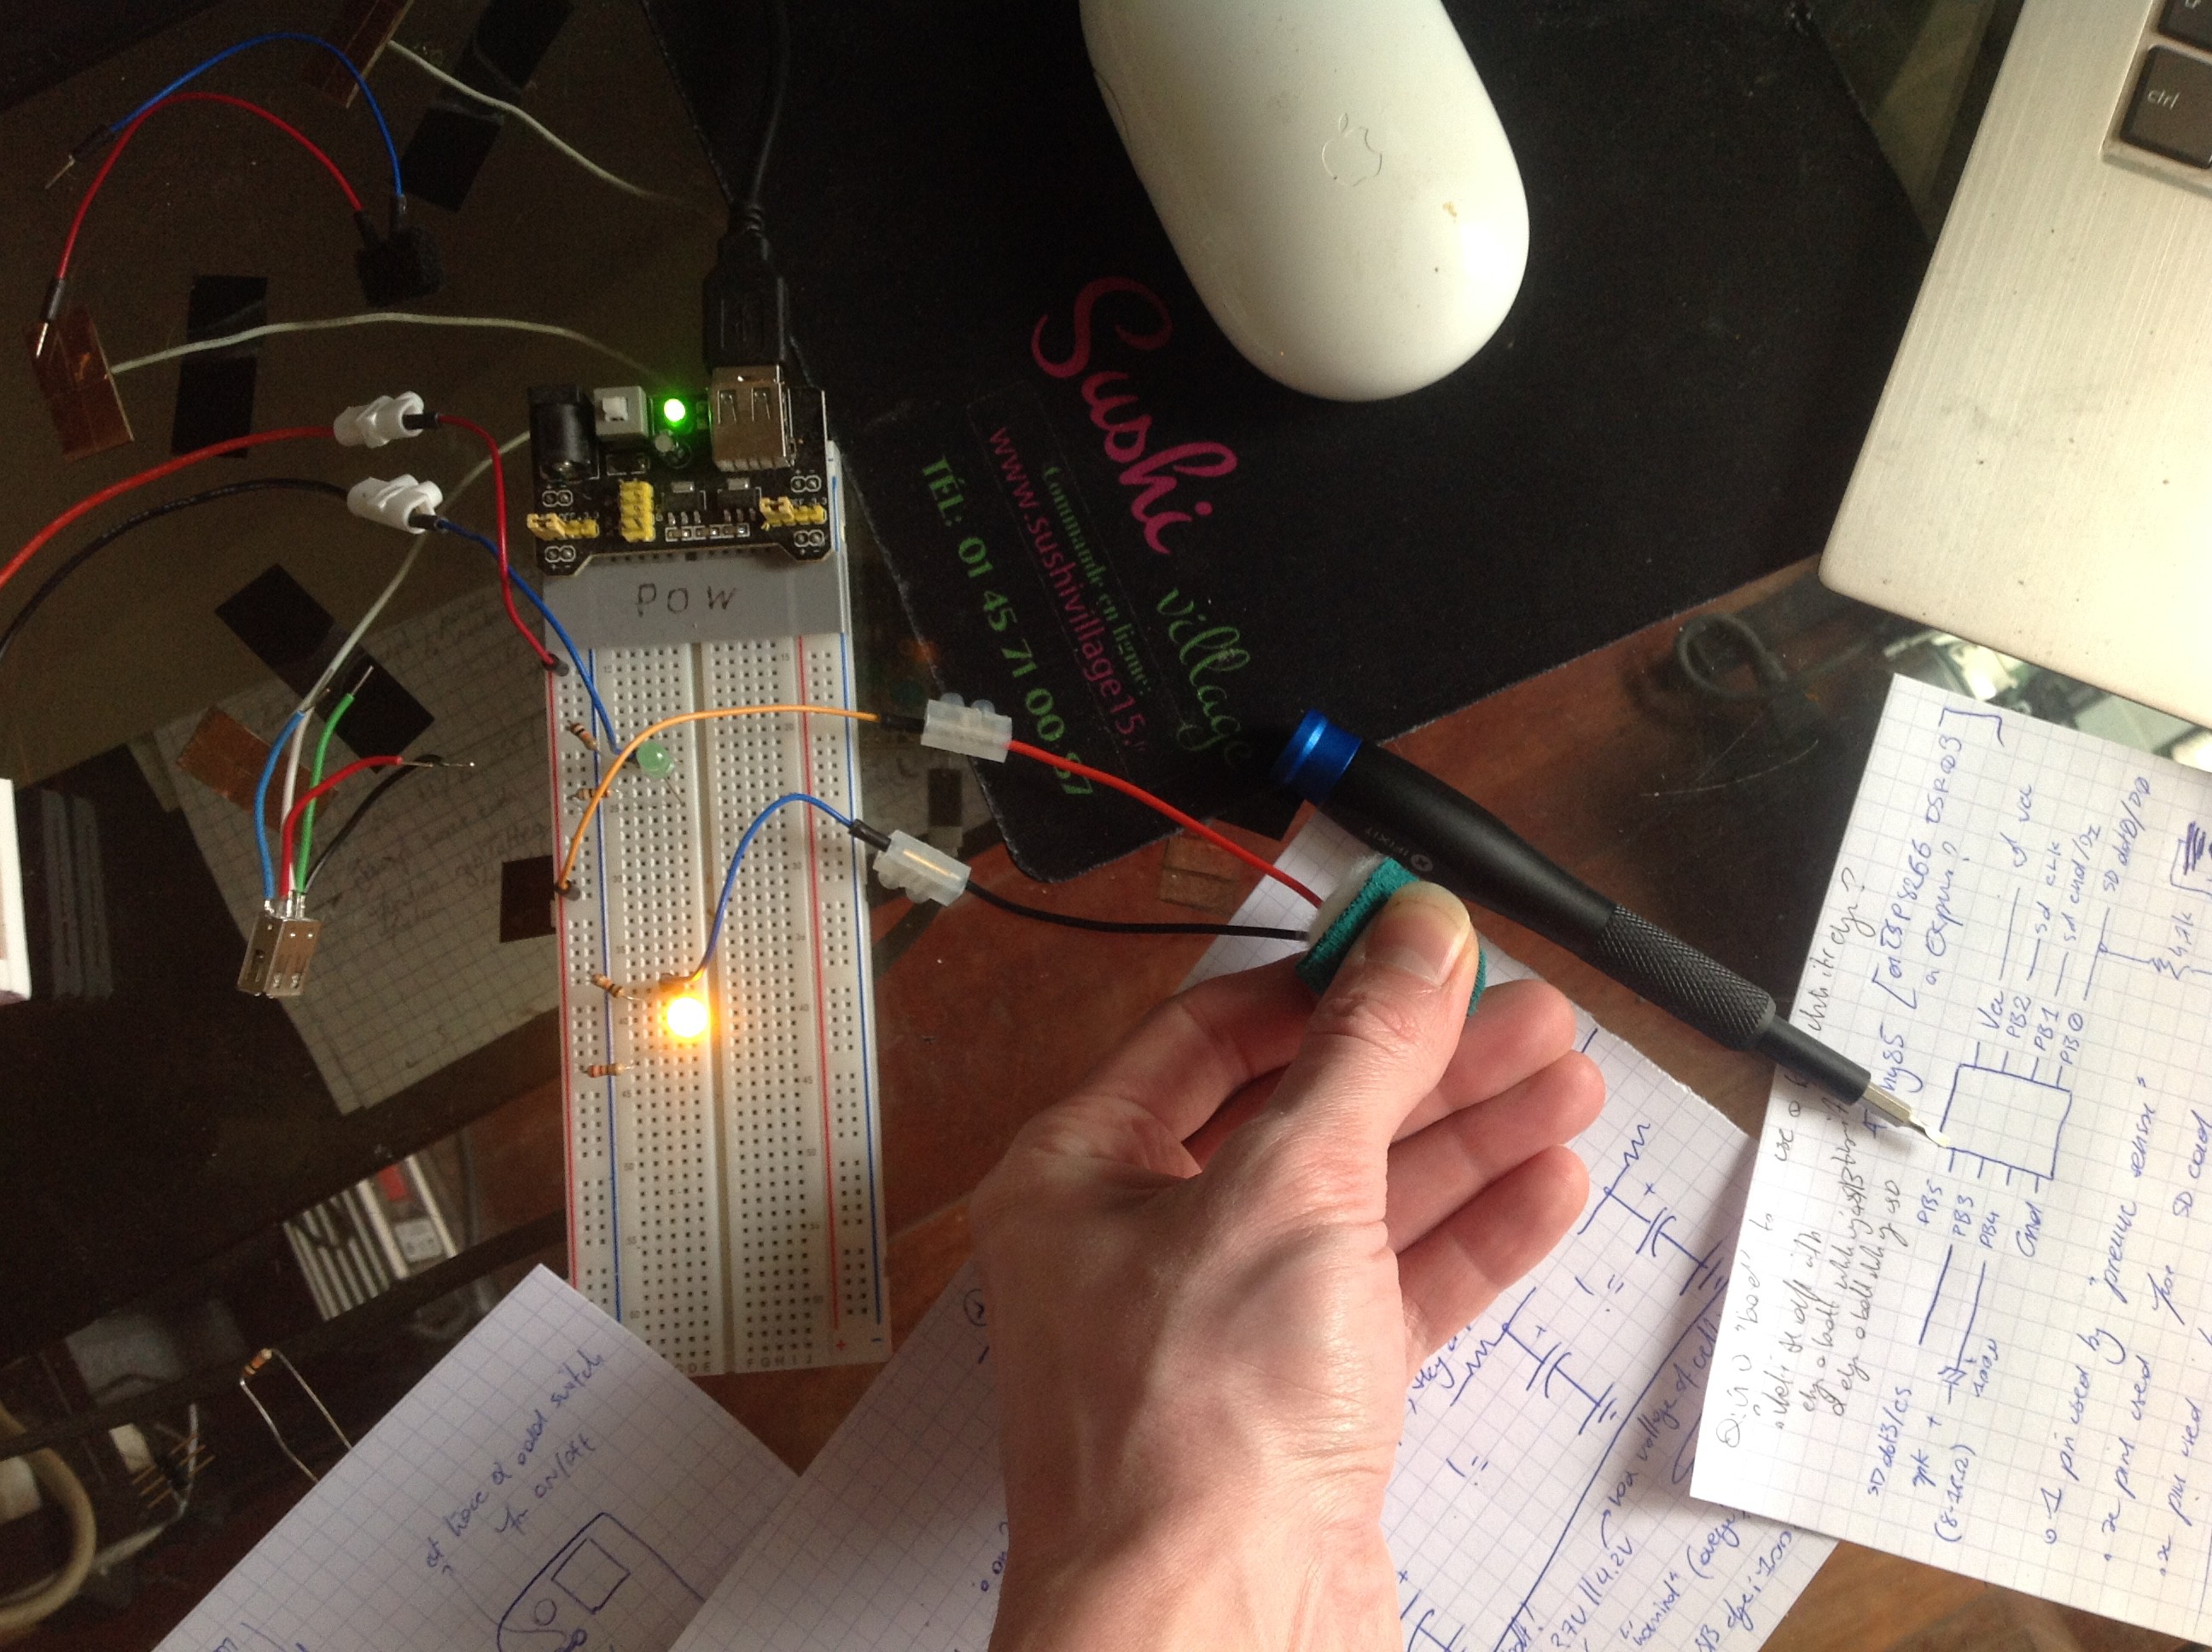
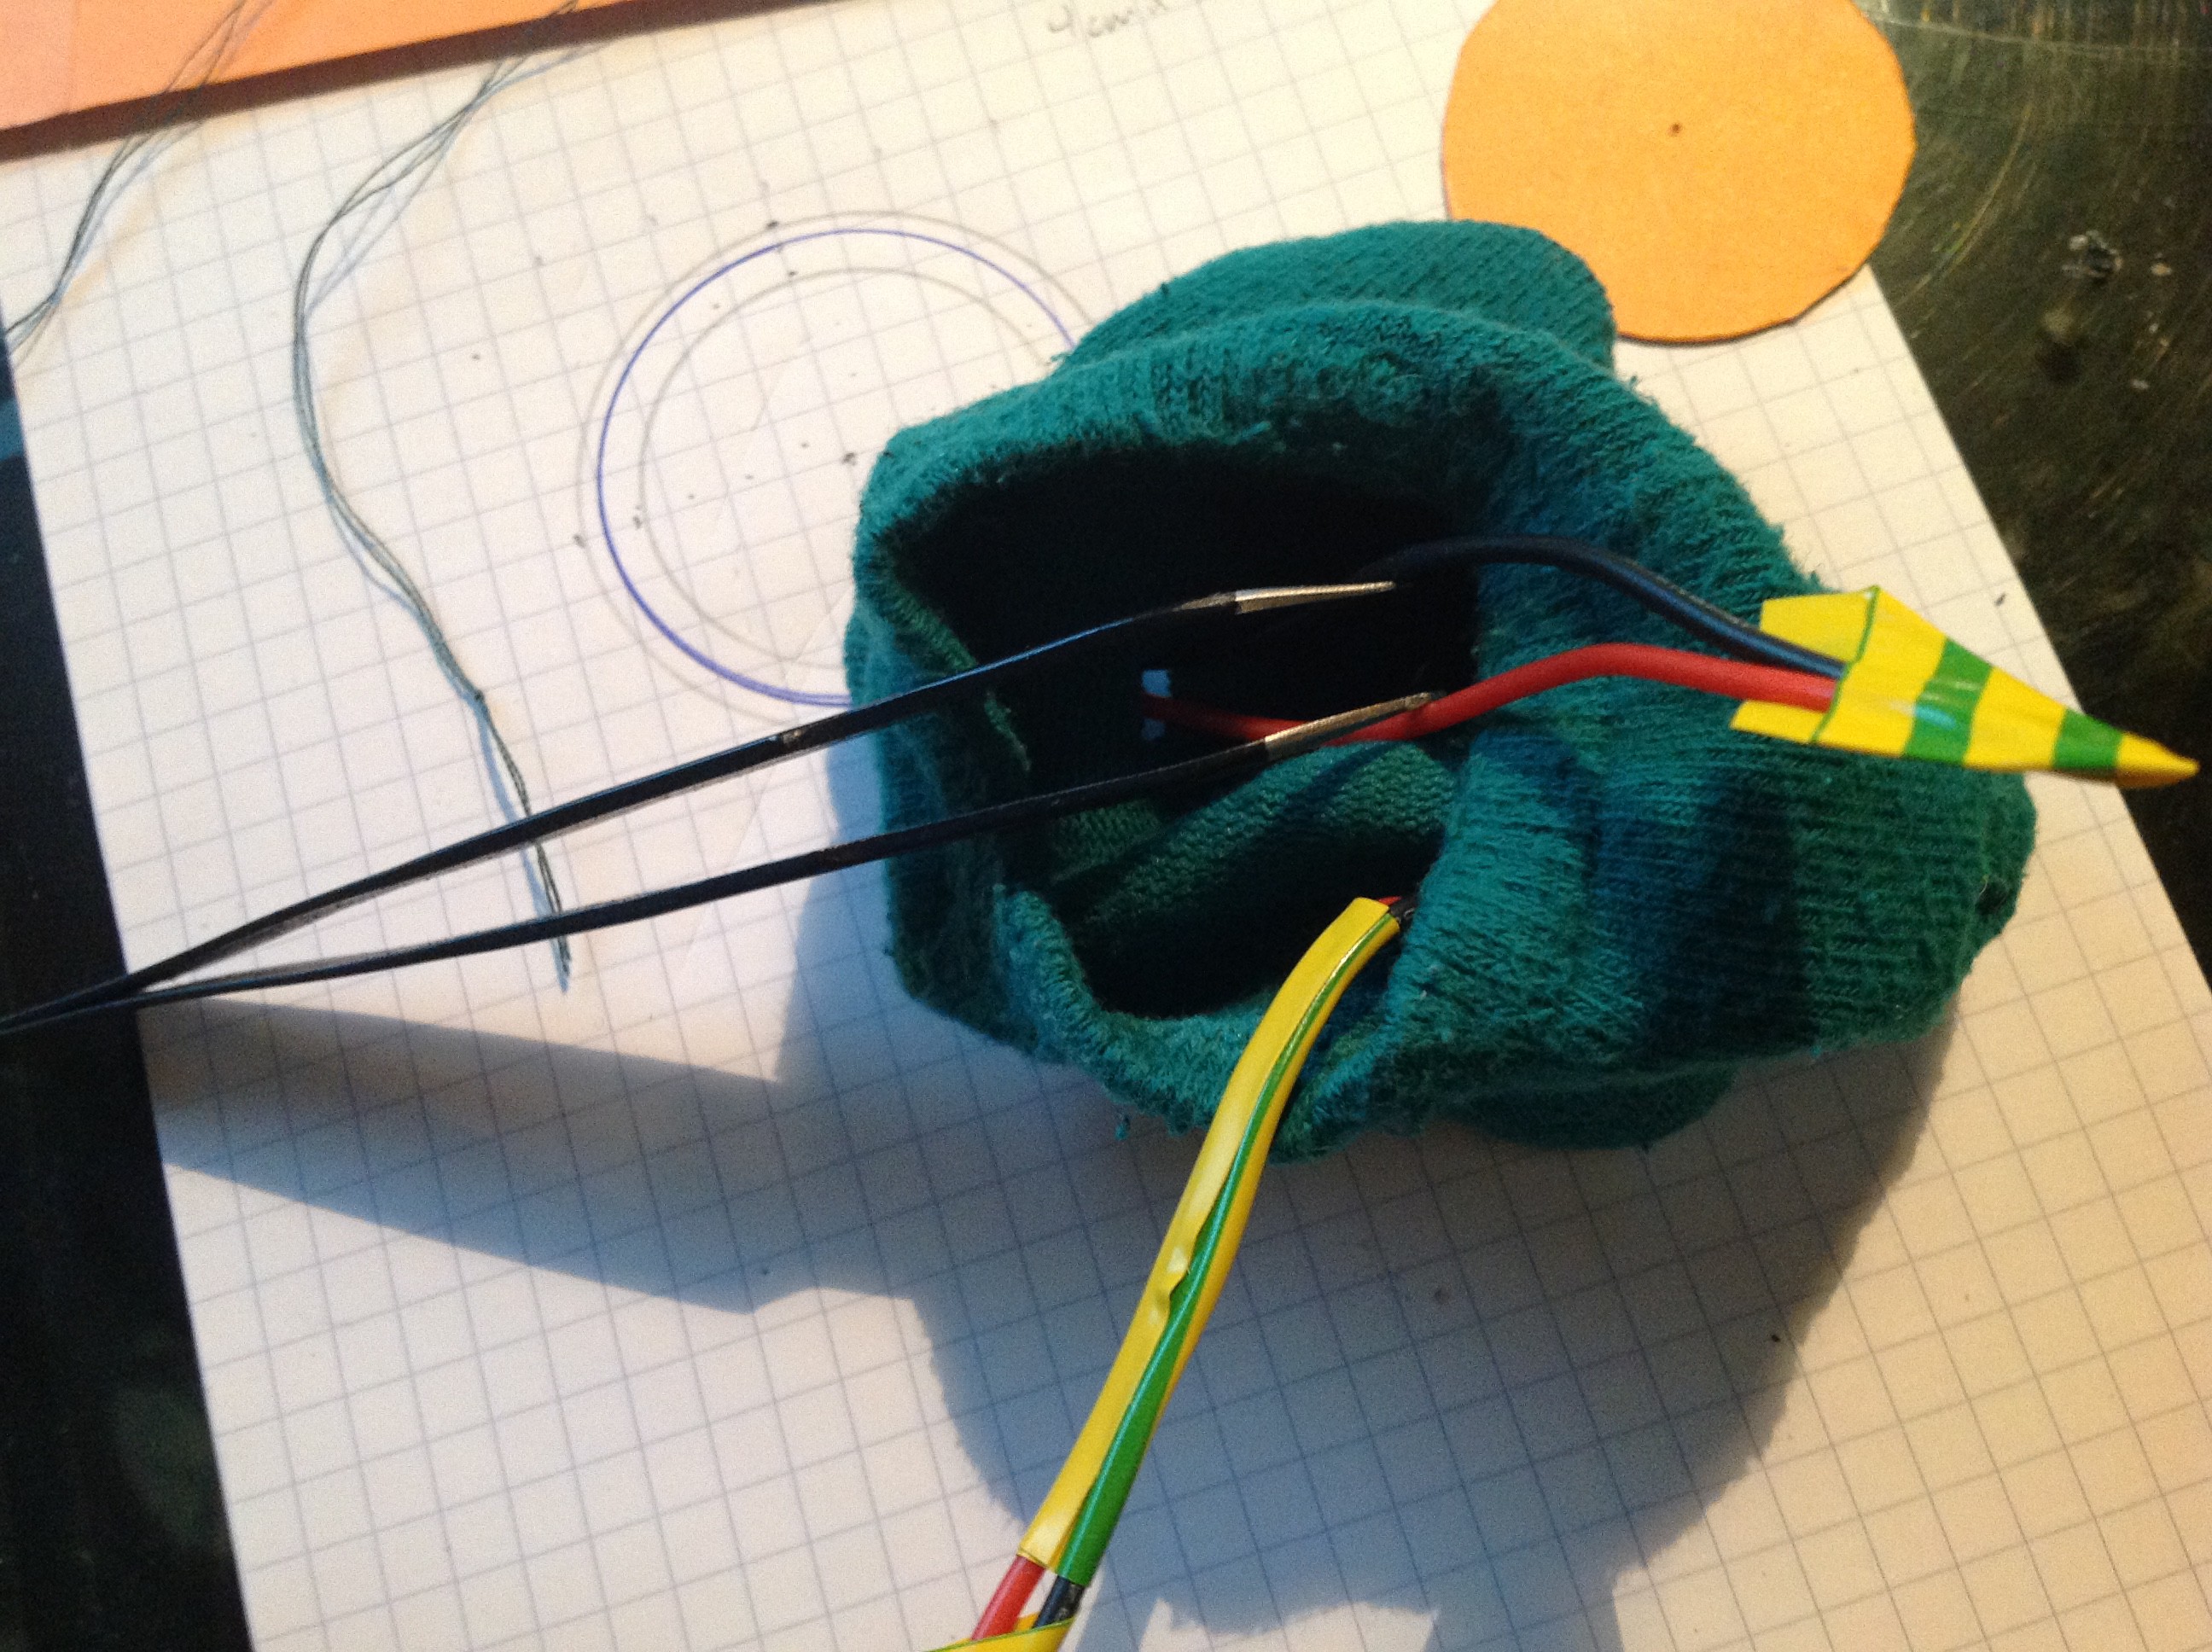
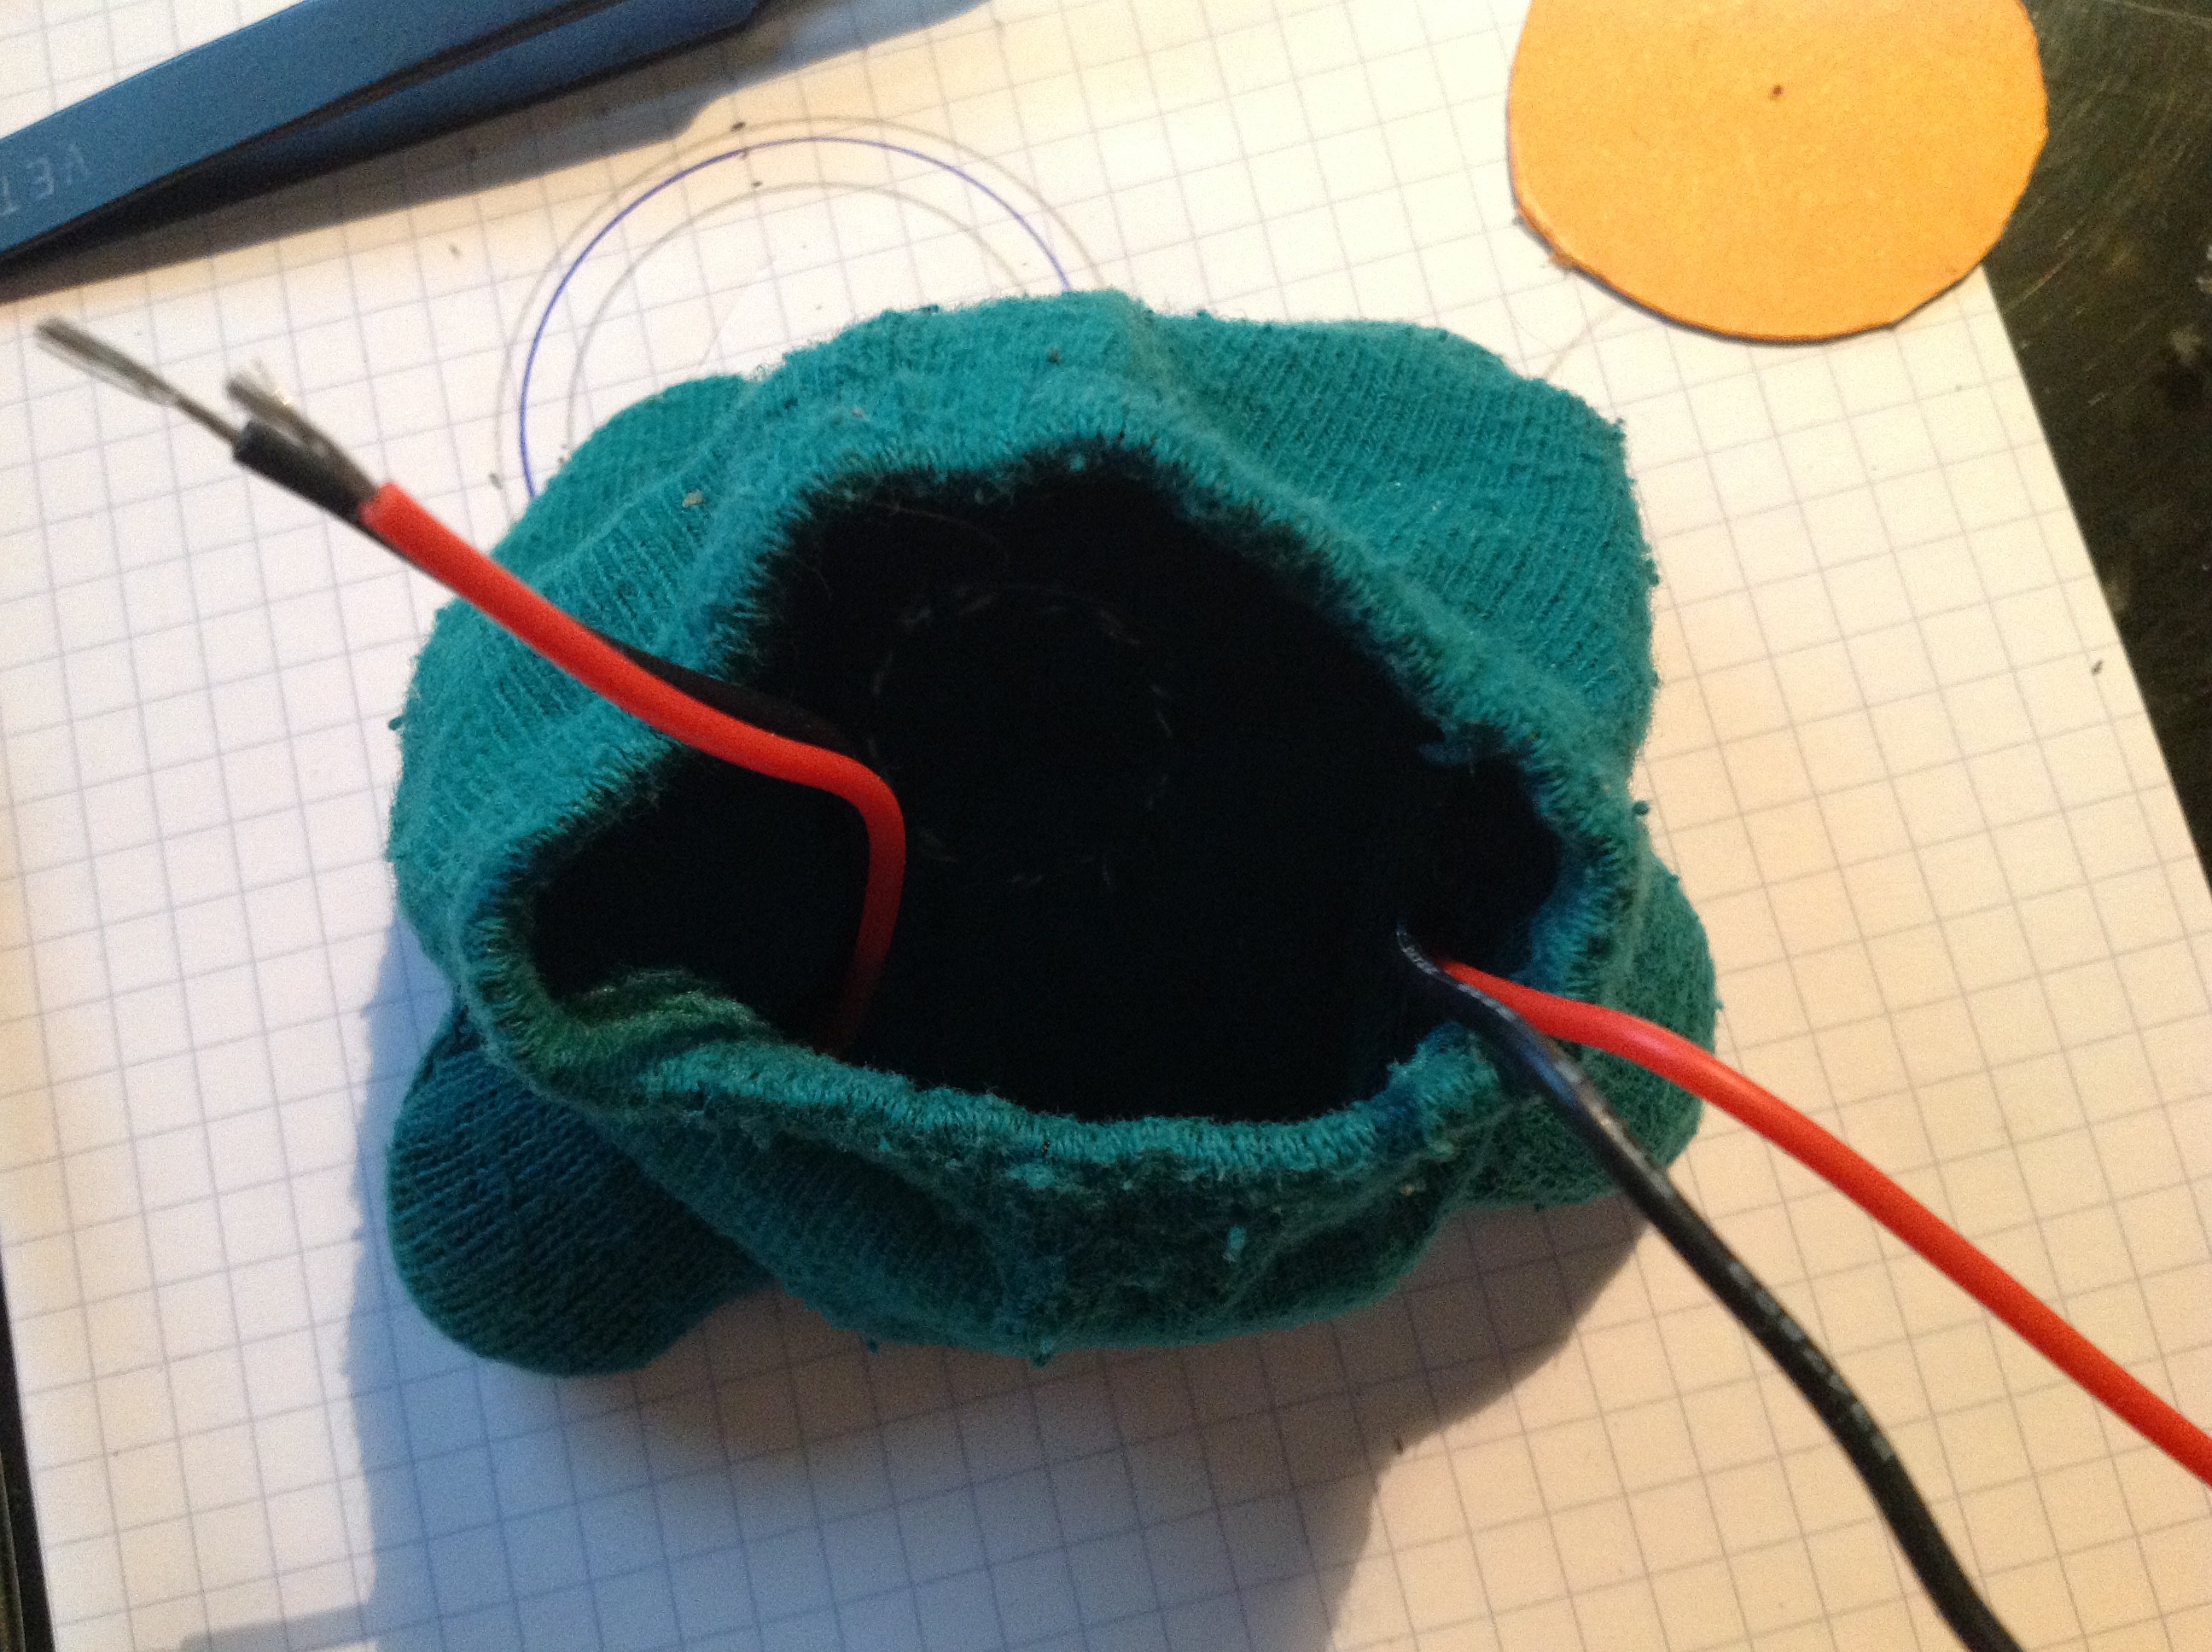
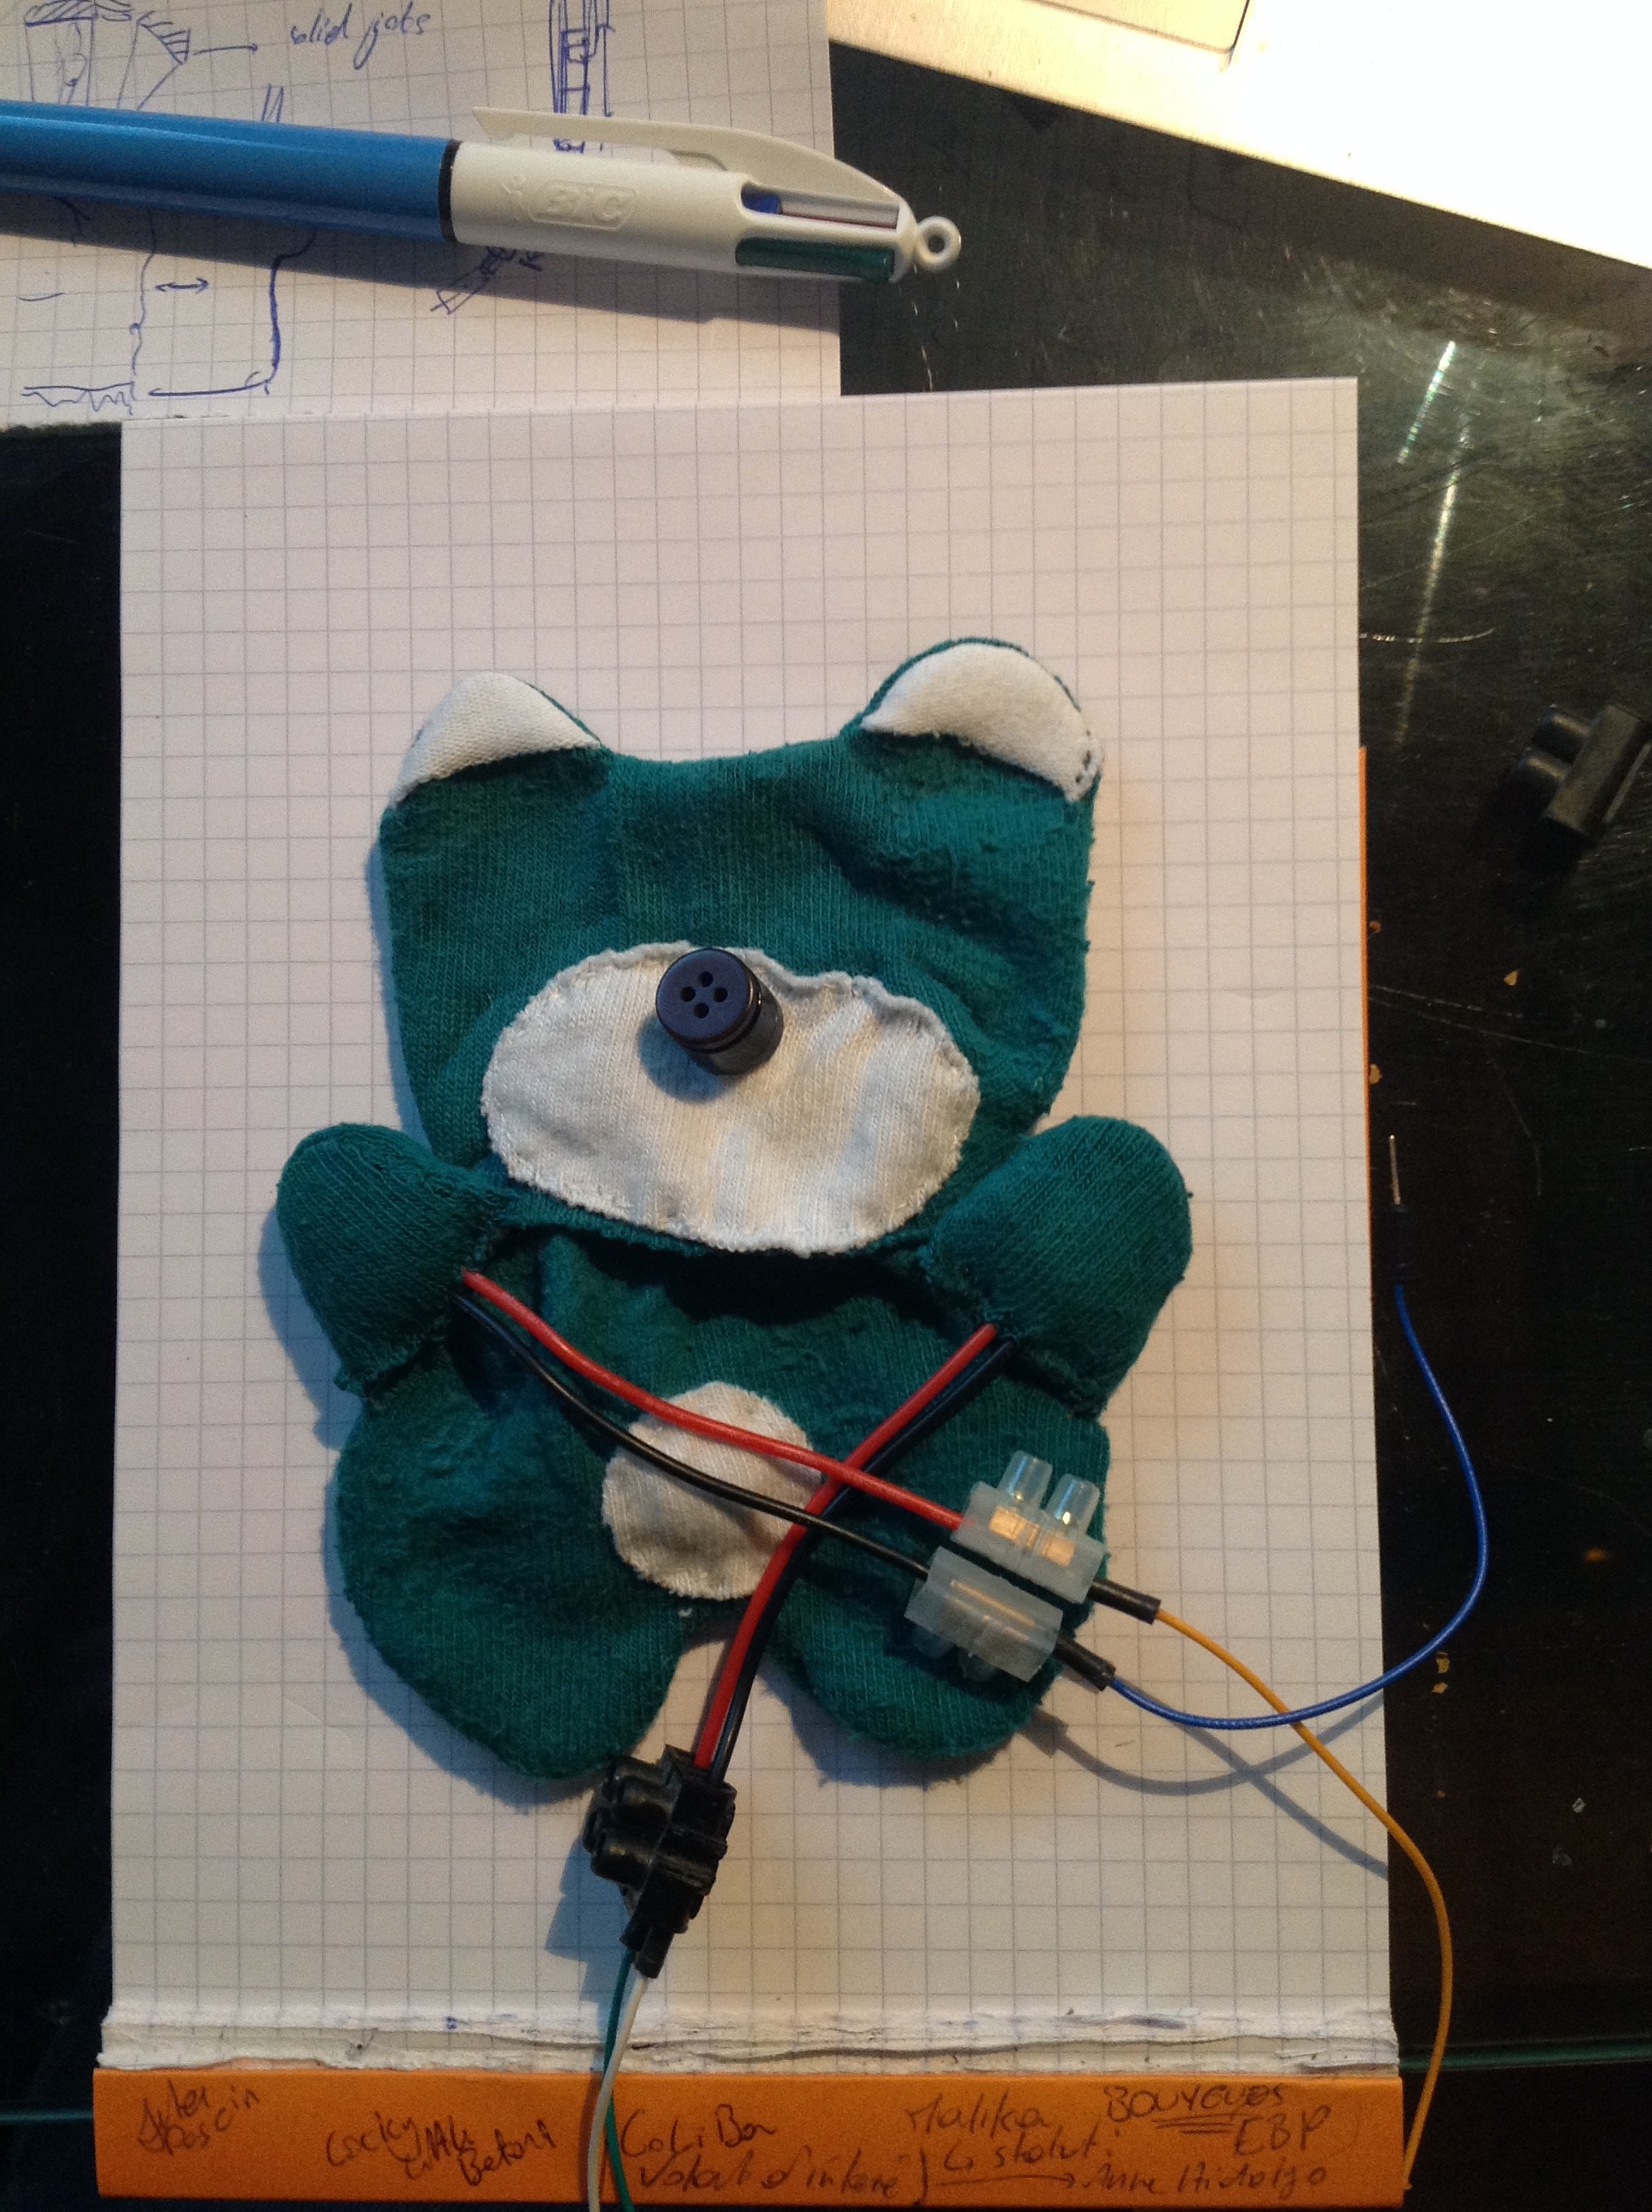
Also, we have to start thinking about how we'll stuff all our electronic stuffing ..
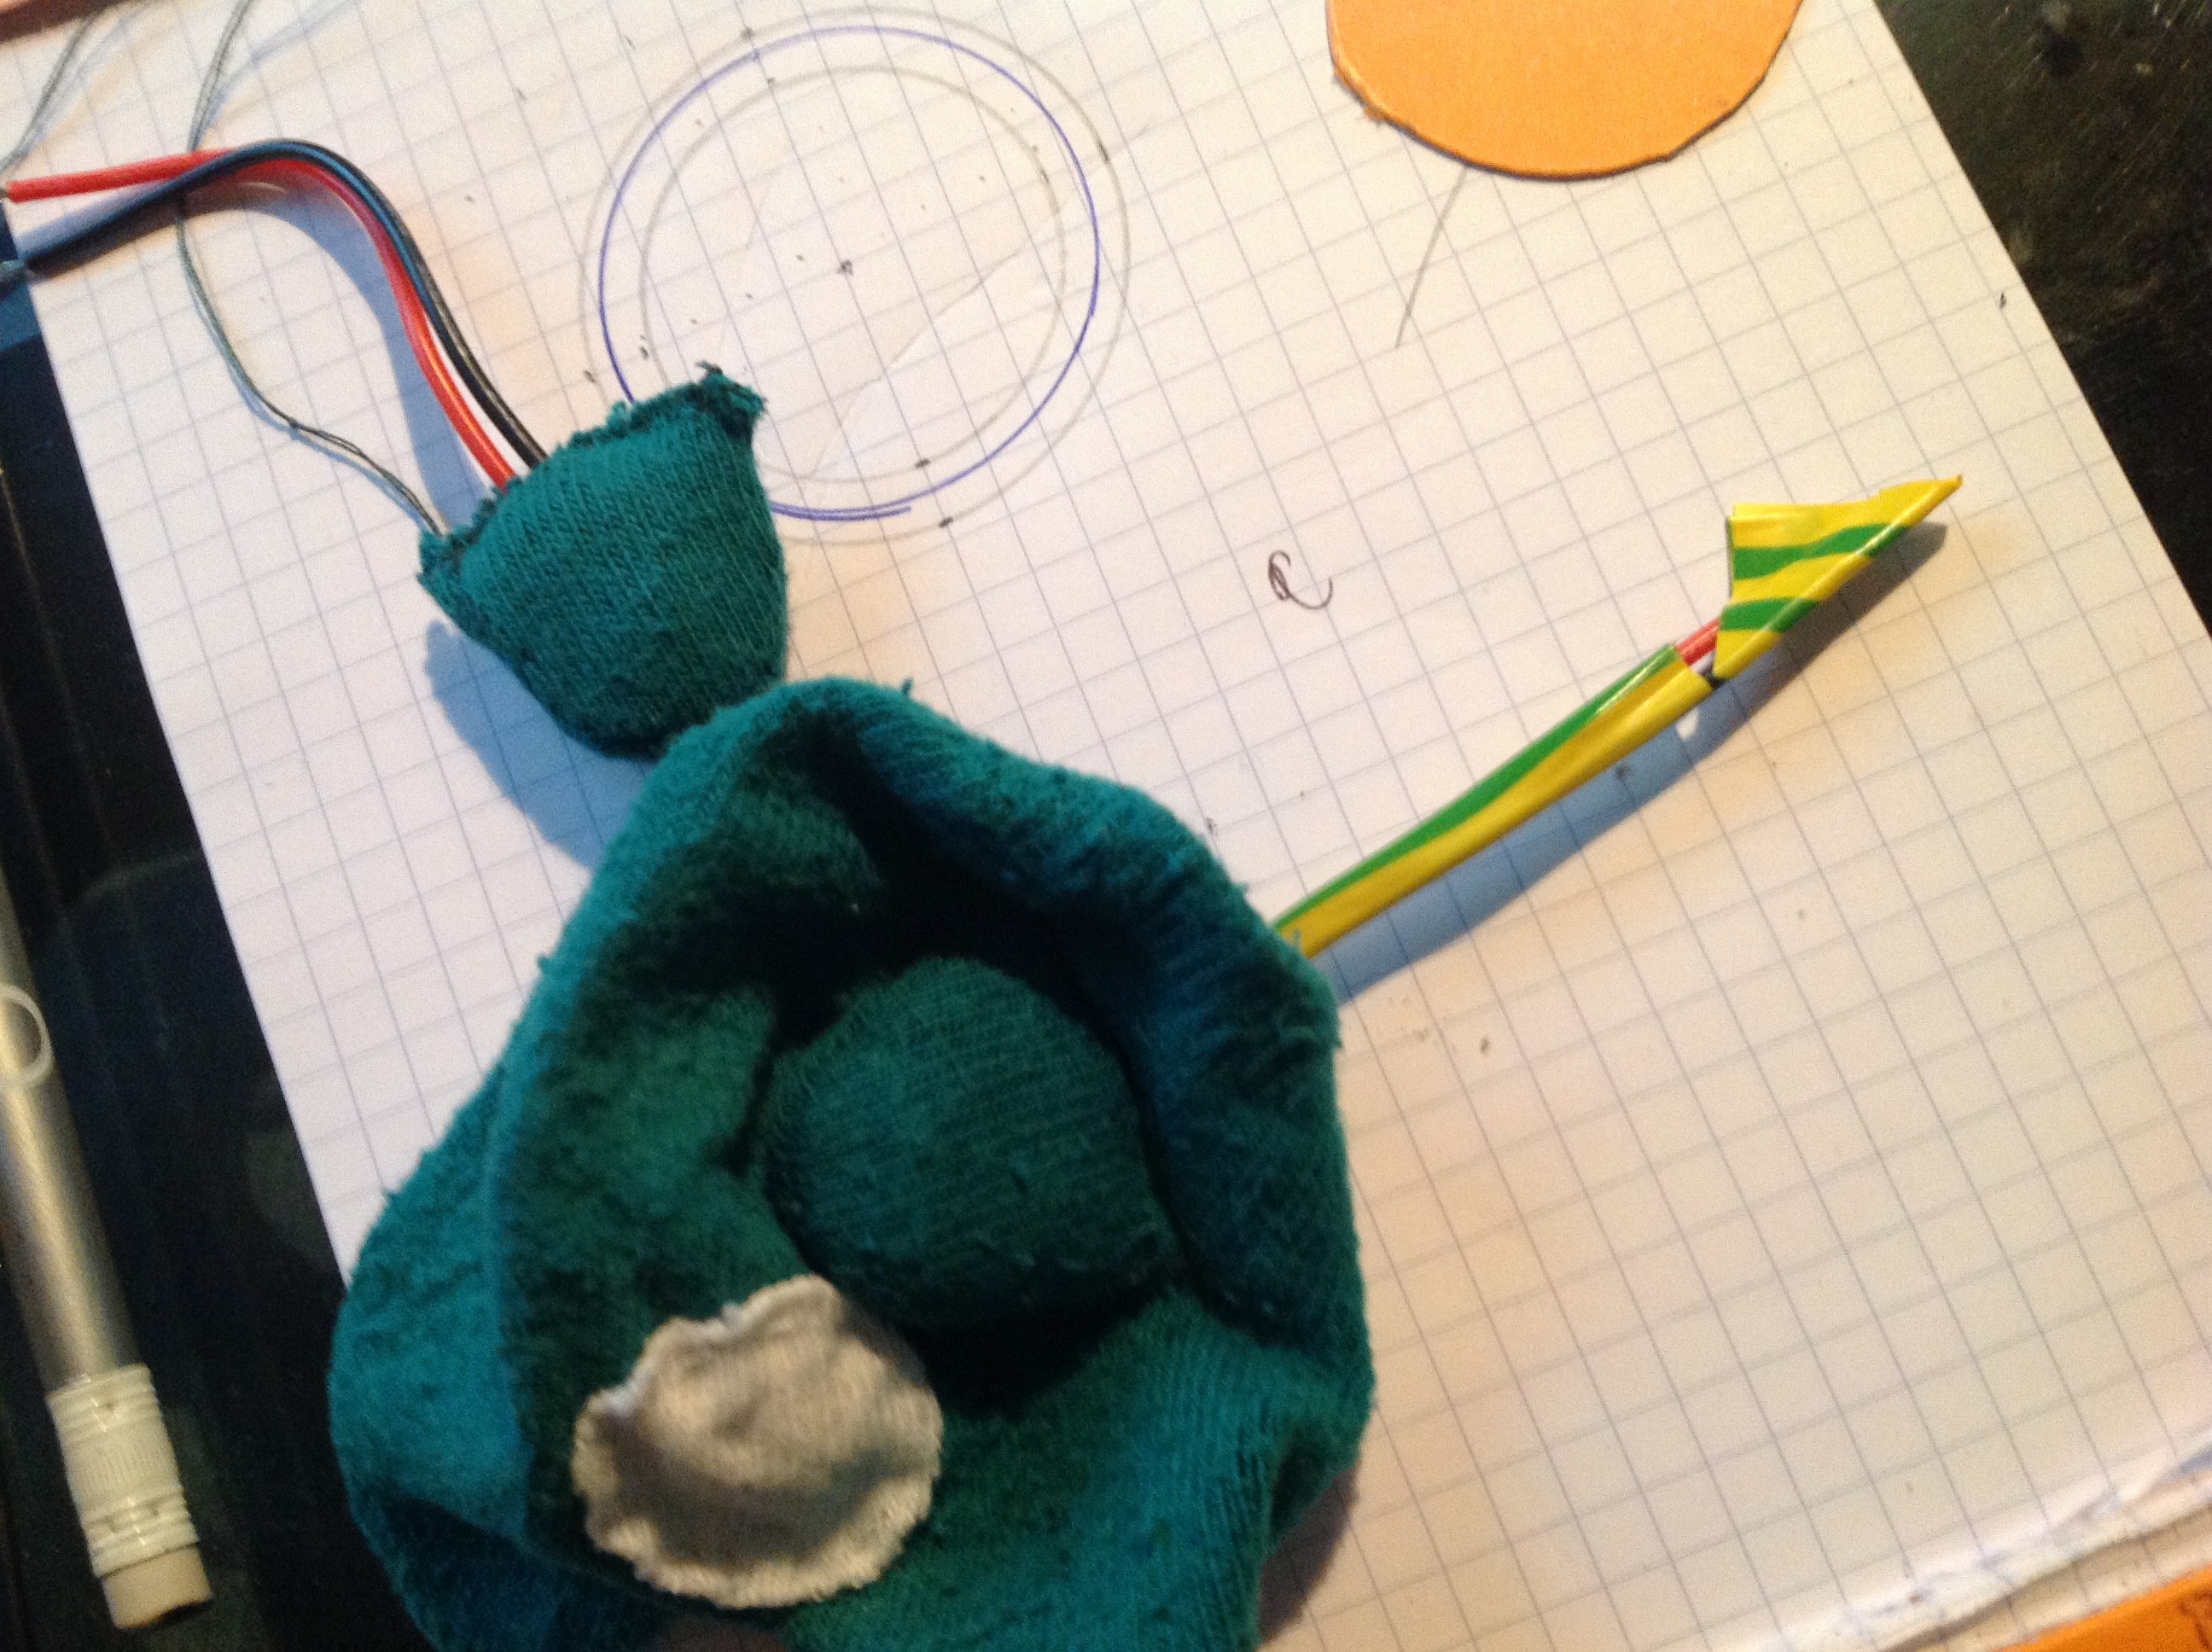
![]()
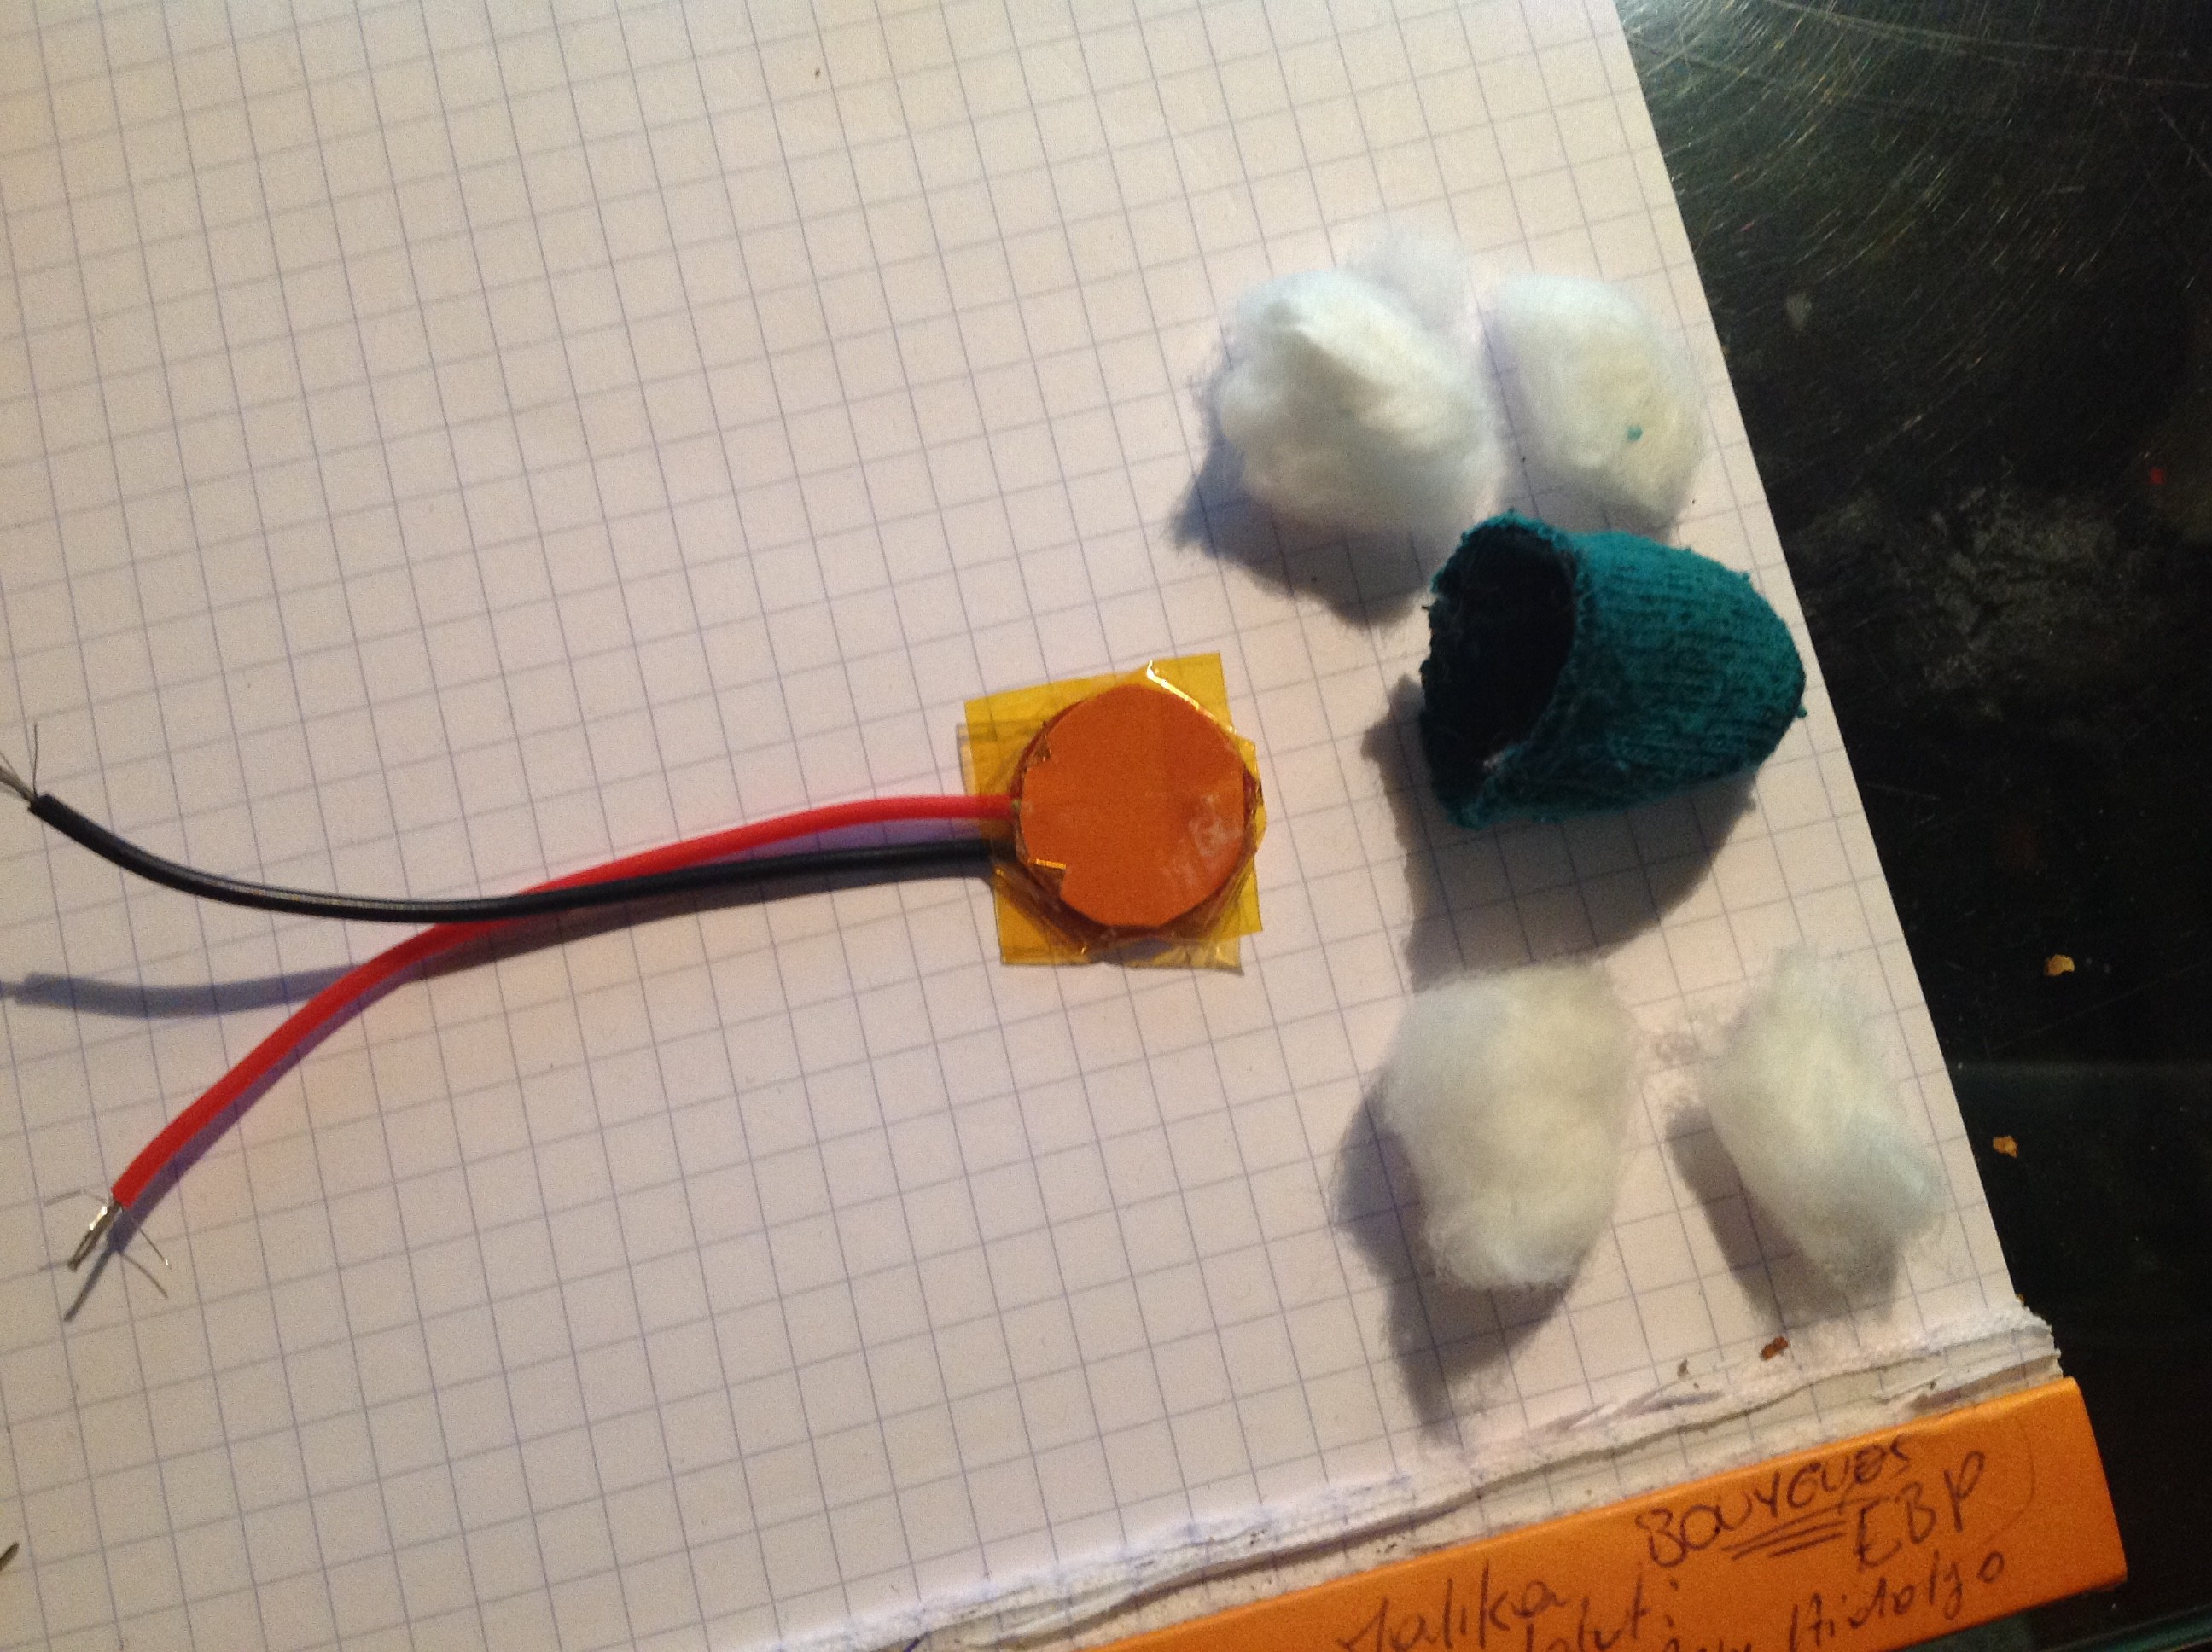
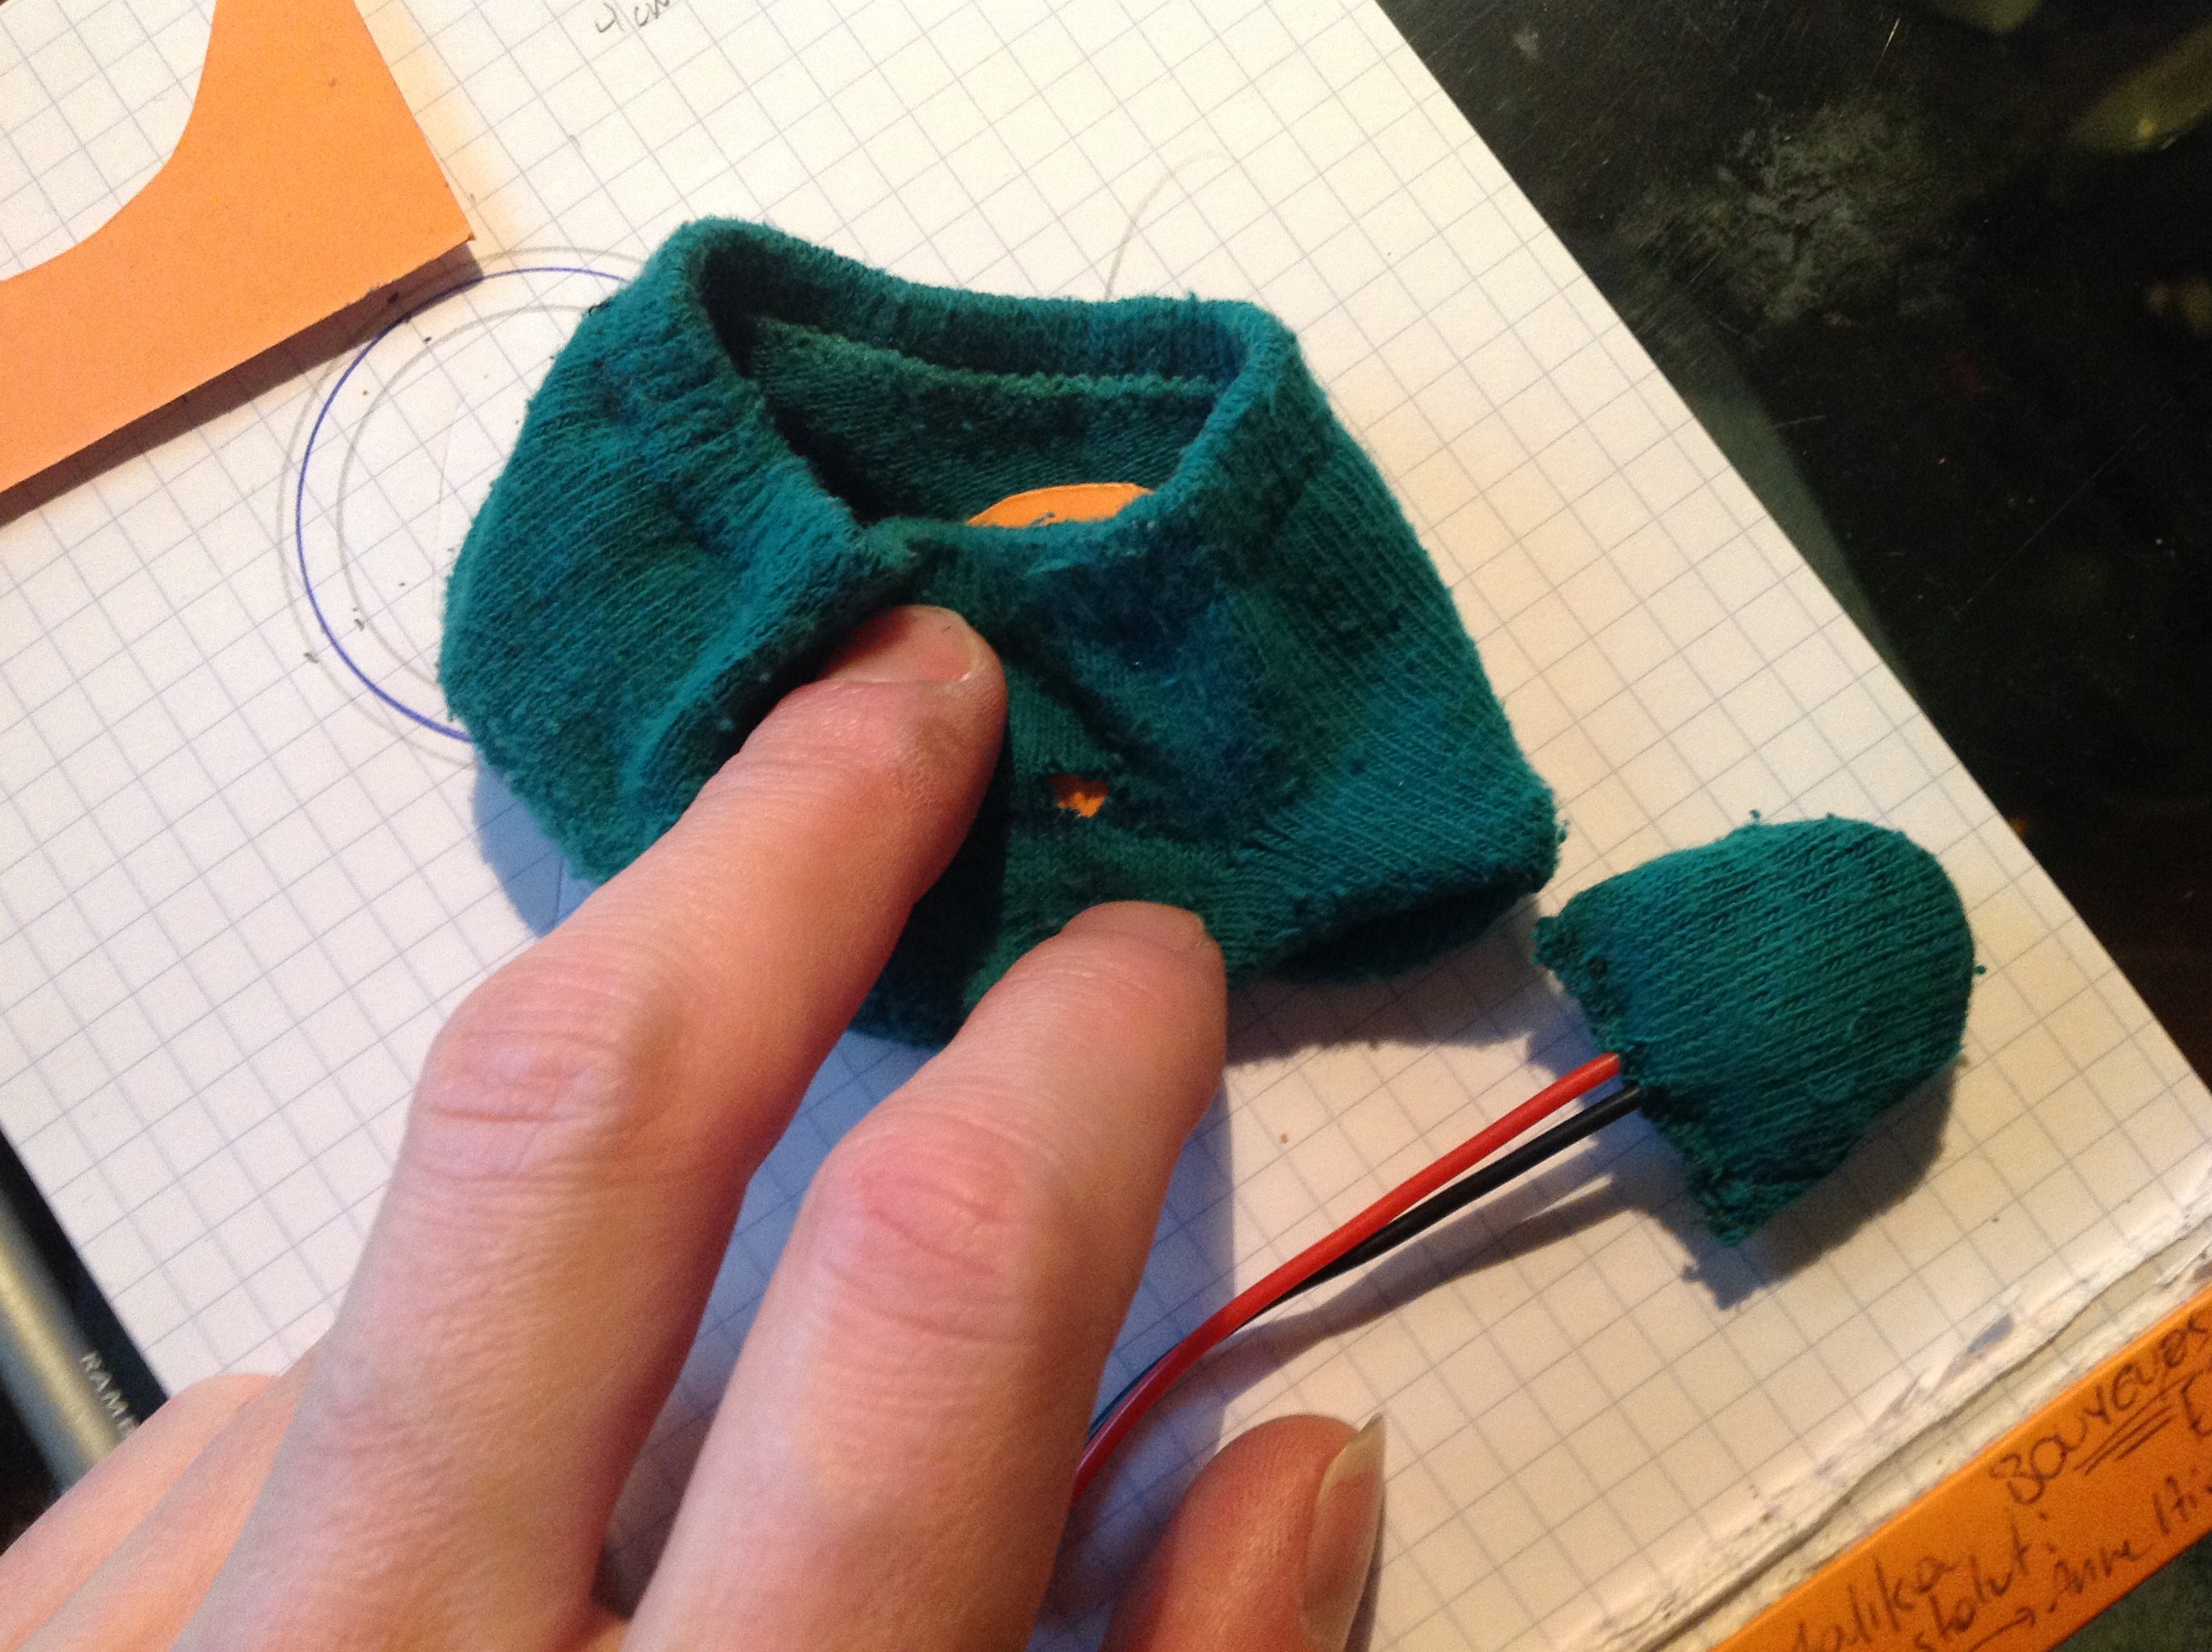
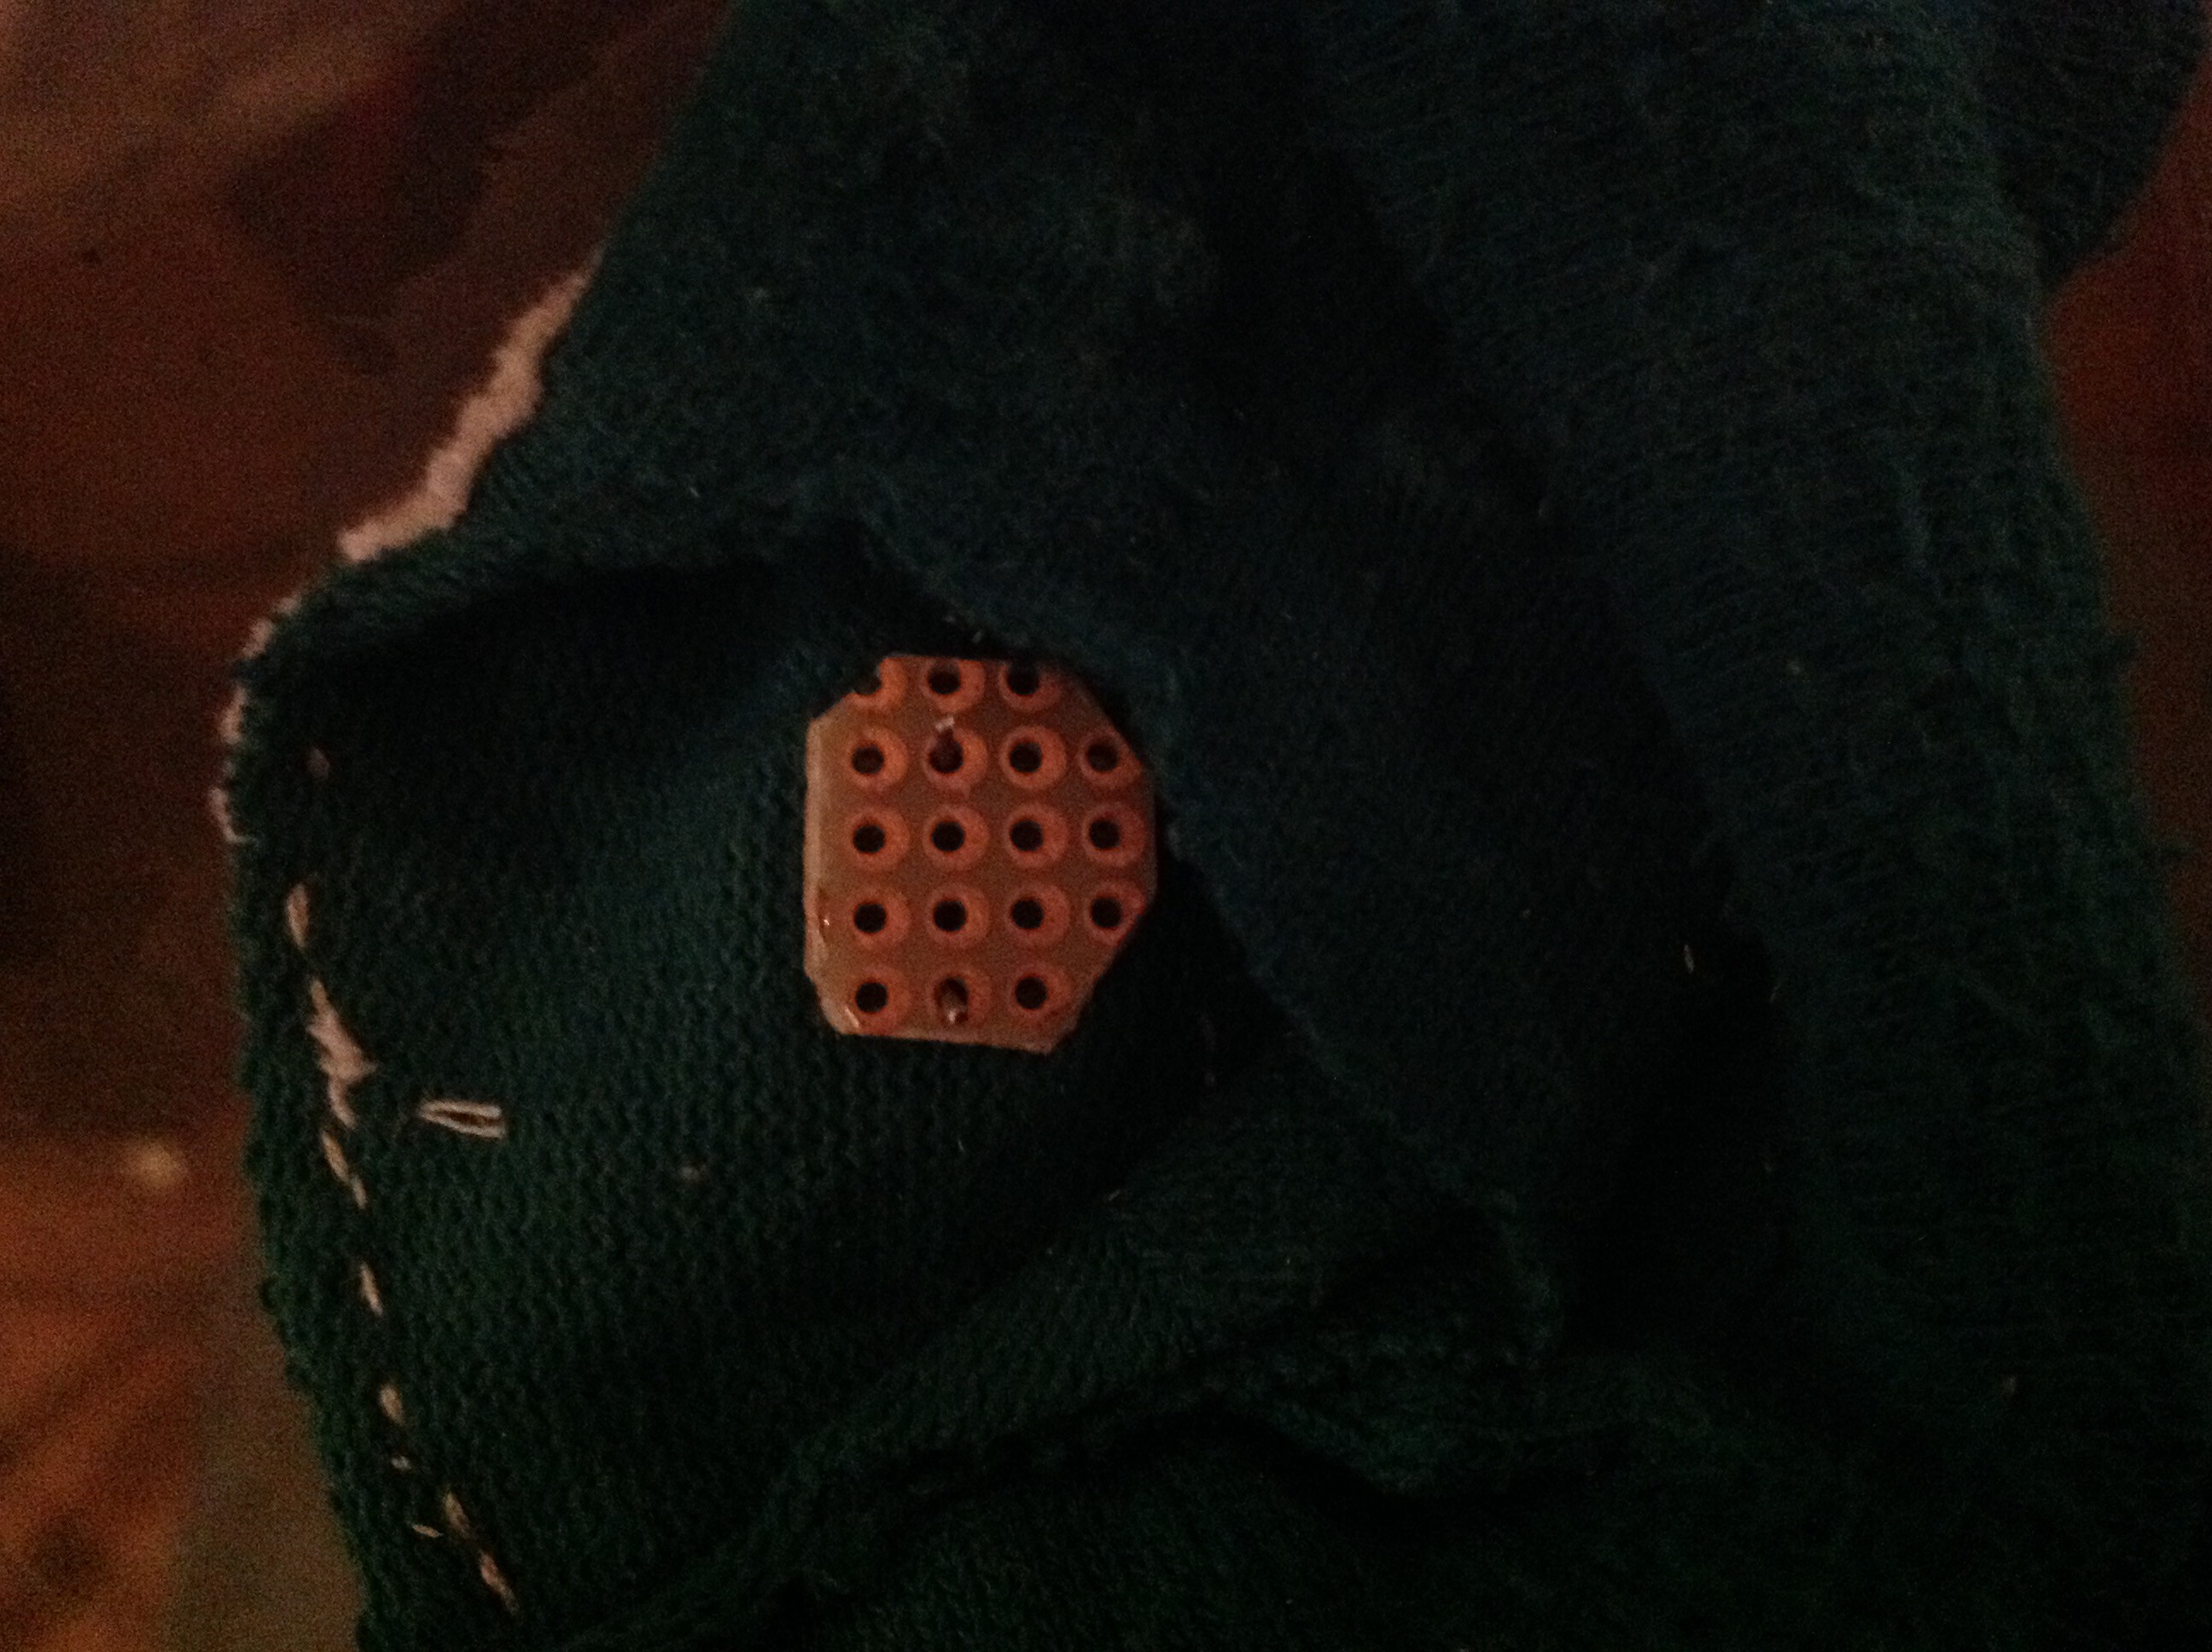
.. and also which one we'll choose between a speaker & a piezo ( the speaker 'd be internal while the piezo 'd serve as nose too, hence "pienoze" ^^ )
![]()
-
3Step 3
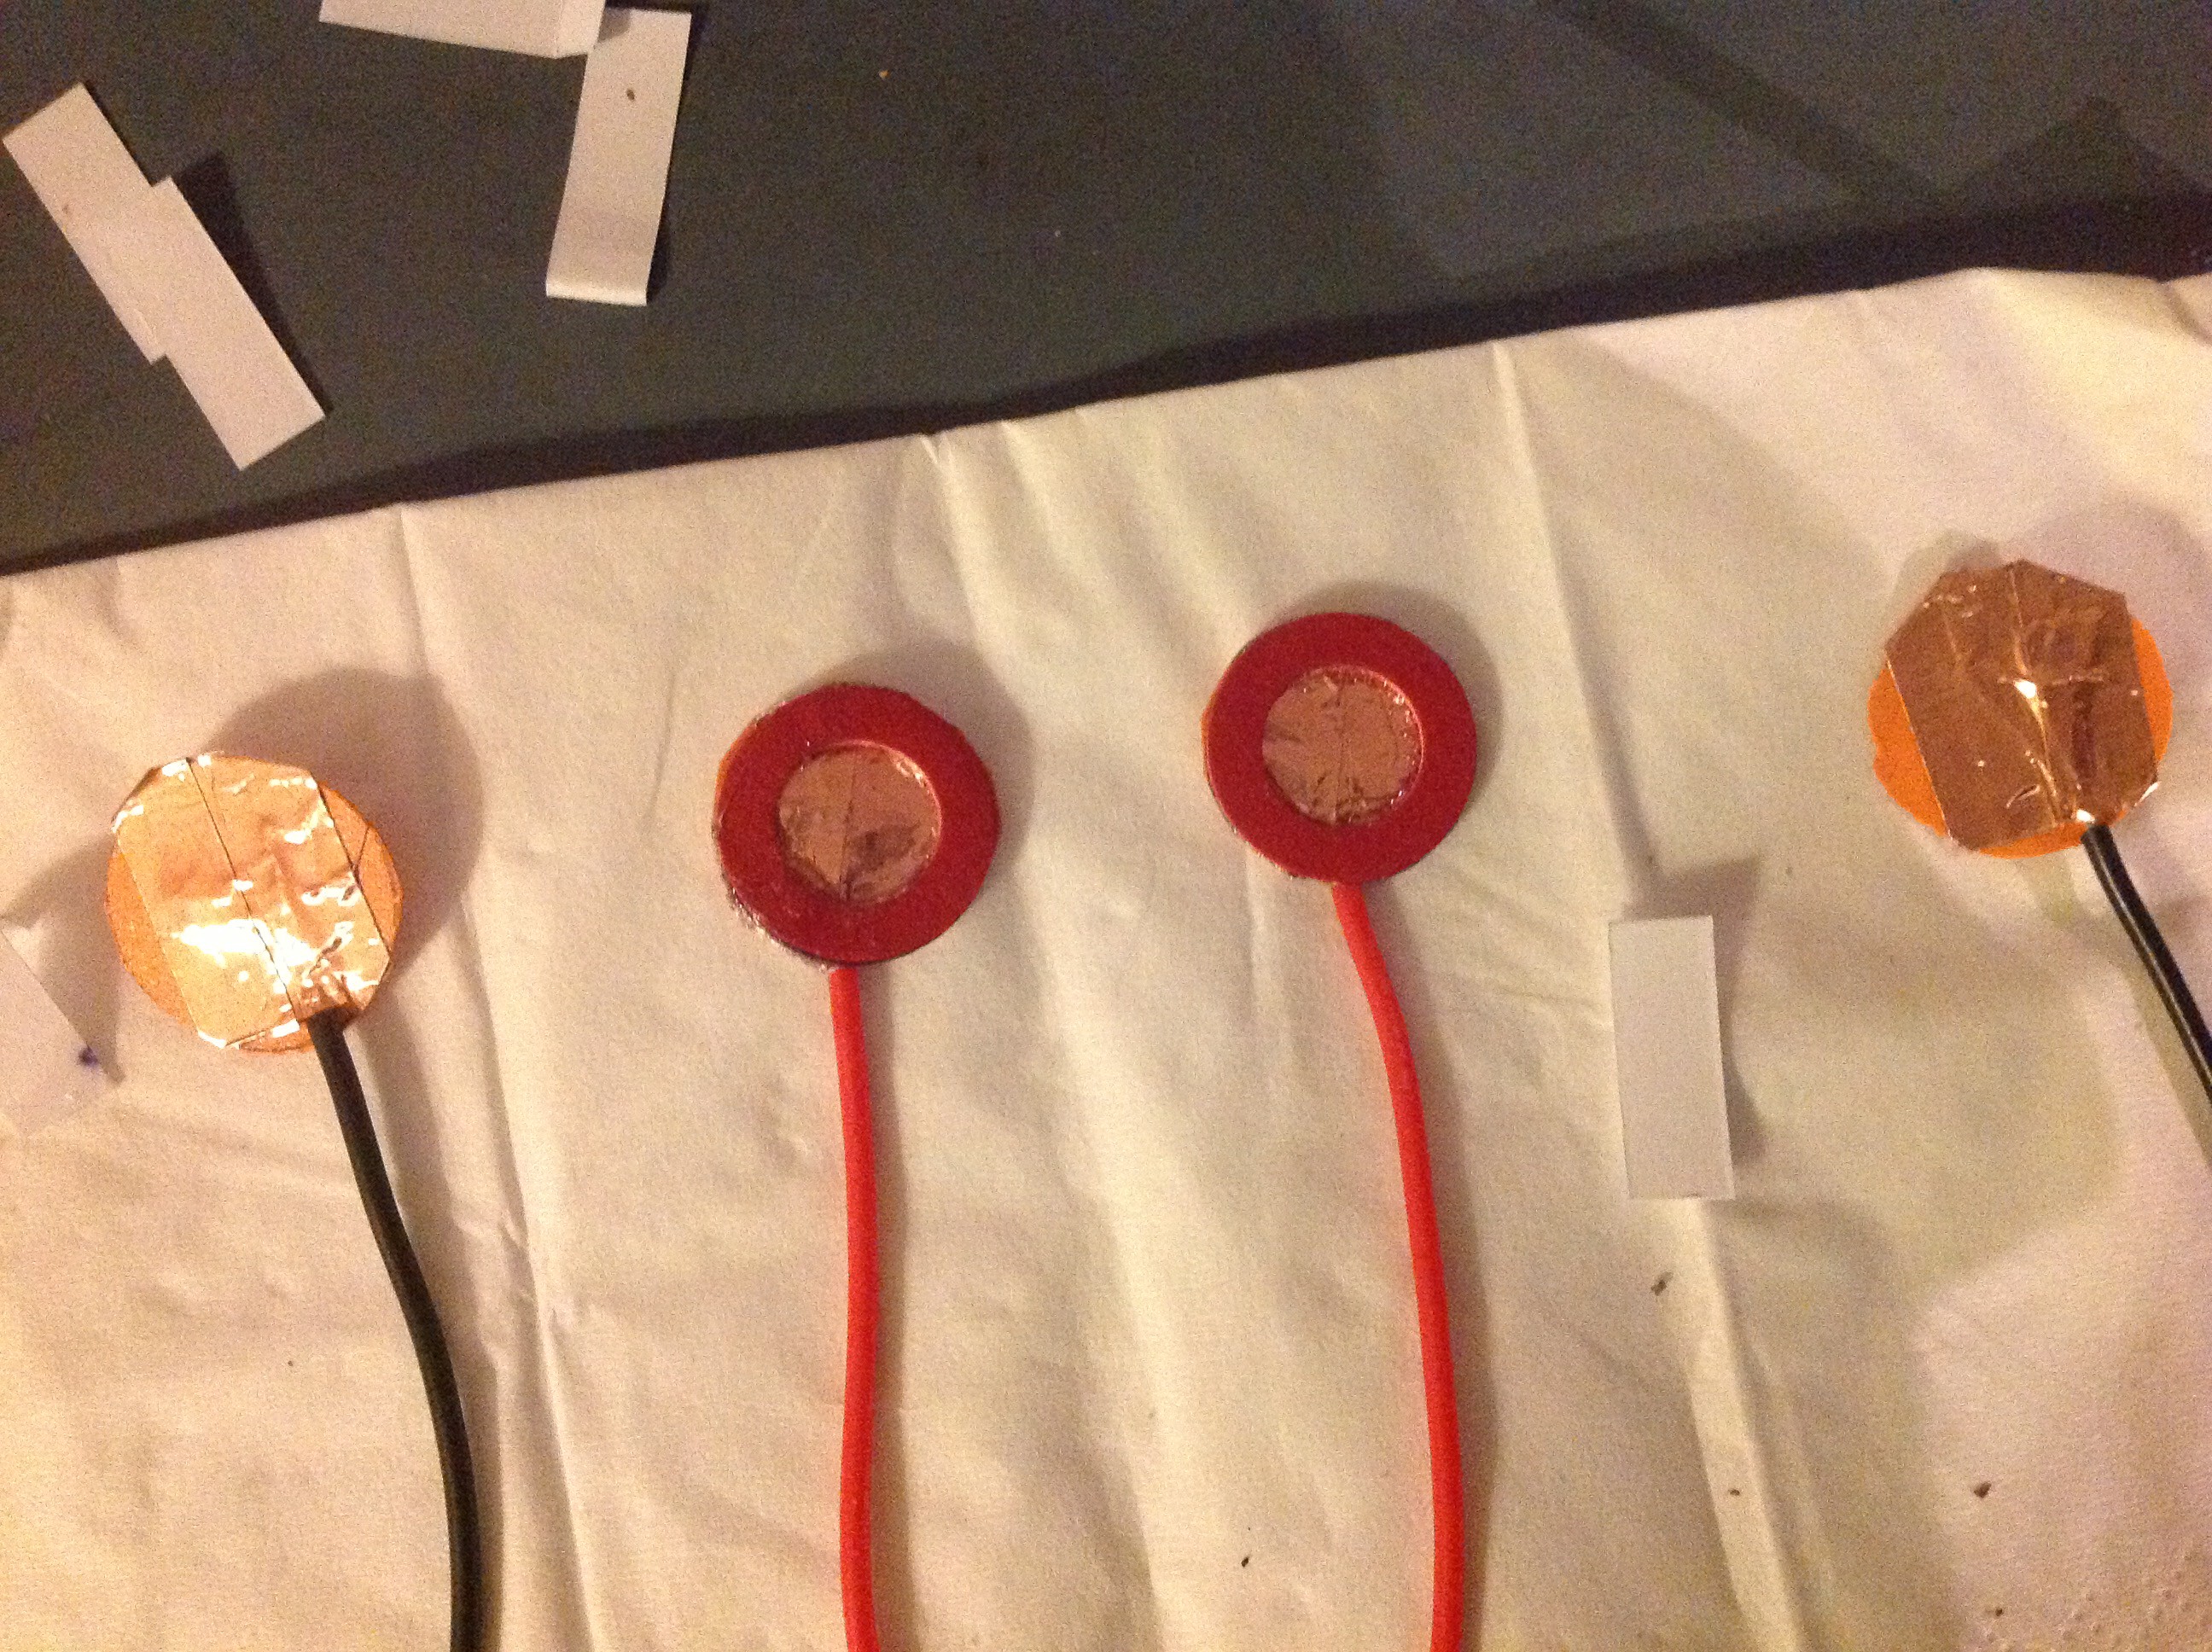
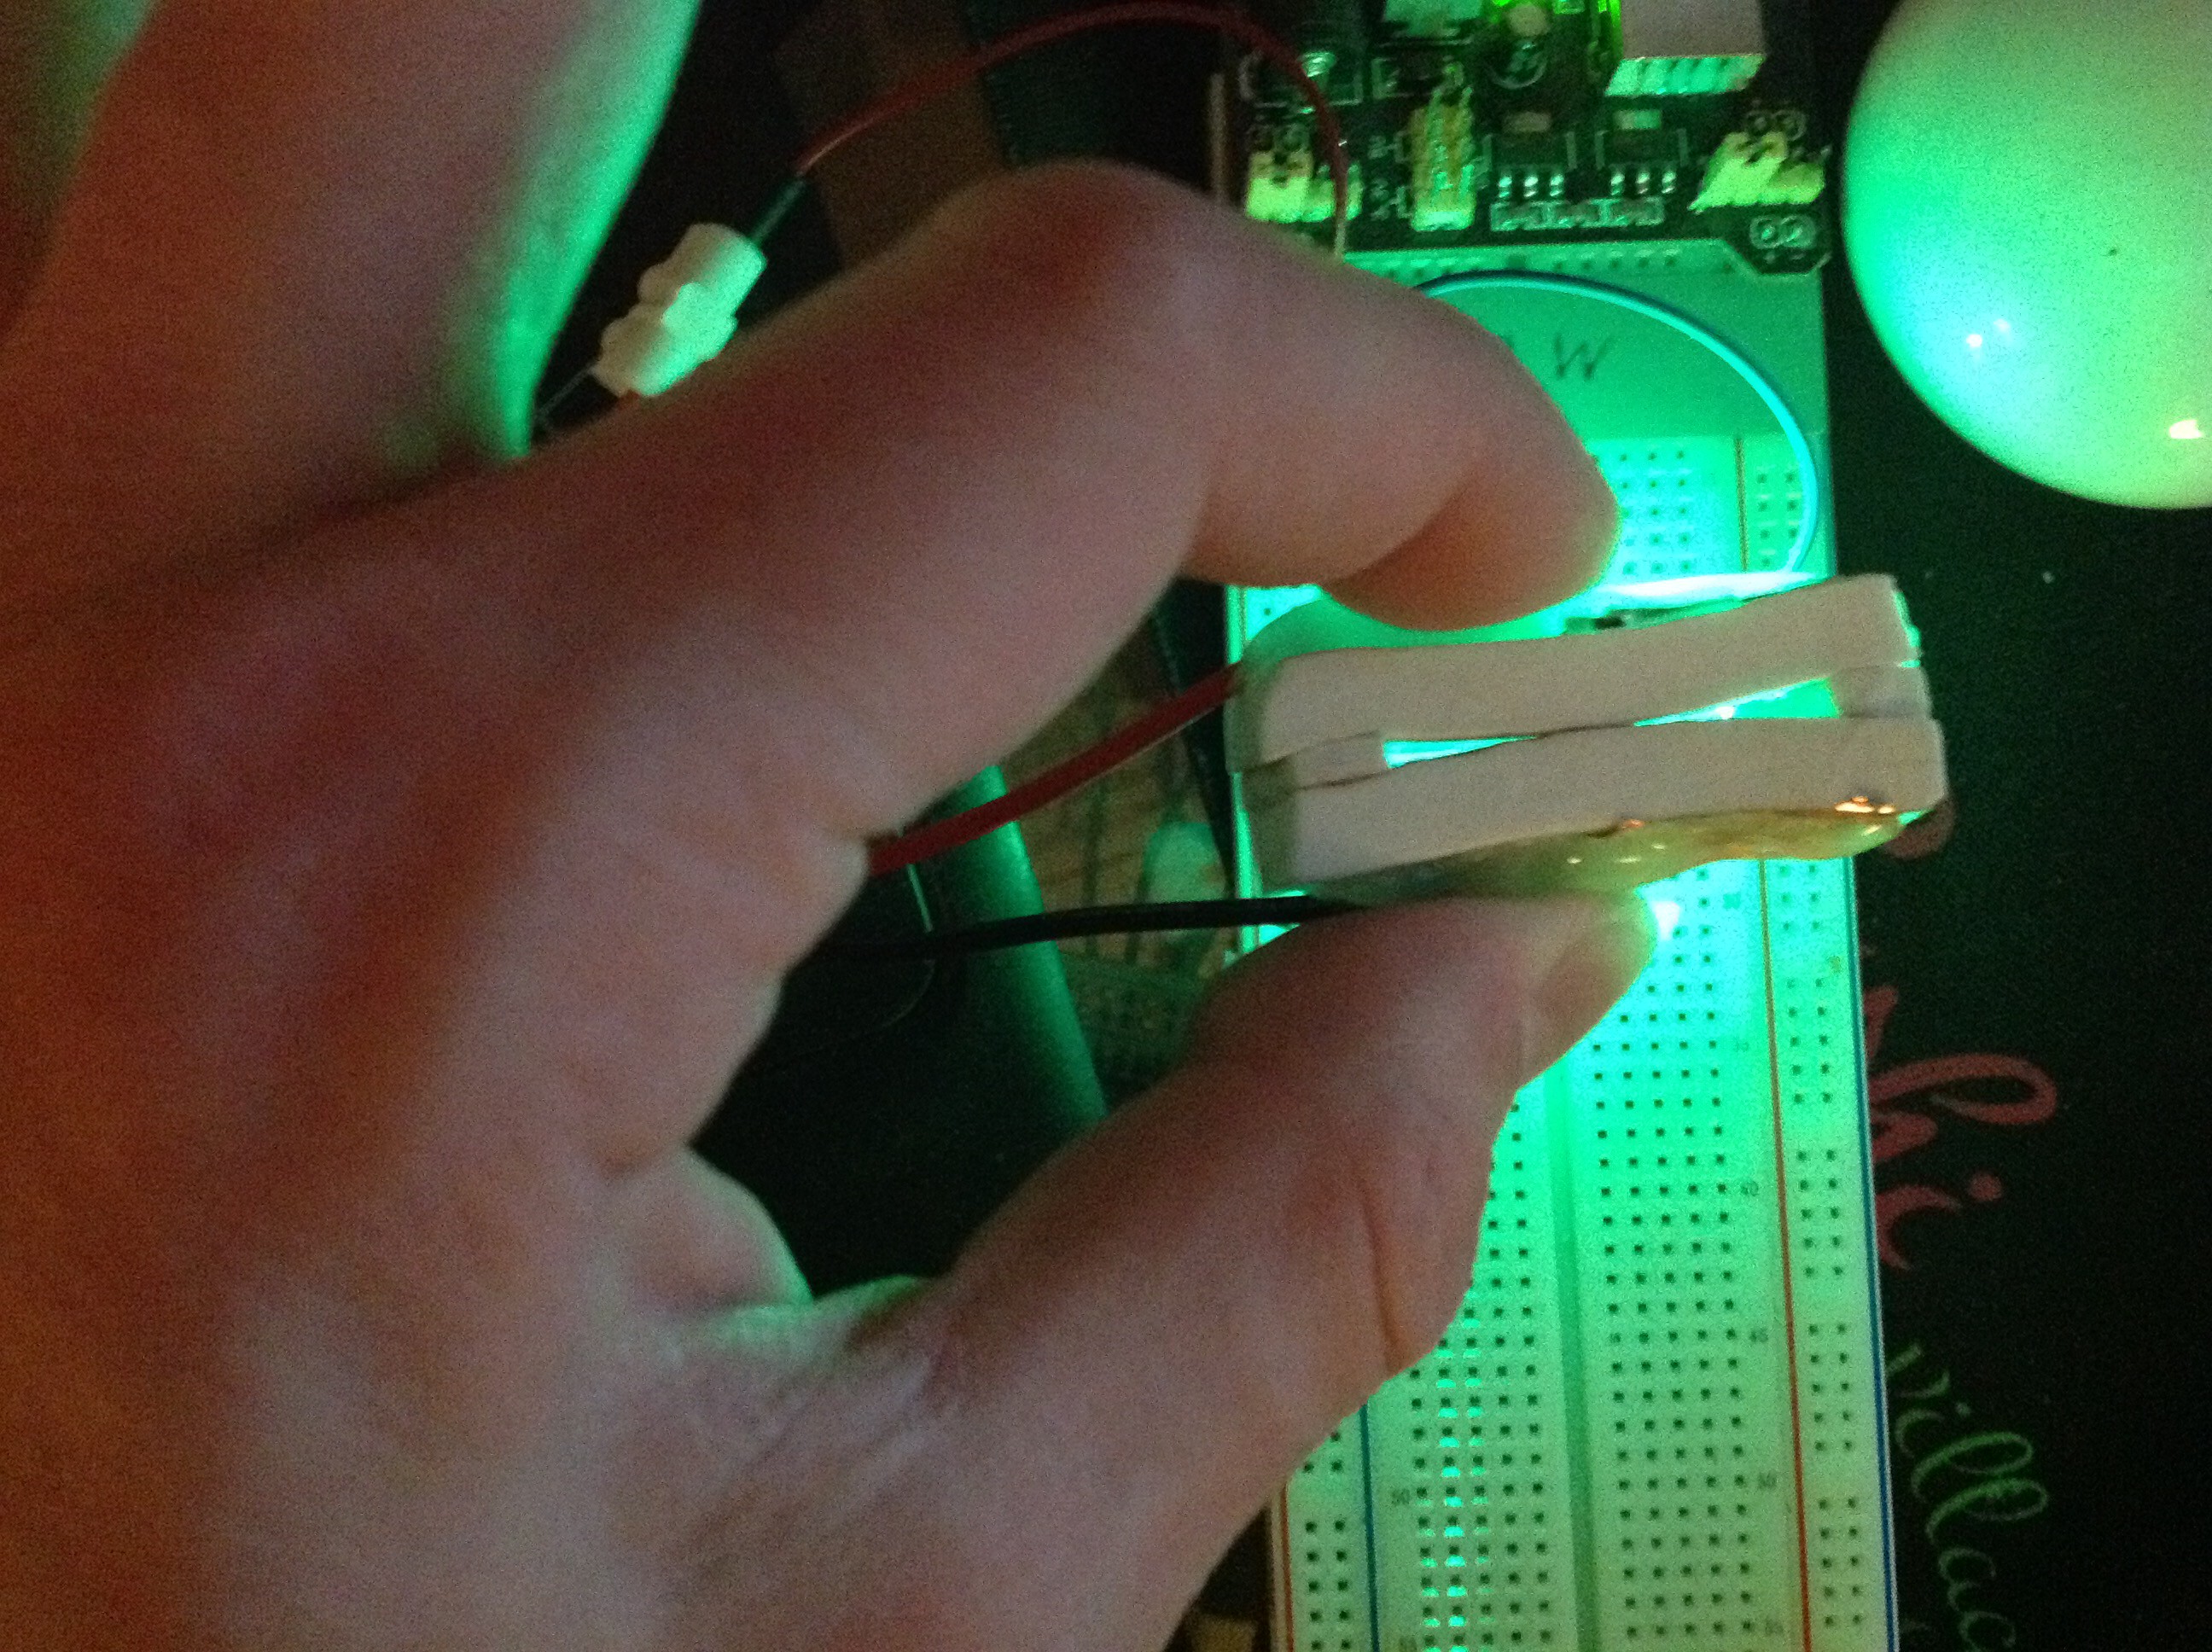
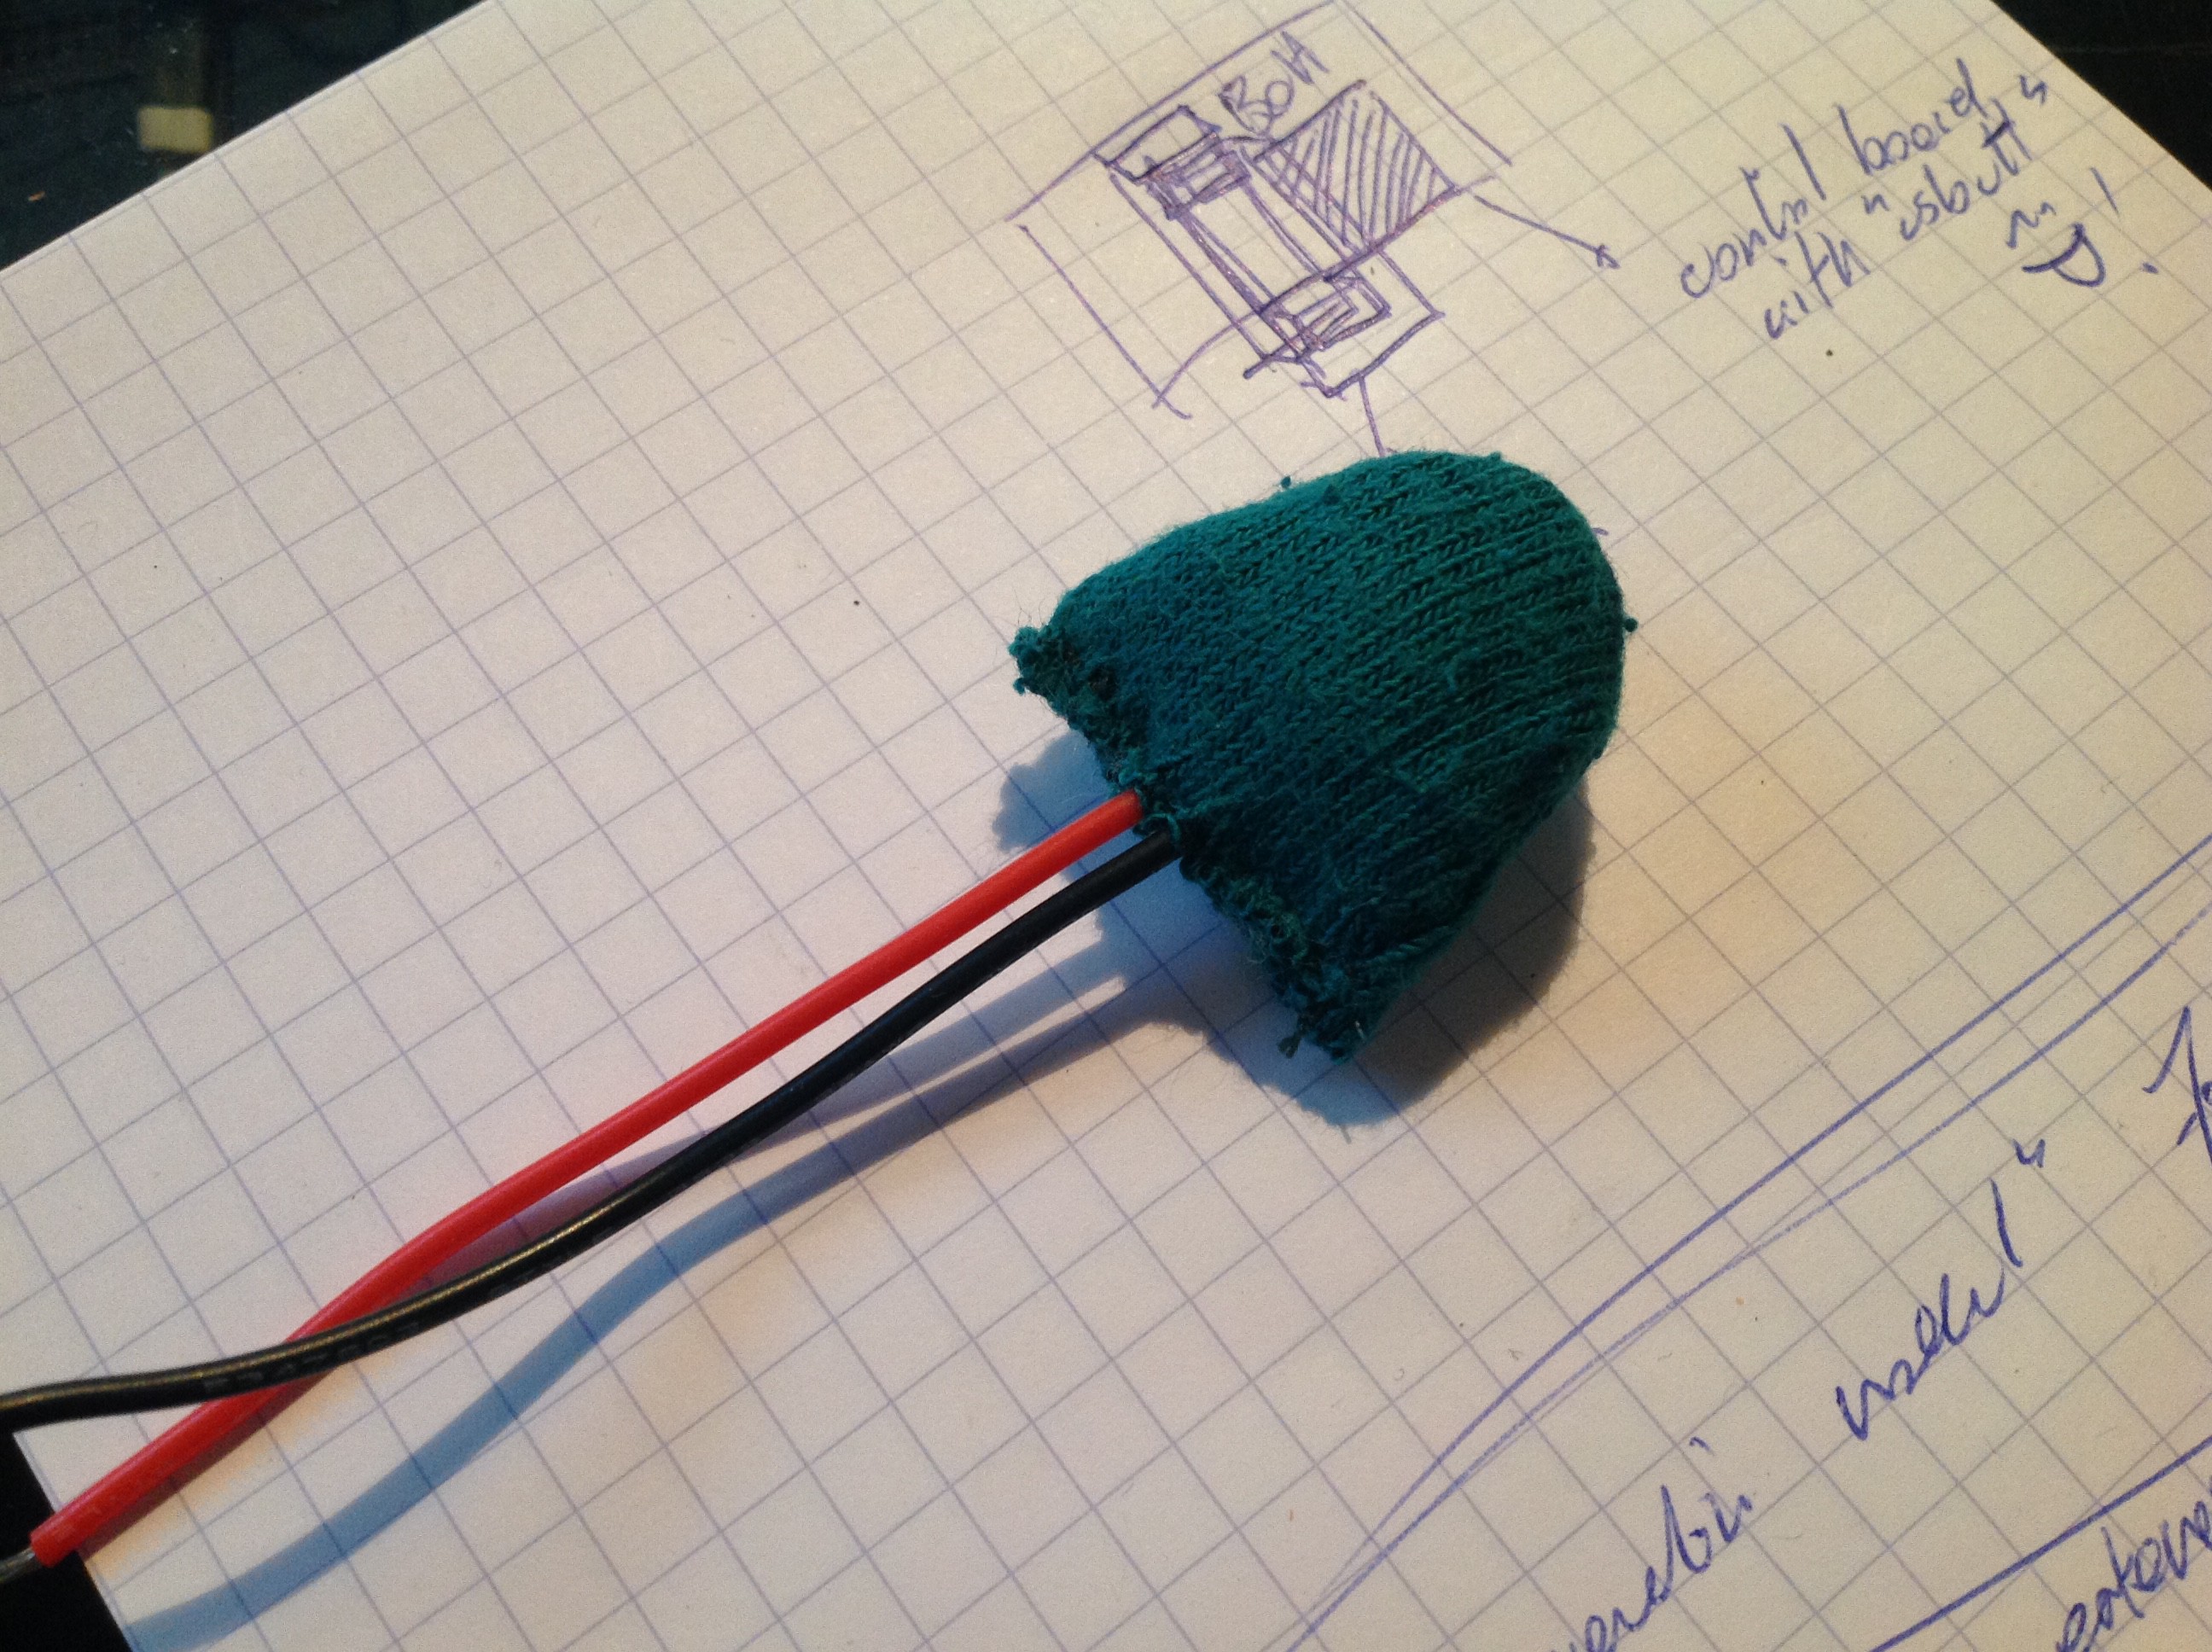
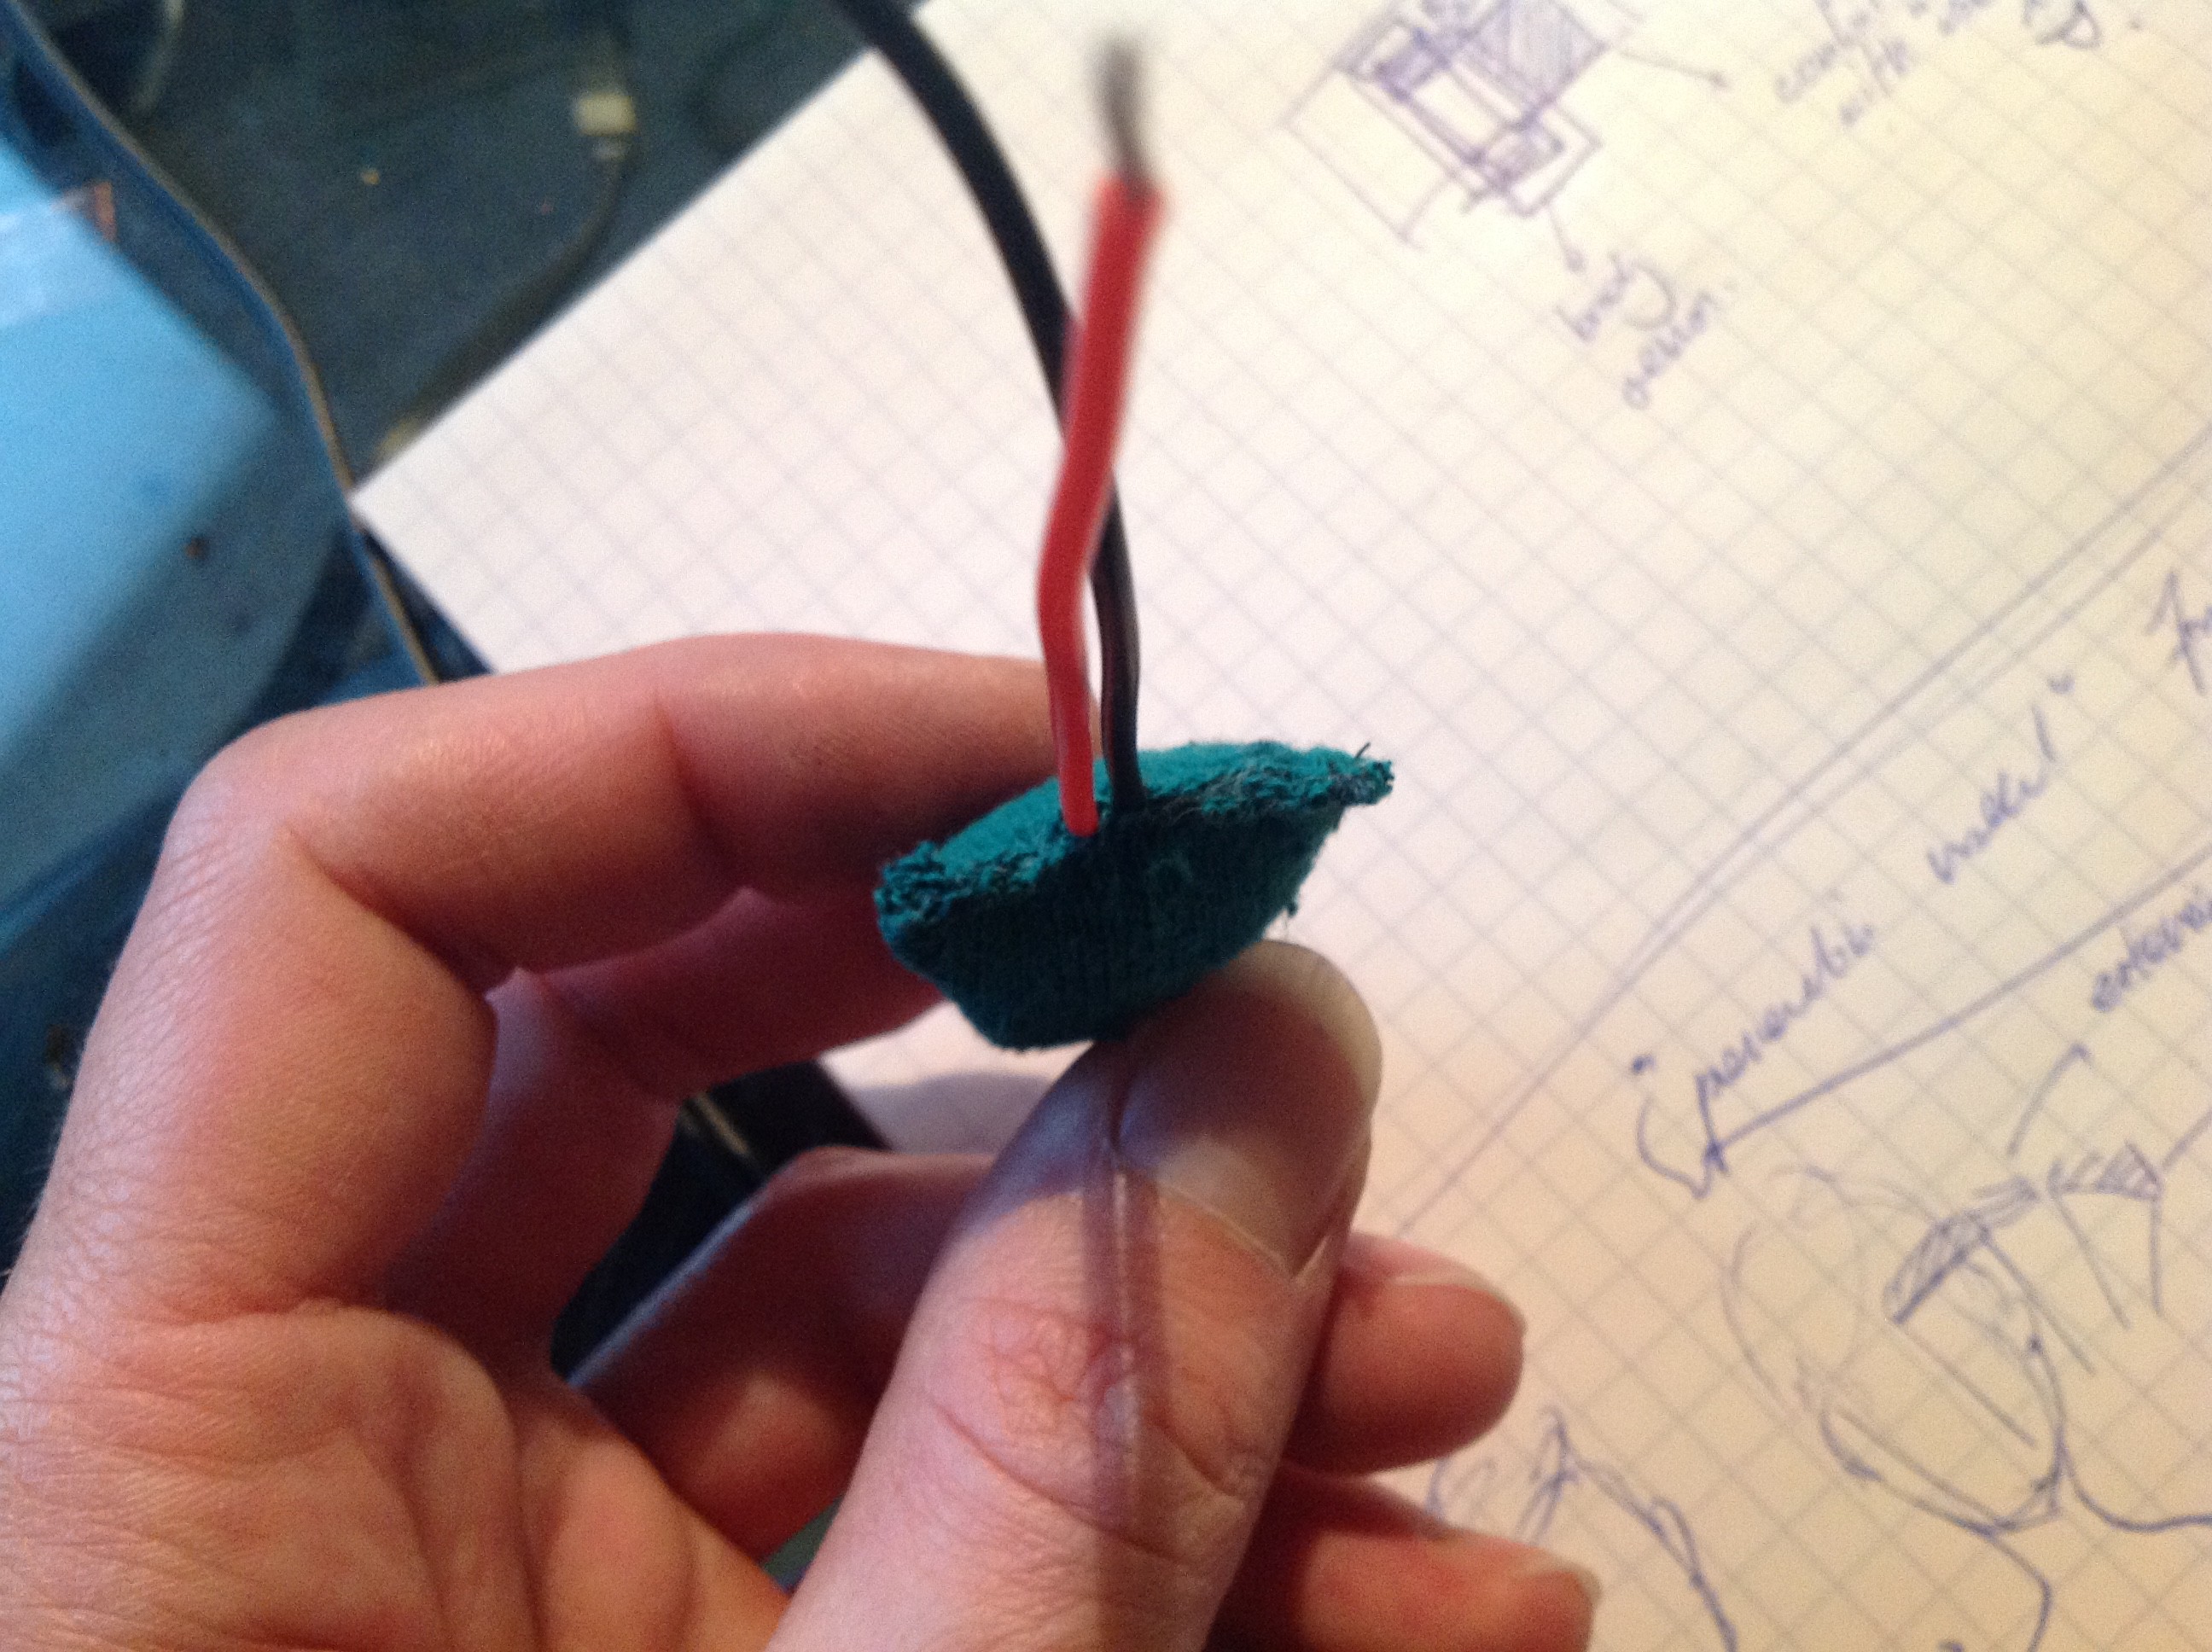
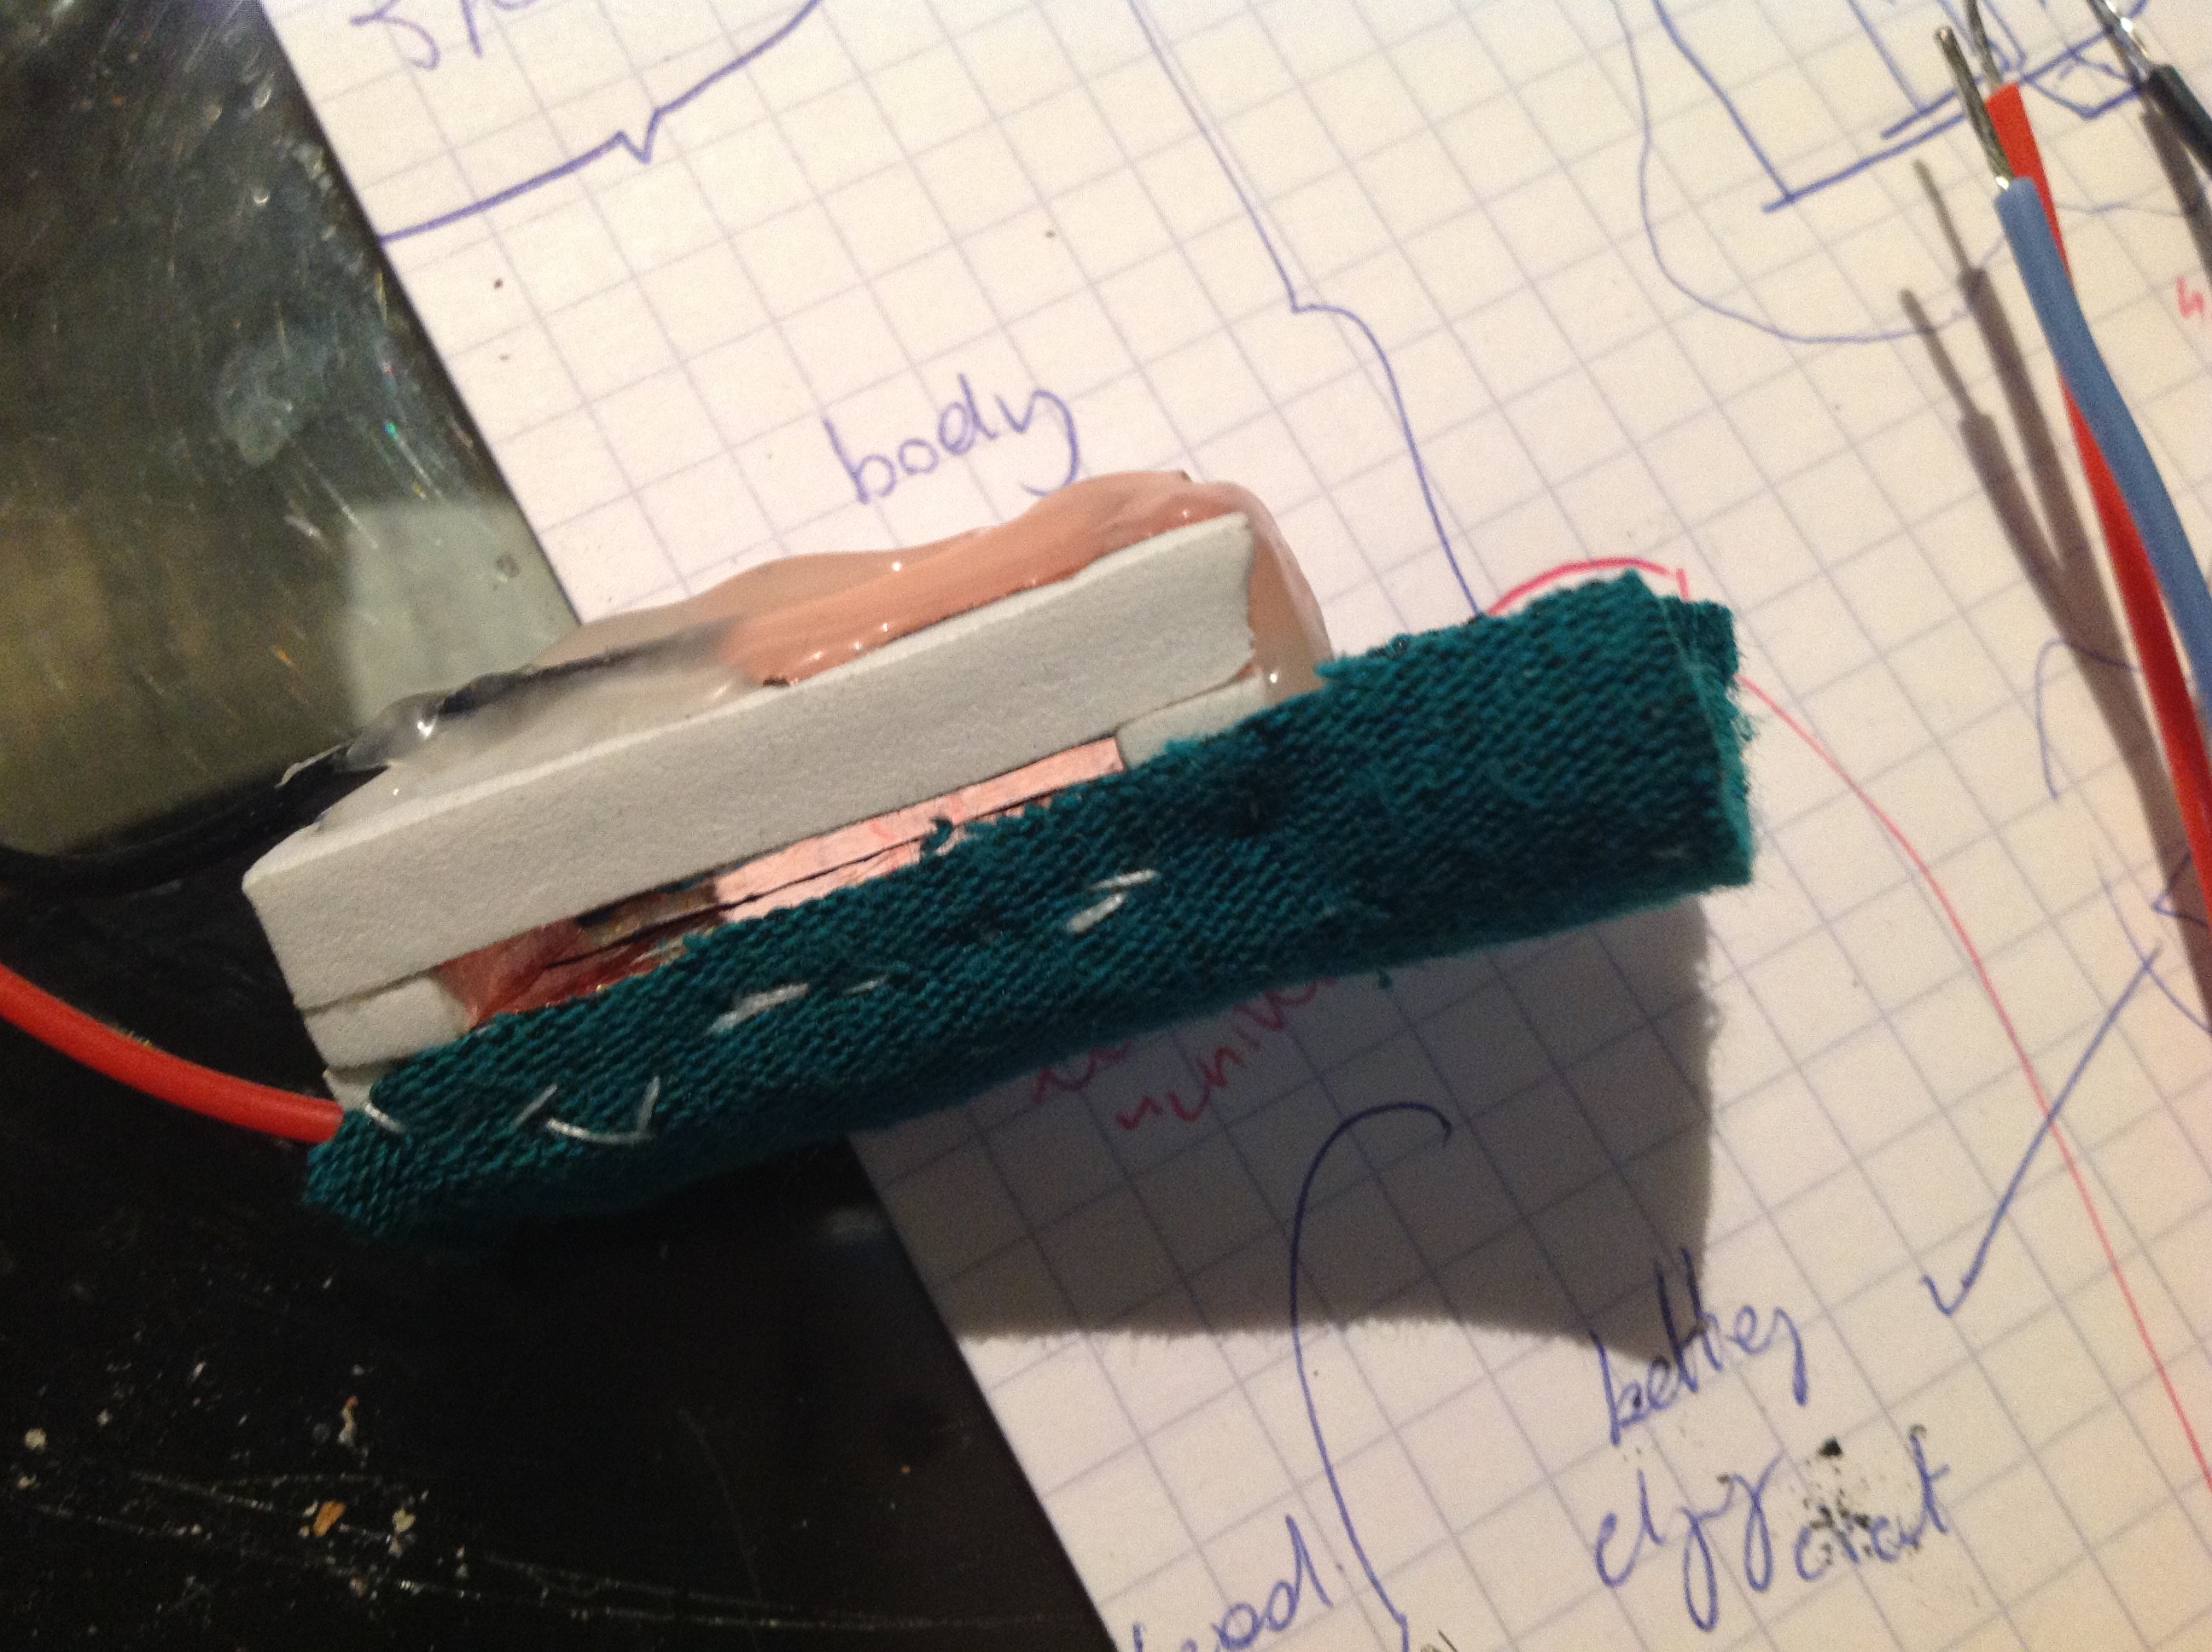
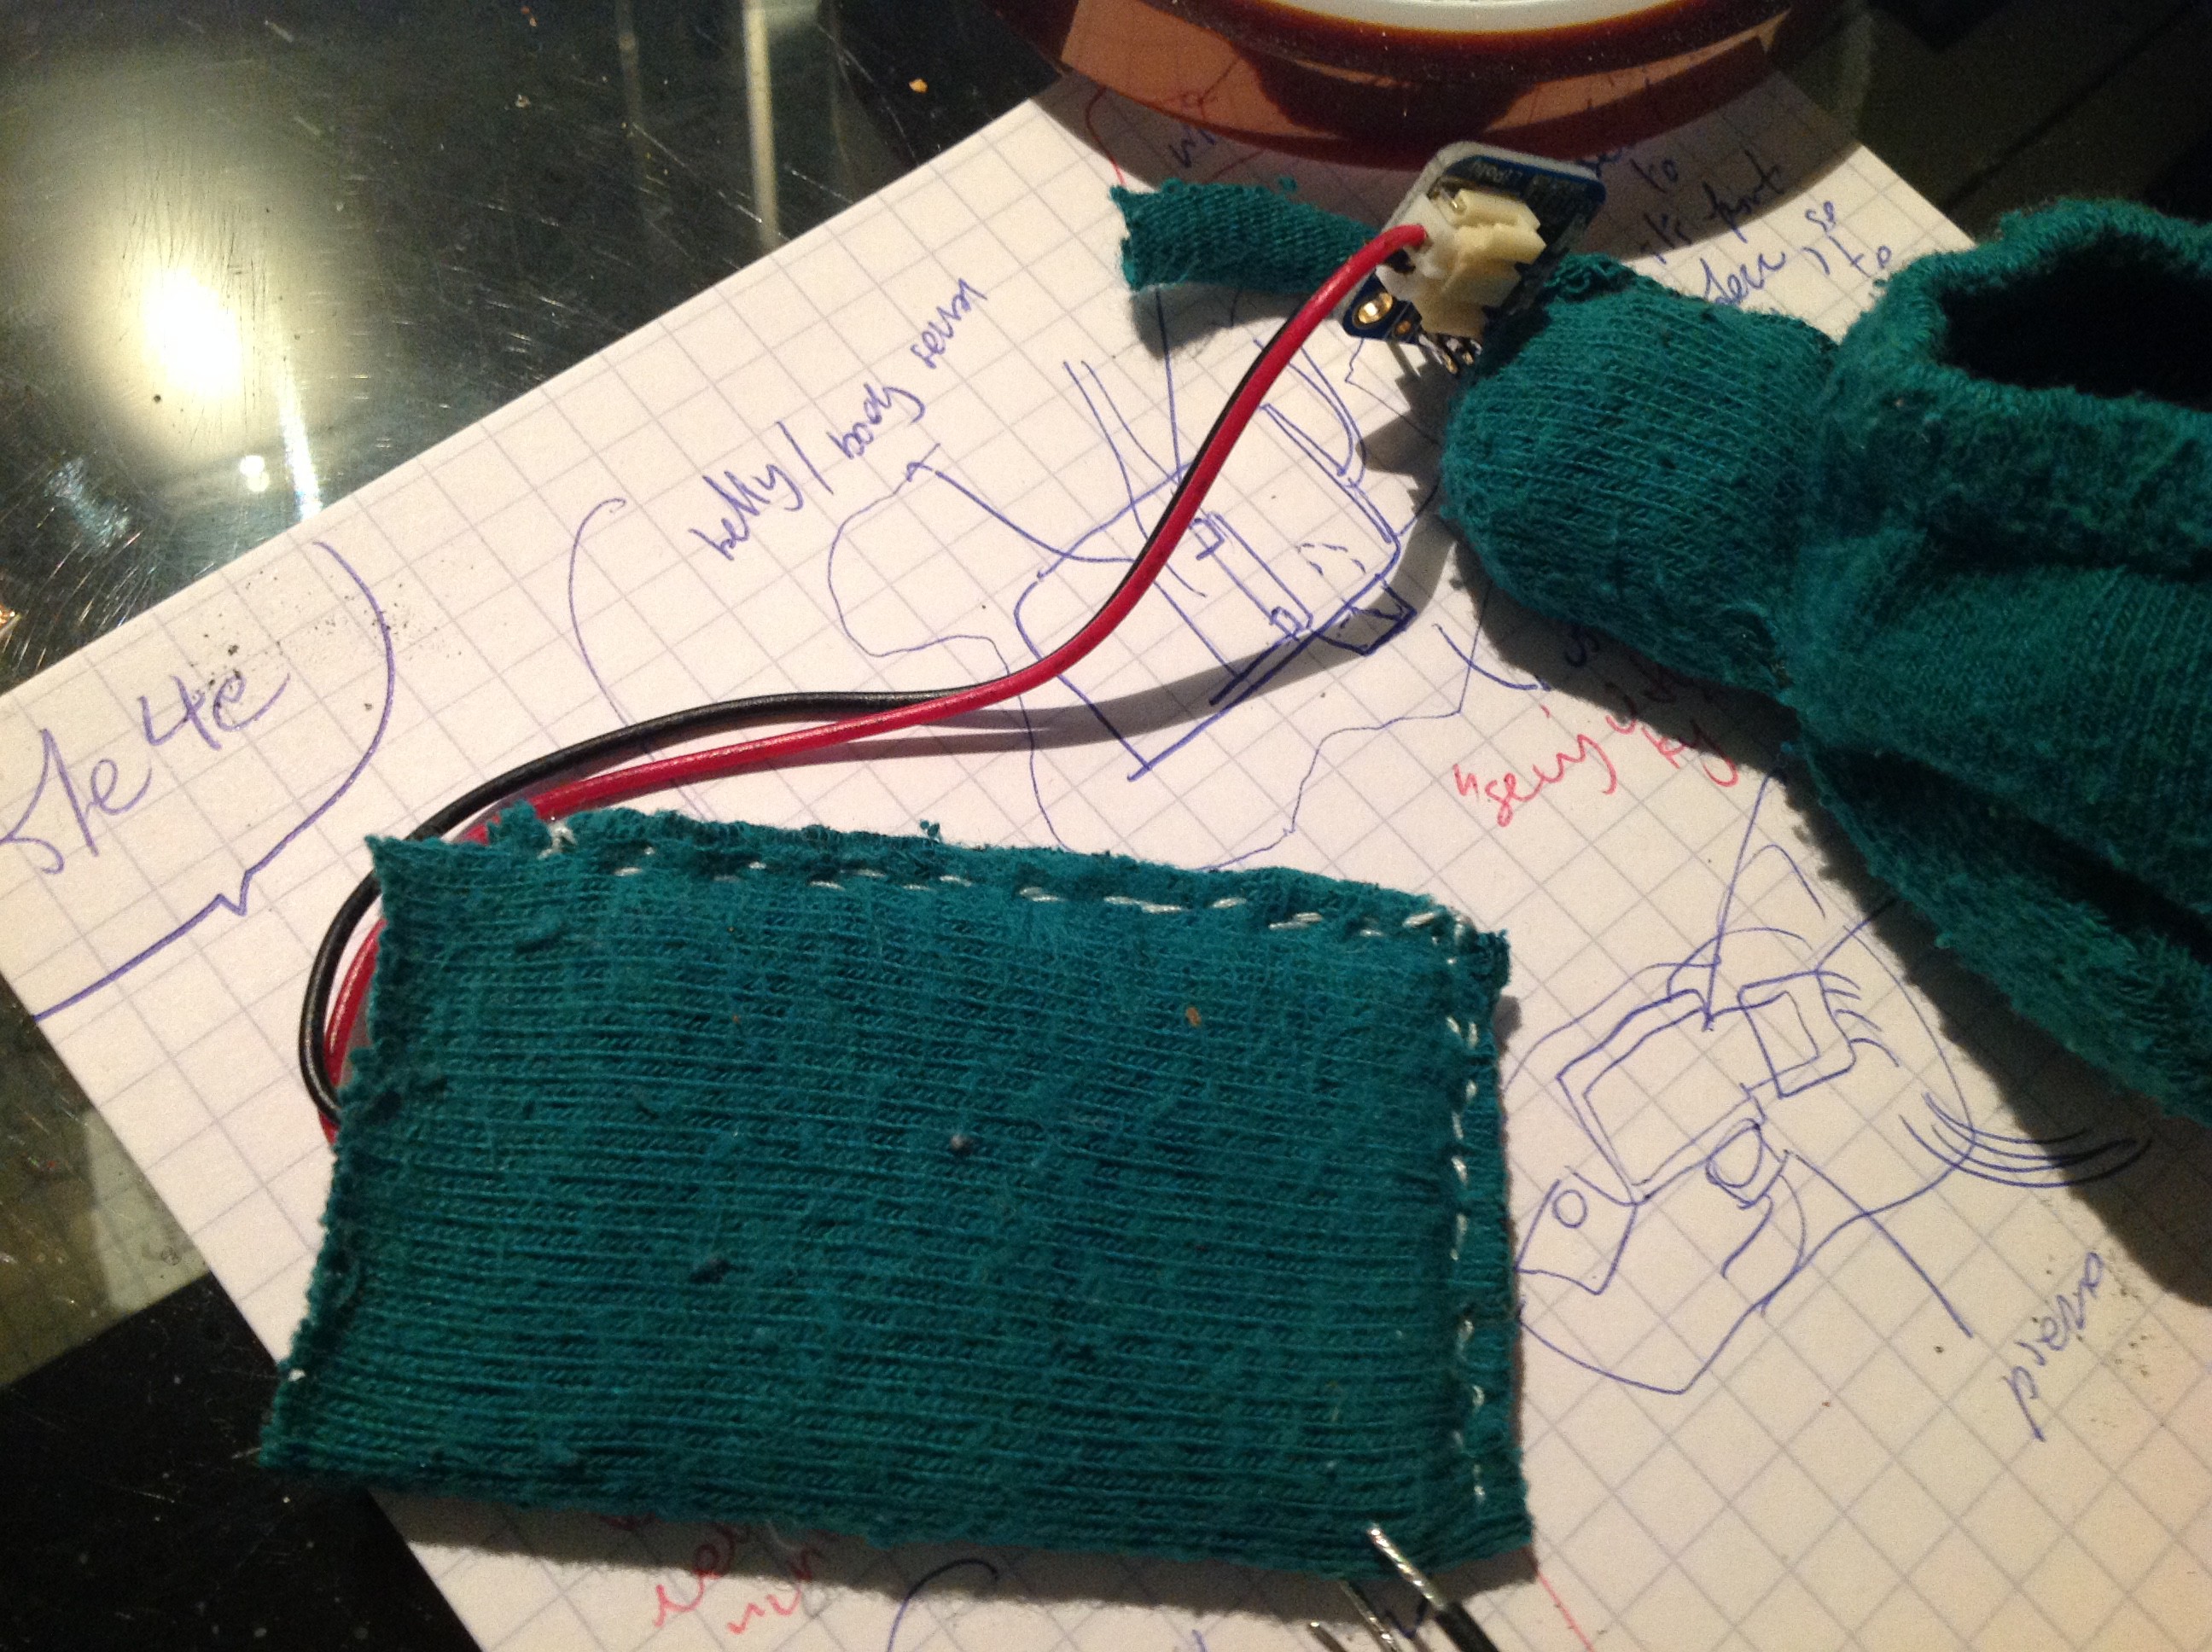
Then, we have to prepare the arms & tummy switches.
The tummy one 'll be made out of a quite rigid foam, while the arms ones 'll use thin cardboard.
Both 'll have conductive copper tape on their insides.
Using foam for the tummy switch provides the added benefit of being able to sew stuff to it, as well as sew it to the insides of the body, to further center it with cotton.
We could have used velostat to have pressure sensors instead of simply switches, but I didn't have any at the time, plus I didn't get the expected results with the conductive foam I had on hand :/
the following pics illustrates how I did the arms switches.
![]()
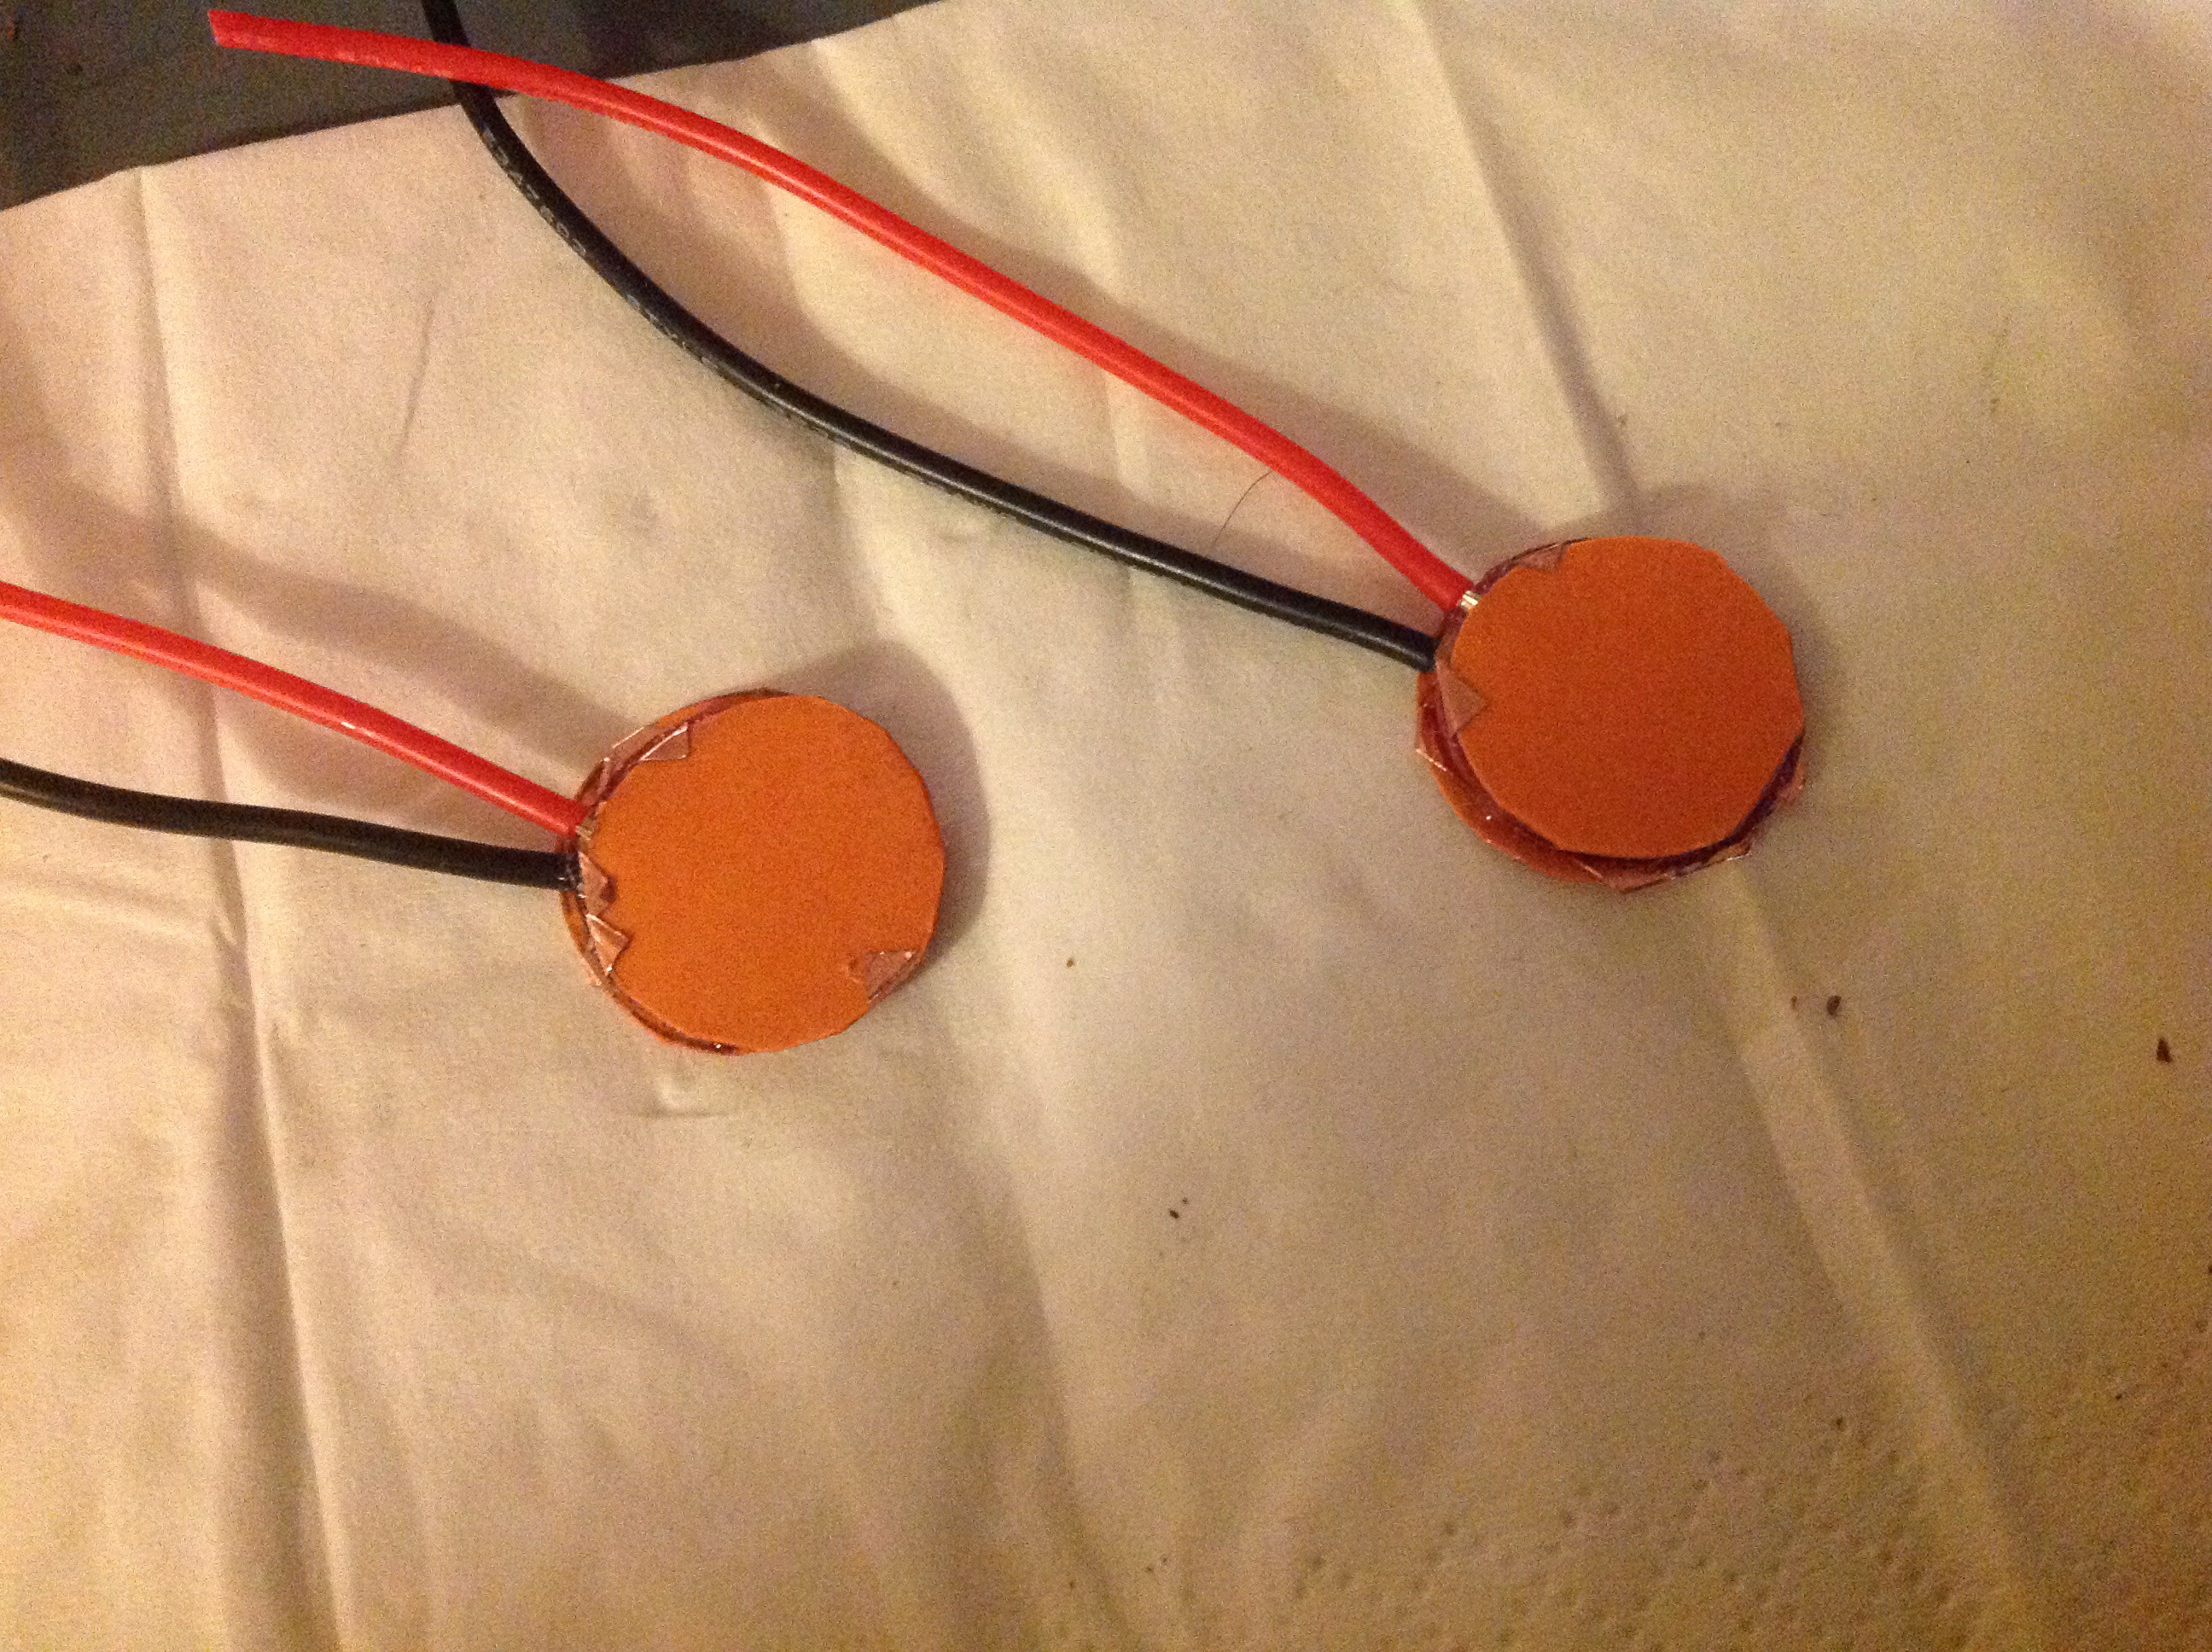
We start with four identical faces with copper tape, & two hollowed shape so as to have just a little space between the two copper plates.
The wires ends are held in place by the copper tape., while the hollowed shapes are glued to one of the two plates of each arm.
![]()
If we have the expected results when pressing it ( not too hard , but not too soft considering we'll be stuffing cotton before & behind it ), we can glue together the plates of each arm.
![]()
Once this is done, we use Kapton to secure the overall part & make it as compact as possible.
![]()
![]()
![]()
![]()
Now that we completed one arm switch, we do the same for the other, and then test both before sewing the arm tightly to maintain both the switch and the cotton as wished.
Try to center the switch so as not to be able to feel it ( and instead feel the softness of cotton, nothing else ).
Don't hesitate to stuff more and more cotton in the arm, but just make sure that it won't turn on the switch by accident once we sewed the arm after testing ..
![]()
So, does our switches work ? ..
![]()
.. it does indeed ! :)
![]()
.. and hopefully, the same goes for the tummy switch.
![]()
![]()
Now that we know all our switches are working correctly, we can firmly sew the arms, and we'll also sew some sock part to the tummy switch: we'll use it to attach the bottom of the switch to the insides of the pluche, so as to better hold it in place.
![]()
Quick advice: don't try to have both wires as close as can be, but instead mark their separation & sew them firmly to their support where there tend to get out.
![]()
Here's the tummy switch, with it's ugly amount of glue to hold the wires firmly & avoid any direct contact with the copper.
![]()
Once we have all the above done, we can think about the next steps, & start attaching the arms to the body ..
-
4Step 4
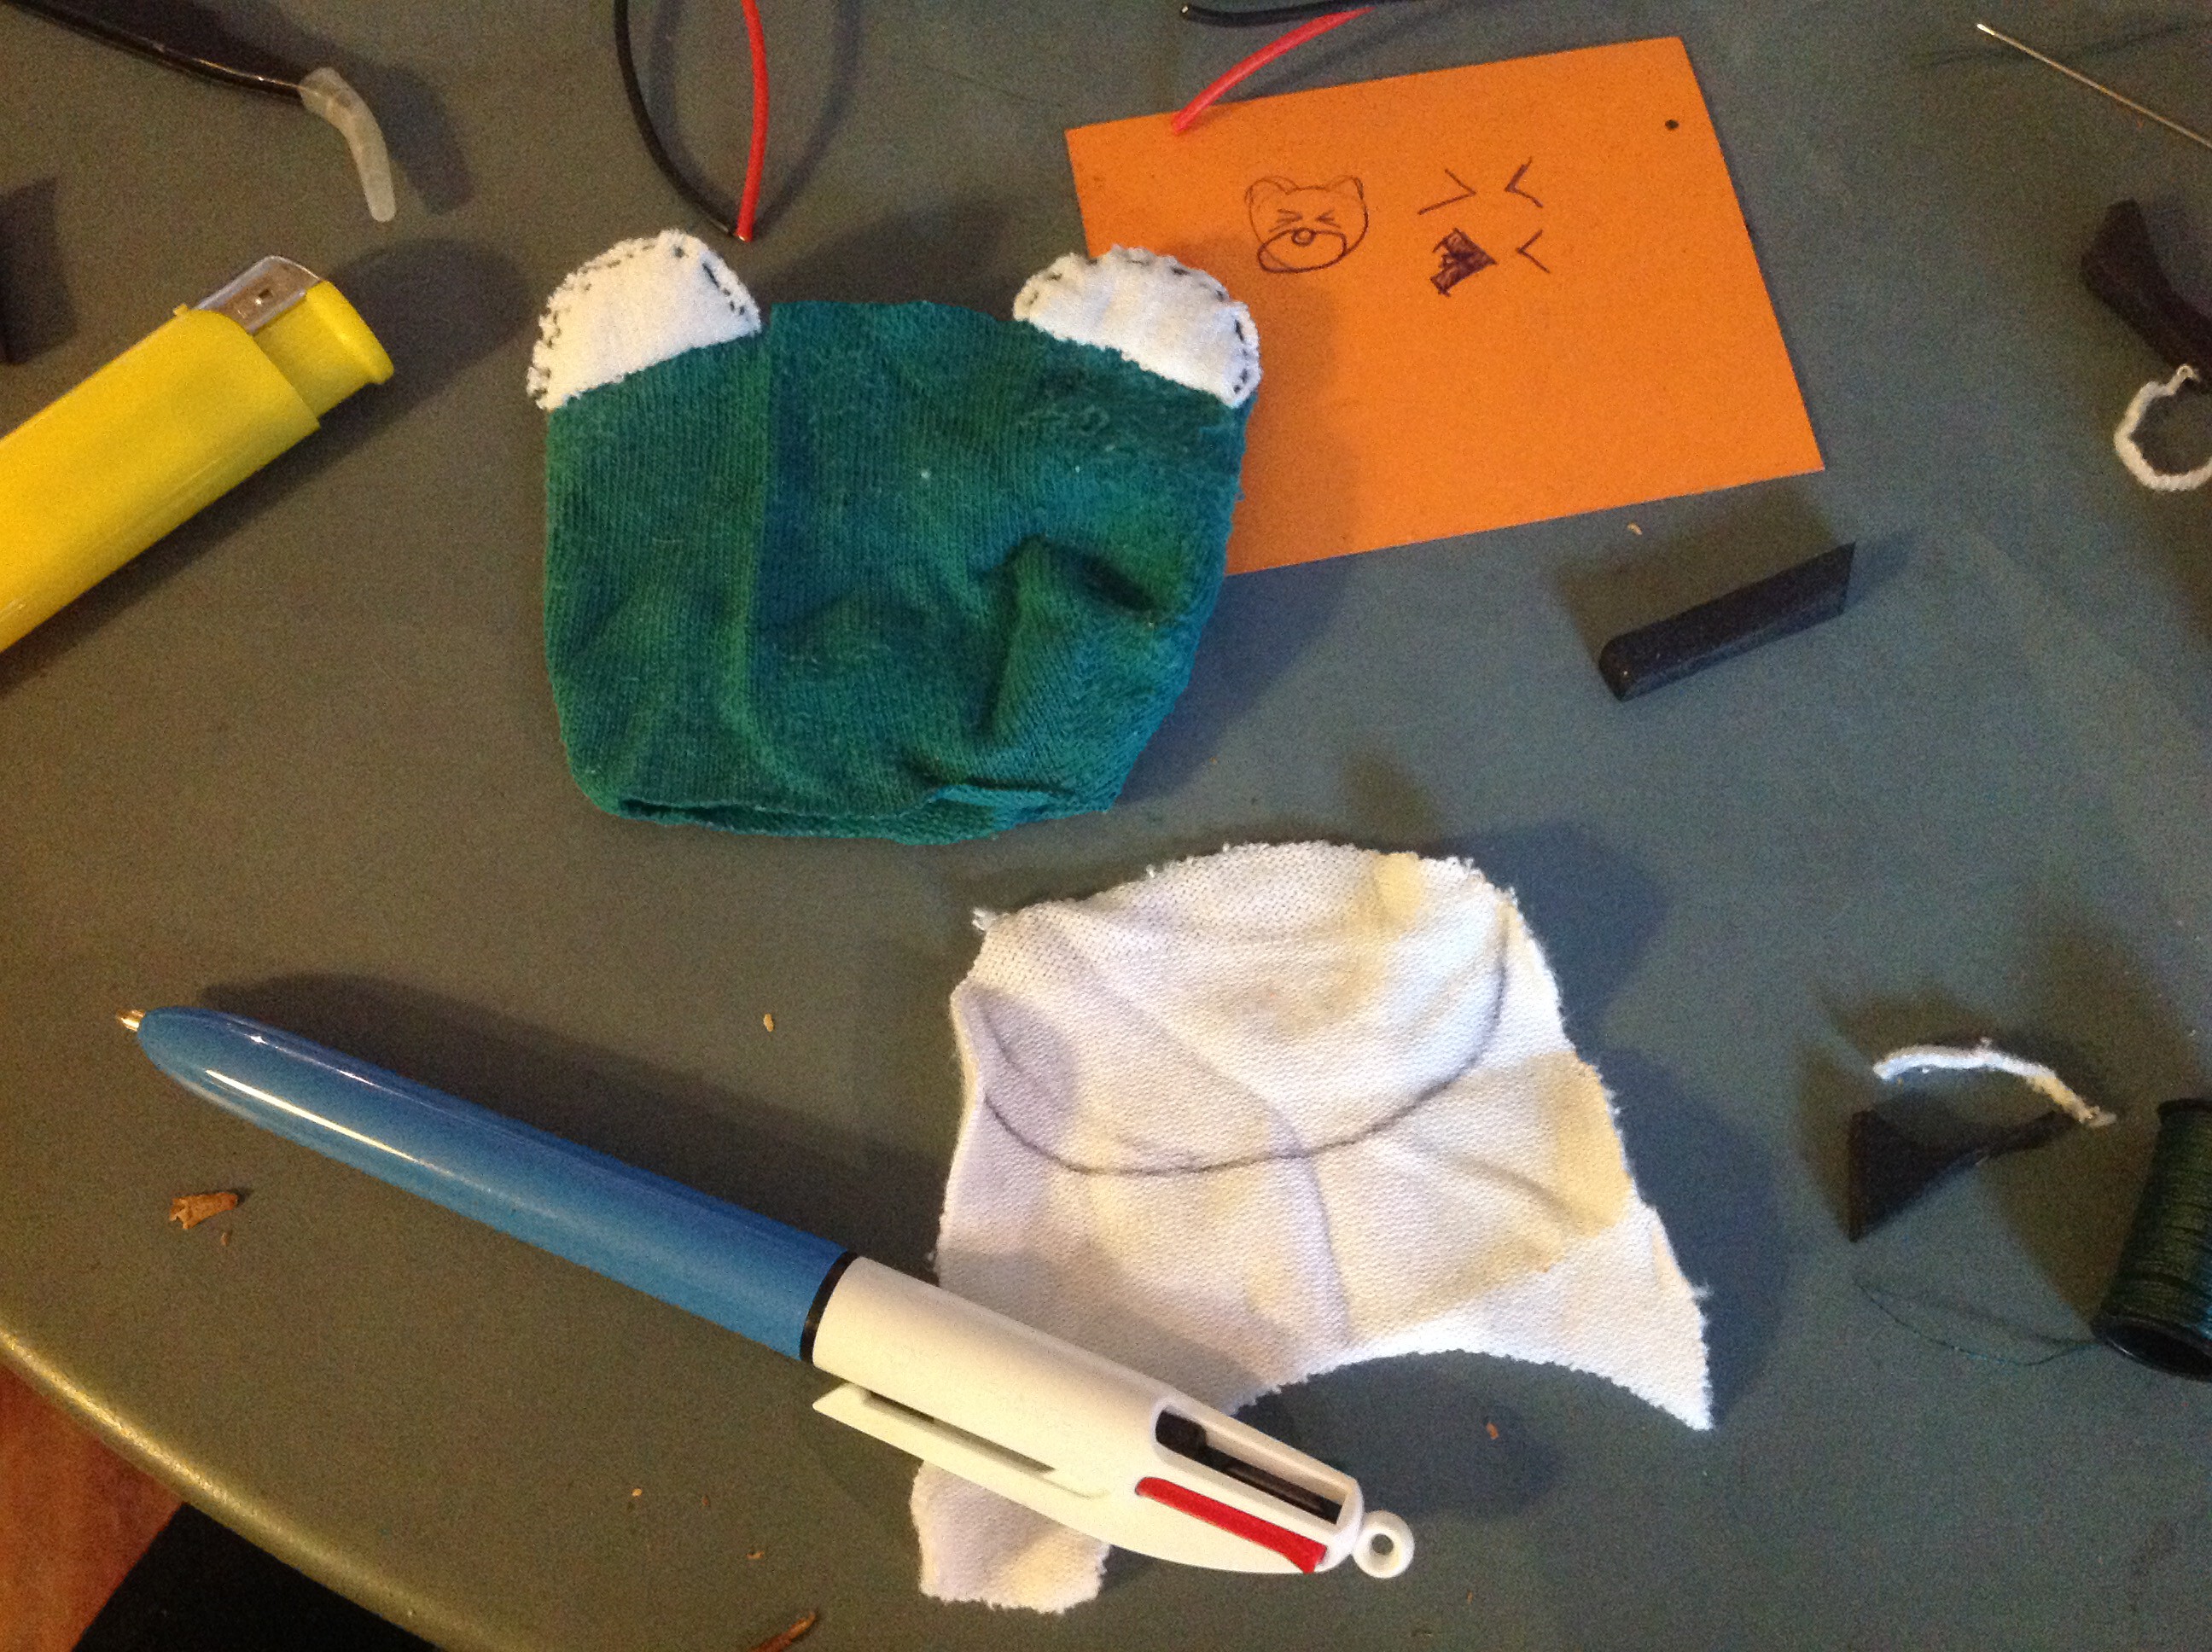
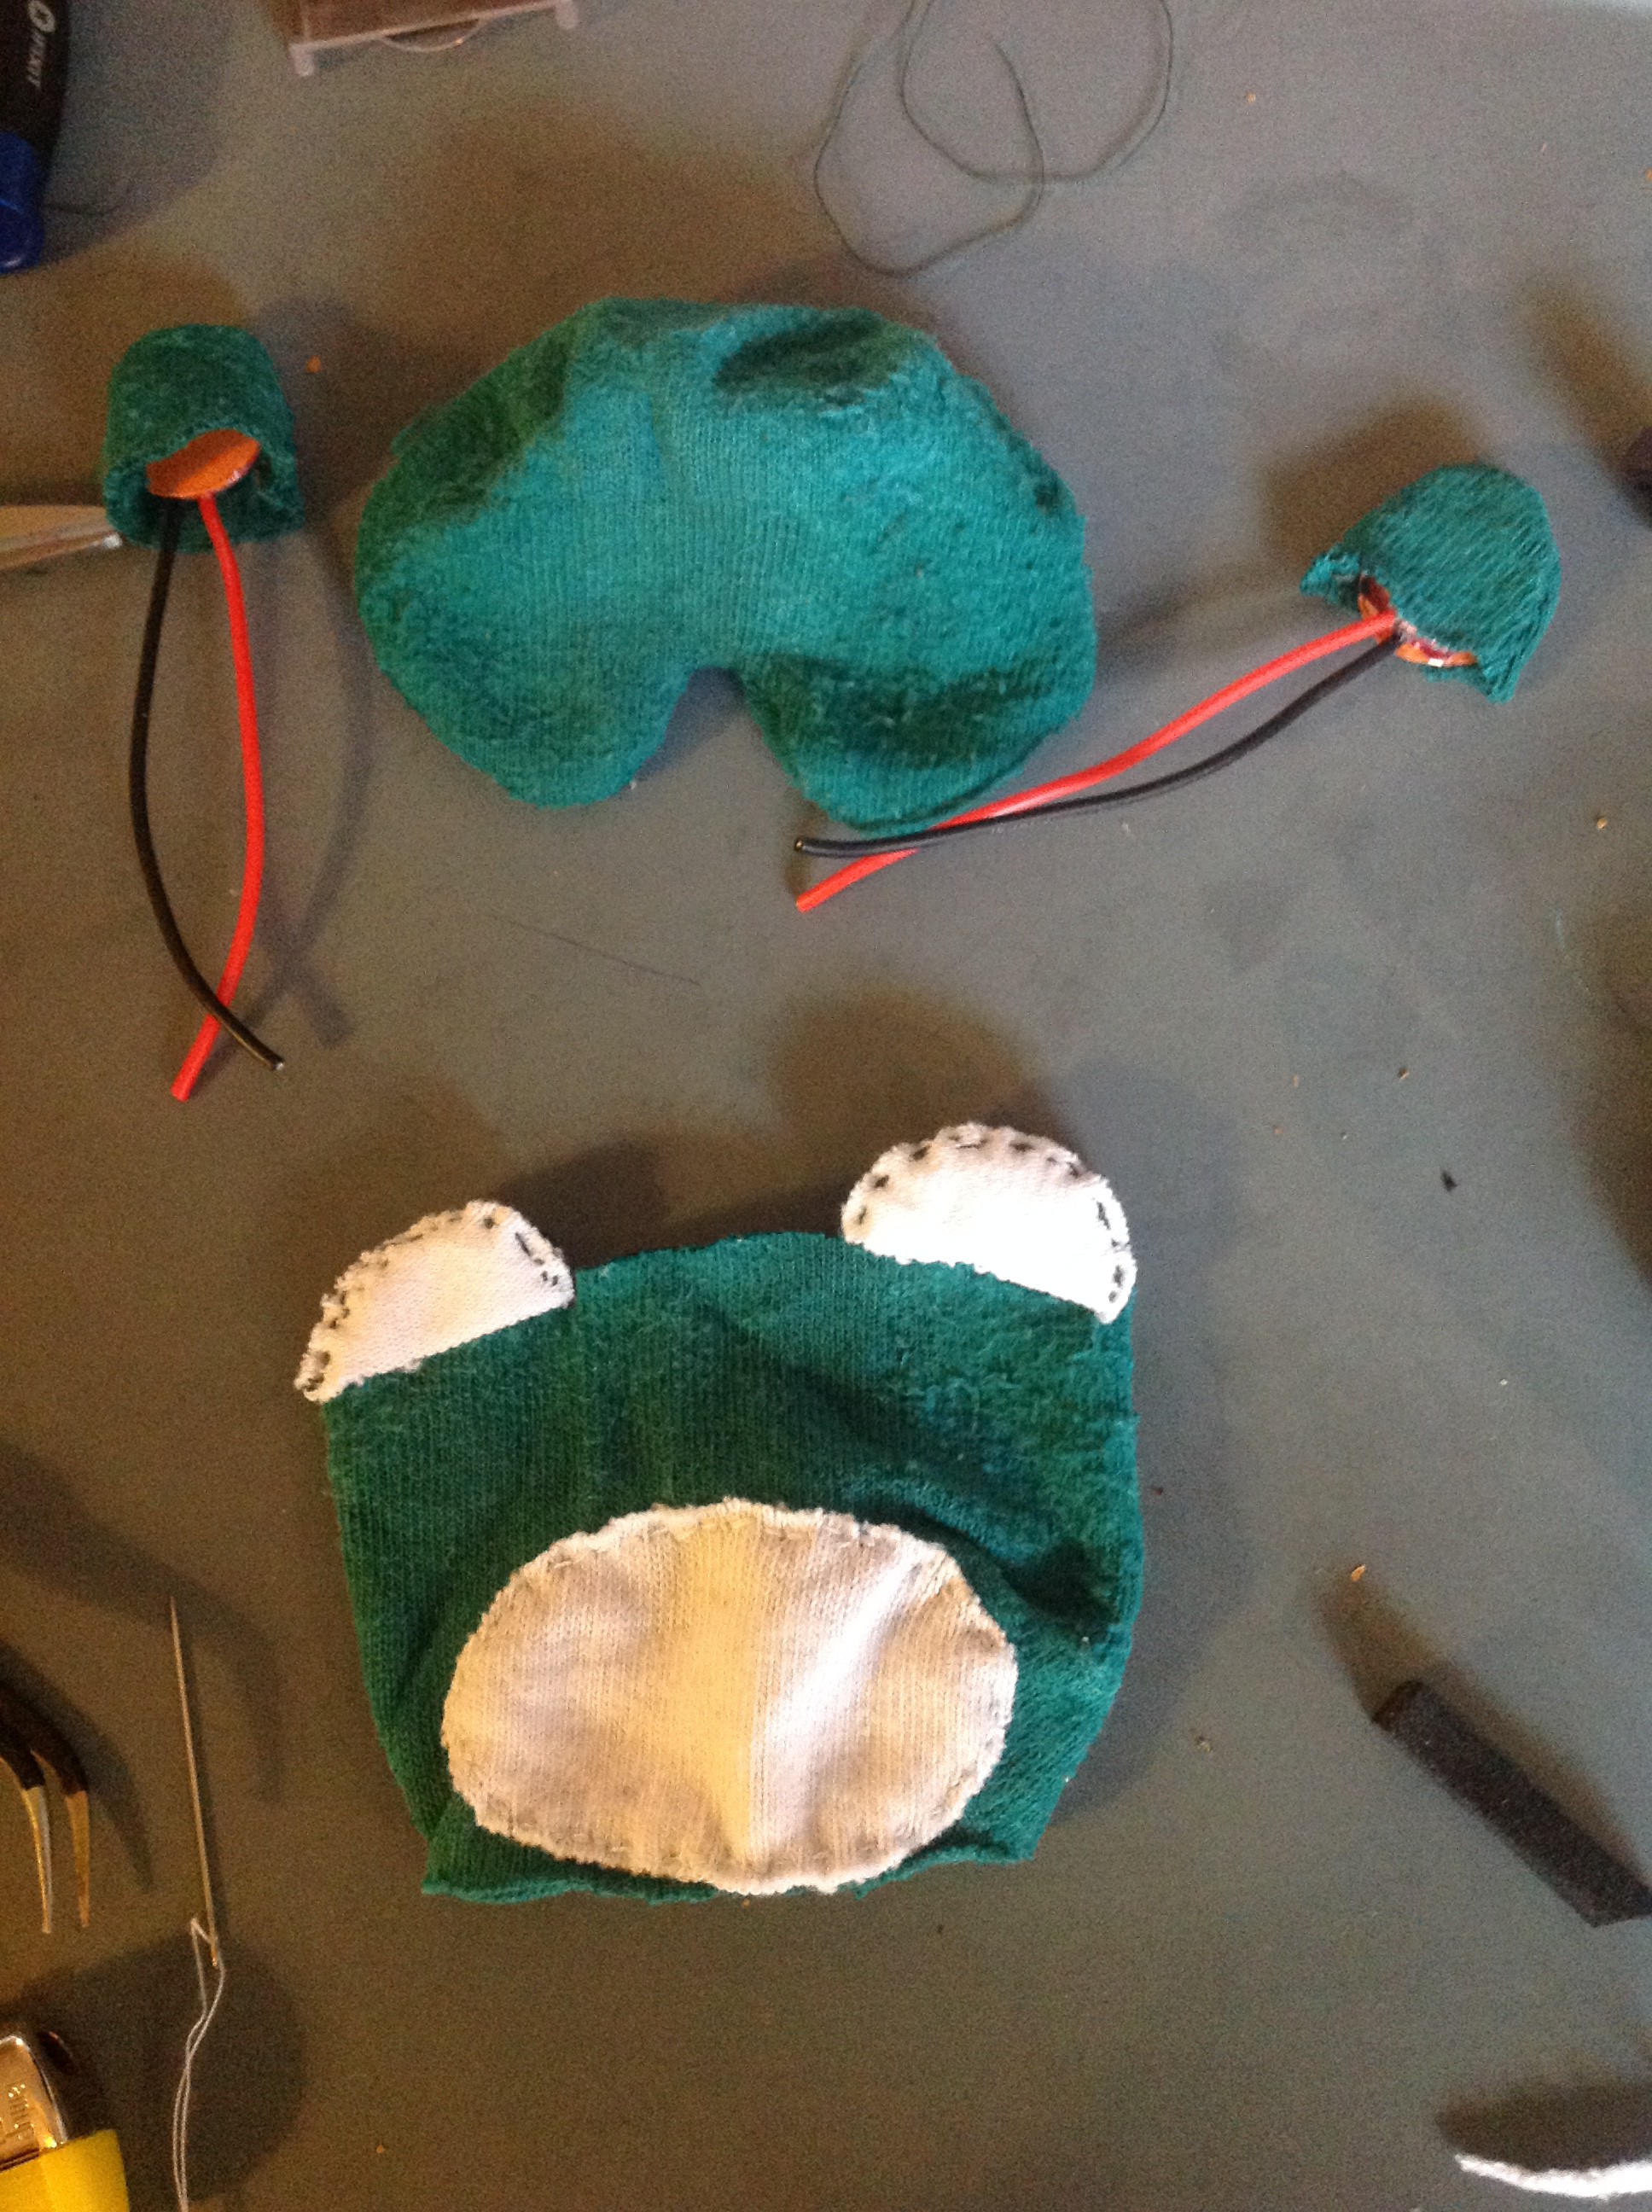
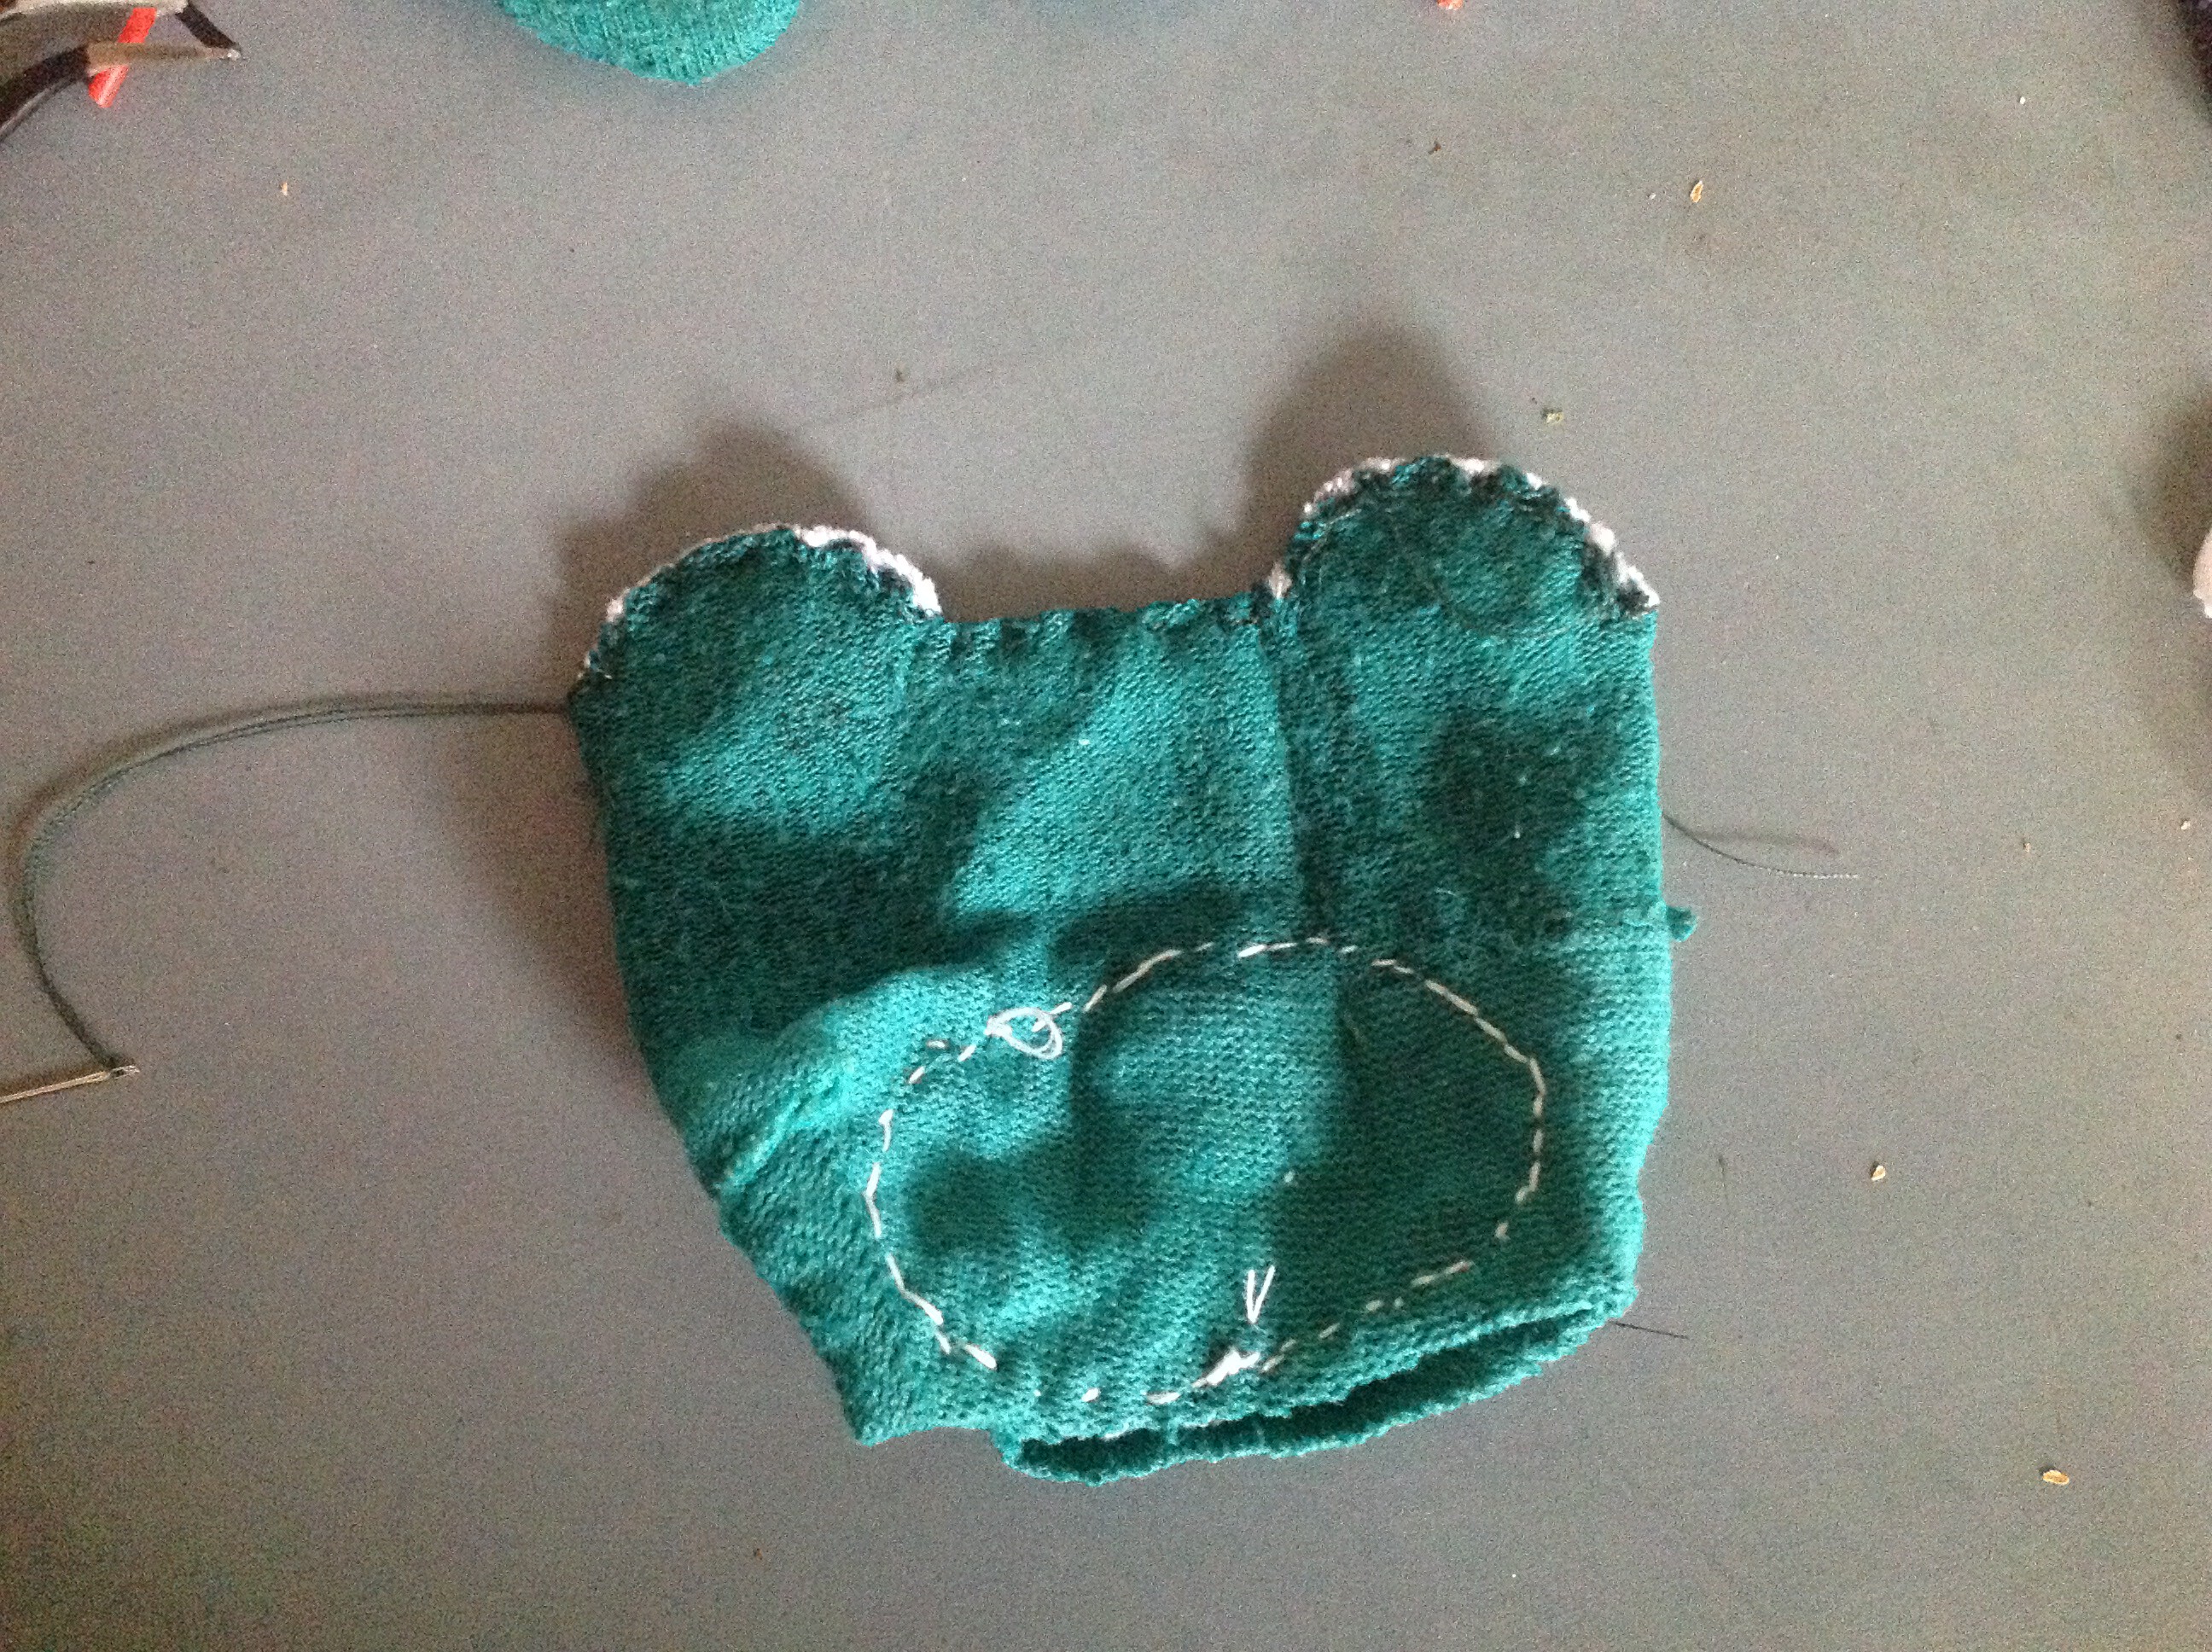
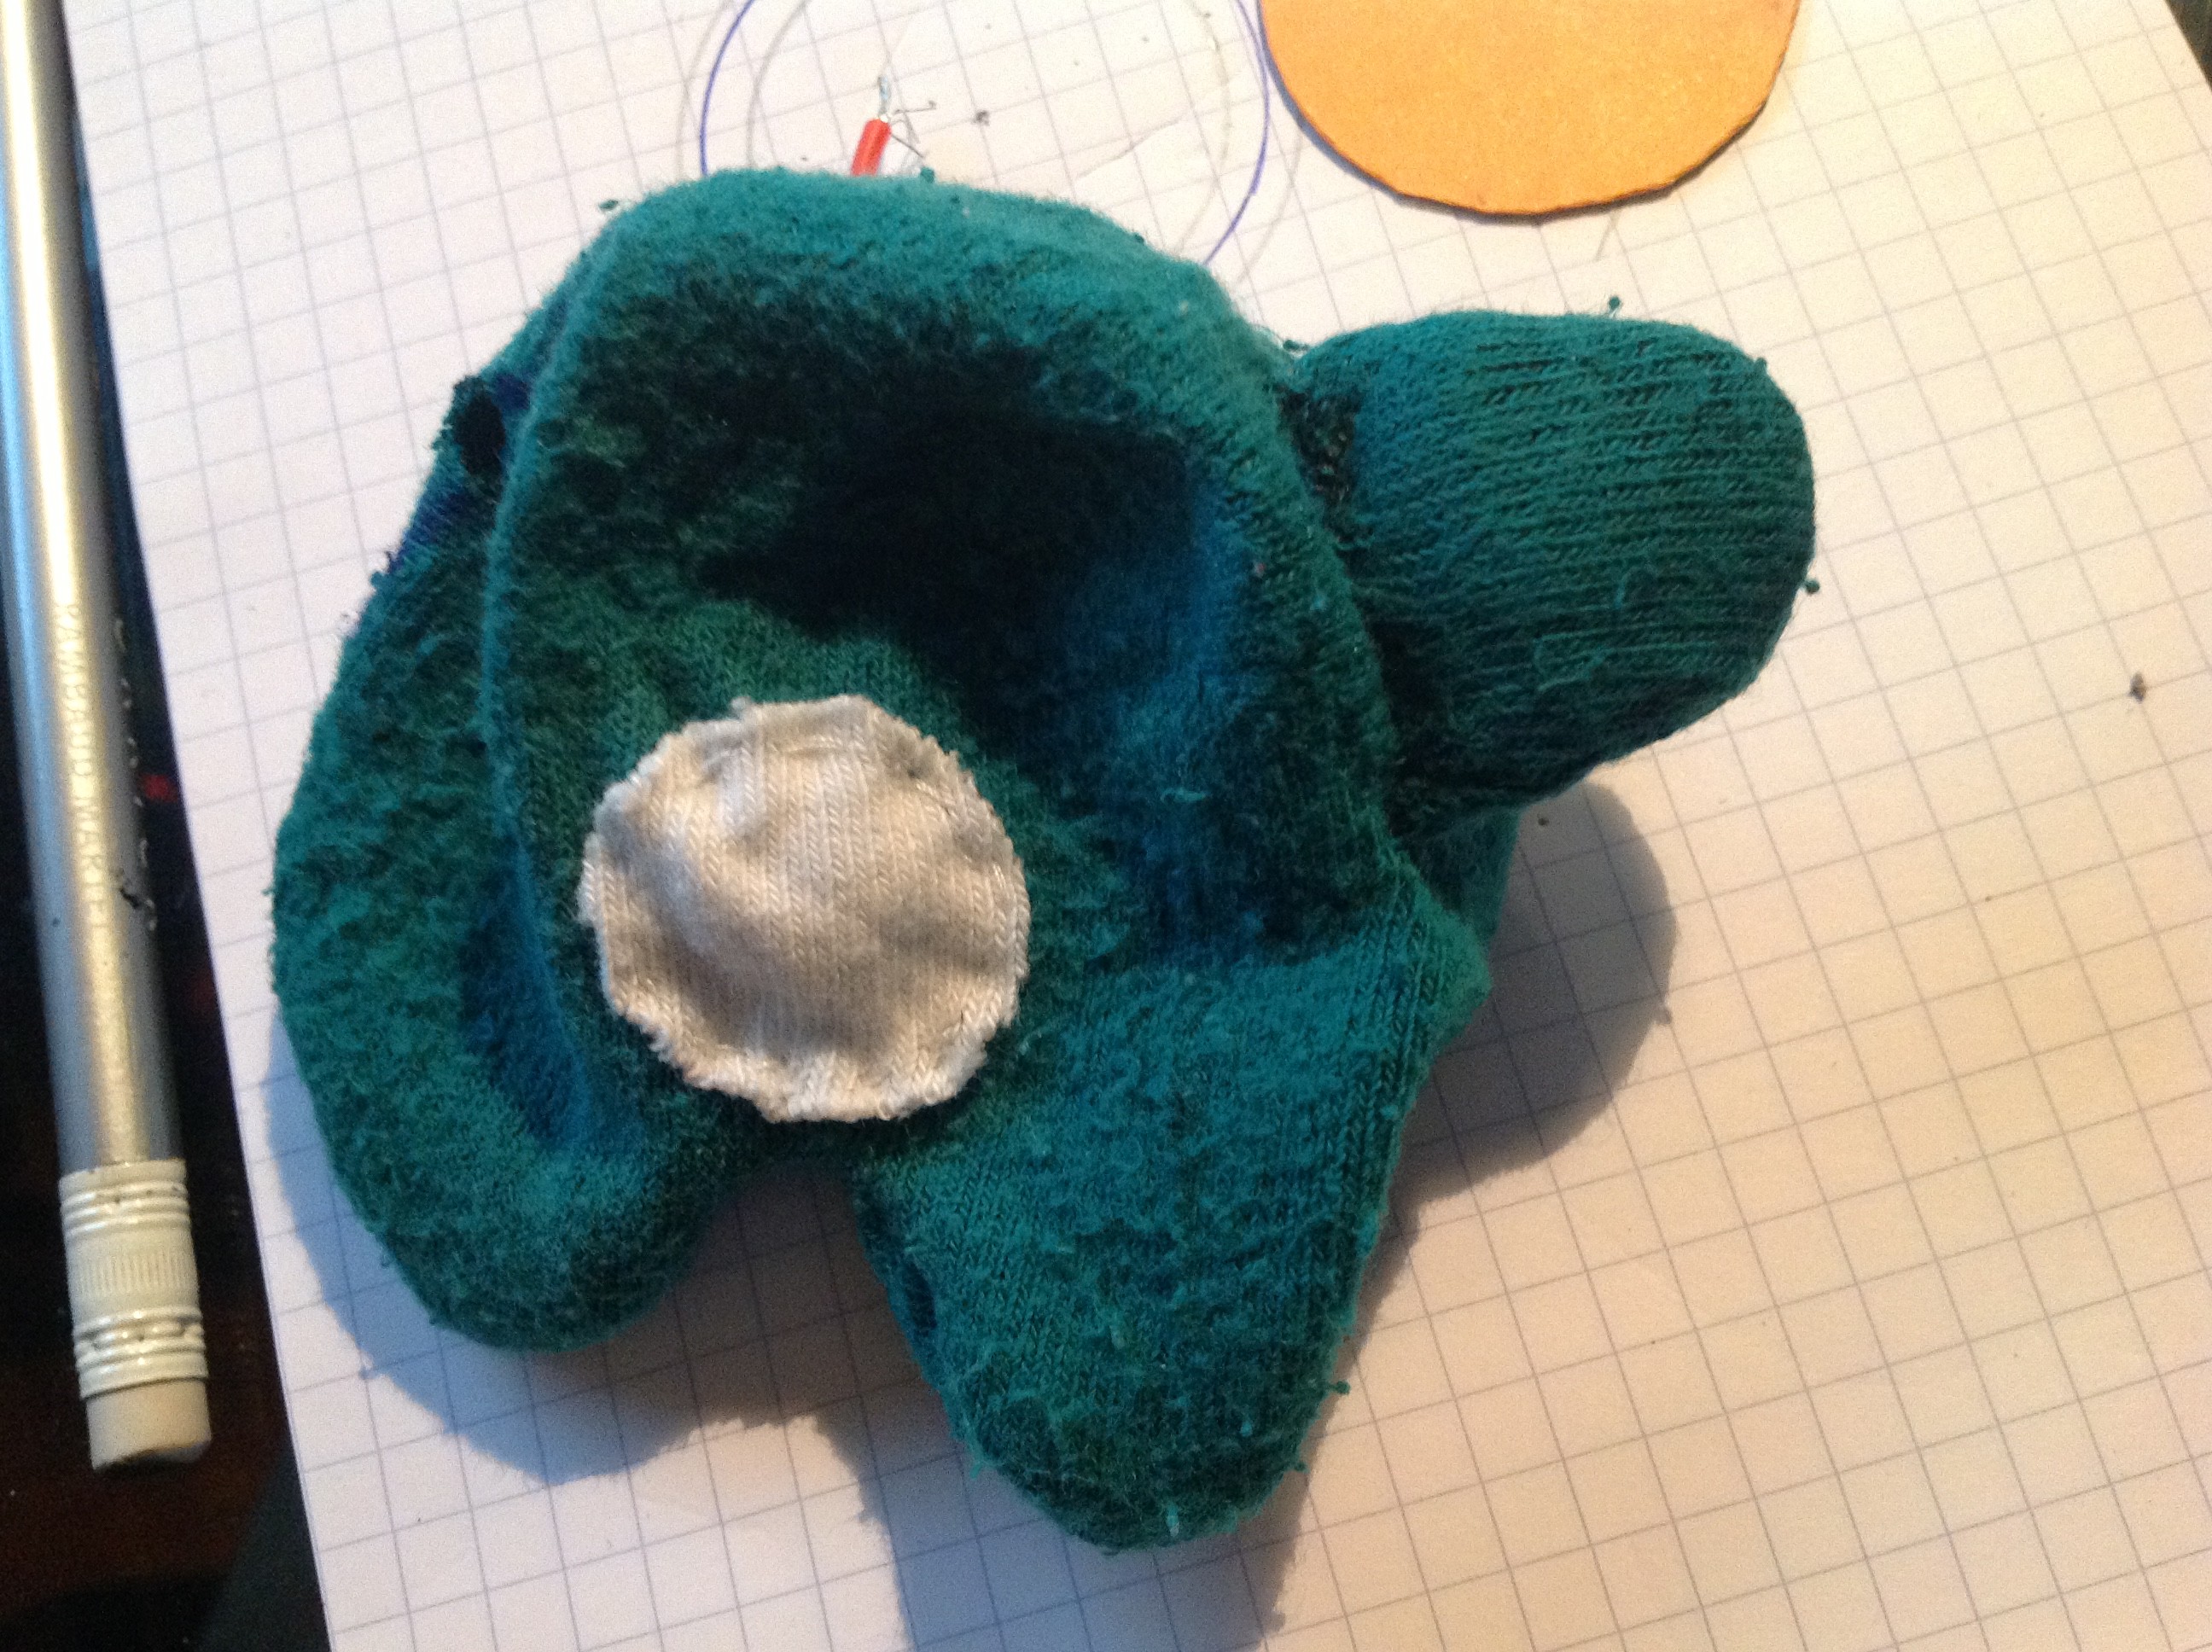
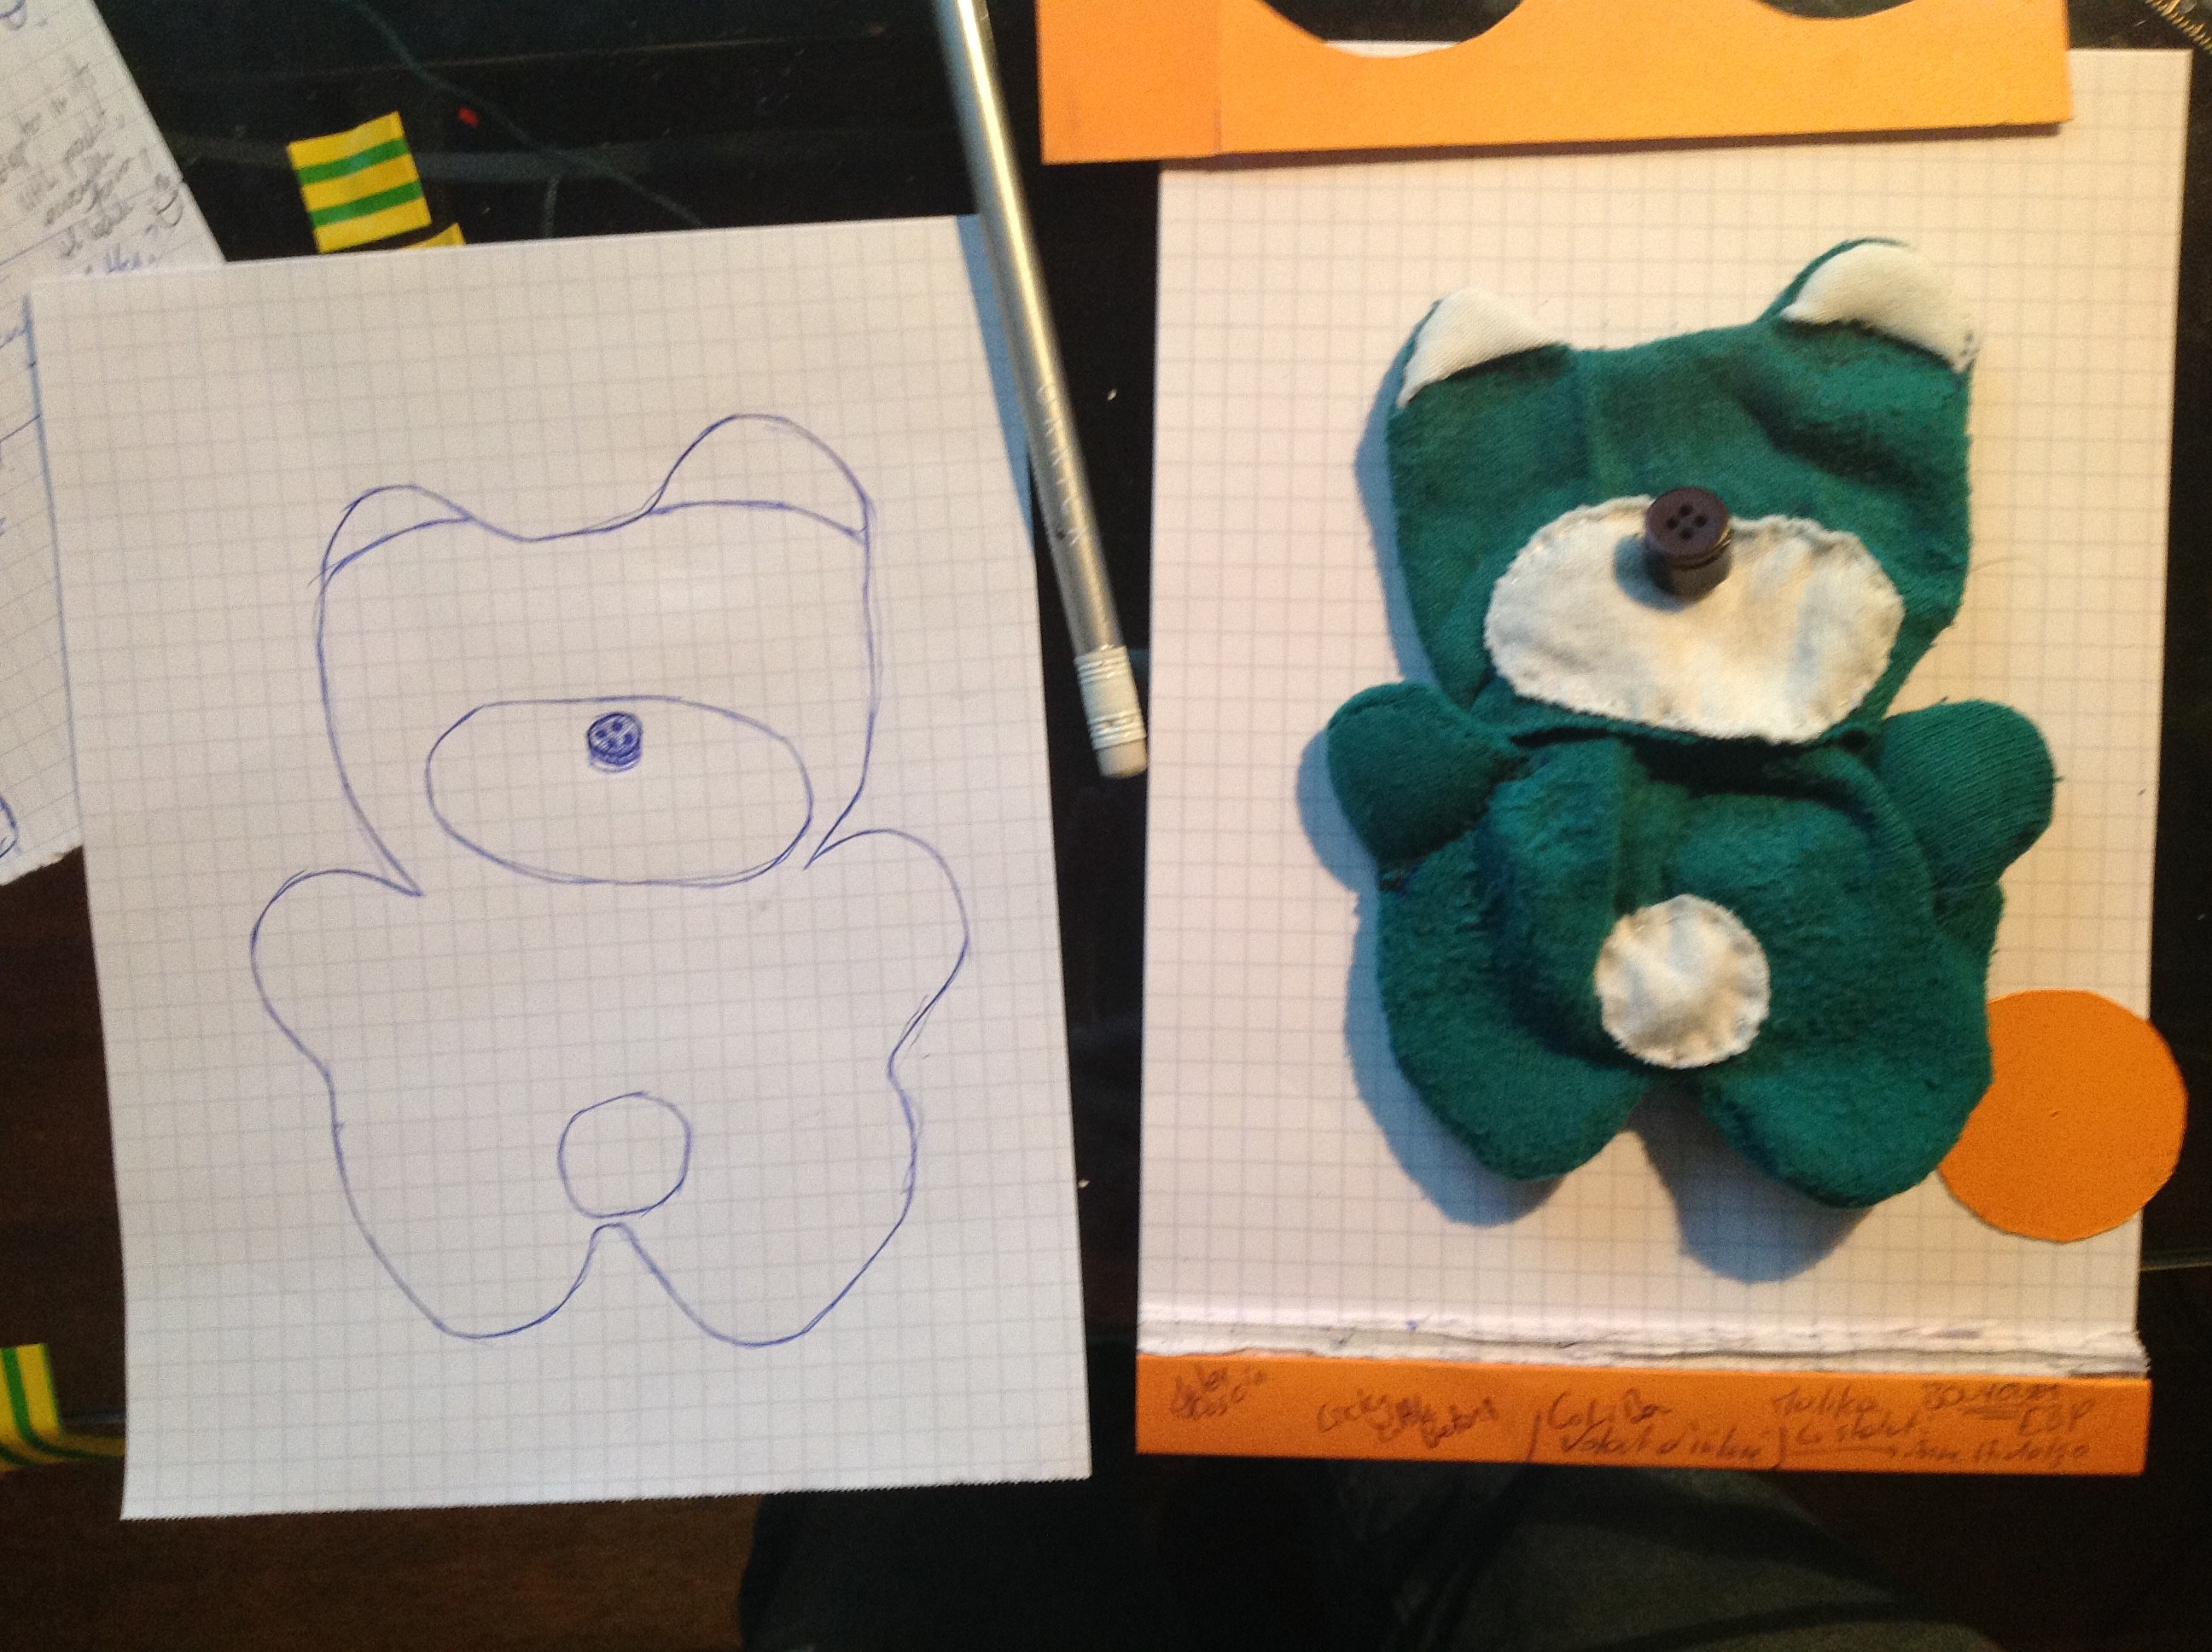
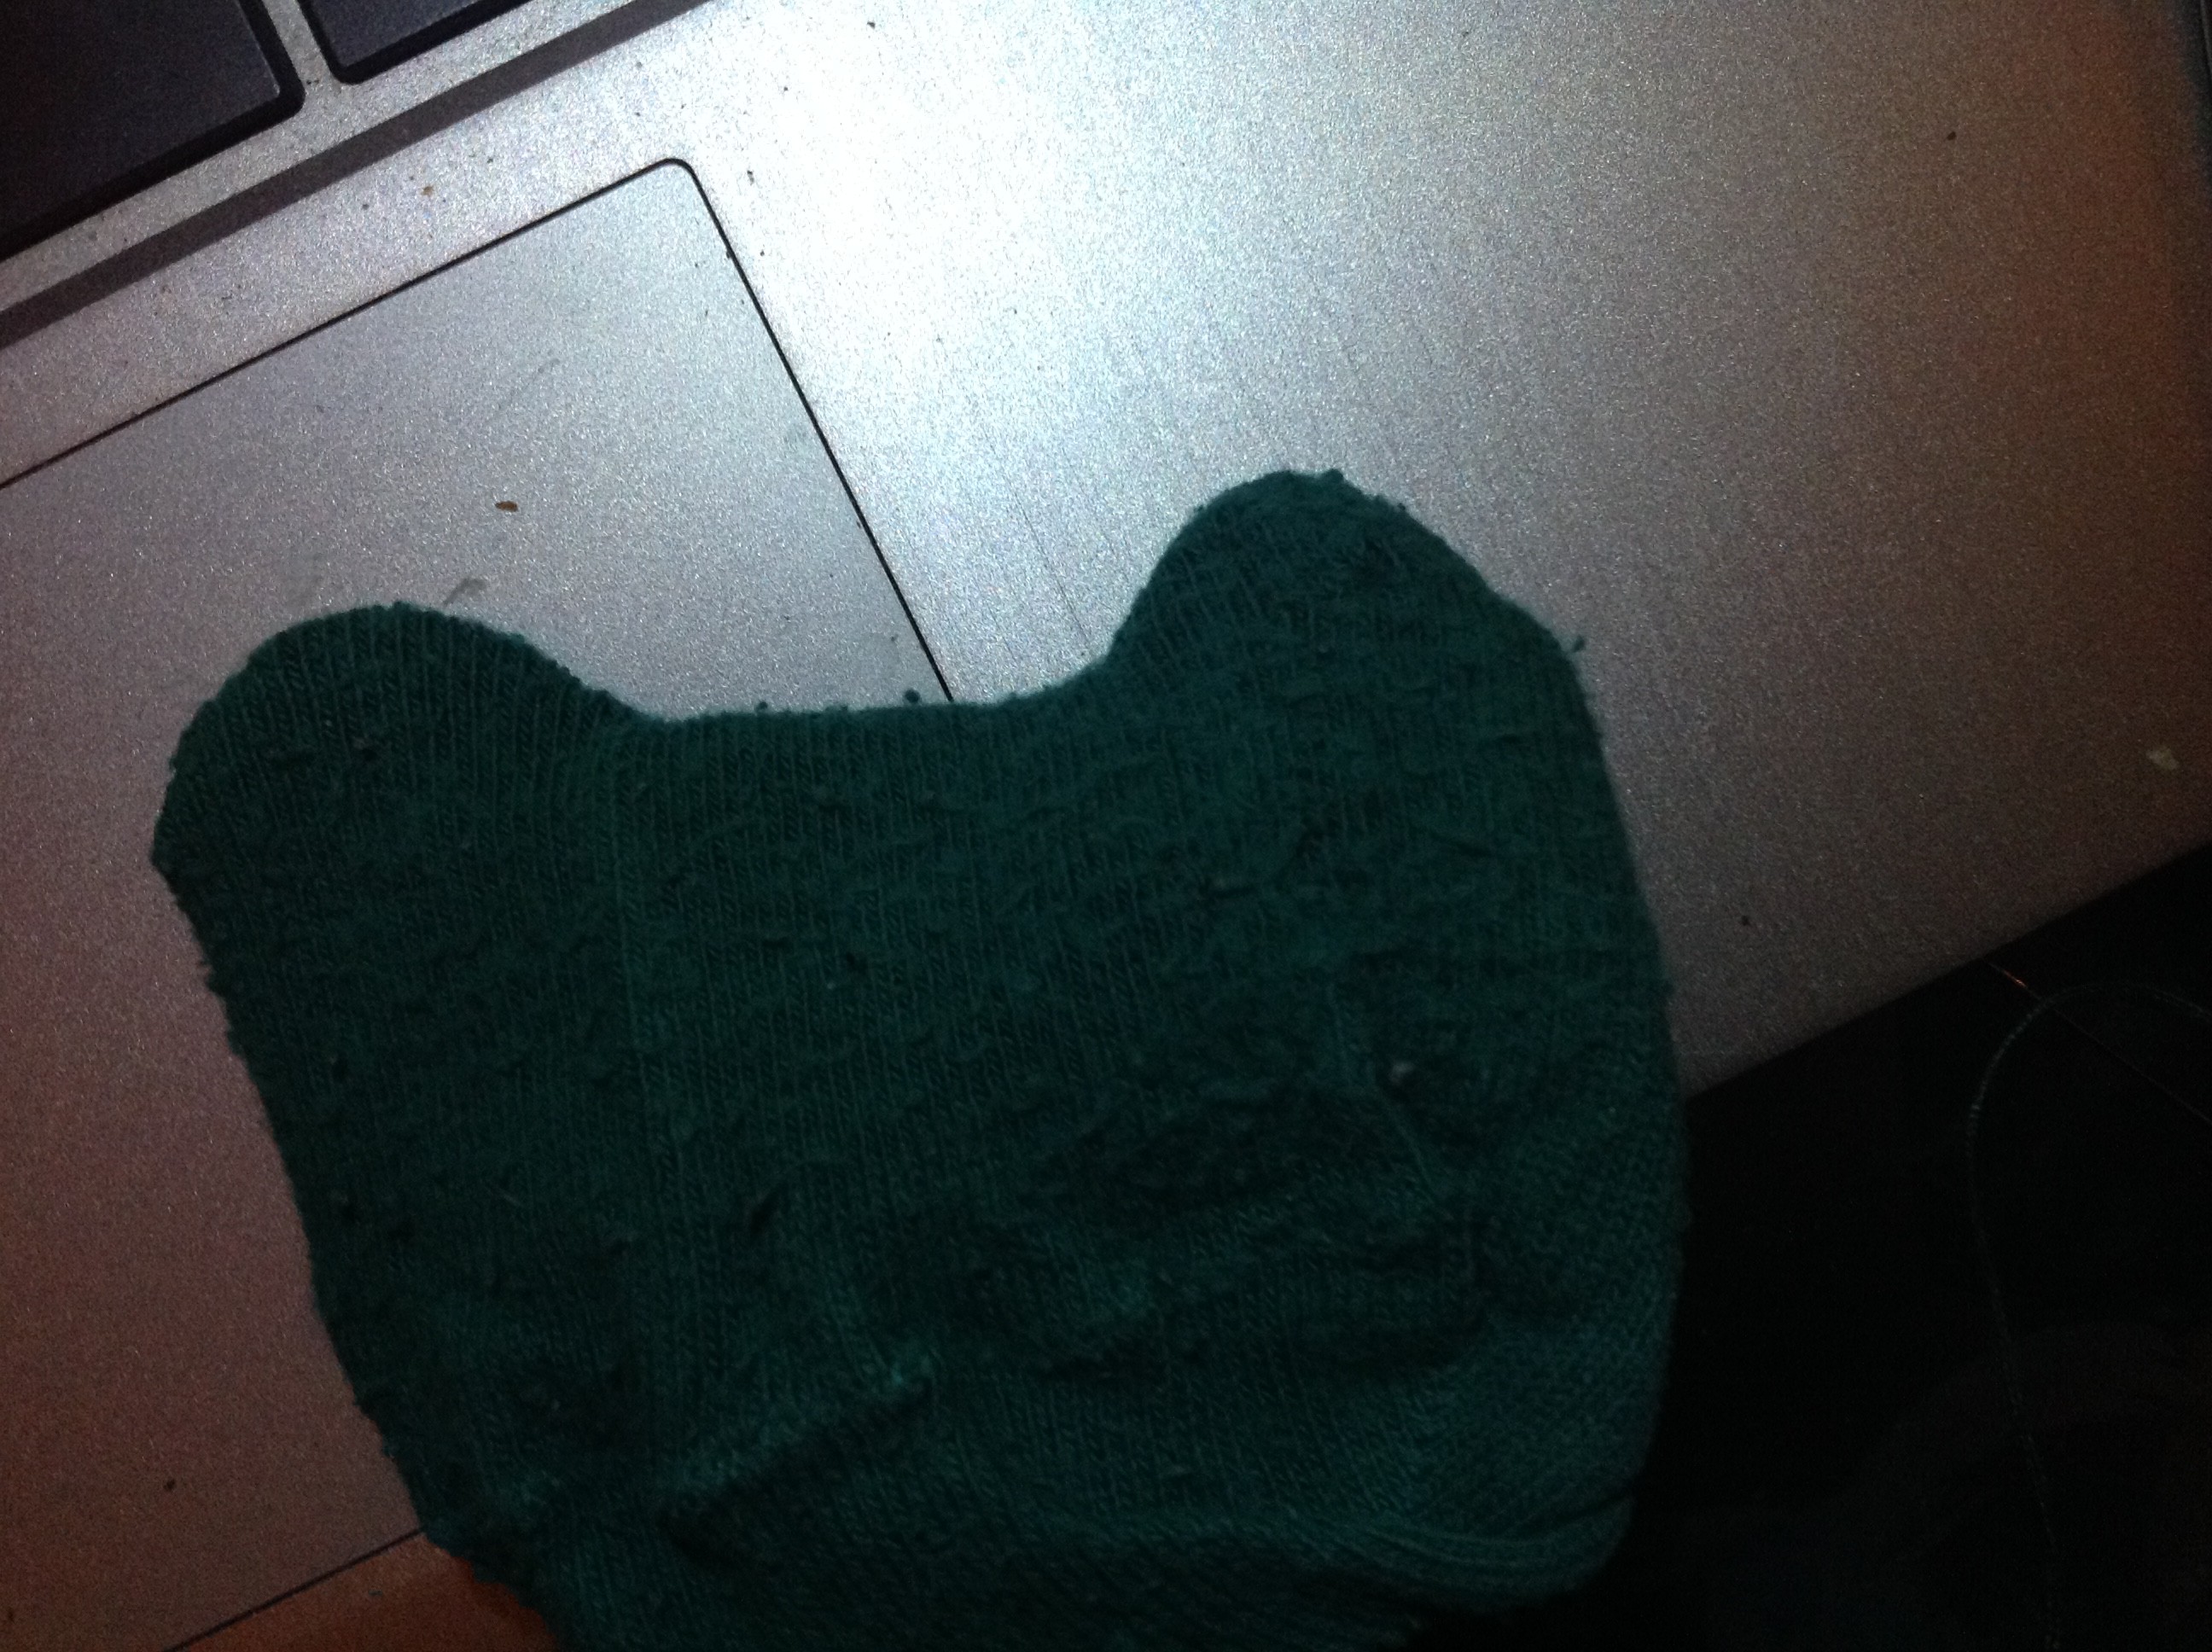
The fourth step is to sew the ears covers ( the white parts )
![]()
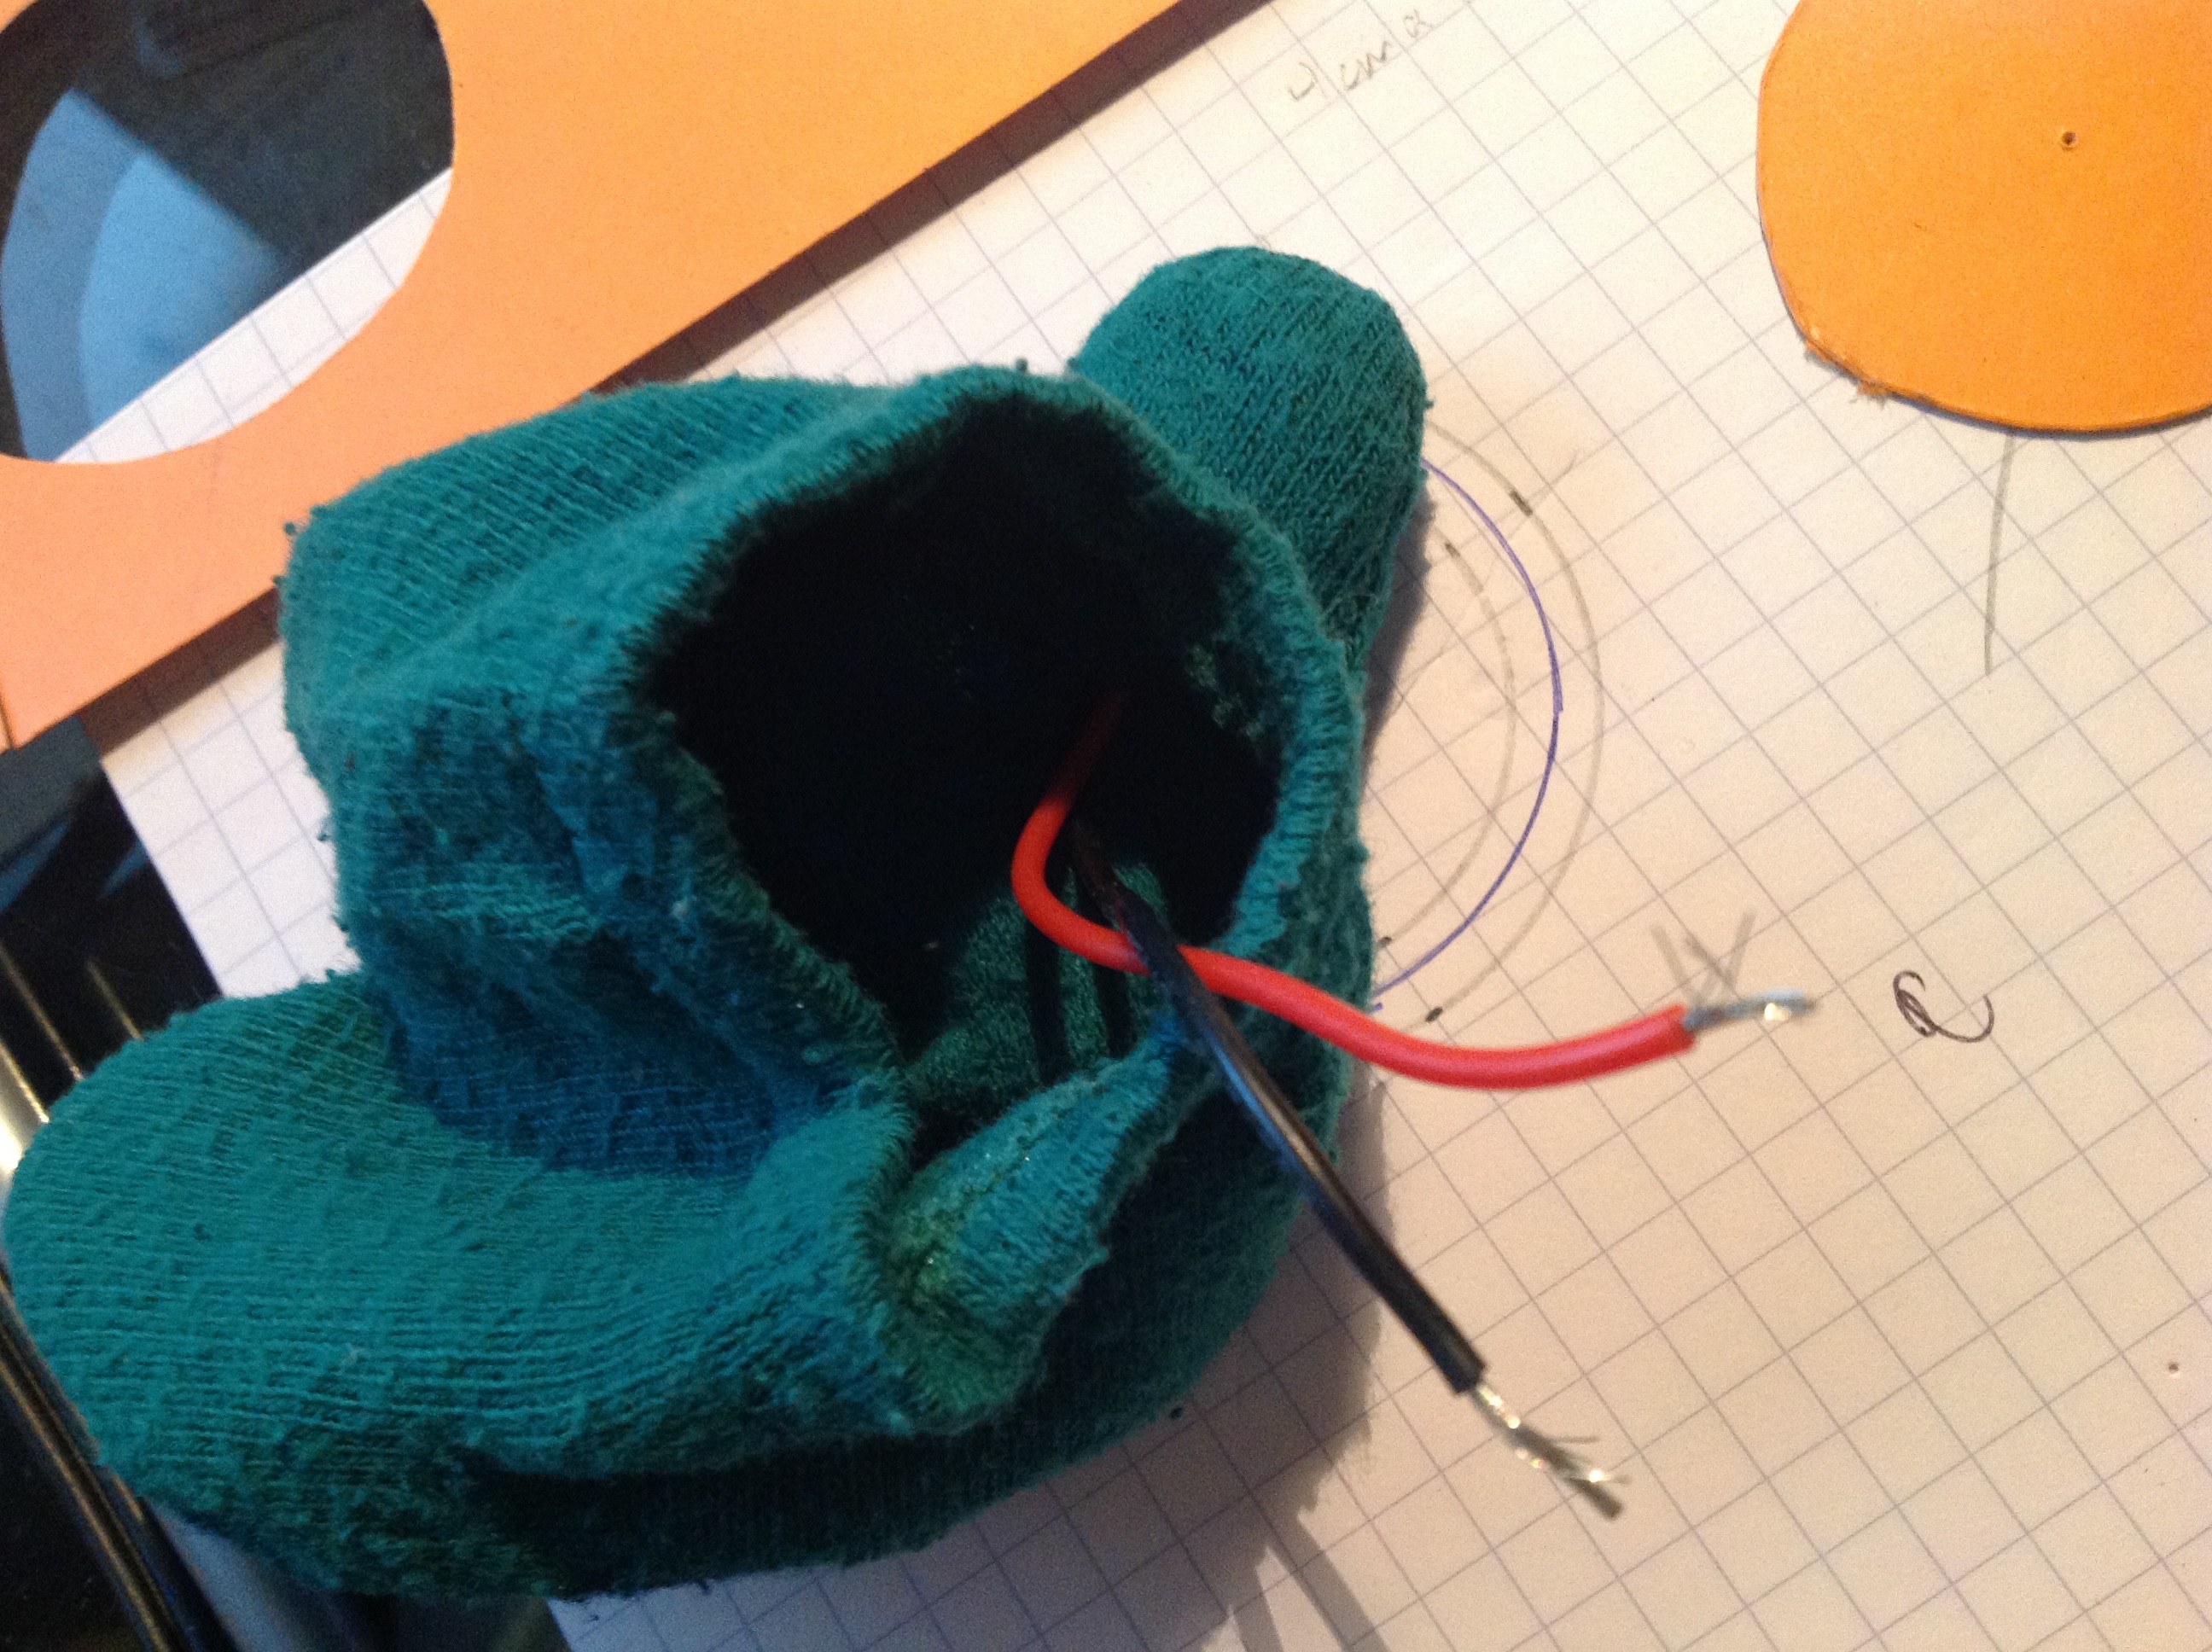
We also start to cut the part that we'll use for the mouth
![]()
![]()
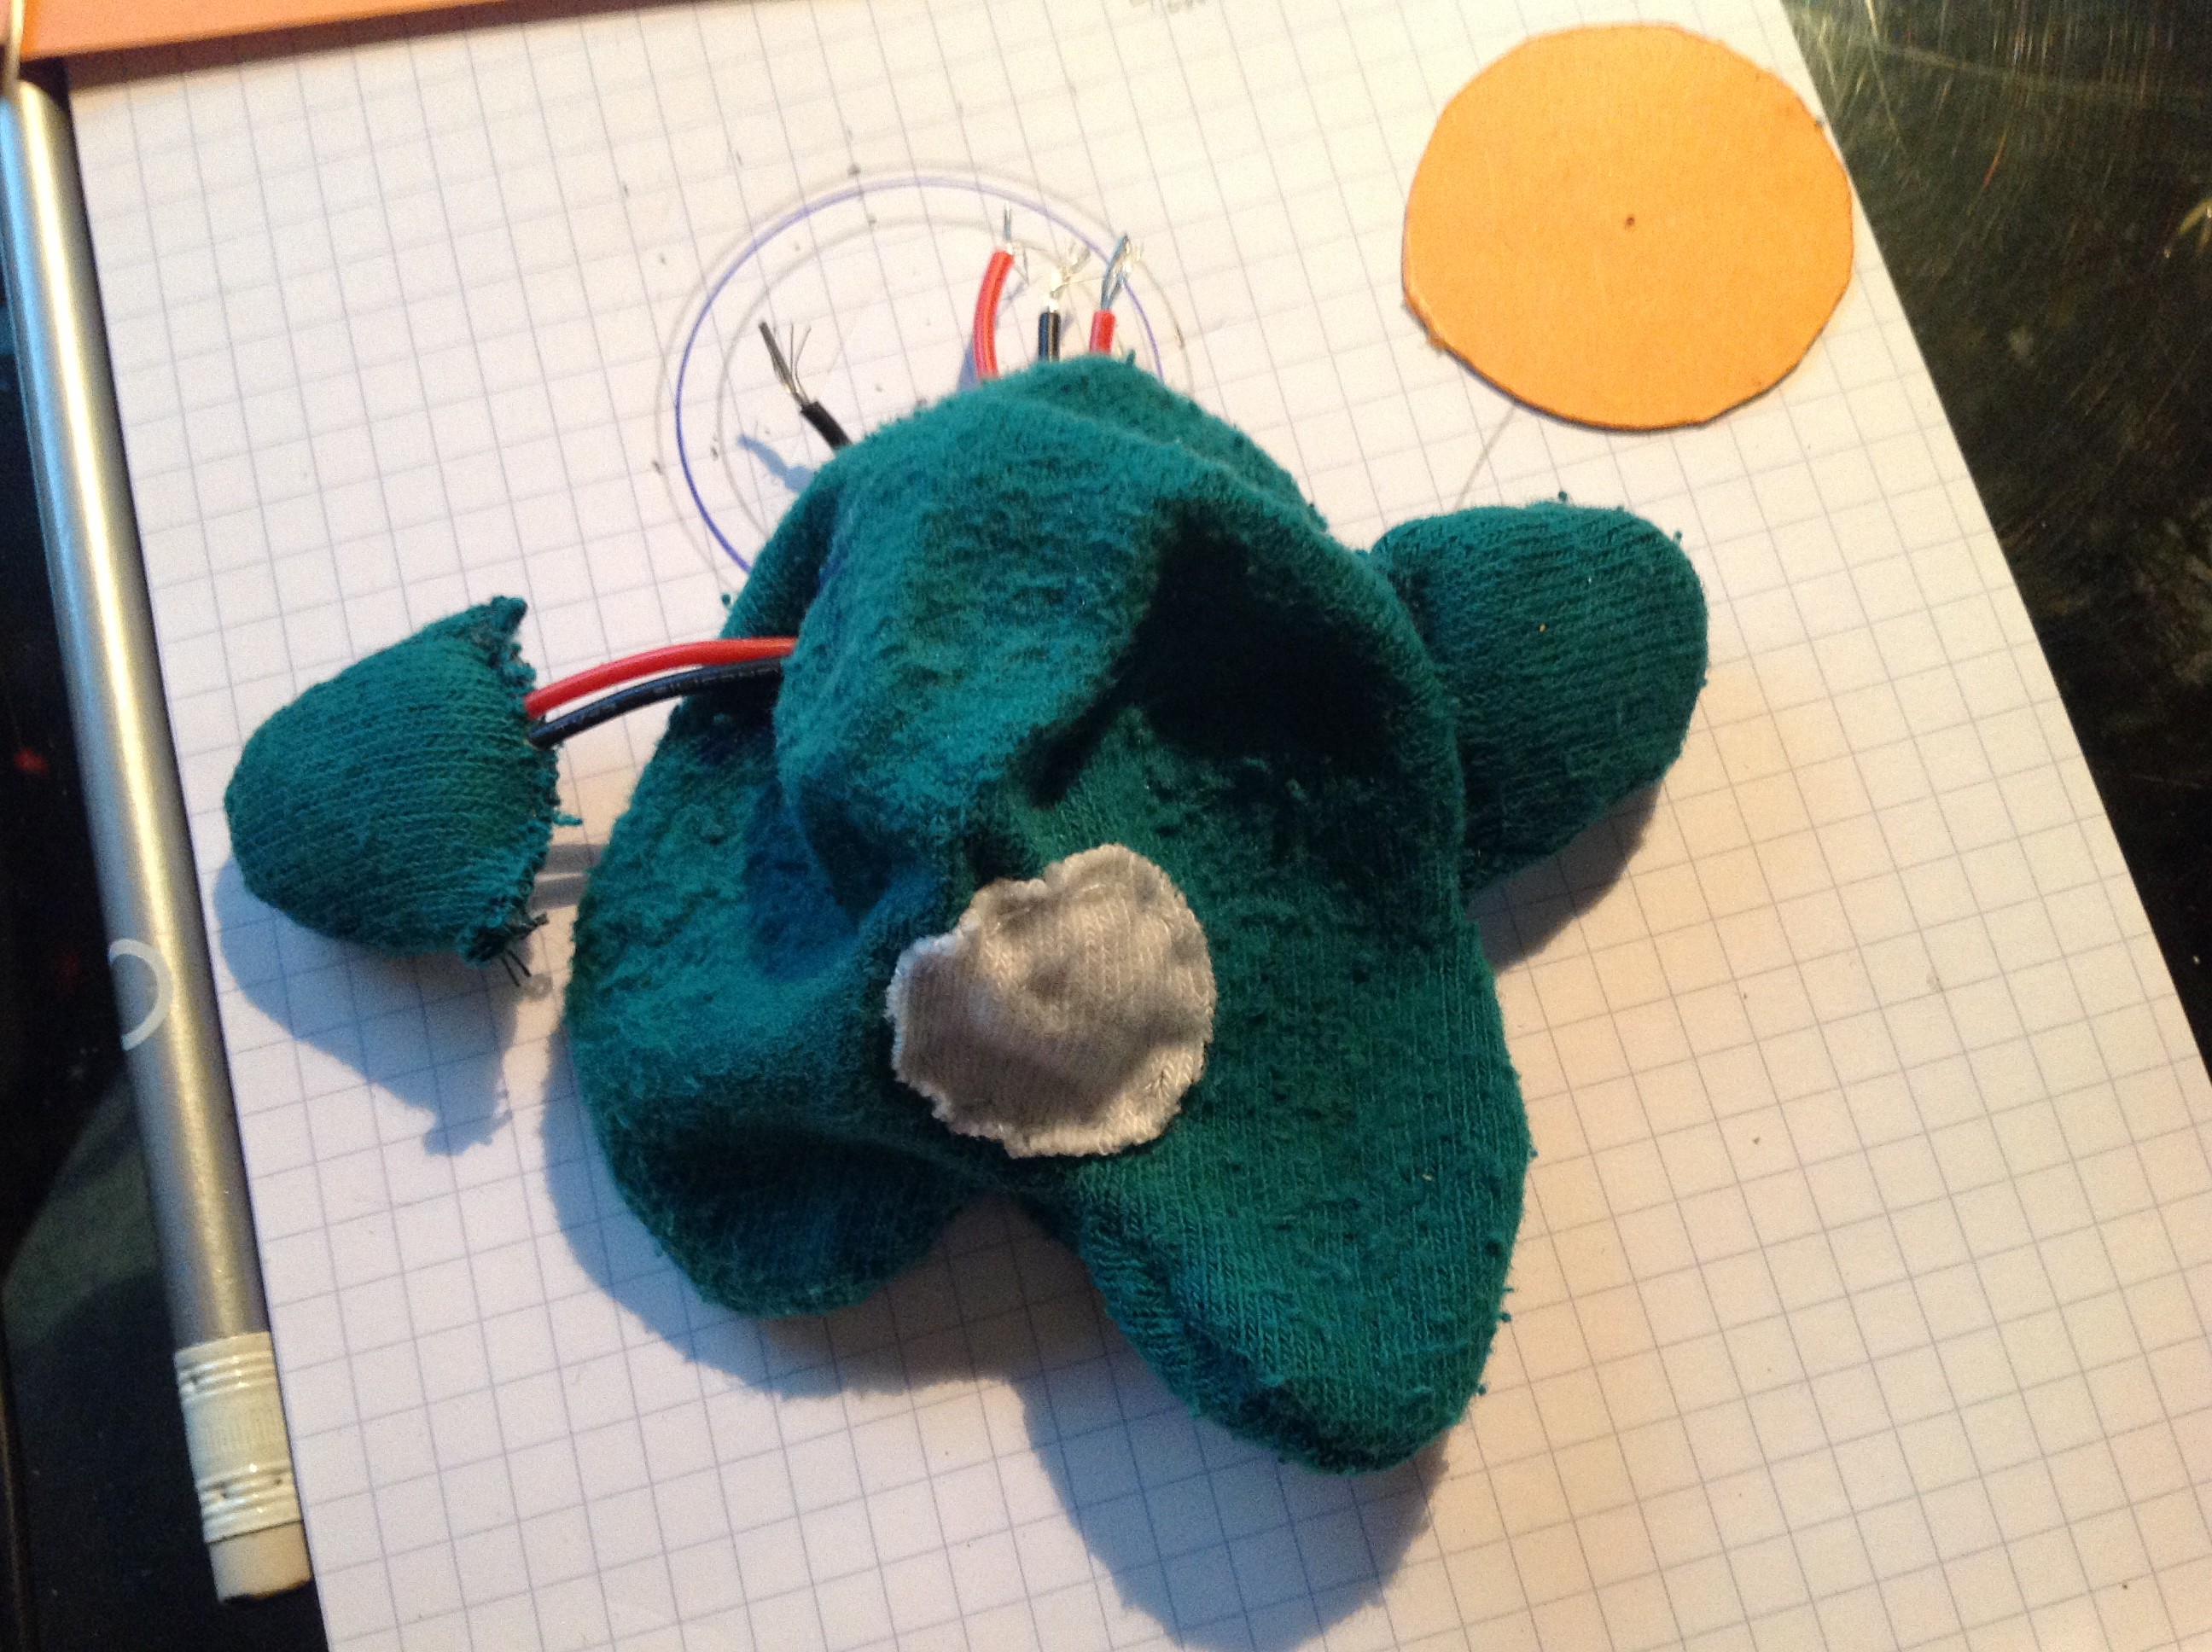
As usual, we sew stuff from the inside.
![]()
While the mouth can't be entirely sewed from the inside, we still try to make our best, ex by using white wire :)
![]()
![]()
Once we sewed all the white parts of the head, we are left to do the same for the tummy, for which I chose to cut a little roundy circle
![]()
-
5Step 5
The fifth step is to sew the body bottom ,and then the arms to the body.
One thing to keep in mind is to sew from the inside whenever possible, starting with the bottom
![]()
To do so, we'll just cut tiny holes on the sides of the body, in which we'll pass the wires through
![]()
![]()
Once we'rev happy with its location, we can start sewing it from the inside.
![]()
![]()
Now onto the second arm ..
![]()
Quick advice: use tape to prevent having problems with sewing ..
![]()
![]()
![]()
The insides should be clean as possible to ease further sewing ..
![]()
View of what 'll be the back of the pluche
![]()
-
6Step 6
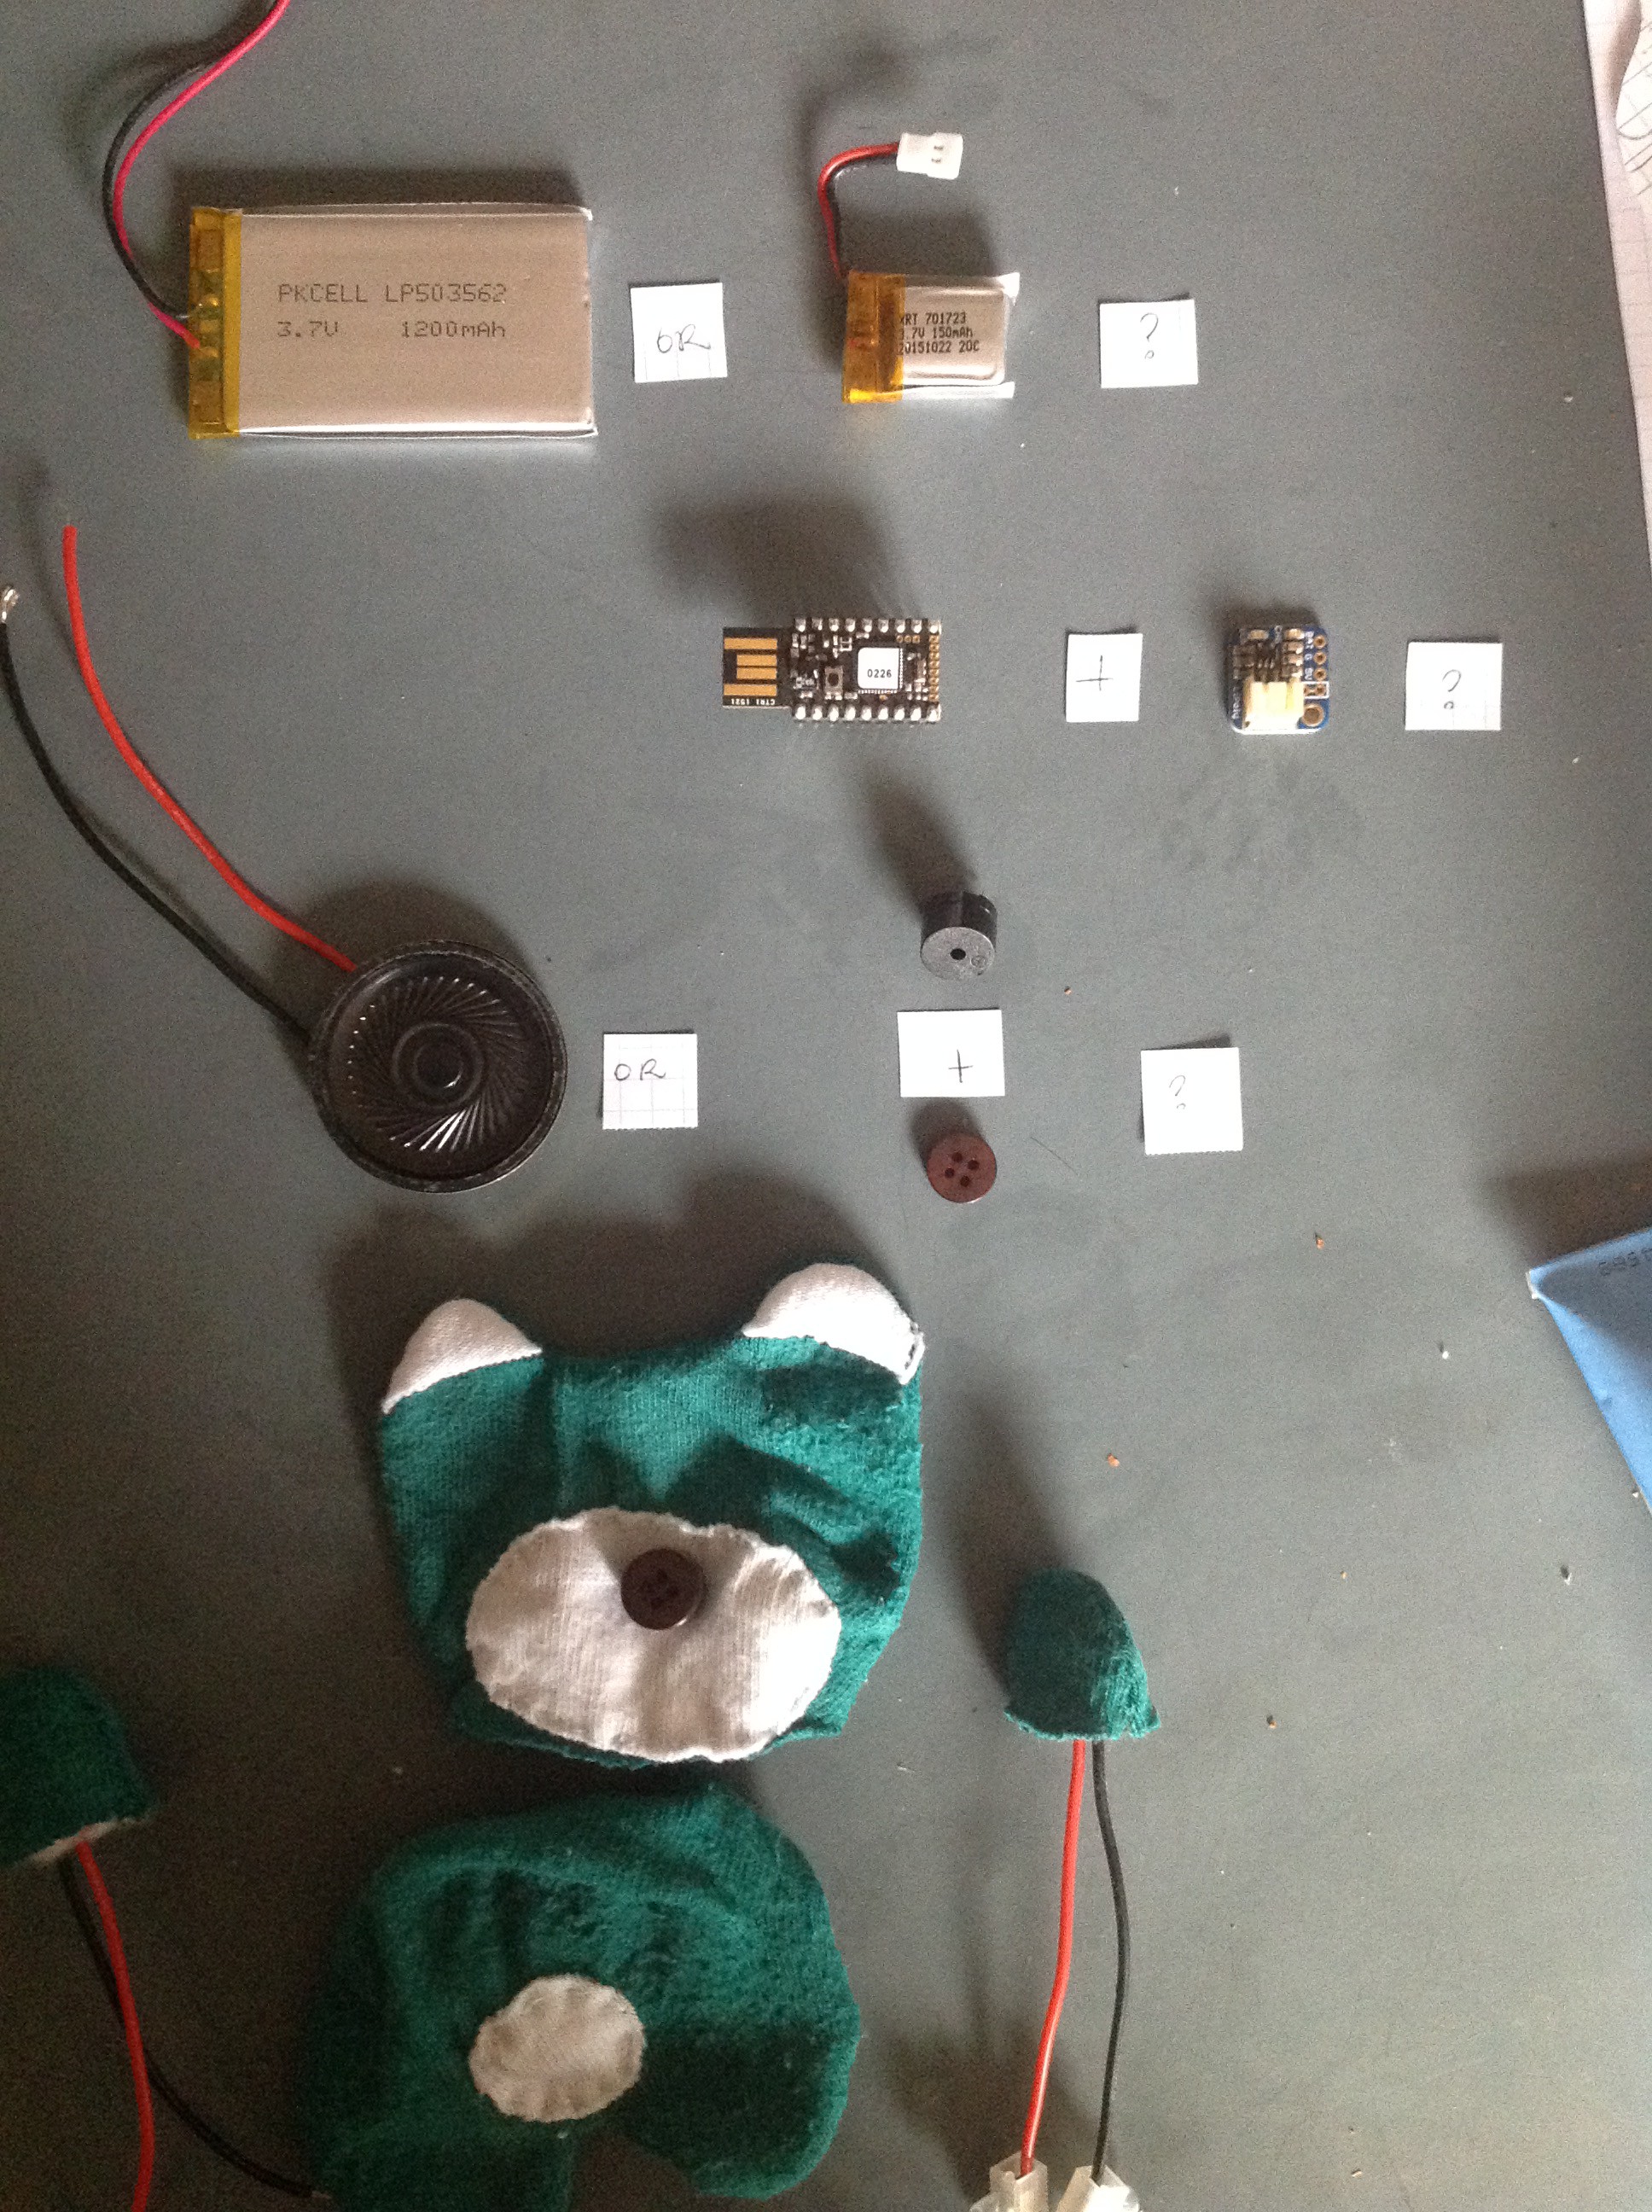
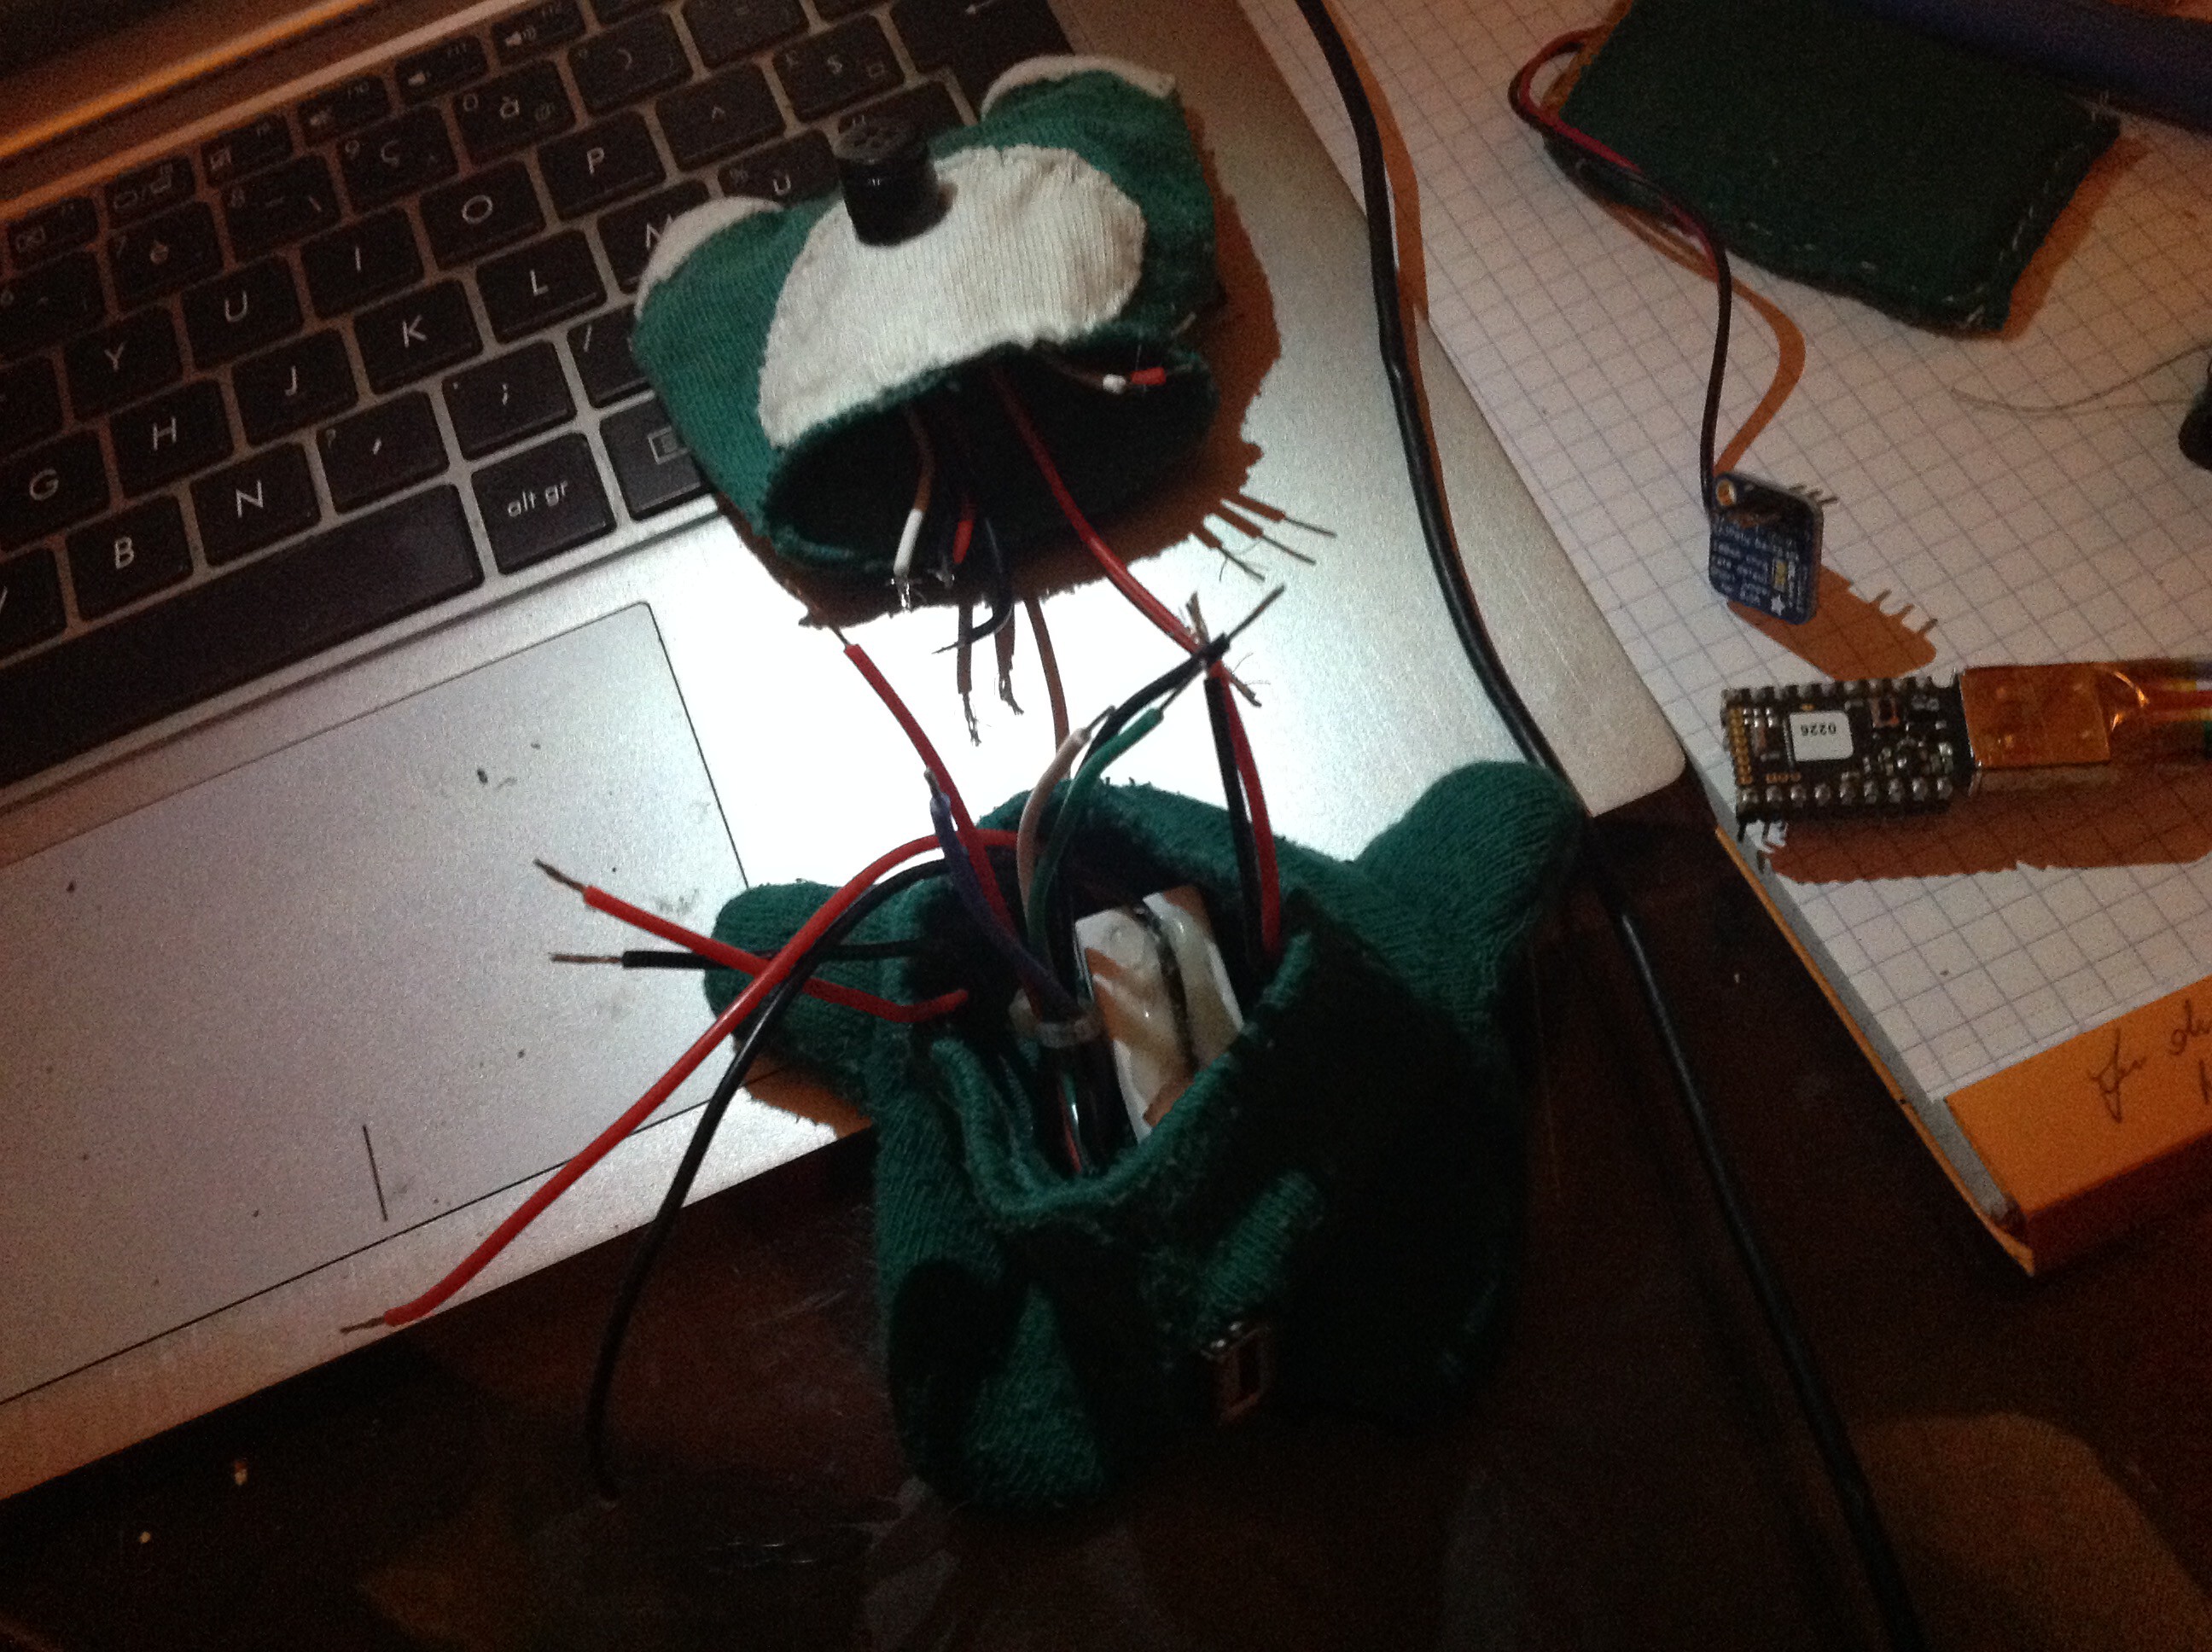
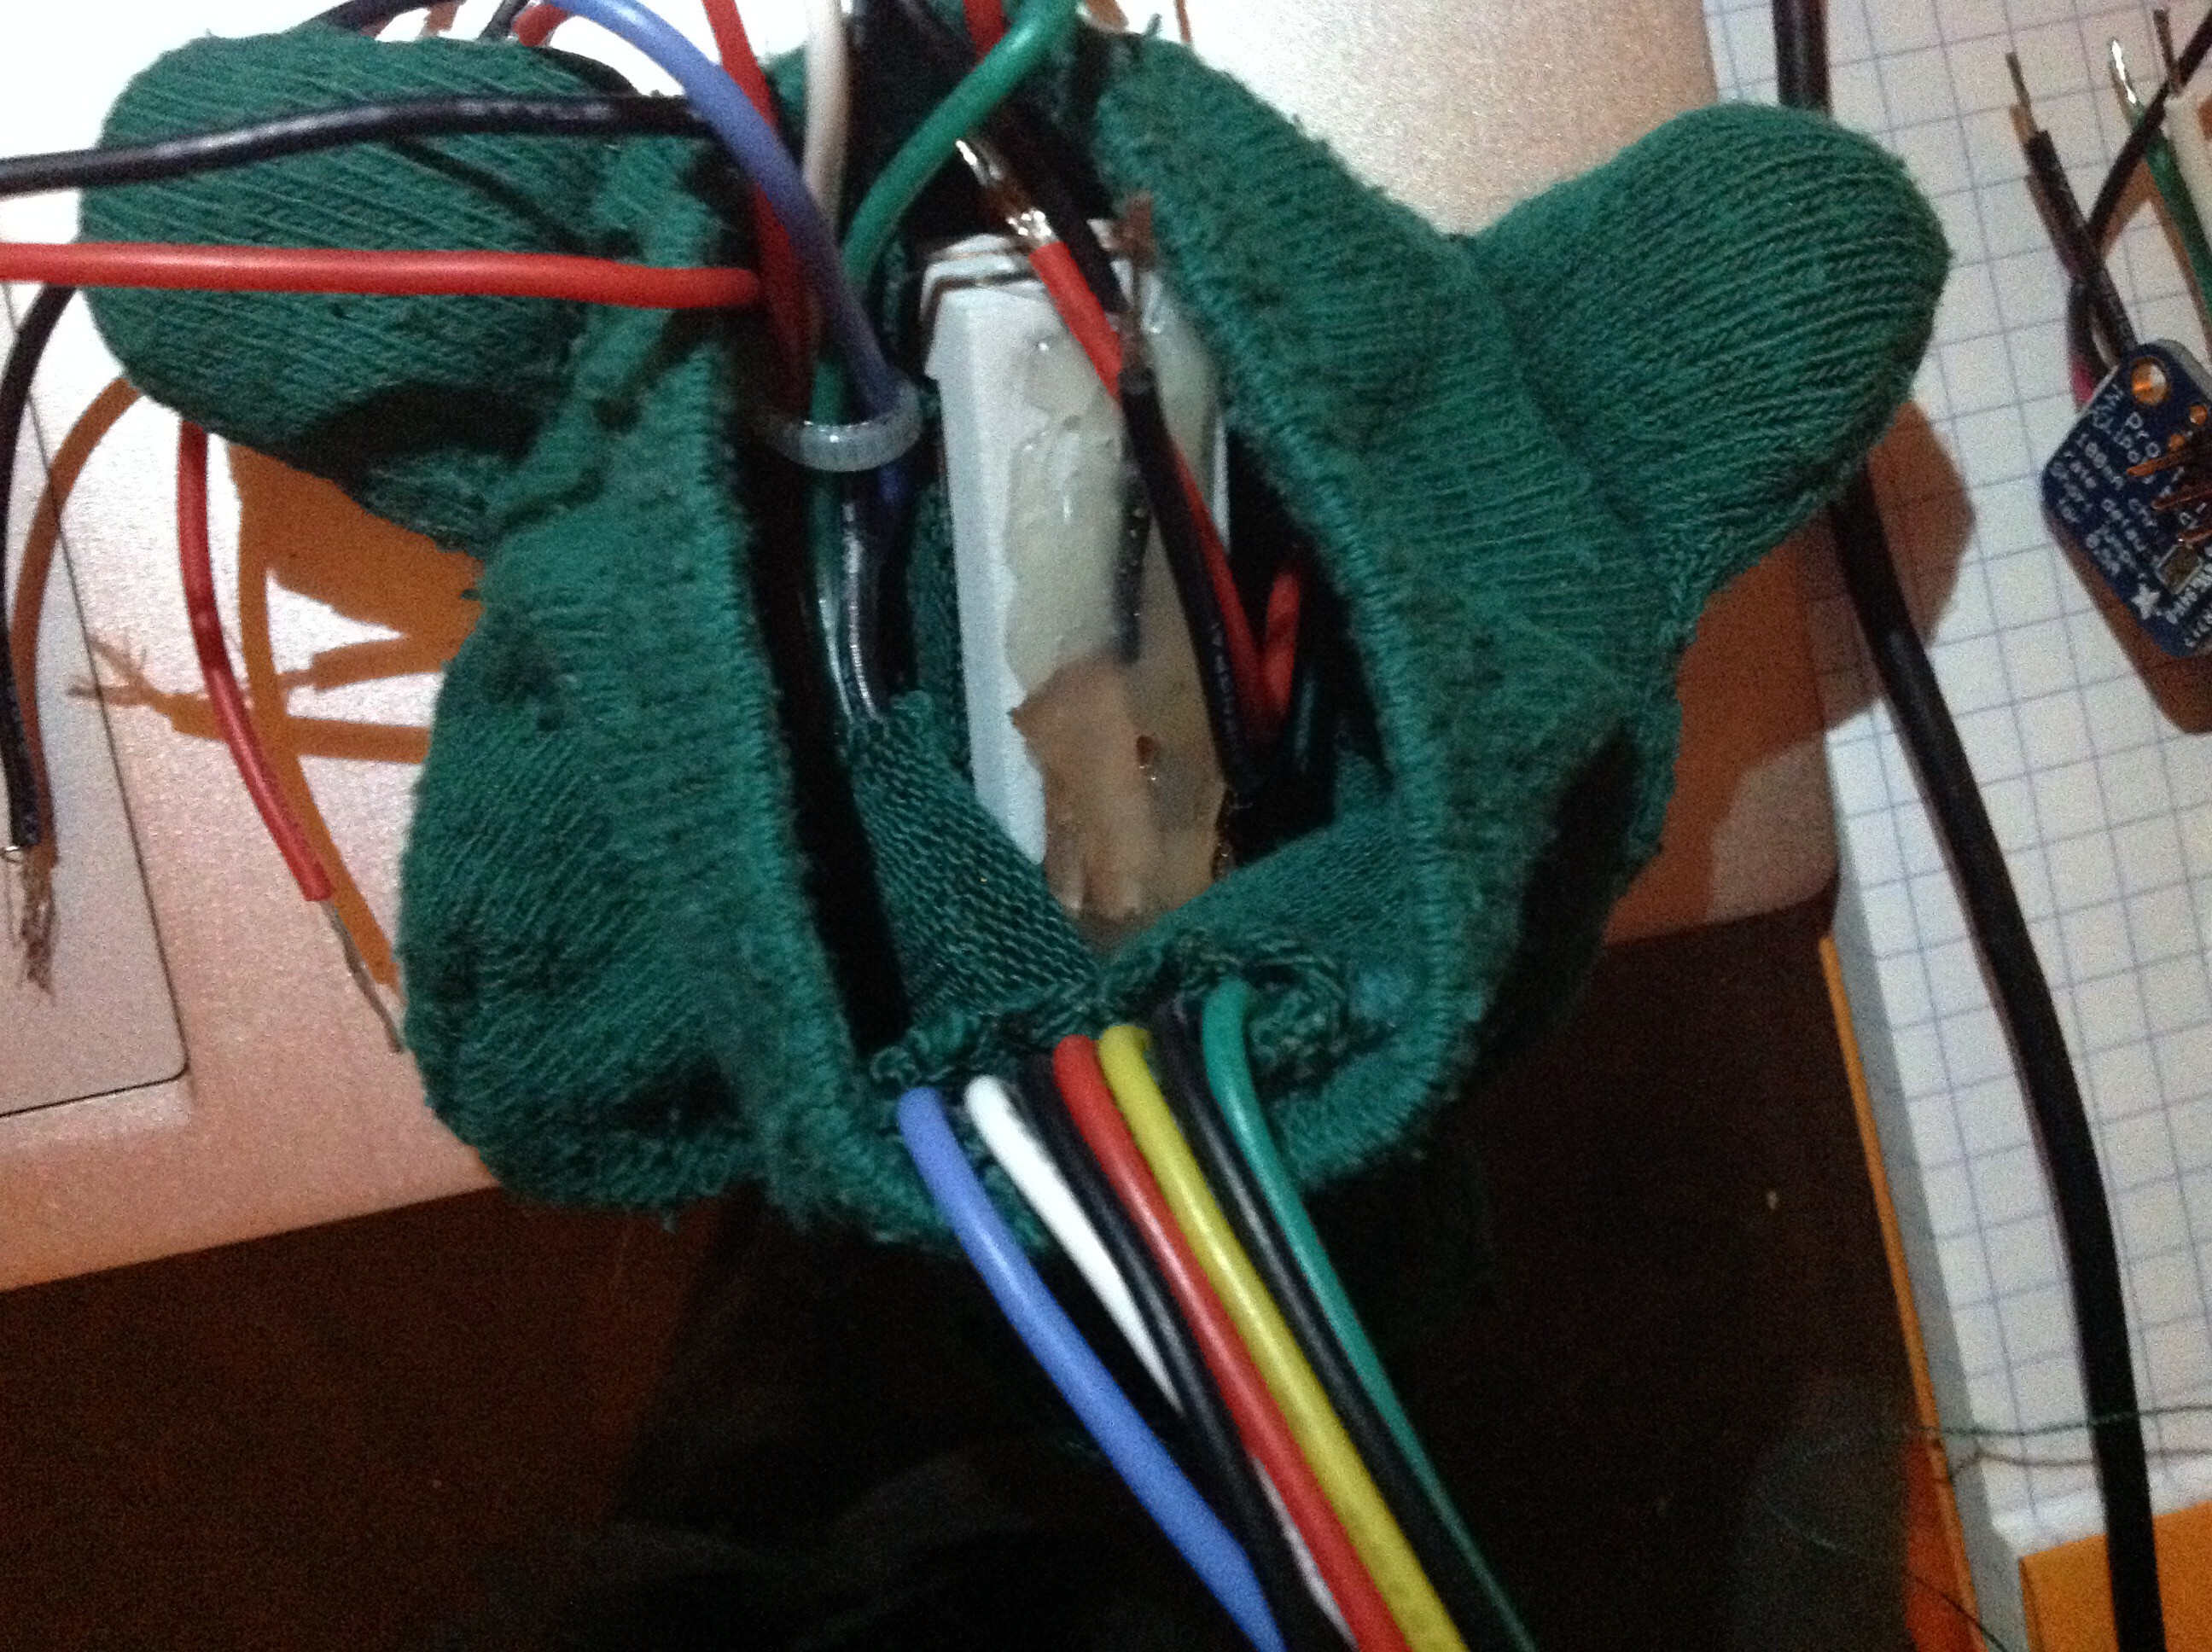
Now, we have to position the "pienoze", & take a look at what we've done so far.
![]()
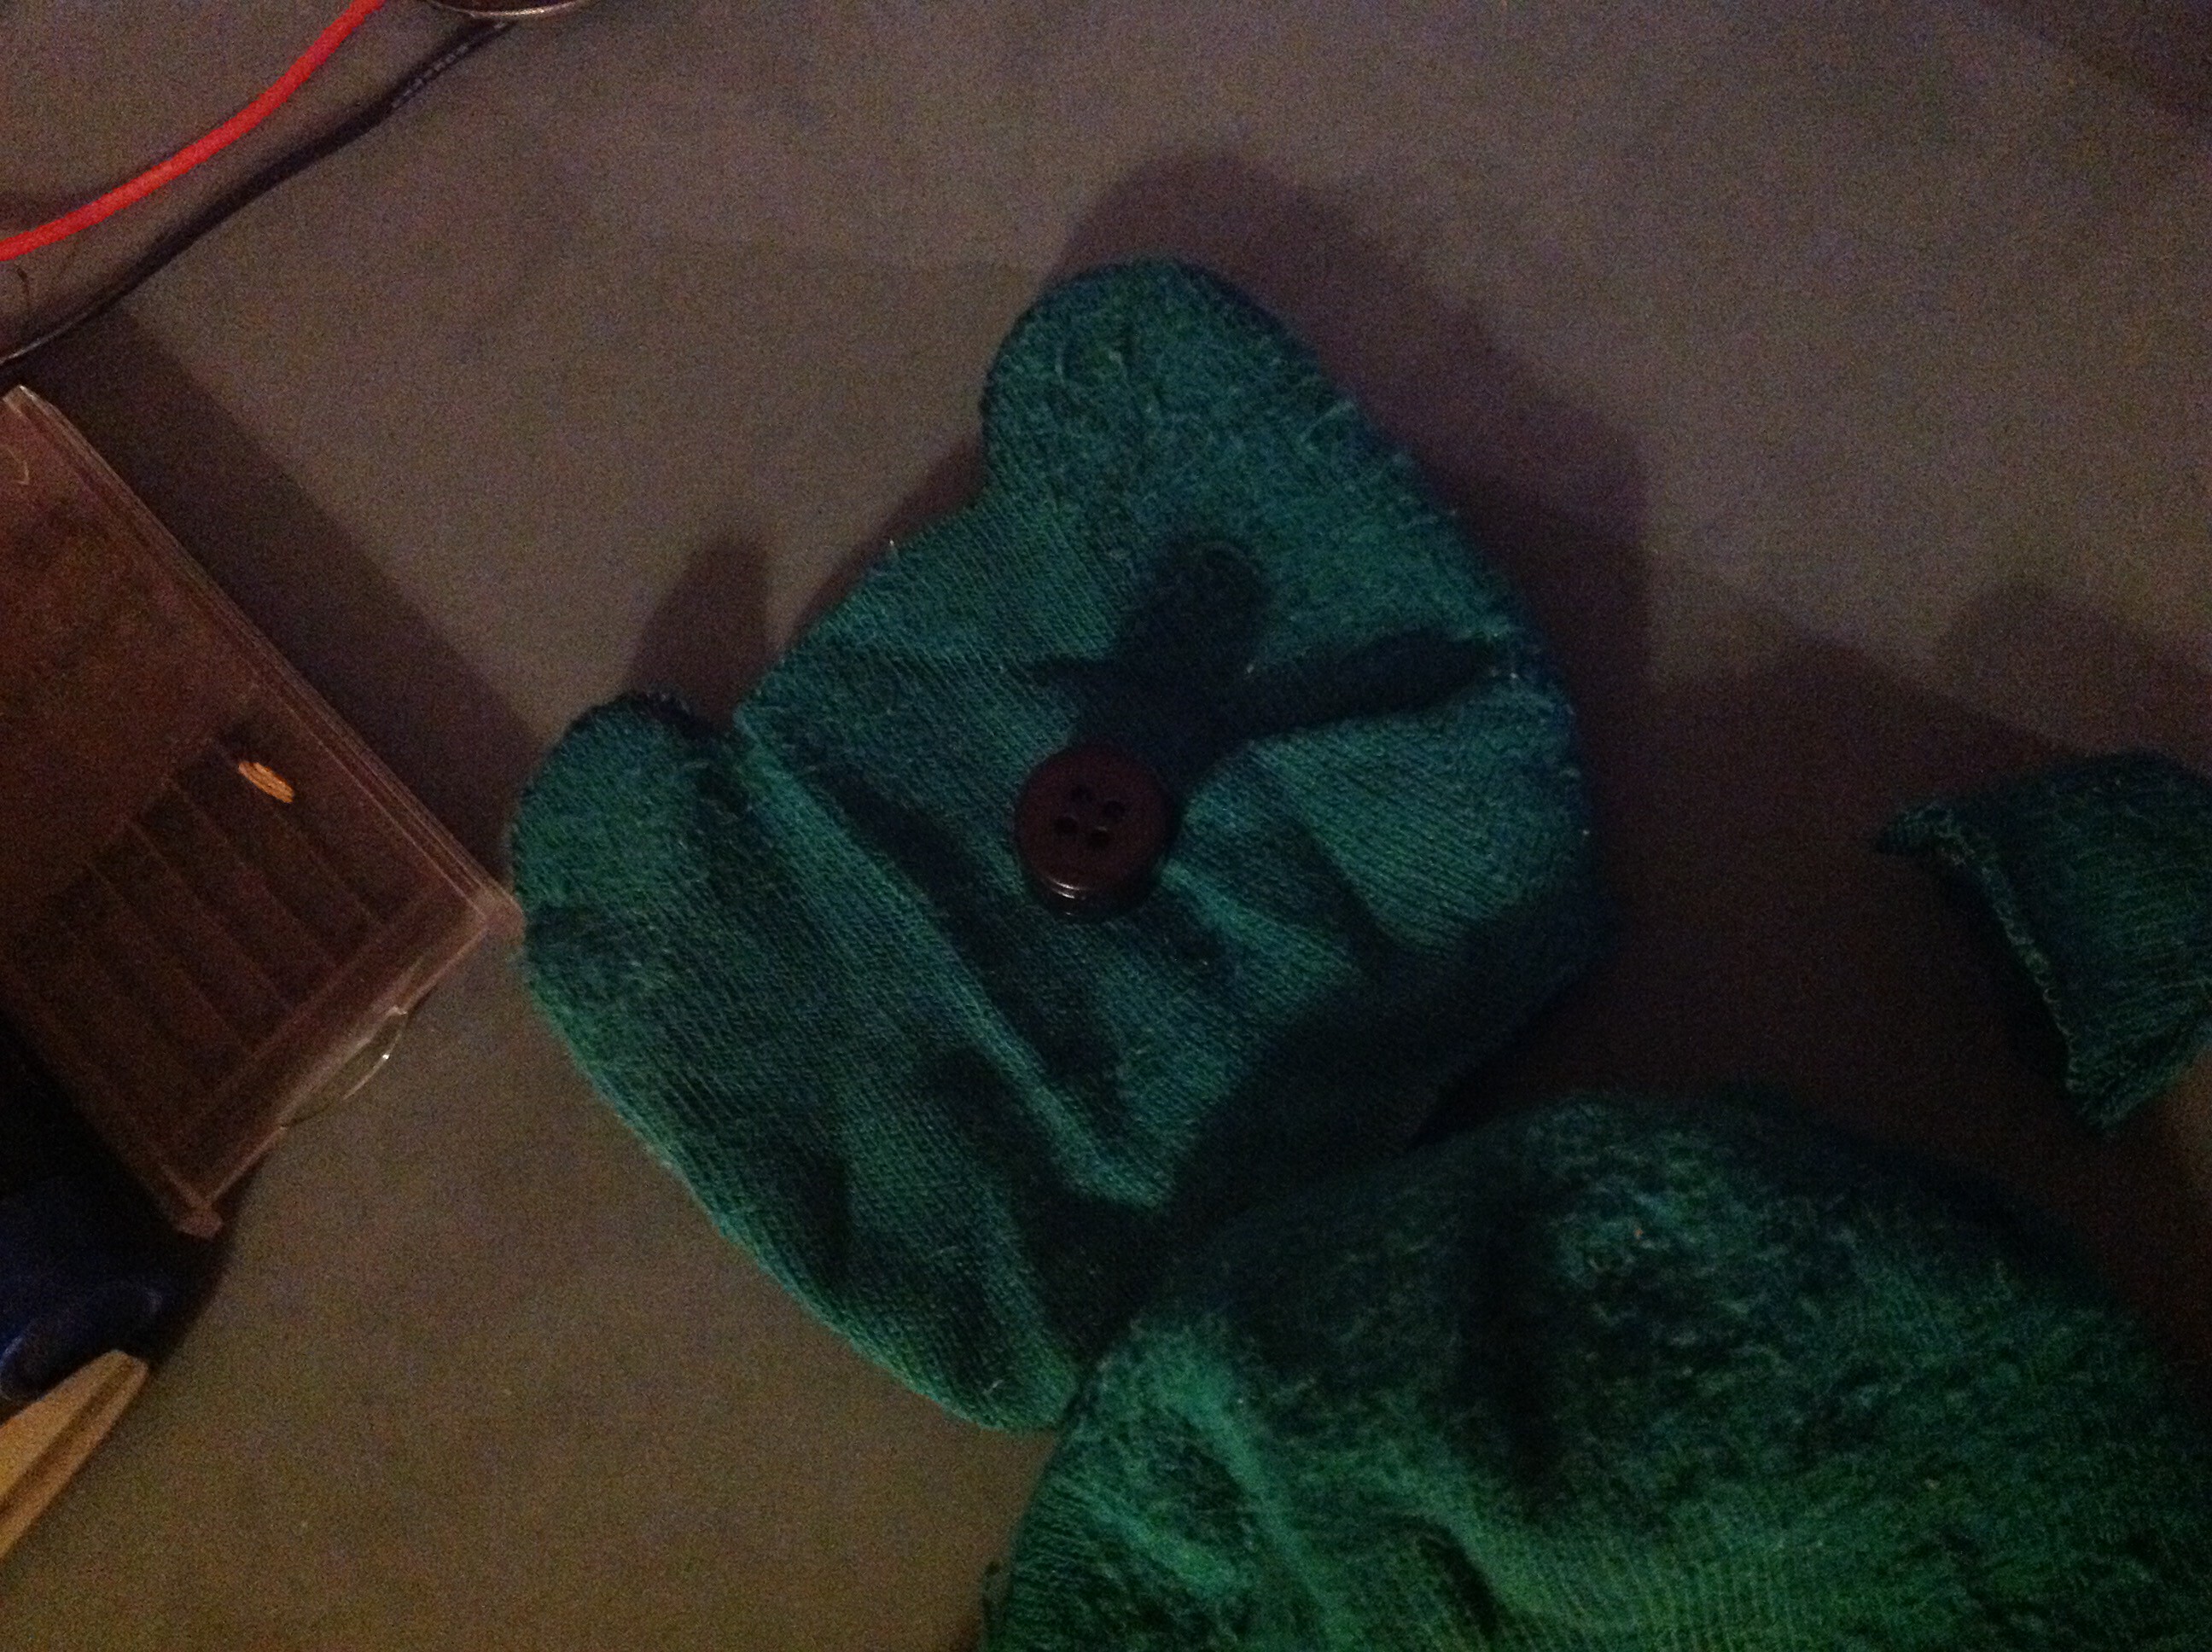
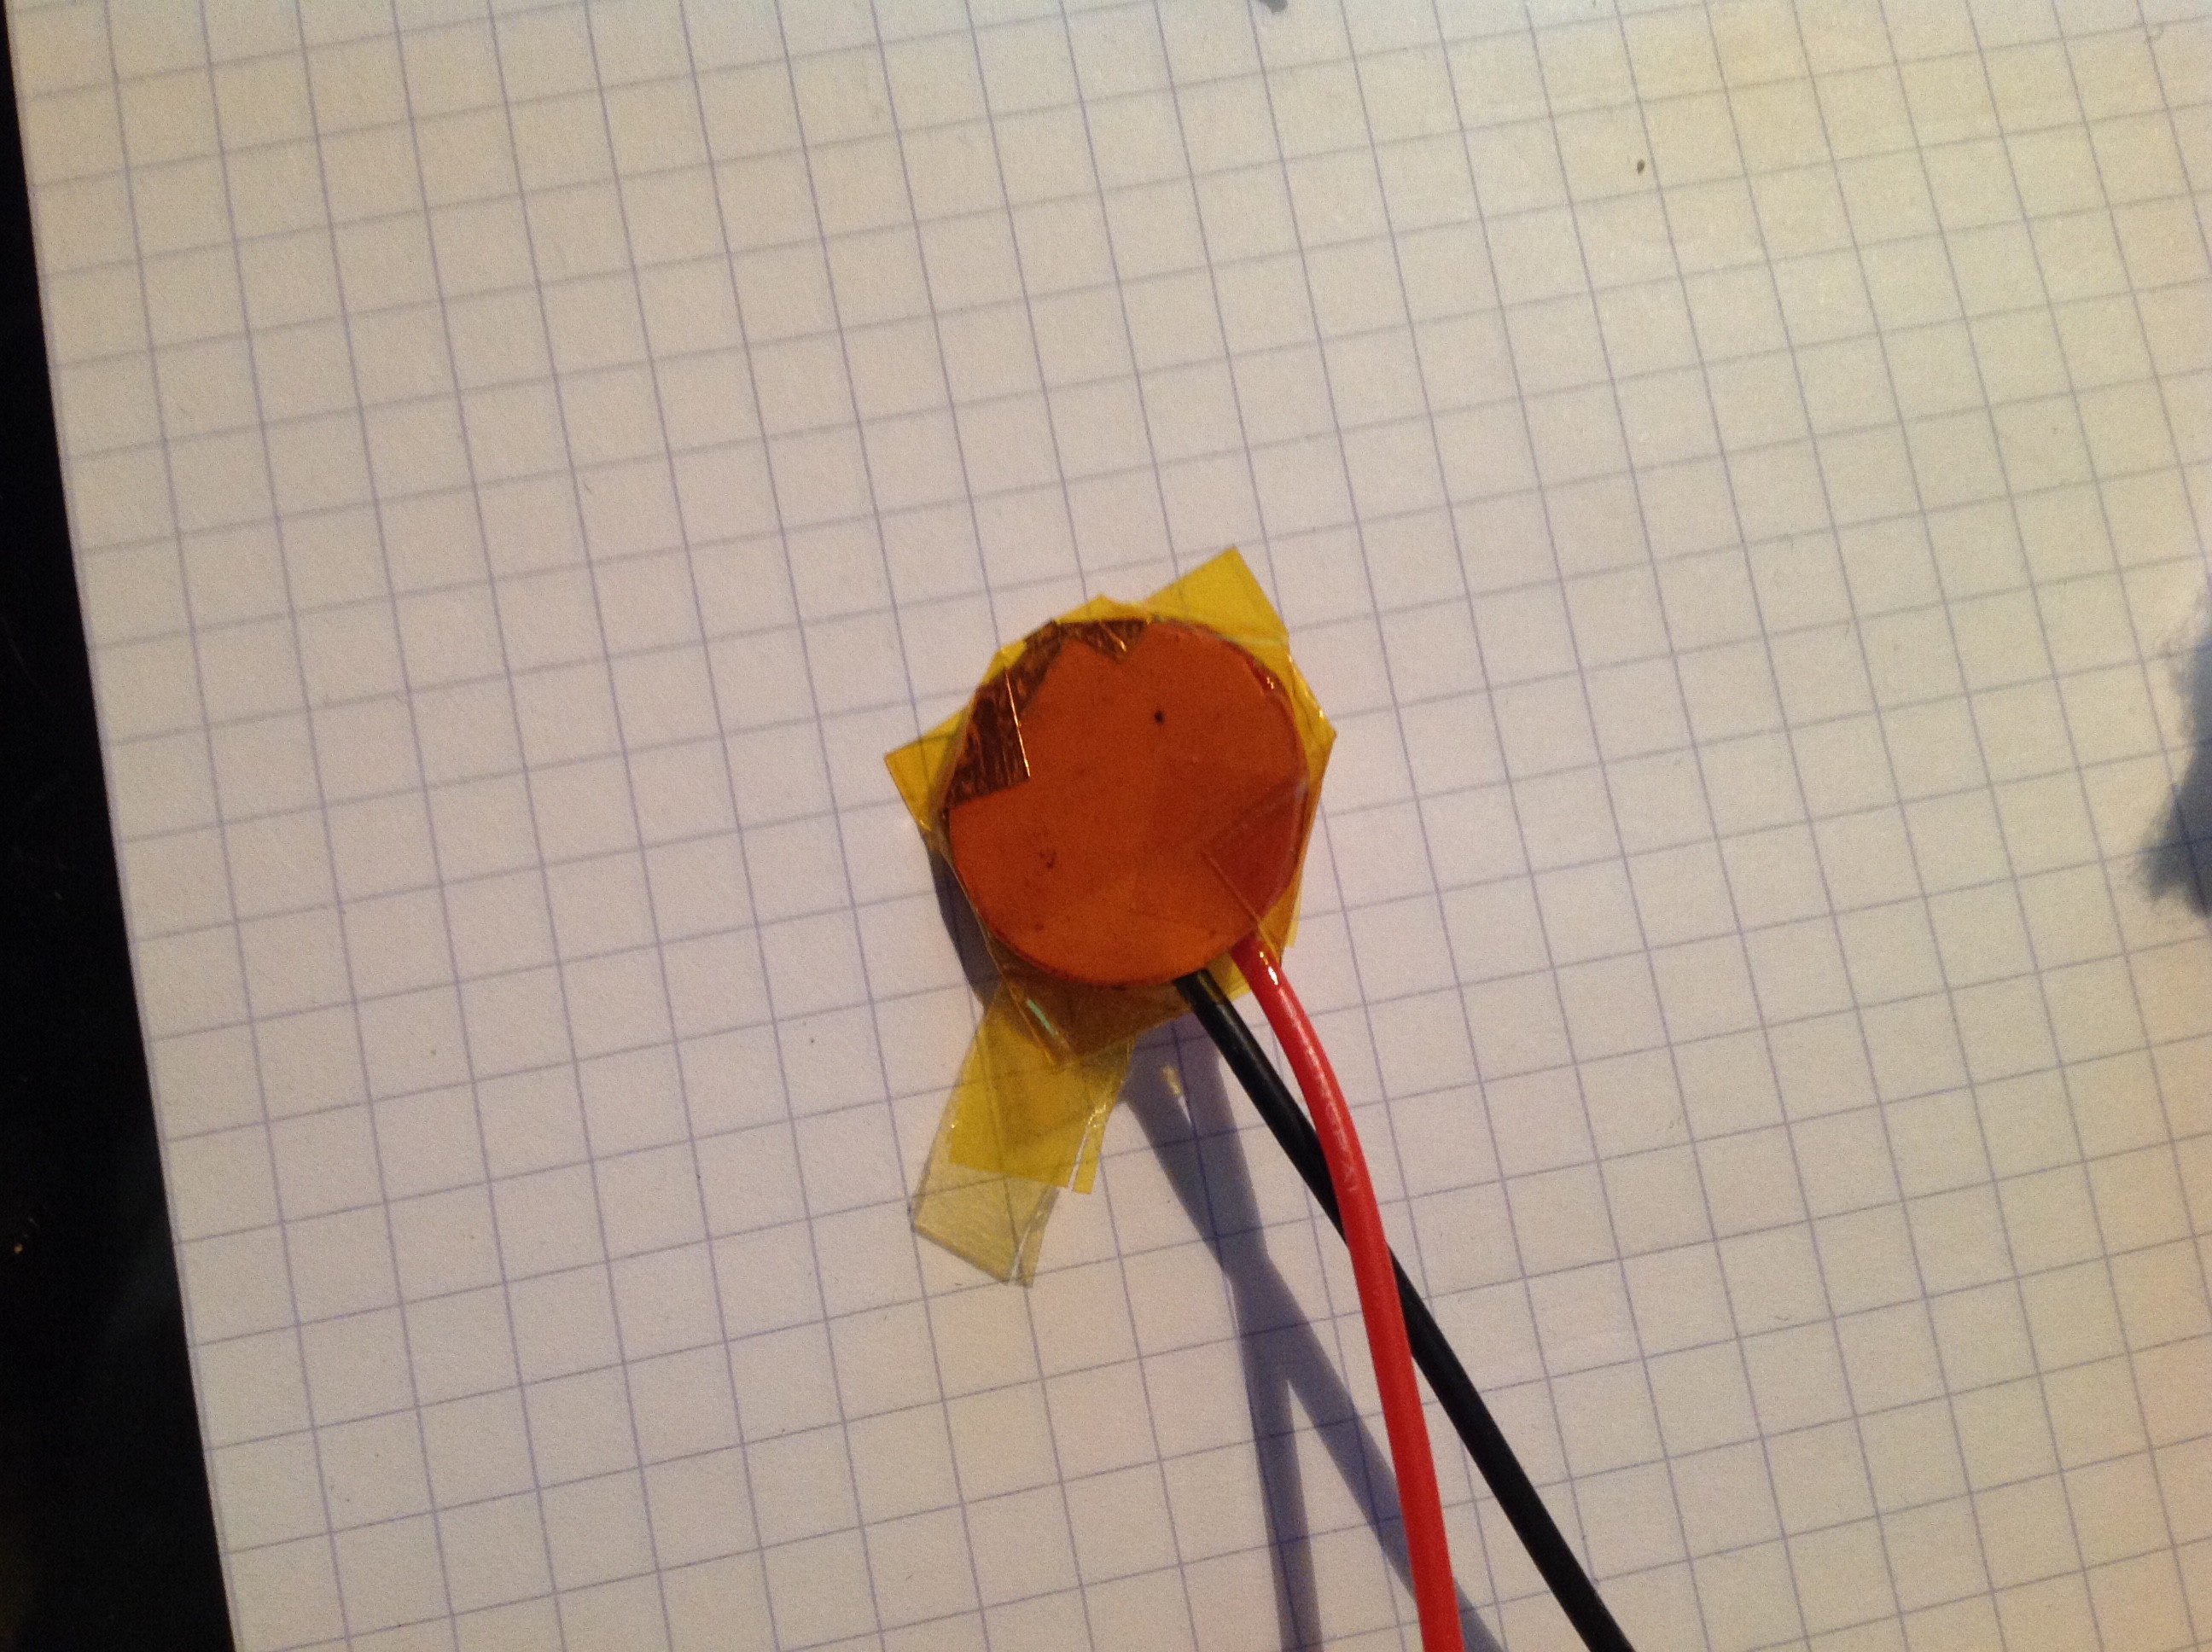
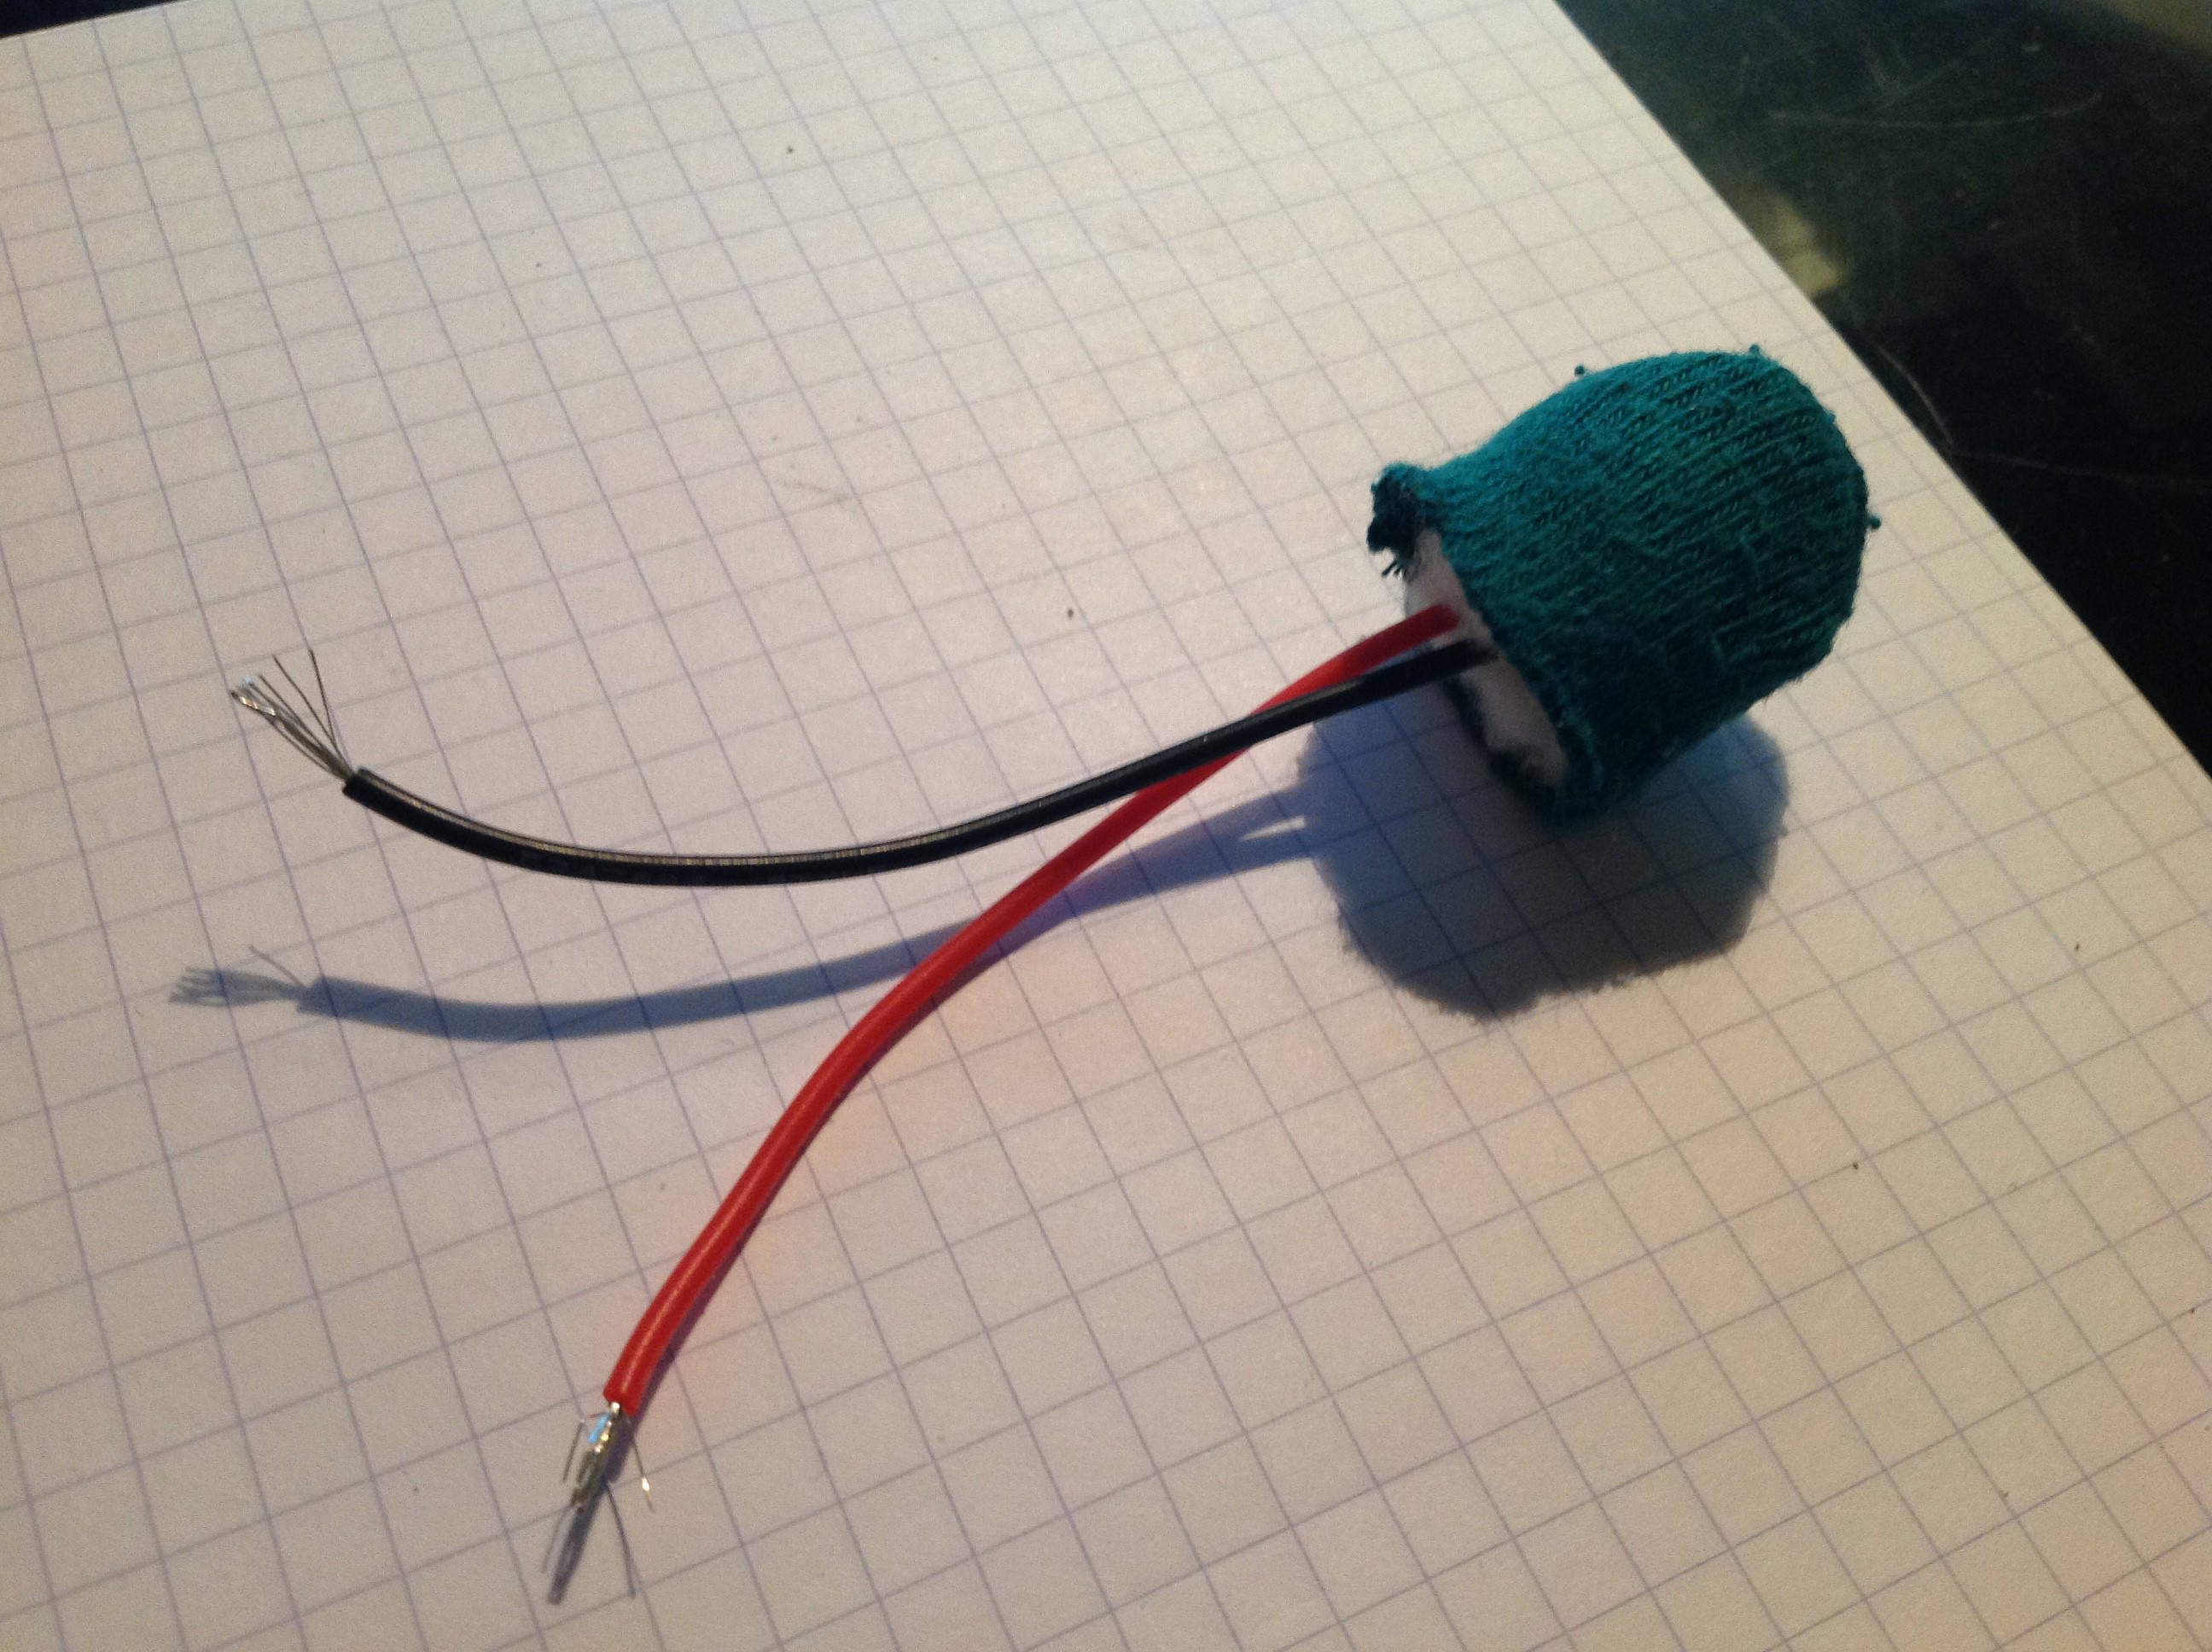
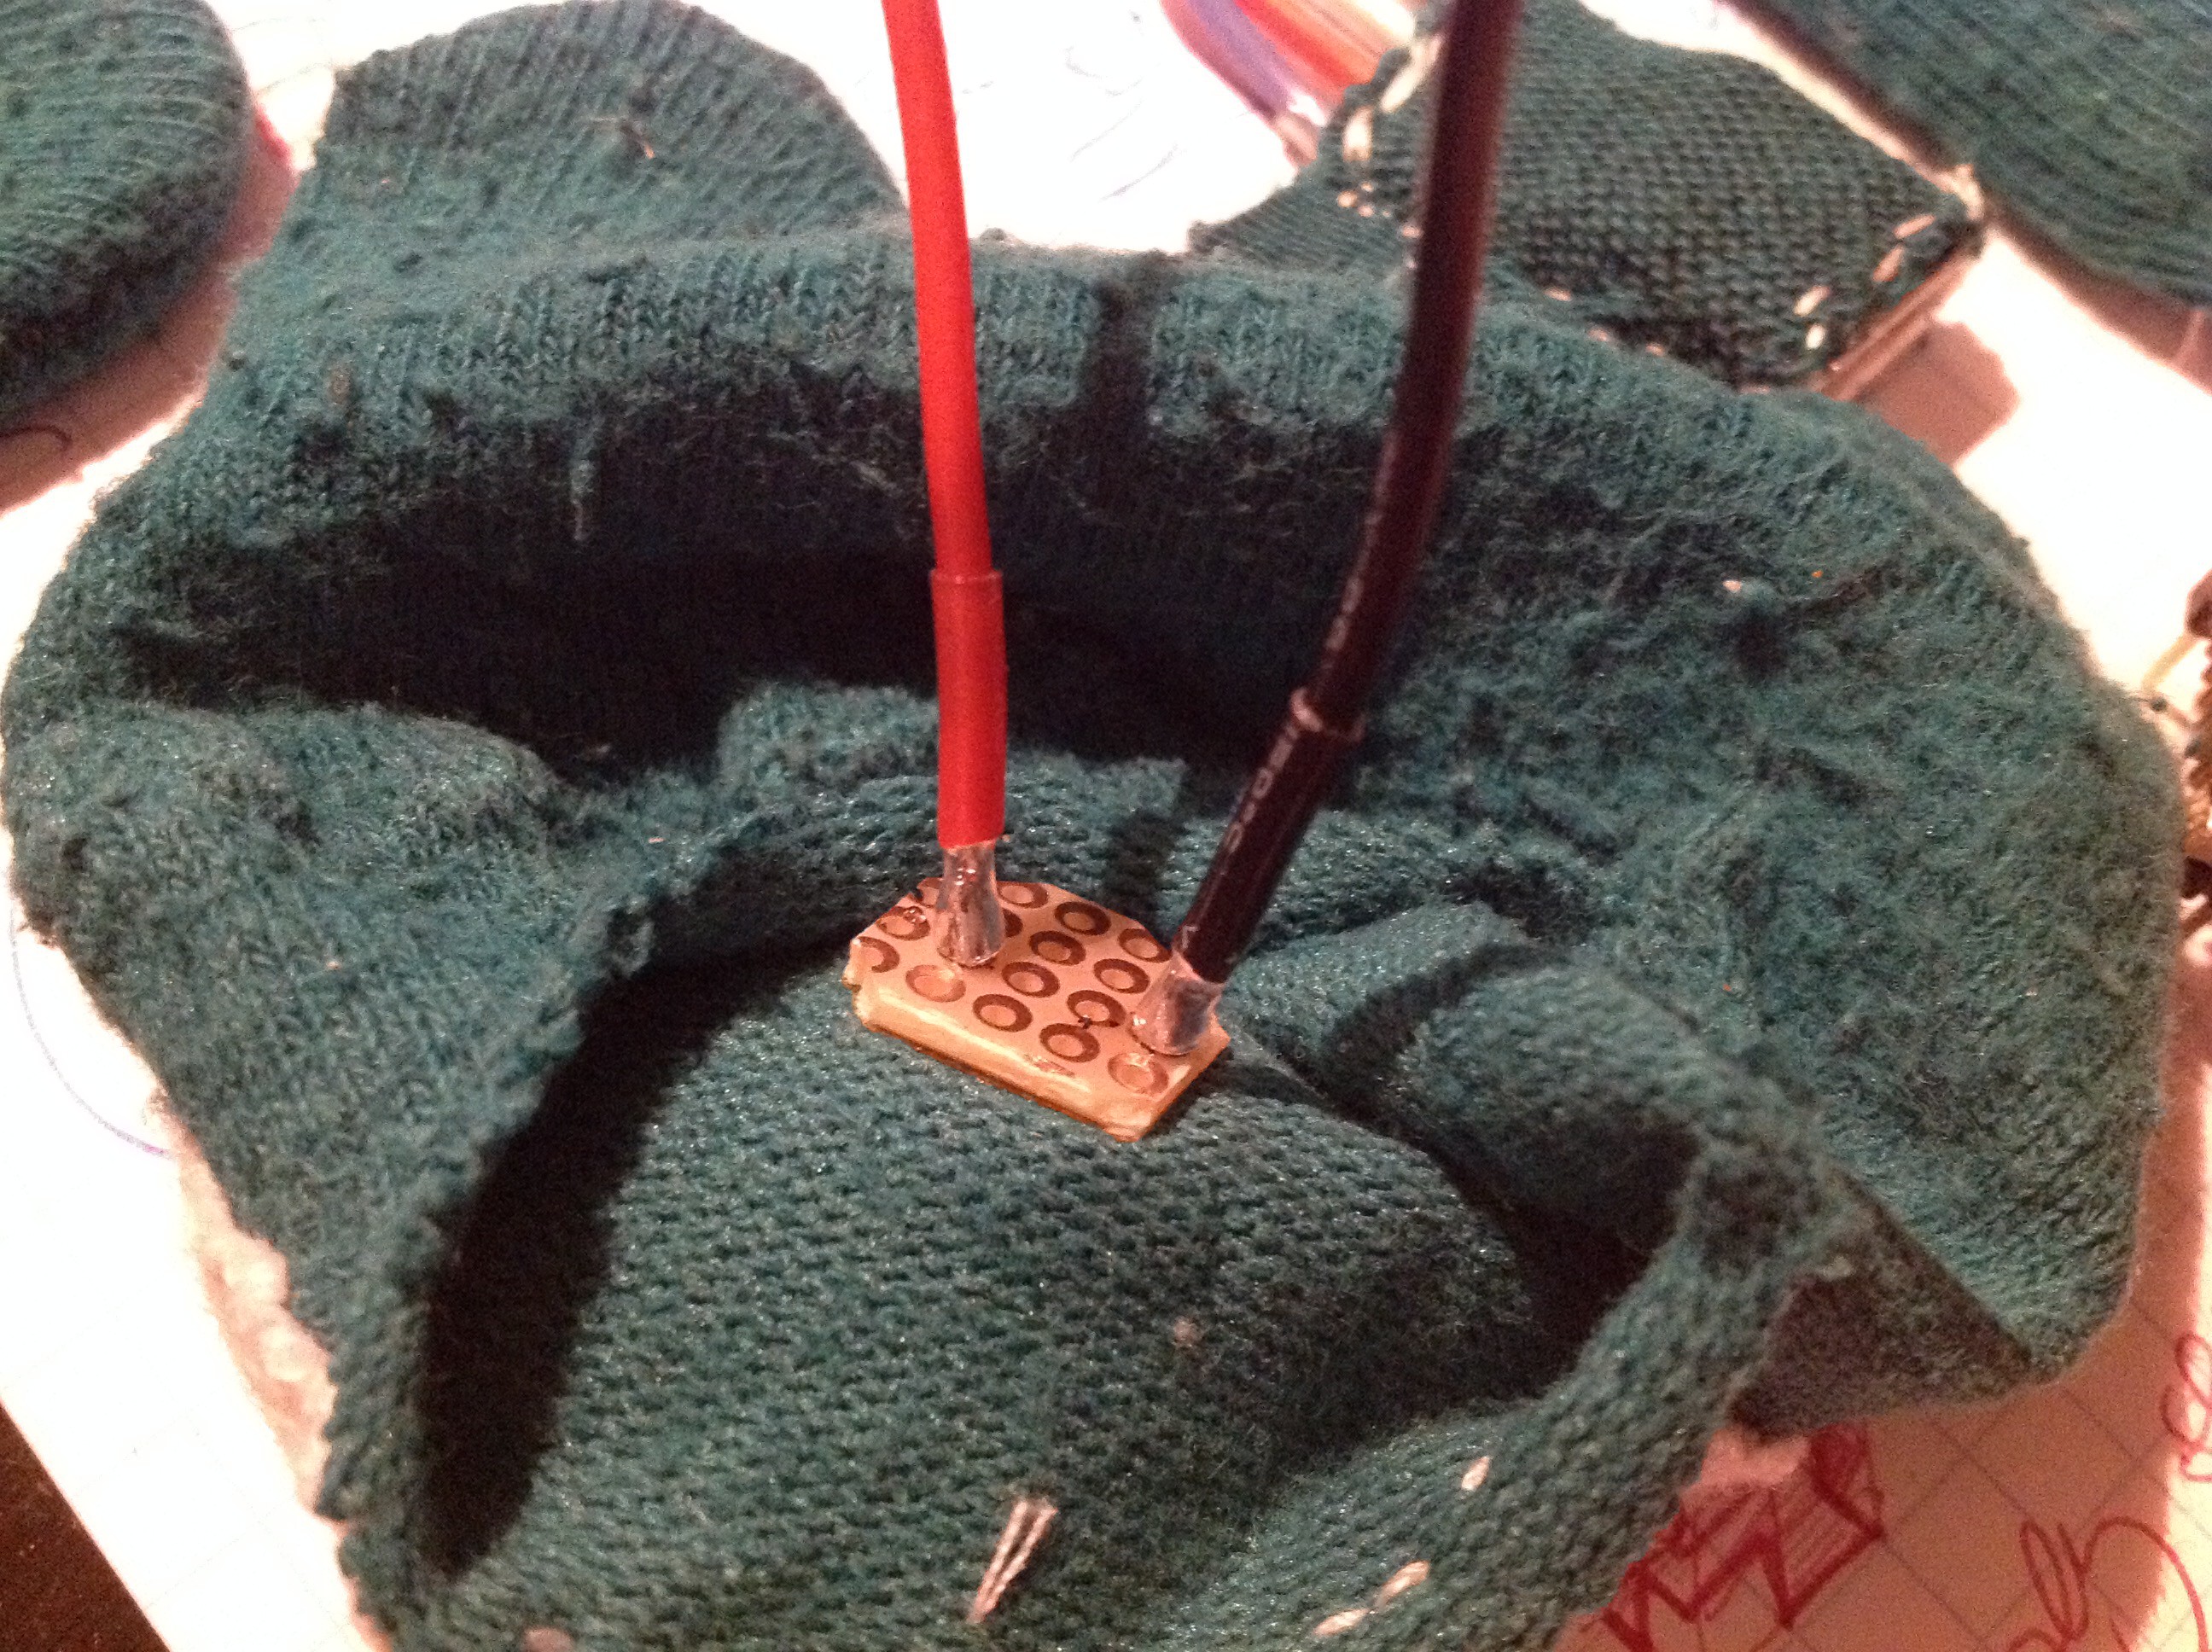
I finally decided to use an external, tiny piezo instead of having a bigger internal speaker, as I felt I wouldn't be able to fit it in the head atfer adding more stuff in it as well ..
![]()
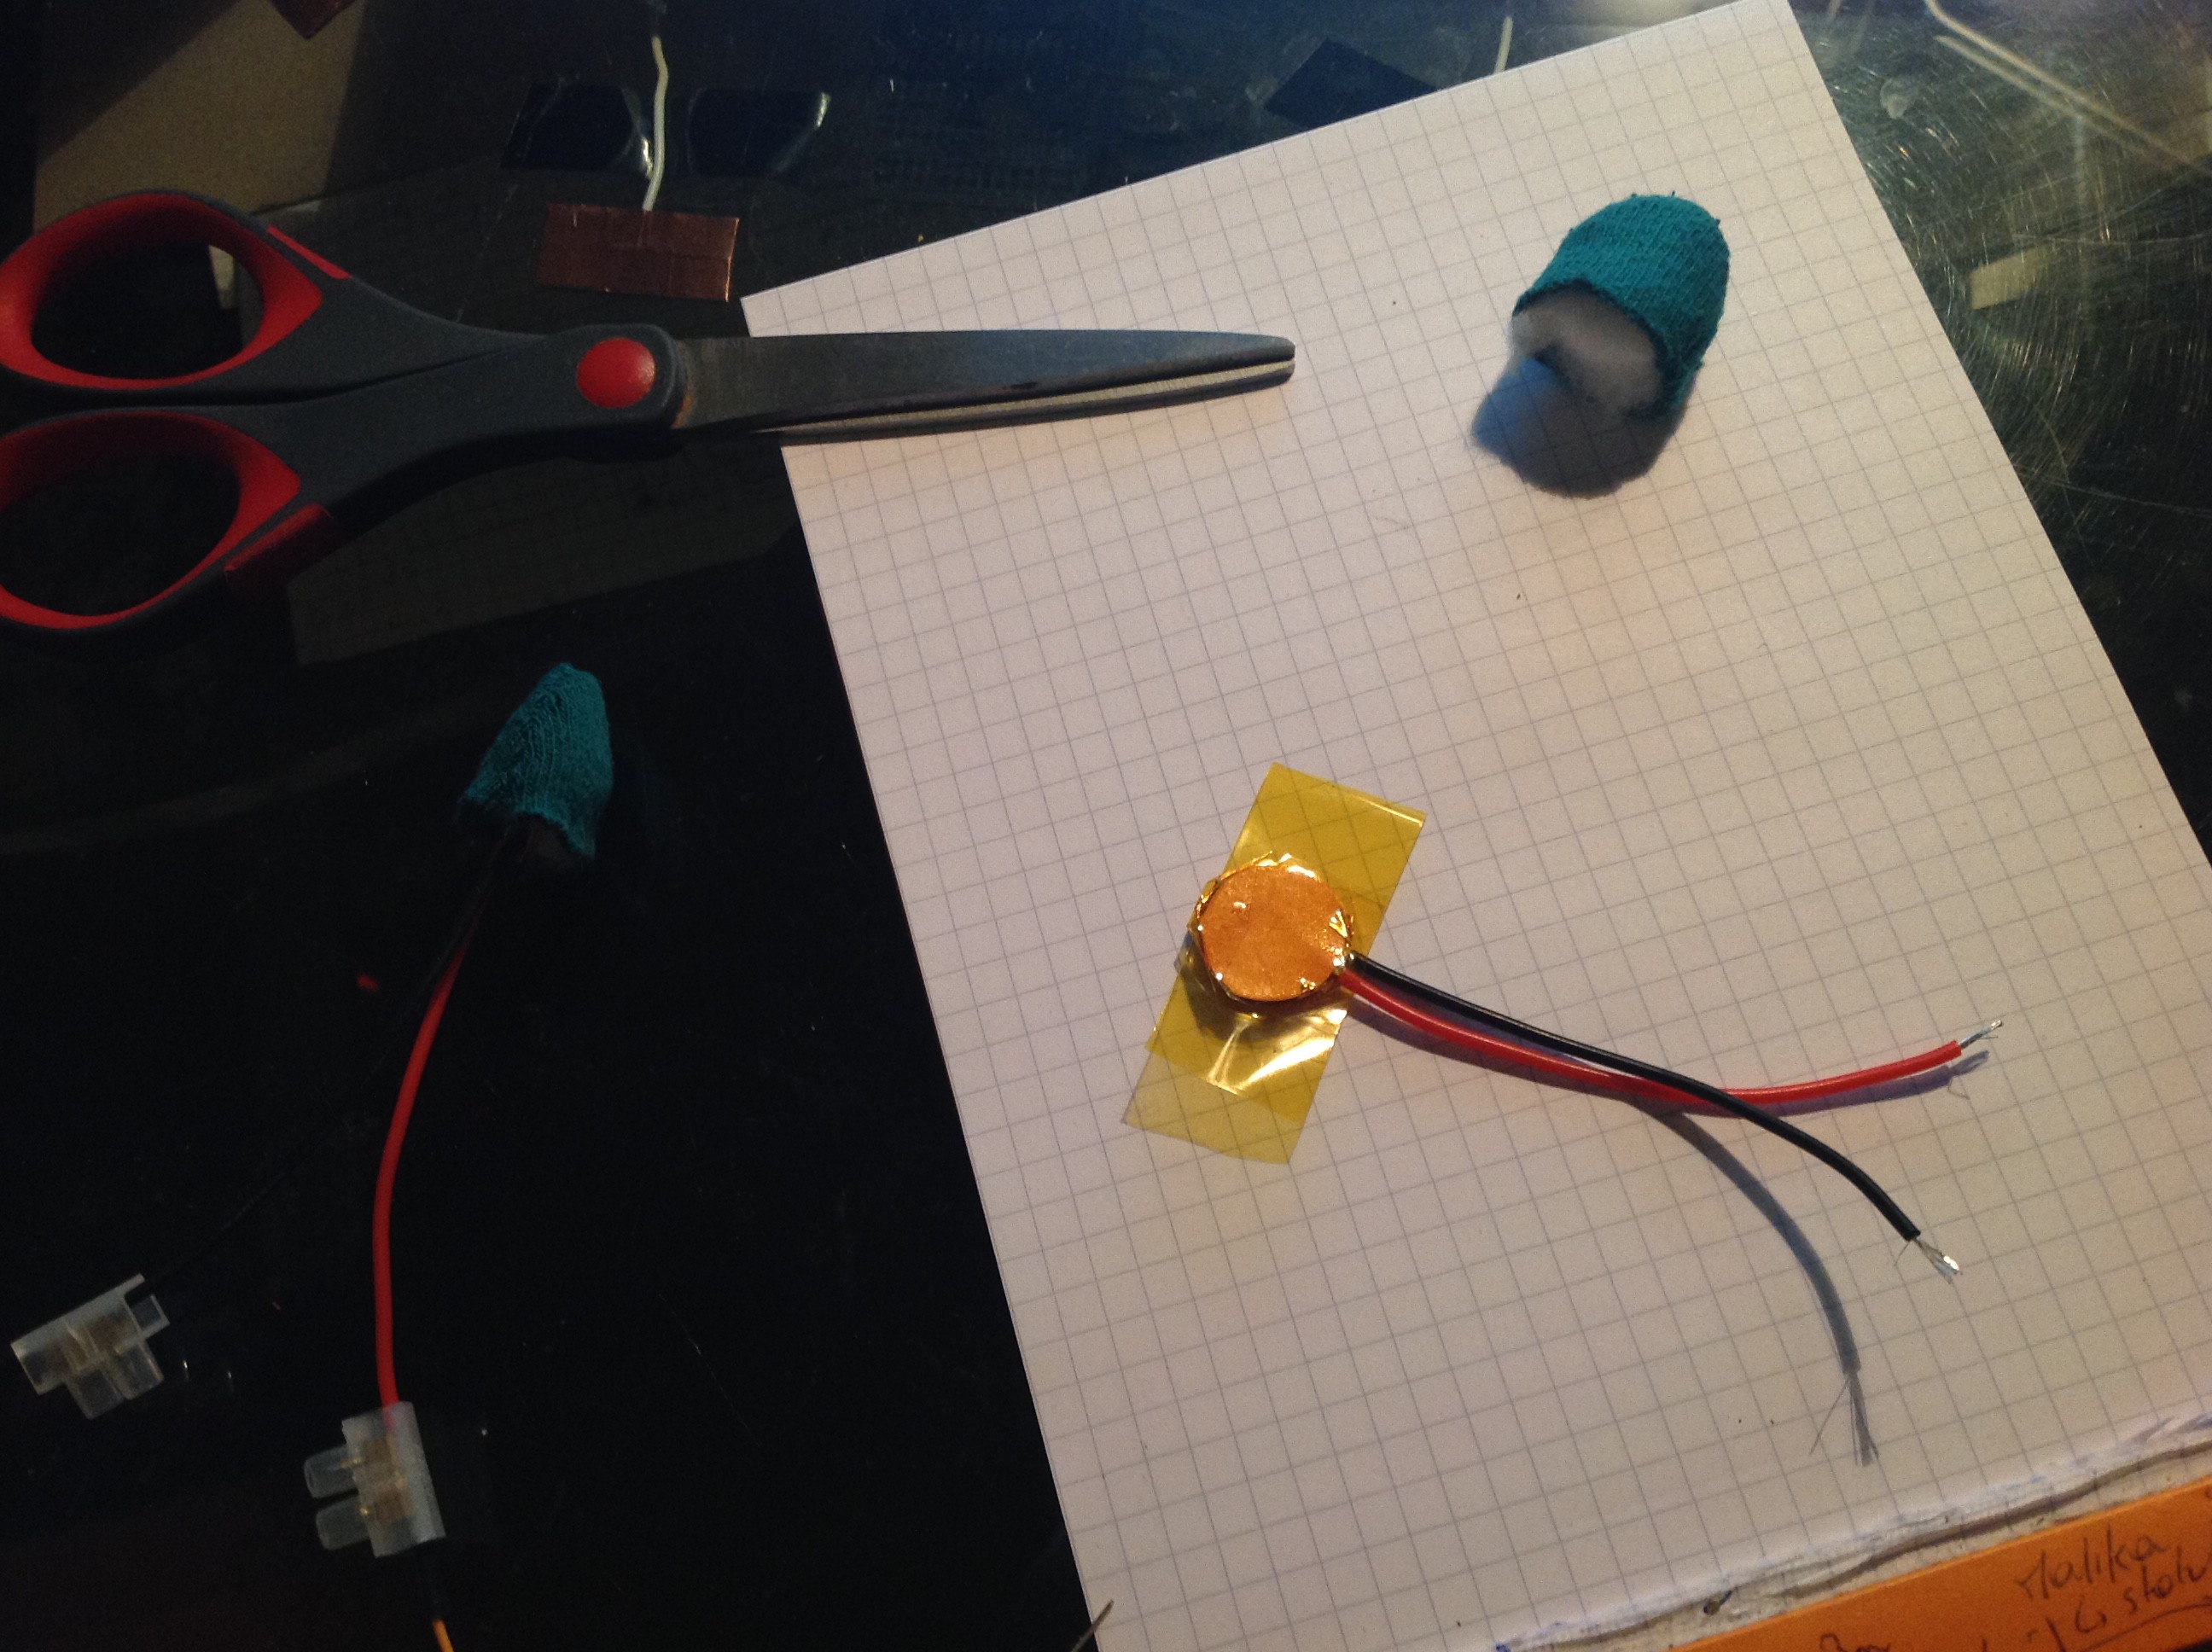
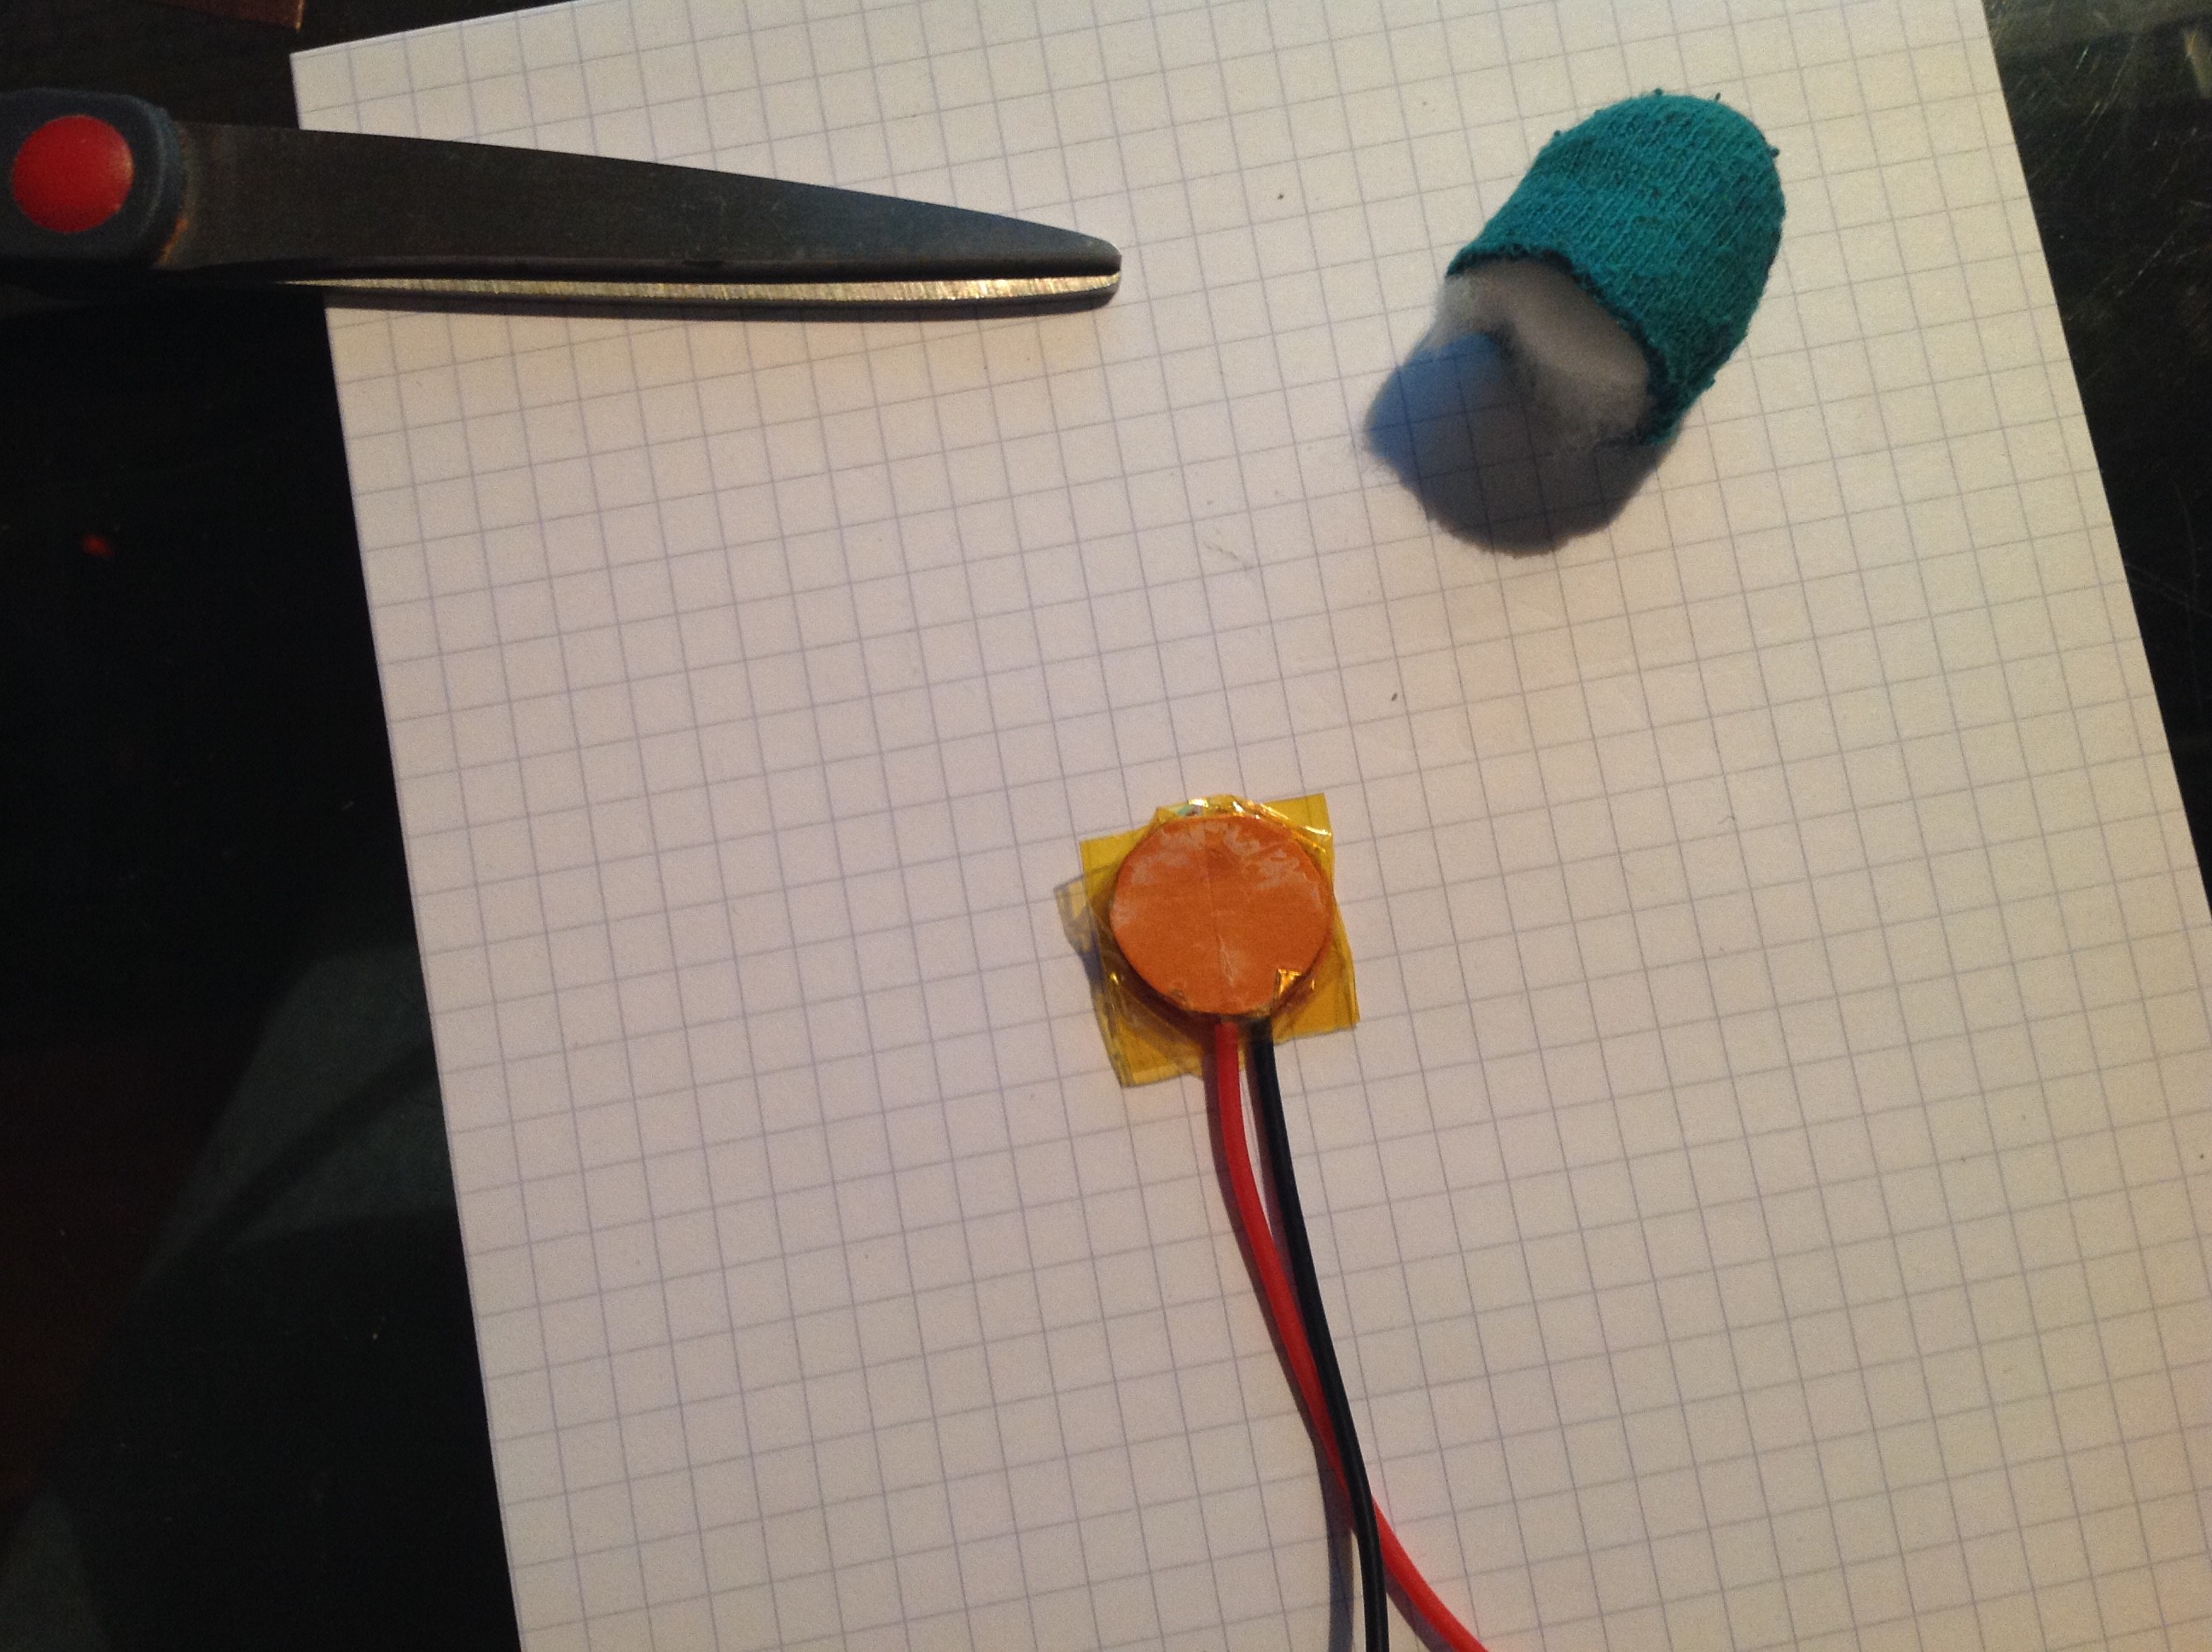
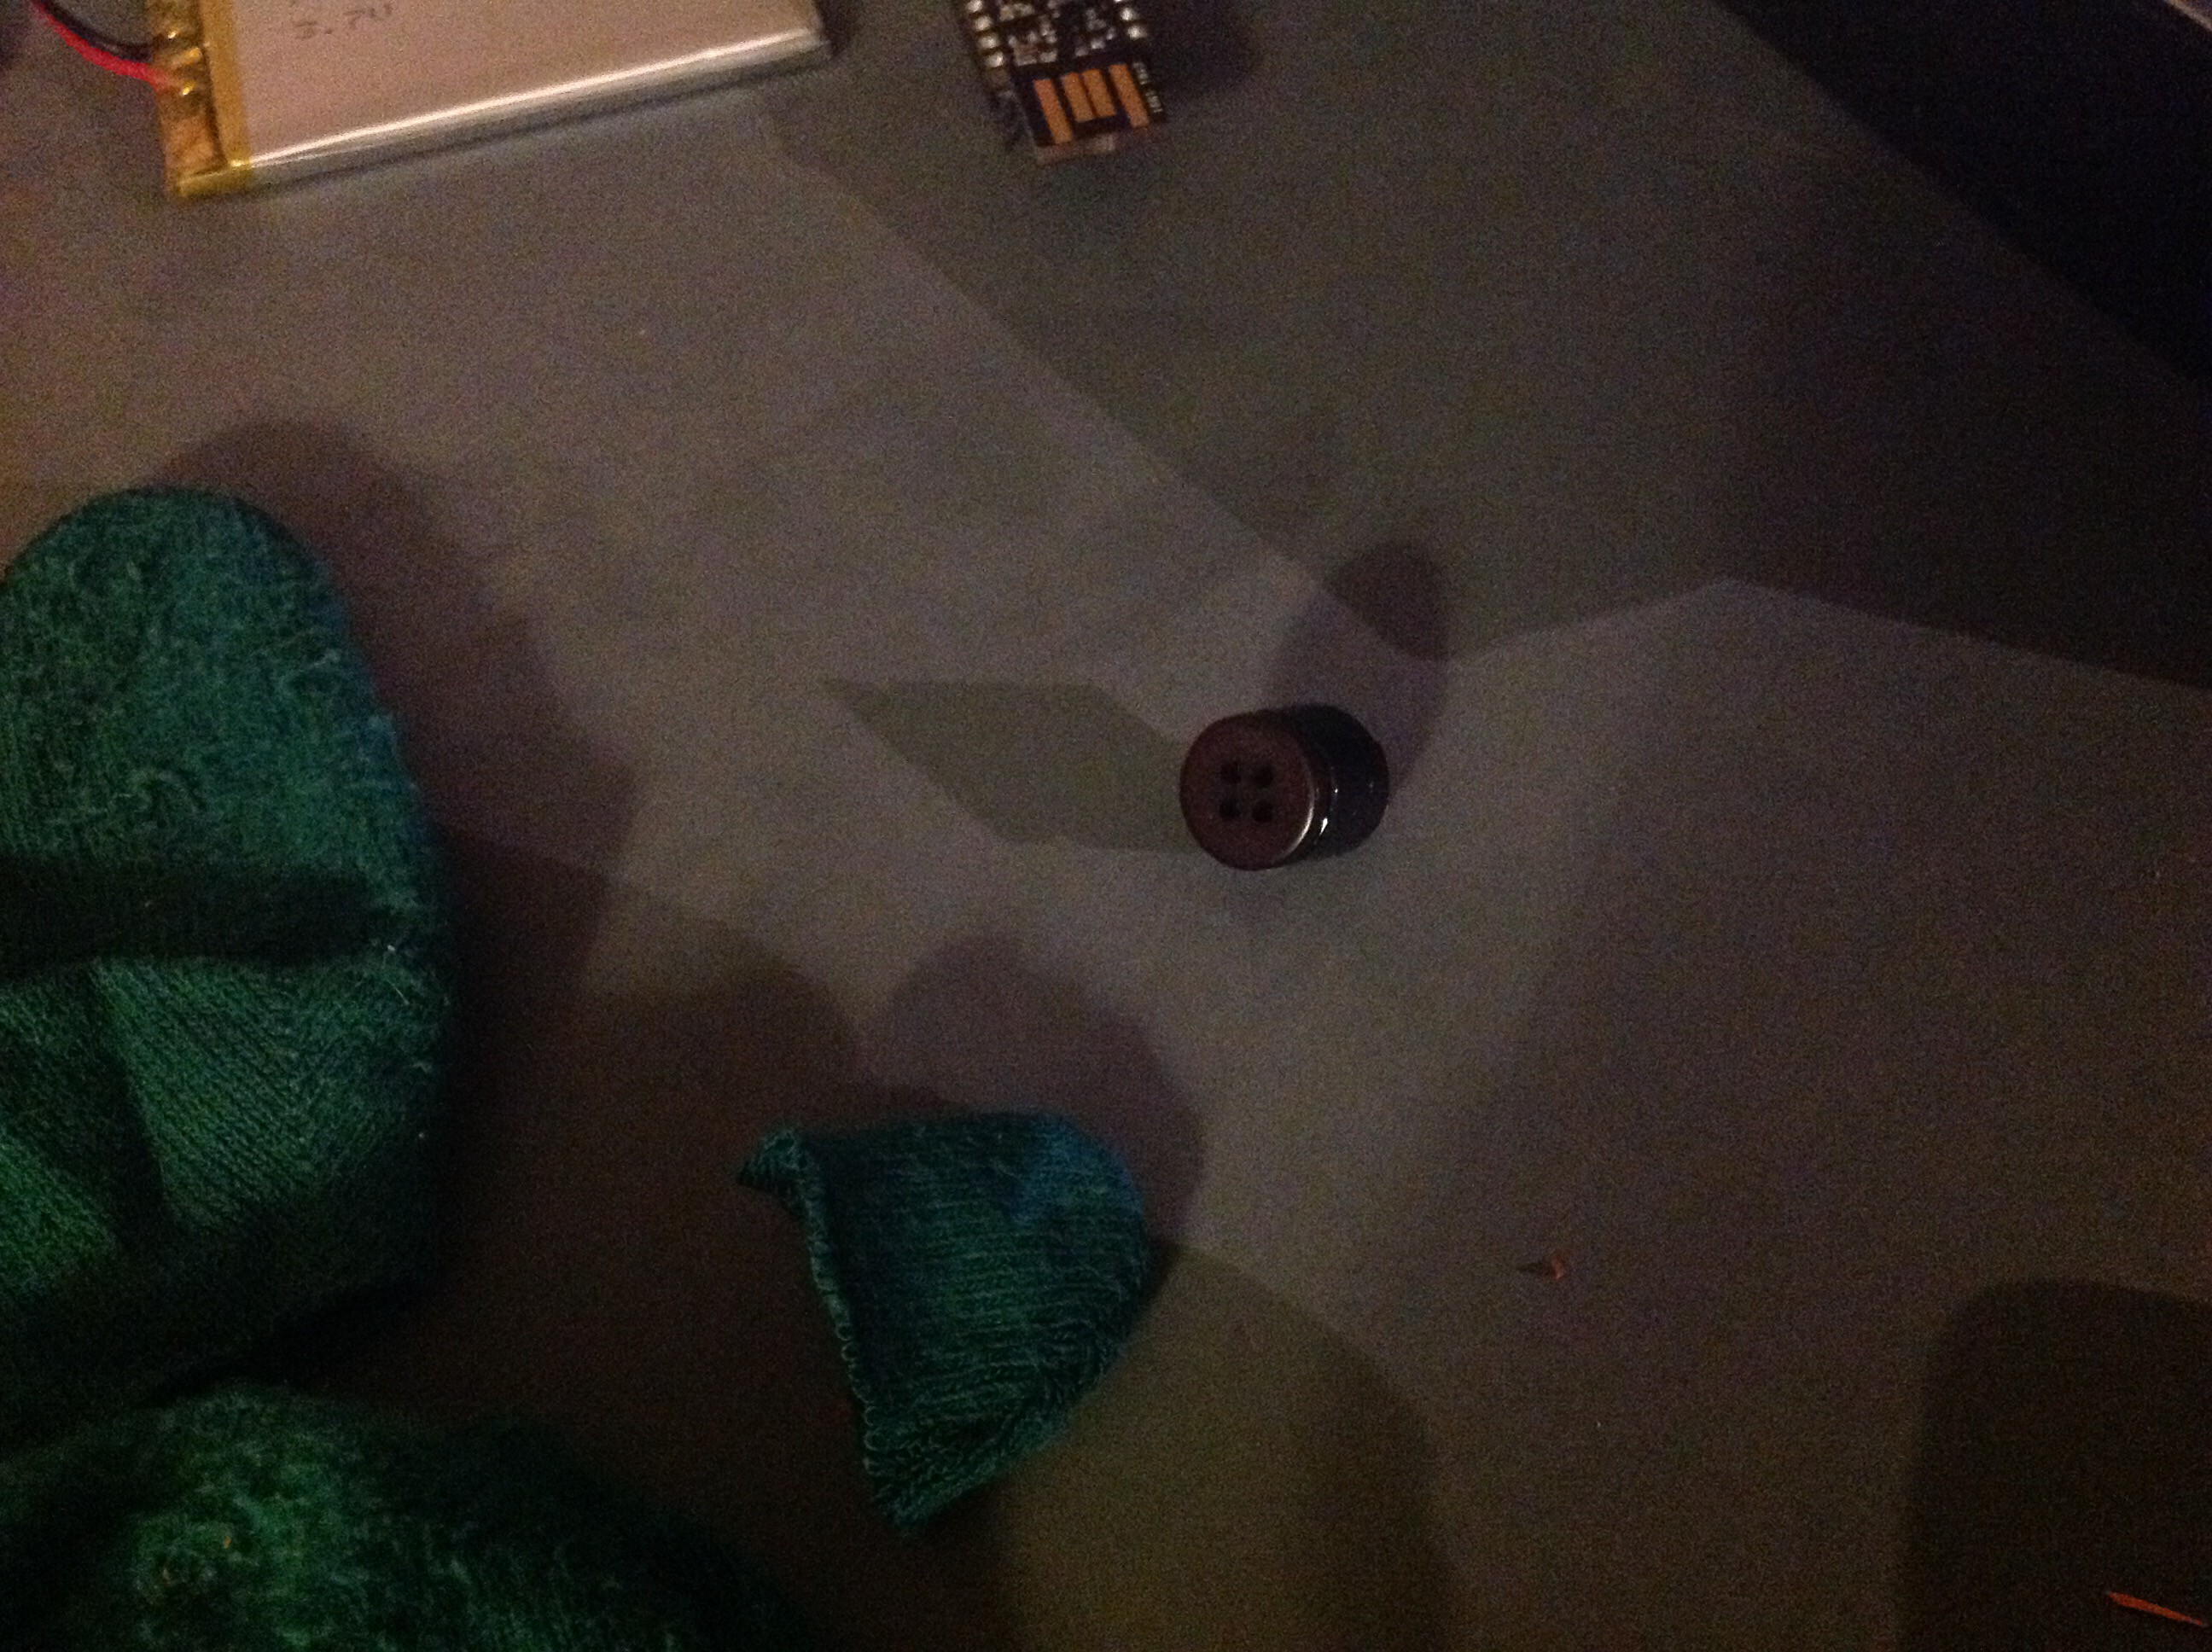
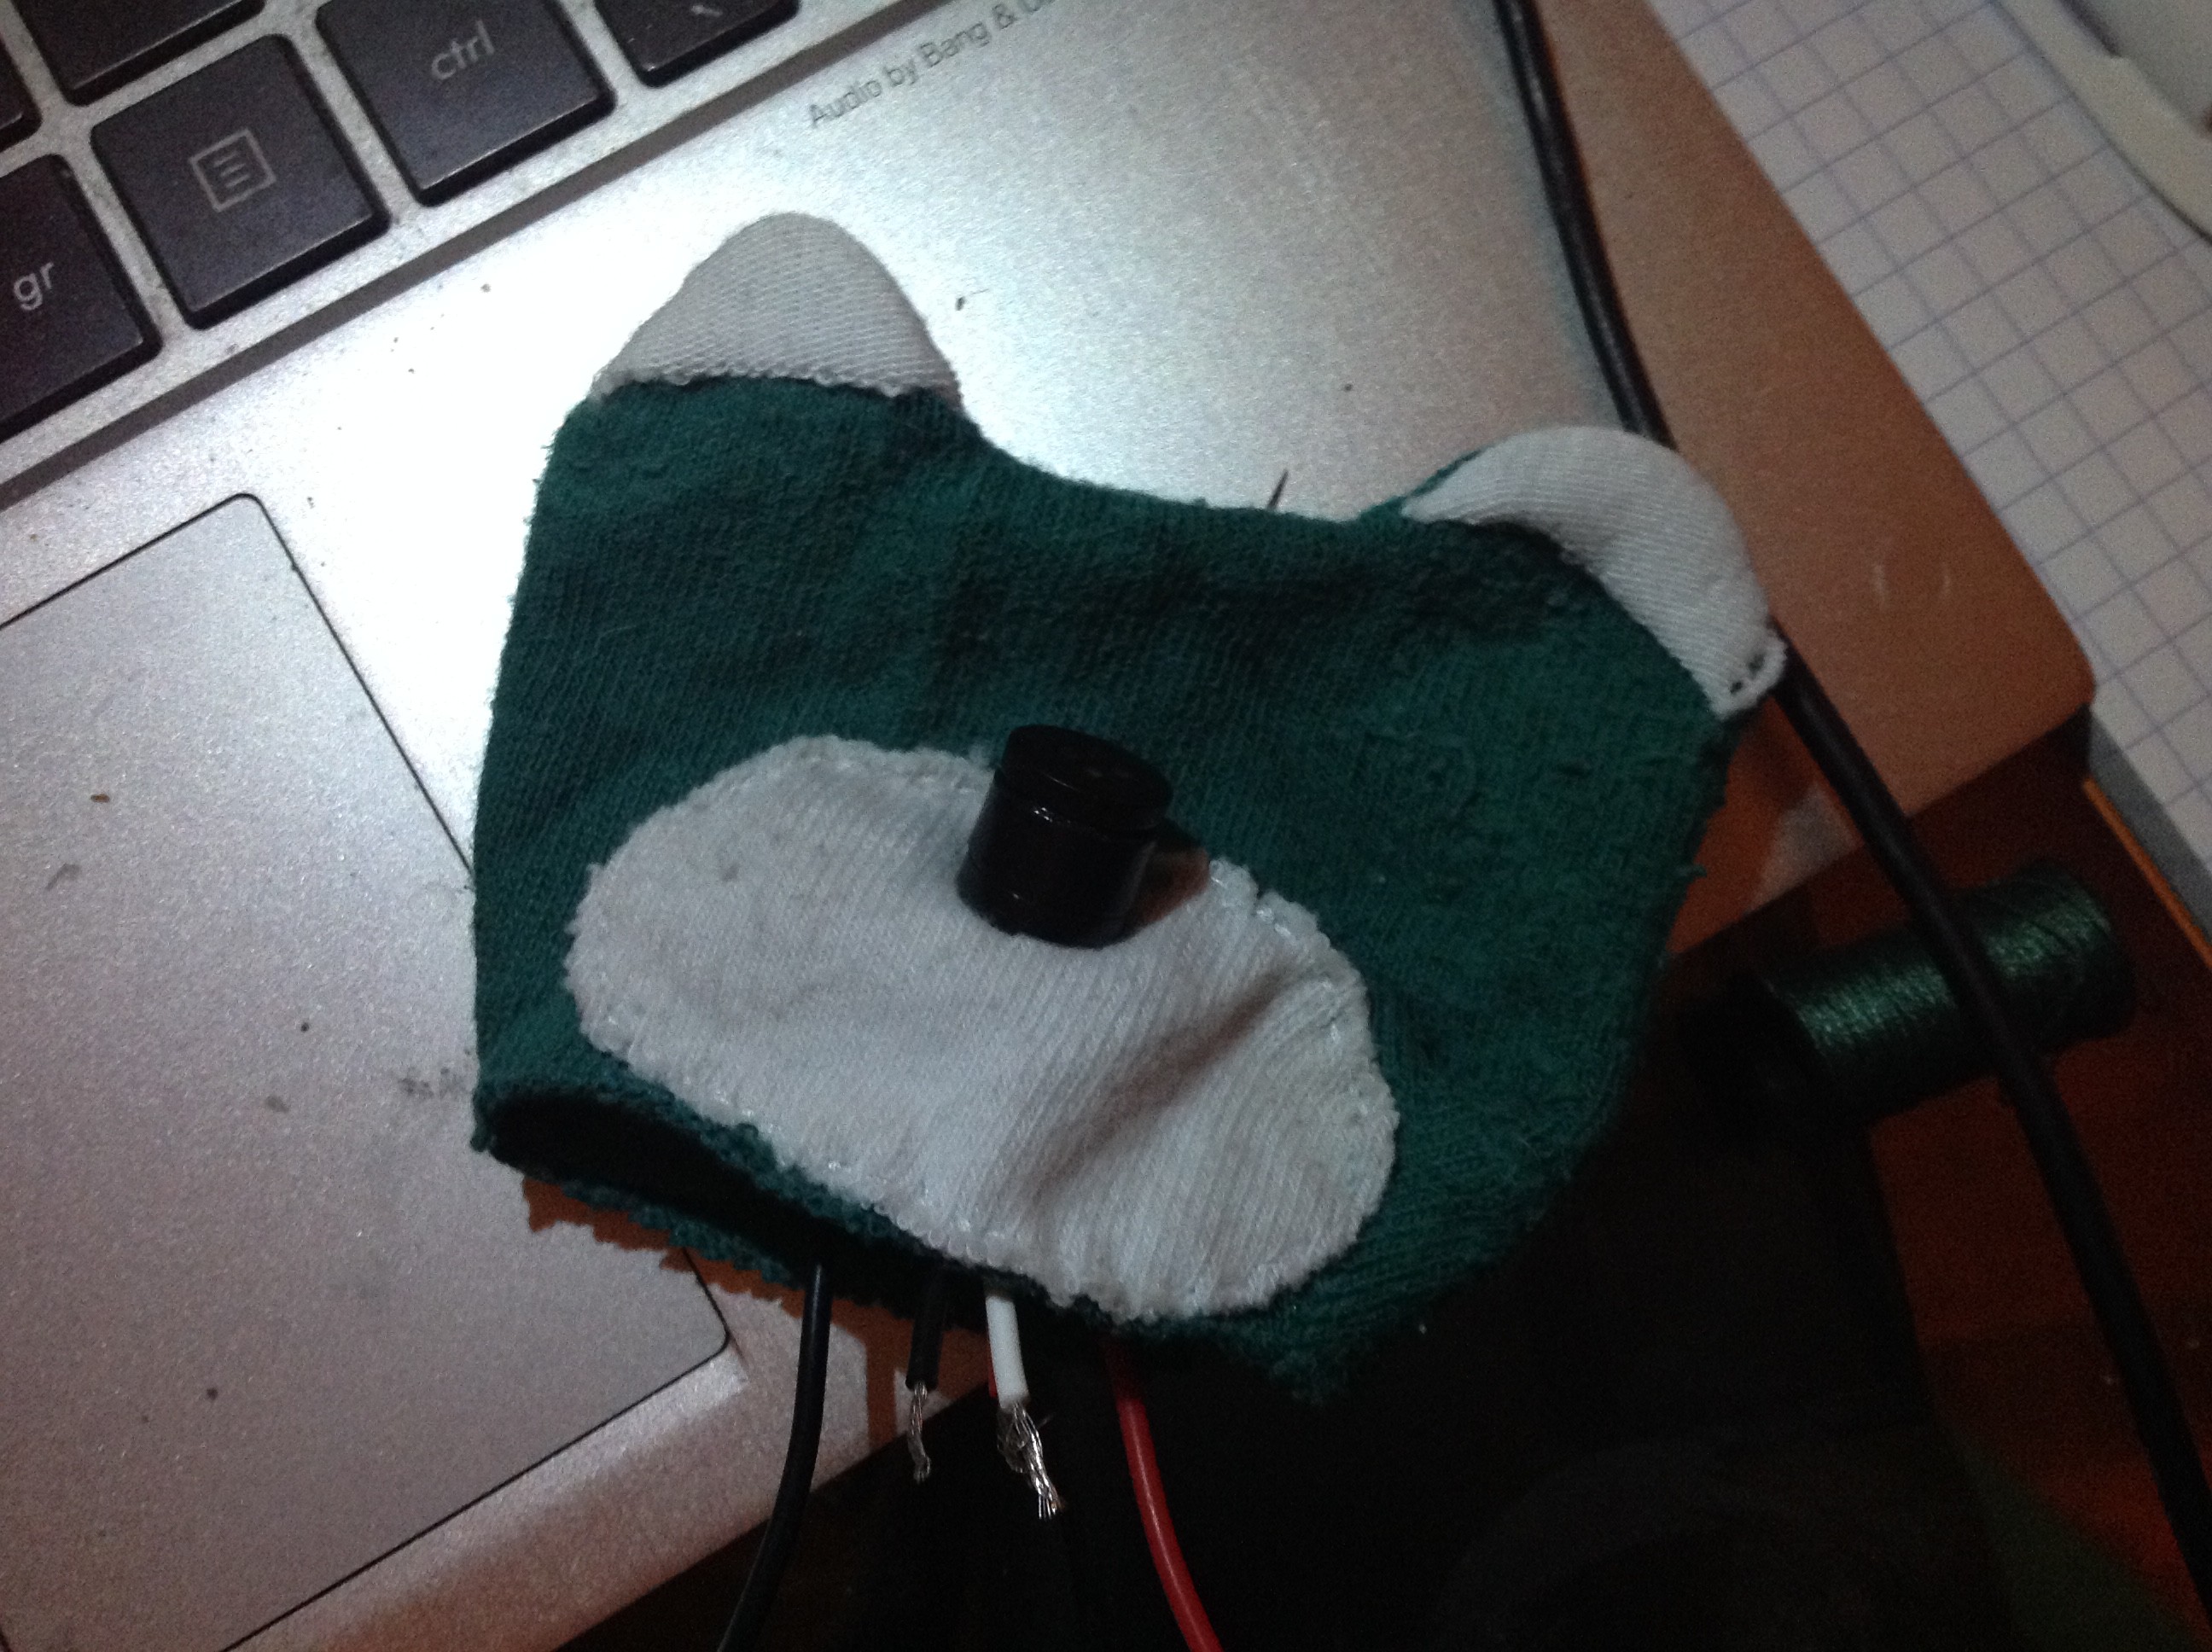
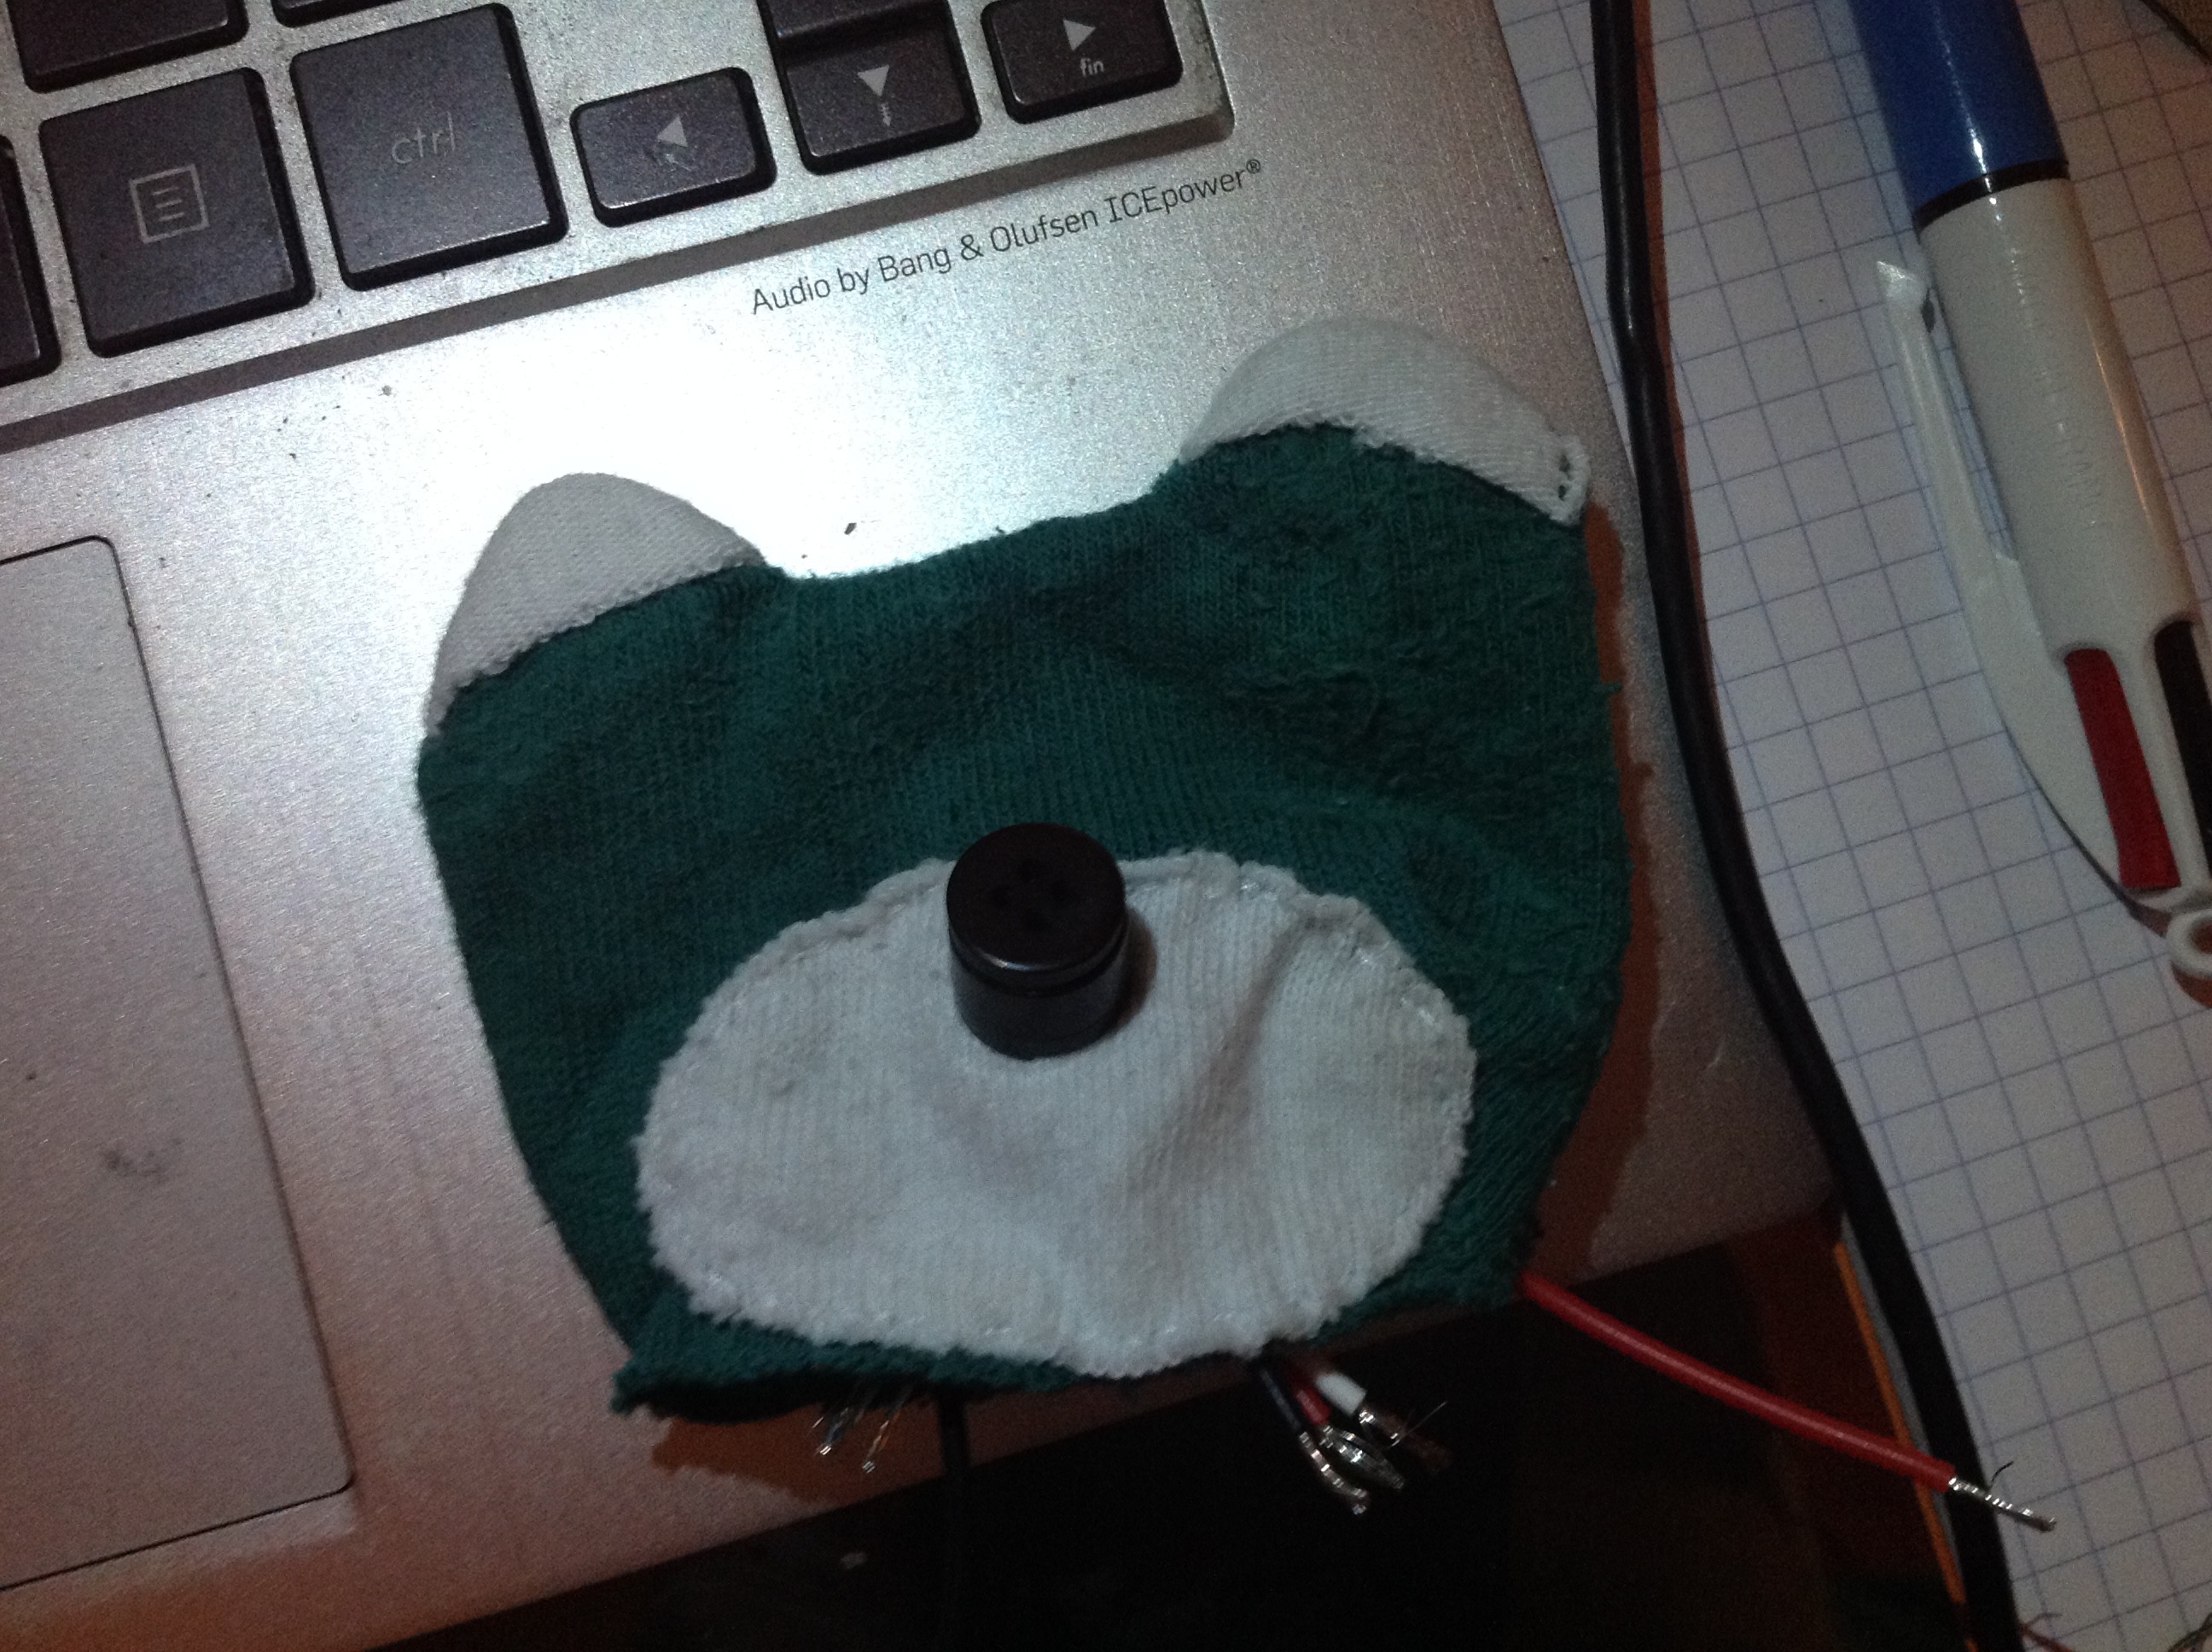
The "pienoze" ids really a button glued to a piezo :)
![]()
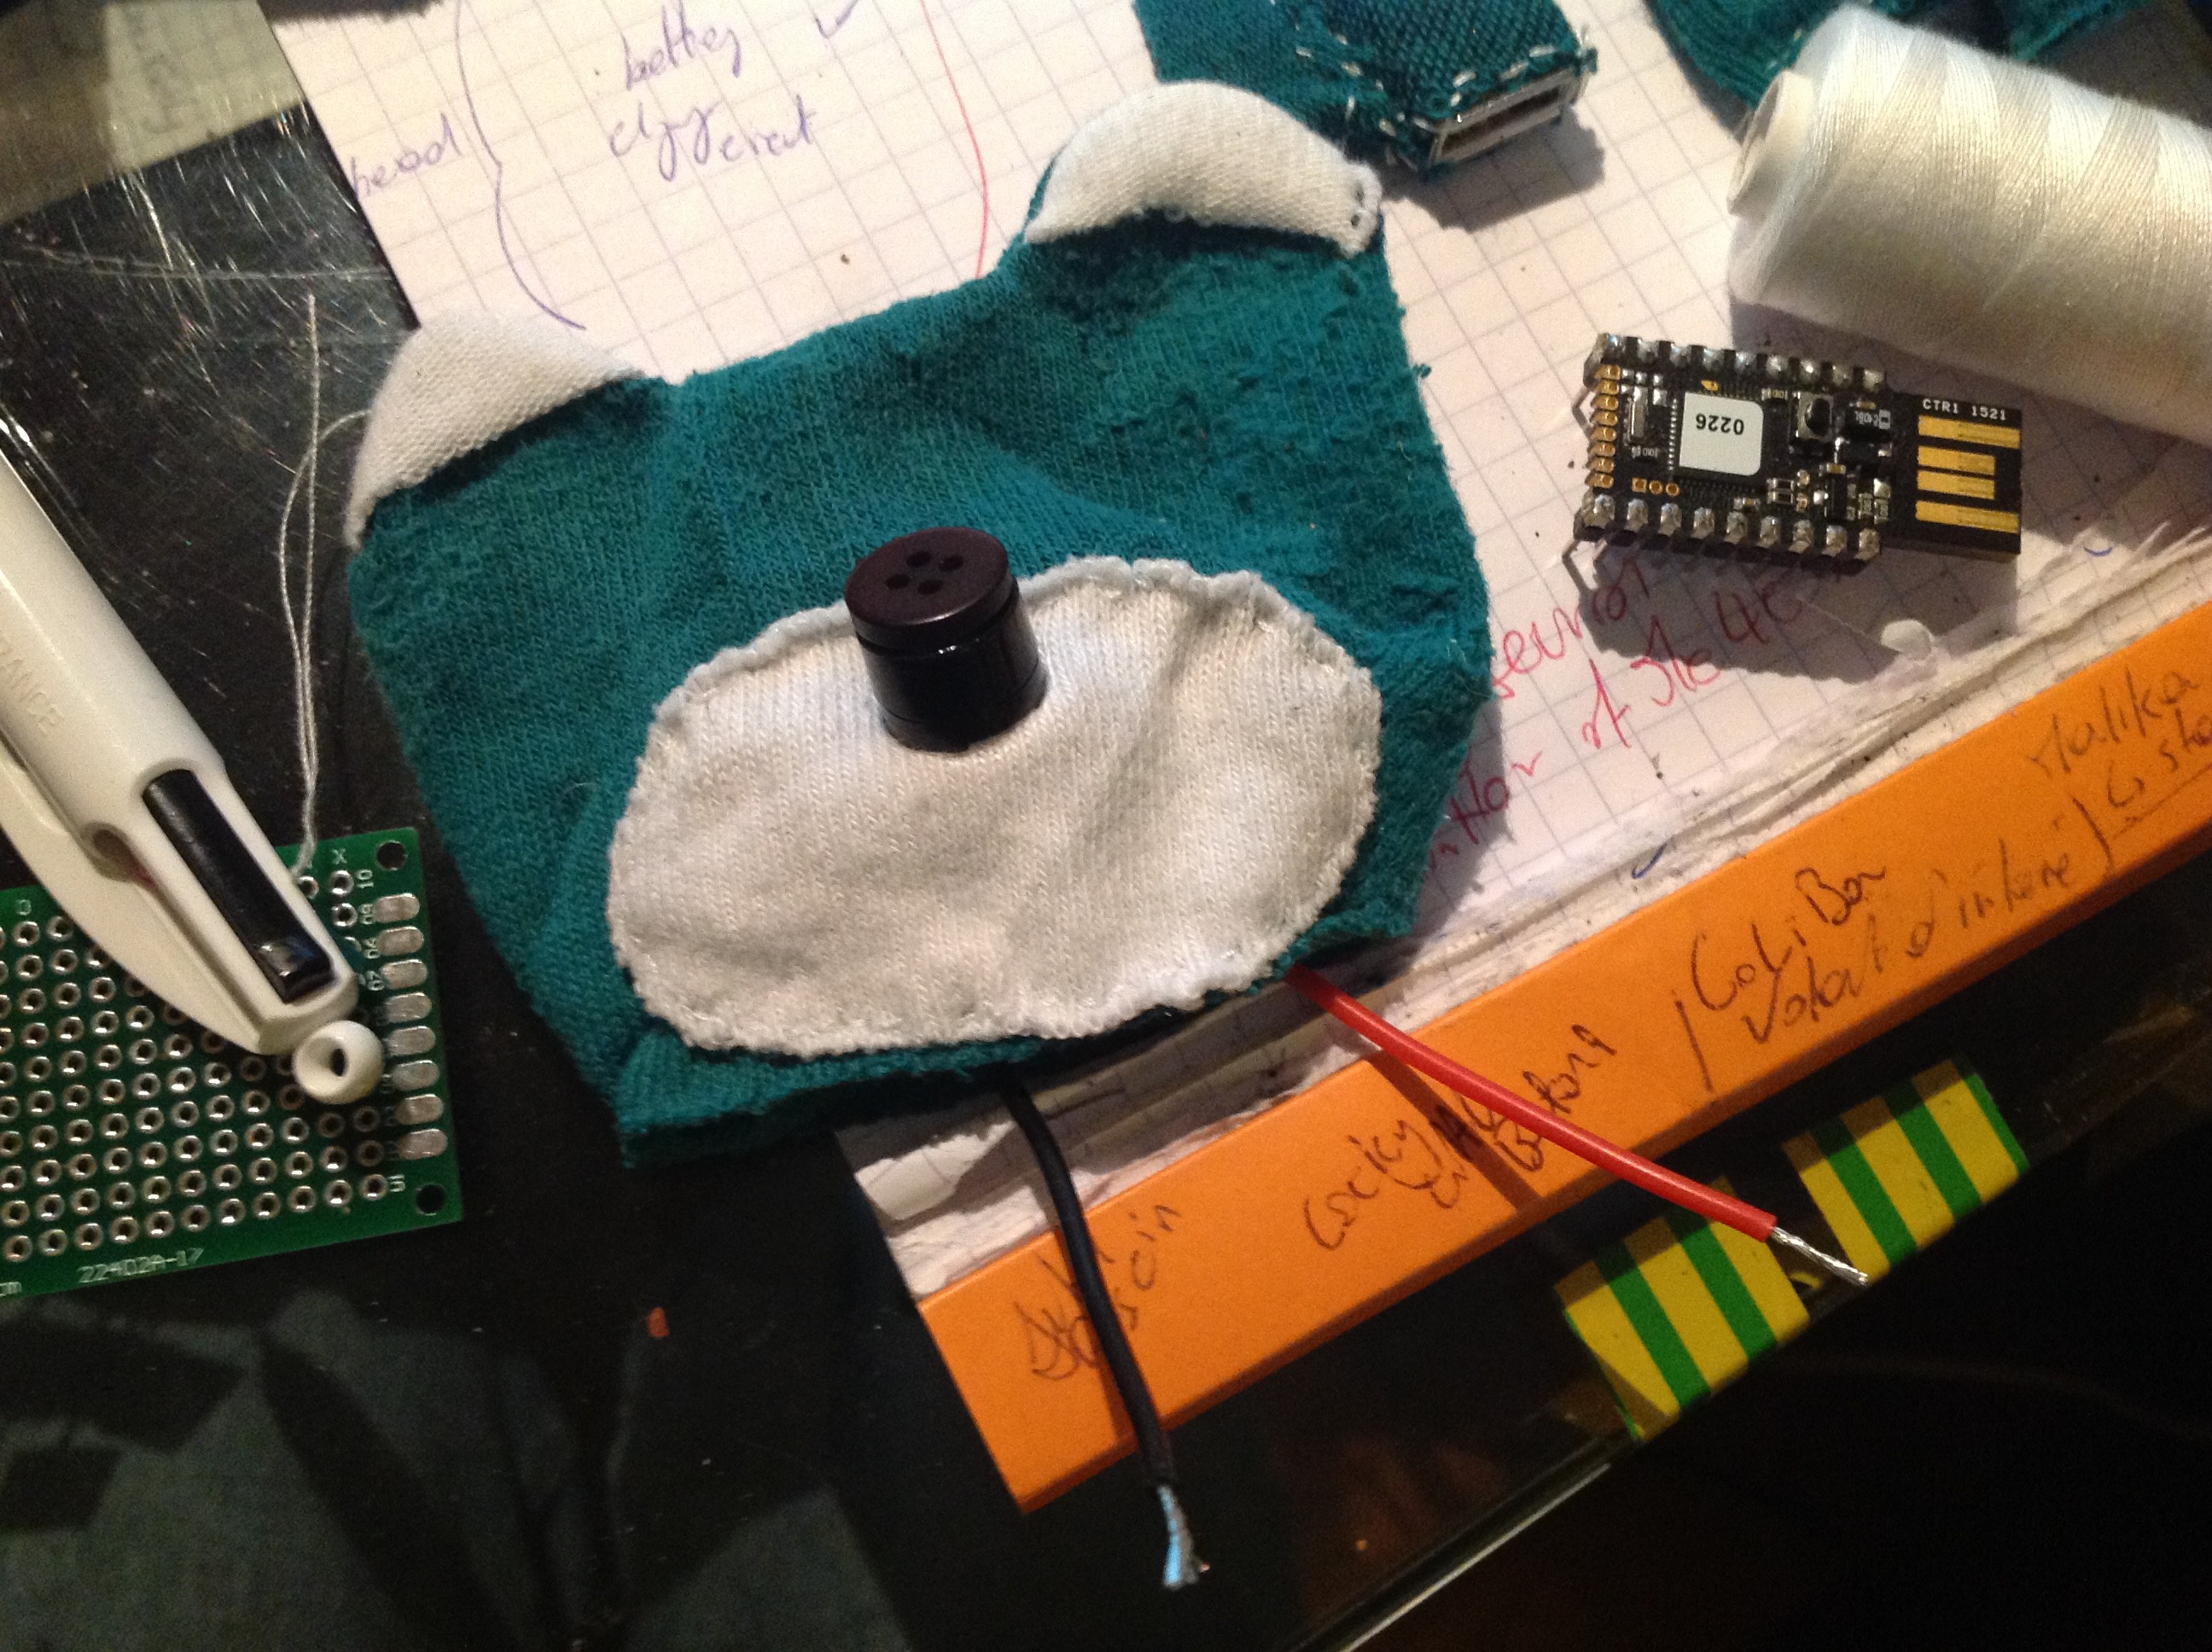
To keep it somehow aligned/perpendicular to the rest of the head, we'll use a breakoutboard leftover in the inside.
![]()
![]()
![]()
All right, now that we can say stuff :)
-
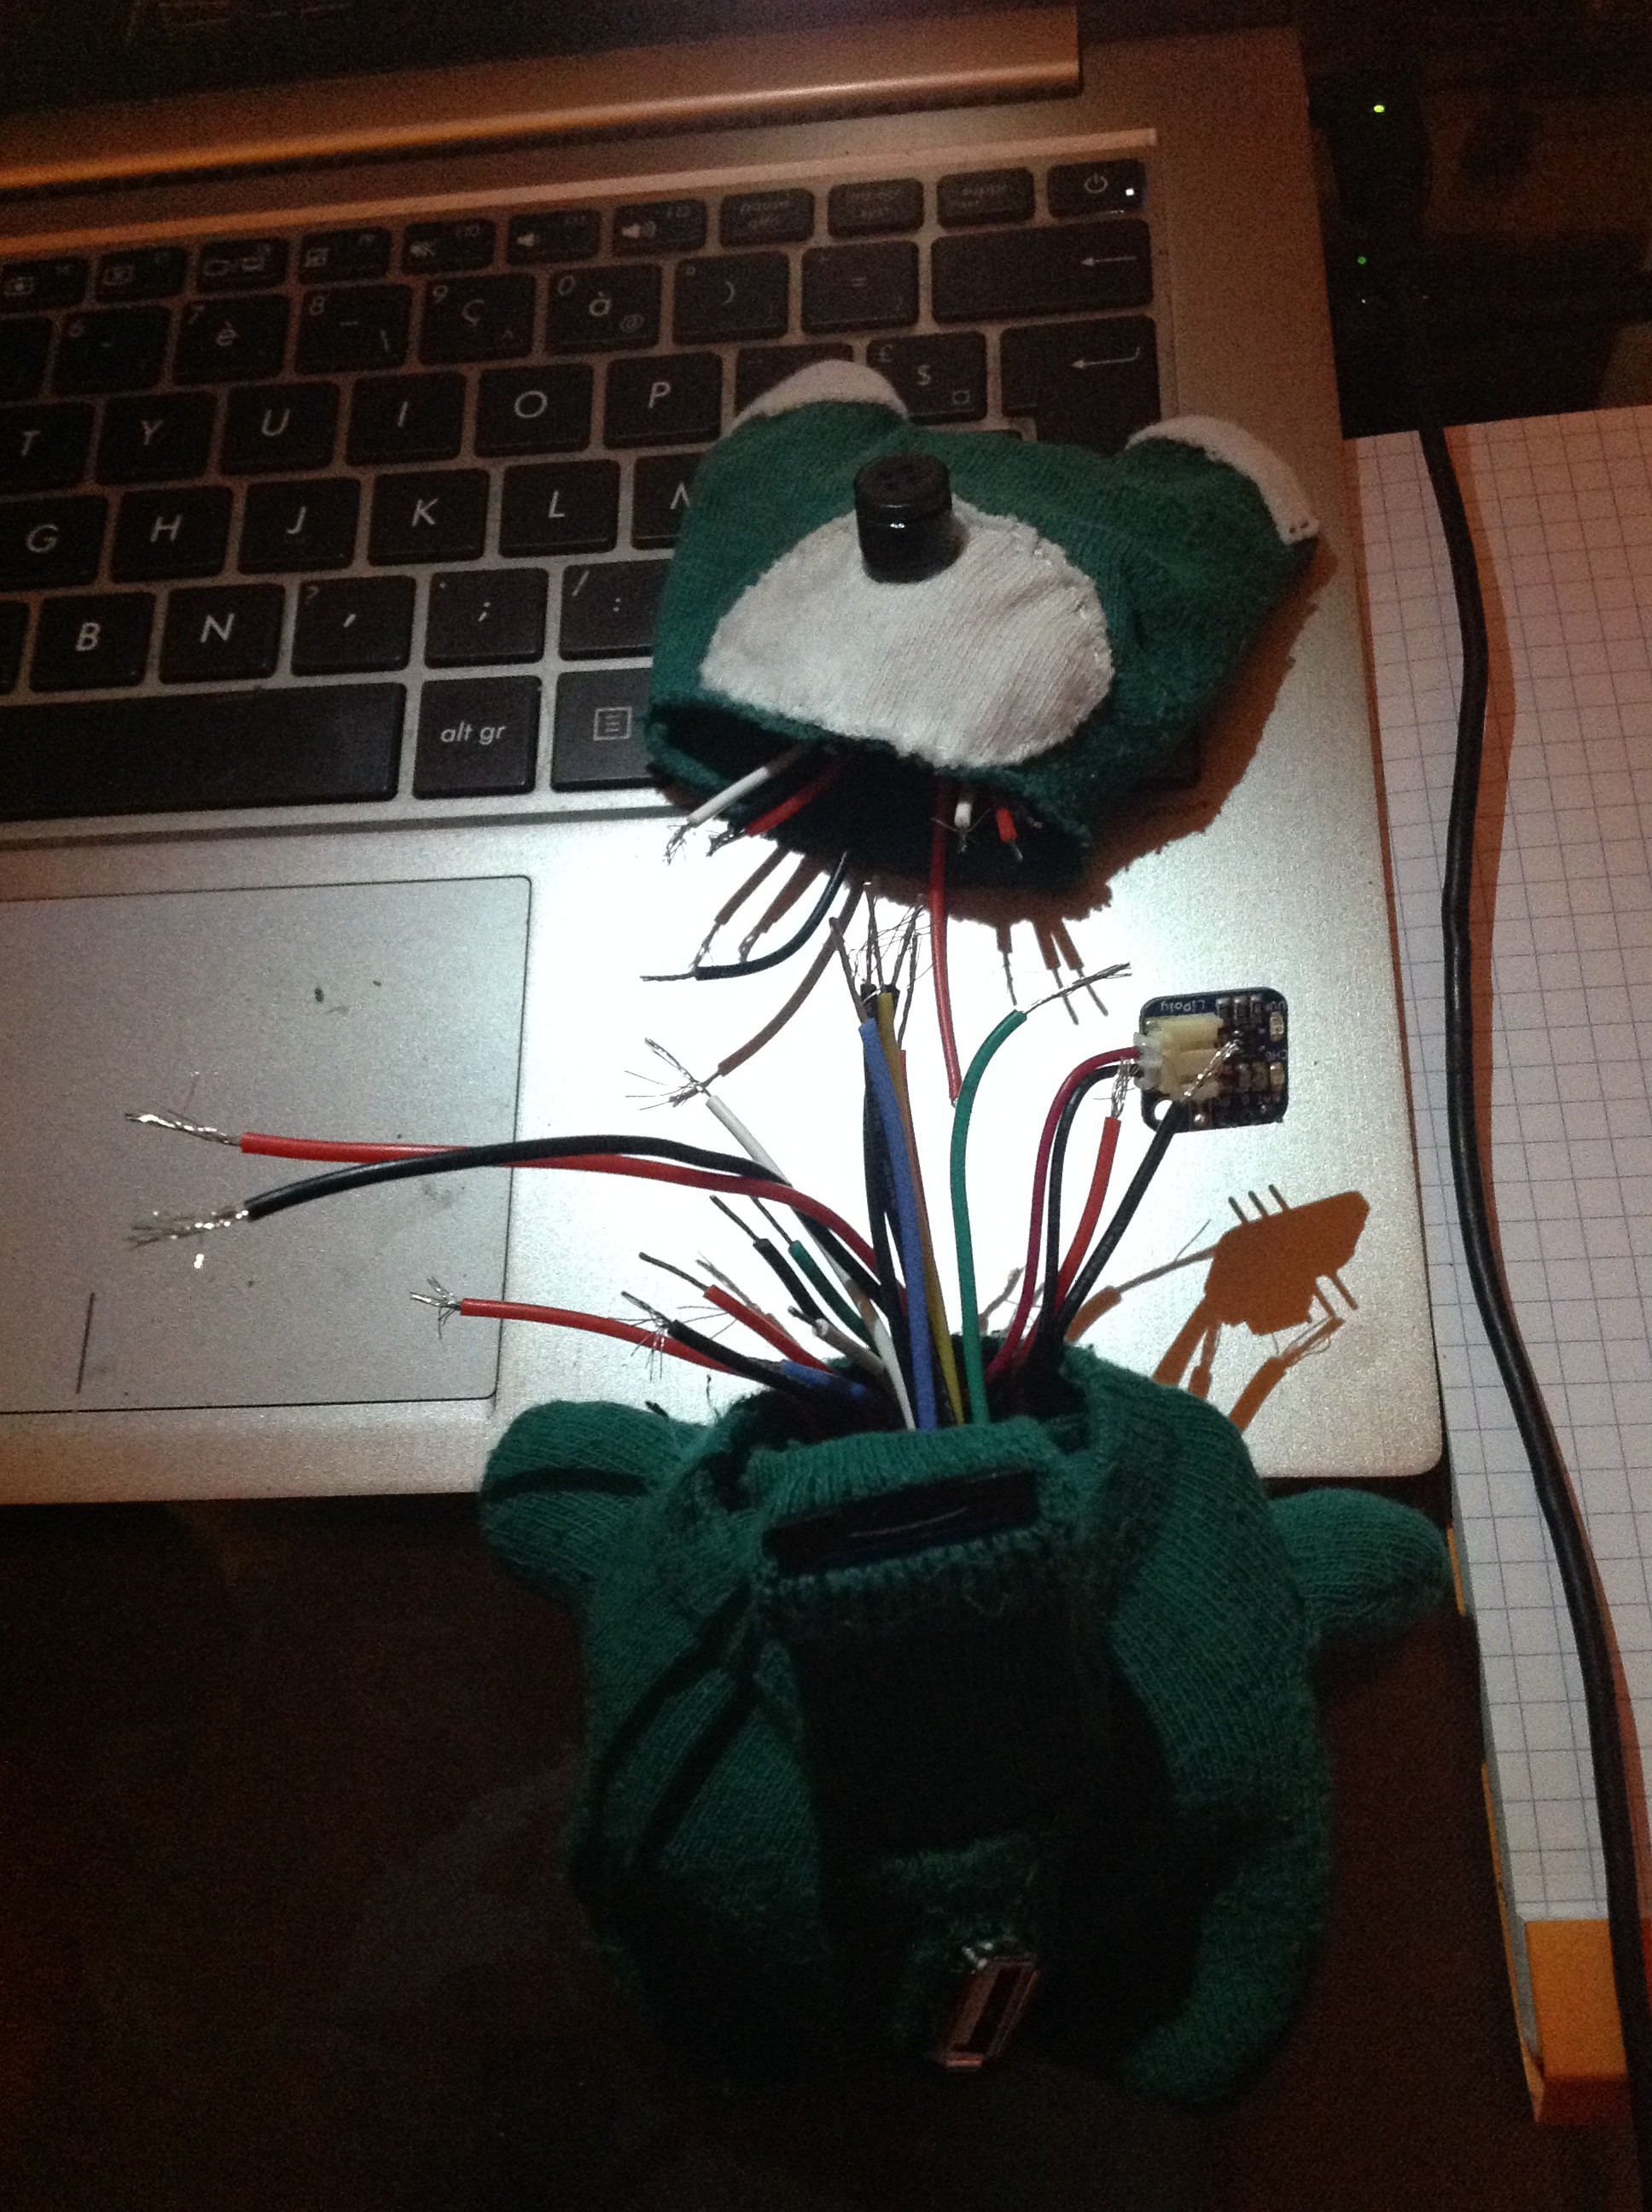
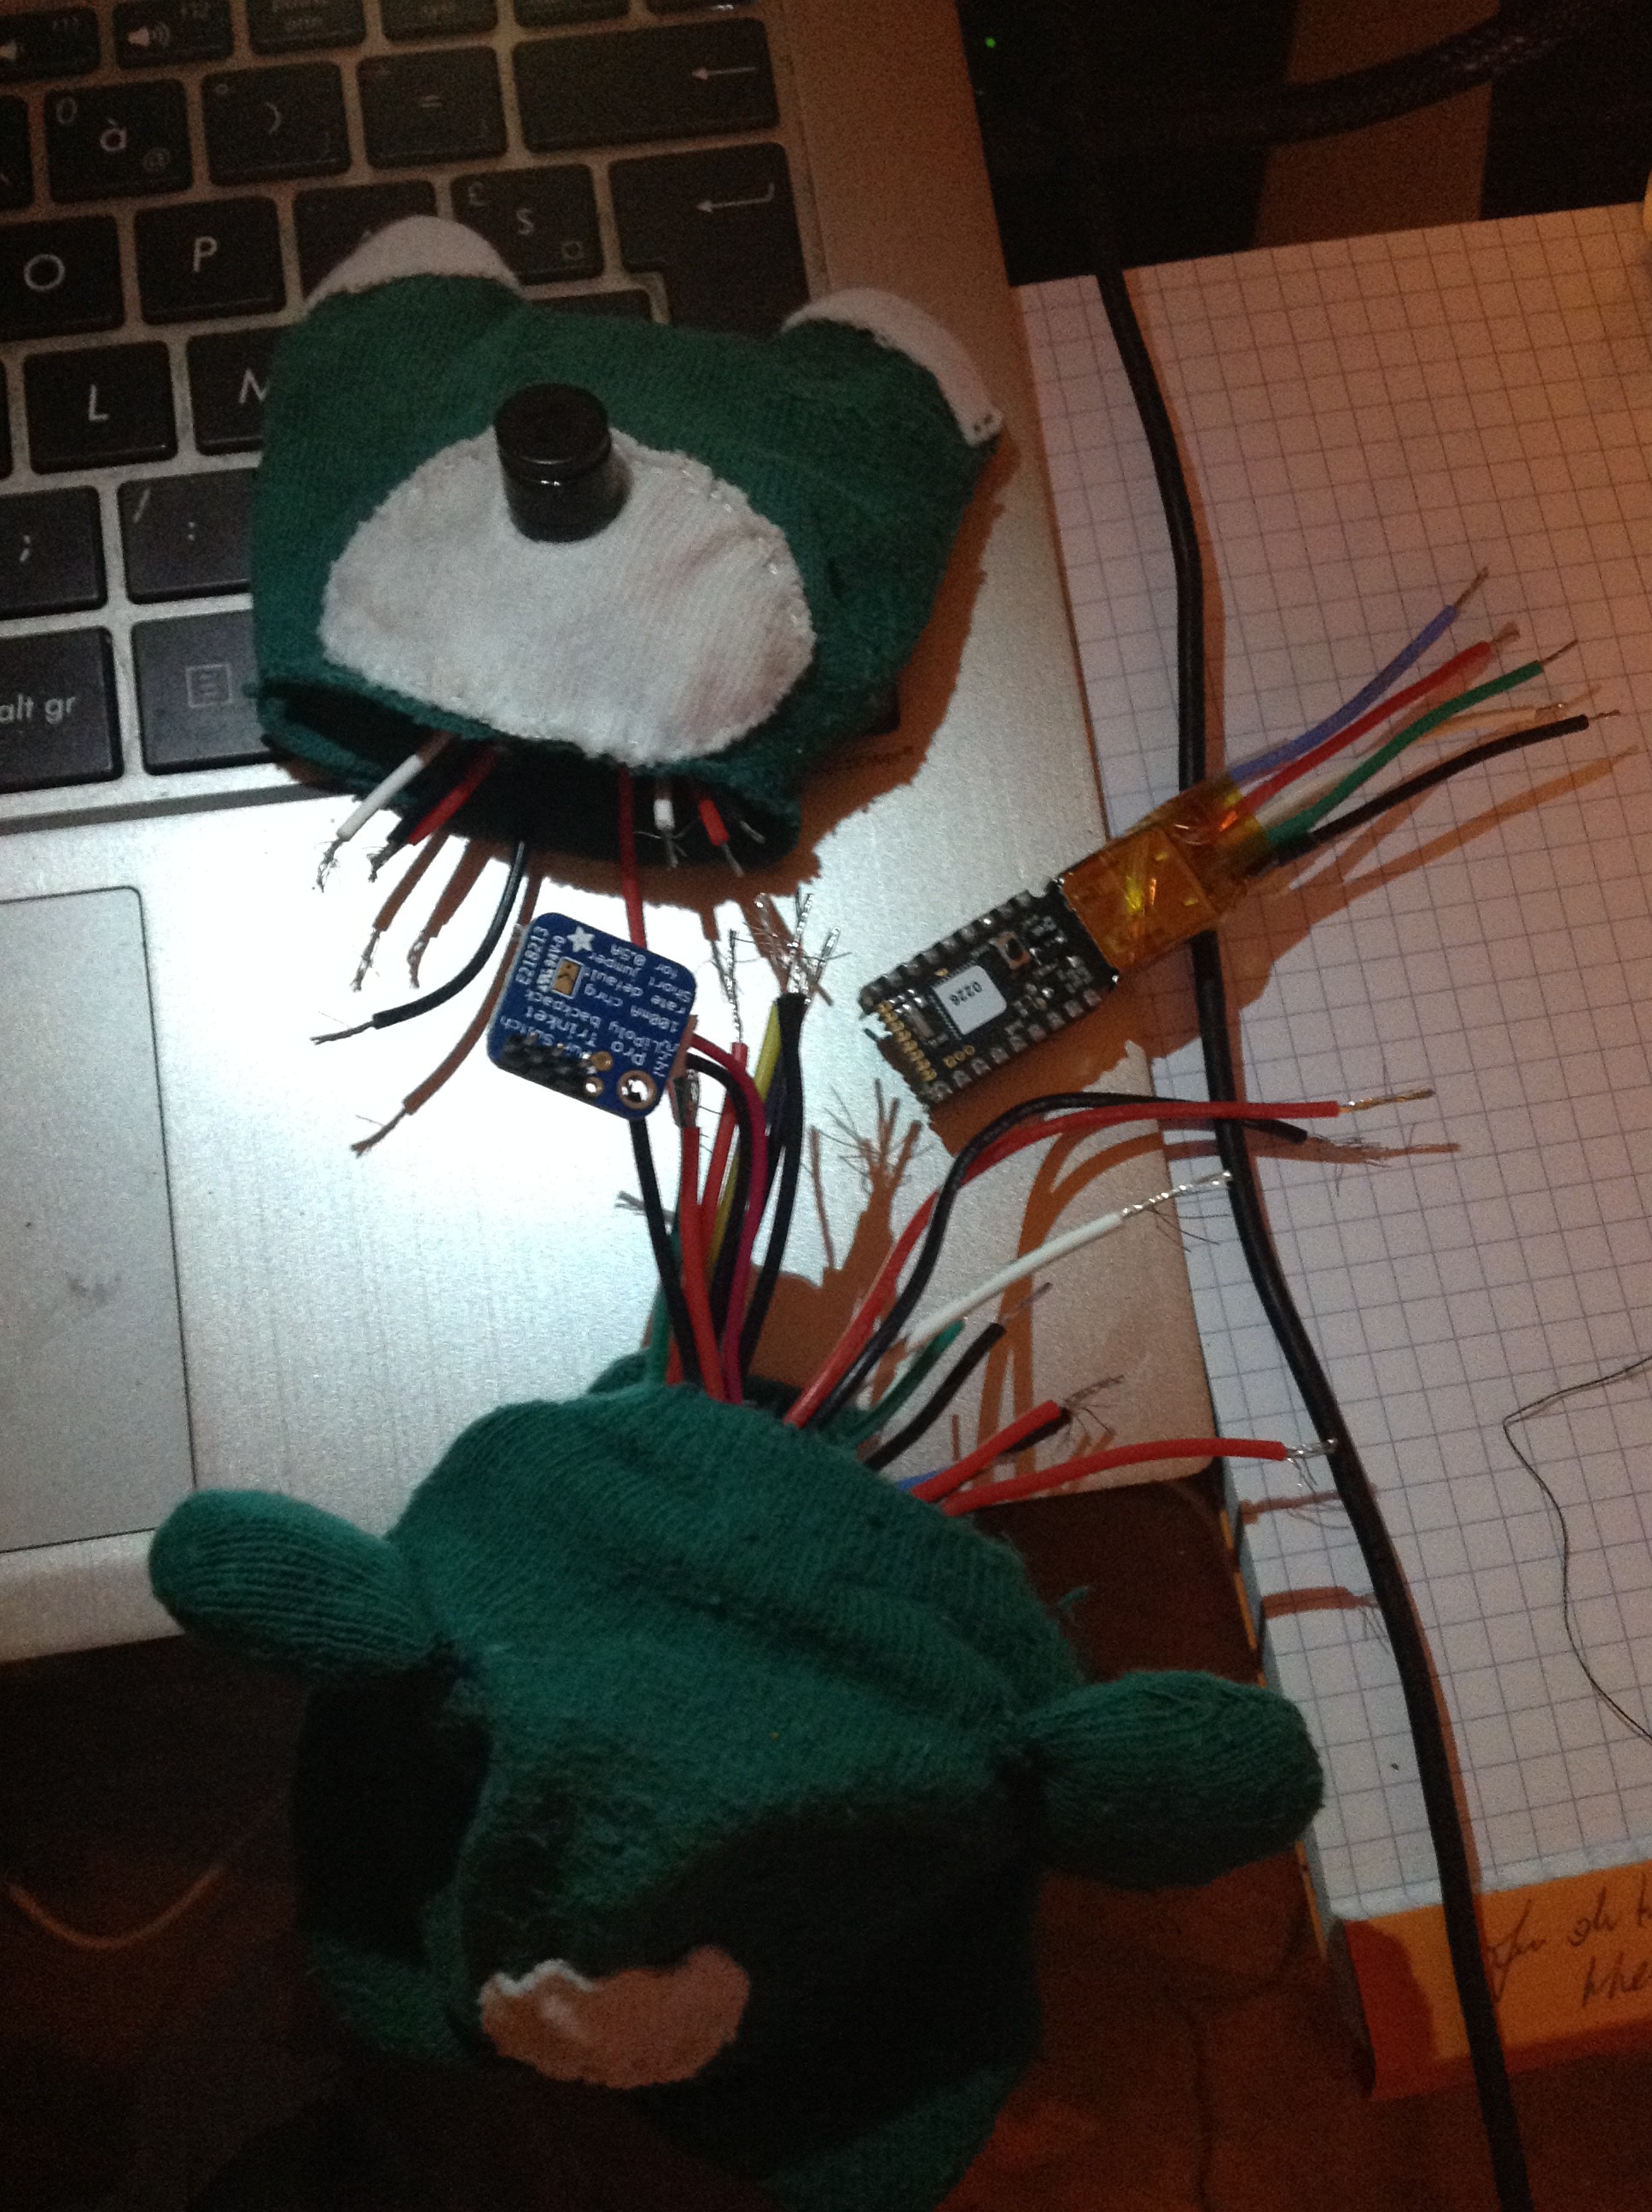
7Step 7
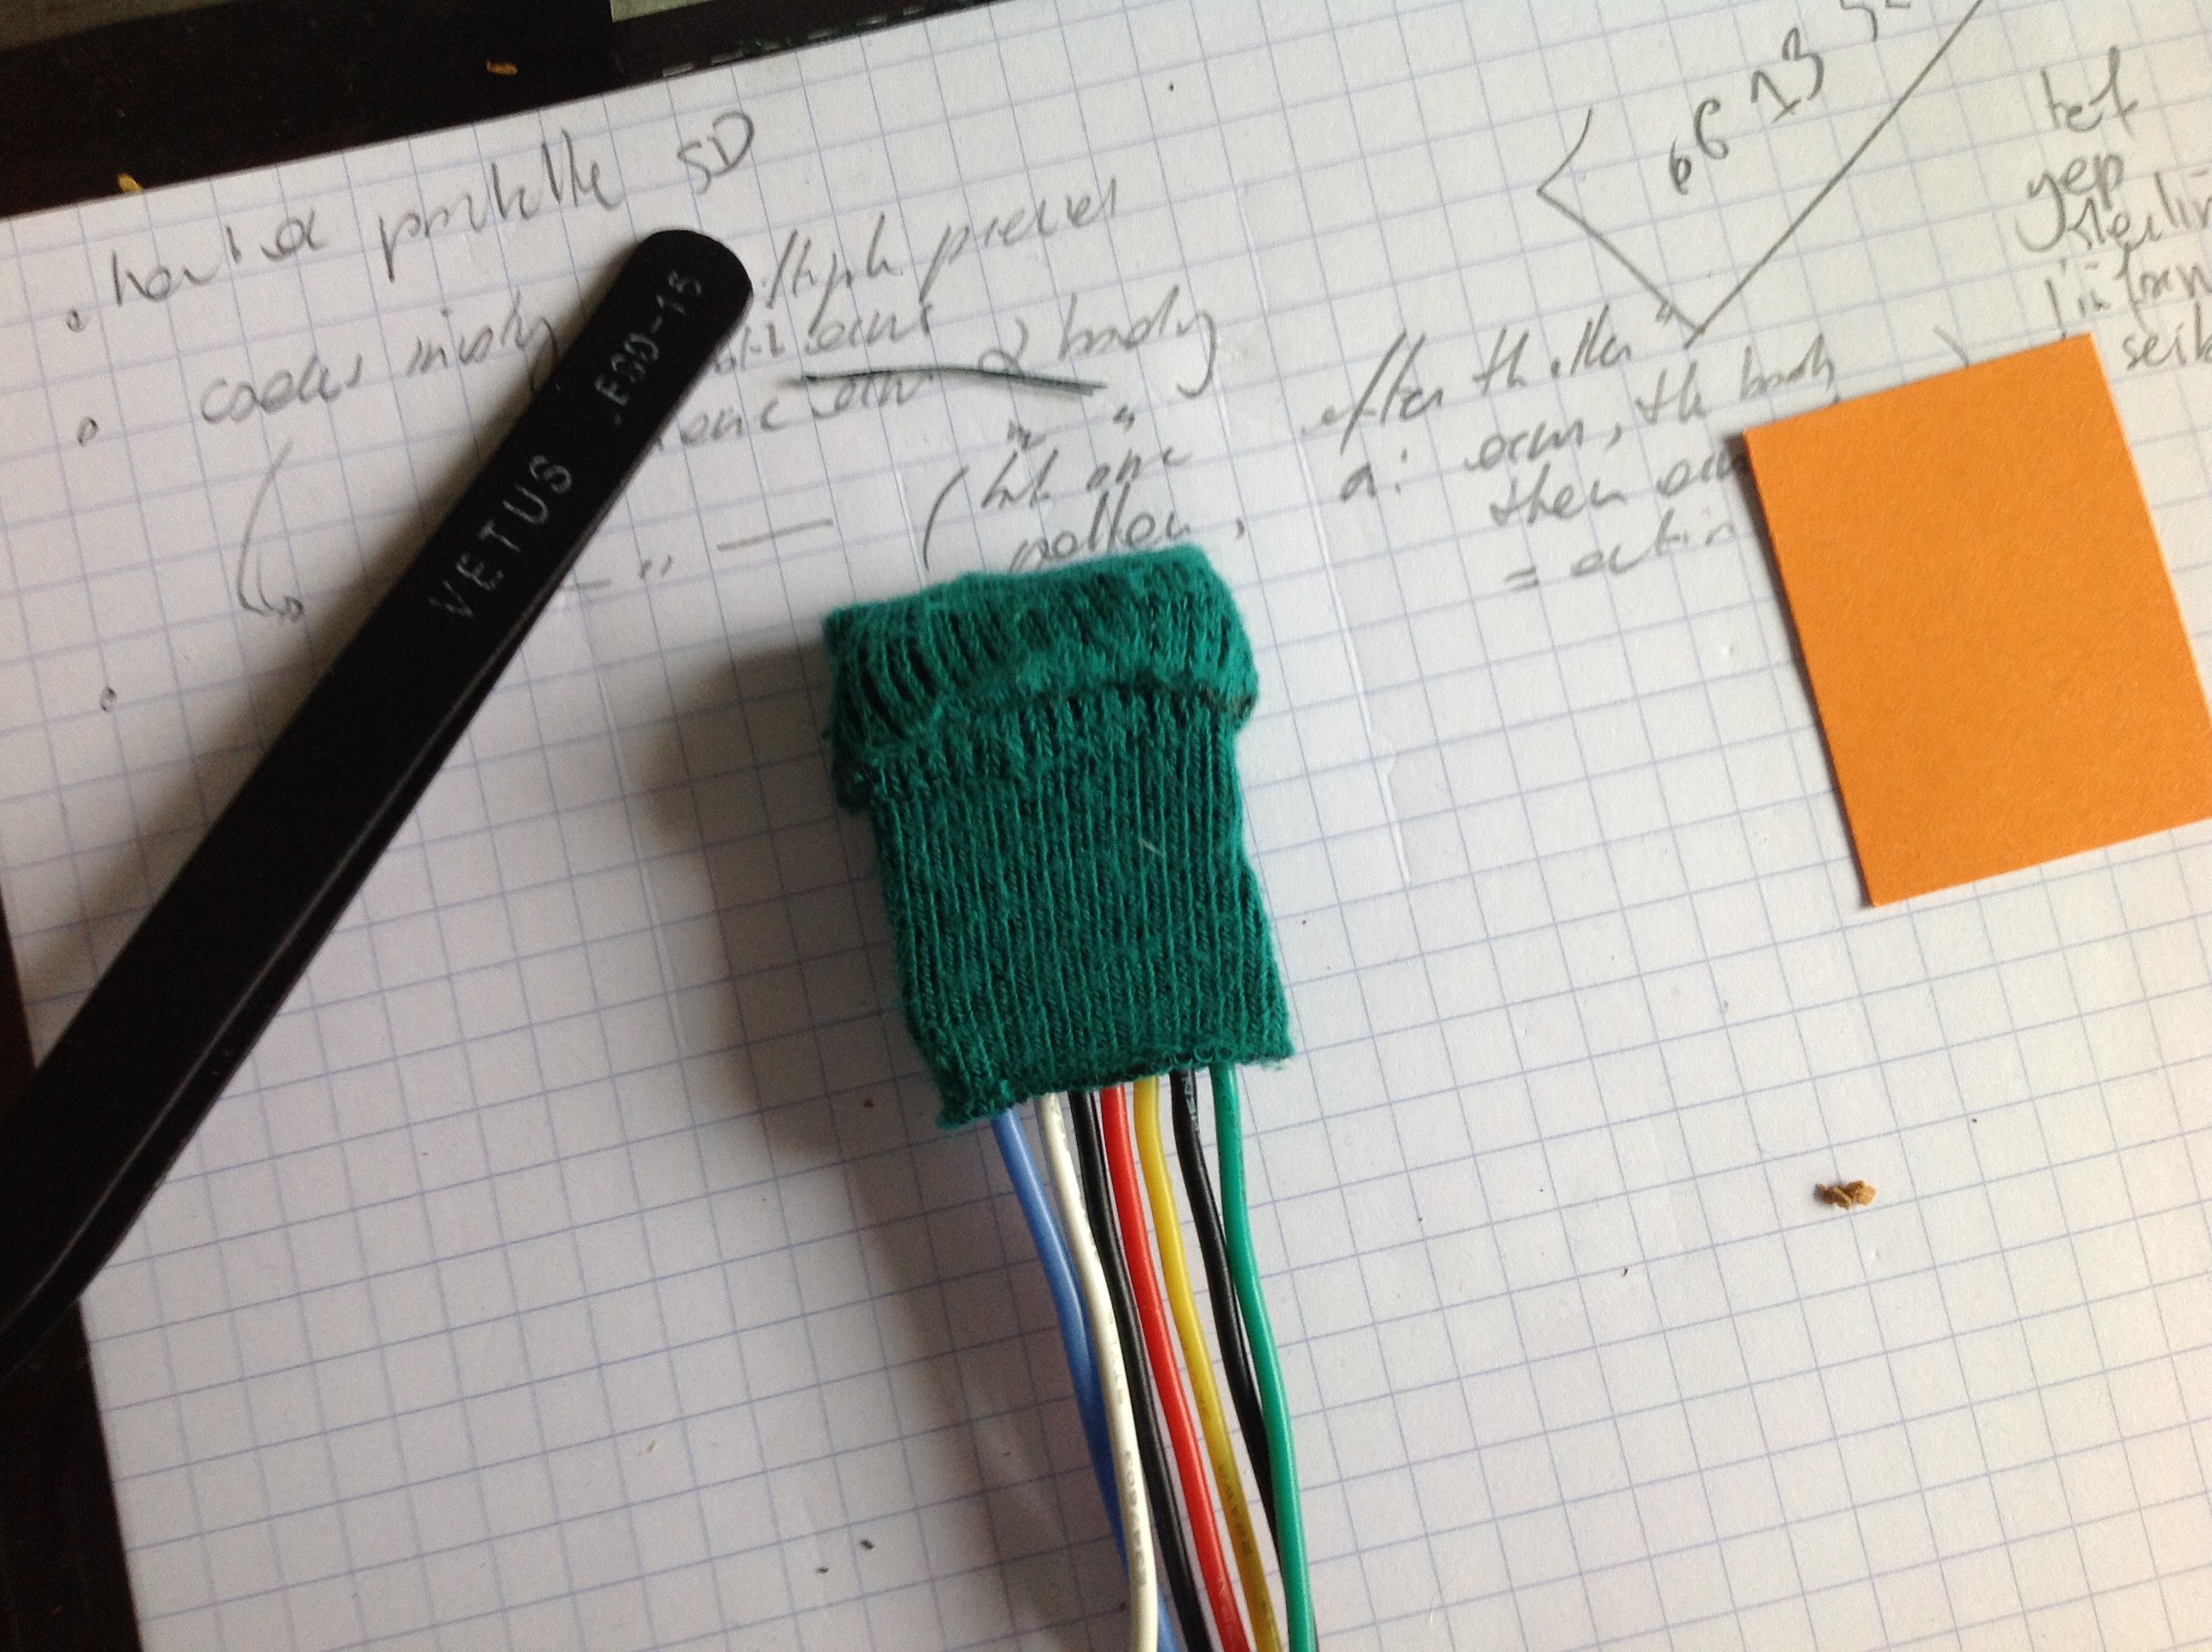
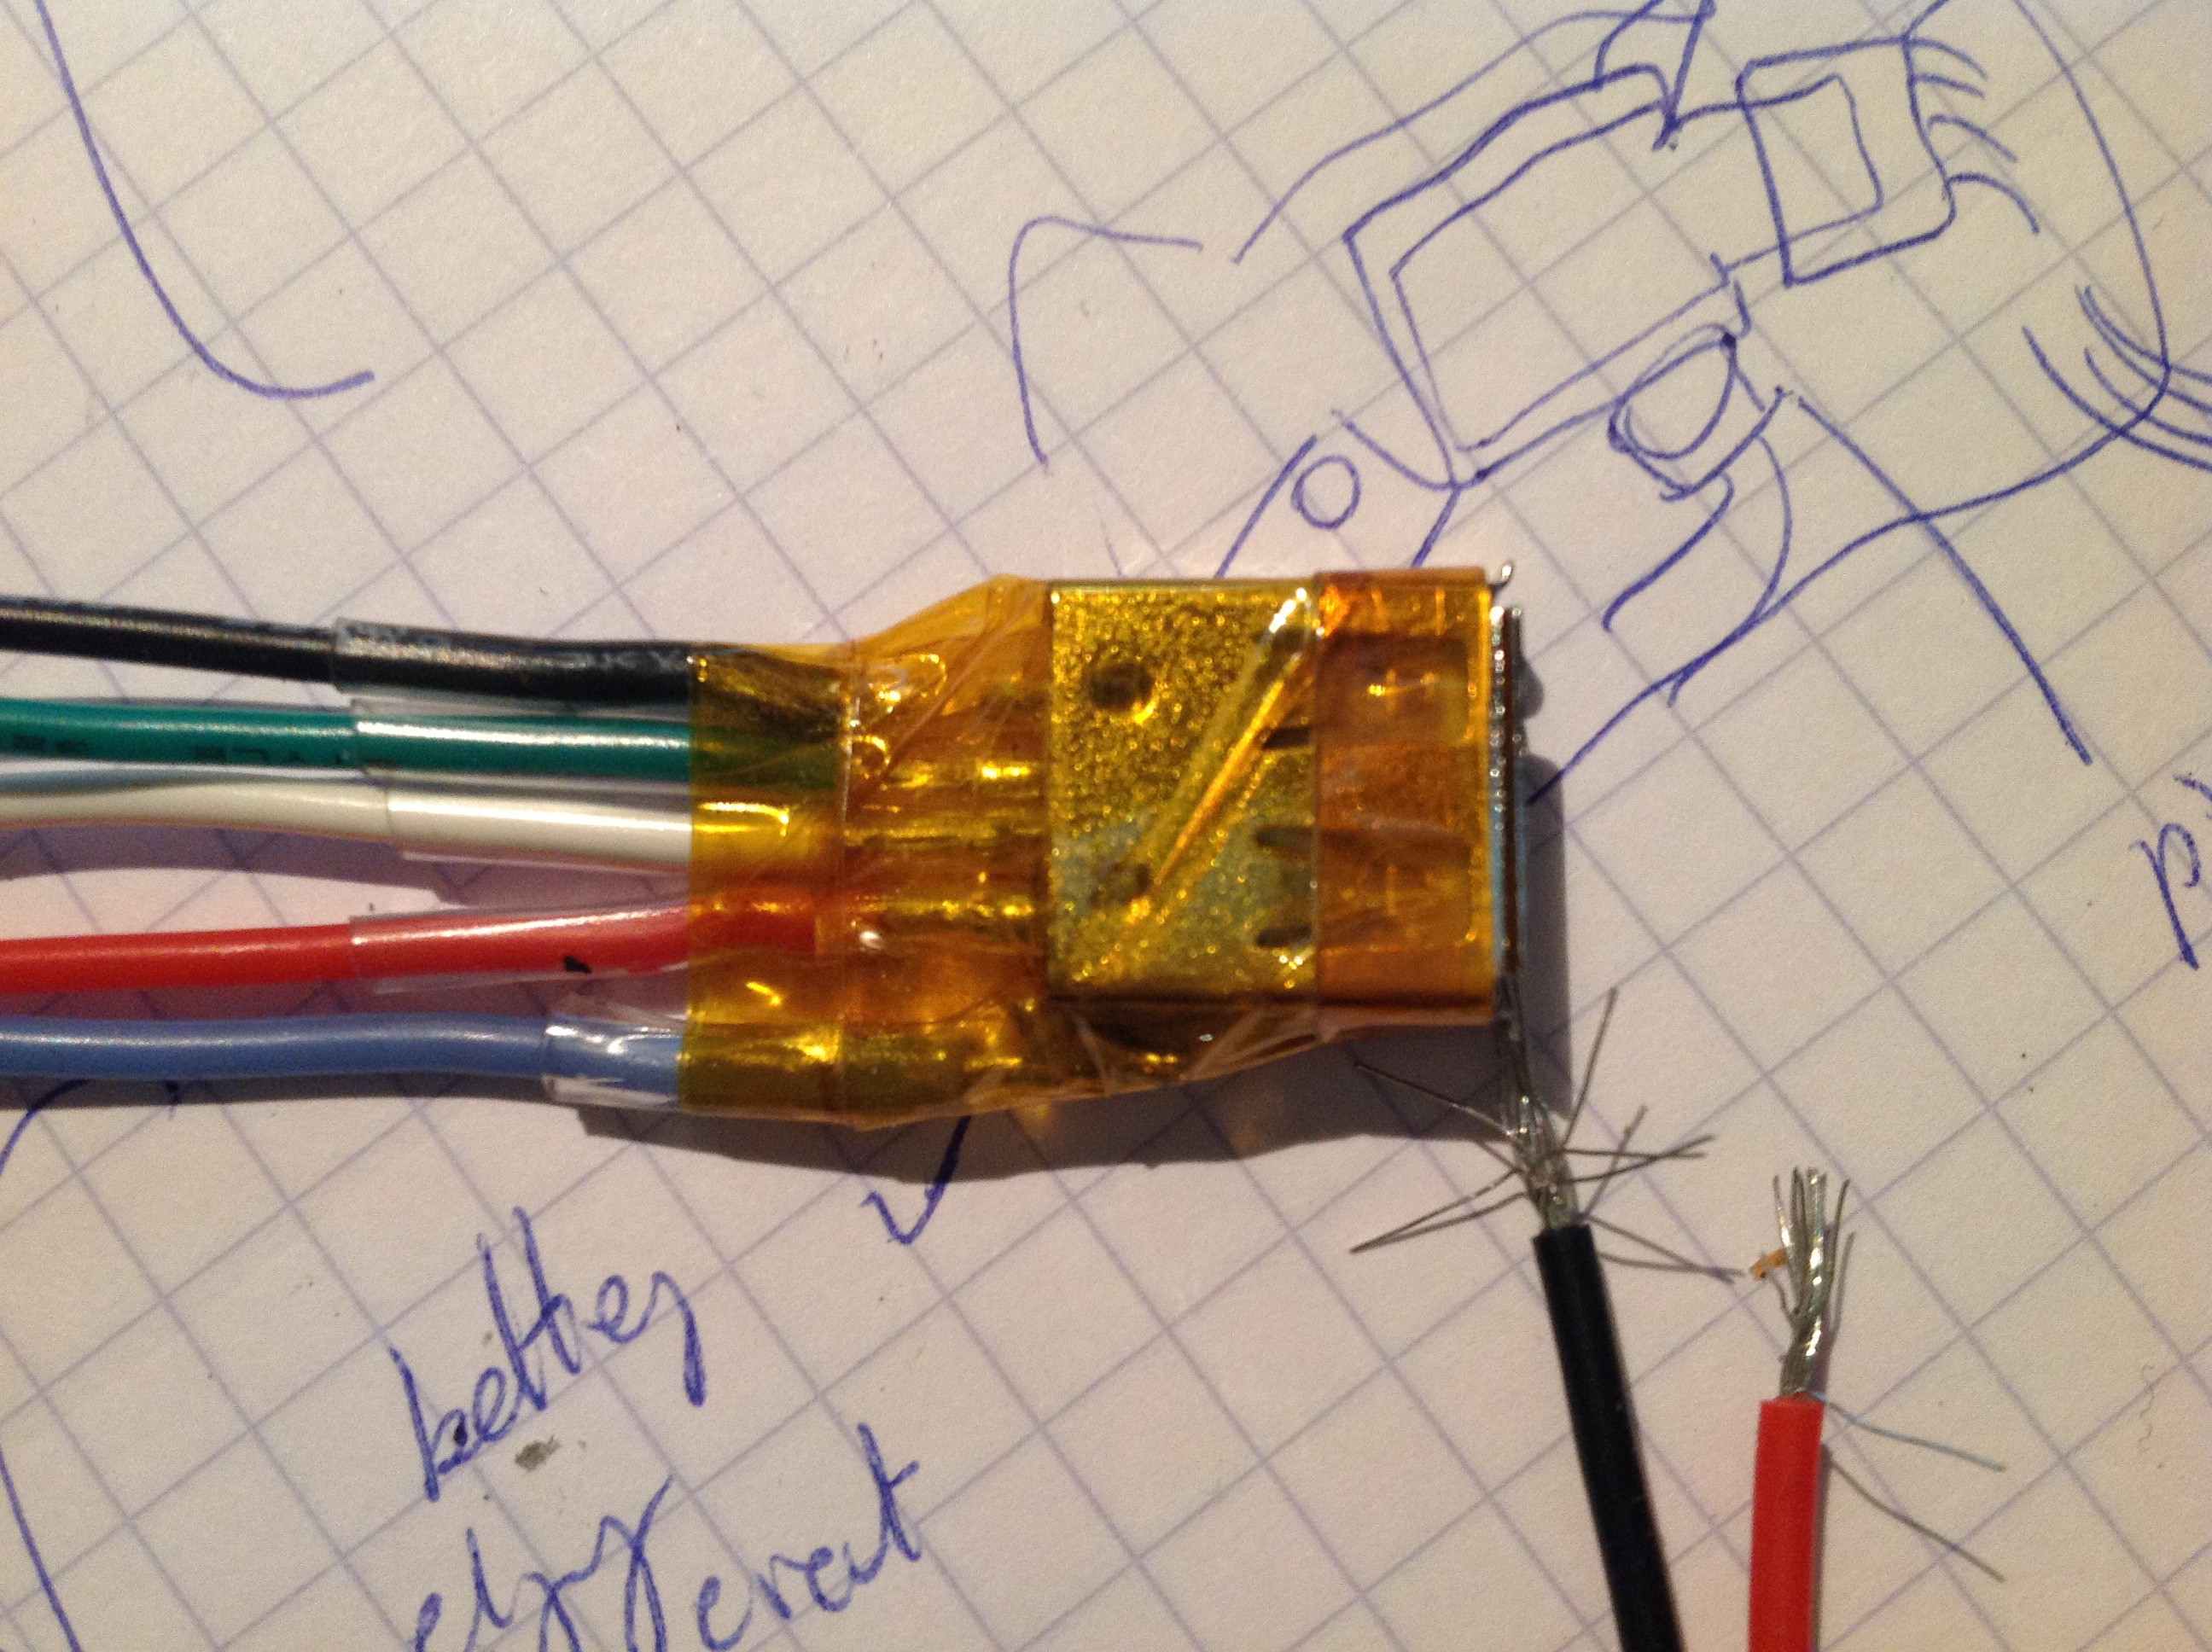
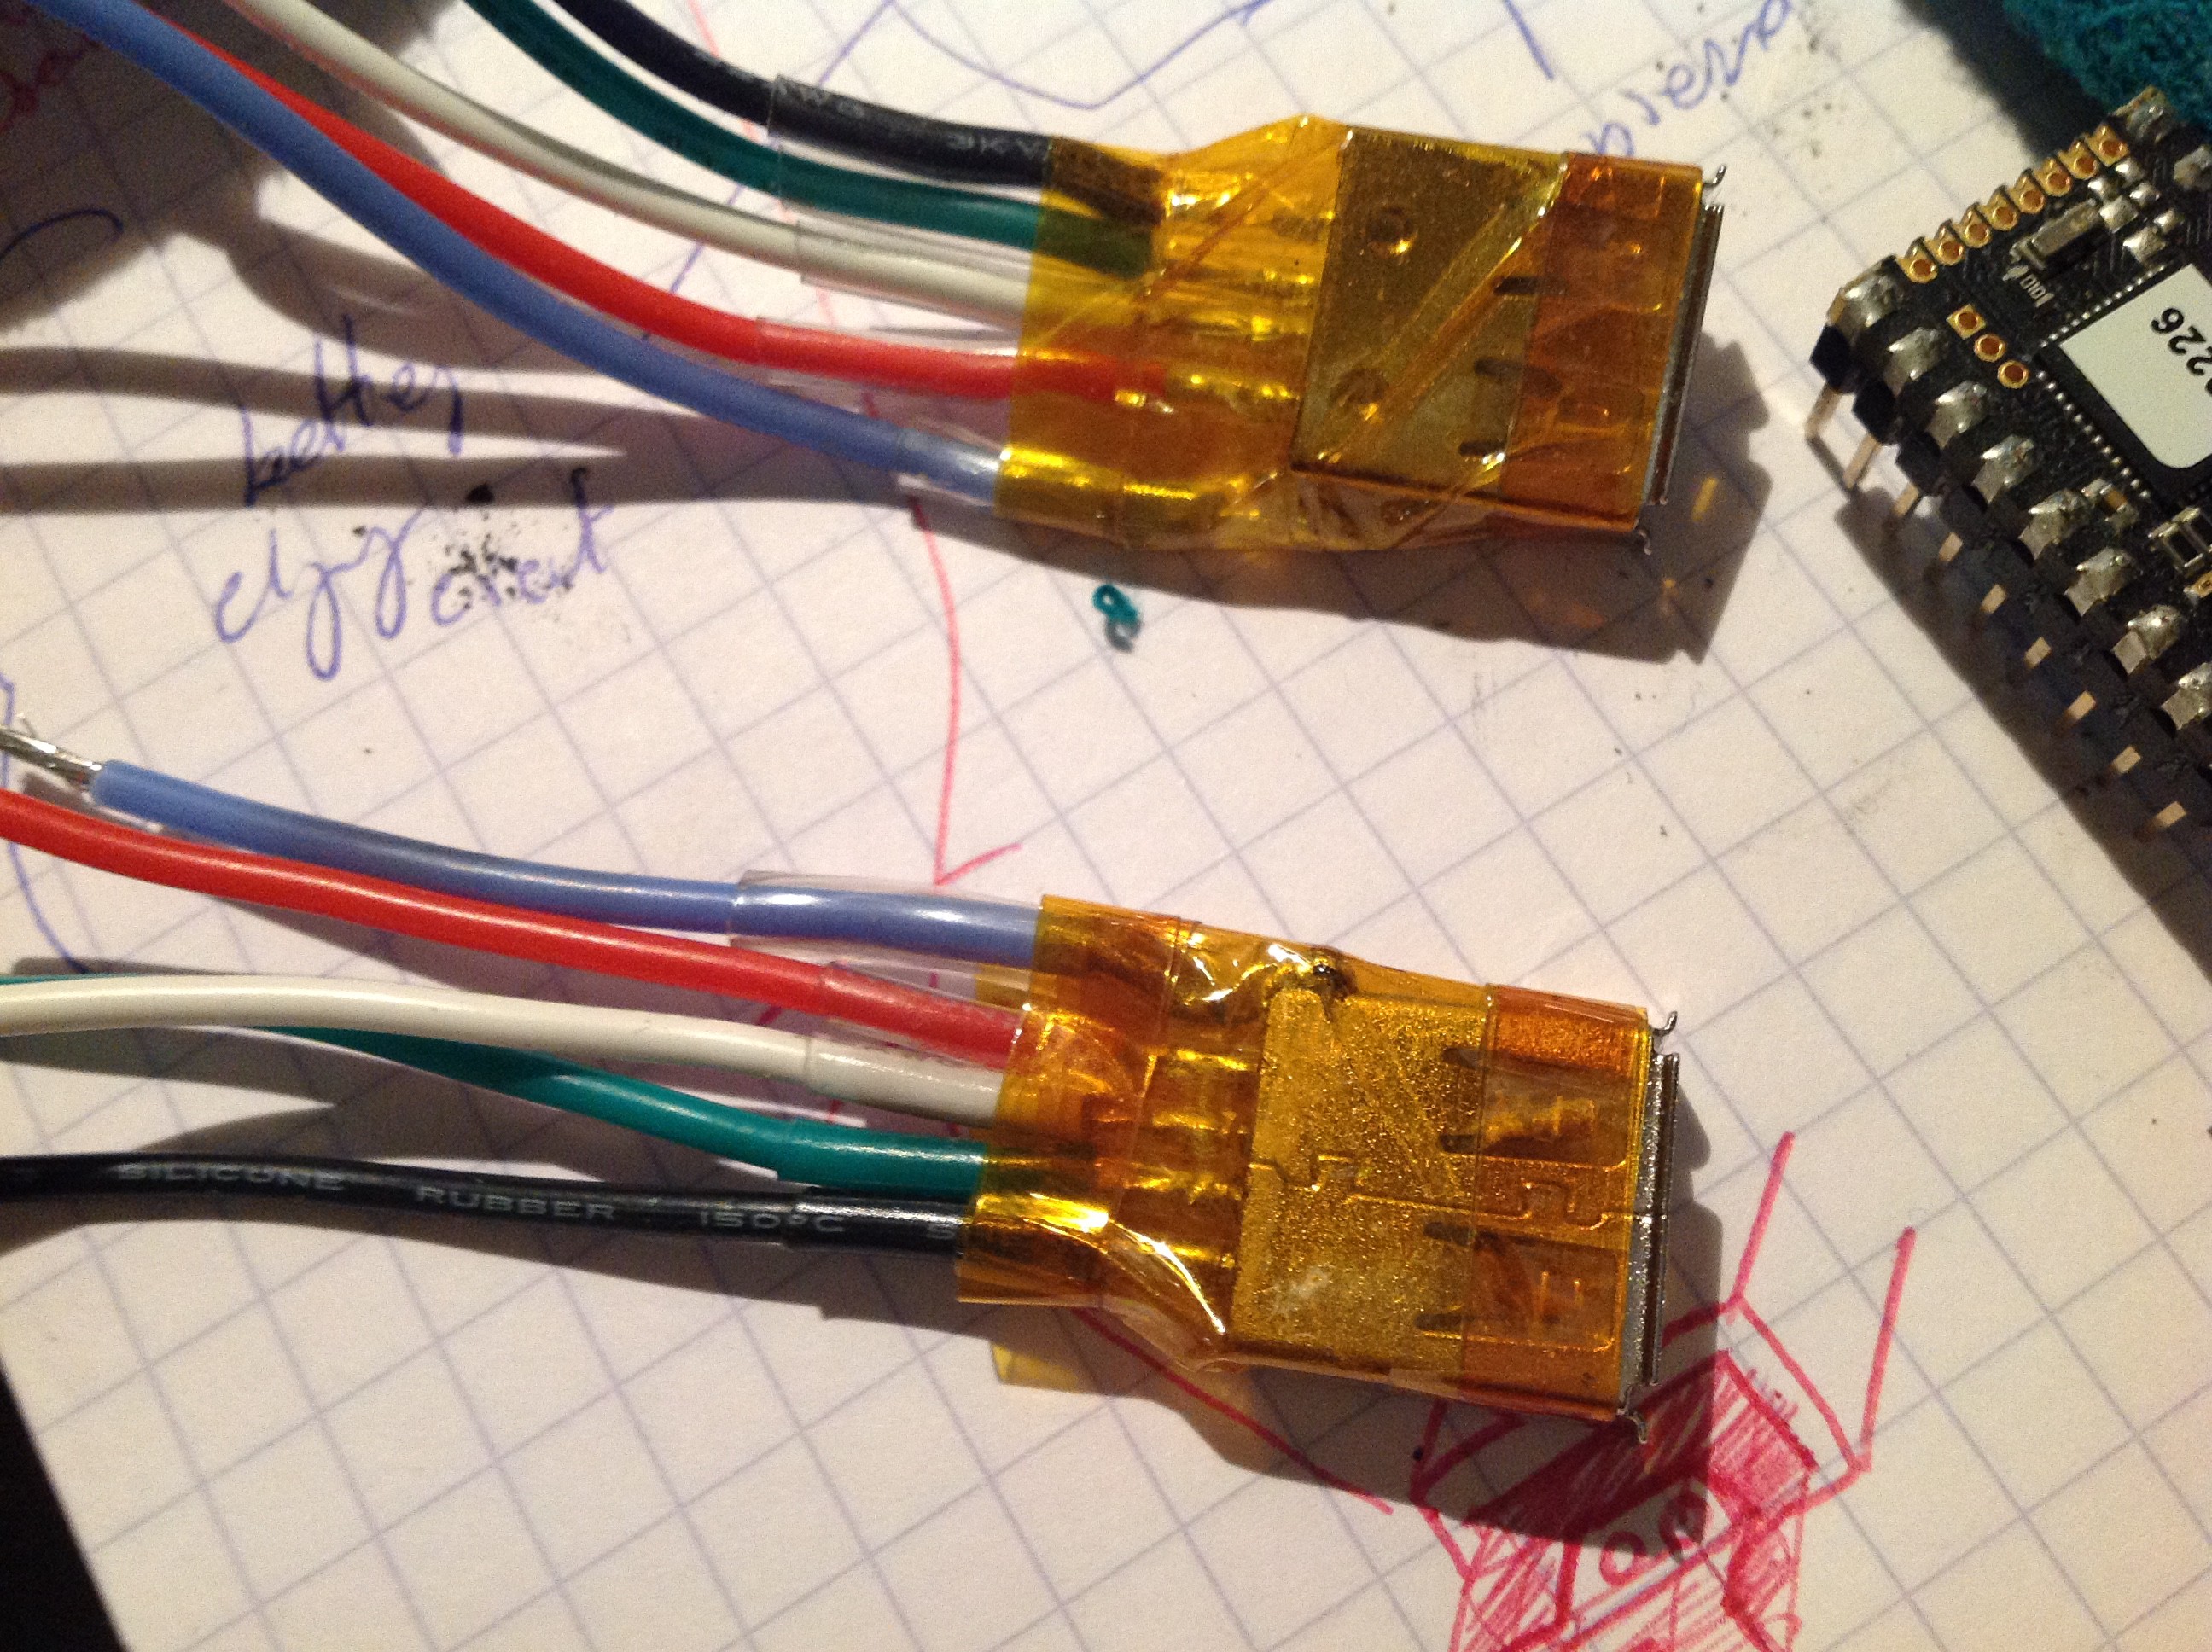
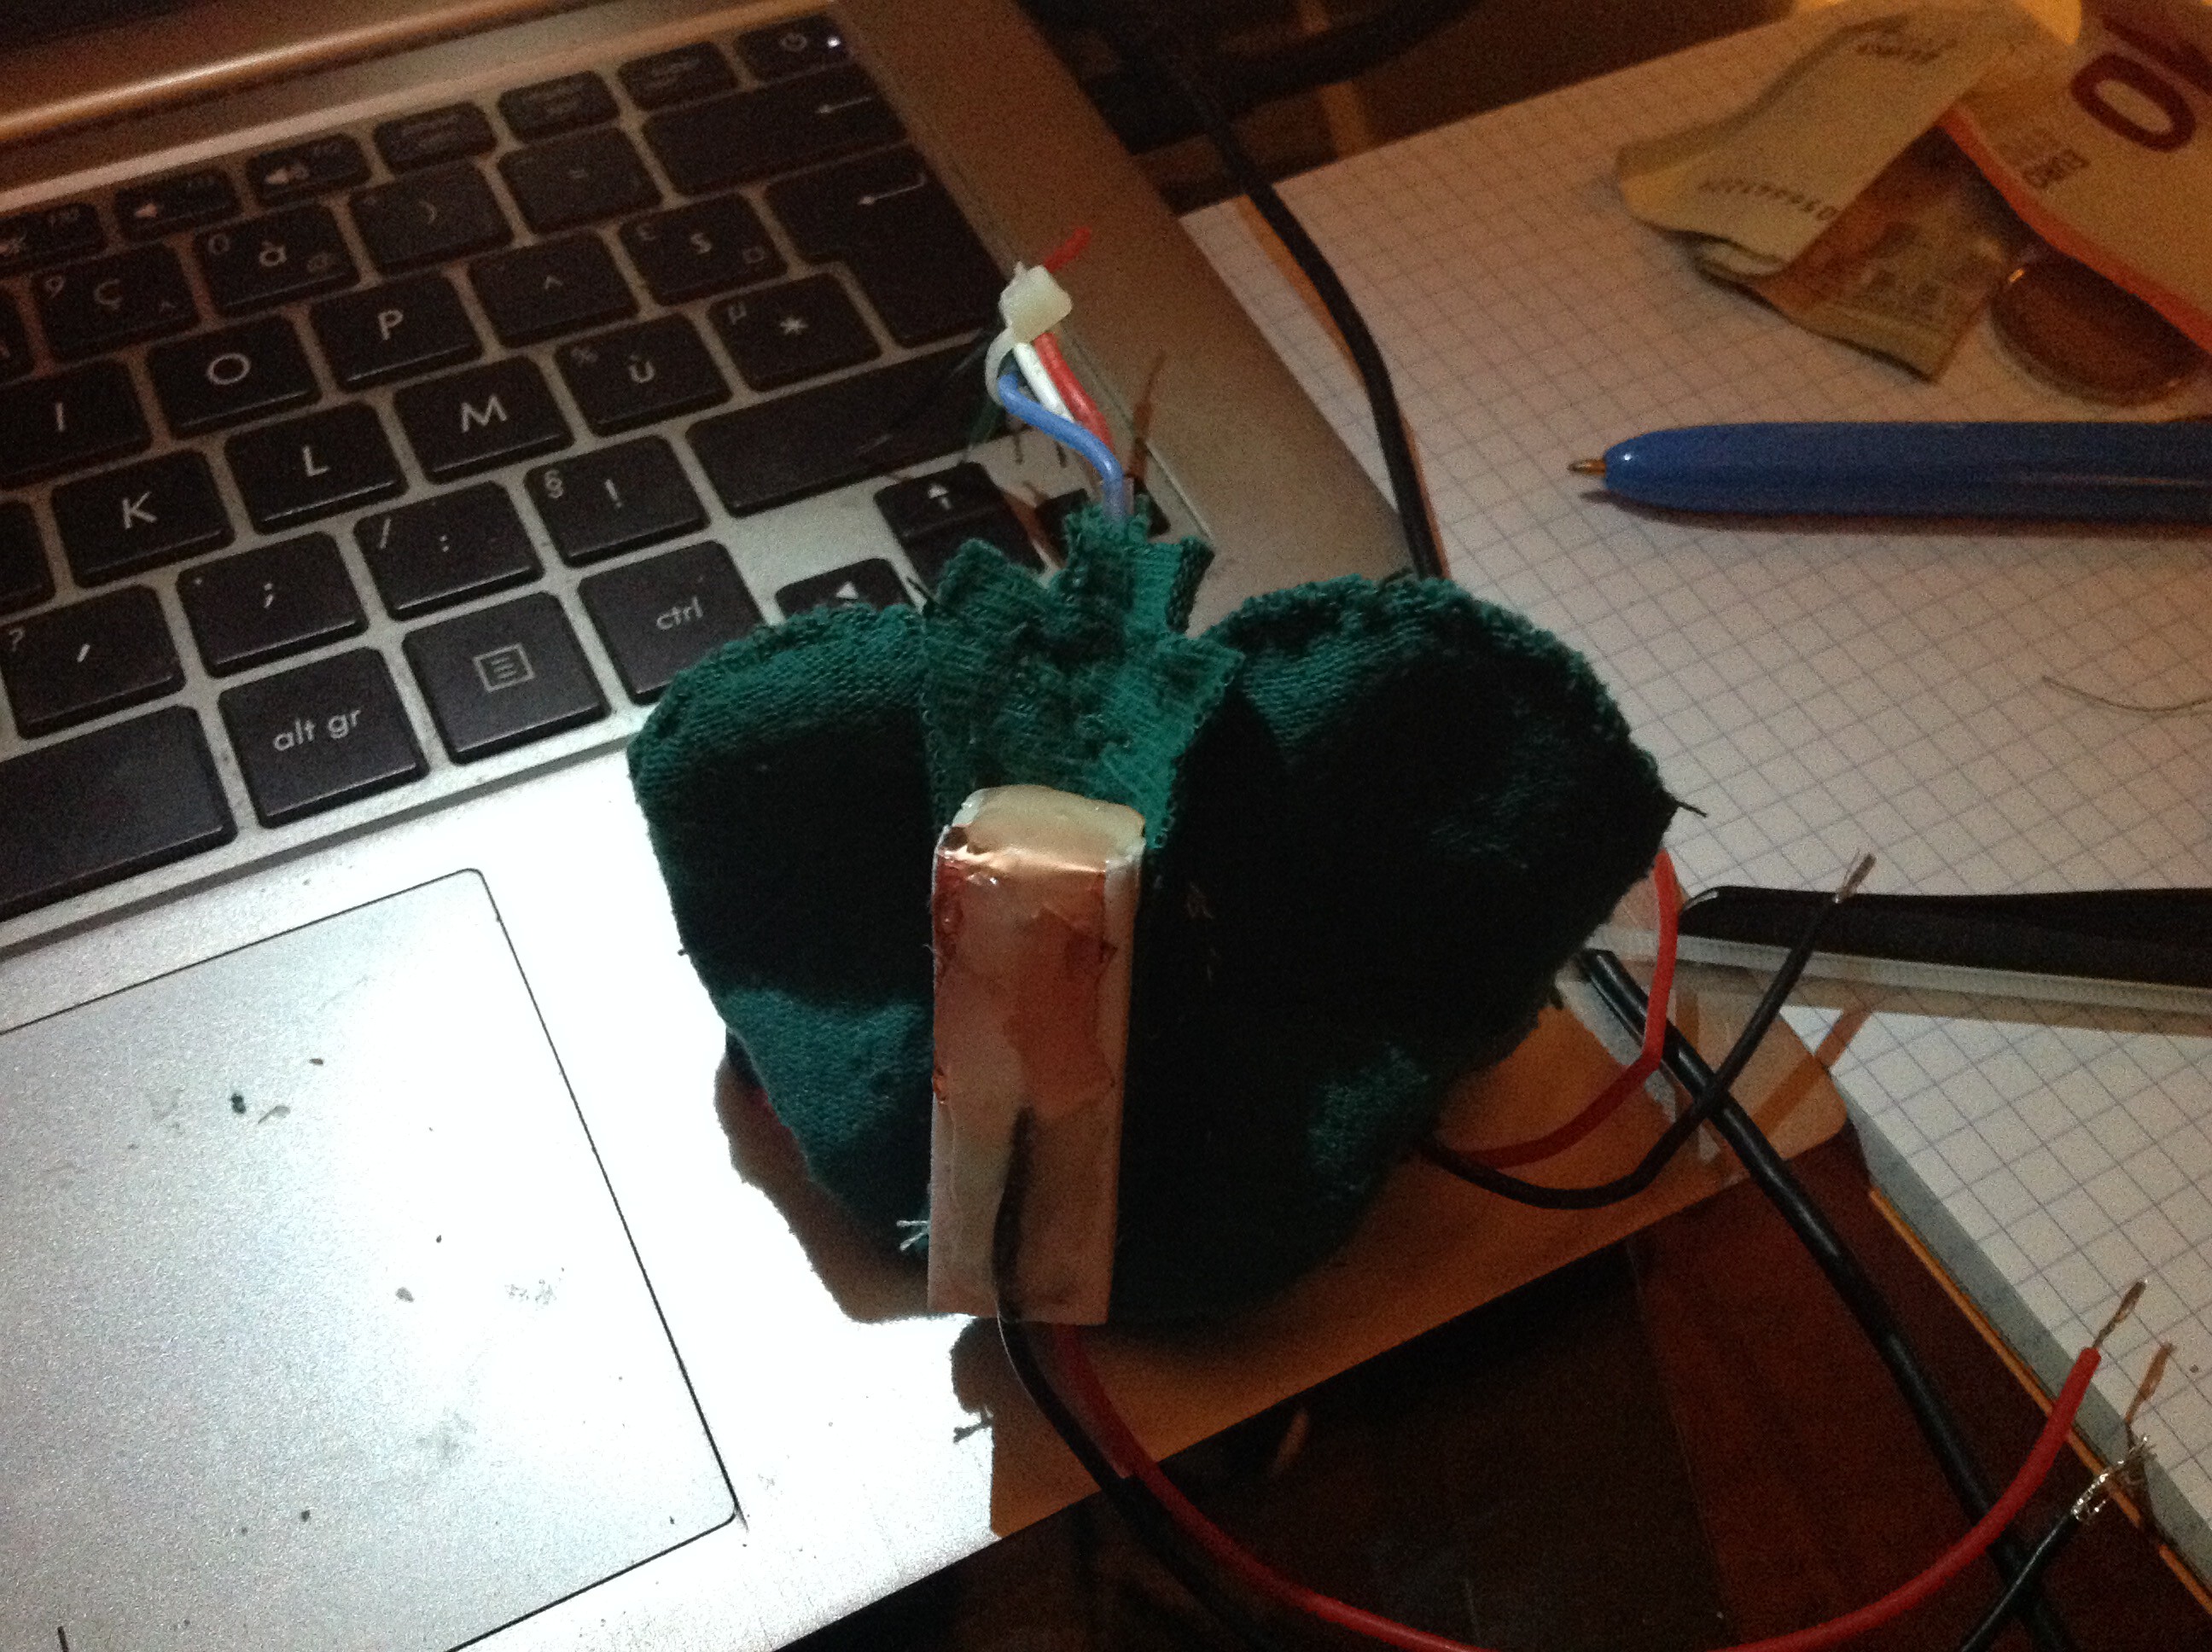
We now need to make the "Micro SD backpack", where 'll reside a hacked adapter that'll directly soldered to the uC pins.
It 'll be on the outside of the pluche, on its back
![]()
And as I wasn't too confident to hotglue stuff to the battery, I also made it a backpack :)
![]()
We also take a reference drawing for later ( I didn't actually make blueprints of the parts / overall look, which we have to do before the pluche gets stuffed / 3dimensional .. )
![]()
We'll use that reference drawing for the boxing, the app, ..
-
8Step 8
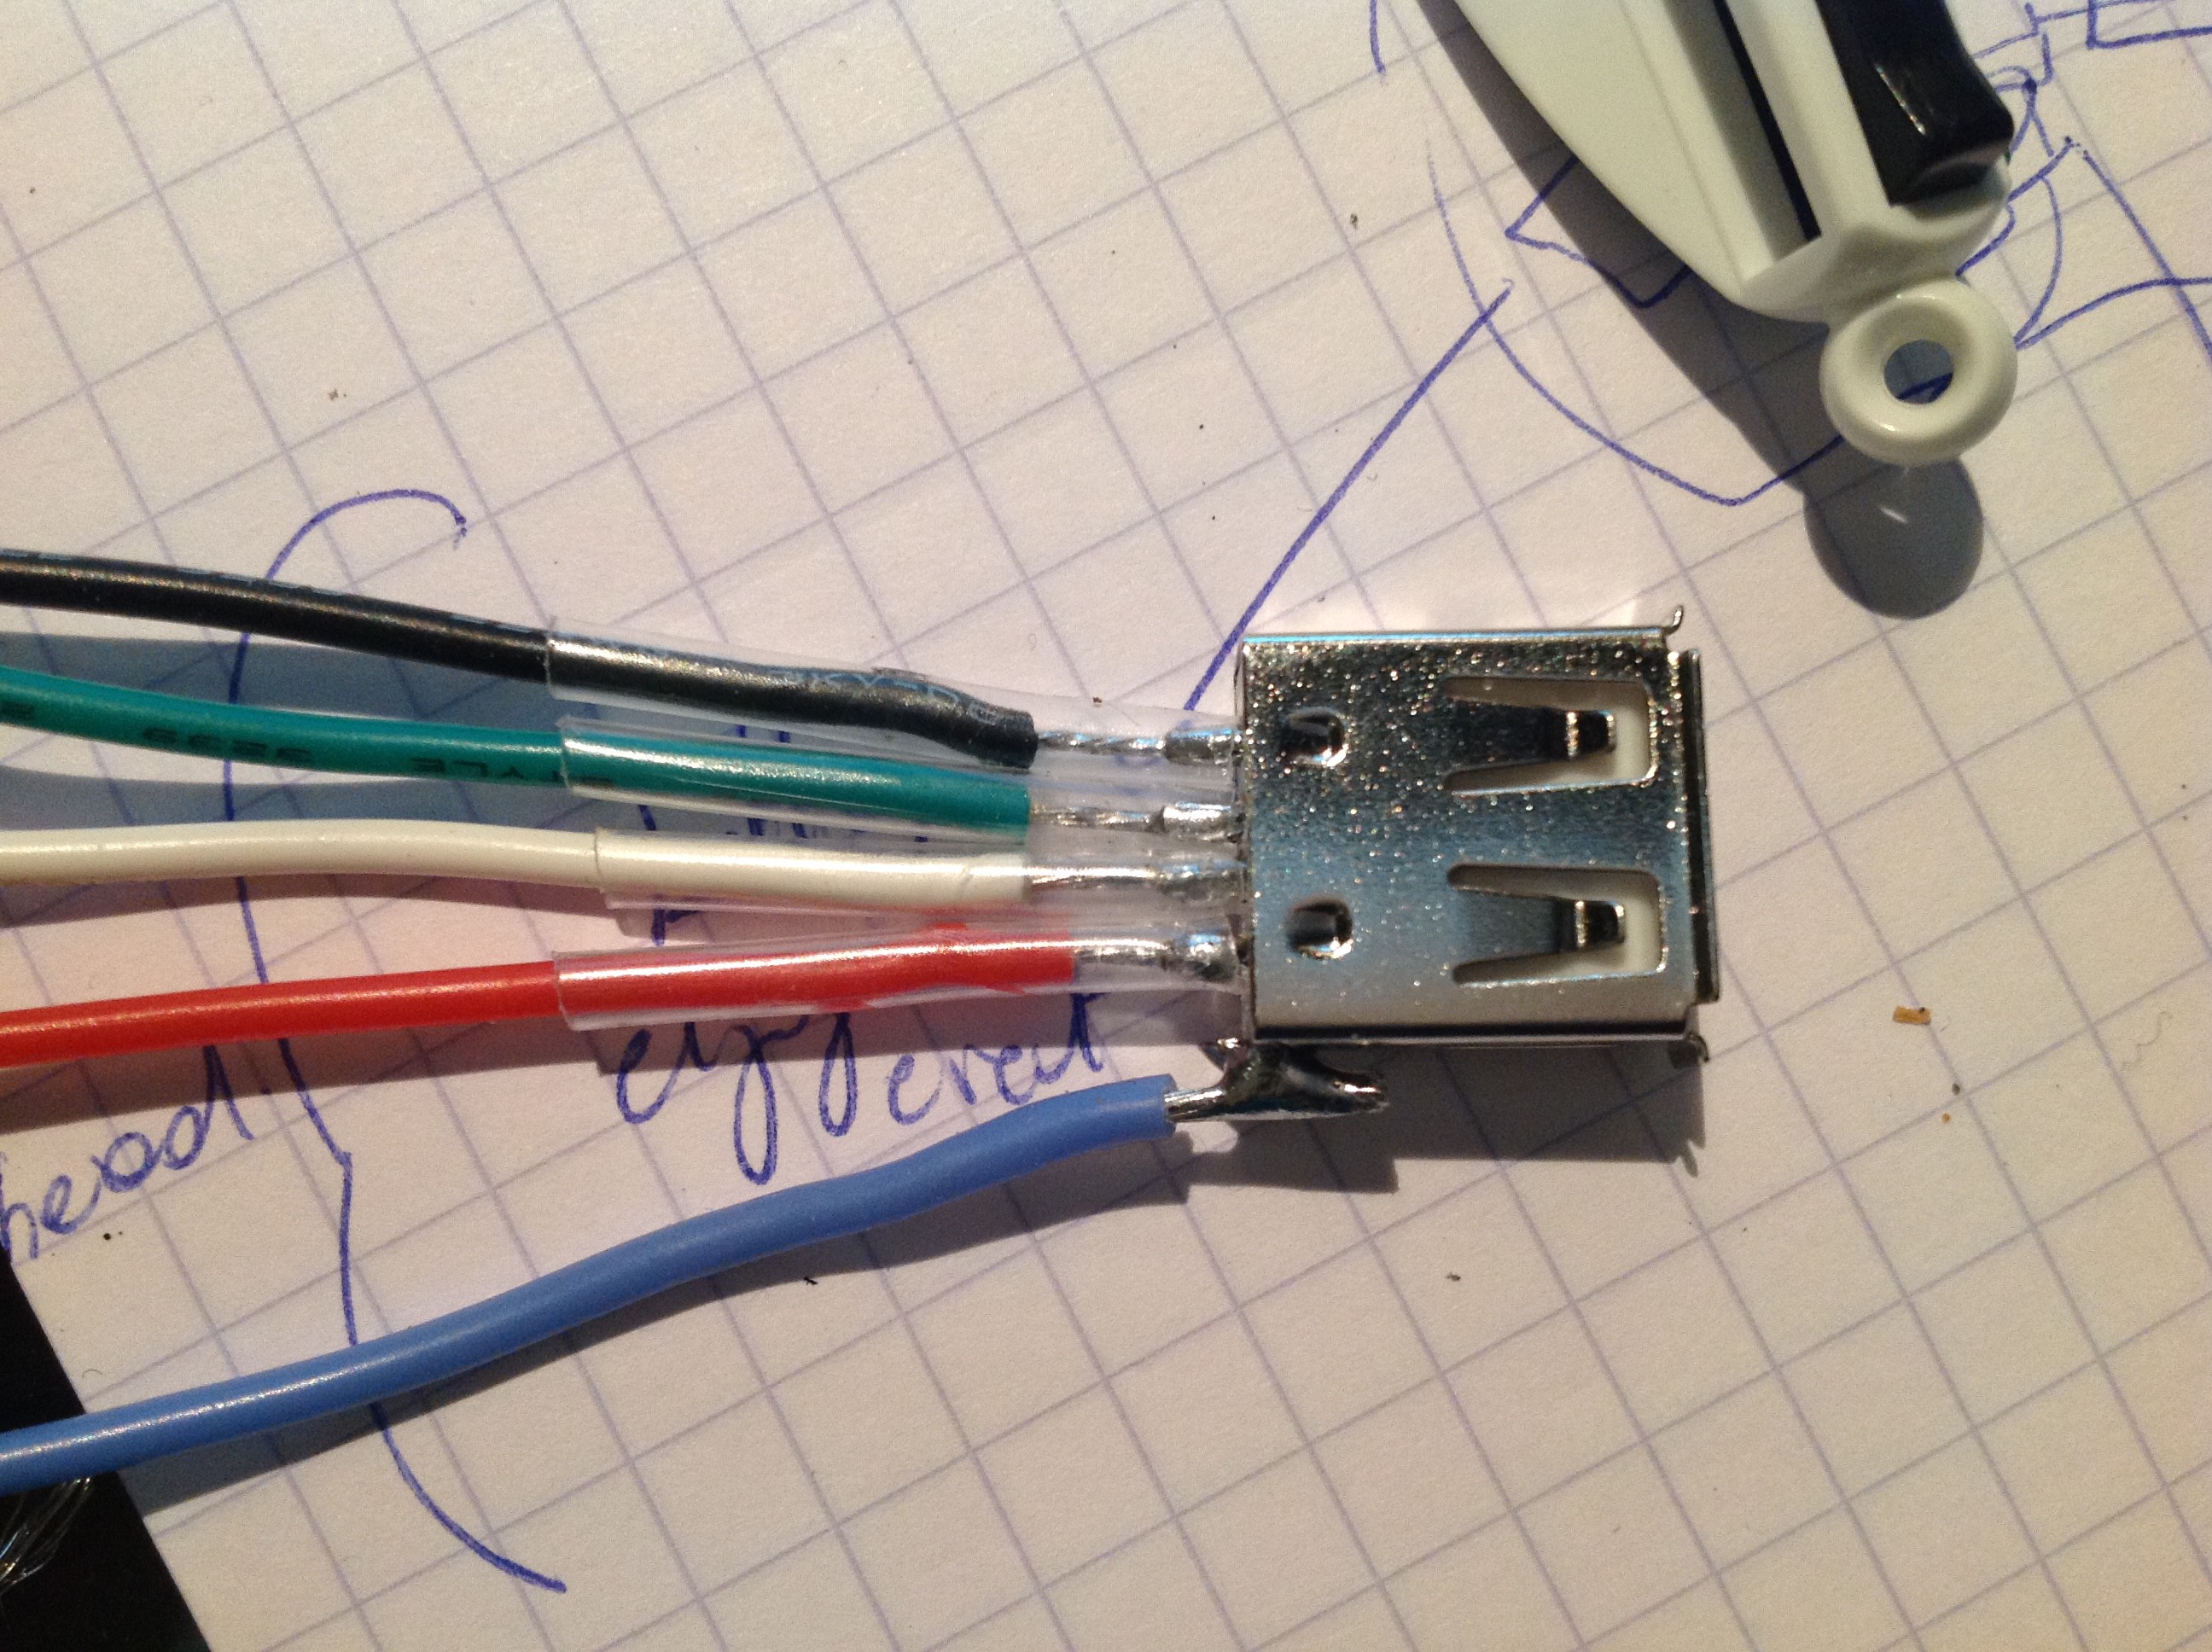
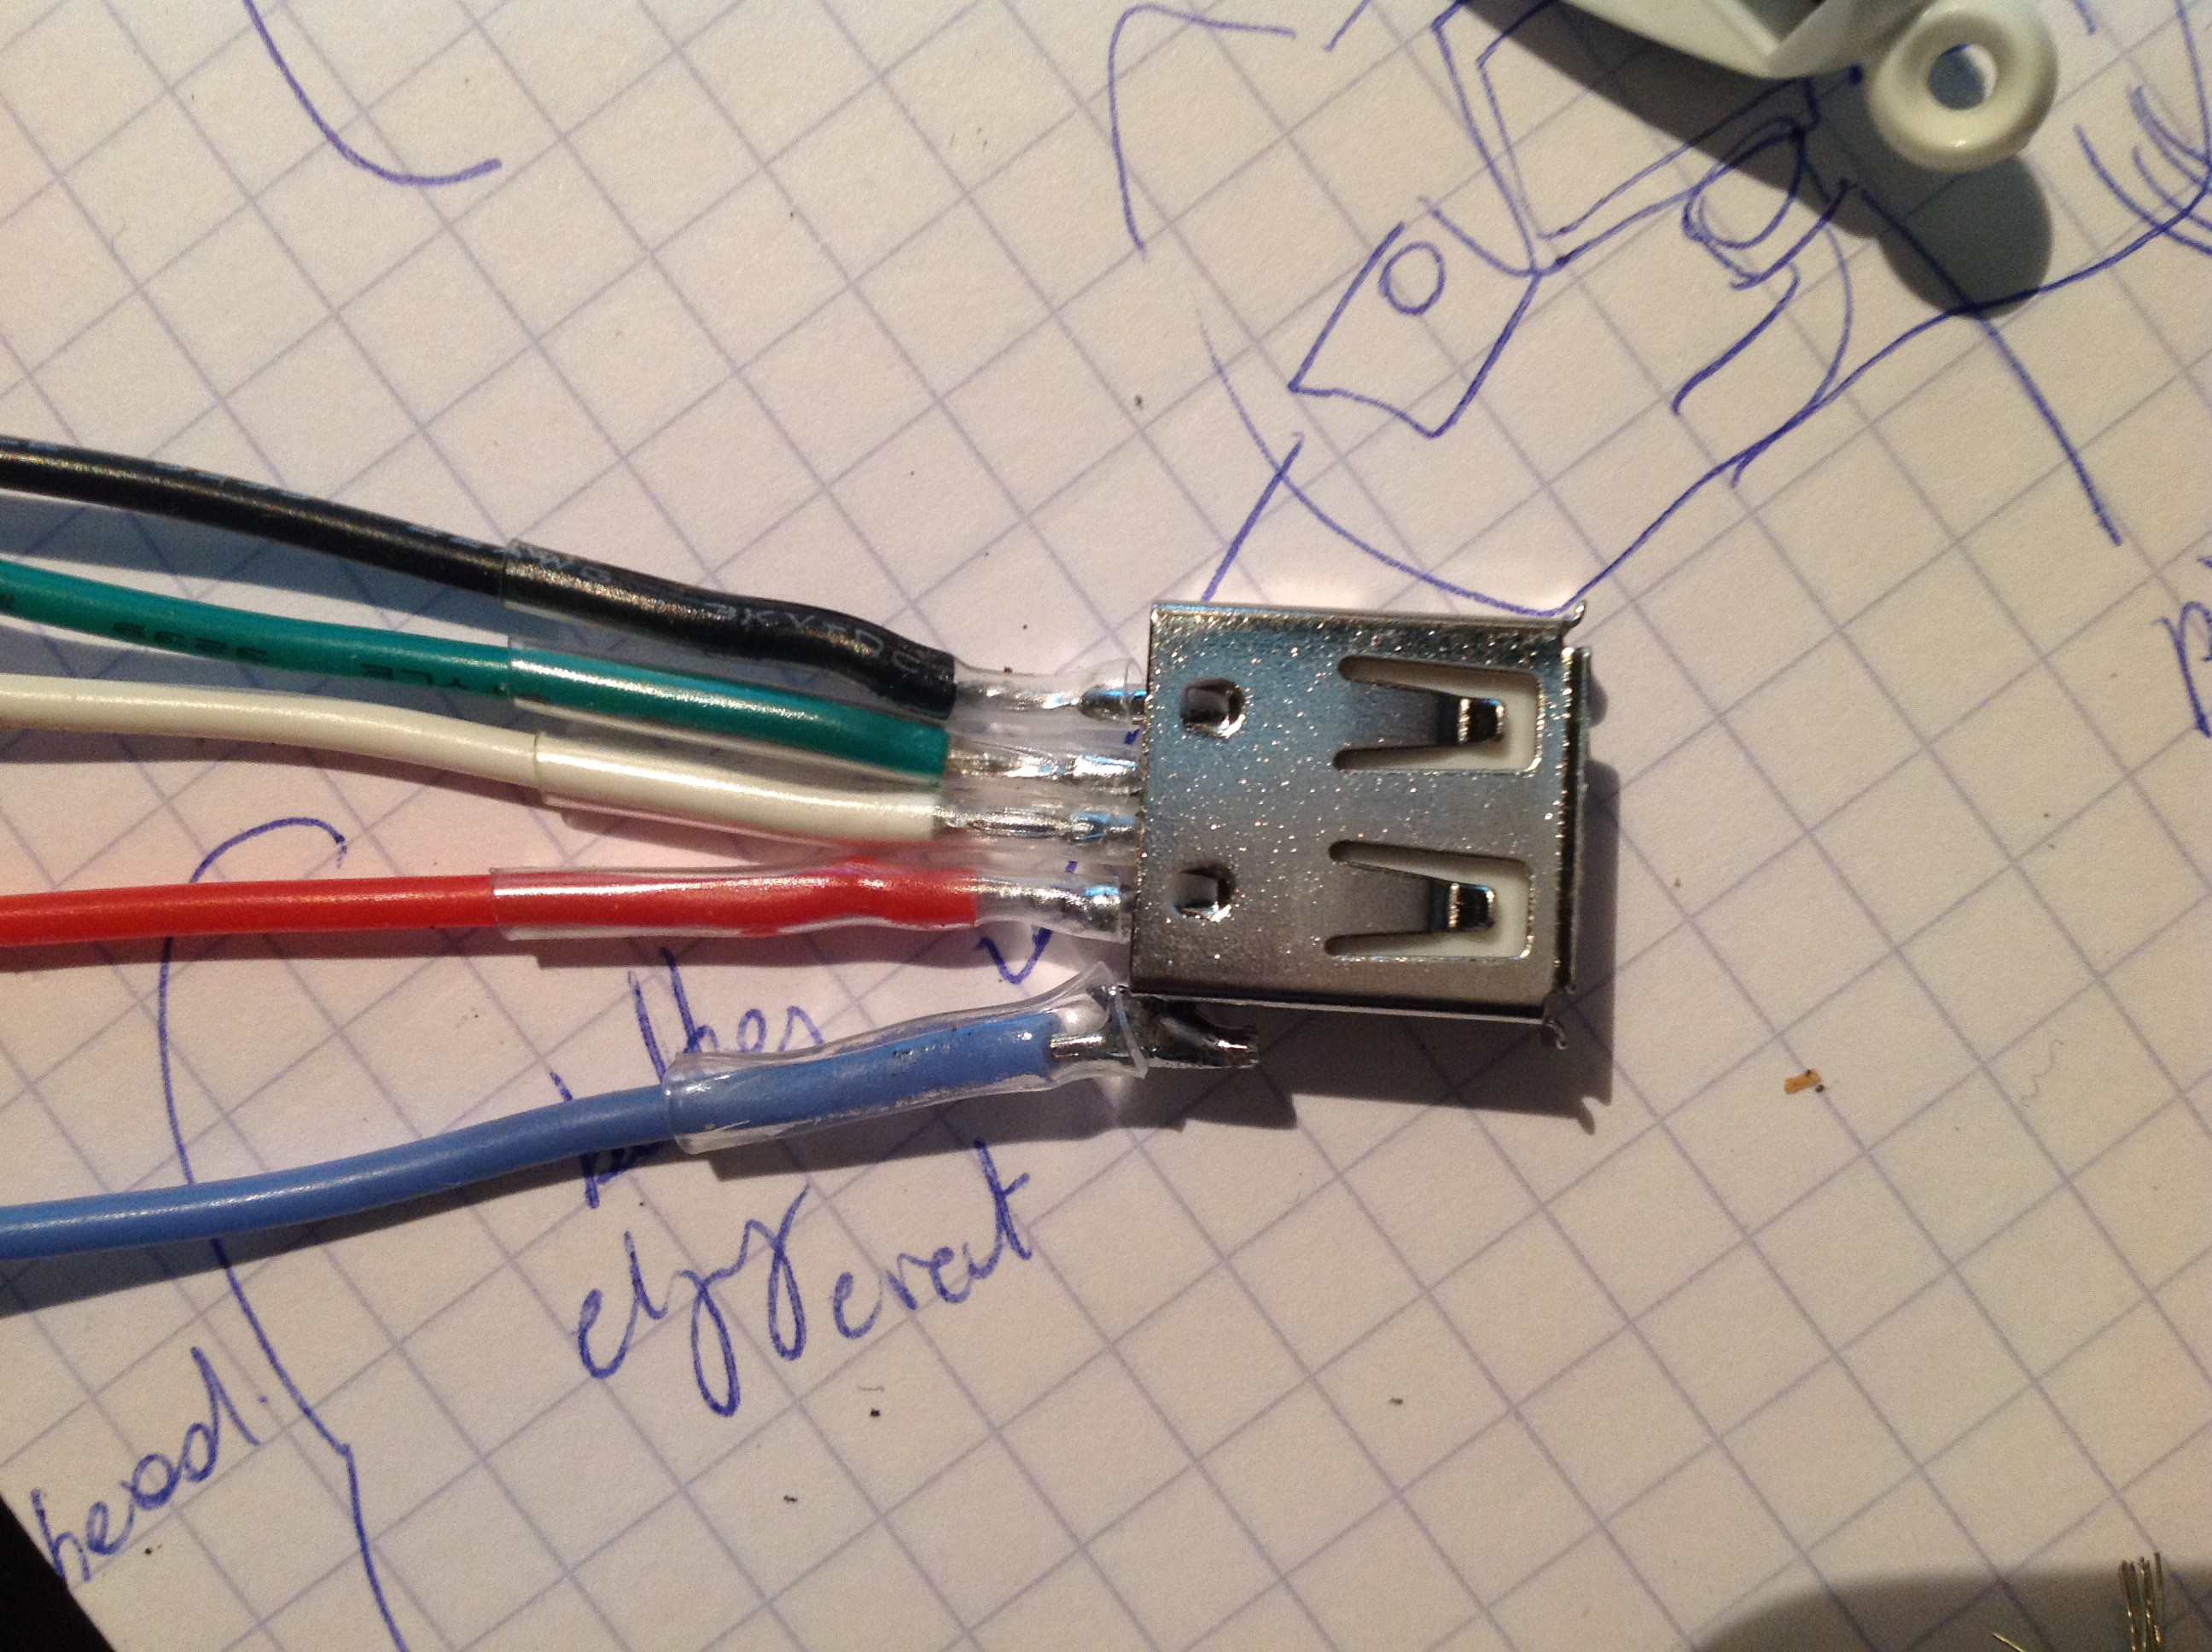
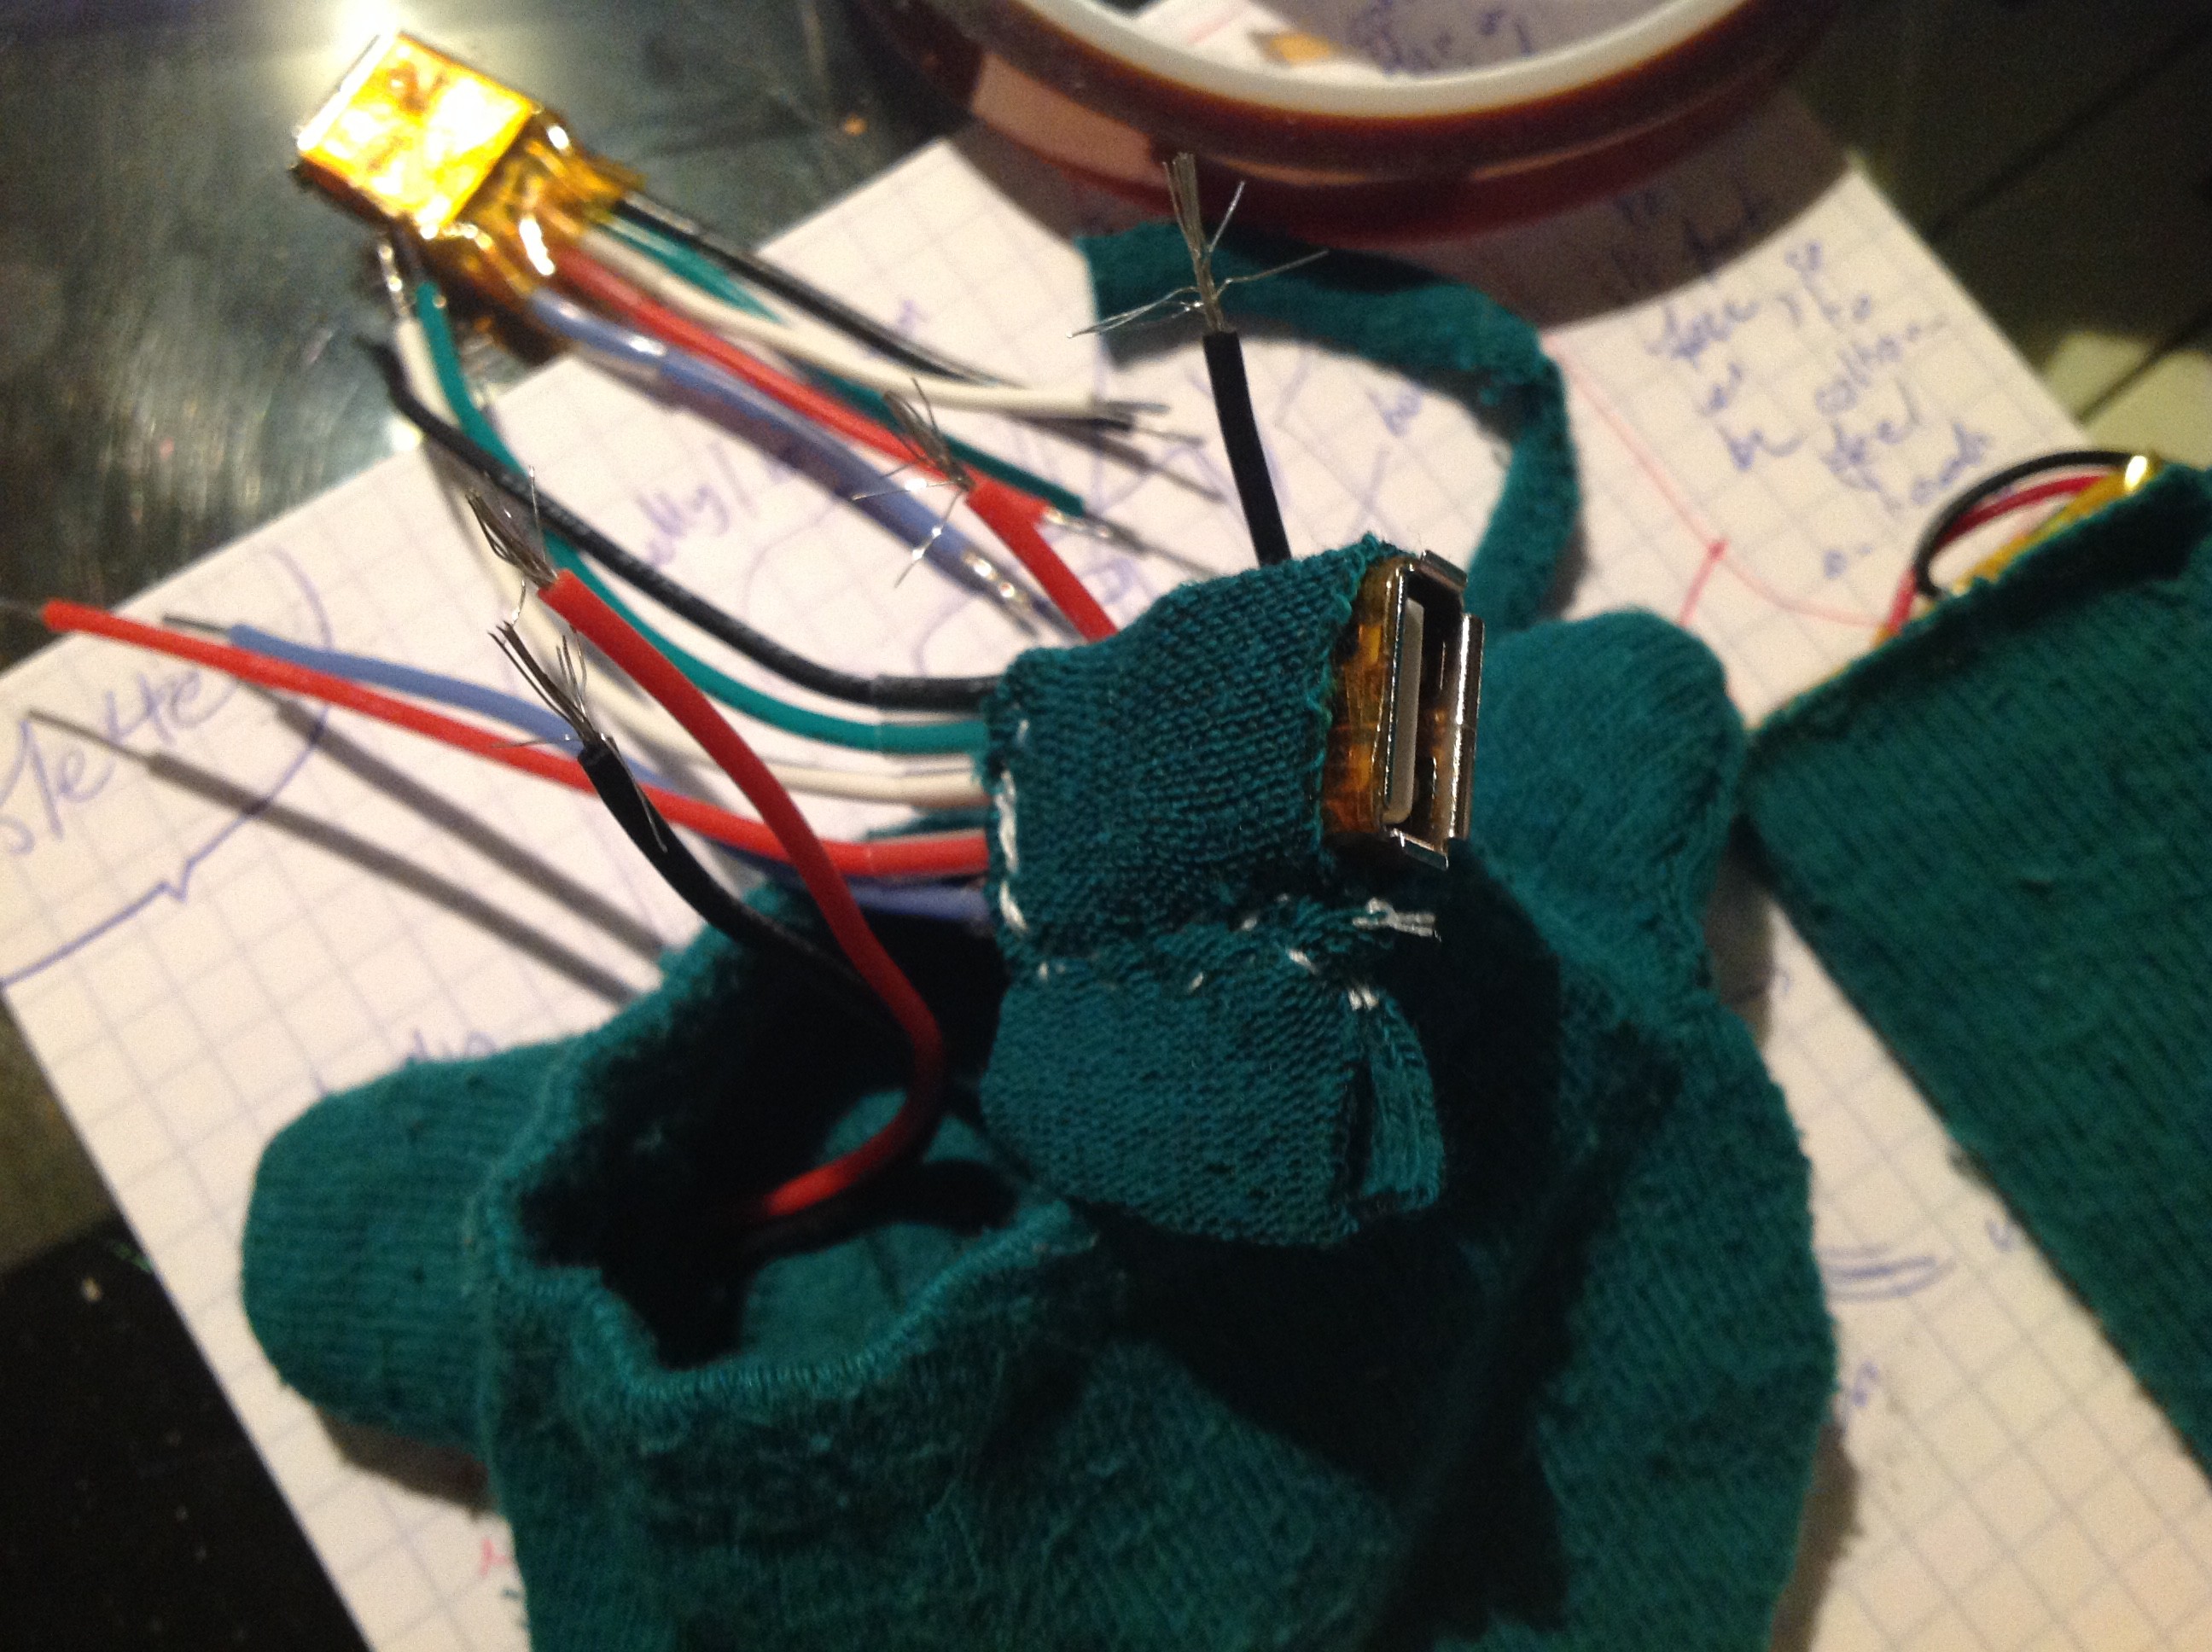
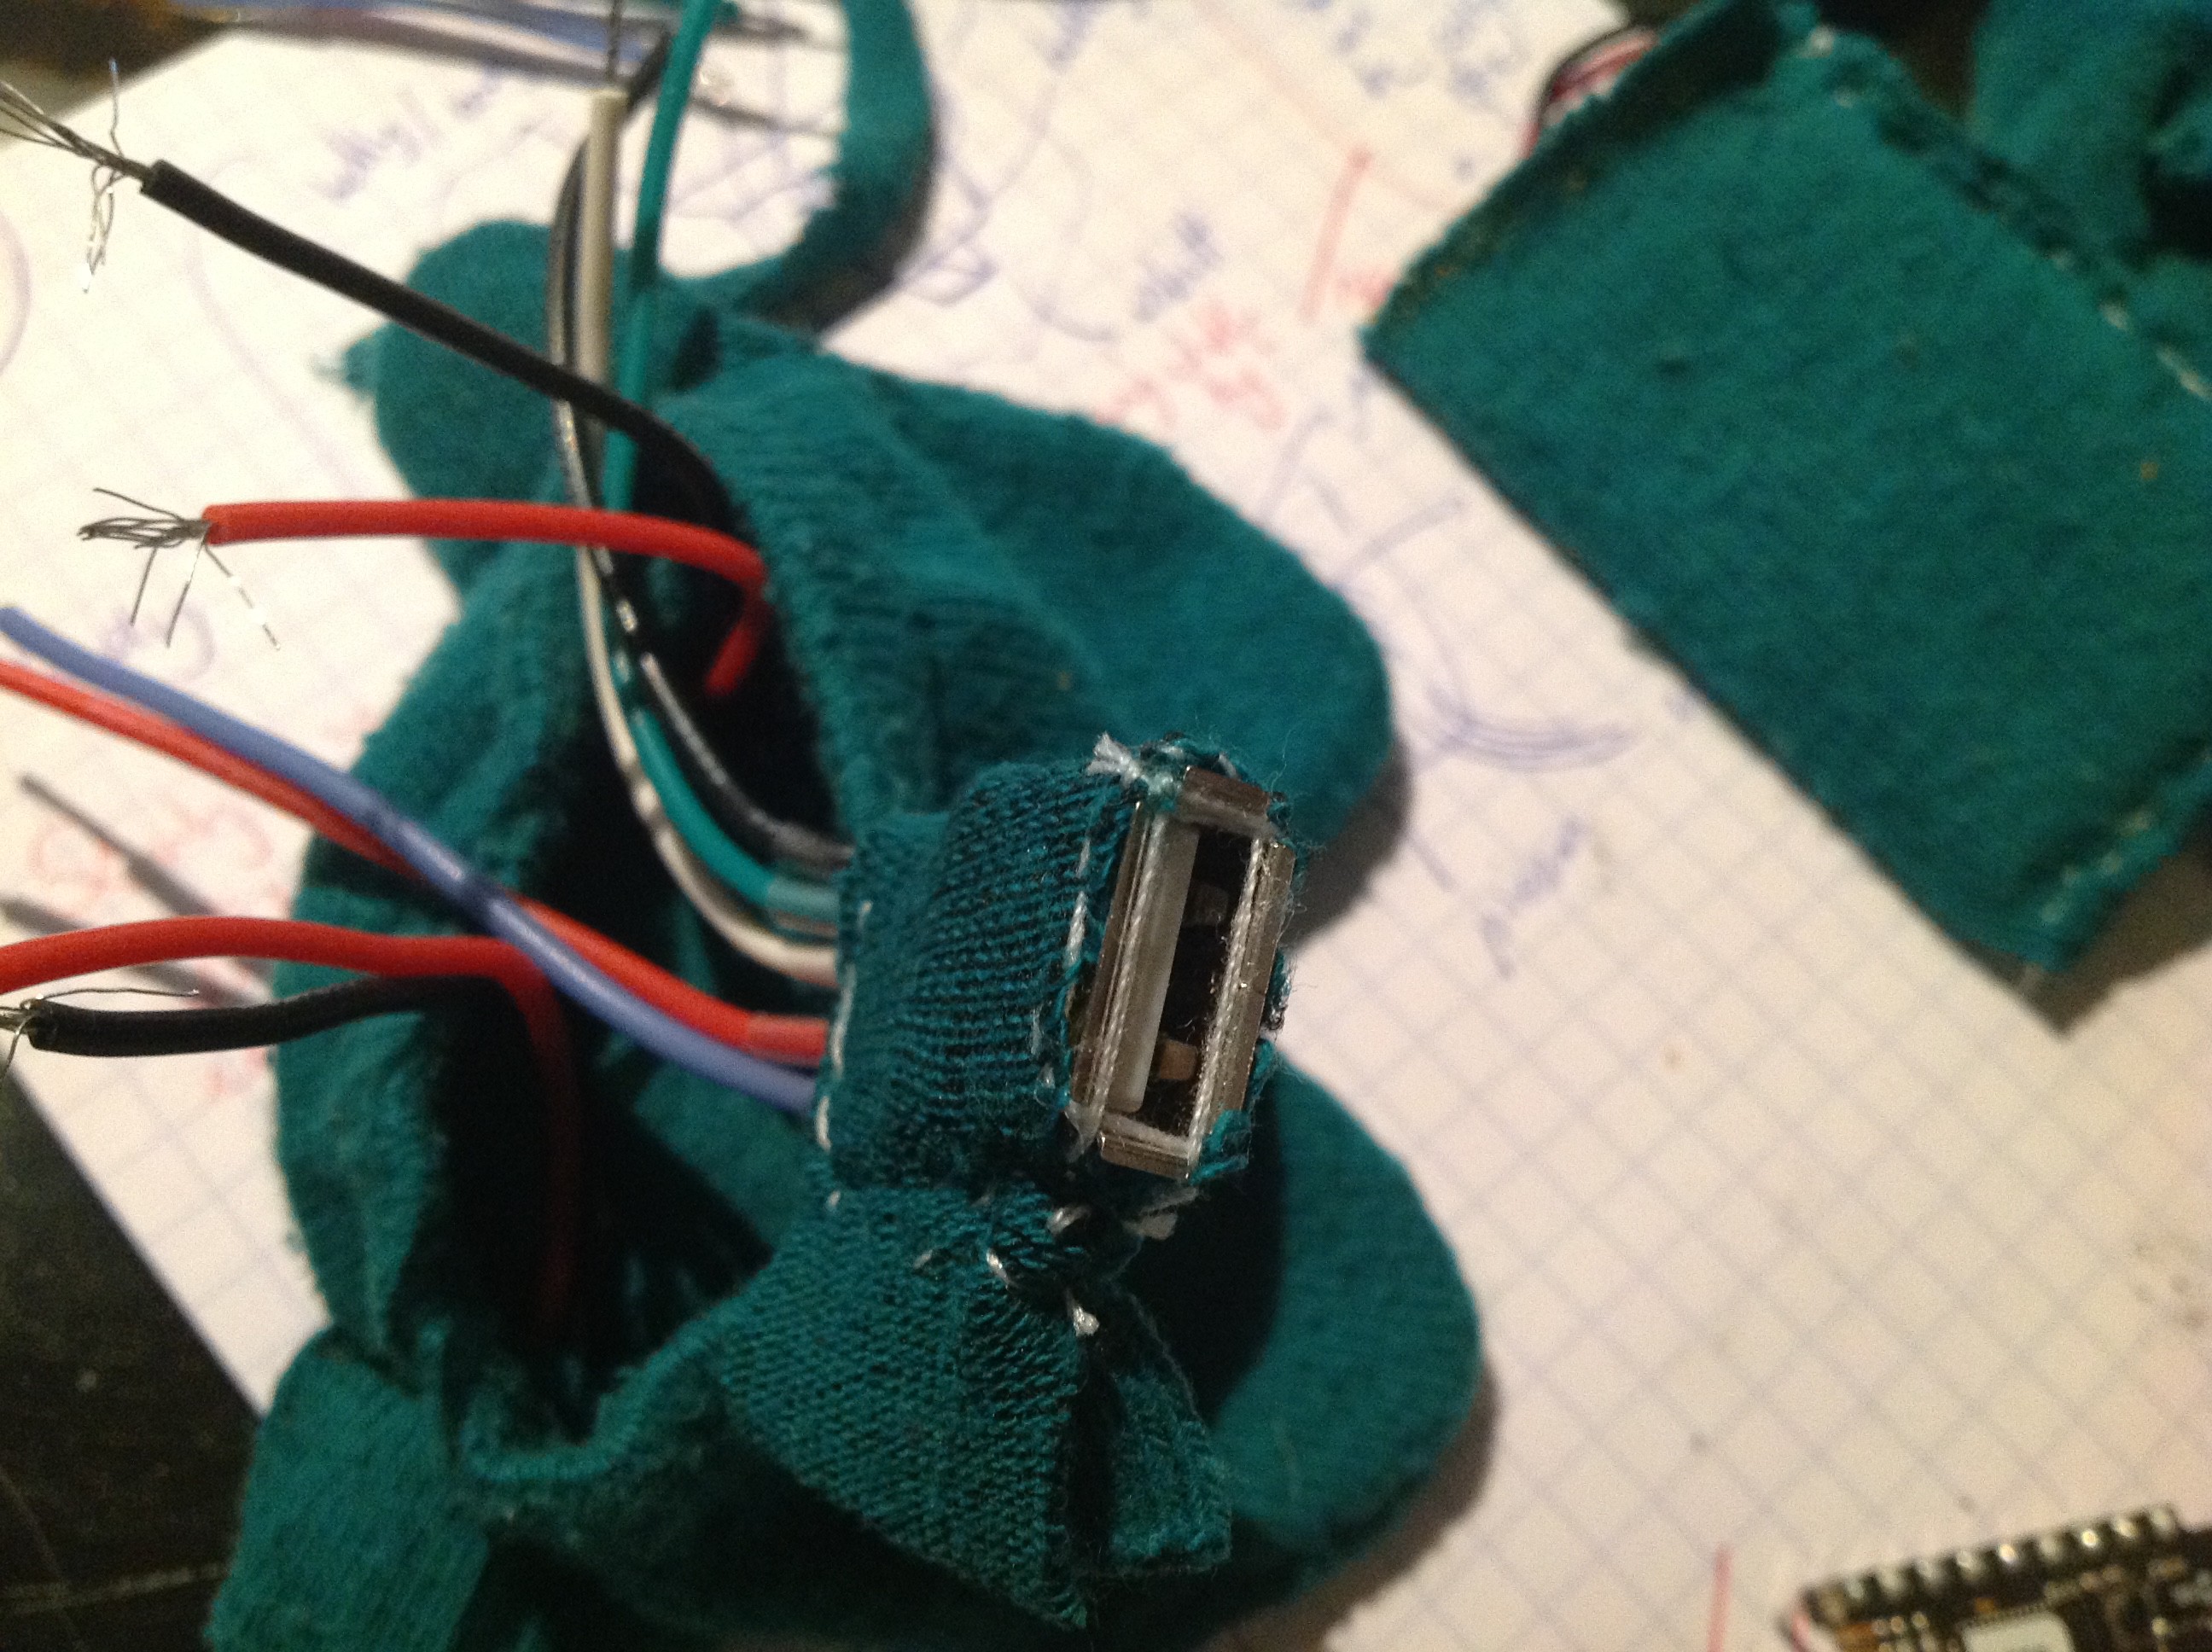
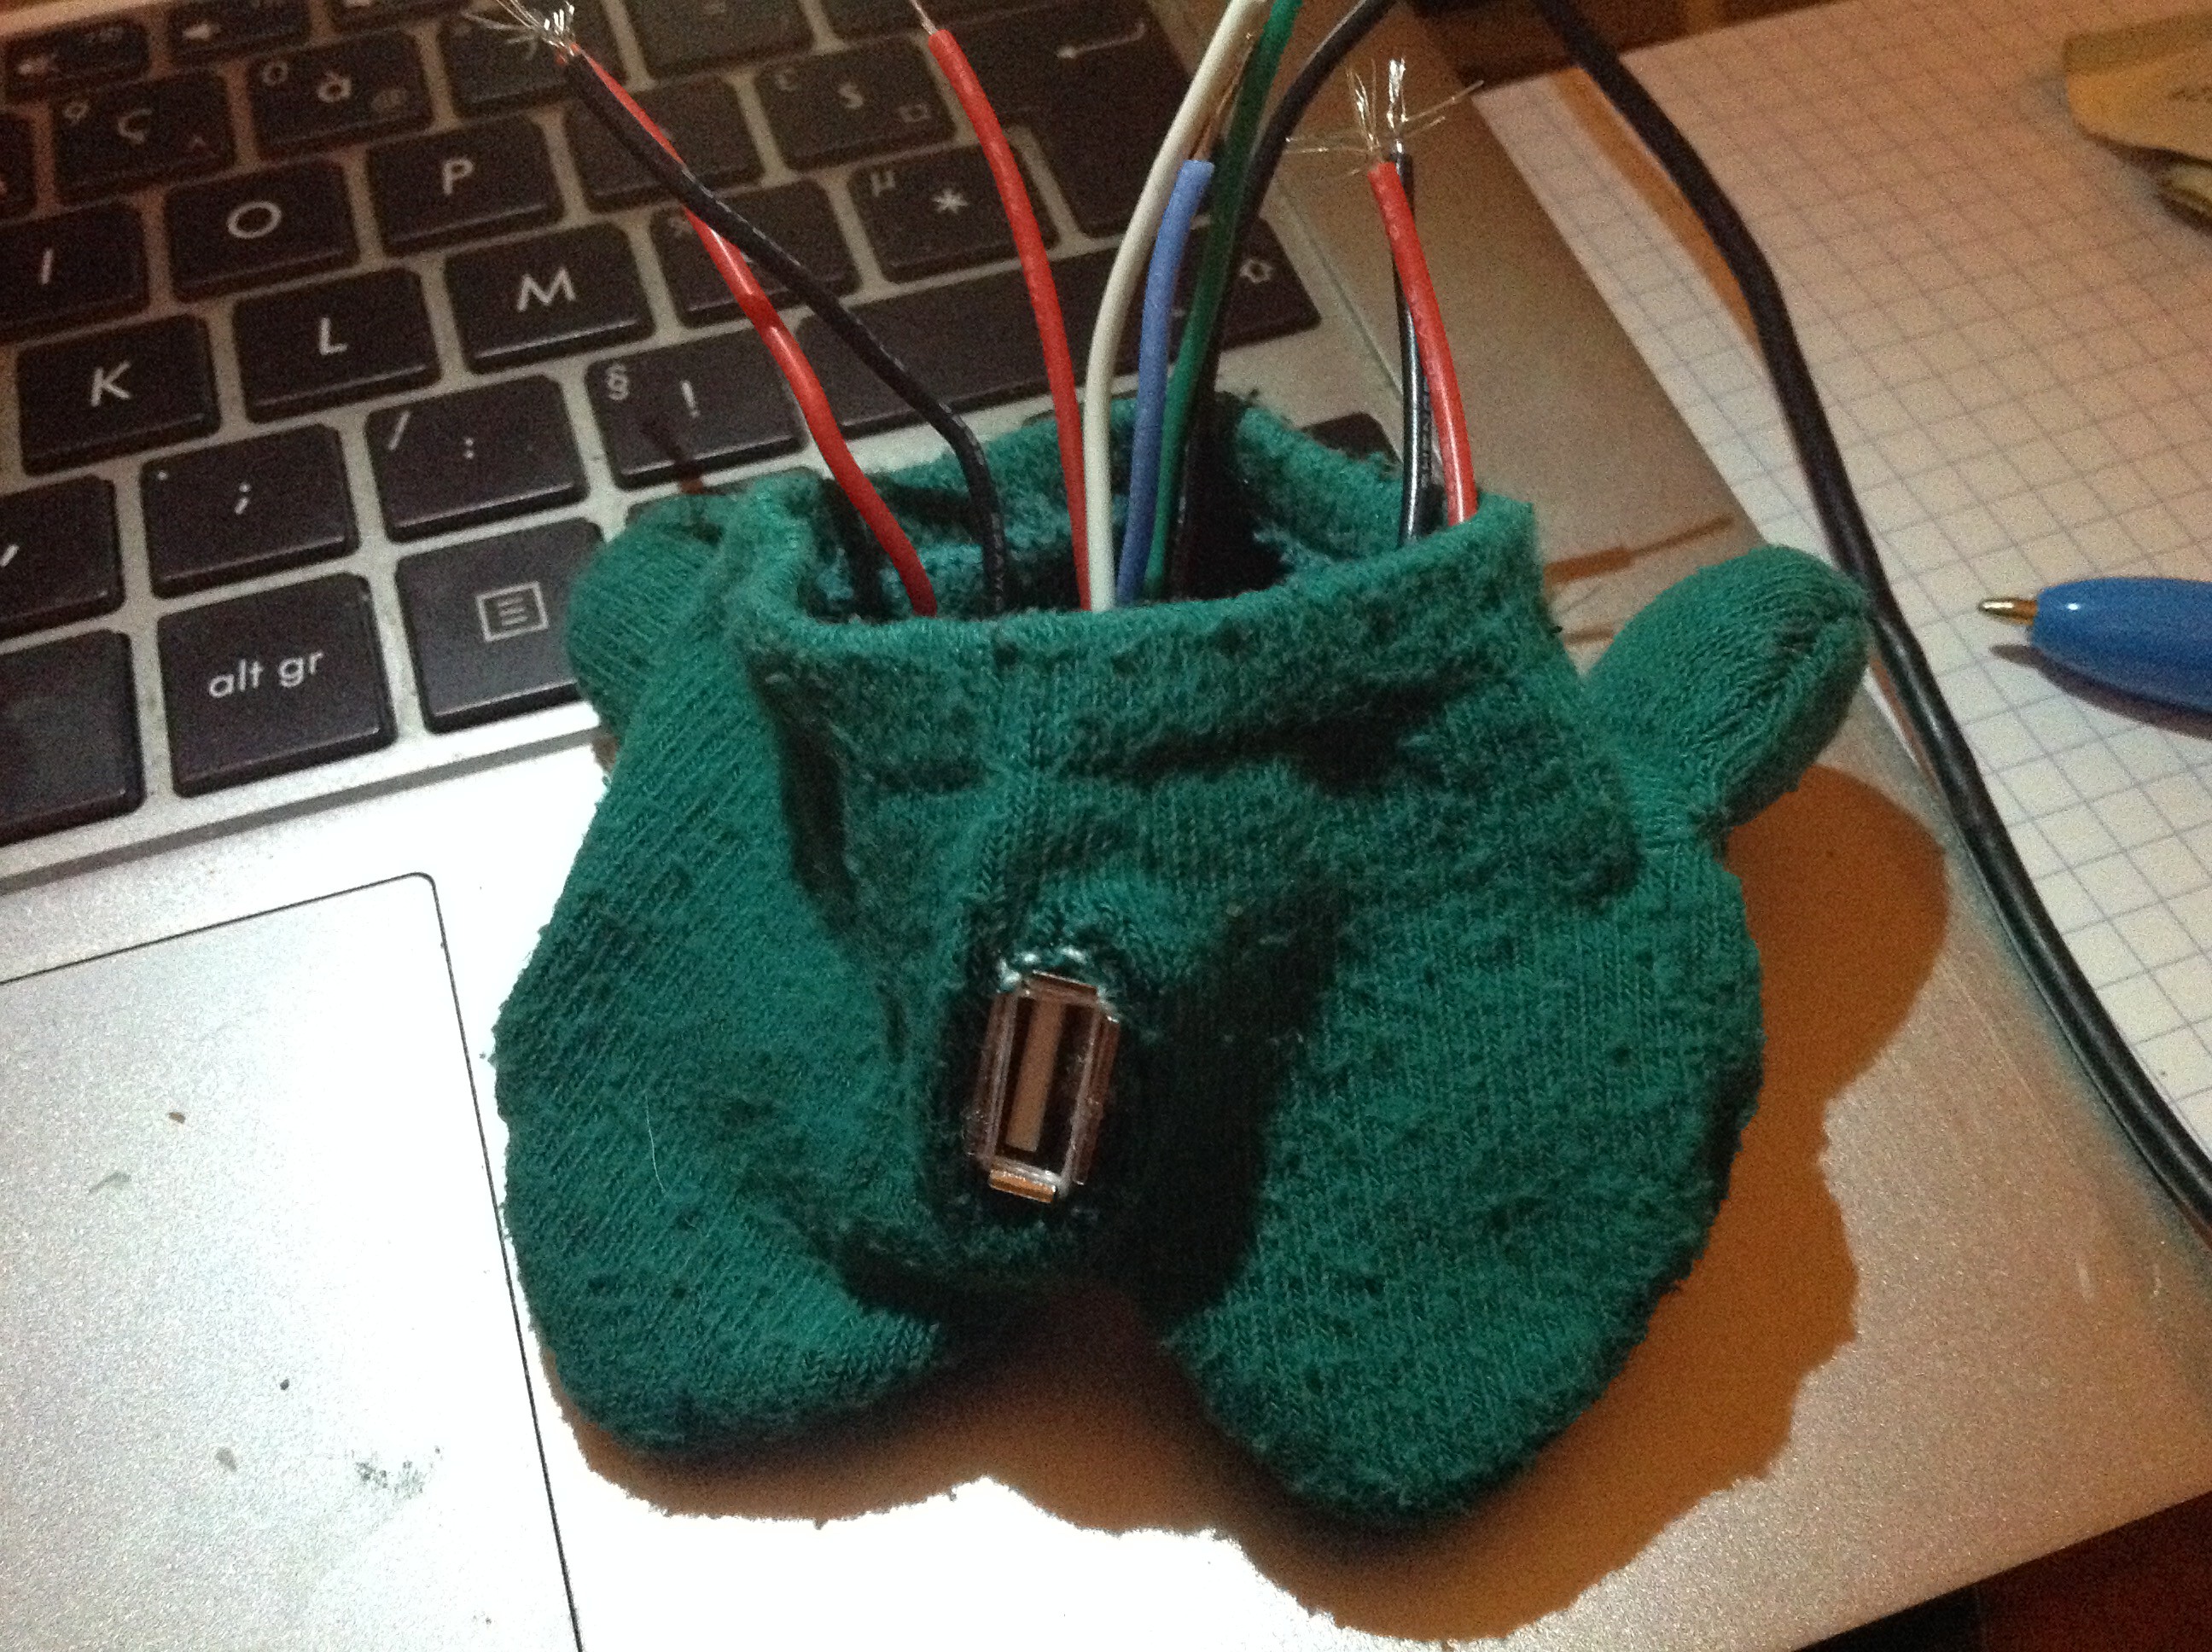
Now we have to prepare the usb ports.
We need two: one to connect to the Espruino Pico's USB side, and the other to act as the so-called "usbutt" ( used to recharge the internal battery as well as connect the uC to a computer for programming )
![]()
After tinning & soldering, we use heatshrinks to secure the connections
![]()
Once done, we also add a Kapton layer
![]()
Our two usb ports, completed
![]()
Now that we have the aboves, we choose on to be the "usbutt", and start sewing it a backpack
![]()
As seen, we leave two big parts that 'll be used to sew the usbutt to the body.
![]()
Here's a tricky part: try to sew around the end of the usb port so that it 'll make a fit connection to the body ( our goal is to make the usbutt as "locked" as possible, not to damage it after successive plugs )
-
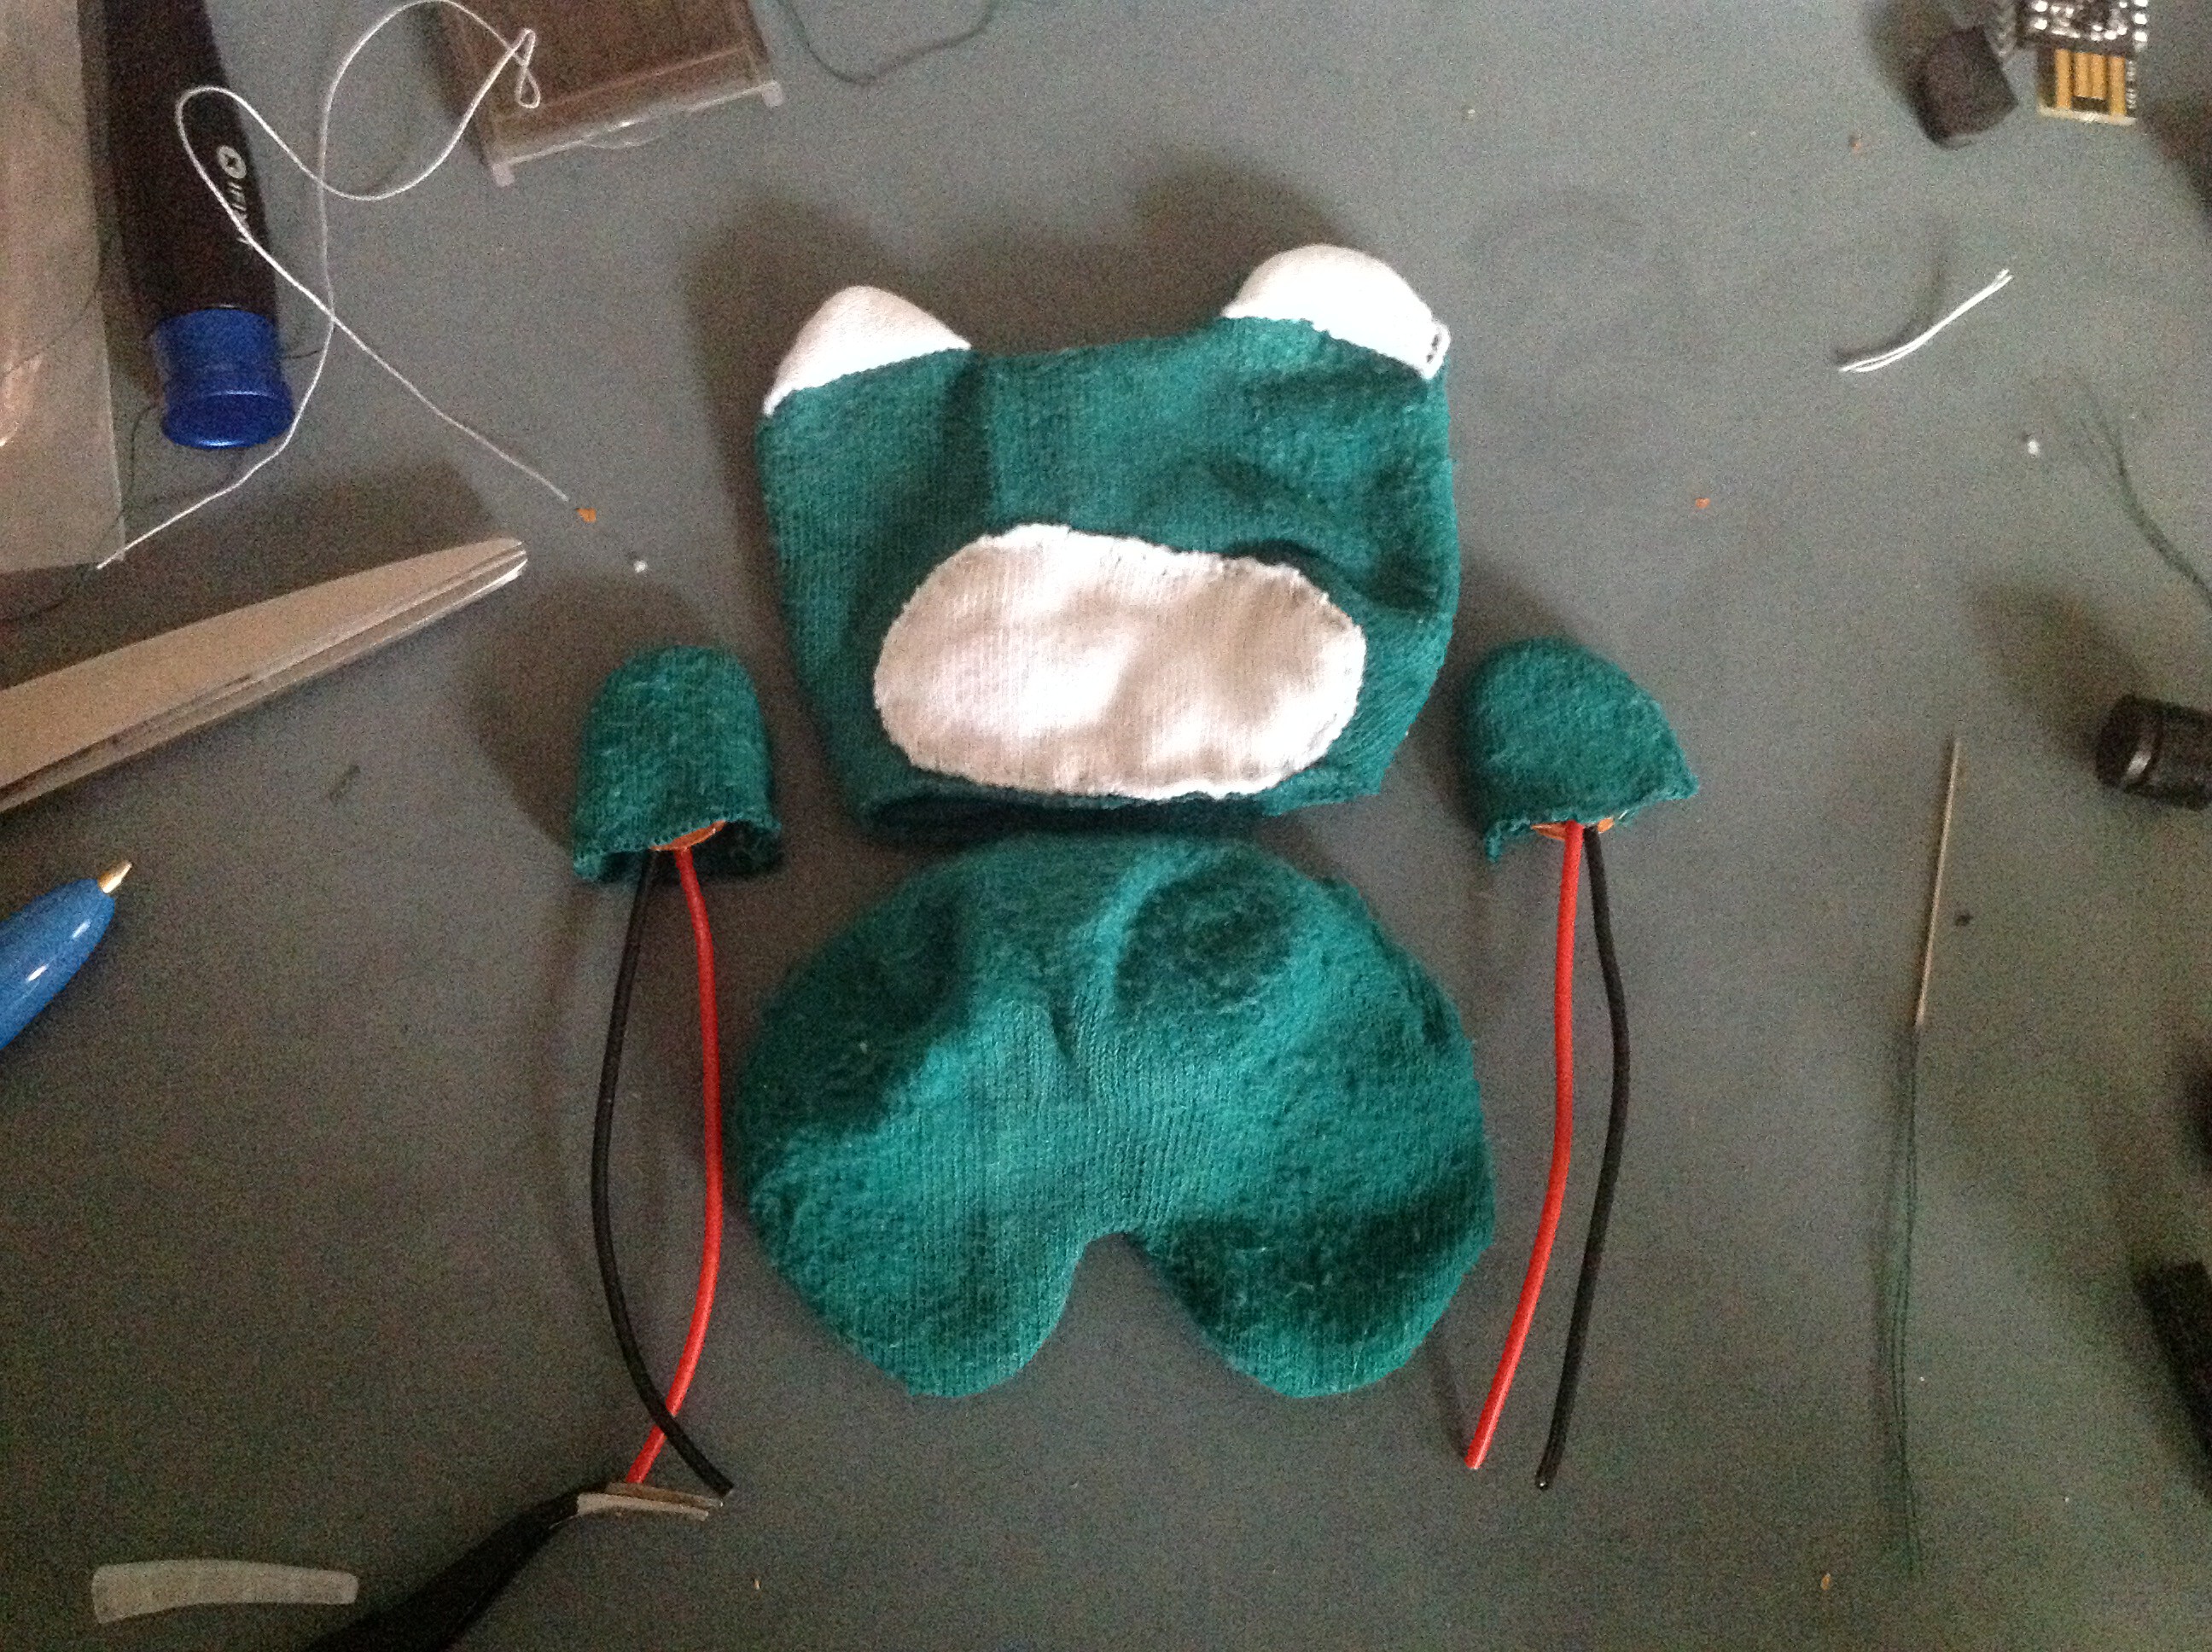
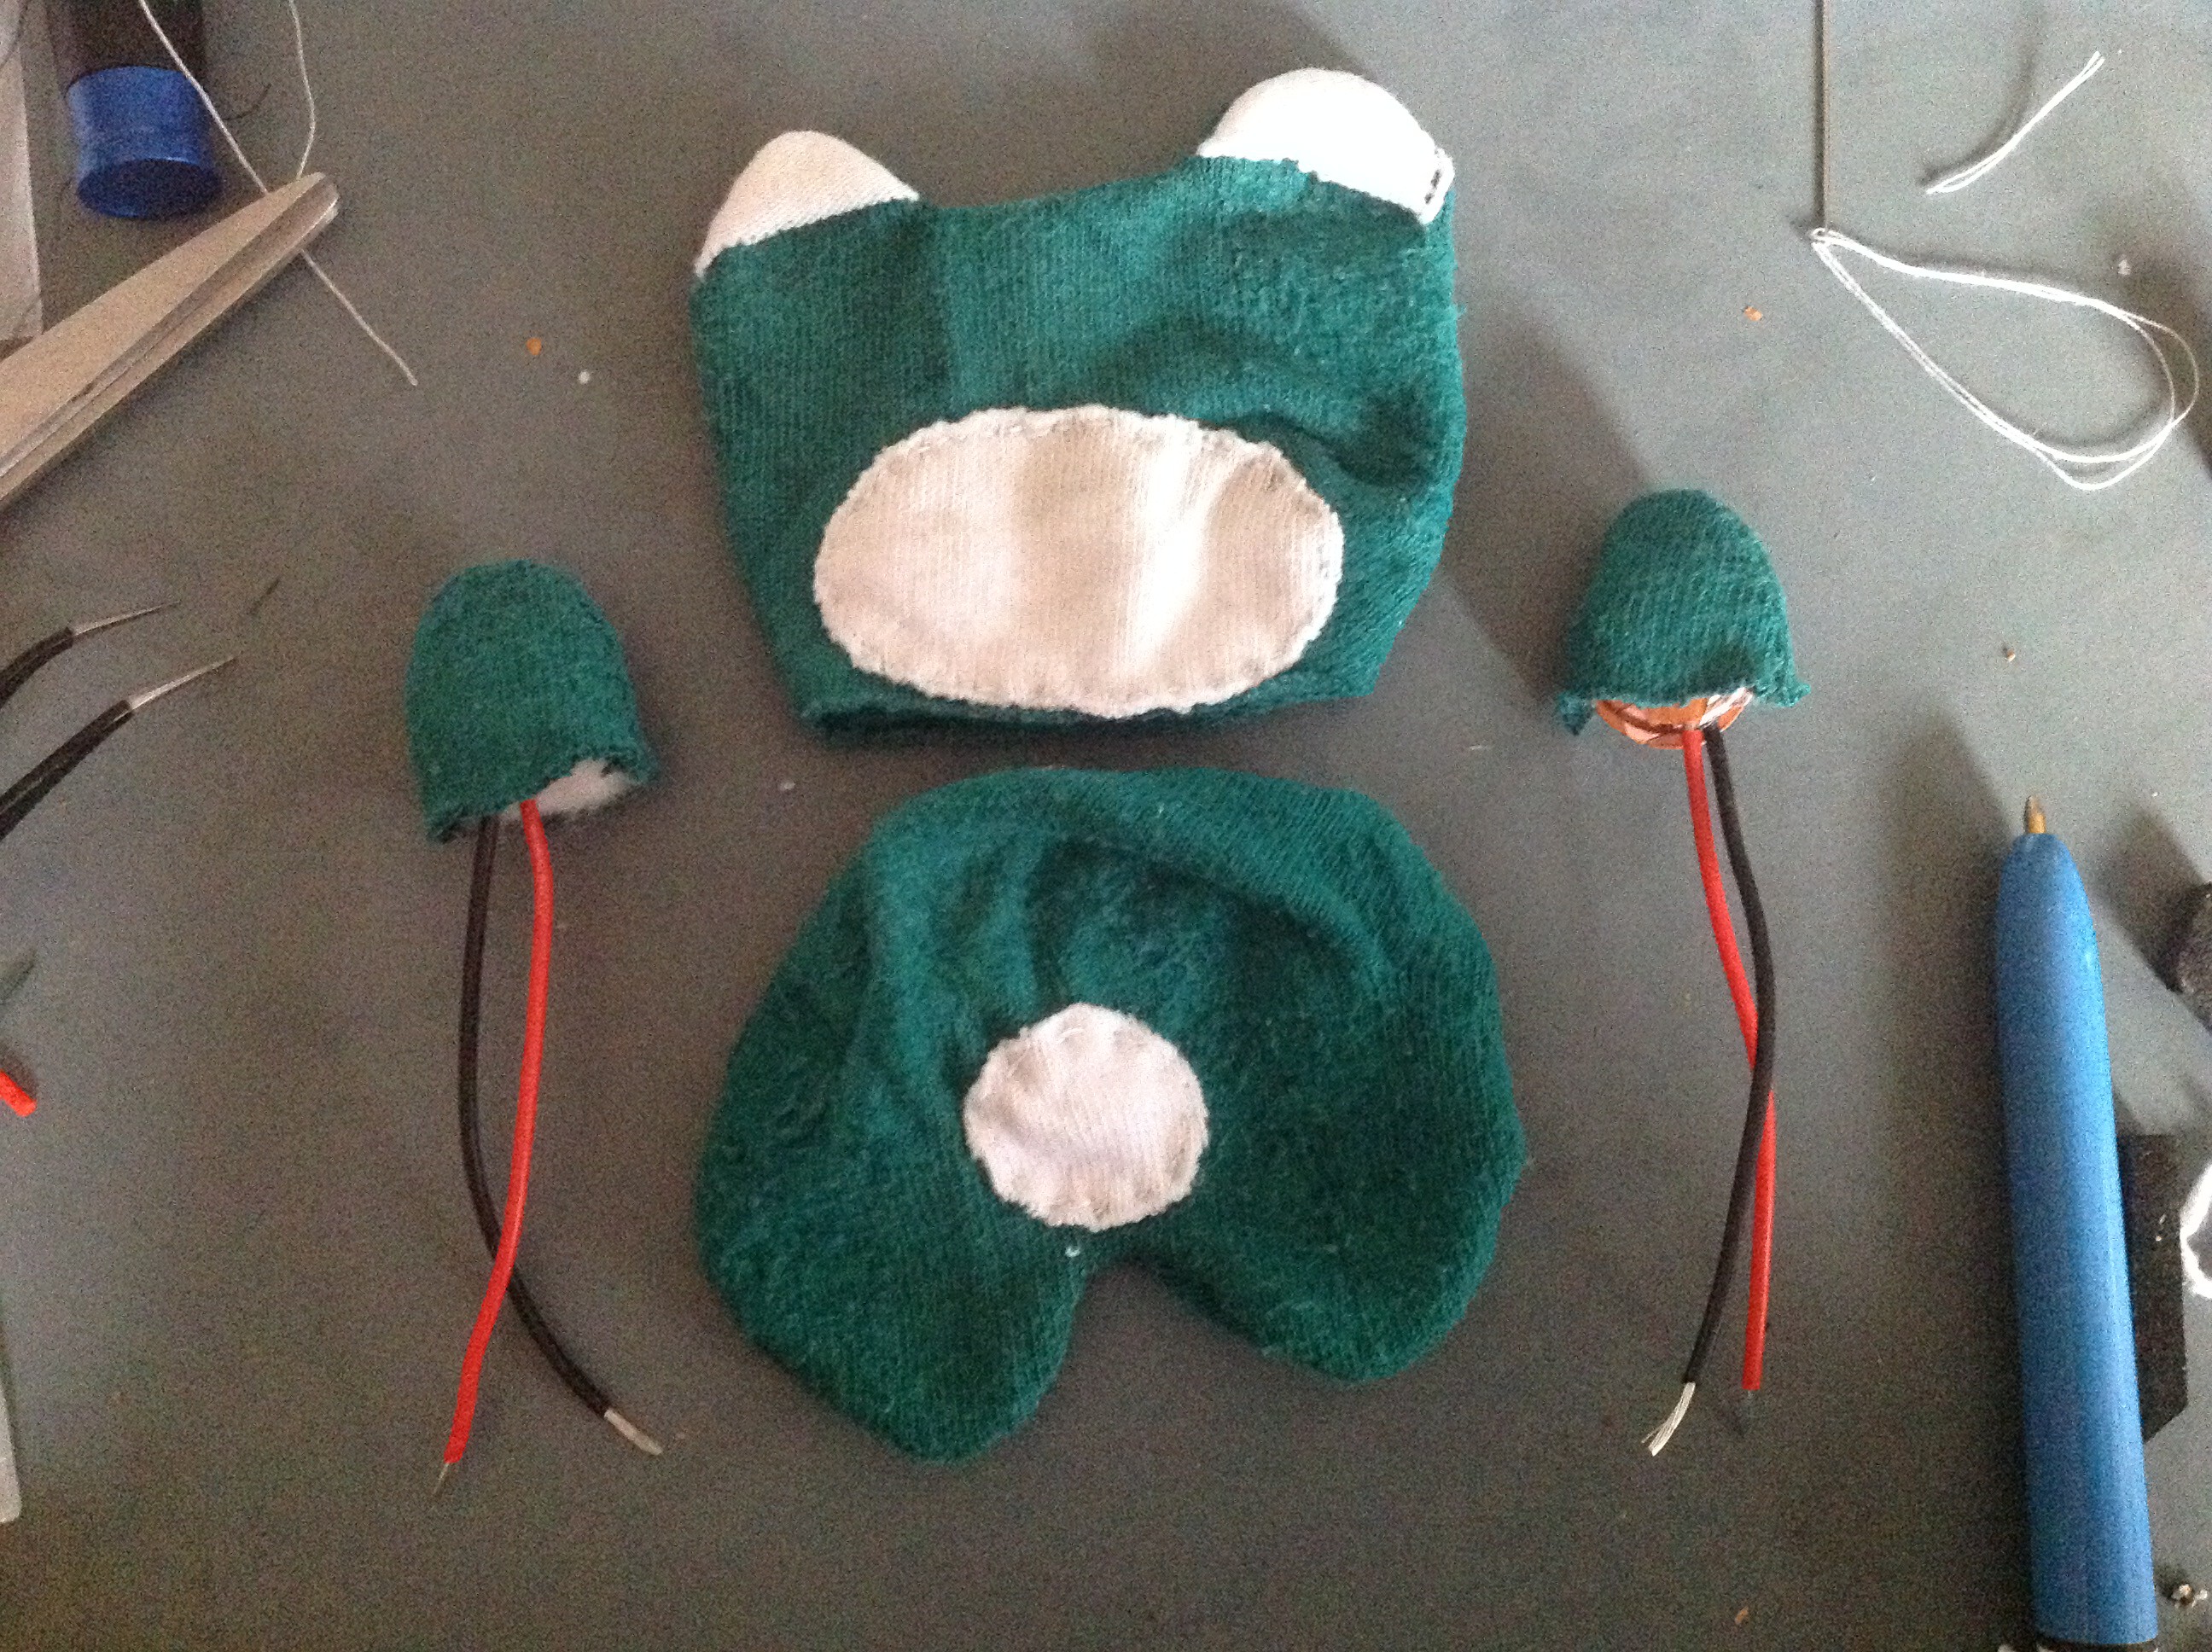
9Step 9
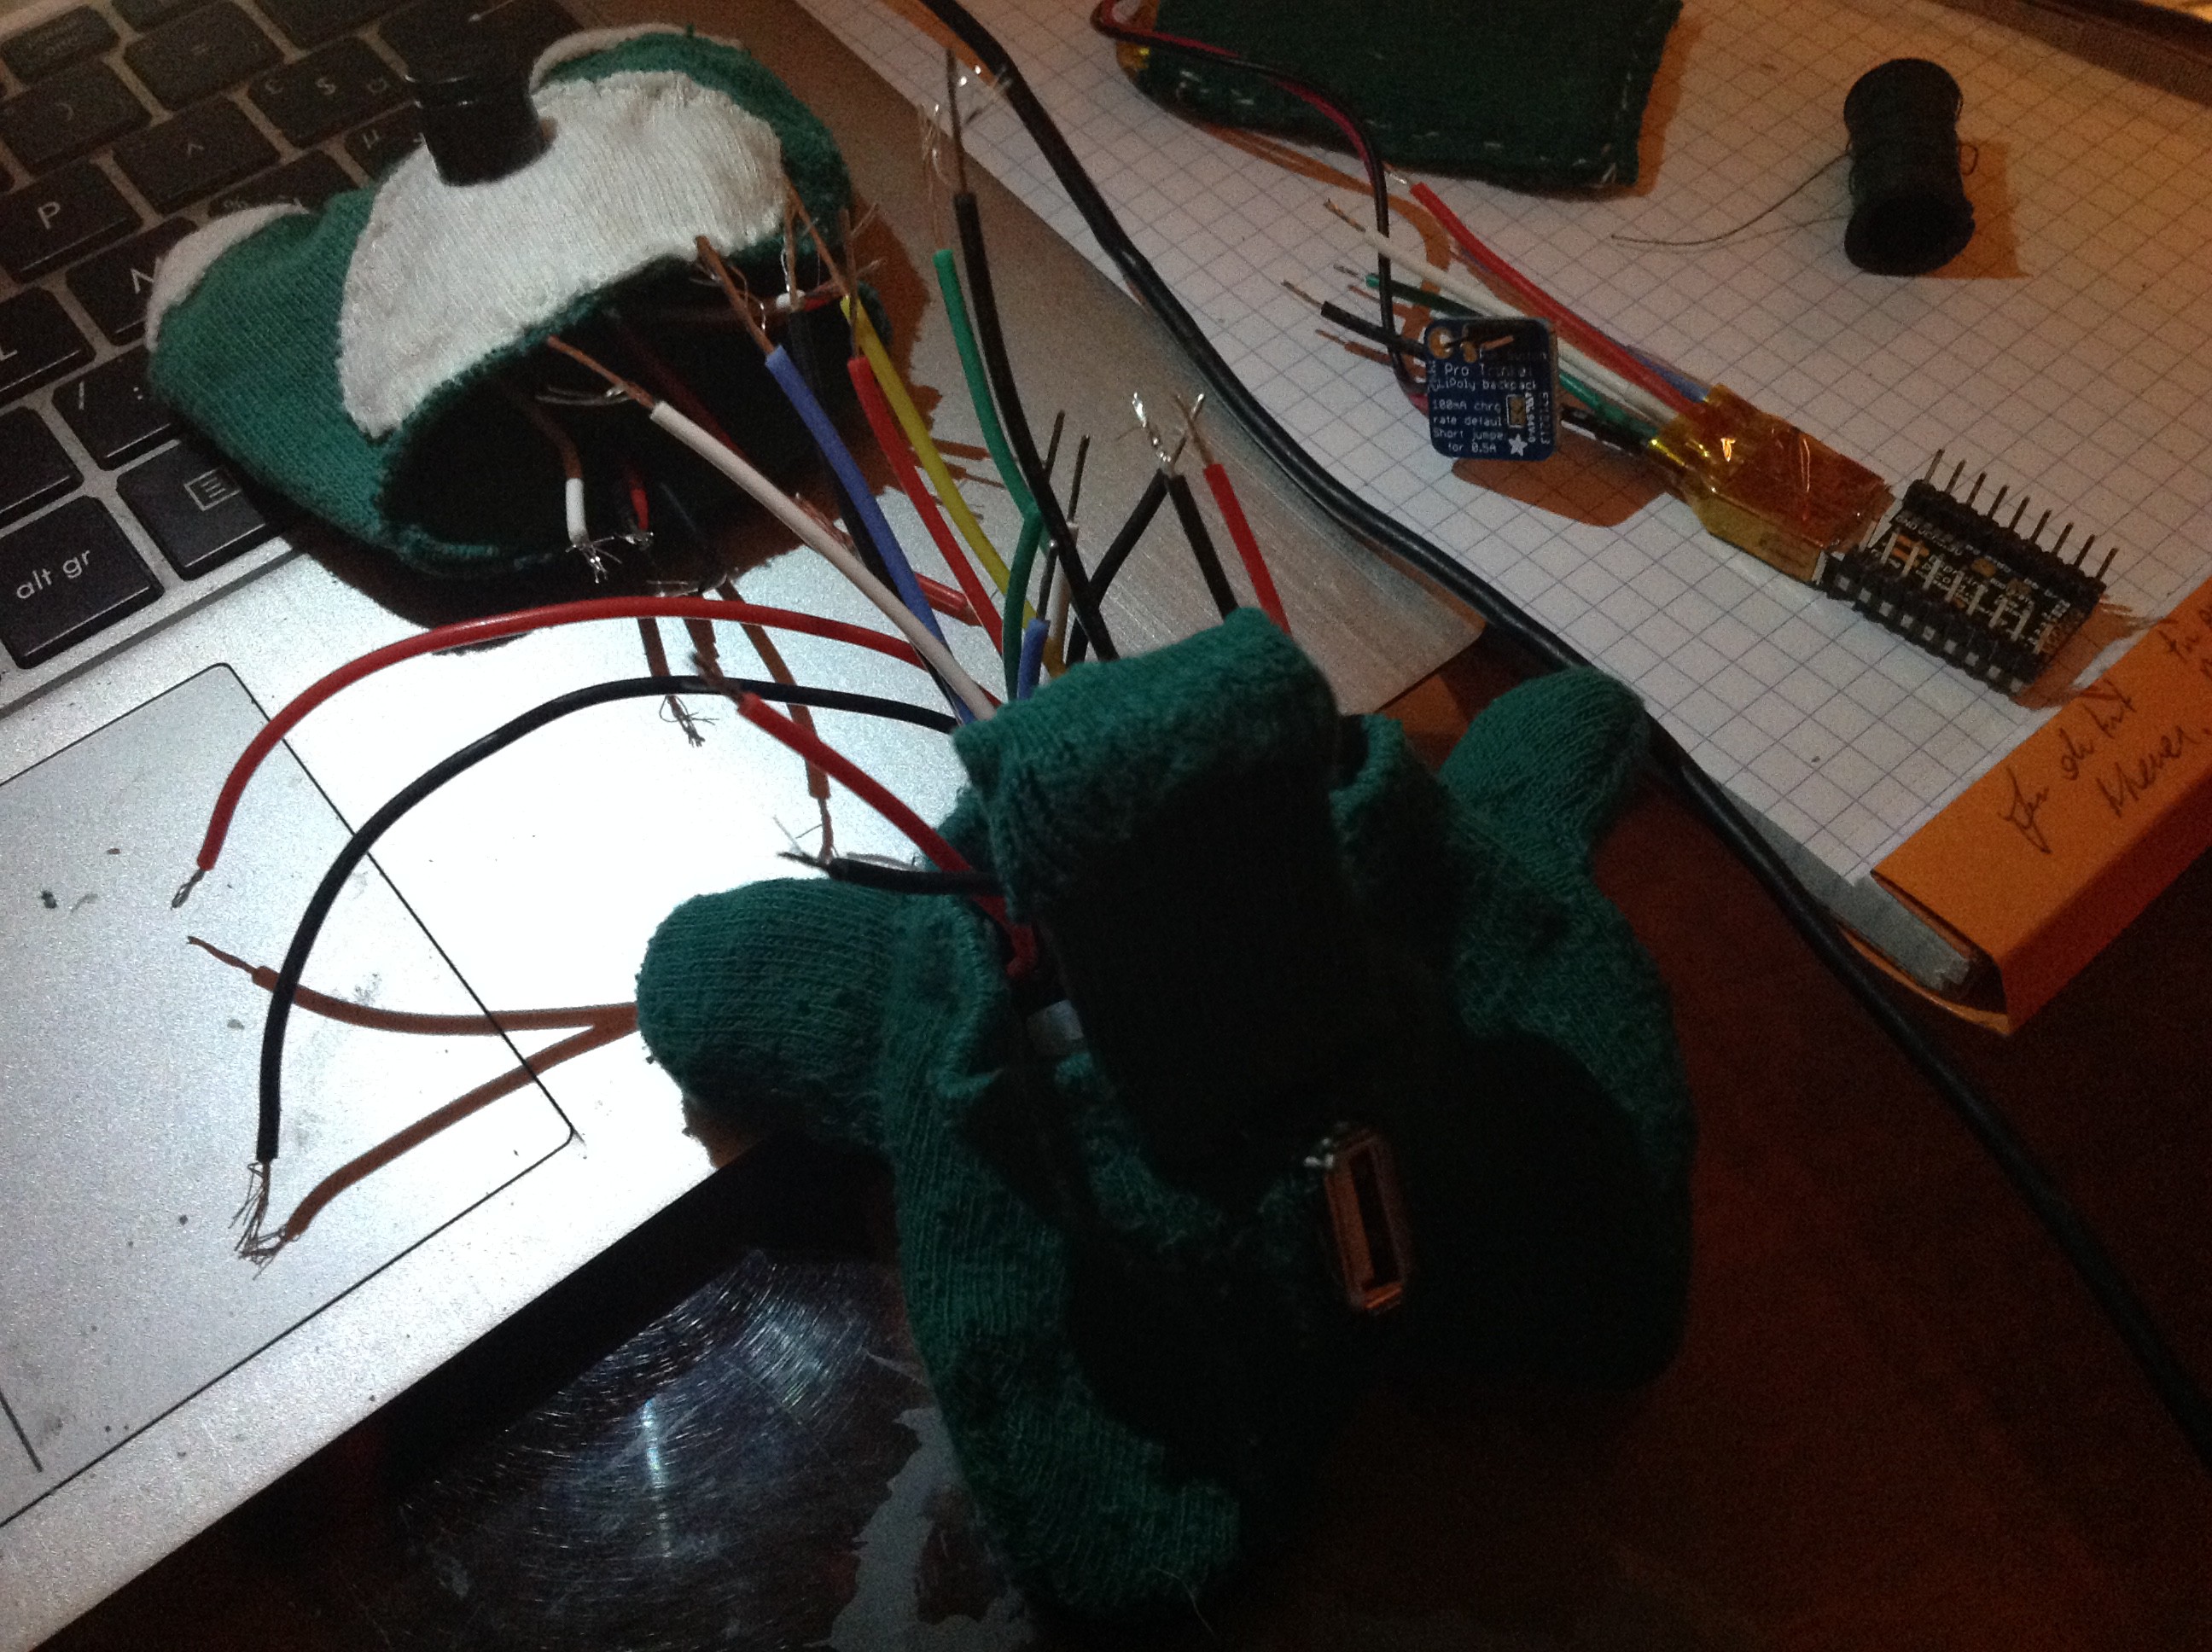
Next, we have to add the ears !
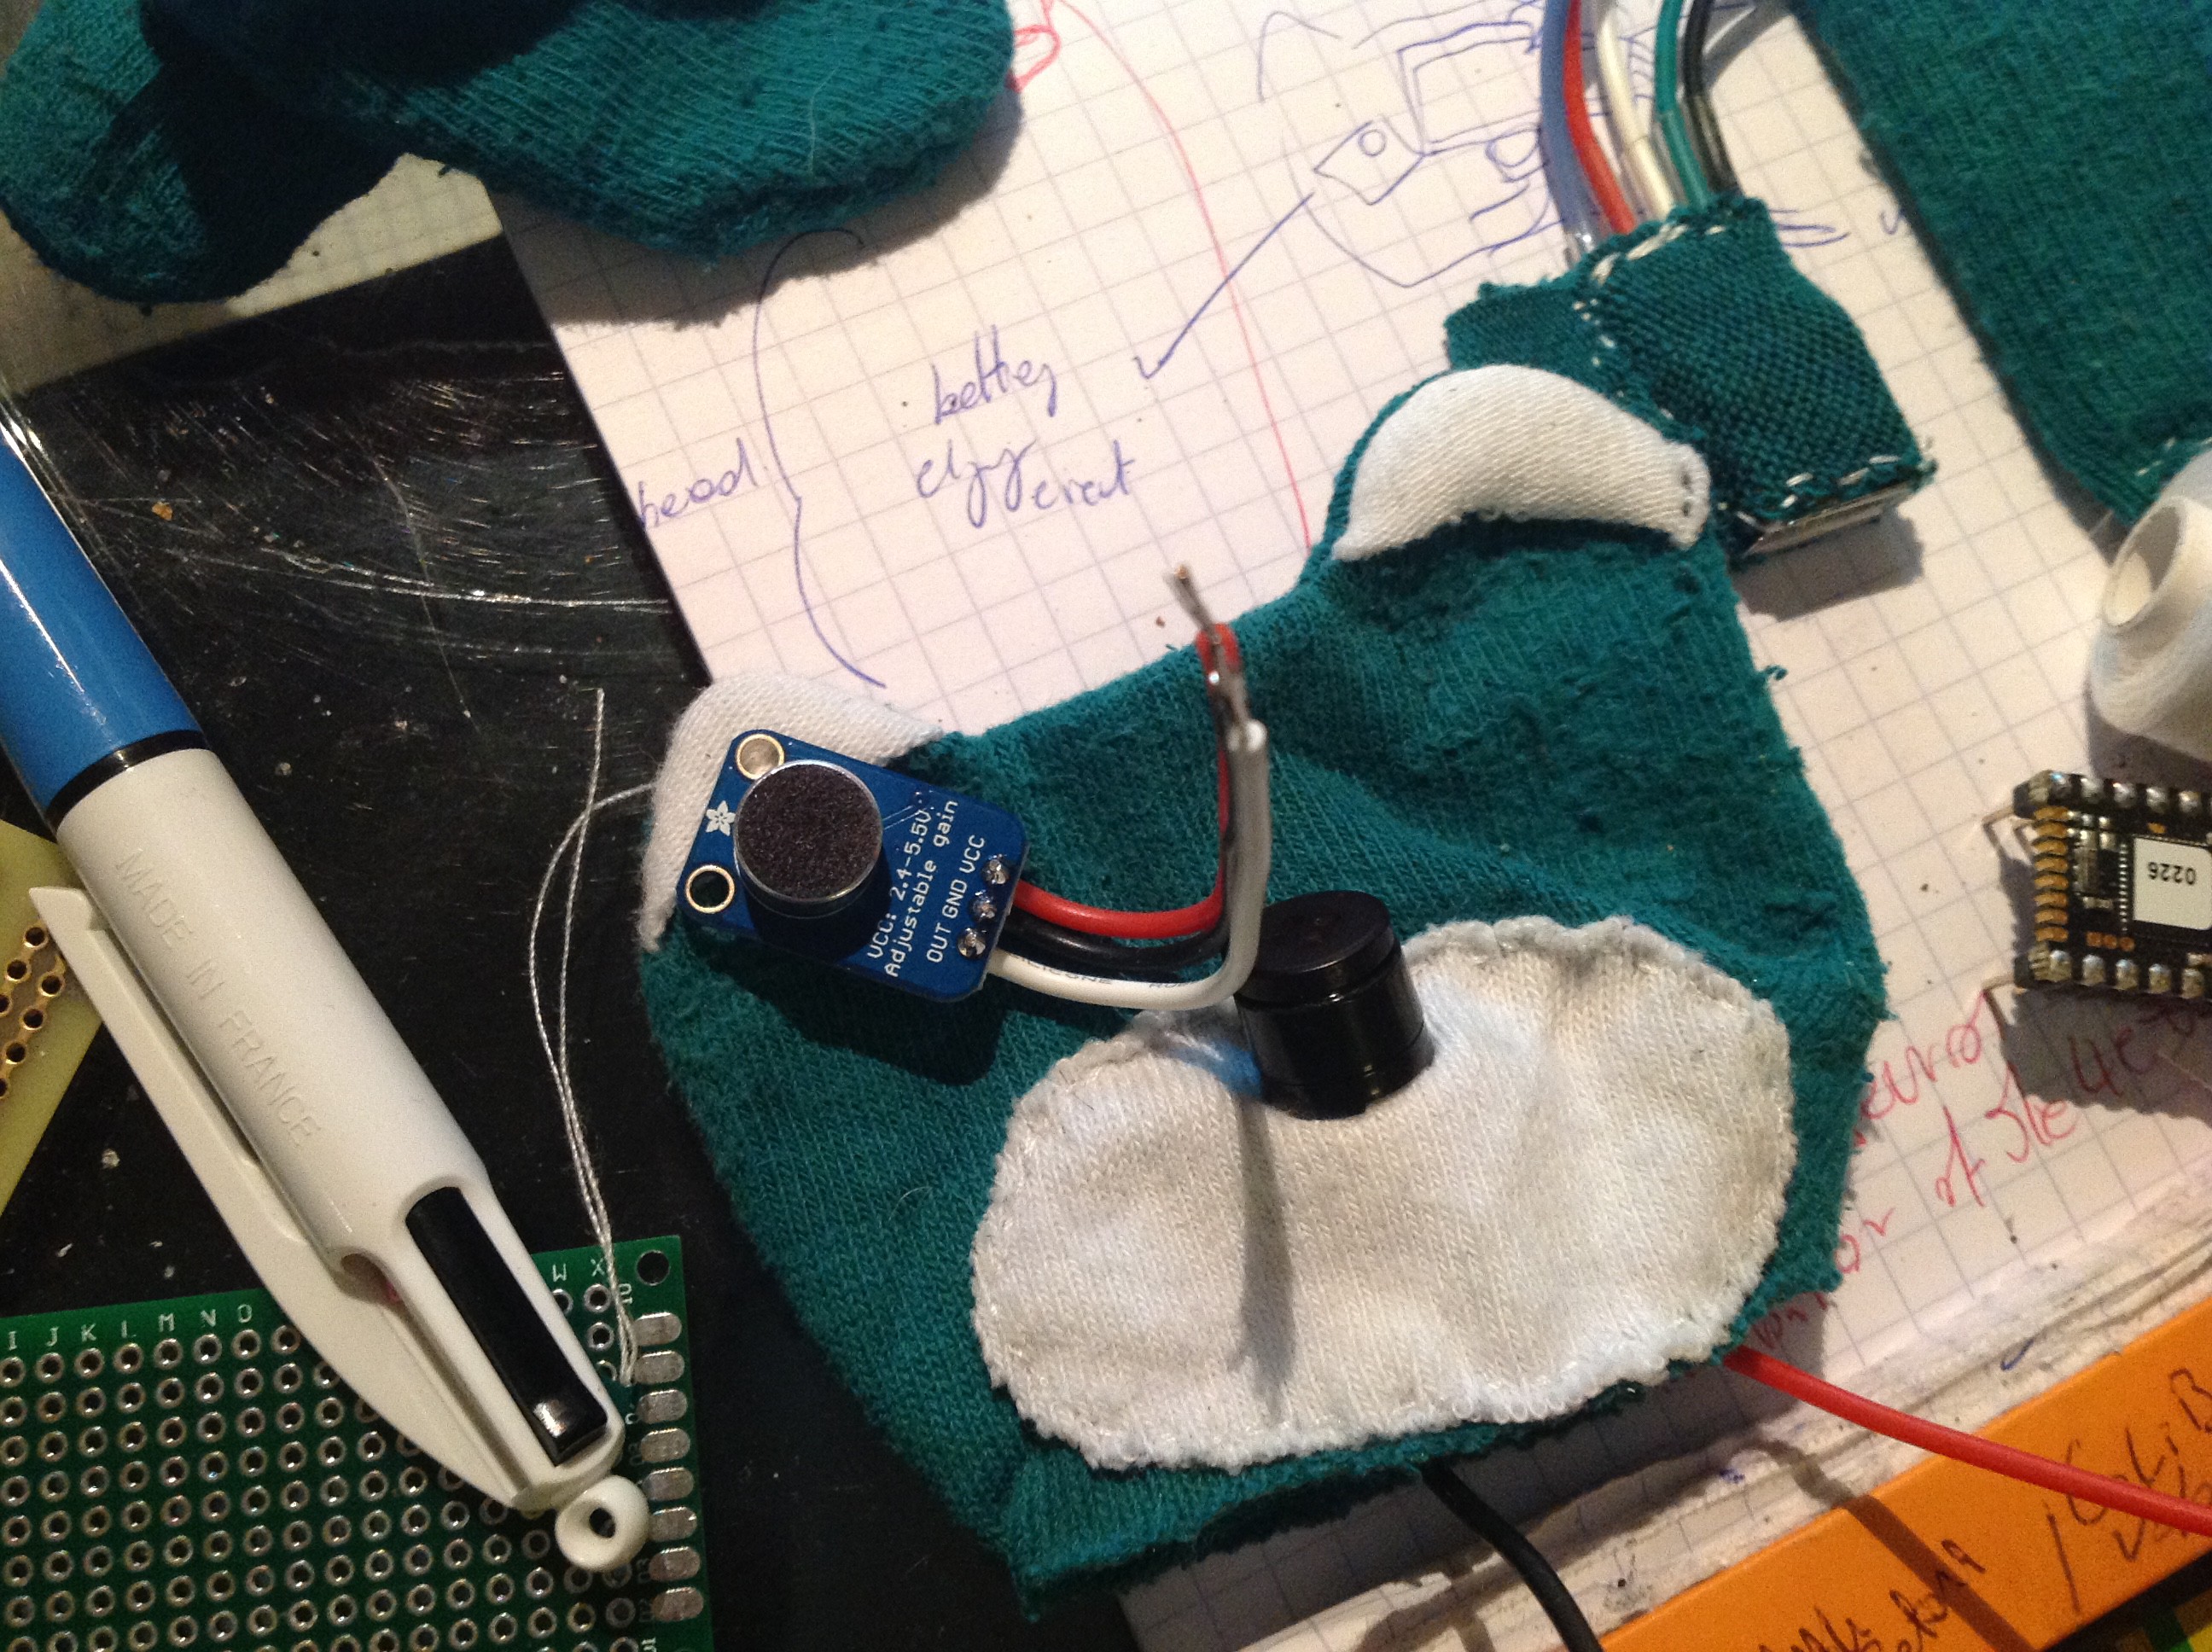
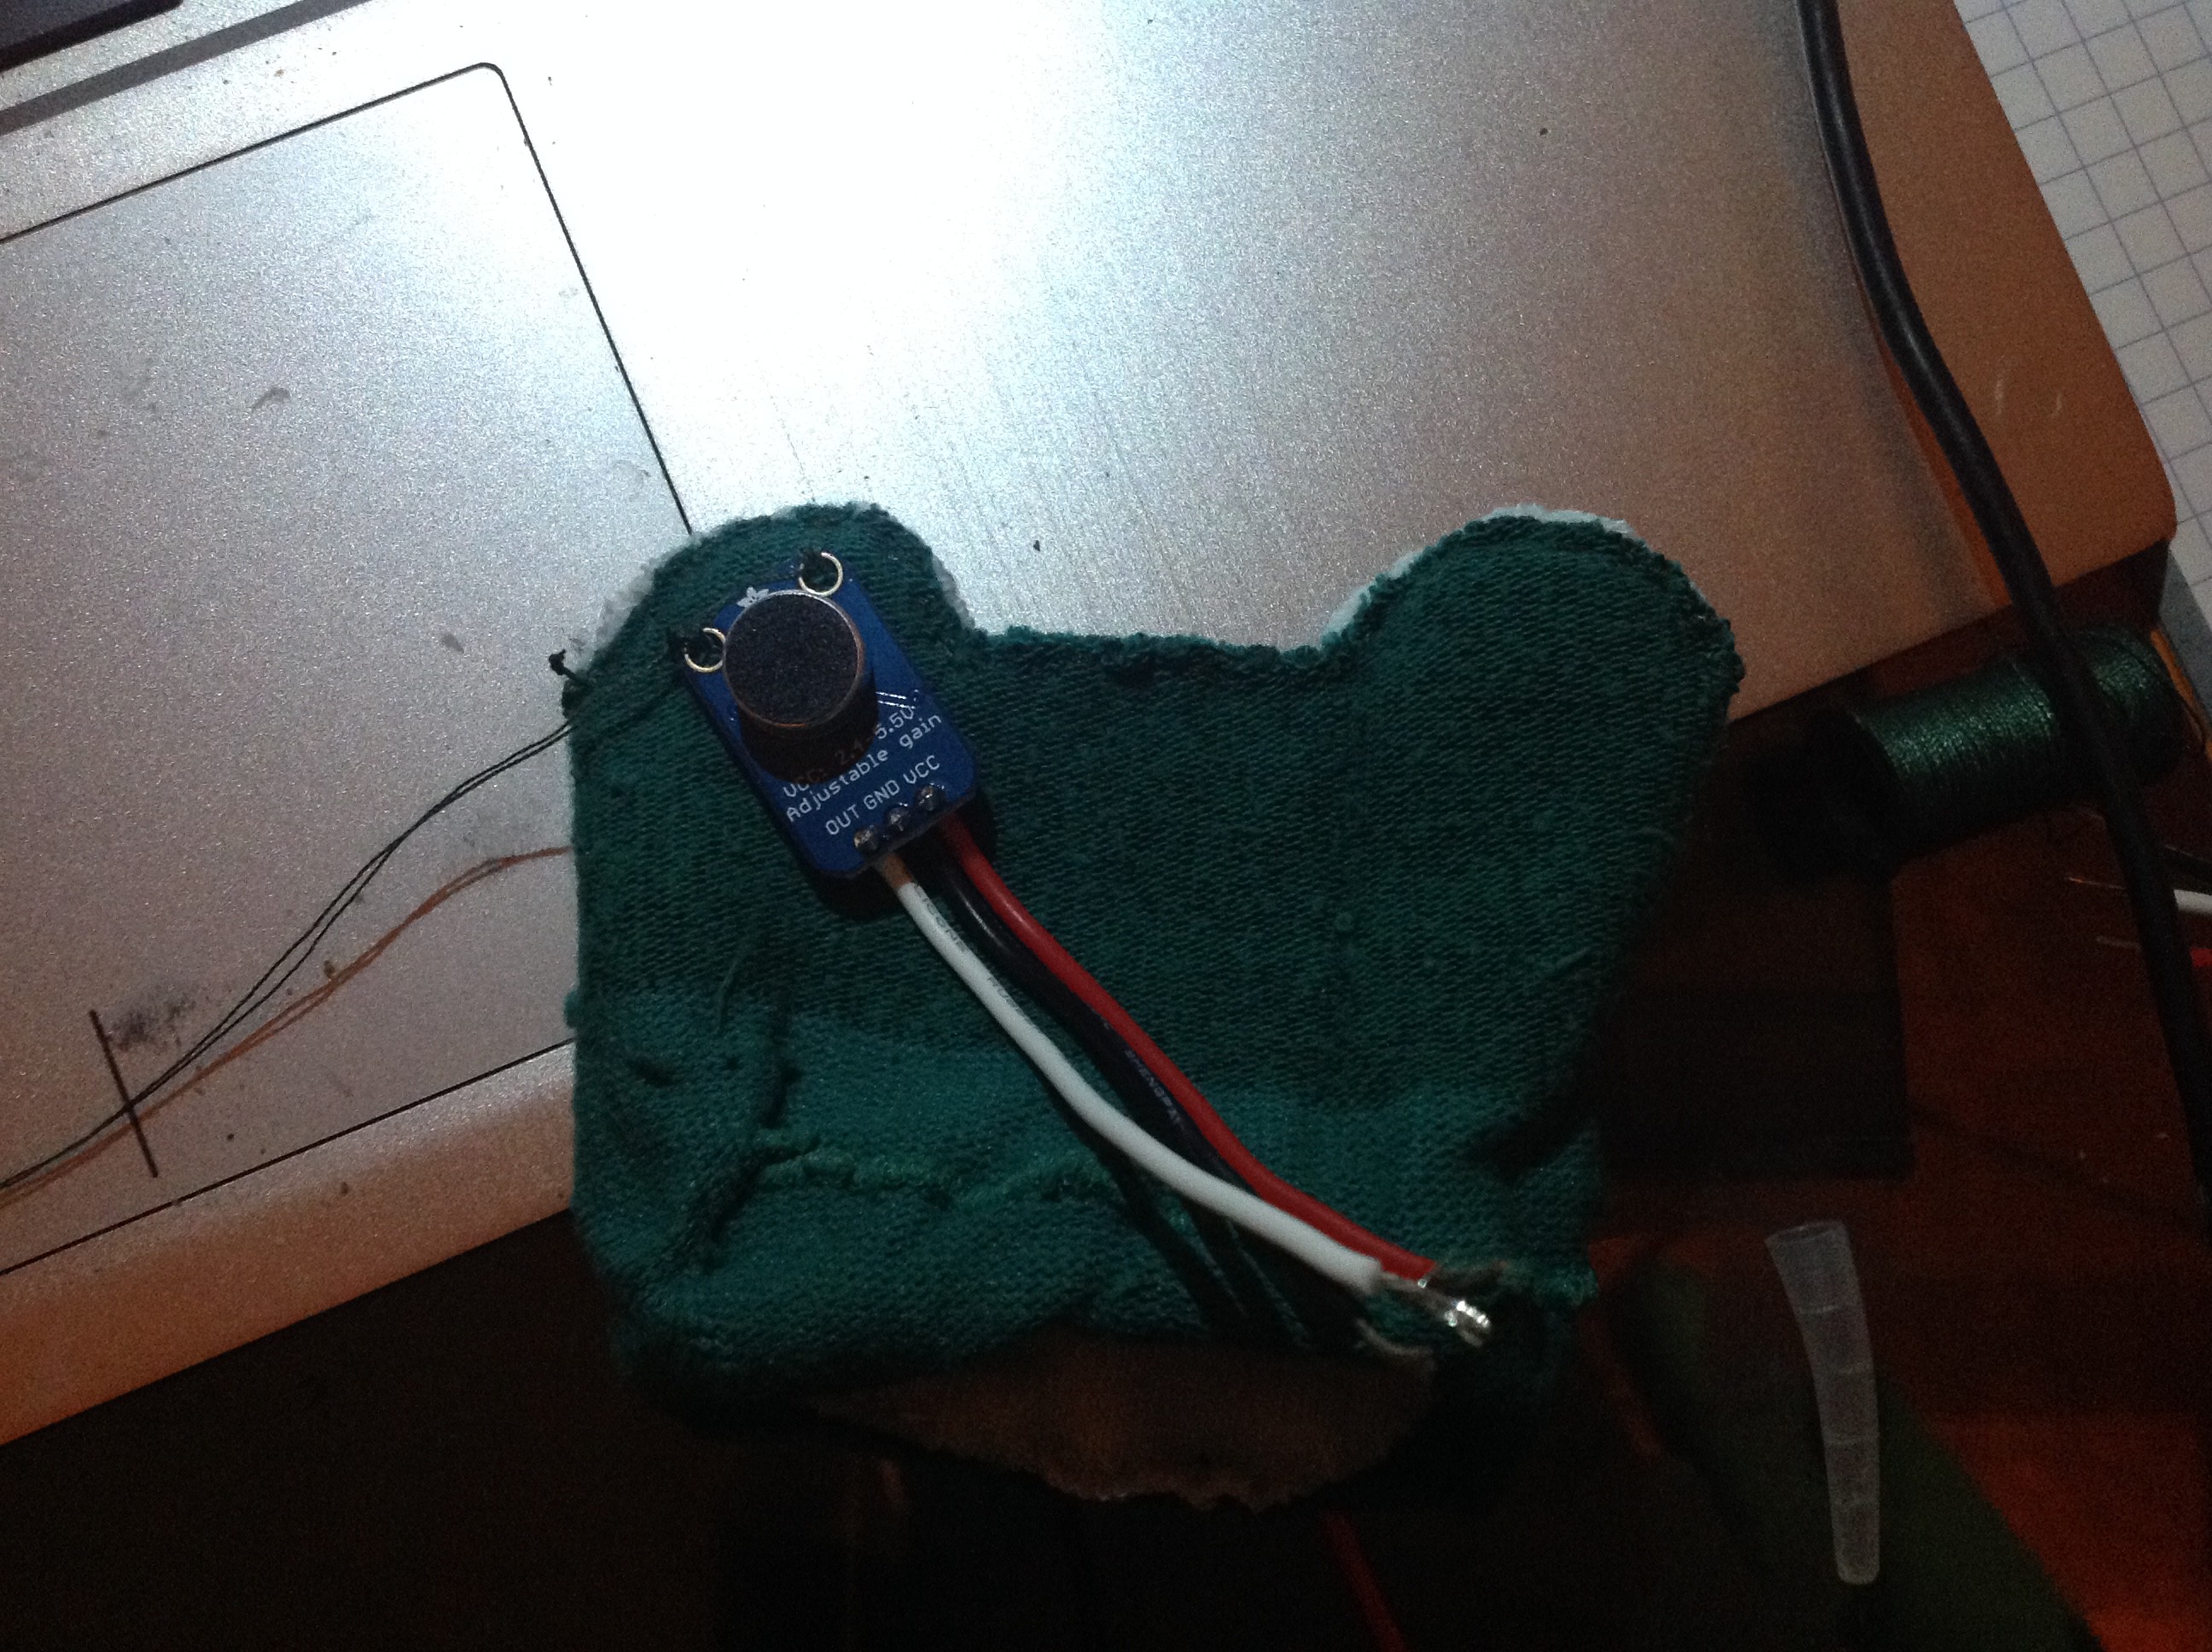
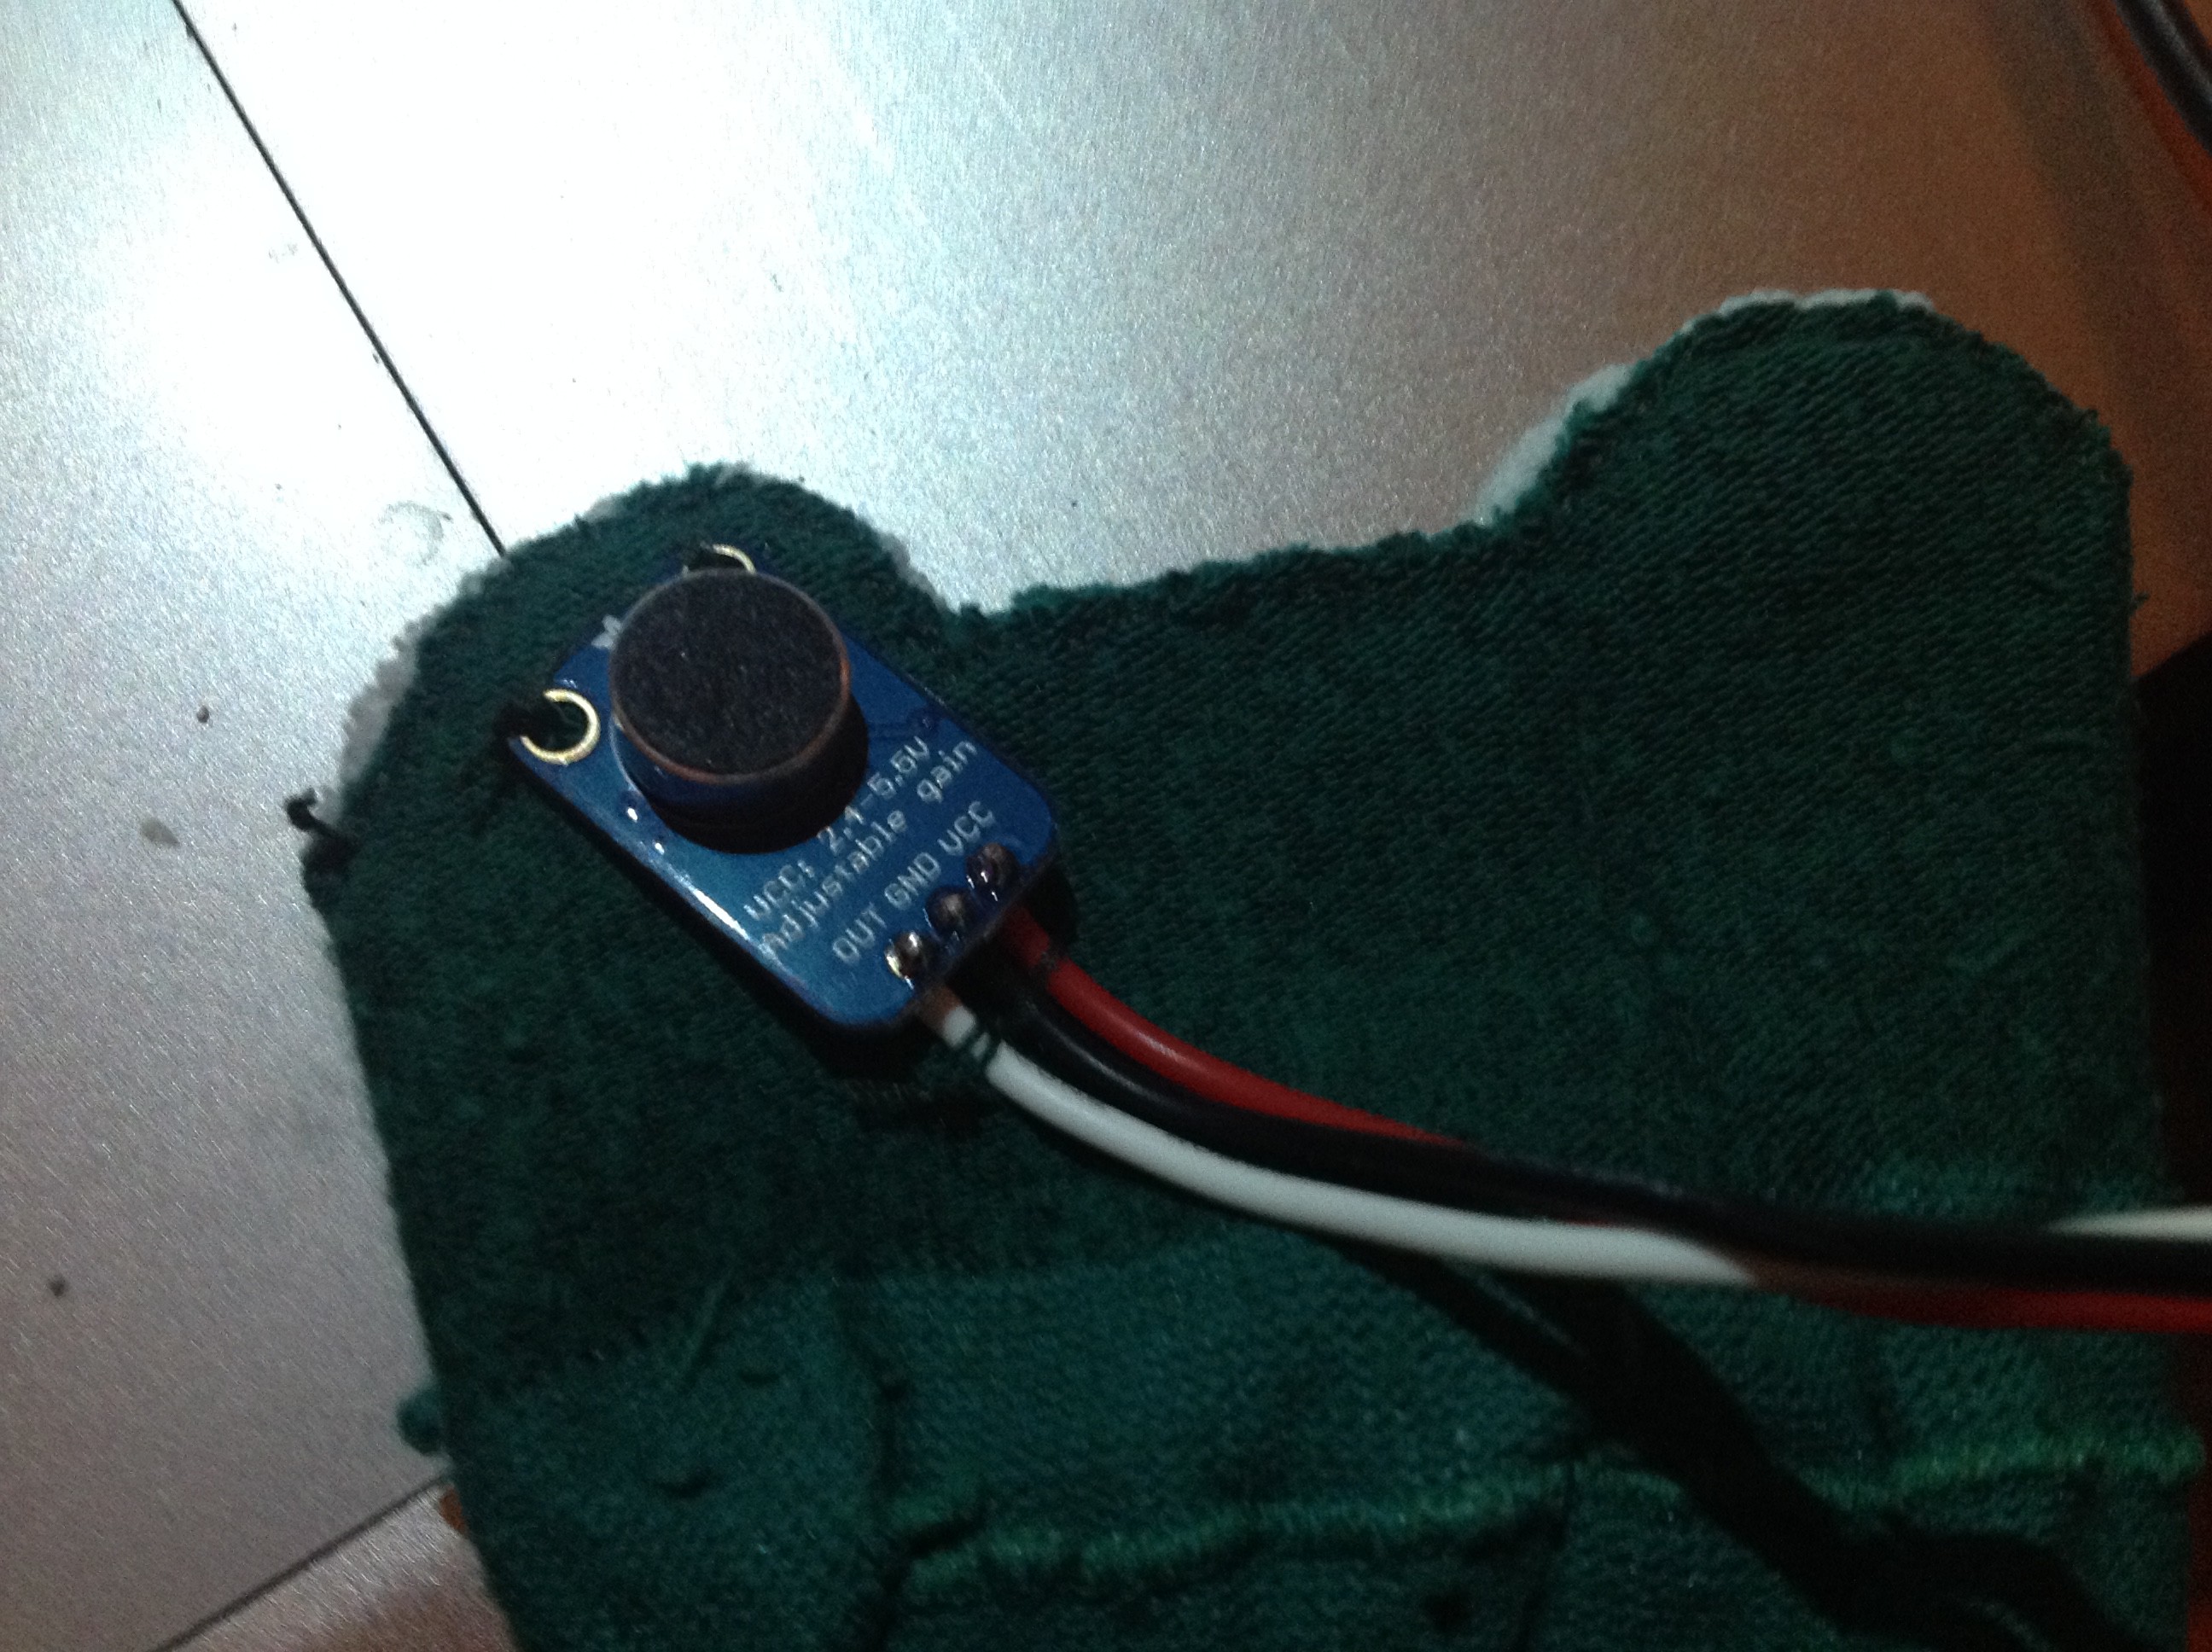
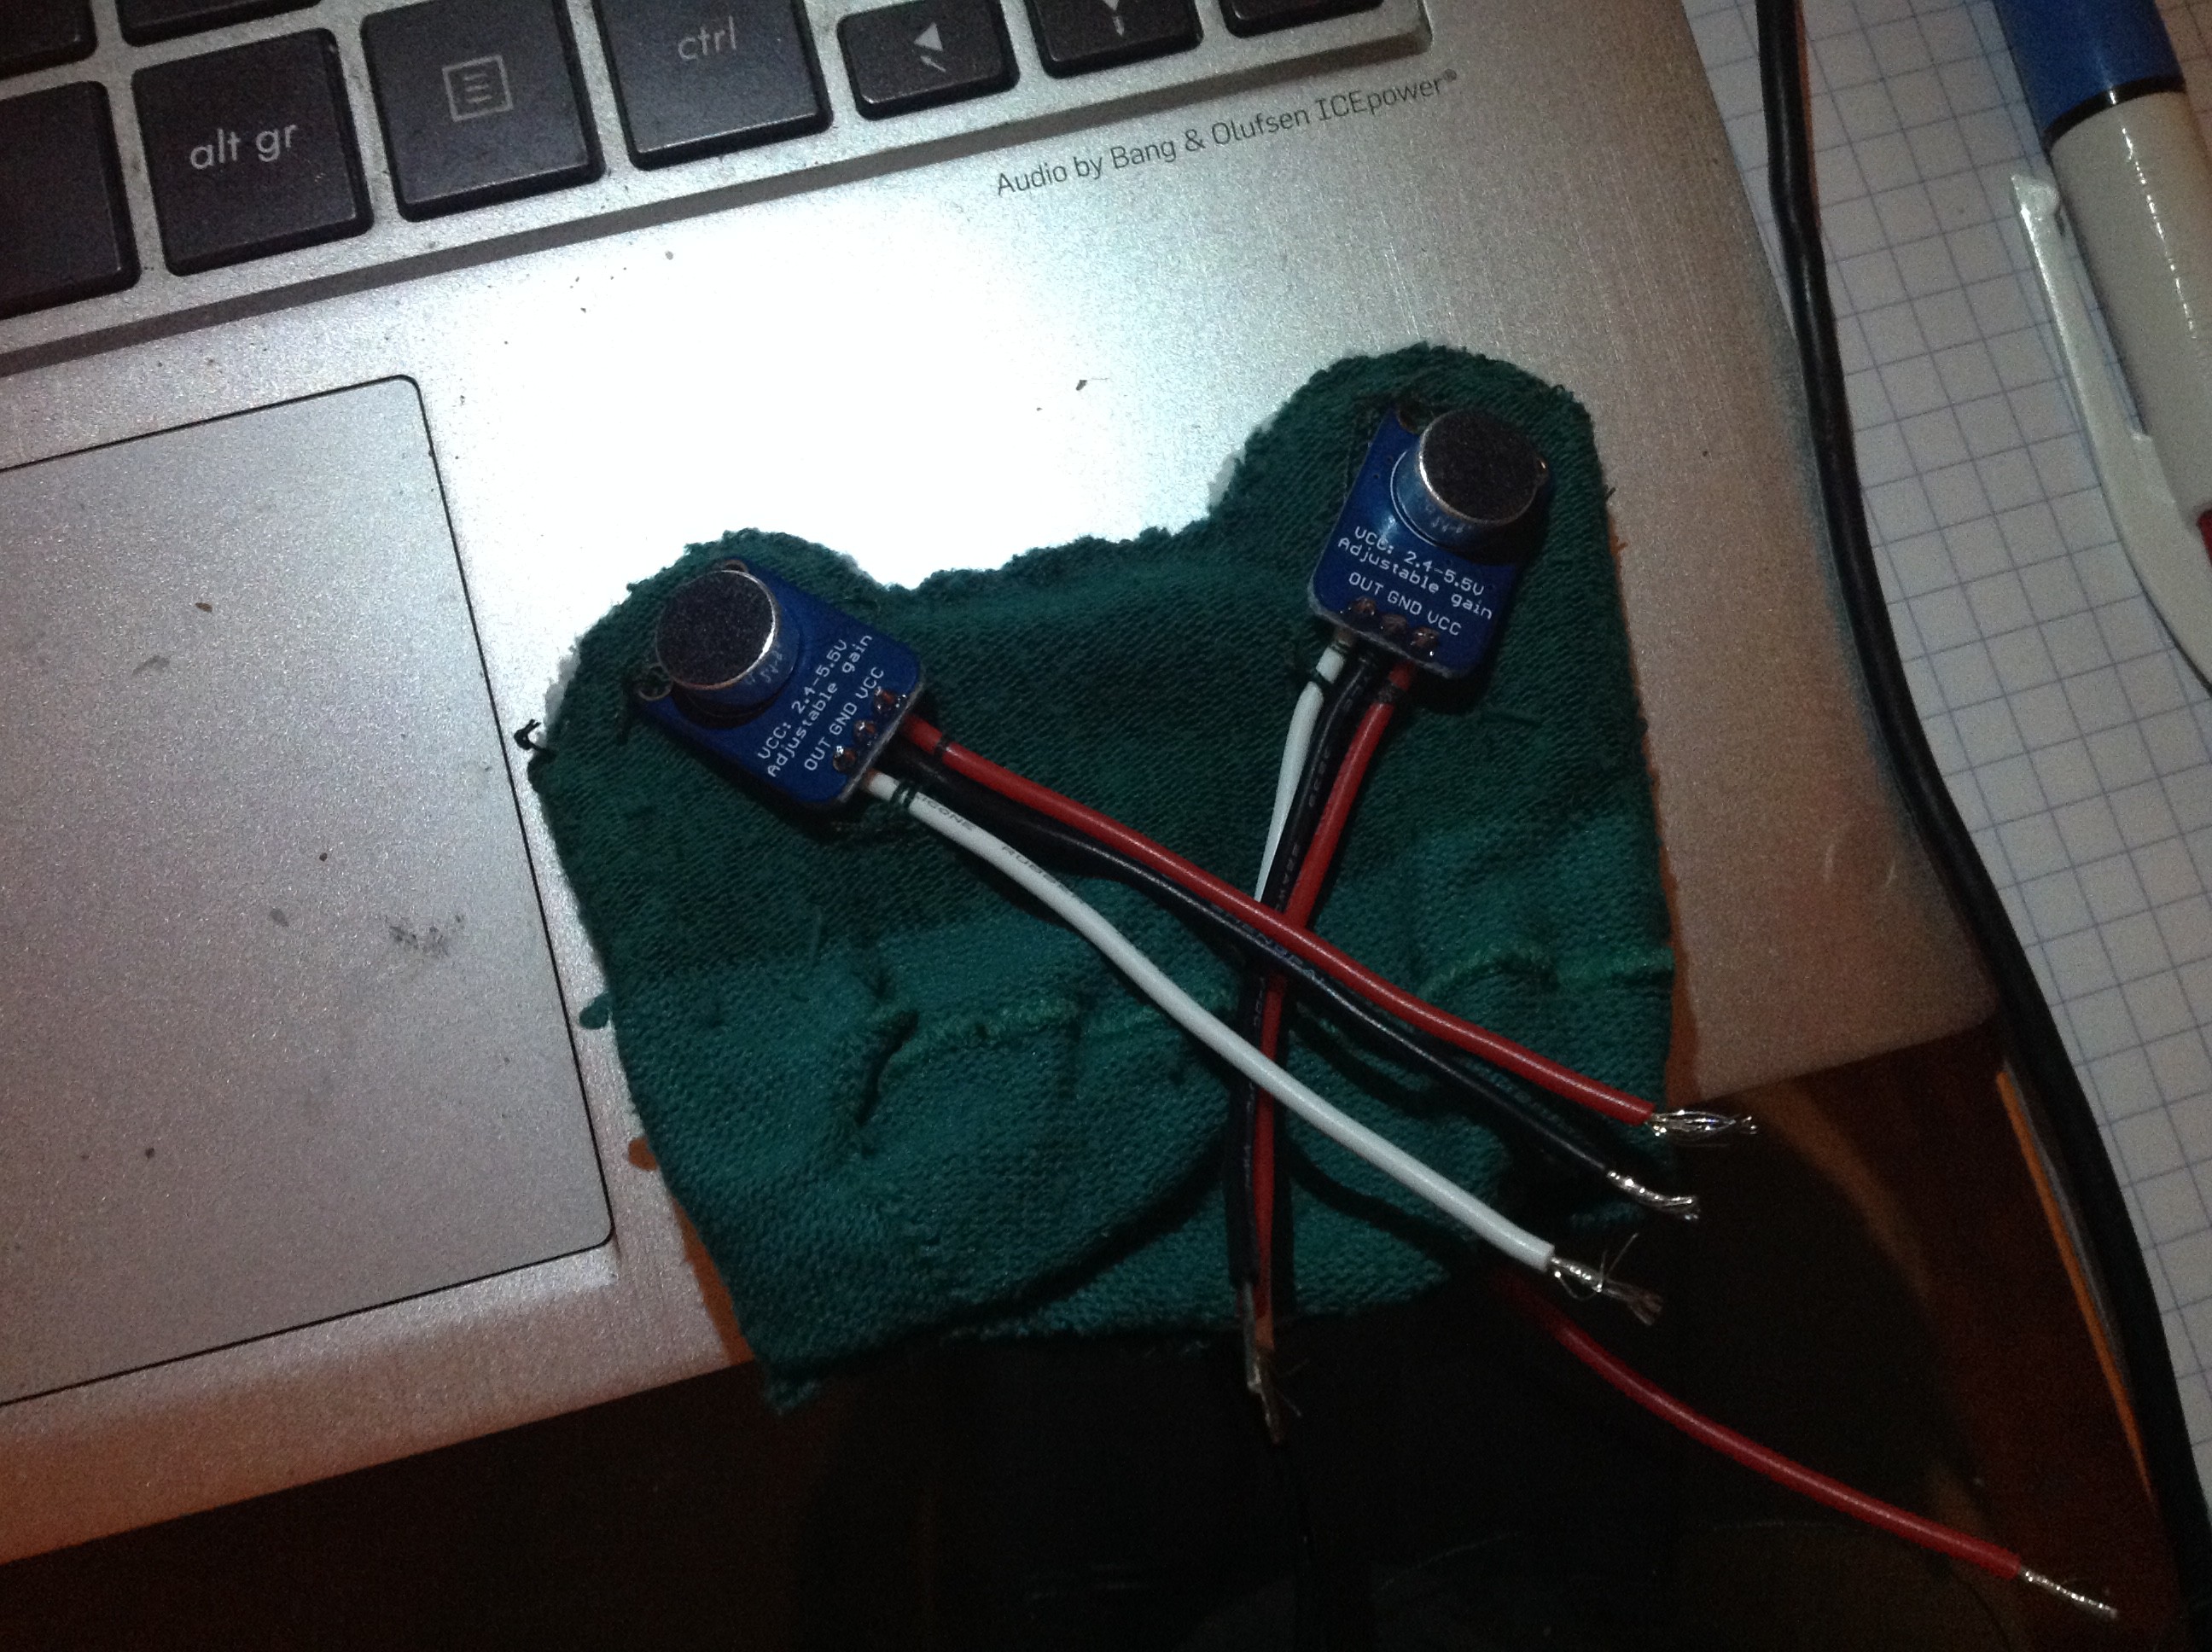
For the mikes, I chose two electret breakouts from Adafruit, the ones with controllable gain.
![]()
We'll place them at a 45° angle so as to fit perfectly the shape of our ears.
![]()
We start by sewing the top two holes.
![]()
Then, we sew around the bottom wires.
![]()
Now, when we're done for one, let's see if we did a correct job
![]()
The front looks good, but we have to make sure the back's ok too
![]()
If it is, then we do the same for the other ear/mike
![]()
![]()
-
10Step 10
Now onto sewing internal parts to the body, starting with the usbutt
![]()
The above is what we aim for.
![]()
Next, we add the tummy switch ..
![]()
![]()
.. the SD backpack ..
![]()
![]()
![]()
.. and the battery.
![]()
![]()
i♥Me4e
Me4e is a cute little [blind] bear that can't quite dance, but used to spread l0v ;p


Discussions
Become a Hackaday.io Member
Create an account to leave a comment. Already have an account? Log In.