 Gorky
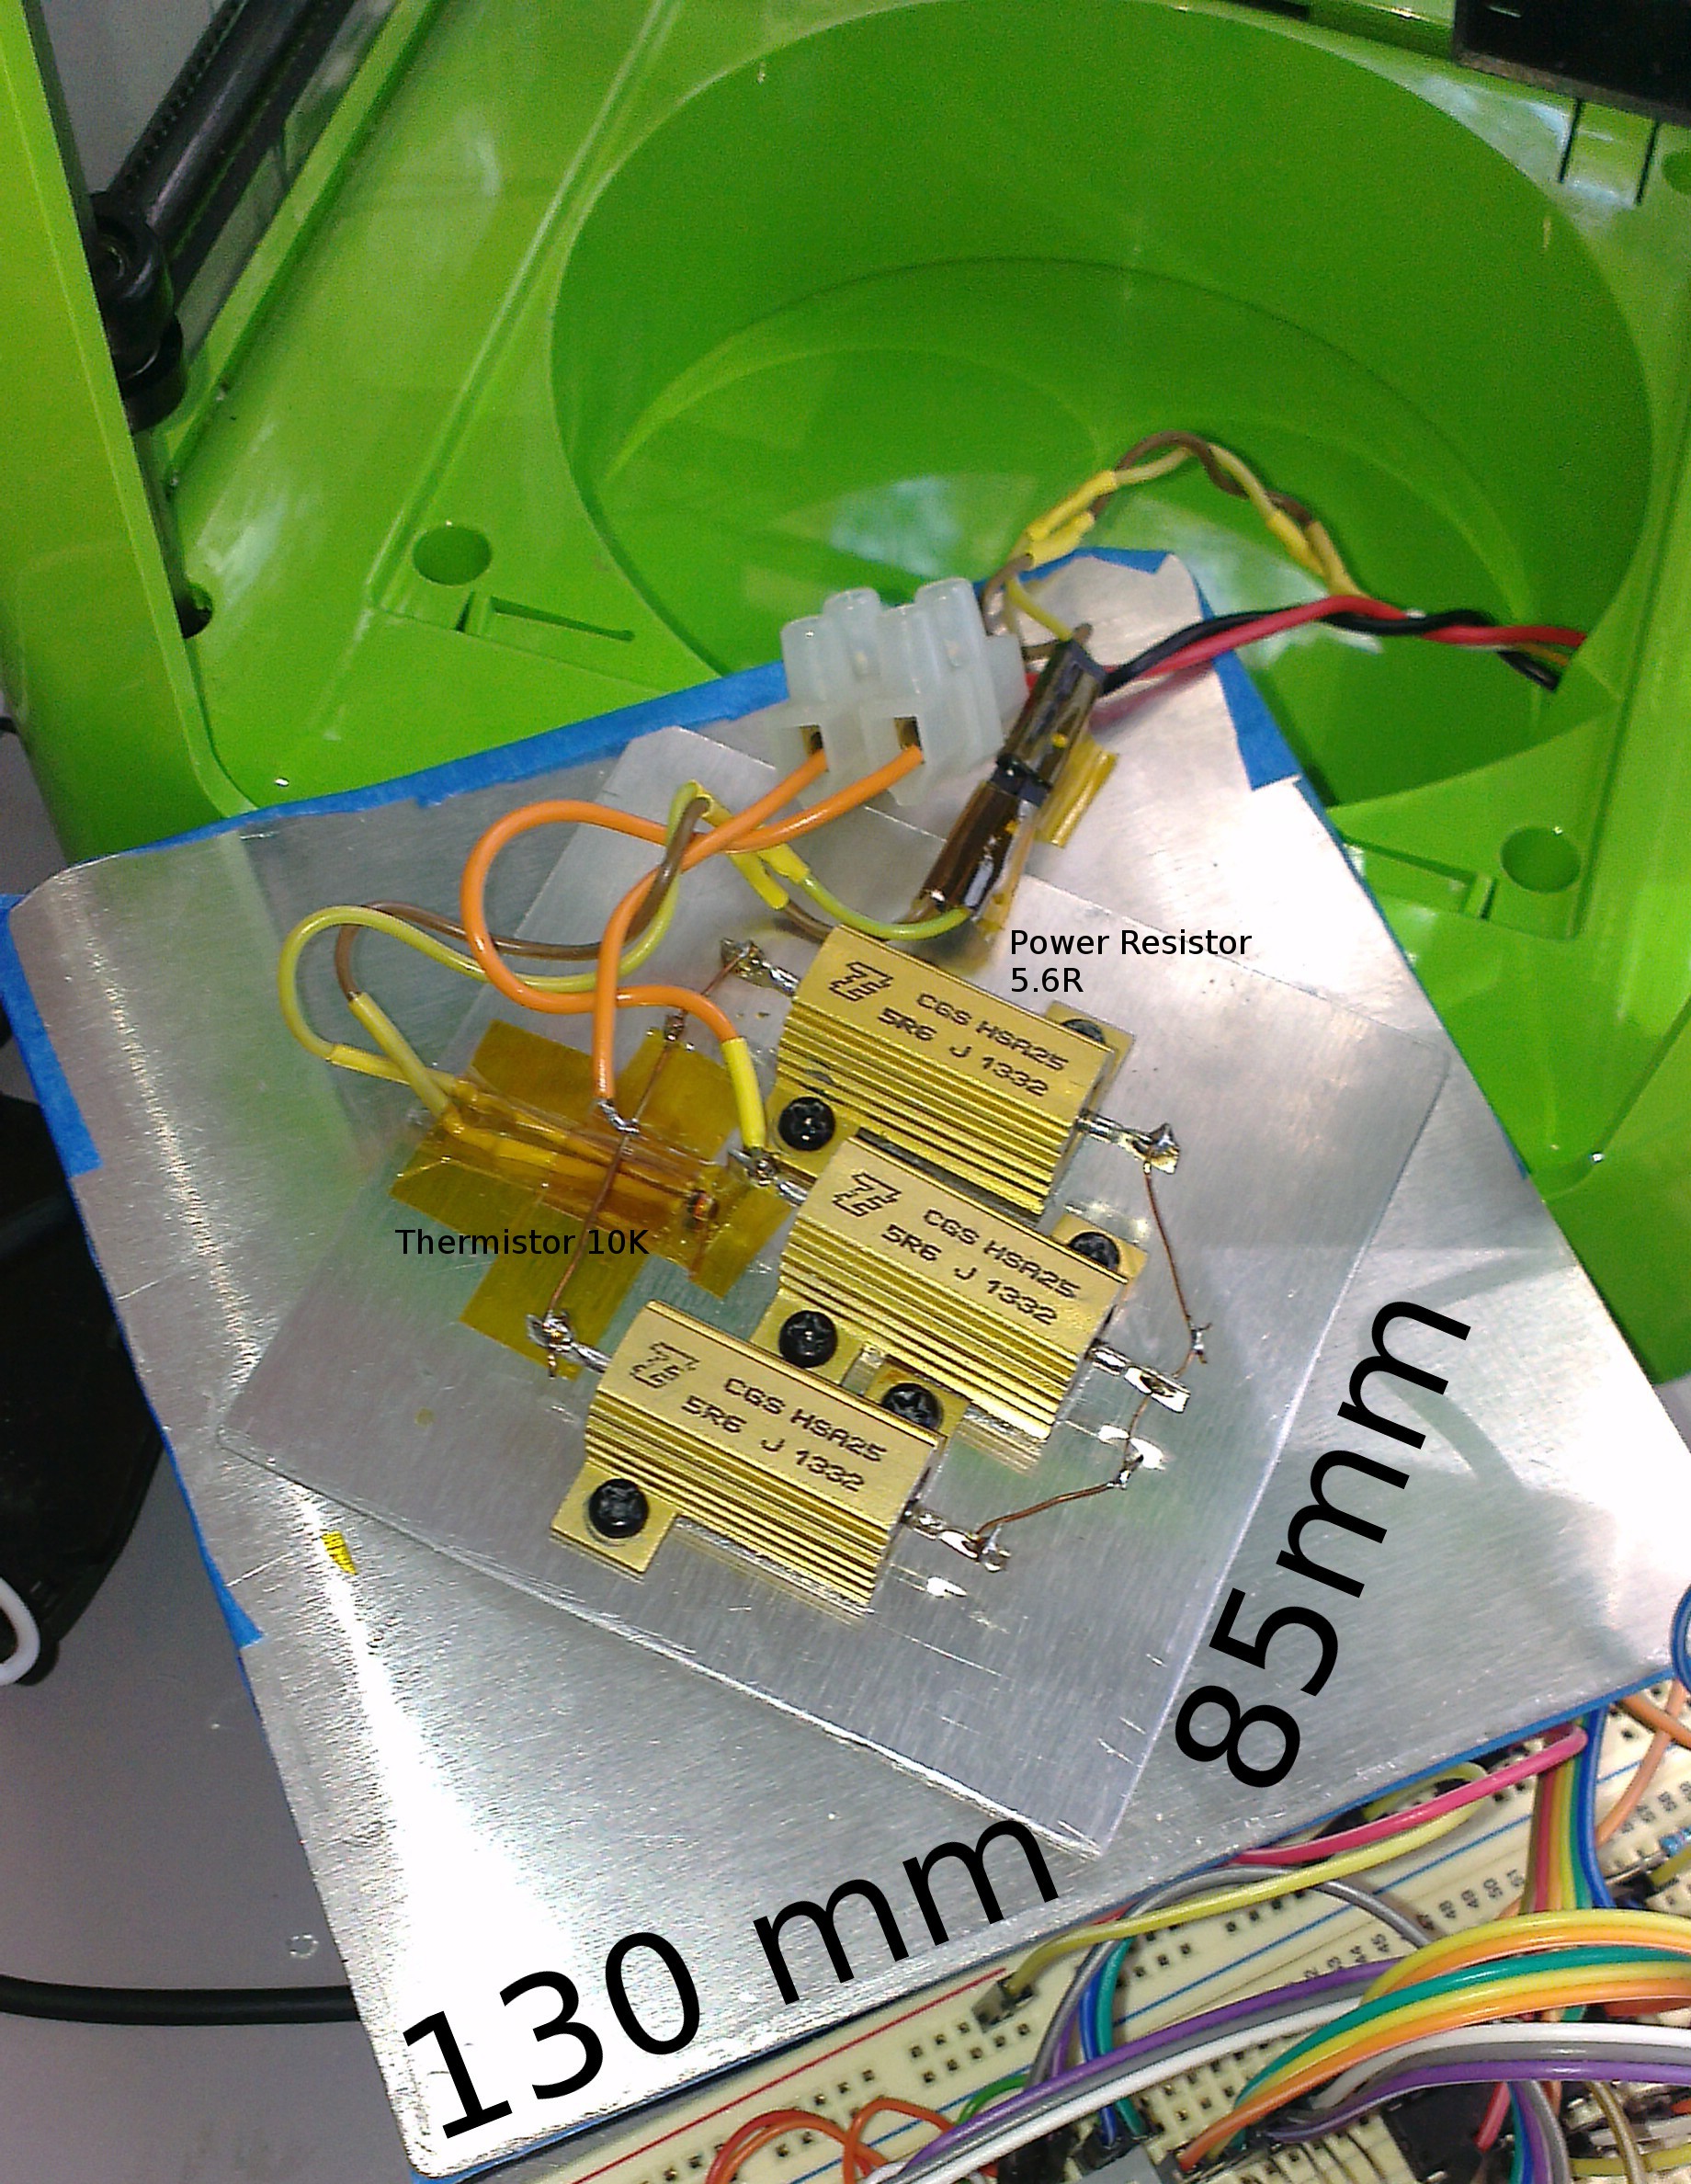
GorkyHeated Bed for M3D
I made this project as a heated bed is the most reliable way of printing ABS models with extruding 3d printers. ABS is less brittle than PLA and a bit more heat resistant. M3D printer comes with a very impressive price of 350$ but also with a bunch of missing features such as an heated bed which is almost a must for ABS printing. I wanted to build a heated bed that aligns with printers price tag. I have seen other projects and campaigns but I don't see the logic behind spending 100$ on a heated bed for a 350$ printer. Ended up with a working heated bed and successful ABS prints and learned a lot about 3d printing through the journey. The cost of the project is around 25$ at most.
WARNING & DISCLAIMER
This project adds a very hot feature to a very cheap product which is originally not engineered for delivering this hot feature. There are many things that can go wrong and catch fire so please don't attempt unless you fully understand what you are doing. Never leave it unattended and keep your nostrils open for interesting smells. Even of you do everything right and safe still I don't think I can explain what I did to my printer to m3d's customer support in case I need them. Having said that I have printed more than 100 hours with this heated bed on around 90C and nothing went wrong so far. Well nothing that can't be fixed with superglue : )
M3D Printer
Don't want to get too much into what this printer is and can do but thanks to a friend who grabbed one for me from their kicktarter campaign. It's mostly advertised as beginner friendly equipment. In some ways it is but guess the overall technology is still quite far from that statement. Having said that even I have spent ridiculous amount of time without any print that looks like anything it has been quite a nice adventure. Learnt a lot about the challanges of 3d printing and this particular device.
ABS Printing
I actually had dozens of decent results with PLA with M3D. Not everything works as you would like to but it's fair to say out of the box, m3d can print rather simple PLA models without a lot of knowledge on 3d printing. Didn't took me long to try ABS and miserably fail. Tried a lot of ways to print ABS before starting on this project but after first tests I was really impressed as actually I wasn't expecting the heated bed to make such a vast difference in overall quality and ease.
Tips & Tapes
I wrote about these in the instructions as well but for the lazy reader a few tips I need to underline.
- I prefered blue painters tape over kapton as it was hard to apply kapton properly, hard to calibrate the printer achieve the necessary precision, and requires higher temperatures, mixed results with PLA. This bed heater heats the bed but also heat abs parts and electronics of the printer. I wanted to keep the thermal stress on printer minimal. Blue tape was more forgiving even at 85 C I had good results with ABS plus I had great results with PLA as well without even heating.
- A fan over the feeder is compulsory. Without it the feeder gets too hot eats into the filament too much and stops feeding the filament to the extruder. Check the pictures and instructions. And please turn the default fan of the M3D off before ABS prints as it will sabotage your print cooling layers too fast. Some small prints may require cooling but mostly not. You will have other problems anyways printing small parts with ABS regarding precision.
- Before printing ensure printer can extrude. Just from advanced mode section of M3D software heat it to ABS temperature and extrude until some filament comes out. Do this everytime before print. For some reason after print M3D retracts the filament and ABS also shrinks as well usually resulting no first layers for your next print.
- Couple of things I did are optional or rather experimental. Like you probably don't need three resistors. Or you may come up more for better thermal distrubution. You don't need the control the extra fan but it's nice to control it....
 Swaleh Owais
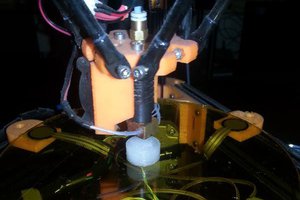
 Alpha Charlie
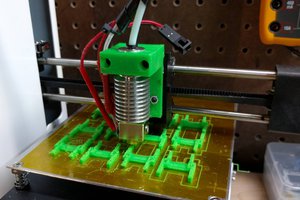
 Benchoff
 the.wretch
I dont have much experience in reading electrical circuits. Can you show a connection diagram? I cant see where the thermistors are wired?