0%
0%
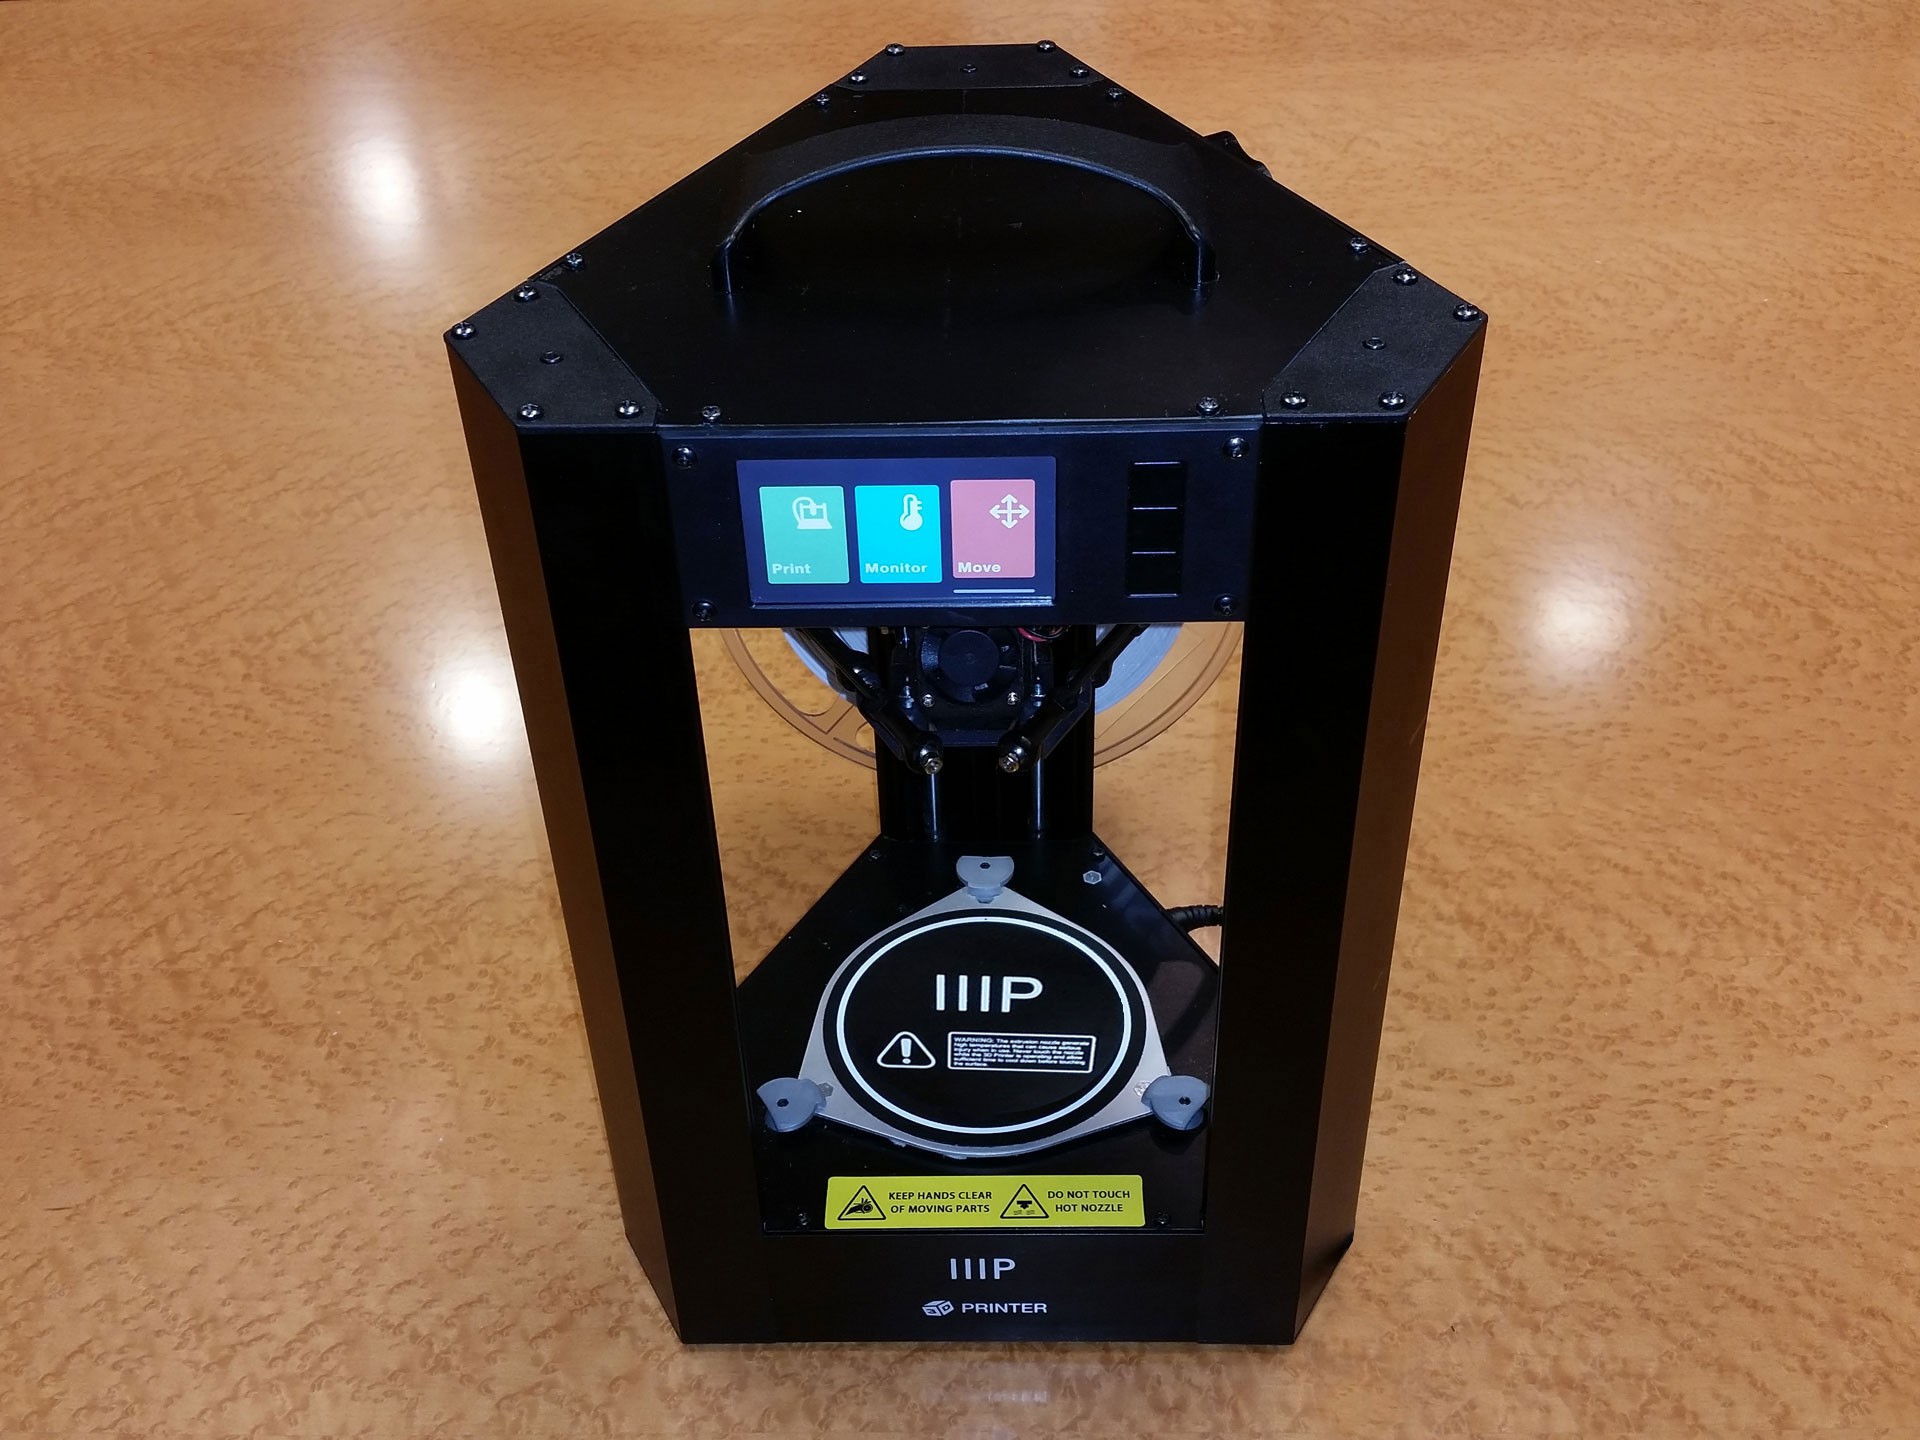
Monoprice MP Mini Delta Maximizing Modifications
Projects to modify, customize, upgrade, and improve the Monoprice MP Mini Delta 3D Printer.
 U.S. Water Rockets
Become a Hackaday.io member
Already have an account? Log in.
Just one more thing
To make the experience fit your profile, pick a username and tell us what interests you.
Pick an awesome username
hackaday.io/
Your profile's URL: hackaday.io/username. Max 25 alphanumeric characters.
Pick a few interests
Projects that share your interests
People that share your interests


 Mark Rehorst
 John Baichtal
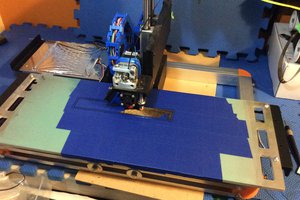
 ken.do
Any idea if the MP Mini Delta has any hackable GPIO? A quick google and look at the wiki didn't really turn up anything