Close
0%
0%

Universal software for DIY spectrometers

Hooking up a DIY spectrometer to professional spectroscopy software

Similar projects worth following
There are many DIY attempts for creating all kinds of spectrometers, intending to measure absorbance, reflectance, fluorescence and even Raman signals. Hardware setup might be quite diverse, but the software requirements are more or less the same.
Since 15 years I provide the optical spectroscopy software SPEKWIN32 for free to all non-commercial & private users. Until now, it was limited to plot, process, analyze and convert spectral data from all kind of spectrometers. Recognizing 35+ file formats, is easy to use, rock solid, lean and used all around the world.
Now, I try to expand it's capability to driving spectrometer hardware, acquire live spectra and combine this with the already existing processing power in a single package. This initial demonstration is limited for use with USB webcams as detector.
To make this fully functional & compatible with more kind of spectrometer hardware, a fundraising campaign is currently running:

Today (Hackaday, April 23), I've invested the bigger part of the day into a quick hack, to demonstrate the potential use of my optical spectroscopy software SPEKWIN32 together with webcam-based DIY spectrometers. It is not perfect, but it works:-)

What it does:

  • Connect to any webcam, that is recognized by Windows system
  • show a webcam live view
  • show a live horizontal cross section as a spectrum within a Spekwin32 plot window
  • identify each measured spectrum with live time stamp
  • for emission spectra: save a dark spectrum + automated live subtraction of dark
  • for transmittance/absorbance: save a reference spectrum + automated live calculation of absorbance/ transmitttance
  • use automated peak labeling during live view
  • optionally flip the spectrum, to adjust to the original image orientation
  • clipping warning for blue, green red channel
  • visually define the spectrum ROI, that is used for cross-section calculation
  • assign the spectrum's linear wavelength range
  • access webcam settings via Windows webcam interface. Depending on webcam type: also control exposure time, white balance & the like
  • Disconnect the webcam
  • Keep last measured spectrum. Process with all available functions. Save data and export into different file formats (spc, dx, csv, ...). Direct copy&paste via clipboard into Excel and the like. Create plot image files. Print. ...
  • Analyze spectrum images without being connected to a webcam spectrometer. Use "Load spectrum Image" from the "File" menu.

Optical setup of spectrometer:

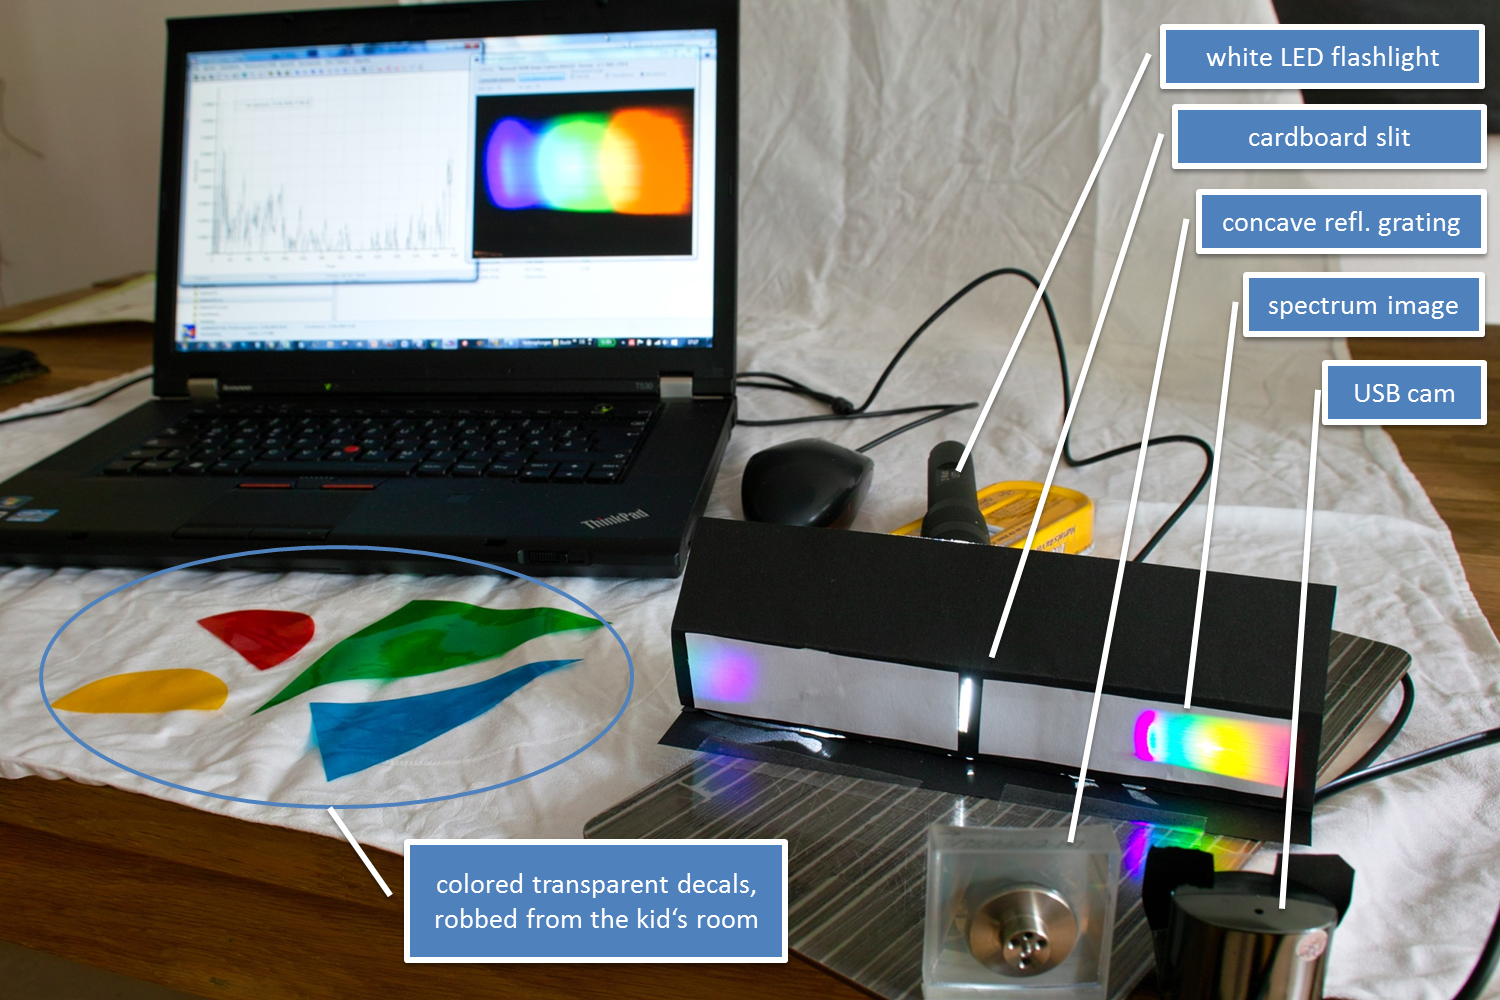
For diffraction of light + focusing I used a concave reflective grating. The slit image is much bigger than the little CMOS chip inside the USB camera. Therefore I used the grating for spectrum projection onto a white piece of paper within the slit plane beneath the entry slit. Used the USB camera with lens to image the projected spectrum image. Works astonishingly well:-)

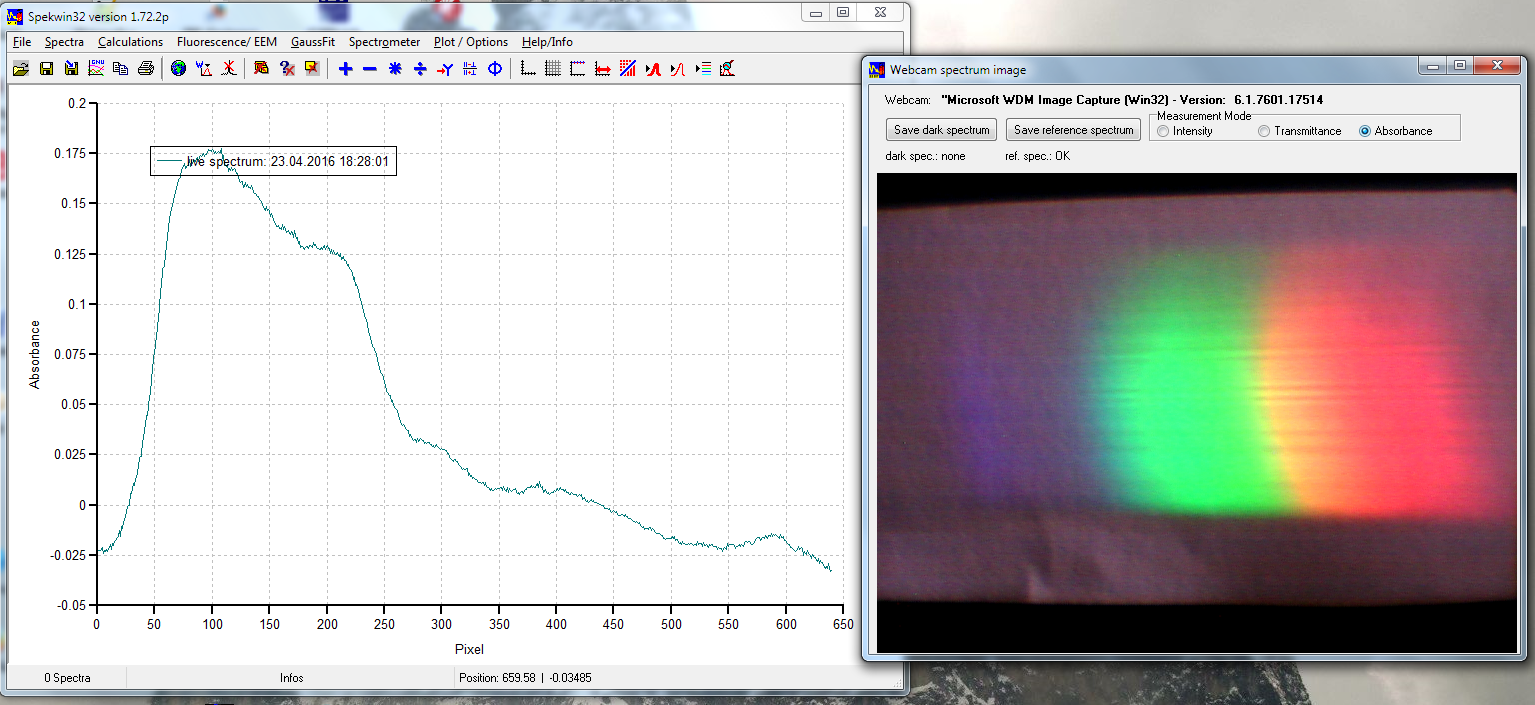
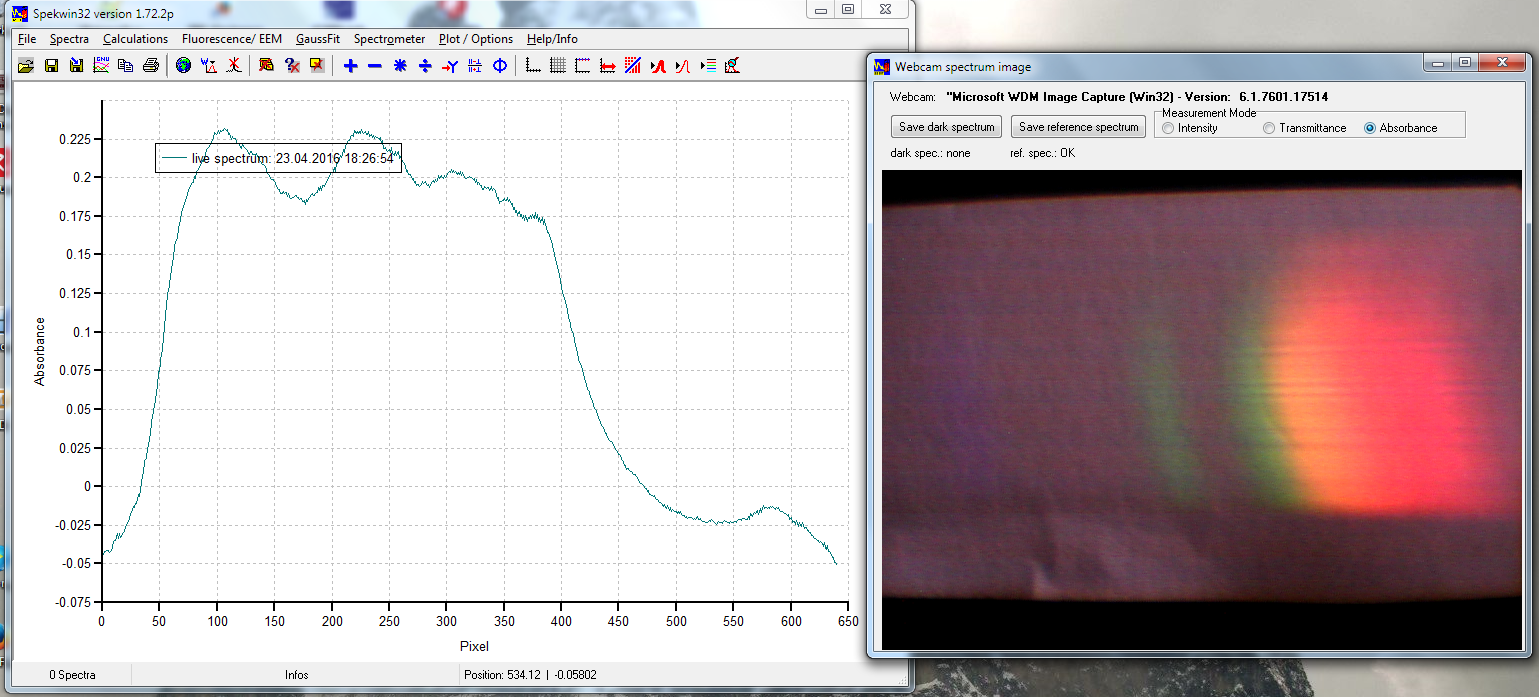
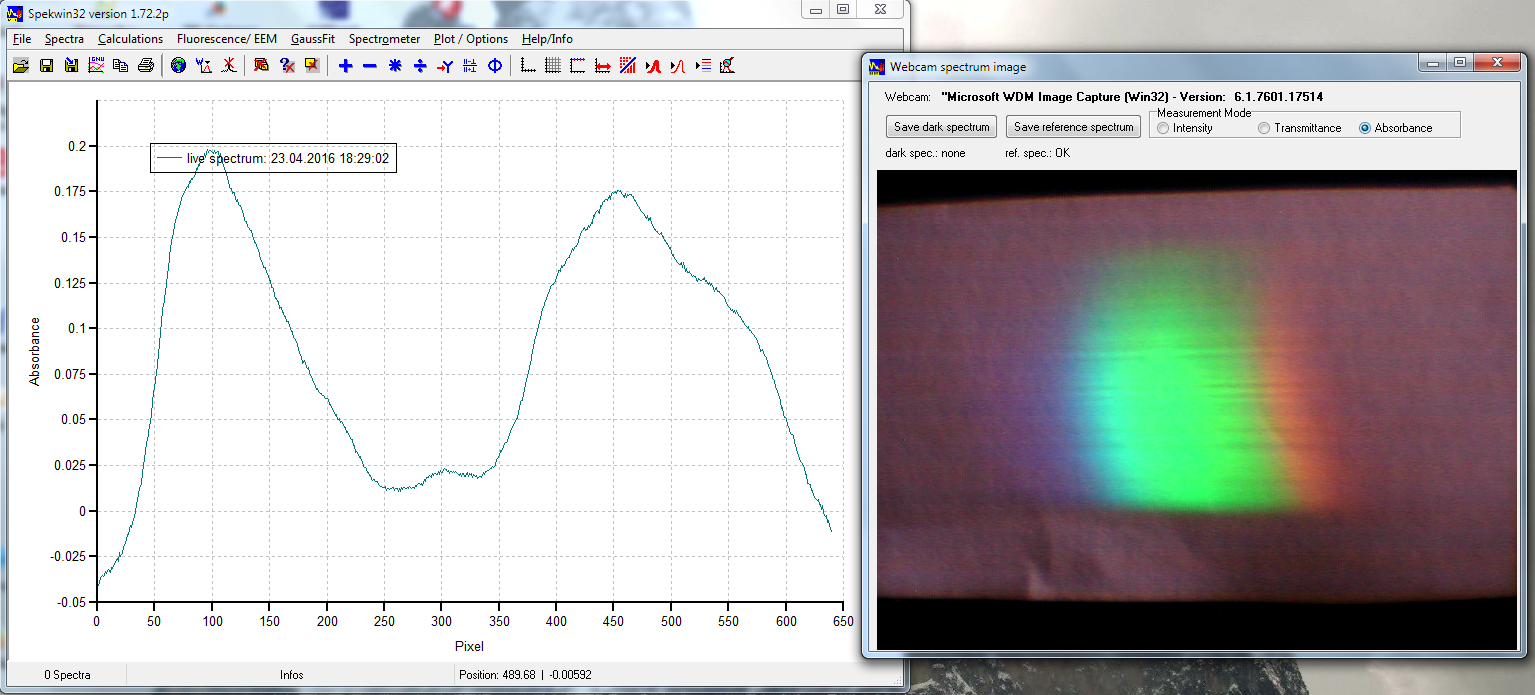
Application example: measuring absorbance of coloured decals:

  1. yellow coloured:
  2. red coloured:
  3. green coloured:

  4. blue coloured:


Limitations of the current version => to be improved:

  • linear attribution of wavelength information is possible, but w/o calibration.
  • => Implement wavelength calibration procedure
  • For emission type spectra: wavelength-dependent sensitivity of detector not corrected.
  • => Implement sensitivity correction procedure (function already there, not connected to live spectra)
  • Not working for Raman measurement type
  • => Implement live view for "Raman shift" as x axis + live baseline correction (this function is also already there, but not yet connected to live view)
  • Using dark spectrum + reference spectrum at once does not work reliably (actually also not neccessary). "Save reference spectrum" only work reliable in "Intensity" mode.
  • => Bug fixing. Make it more stable.
  • Needed: Turn off white balance. Control gain + exposure time. Since p4: access to webcam settings, should be possible to control these parameters (depending on webcam type). Could not try with my webcam, these options were not accessible:-((


What annoyed me most:

The webcam had a habit, which is normally useful, but very annoying for spectroscopy: the automated auto-exposure always makes sure to get images with medium intensity. Which means that spectral measurements are severly hampered. It tends to produce partly overexposed data, at least for some of the three color channels. For measuring transmittance or absorbance spectra, it is crucial that the reference spectrum is still applicable when measuring the sample. Which is only the case, if a) the light intensity is still the same and b) the exposure time didn't change. However, as soon as you put the (light-absorbing) sample into the light path, the cam does increase the exposure time, in order to compensate the decreased light level. Which basically means, that only the first one or two frames after putting the sample into the light path give something near to the real sample absorbance. Due to this behaviour, I had to do the above screenshots for presenting results.
I am curious to learn about...

Read more »

spekwin32_install_en_1.72.2p8.exe

new version, expiry date: April. 16 2017 2017-04-15: I made a new version with expiry date in July, but Hackaday won't accept my file upload... Please download from here: http://effemm2.de/spekwin/spekwin_down_en_pt.html

octet-stream - 1.94 MB - 01/16/2017 at 10:49

Download

  • 1 × white LED flashlight (3W)
  • 1 × spectrometer slit, made with knife from cardboard
  • 1 × concave holographic reflectance grating 42x42mm, f/2.5, 1200lines/mm , made by Richardson
  • 1 × USB webcam 640x480 pixels
  • 1 × software: Spekwin32 initial prototype v1.72.2p for webcam spectrometers

  • New spectragryph with major improvements!

    Friedrich Menges01/18/2018 at 23:44 0 comments

    Yesterday, the new Spectragryph version v1.2.8 was release. There have been a couple of improvements around the webcam-based spectra acquisition:

    • changed "USB webcam" control to DirectShow => wider range of cameras accessible, direct control of more settings ¶meters.
    • direct access of exposure time for those USB webcams that allow it via DirectShow. Turning off AutoExposure, AutoWhiteBalance, AutoBrightness, AutoSaturationControl.
    • framegrabbing window for USB webcams now has "full pic." button to fully show large images
    • define USB webcam settings in Settings window, save & load as device settings file.
    • automated loading of device-specific settings file on connect. Permanently assign a settings file in Options window.

    What does that mean?   >>> reproducible spectral data acquisition <<<  !!

    By turning all the autosettings off and making exposure time accessible, you can now define appropriate exposure times yourself (to avoid clipping!) and keep them stable. When measuring absorbance, no AutoExposure function will any more destroy the relationship between measured reference intensity and sample intensity.

    This is like BAAAMM, when compared to the previous situation. I hope you like it. There will still be some really cheap webcams that won't let their exposure time settings be changed, sorry for these.

    Hope you like it! Download the new version from: http://Spectragryph.com I won't update download links anymore here.

  • important update

    Friedrich Menges08/16/2017 at 20:40 0 comments

    Last week, Spectragryph v1.2.2 was released, bringing x axis calibration. This enables to transform the measured raw pixel spectrum into wavelength scale or even directly to Raman shift. Just measure a calibration sample or light source with known peak positions, assign their numbers to the measured peaks, and the calibration algorithm will do the rest.  Second and third order polynomial available, the coefficients are automatically applied after activation.
    This week, released v1.2.3, increasing the range of supported devices:
    - Andor cams

    - Ocean Optics module

    - Stellarnet modules

    - USB webcams

    Also, the part of the manual on acquisition is almost finished: http://www.effemm2.de/spectragryph/about_help_manual_acquire.html

    Have fun!

    Friedrich

  • Today, the circle cosed!

    Friedrich Menges07/26/2017 at 17:30 0 comments

    With today's release of Spectragryph v1.2, the main branch of development now includes live image grabbing from USB webcams and conversion to spectral data. With this new features, the Spekwin32 prototype is finally obsolete. Please visit the Spectragryph website and download and try the new Spectragryph version. It is free for all private and non-commercial users just like Spekwin32.

    Looking forward to your feedback!

    Friedrich

  • something's happening!

    Friedrich Menges06/09/2017 at 13:26 0 comments

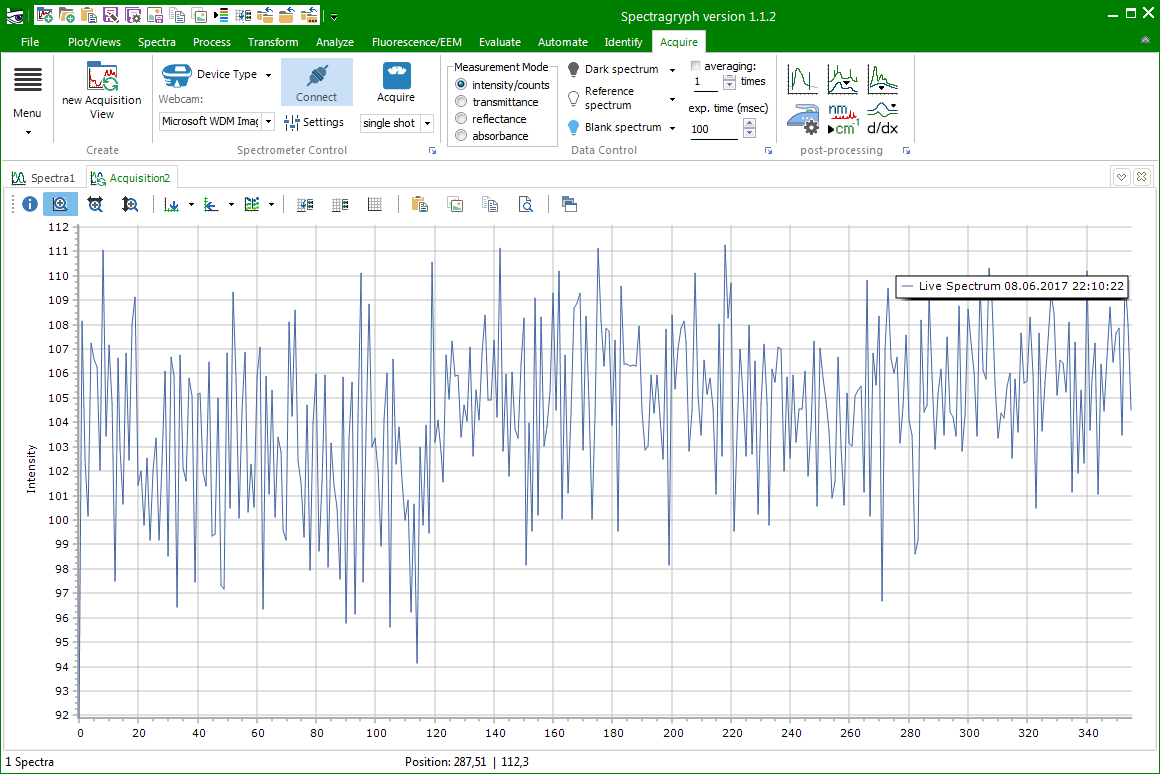
    Finally, it's happening! After a long struggle, the new Spectragryph optical spectroscopy will soon be expanded by a new area of functionality: live spectra acquisition through spectrometer hardware control. i am currently working on it and retrieving spectral data from USB webcam image cross-sections will be available with the first release of the new functions. Here is a first screenshot for it:

  • Need your support!

    Friedrich Menges11/29/2016 at 08:16 0 comments

    Hi folks,

    as you might already know, I provide my spectroscopy software Spekwin32 for free since 15 years. This year has seen a great improvement: I was able to create a brand-new, top-modern successor software for Spekwin32, called Spectragryph (http://spectragryph.com). This work was also enabled by a fundraising campaign.

    Now, I want to go further and implement new functionality and further enhance the software and also include what you know from this prototype project: driving webcam-based spectrometers!
    Please donate via Paypal or from my website!

    Thank you so much!
    Friedrich


  • 7th update, extension of running period

    Friedrich Menges11/02/2016 at 09:39 0 comments

    will run until mid january. Hopefully, I have the new software then...

  • what's going on currently?

    Friedrich Menges09/15/2016 at 10:59 0 comments

    Since about mid of June, I am working on the Spekwin32 successor software, called "SpectraGryph". There were some weeks of working on other projects plus moving from Berchtesgaden to Oberstdorf in August.

    Overall, a lot of progress has been made and the new software will be greater and better than Spekwin32, modernized all around with new features and better interactivity. Still, it will be easy to use and robust, as you know it from Spekwin32. Eventually, driving a webcam-based DIY spectrometer functionality will find it's way also into the new software.

    Some preliminary information with screenshots can be found from the new SpectraGryph website: http://spectragryph.com

    This work was partly enabled by a fundraising campaign (first unsuccessful onKickstarter, then with a second, direct attempt on my website: http://www.effemm2.de/nextgen/index_en.html)

    I am very grateful to all the supporters giving their share and encouraging me to go forward. Thank you for putting your trust into me. You will not be disappointed.

    Cheers,

    Friedrich


  • 6th version, update without new functions

    Friedrich Menges07/30/2016 at 11:30 2 comments

    just extending the working time range until October...

  • 5th improve version of prototype SW

    Friedrich Menges06/05/2016 at 13:48 0 comments

    Hi there, upon request of several users, I now introduced an easy to analyze spectrum pictures, without being live connected to a webcam. Just use the "Load Spectrum Image" function from the "File" menu to load *.bmp or *.jpg files. It will use the same window as the spectrometer control function, with live acquisition deactivated.

  • further improvement: update no. 4

    Friedrich Menges05/07/2016 at 21:59 0 comments

    Now I introduced online access to the webcam settings. This should enable control of white balance and exposure time. However, the range of accessible settings seems to depend on the webcam type, I couldn't try out much with mine:-)

    Also: introduced a clipping indicator for blue, green & red channel. Whenever the intensity goes >254 for at least one spectrum point , it is indicated for the respective colour channel.

    Now, the interface looks already cluttered and not so well-thought... But hey, it is just a prototype with sub-standard UI :-)

    IMPORTANT TIP: If you want to analyze an arbitray spectrum picture: replace the cam.bmp file in the program folder with your image, and try to connect to a webcam. If none present, it takes the cam.bmp file anyways for analysis...

View all 15 project logs

  • 1
    Step 1

    Using the software, step by step

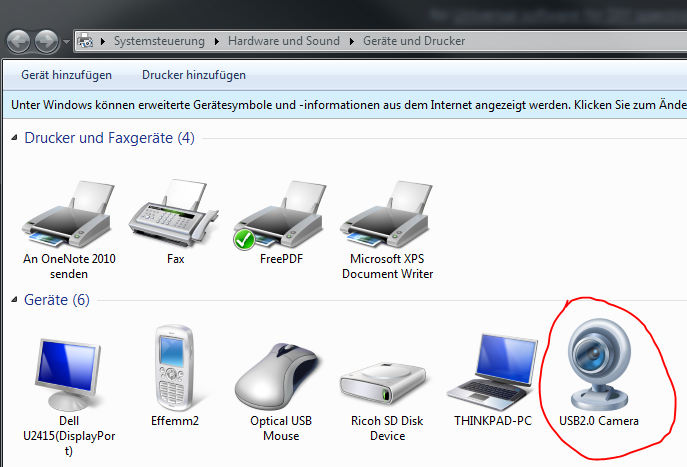
    1. Install software. Make sure there is write access to the program folder! Start Software. Plug in your USB camera. Make sure it is recognized by Windows as USB device.
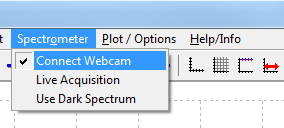
    2. Connect Spekwin32 with webcam by using "Connect Webcam" from the "Spectrometer" menu. You might additionally by asked by Windows to select the webcam. A new window will pop up, with the webcam image plus some controls. A first image cross-section will be displayed in the spectral plot window.
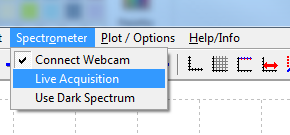
    3. Start live data acquisition by using "Run Acquisition" from the "Spectrometer" menu. You will now see the spectrum plot continously updating.
    4. For measuring emission spectra, it might be useful to subtract a background, in order to get rid of ambient lighting and/or detector offset. For this, switch off your light source and press the [Save dark spectrum] button from the webcam image window. Afterwards, activate "Use Dark Spectrum" from the "Spectrometer" menu.
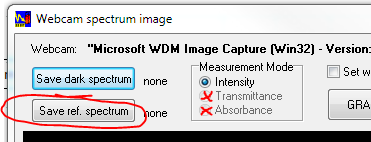
    5. For measuring transmittance/ absorbance, you have to first acquire a reference spectrum. Do so by removing any sample from the light path, have the light source turned on and press the [Save reference spectrum] button from the webcam image window. Afterwards, the two measurement modes become acessible. By choosing them, the spectral display changes accordingly. Without a sample inserted, the transmittance curve will sit at 100%, while the absorbance curve will sit around zero. Having a look into this helps to learn about the longer-term stability of your measurement.
    6. For single frame pictures, use the [GRAB] button instead of Live Acquisition.
    7. To invert your spectrum picture, activate the "flip horizontally". Needed for all setups, where there is red on the left side of the picture.
    8. If the spectrum part does not fill the webcam image completely, use the white frame to define the region for calculating the cross-secting. It can be shifted around with left mouse and also resized, by grabbing the corner handles.
    9. As last step, after setting the ROI, use the "set wavelength range" to create a linear wavelength scale... Try with live acquisition and "Show Peak Labels" activated and a spectrum with some known peaks, to get reasonable results.

View all instructions

Enjoy this project?

Share

Discussions

cosmobird wrote 12/22/2016 at 21:22 point

Dr. Menges,

it is great to see a committed researcher, who aspires and aspiring to continuously work independenly these days... however, i came to know about you so late... me unfortunate.

since i have started working in NIR-AOTF spectrometers with little pre-knowledge in statistical mechanics, and chemistry (yeah i am much of an instrumentation/communication engineer)... it kind of grasped my very passion for the subject. 

at the same time, i have contributed to something for spectroscopy in a DIY way, but such contributions even licensed openly, were specific to the specific spectrometer me and my colleague were developing in the laboratory.

then in find fl@c@t, who does diy raman spectrometer, with whom i got in touch, but have never contributed to the project..... :).... and other spectroscopy based projects at smaller scale... it became kind of interesting to see a raise in momentum for DIY/open spectrometers.

me had stressful deliberations with my seniors, to access spectral DB, calibration etc.. stuff... with too much centralization and control in the industry, for such a wonderful subject of science. I believe that william herschel or other pioneers like you would not hold control over the tools and instruments that were created.

in that sense, i see your contribution and continuing it for 15+ years actively... as a great one.

i would like to add some more suggestions.... i honestly do not know, being a novice relatively, whether i am eligible to do so... but endure me... pls... :D..

Ii wonder, why you have not intended the project to be a free(as in speech) software / open source software model. afa i see, the great tool, so far is restricted to only one particular platform, losing the incredible power of portability. Furthermore, people working in diy-raman spectrometer, and at public lab could contribute collaboratively. 

  Are you sure? yes | no

Friedrich Menges wrote 07/26/2017 at 19:29 point

Hey Neo, sorry for letting you wait so long. As I am doing spectroscopy software for a living since almost a year now, my first priority is financial survival. Which means I cannot invest as much time as I would like into projects like this one. However, if I don't survive, this here would also die... So, despite a lack of massive funding as compared to PublicLab, I managed to create something really useful within a few months. Something that Publiclab was not able to accomplish in over 5 years, due to fundamental lack of understanding and ignorance against all attempts of providing skilled help: Today's release of Spectragryph version v1.2 has the full functionality found in this Spekwin32 prototype, running more stable and better covering all necessary functionality for live data acquisition. Have a look here: http://Spectragryph.com The Spekwin32 prototype will not be maintained any more.

Oh why not going open source? Because I need to live from it. Because it wouldn't have survived for 15 years in good shape as an open source project. Because I am an narcissistic, egoistic, anti-beneficial scrooge? Who cares... Just use the software, if you like...

  Are you sure? yes | no

Friedrich Menges wrote 08/01/2016 at 20:13 point

Hi there, 

I have to admit that I didn't think so much of reflectance measurements in the first run. Often a white and a black standard is measured before measuring the actual sample. With the current prototype software, the automated calculation is designed for only two measurements (white standard/reference and sample). Actually, the "dark spectrum" function works together with the reference spectrum function, but there is still a bug preventing to run both together smoothly. So, currently you have to live without a blacks standard measurement, it will depend on your setup how much deviation will come from this.
Of course, you could measure the three spectra separately and do the maths manually with Spekwin32, but who wants to work in such a tedious way...

In about 2-3 months from now, there will be a fully blown solution with all you need. I am currently working full-time on the proposed modernization step for my software: http://www.effemm2.de/nextgen/direct_support_en.html

Hope that helped...

Friedrich


  Are you sure? yes | no

Jong KIM wrote 07/31/2016 at 13:10 point

Hi, Dr. Menges.

  Thanks for your contributions and efforts for the spectrometry people in the world.

I have enjoyed your Spekwin32 for my DIY spectrometer, mostly used for diffuse reflectance measurement as you demonstrated in your " Application example: measuring absorbance of coloured decals" at this site.

I would like to know what would be normal procedure for the diffuse reflectance calibration/measurement of printed specimens.

Do I simply acquire, first, white paper/standard with known spectrum, second, black standard with known spectrum, and third, specimen of interest, all under illumination, e.g., white LED ?

Is there any additional need for dark current measurement without the white LED as an illumination?

Thanks for your interest in this regard.

  Are you sure? yes | no

Similar Projects

Does this project spark your interest?

Become a member to follow this project and never miss any updates