Close
0%
0%

Pi Zero IOT Led Matrix Beamer

An 8x8 Led matix to display messages on the wall

Similar projects worth following
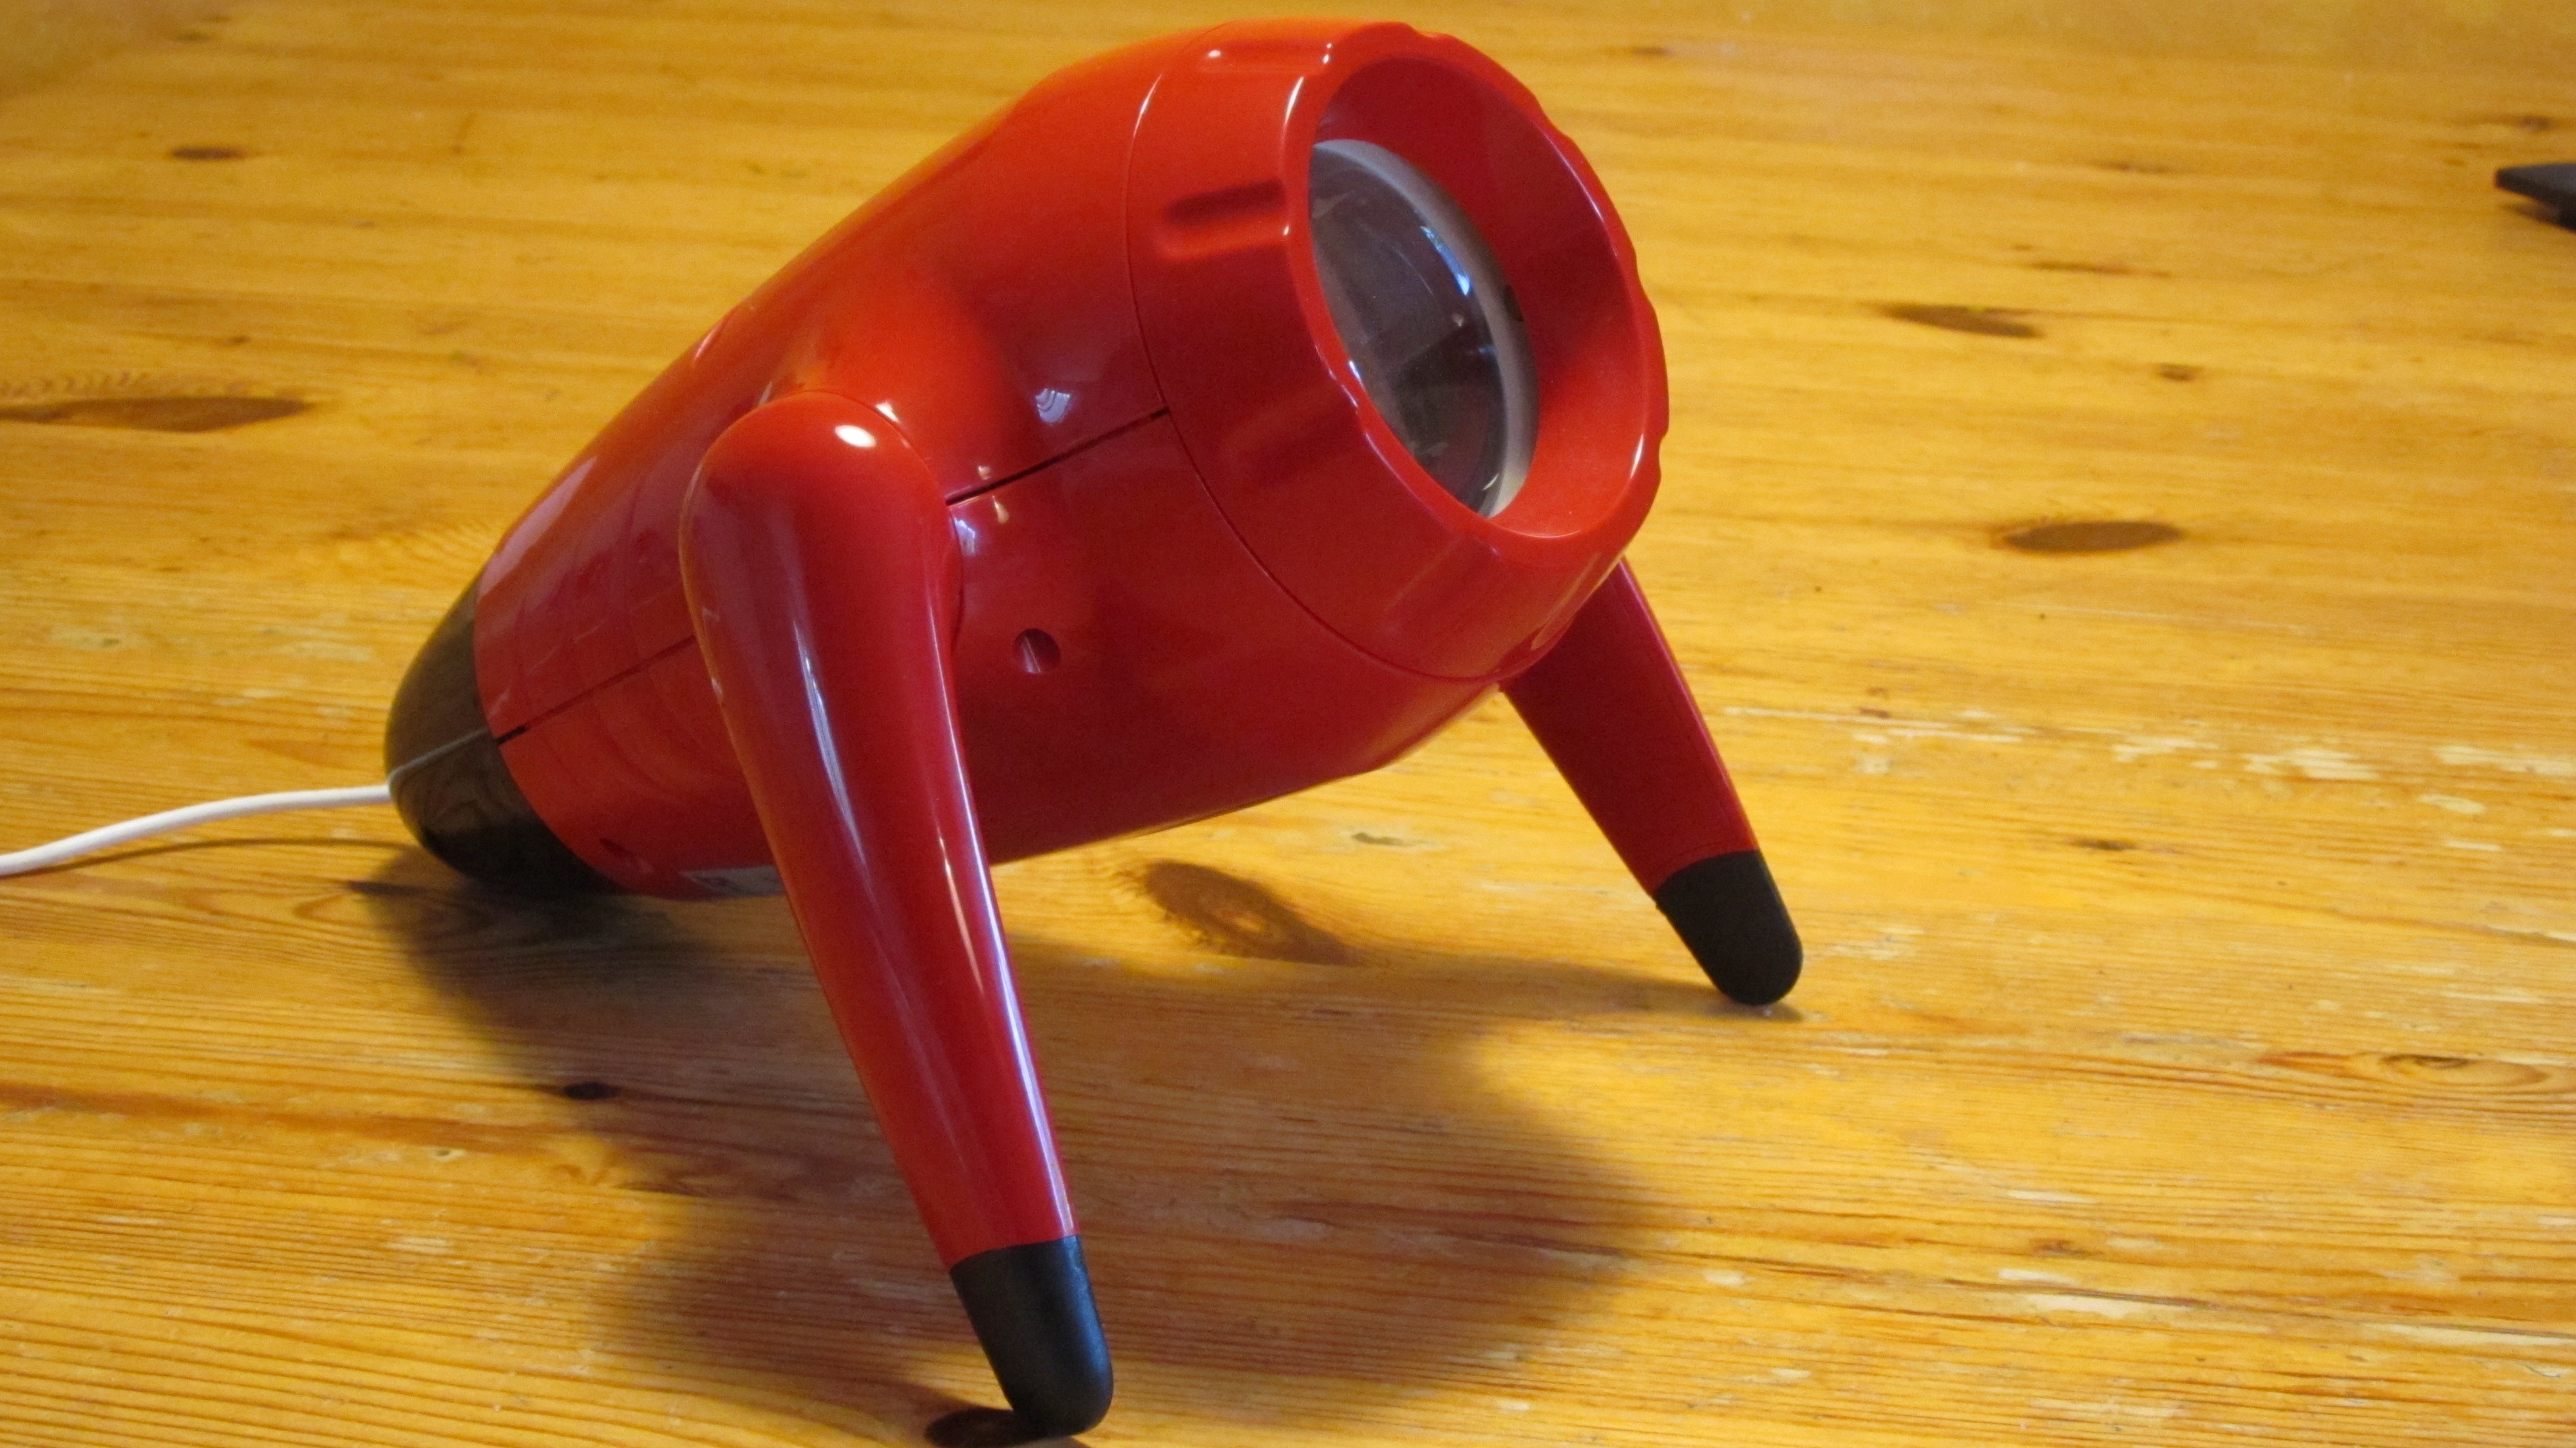
Transform the Ikea Lamp Sprida in a Led Beamer to display short messages on the wall. The optic of this lamp makes it perfect for this hack. Could be used as an alarm clock to display the time, or as info system for a smart home

When I saw This Lamp for children, I had no choice, I had to buy it and to transform it.

The result is a Led Matrix Beamer that can display Messages and Pics from the Internet to the wall.

I think after a few more changes, it will be a nice Alarm Clock controlled over the Internet.

led.py

Replace with the orginal led.py from https://github.com/rm-hull/max7219 in the directory max7219 with this one to make the text scroll from left to right.

py - 14.88 kB - 06/06/2016 at 17:16

Download

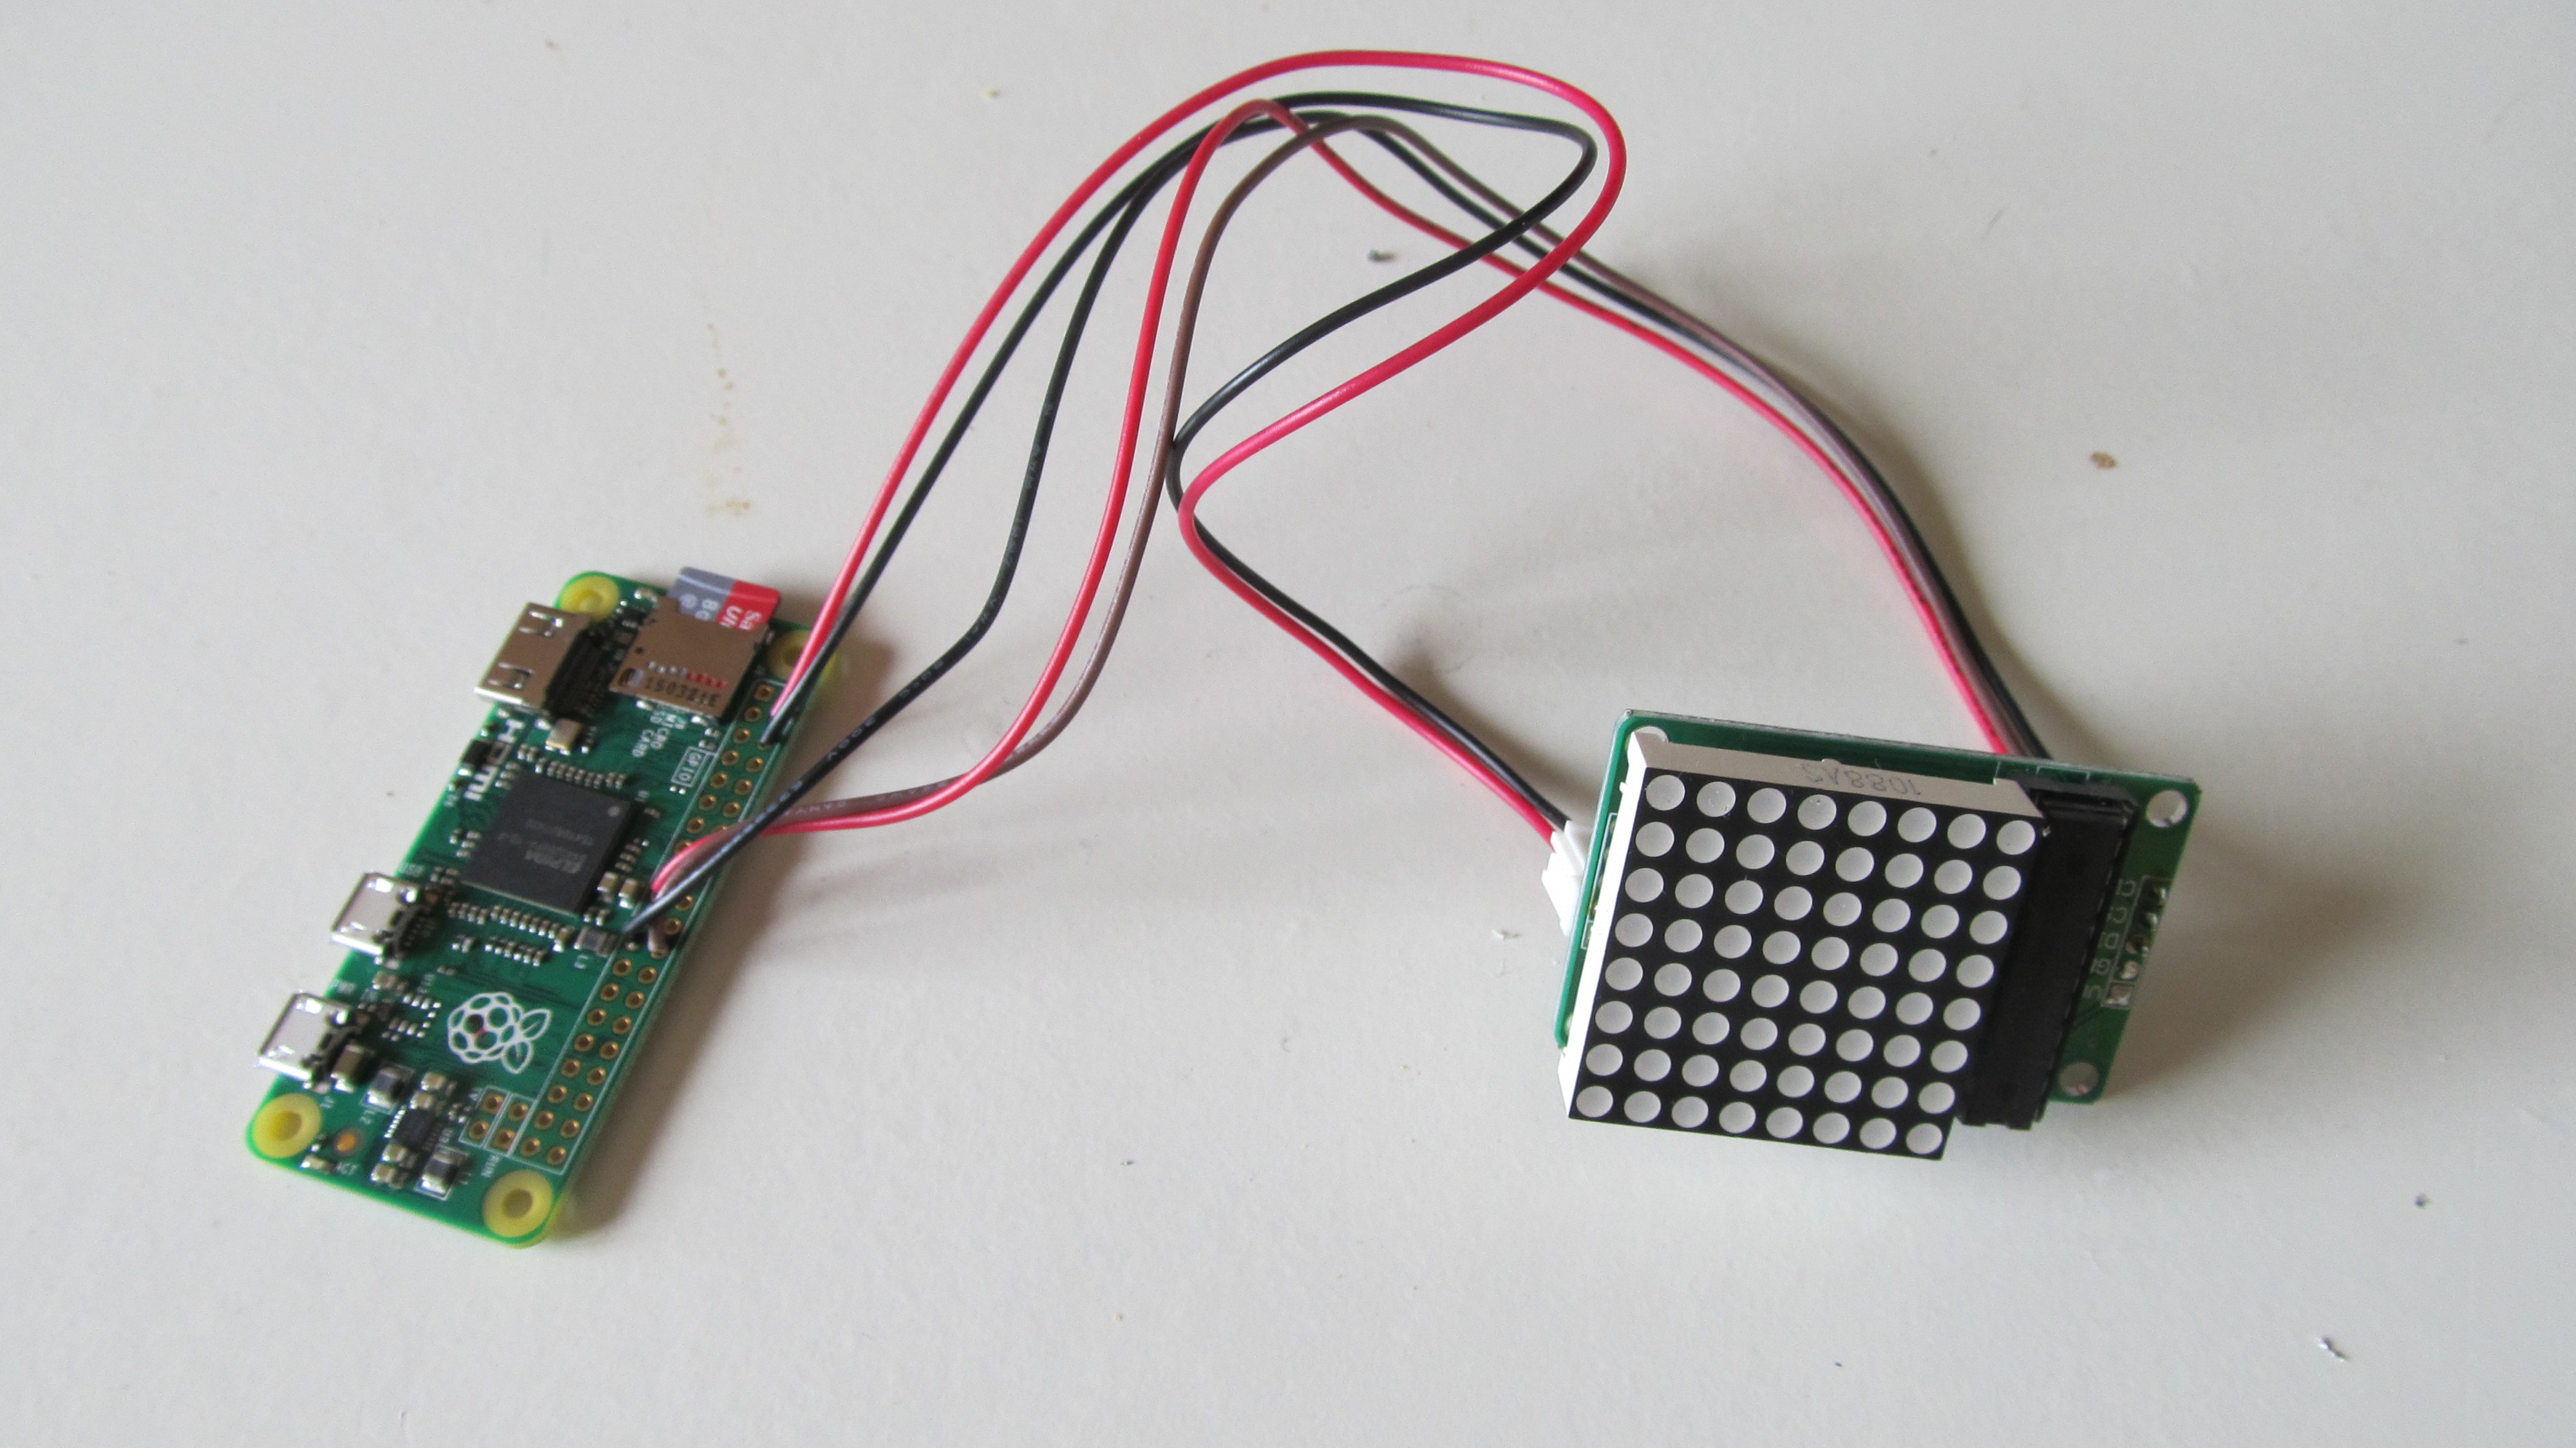
  • 1 × Raspberry Pi Zero
  • 1 × Ikea Lamp Sprida
  • 1 × 8x8 Matrix with a Max7219
  • 1 × Wires, cables and magic

  • Display good readable numbers on the led beamer

    Alain Mauer06/13/2016 at 09:50 0 comments

    Last night I wrote a little script to show that my beamer is the perfect clock projector.
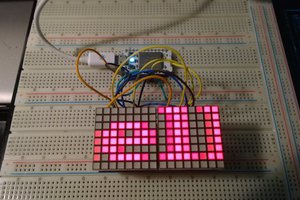
    You can display 2 numbers on an 8x8 led matrix.


    Here is a little demo video. The height of the projected numbers were +-50cm and they are very good readable

  • Led is not equal Led

    Alain Mauer06/13/2016 at 09:24 0 comments

    Hi all.
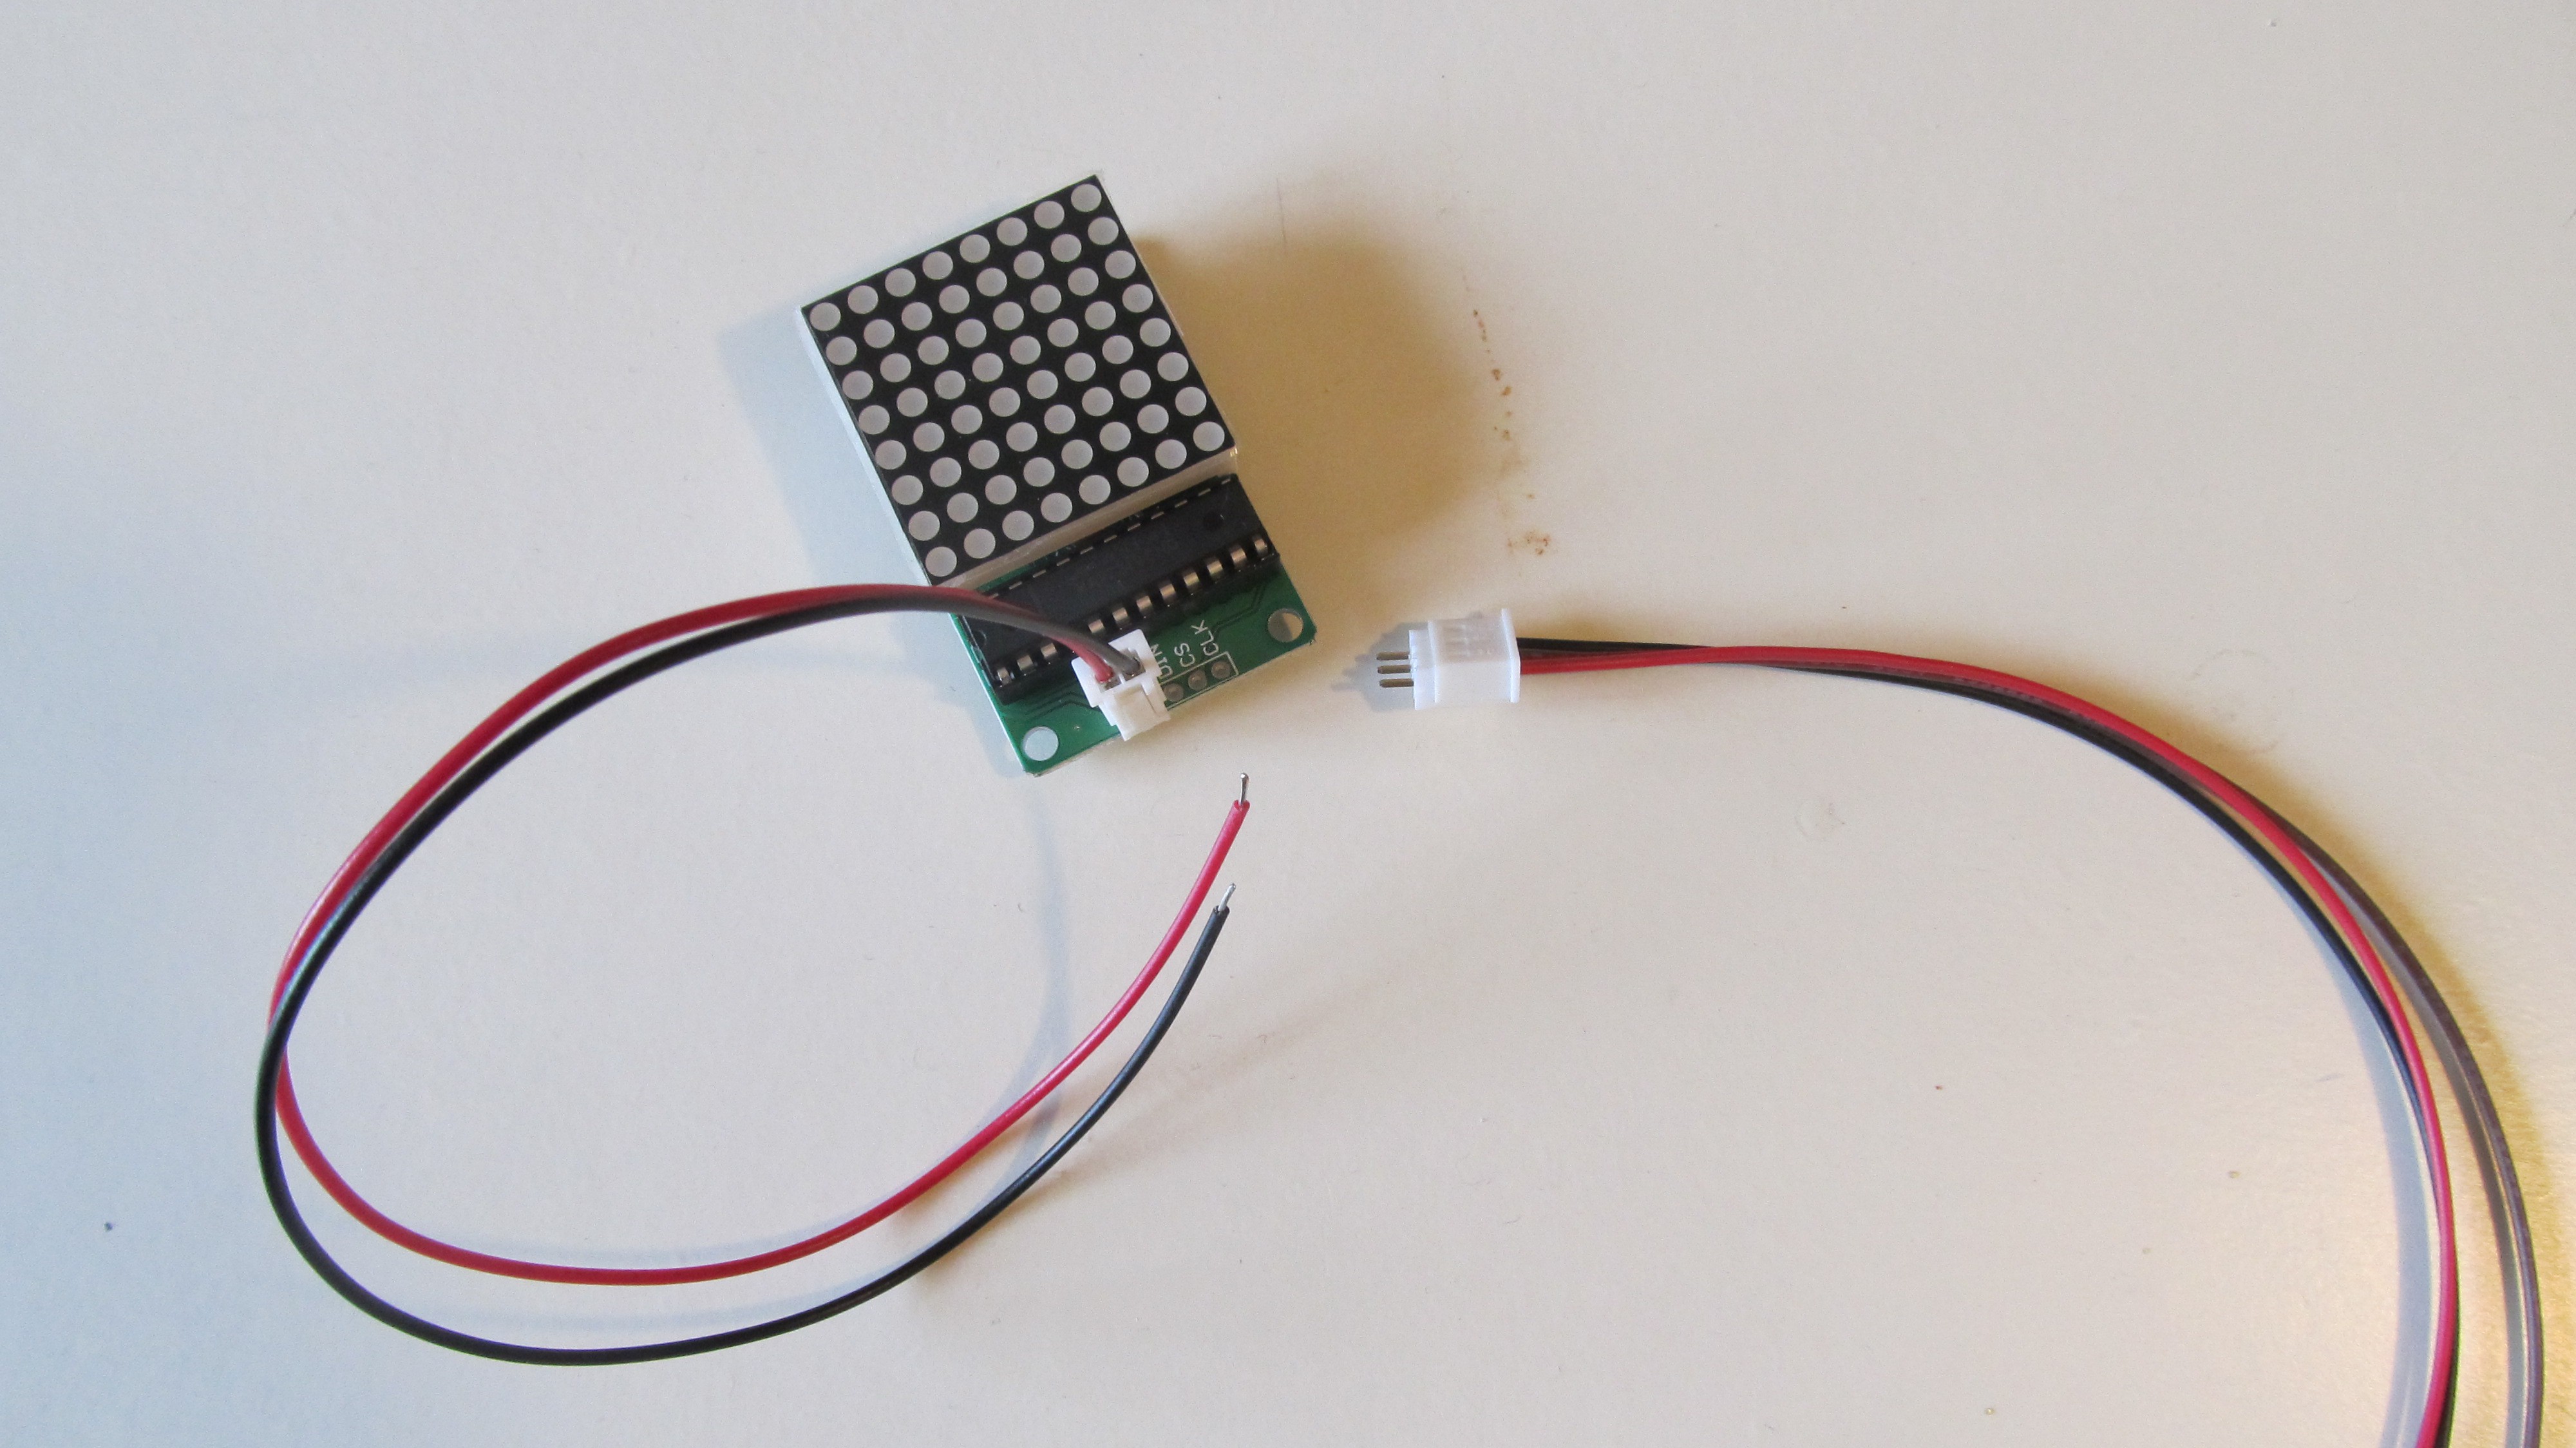
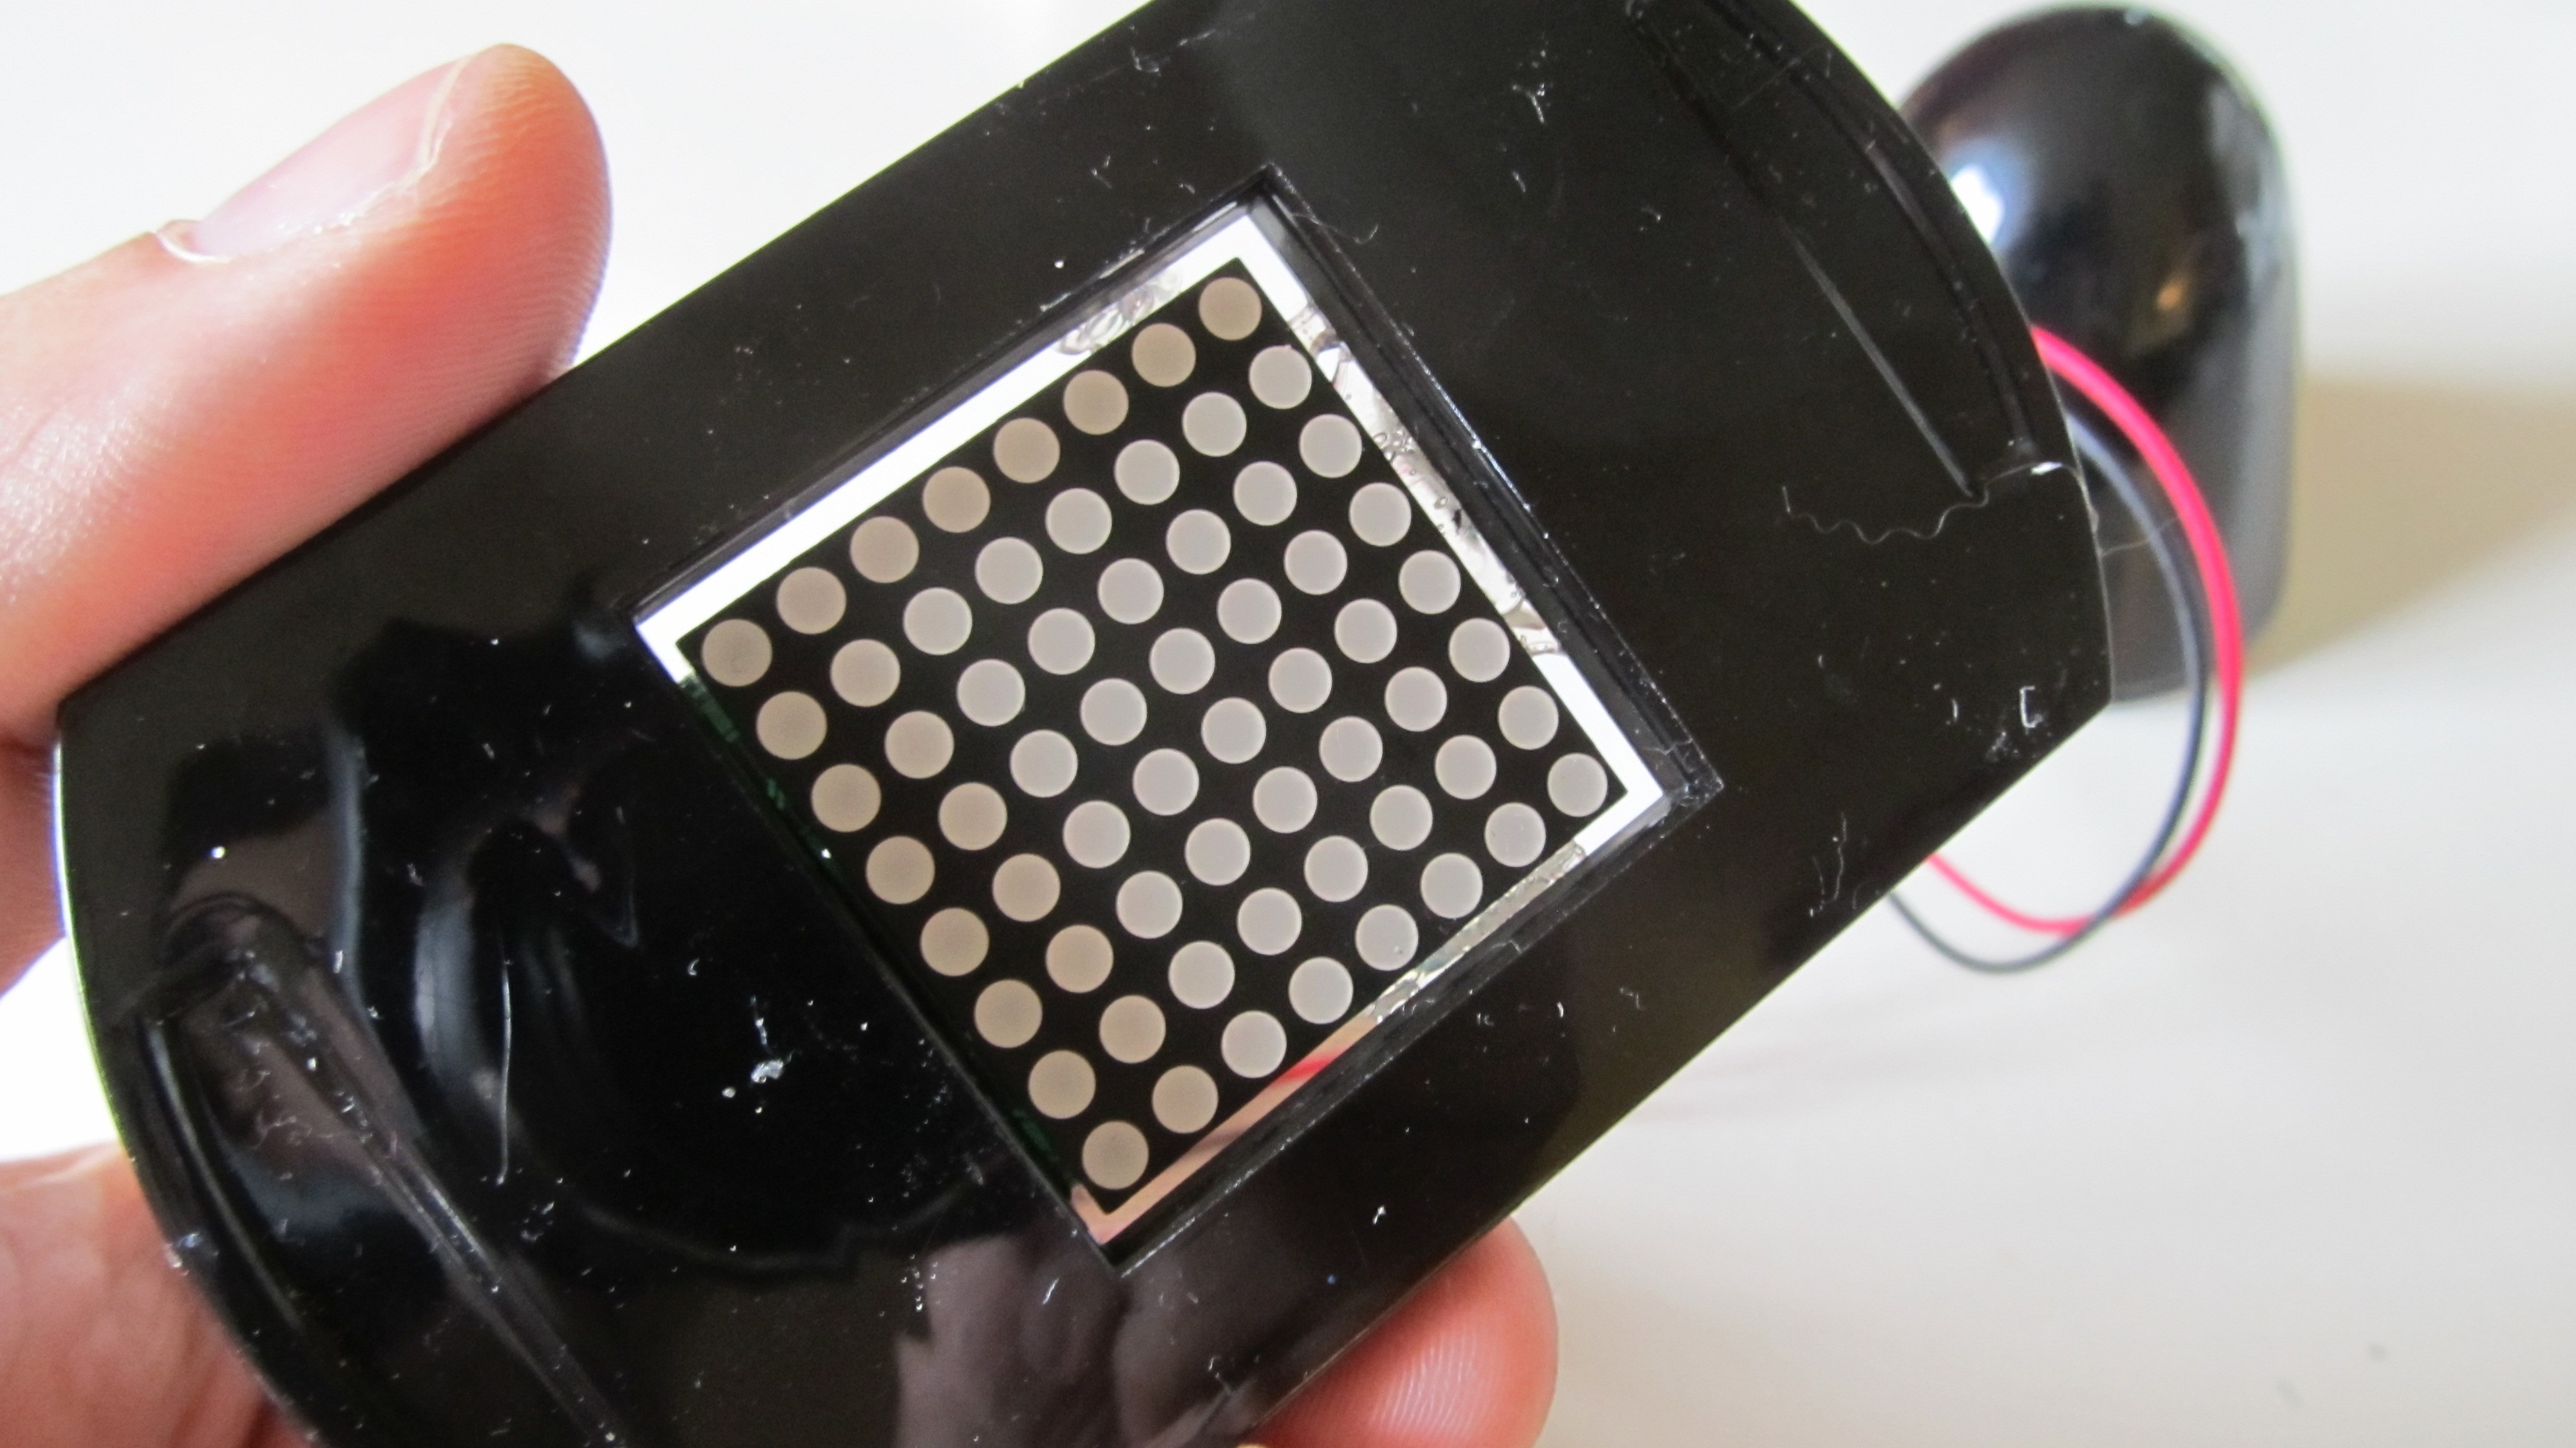
    I used this 8x8 led matrix, because the leds are flat with a diffuser and well separated.


    If you use normal Led's, they have already a lens, and together with the optic of the "Sprida" lamp you will not be able to focus them and all the led dots are overlapping.

View all 2 project logs

  • 1
    Step 1

    The Lamp Sprida

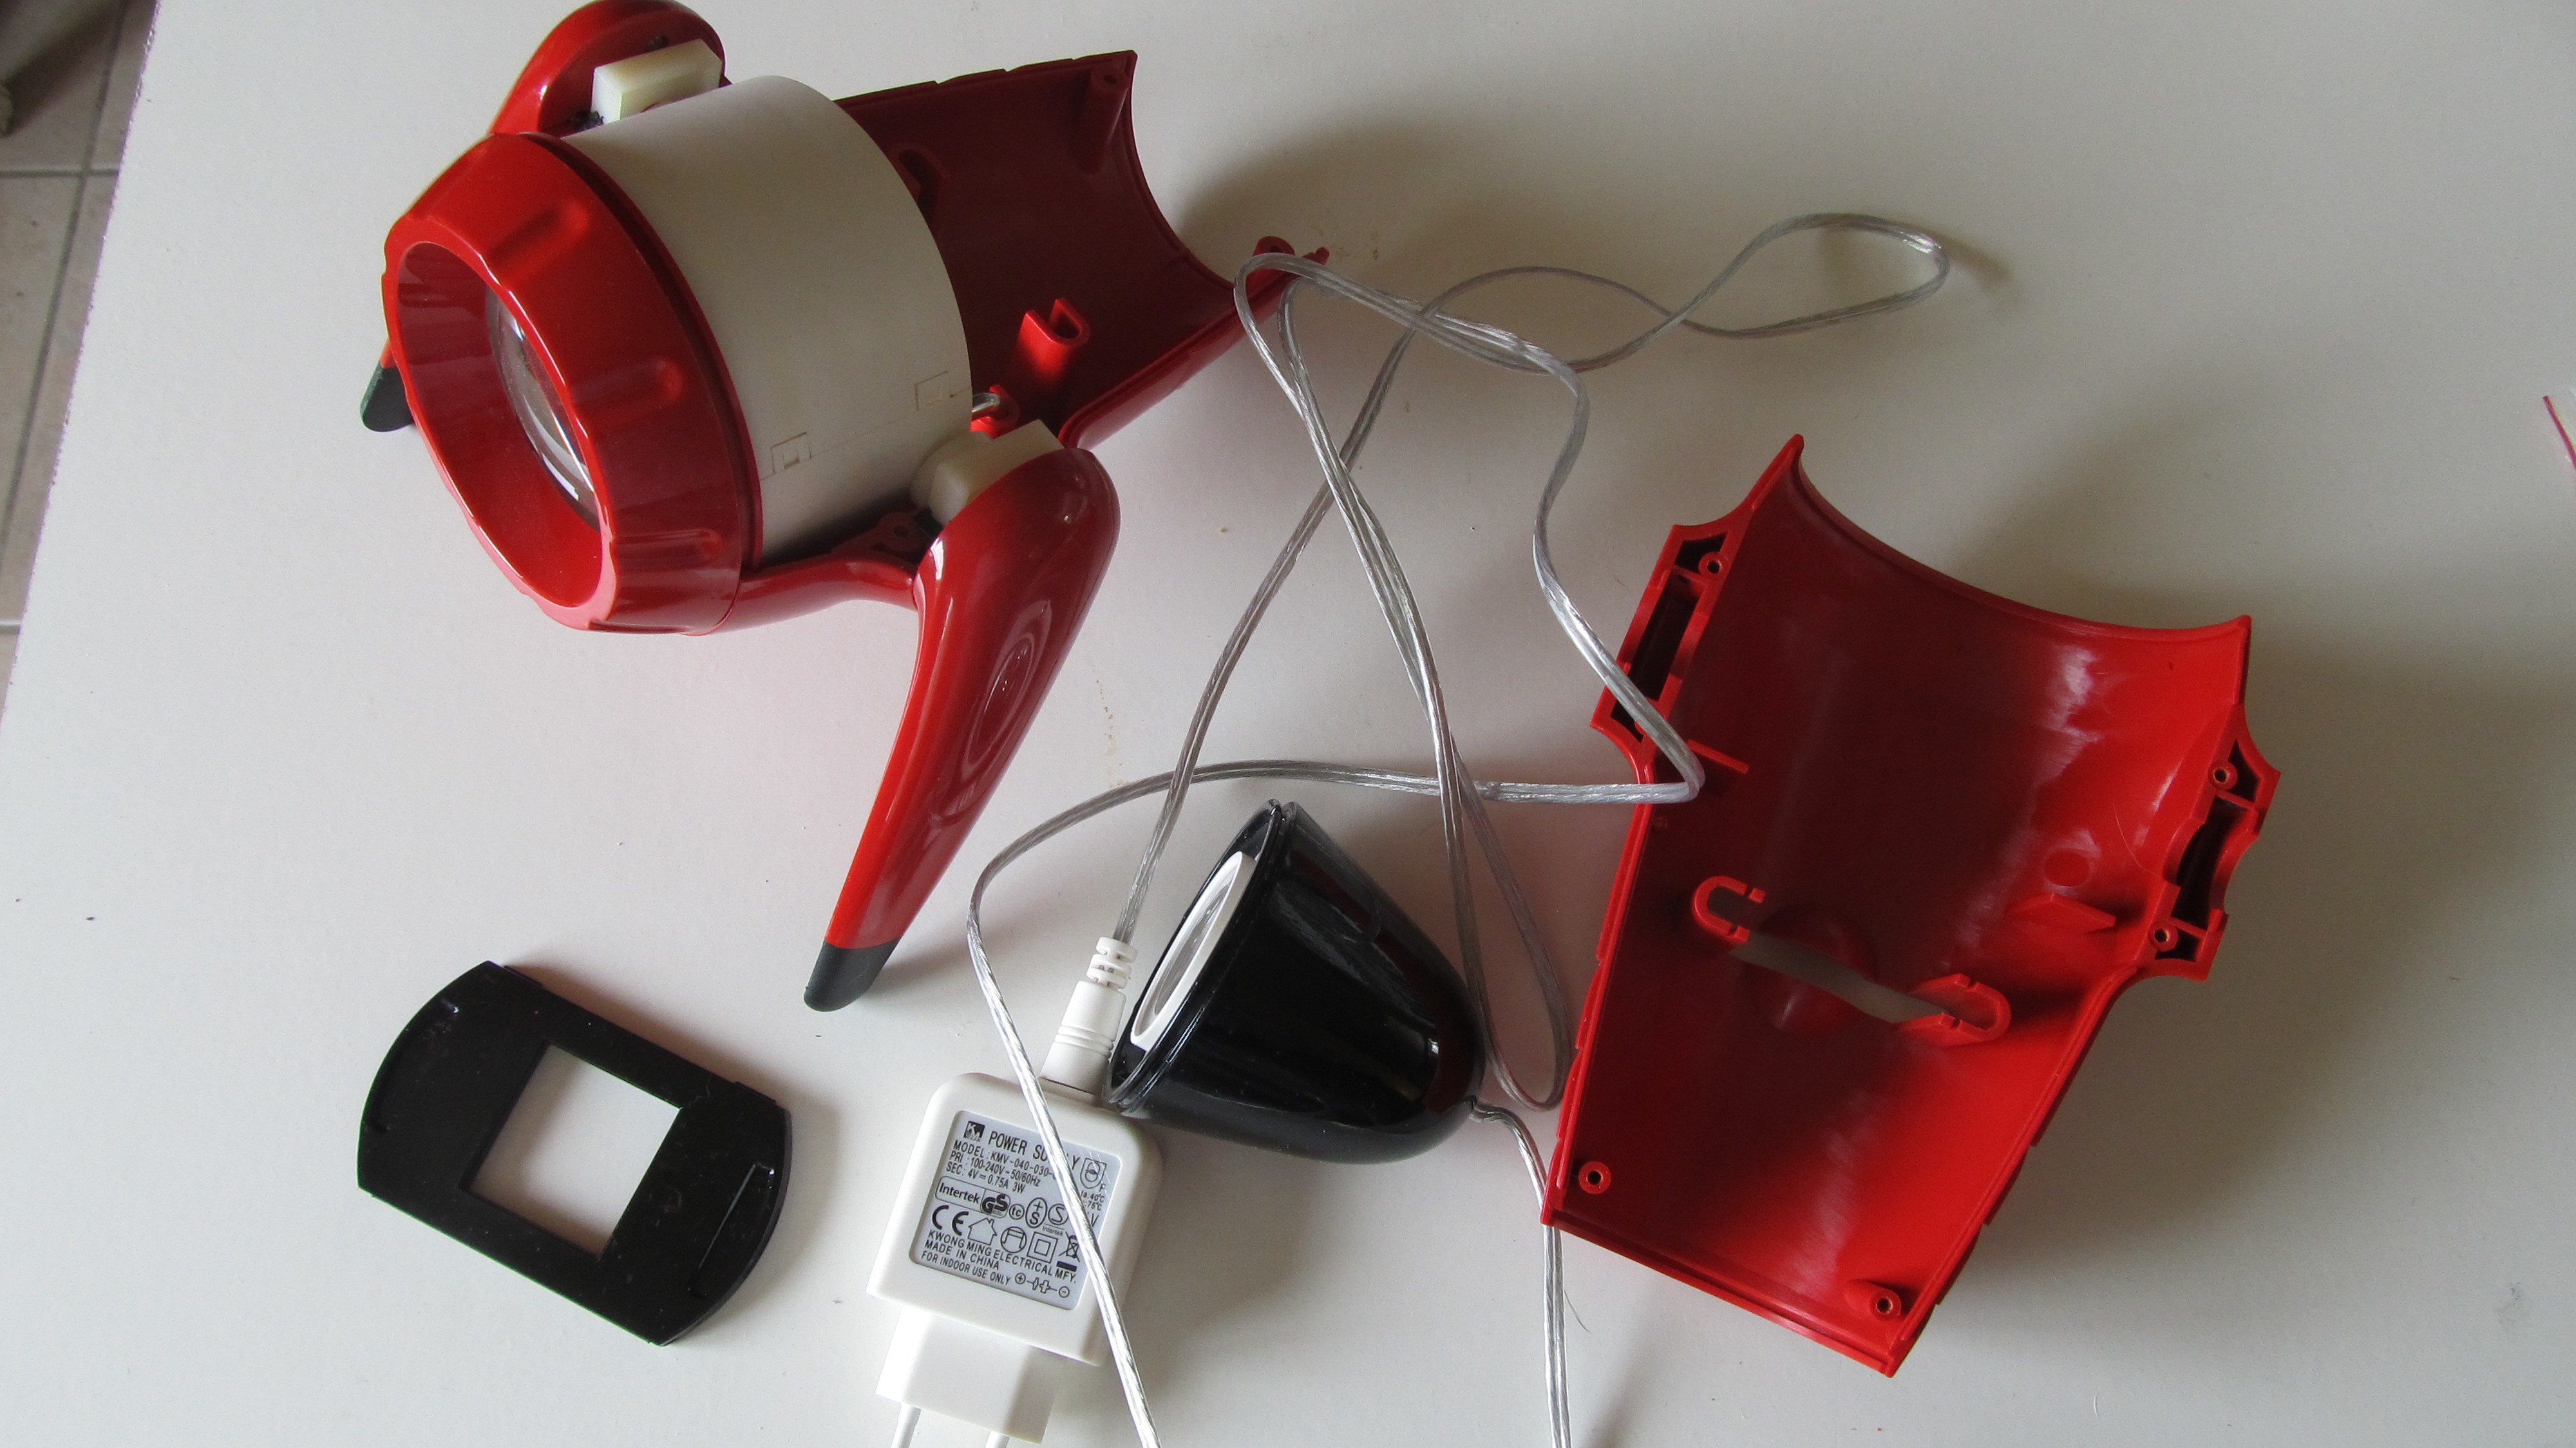
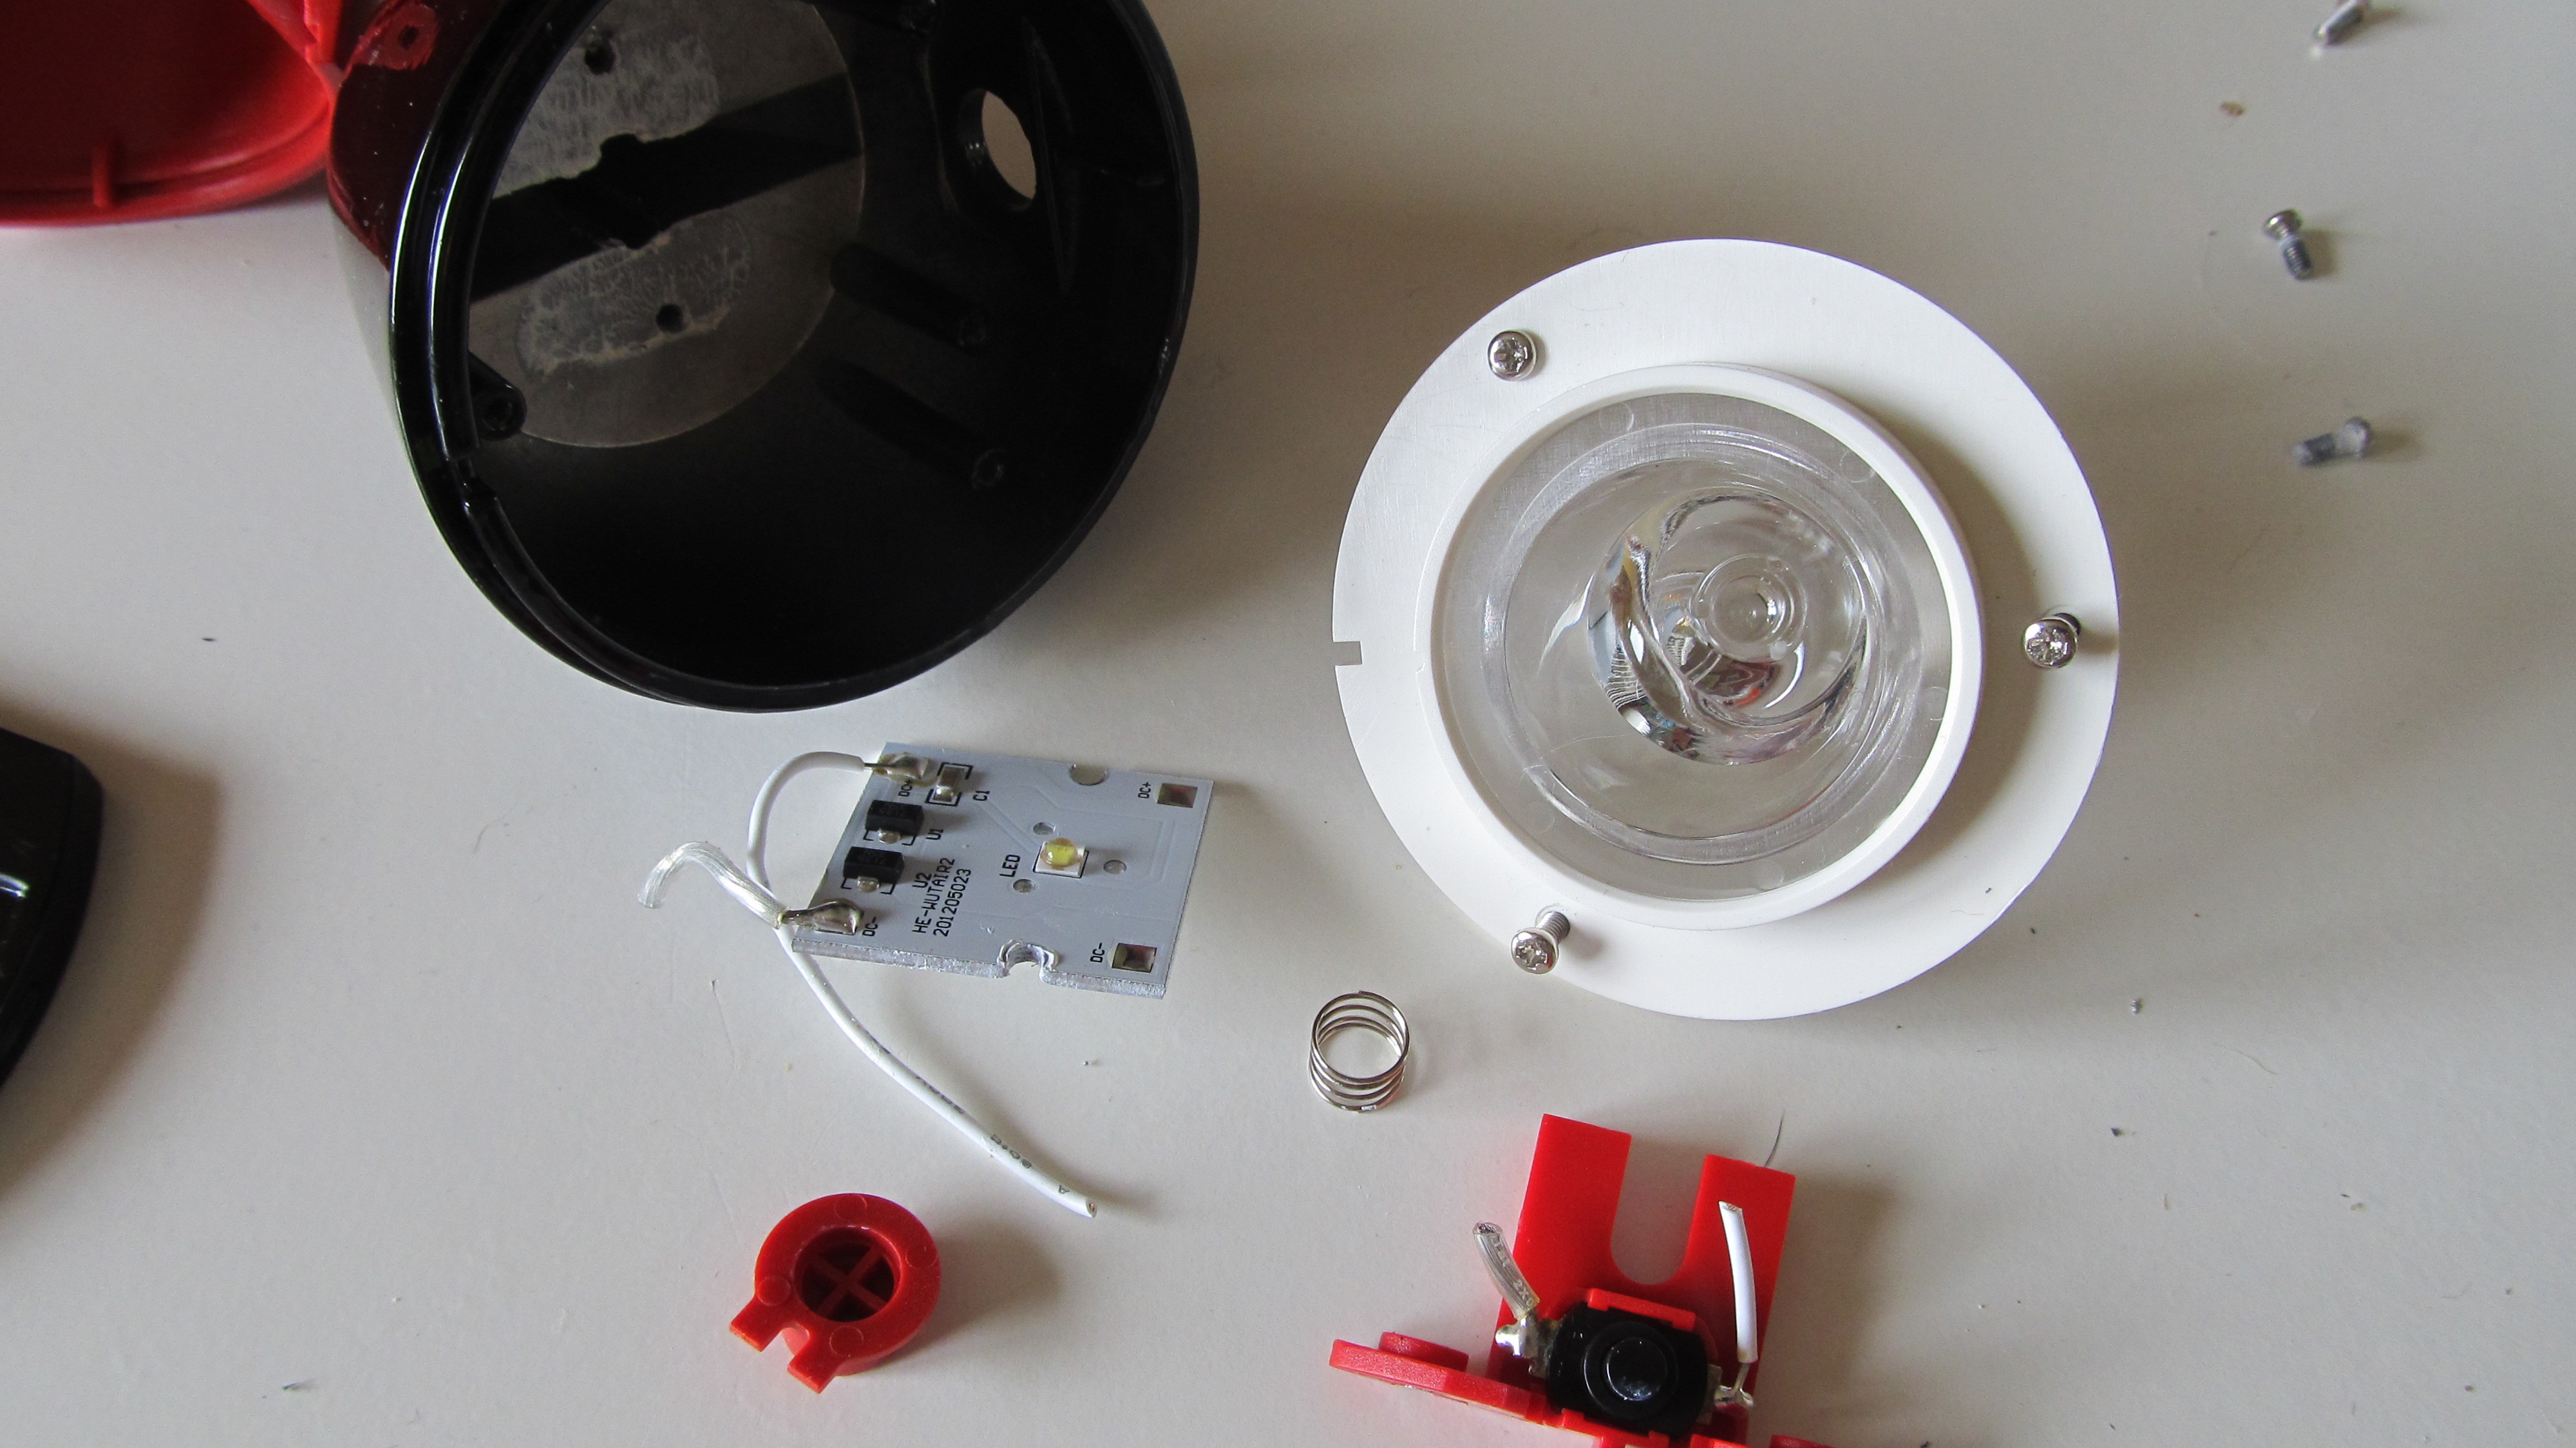
    First of all, take it appart. Remove the led from the tail.

  • 2
    Step 2

    Display

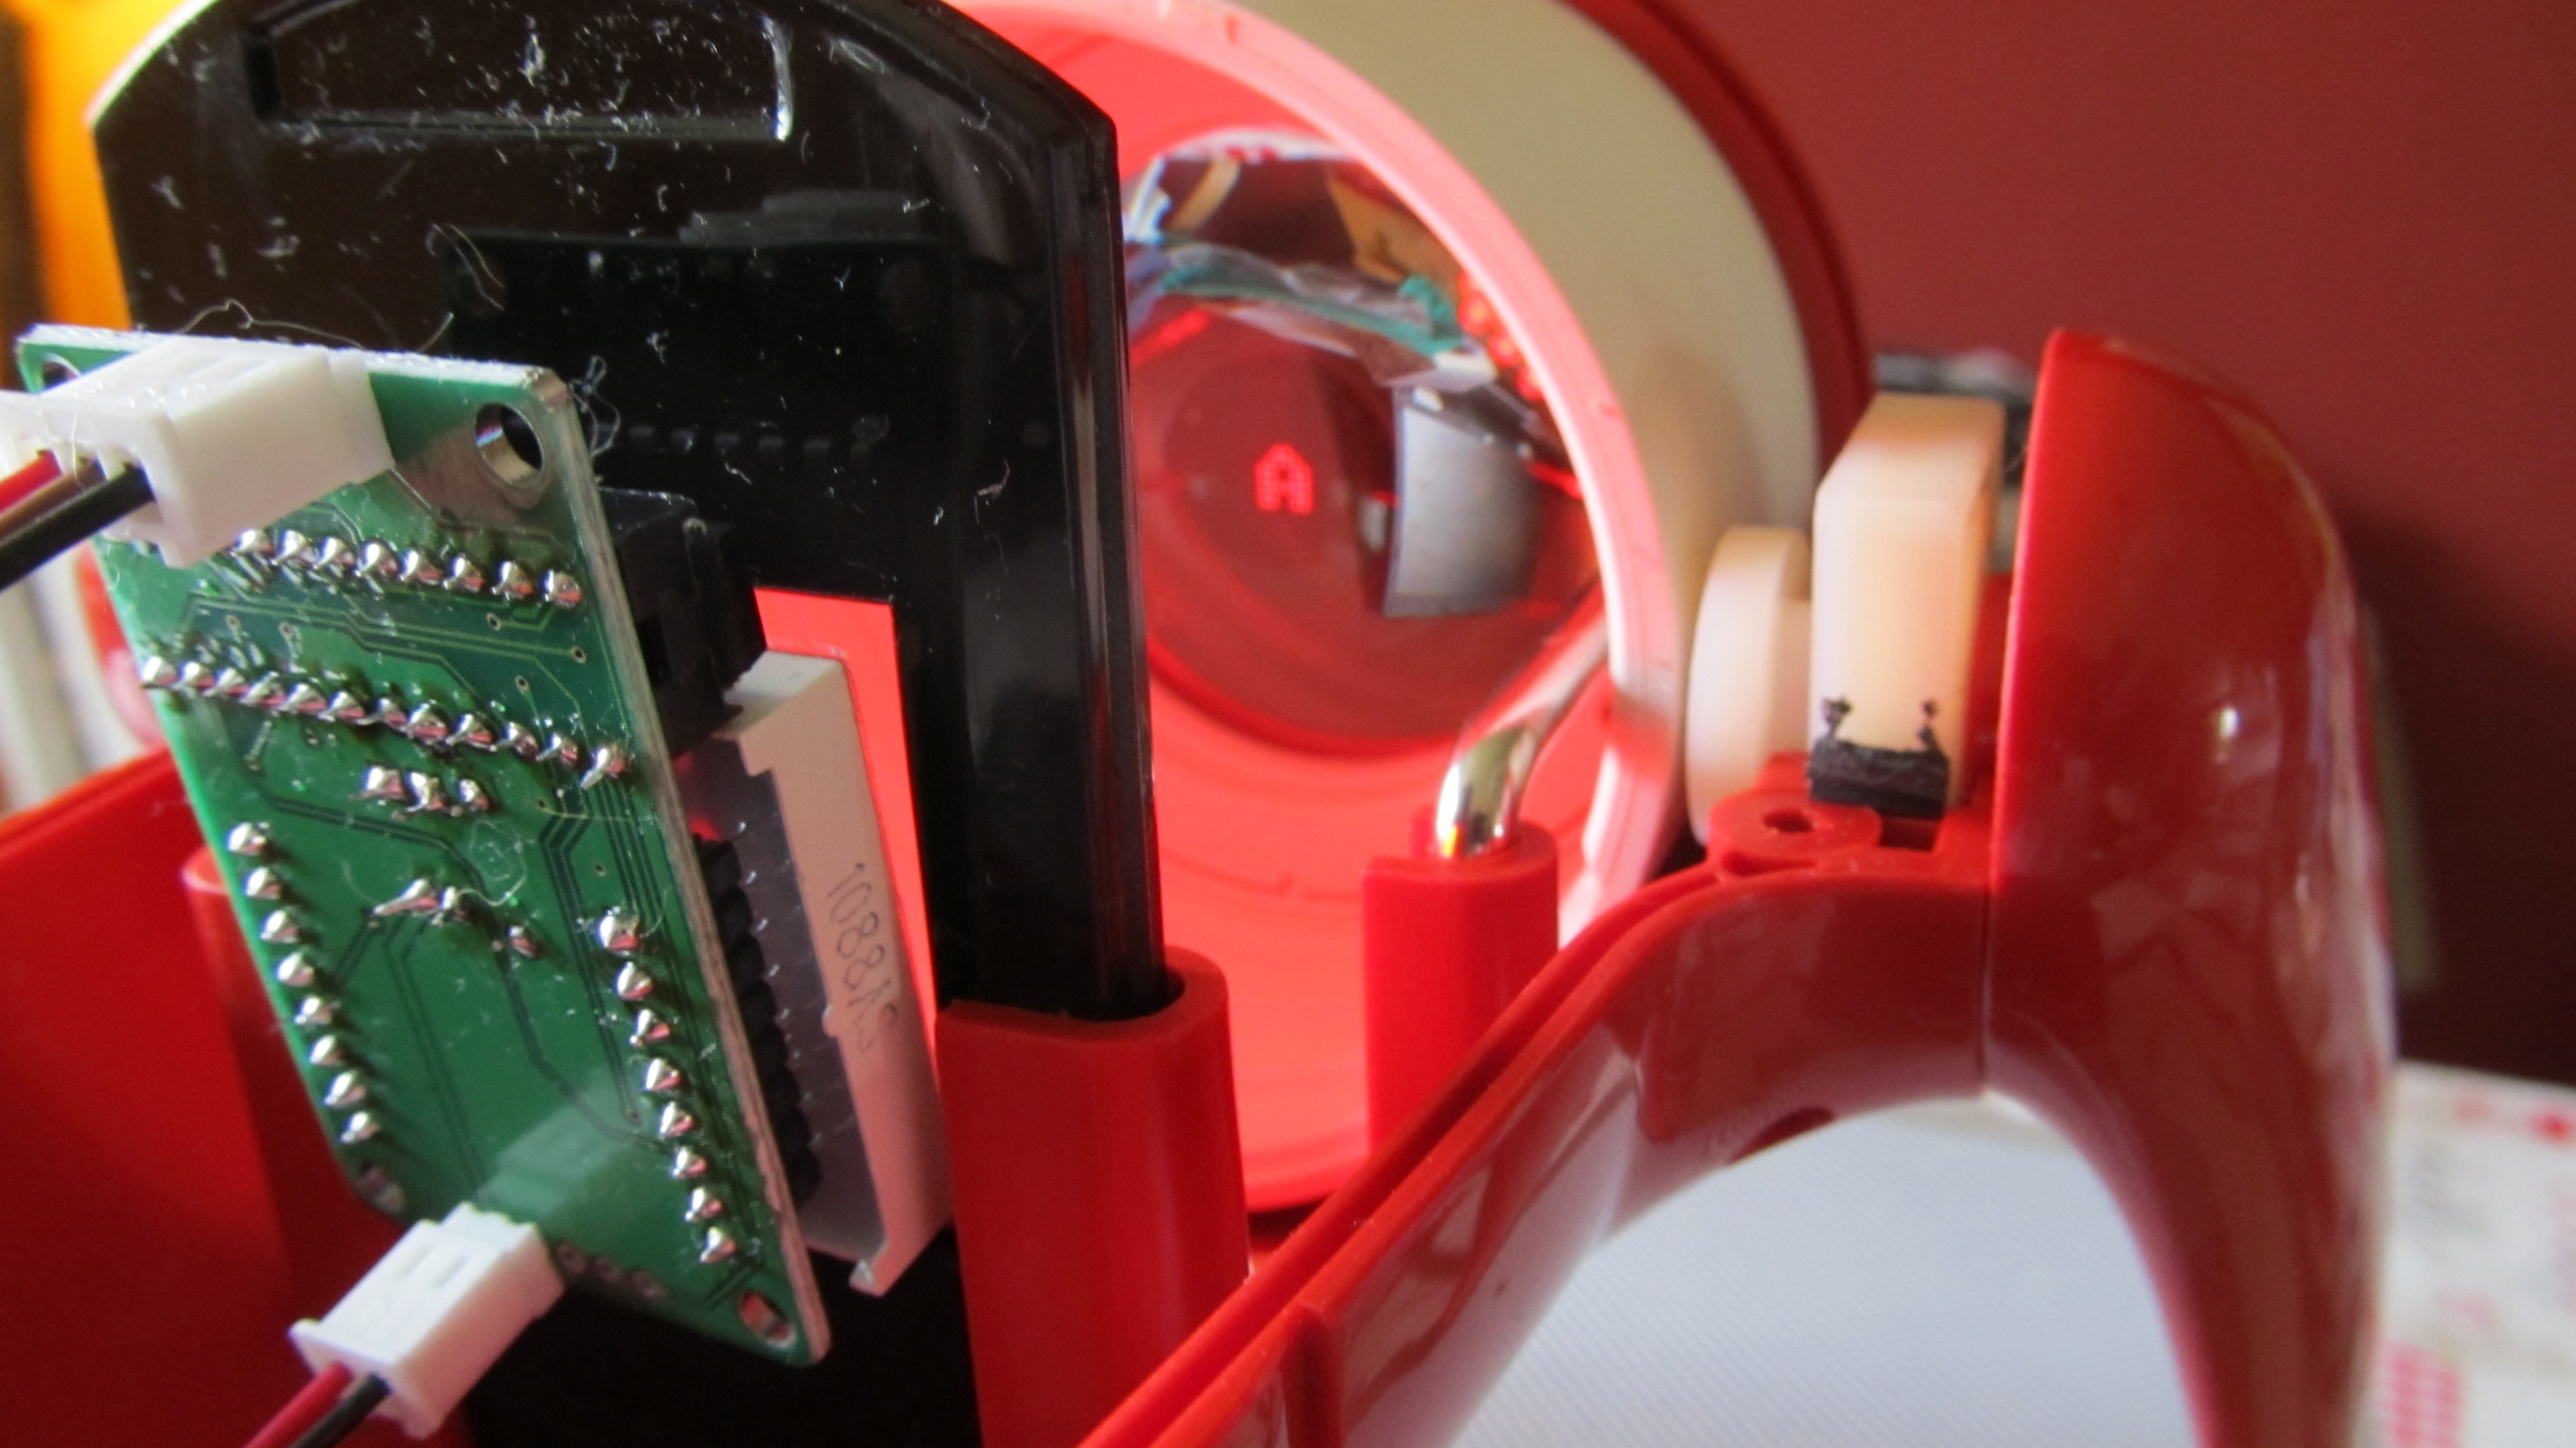
    The 8x8 matrix modul with the Max7219 connected to the Pi Zero.

    This 8x8 module is perfect. Because of the leds. The are flat with a diffusor and well separated, so that you can beam single dots throught the optic.

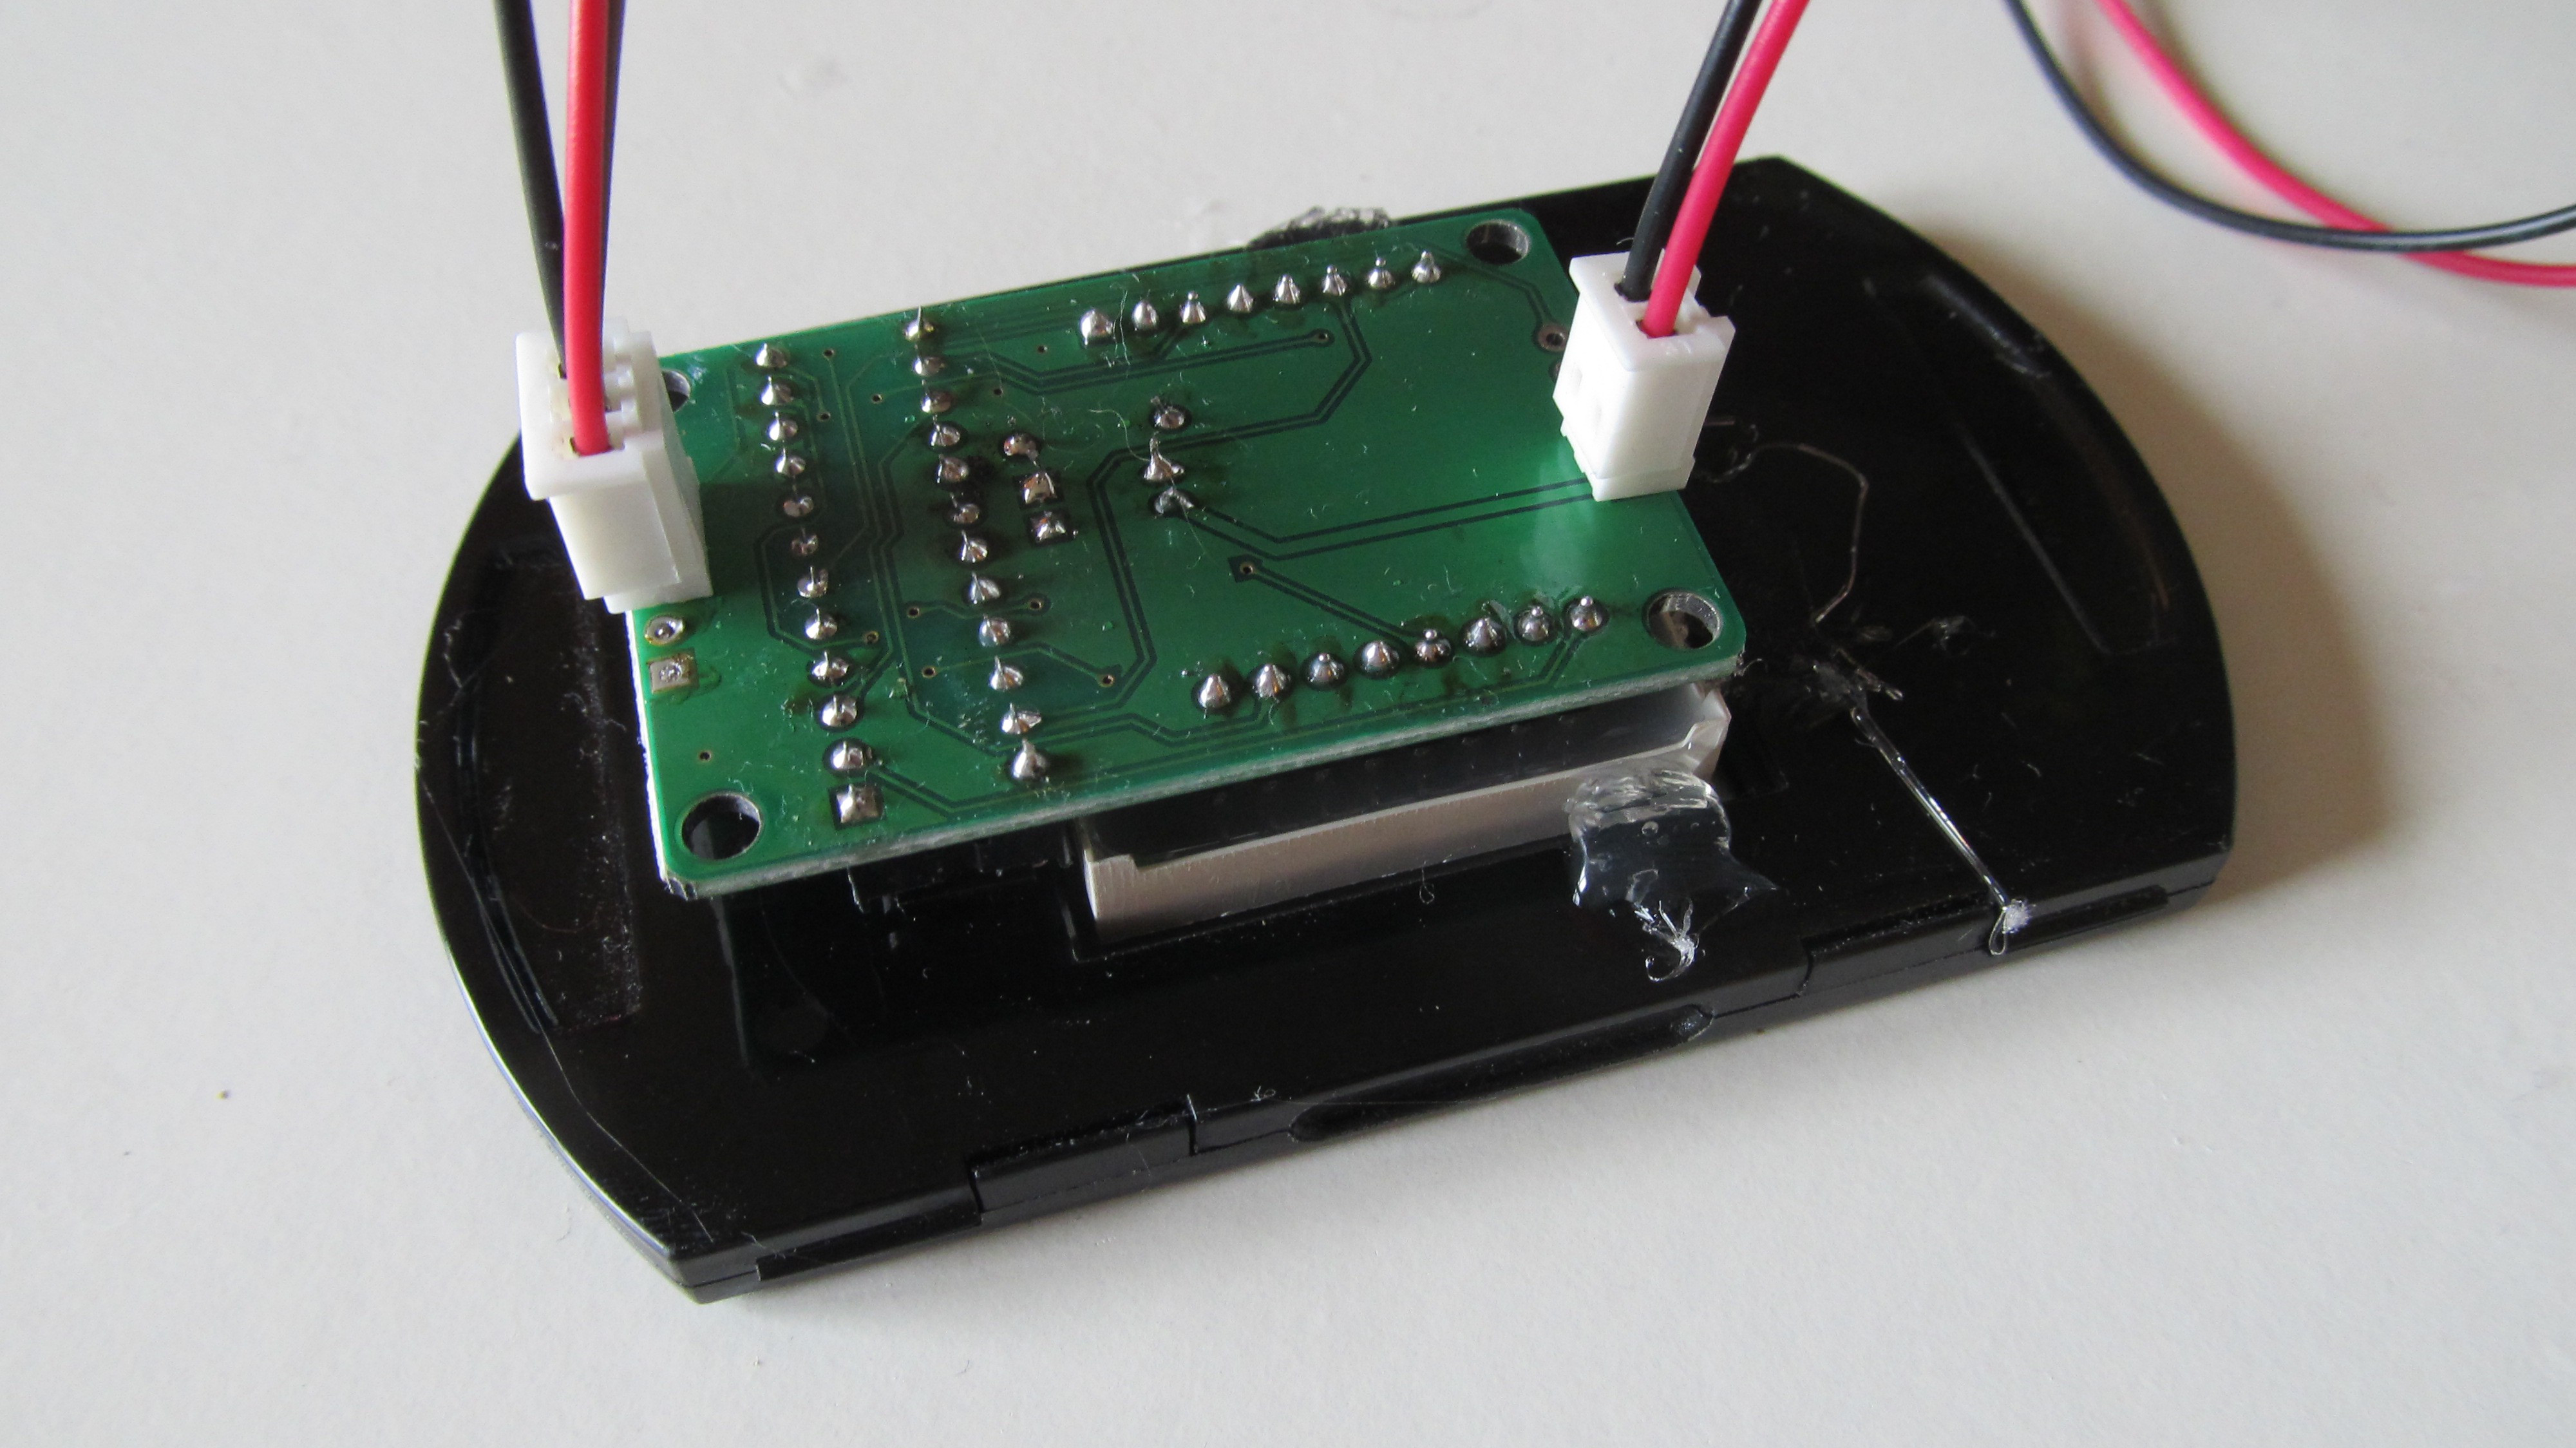
    Glue the matrix on the holder for the color sheets of the lamp

  • 3
    Step 3

    All together

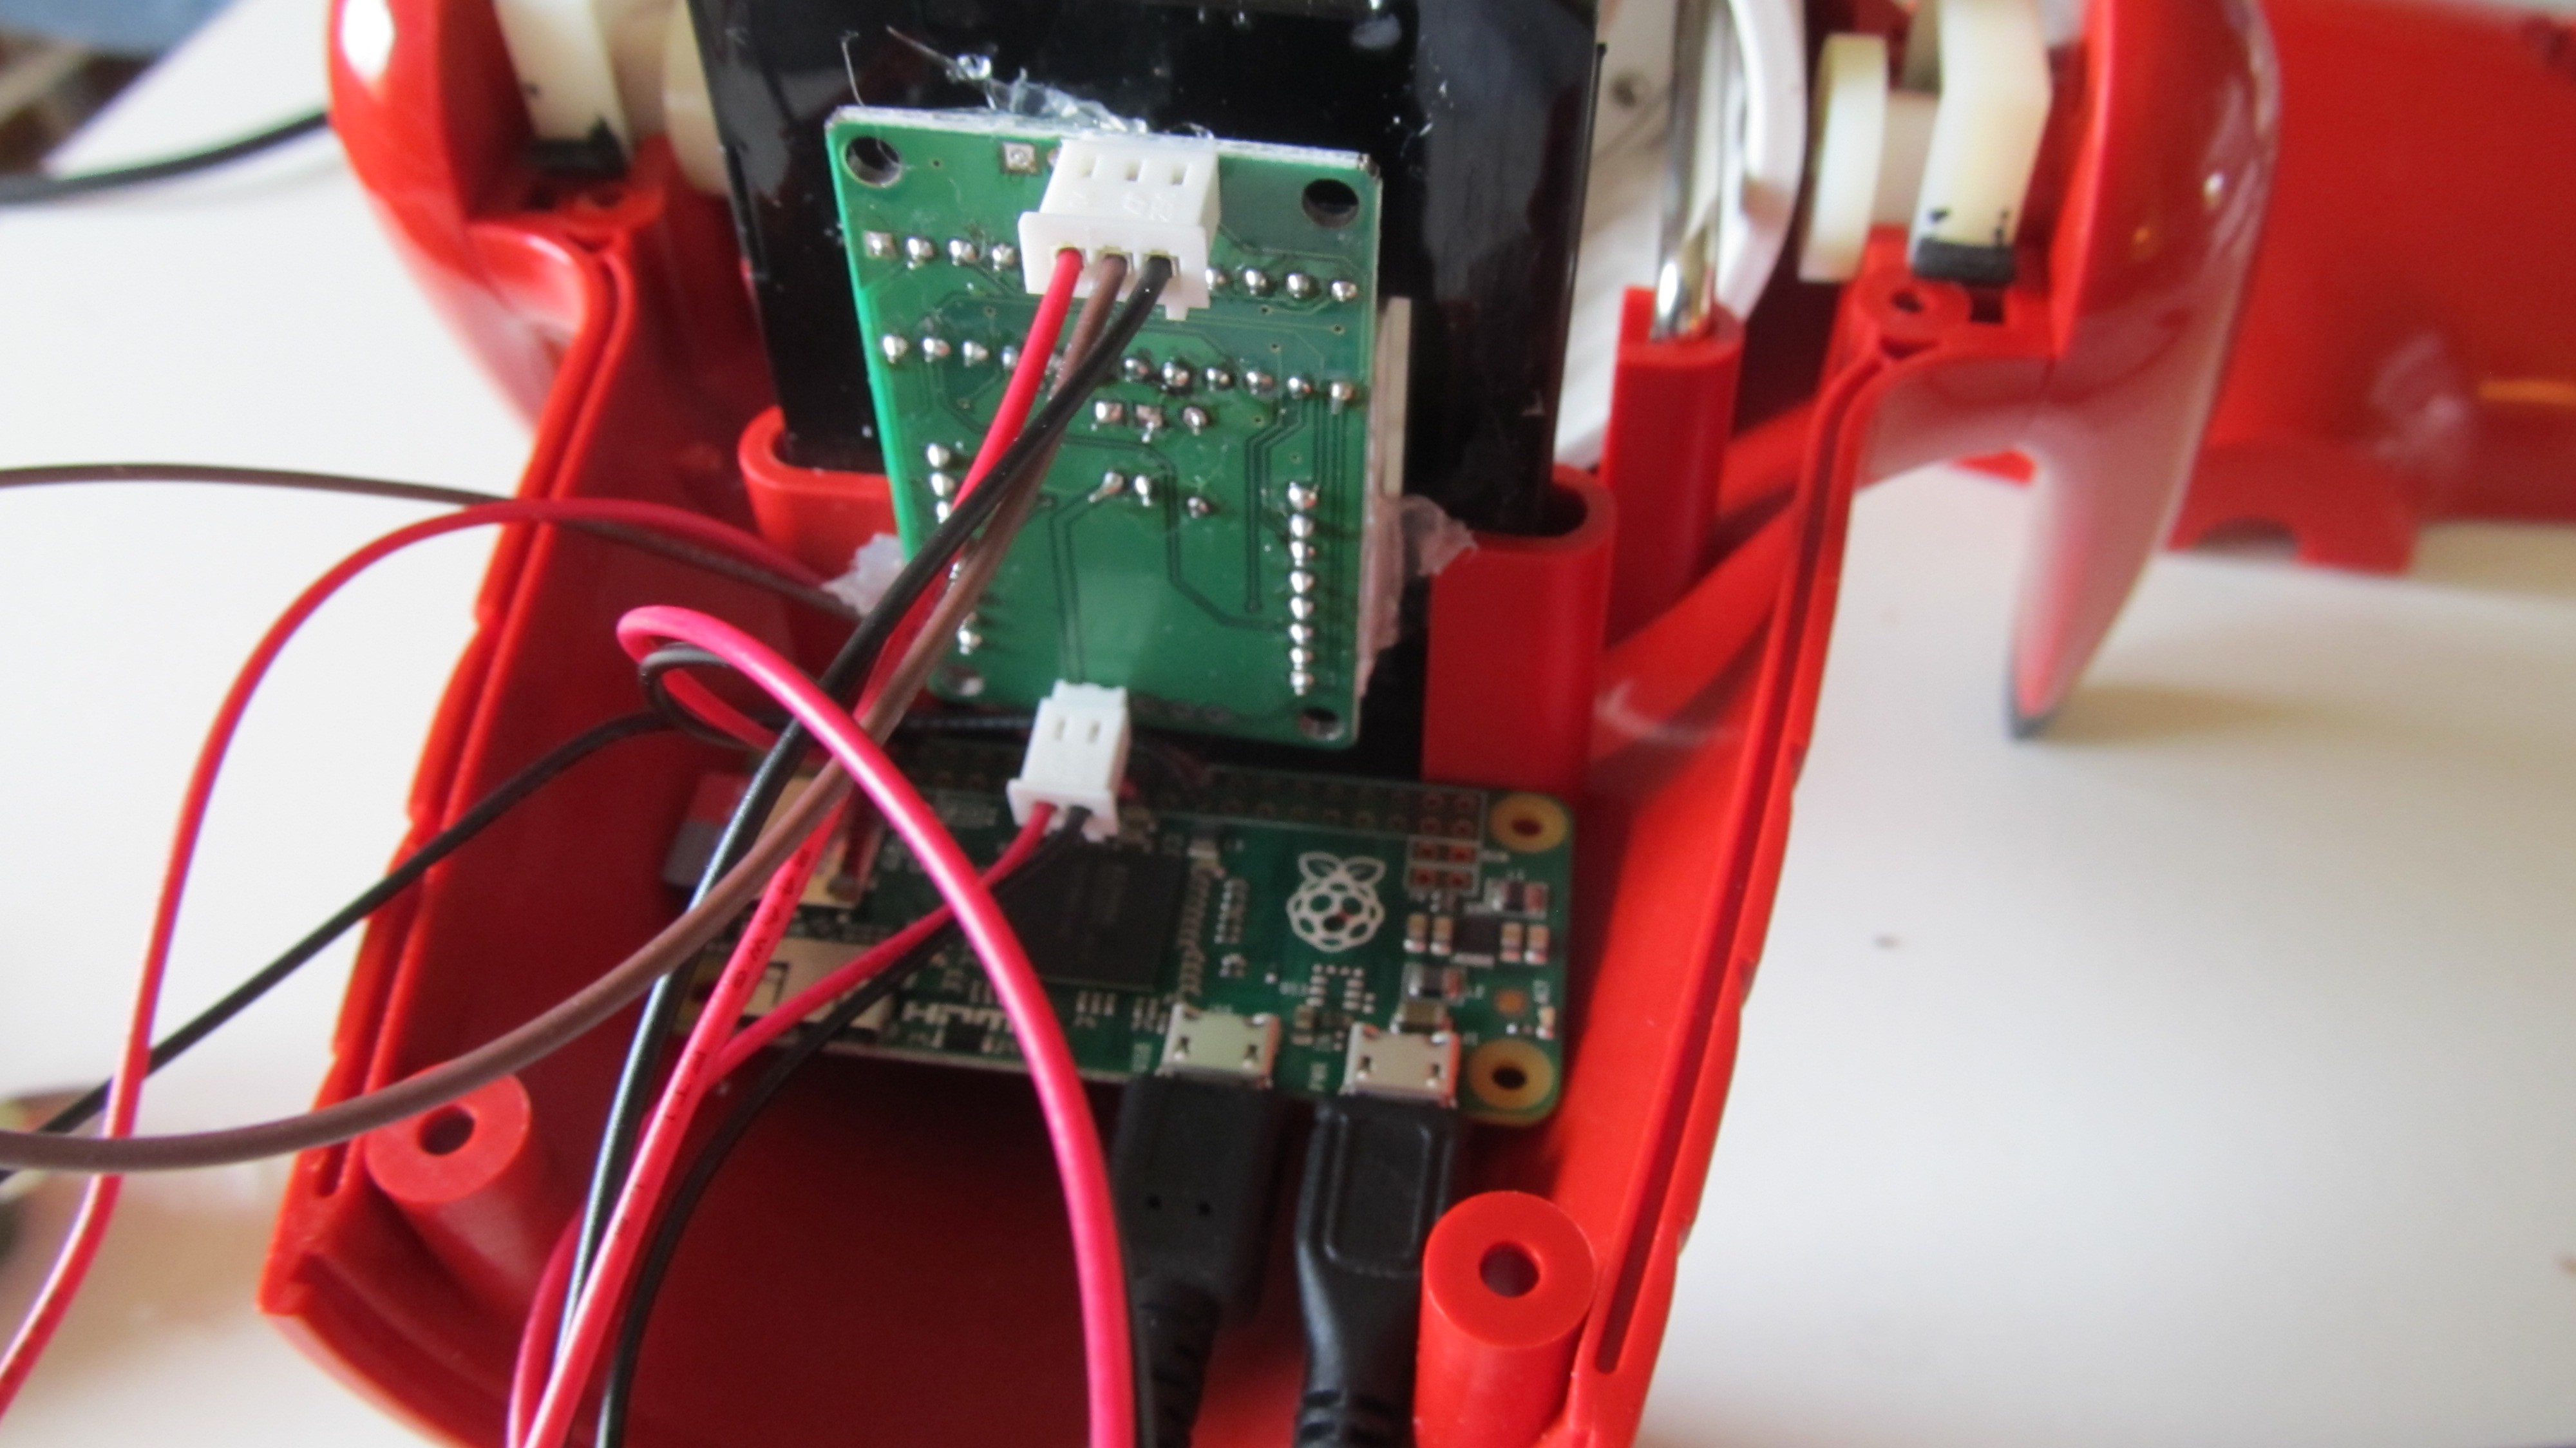
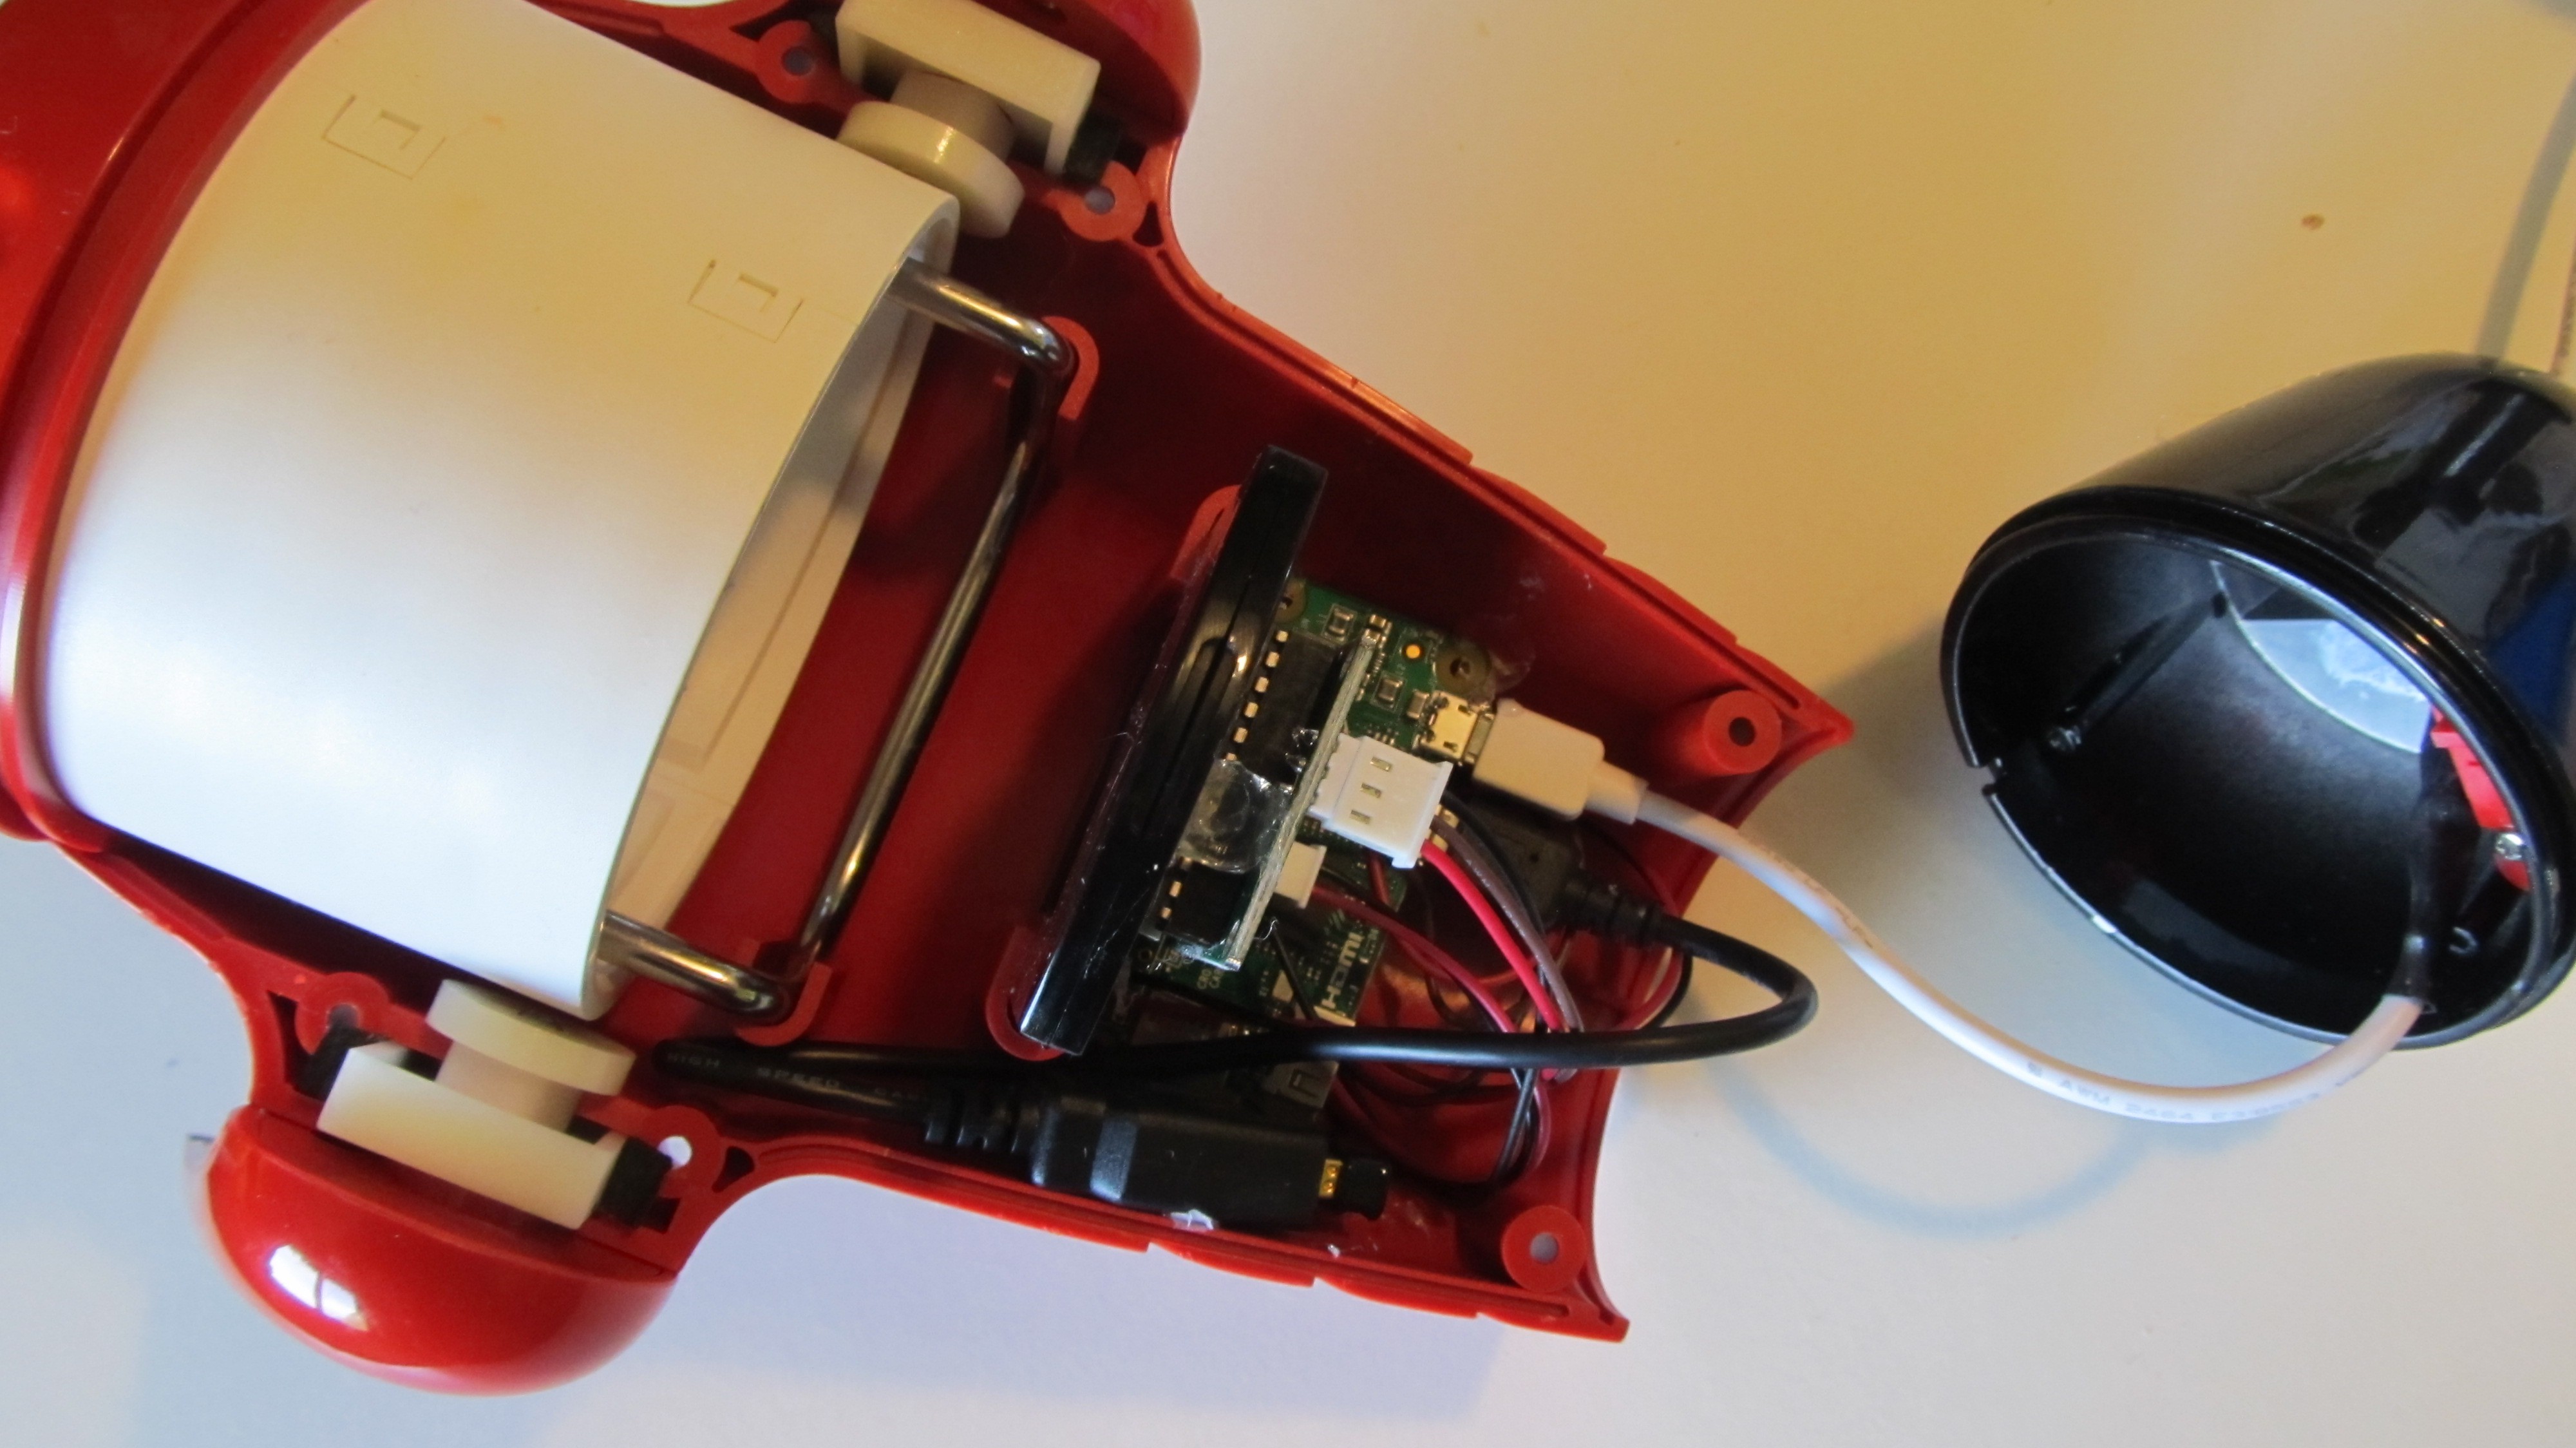
    Slide the the sheetholder with the matrix upside down in the sliders.

    With hot glue fix the pi zero on the bottem.

    Cut a long usb cable and pass it through the hole of the lamp tail. Make a node in the cable as cable relief.

    Solder the cable together again.

    Hot glue the Wifi stick with the ogt cable in the body of the lamp

    Ready to rumble

View all 4 instructions

Enjoy this project?

Share

Discussions

Xasin wrote 02/16/2019 at 16:39 point

This almost makes me want to take apart the LCD screen of my ESP WROVER Kit, and slap that in front of this exact light. I bet that could even work out really well since it's an RGB LCD!

Also, why'd you decide to go for the Raspberry Zero? It does work well, but is also a little overpowered for such a clock ... Right? >.<

  Are you sure? yes | no

lalalandrus wrote 09/03/2016 at 06:22 point

  Are you sure? yes | no

Alain Mauer wrote 09/03/2016 at 07:46 point

Wow, looks great. I also tried first a Led watch, but mine was not bright enough, so I used the Led matrix :)

  Are you sure? yes | no

Similar Projects

Does this project spark your interest?

Become a member to follow this project and never miss any updates