 charliex
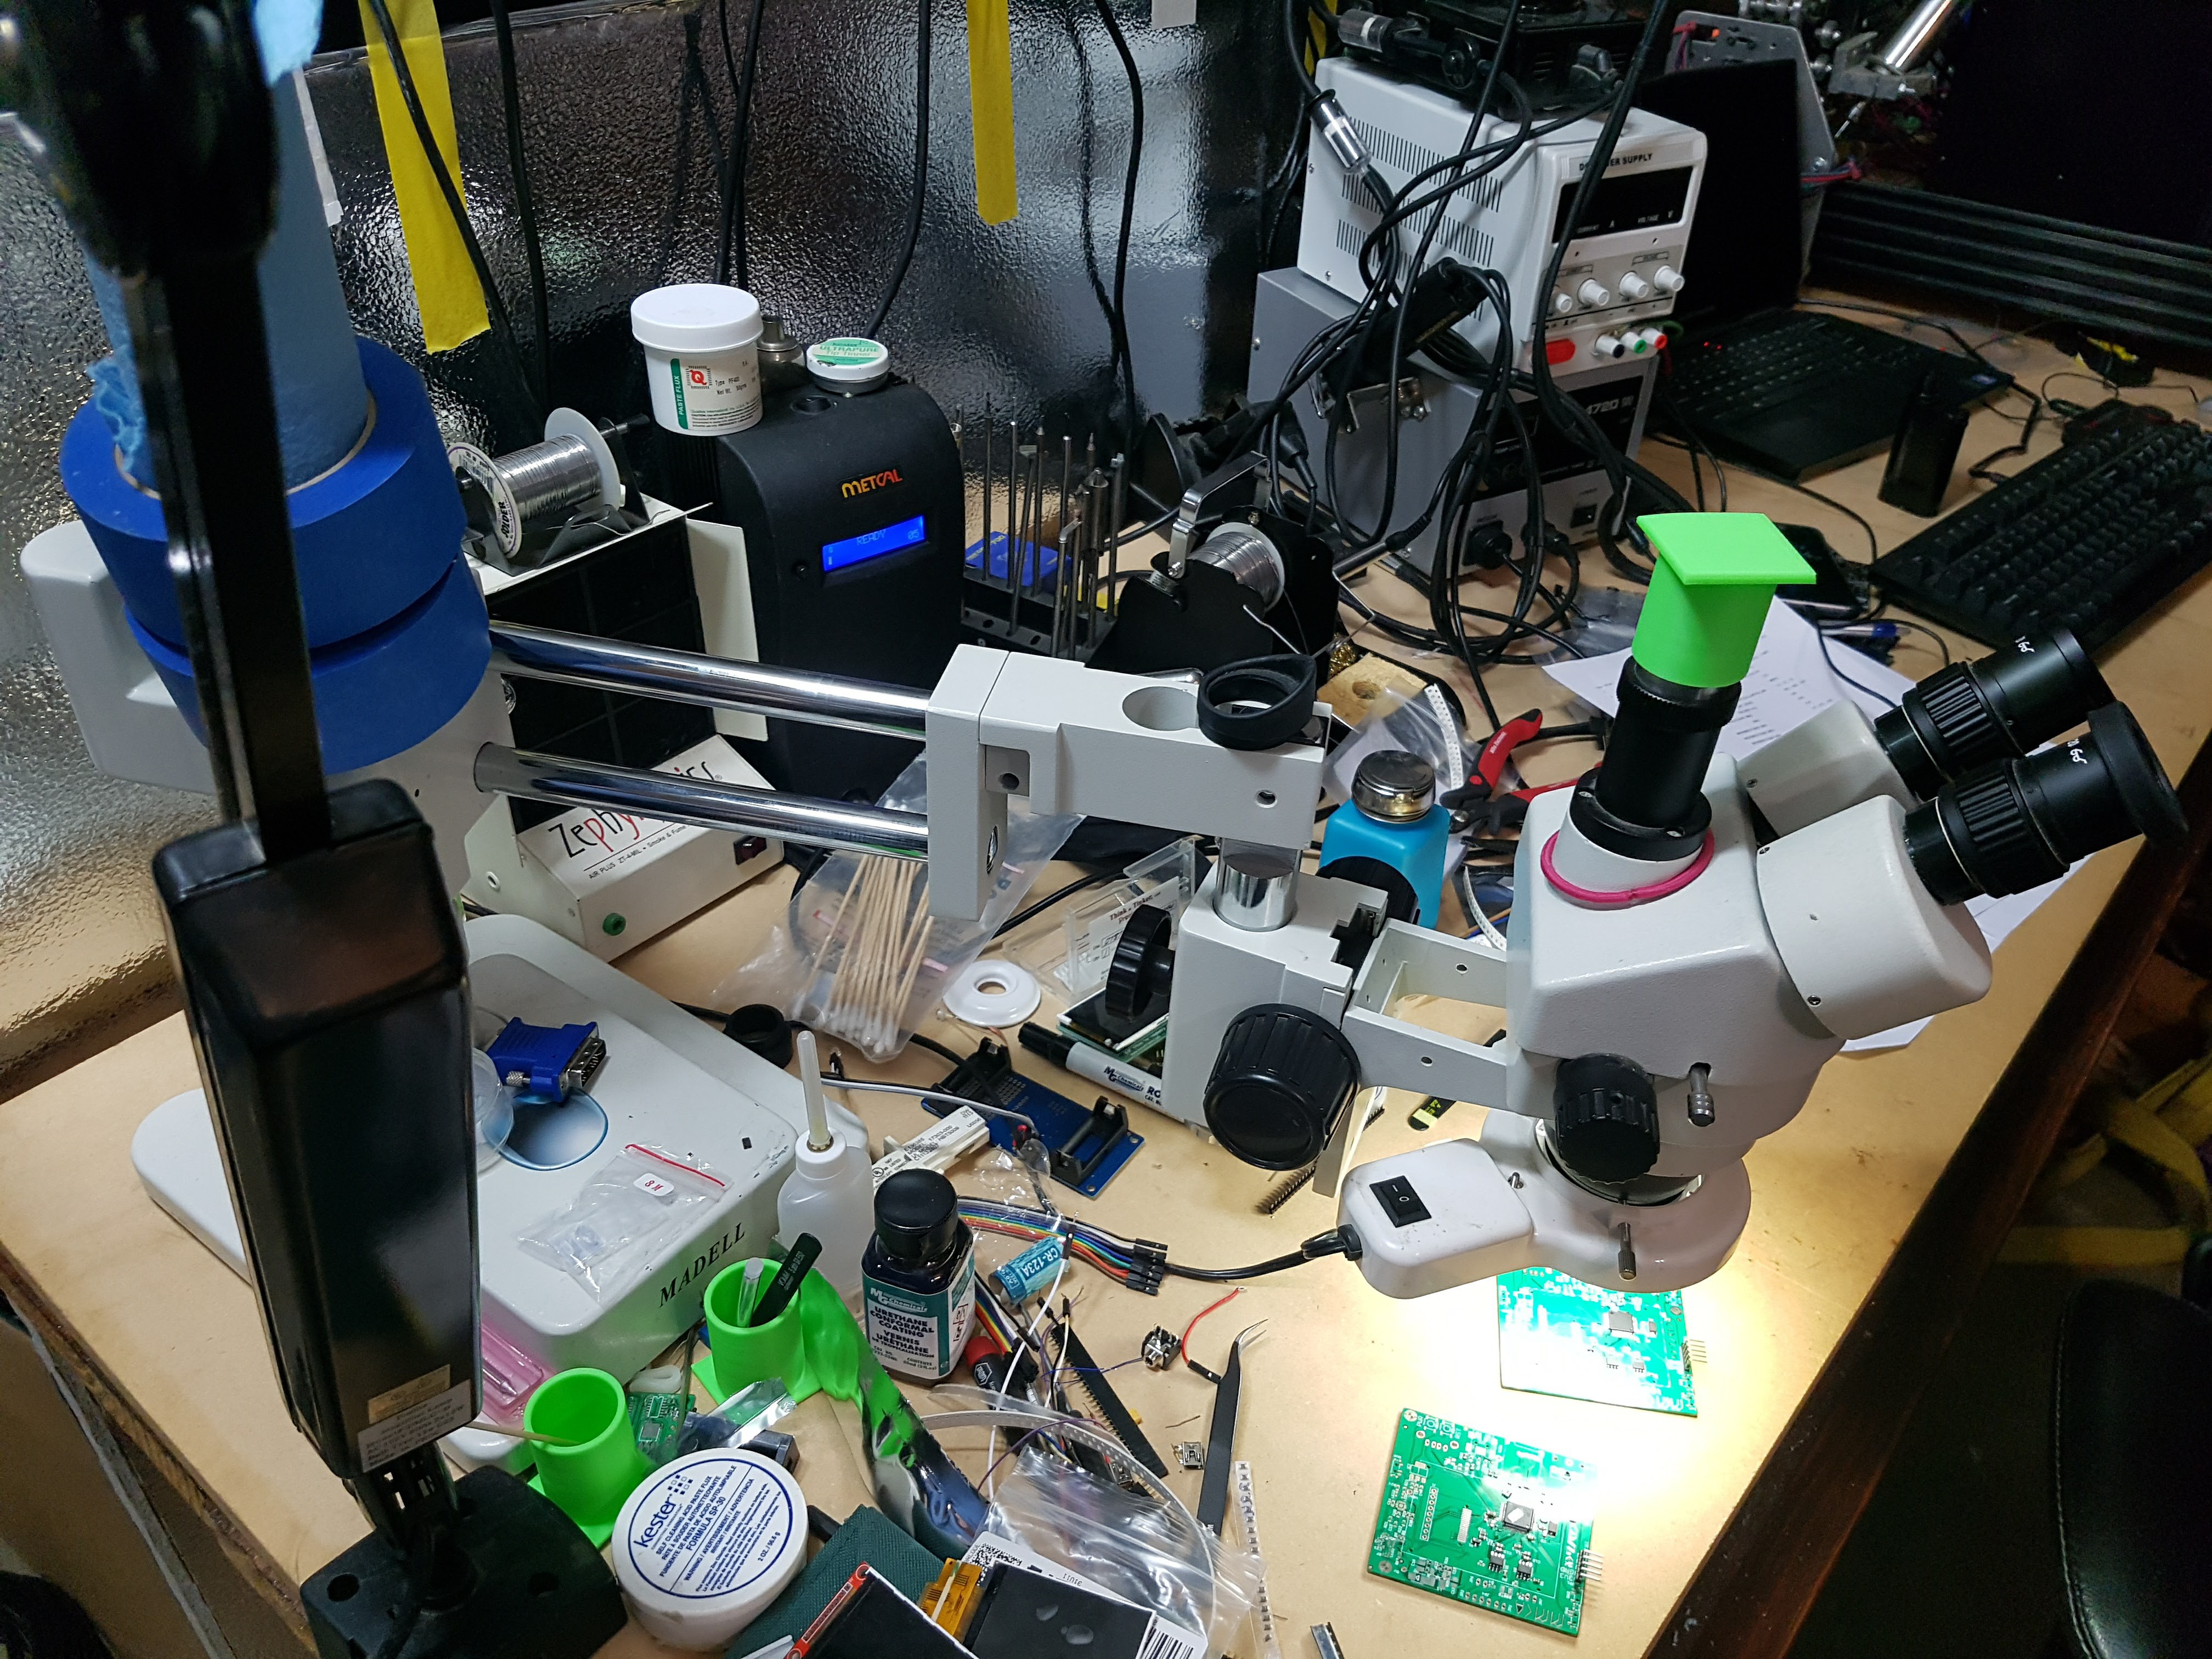
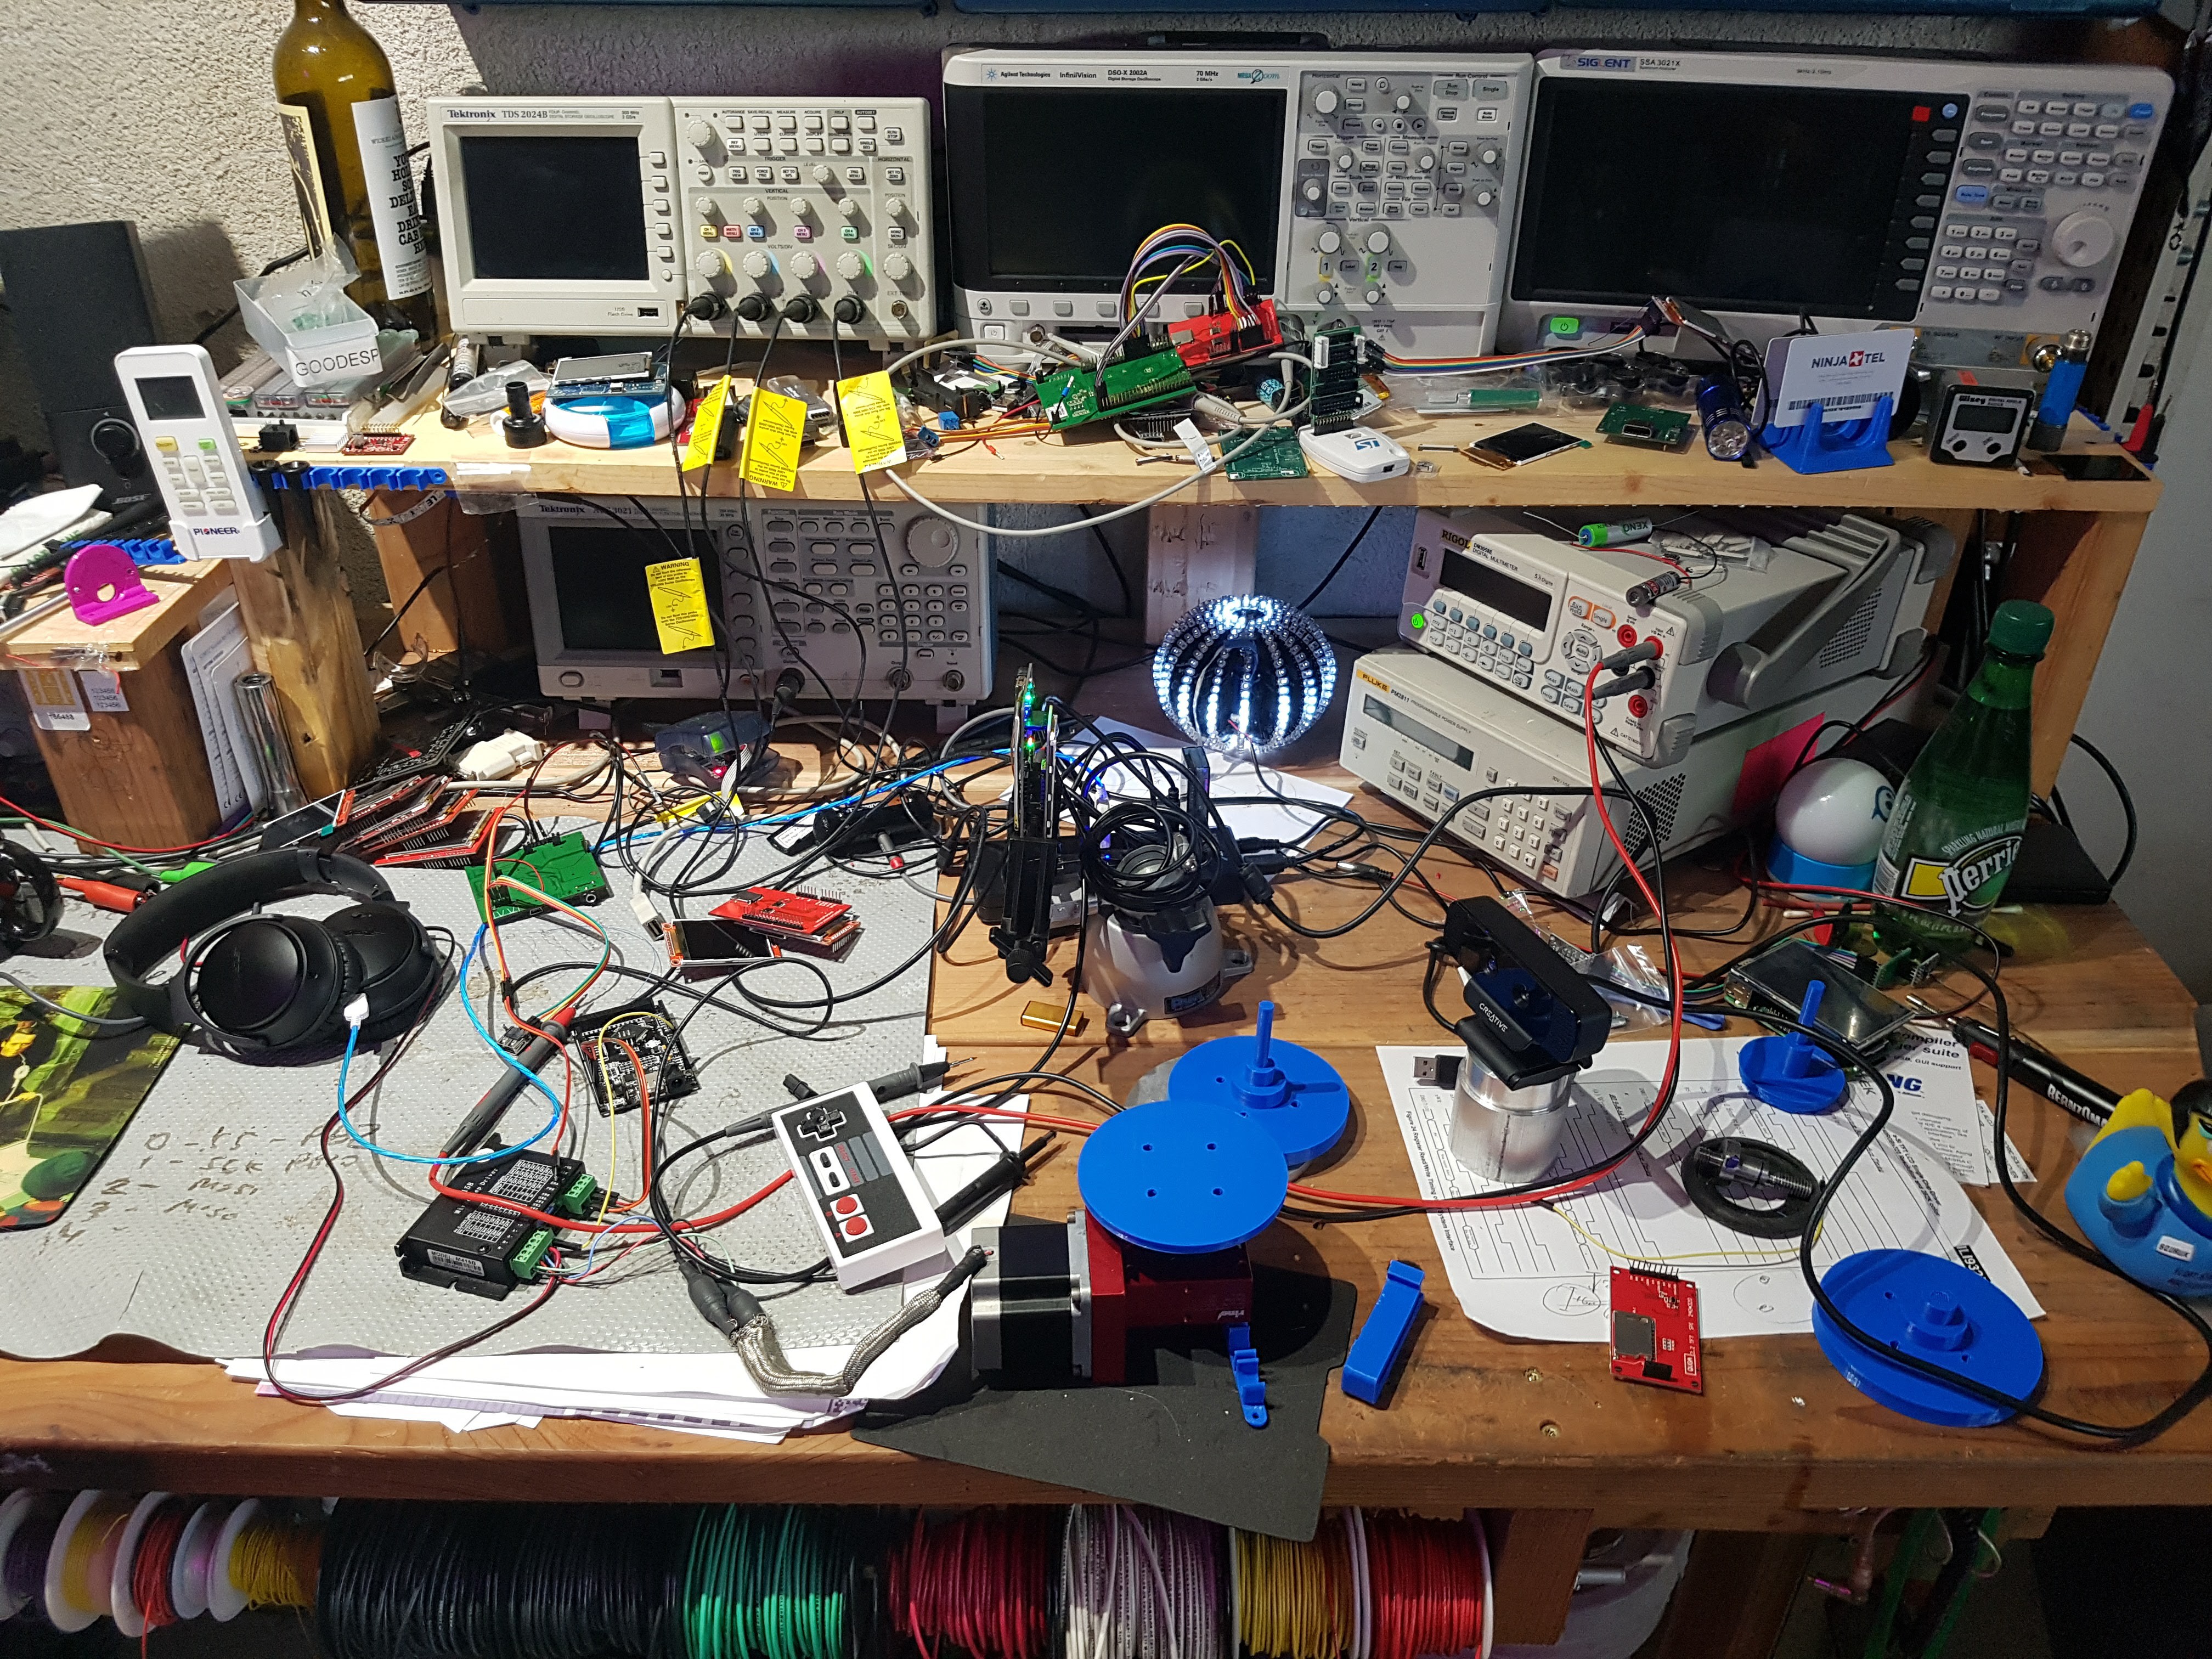
We're at the last stage of prototyping
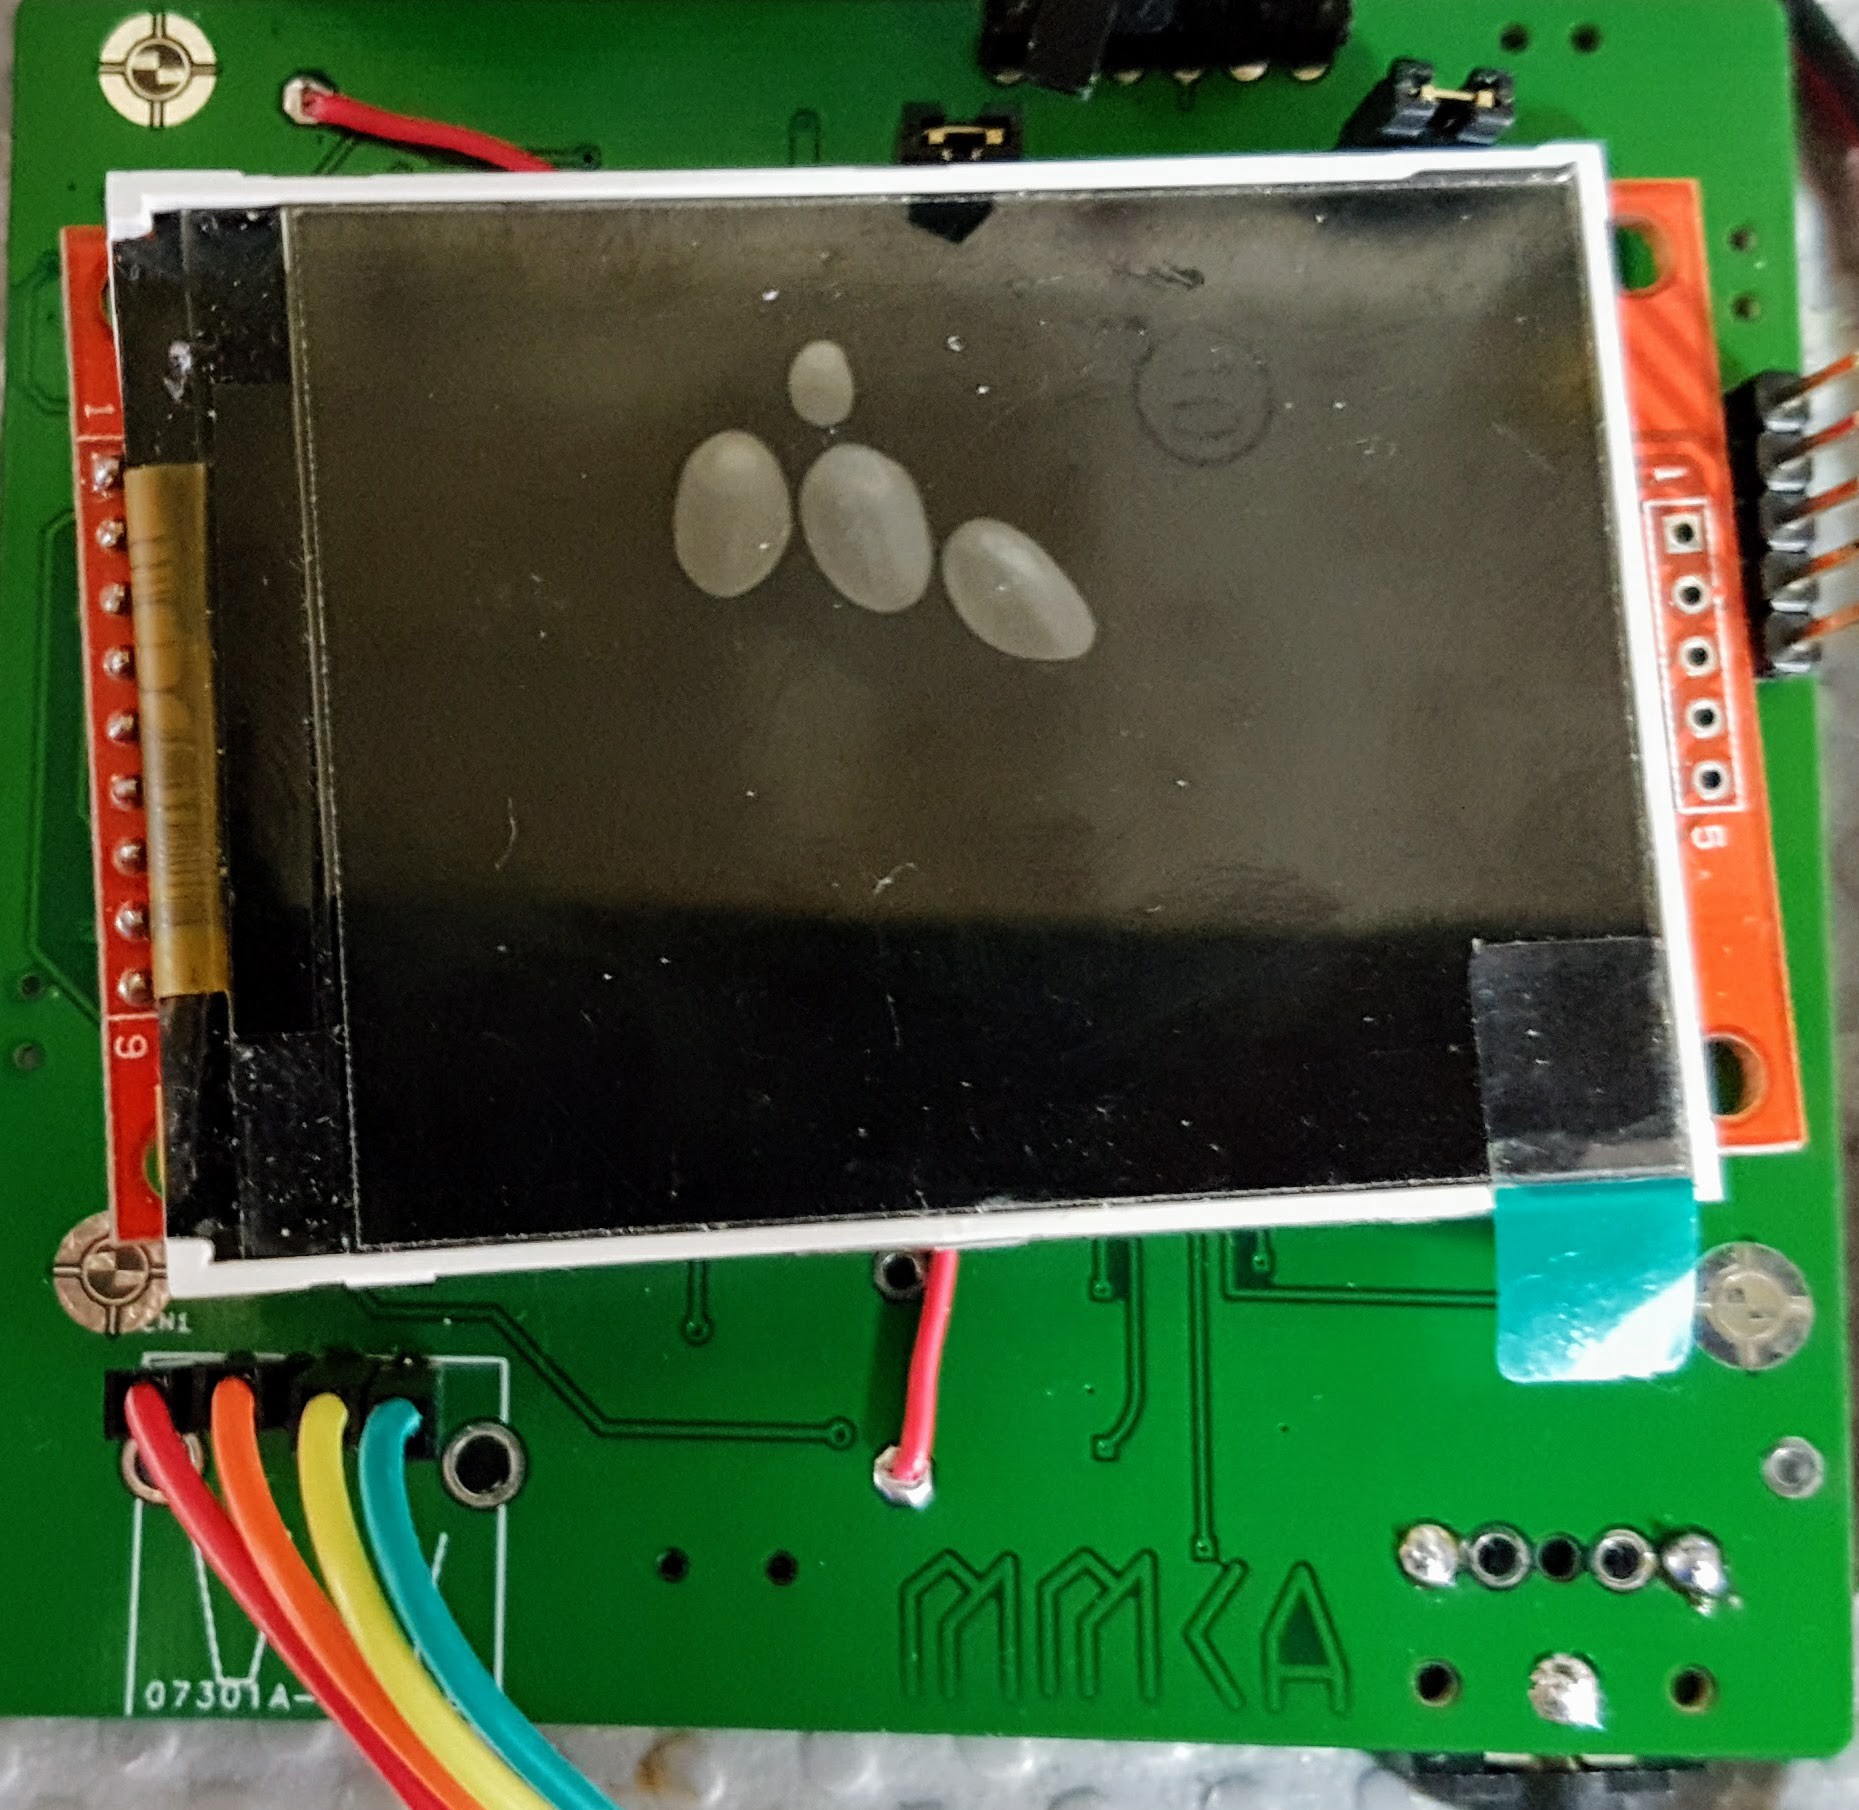
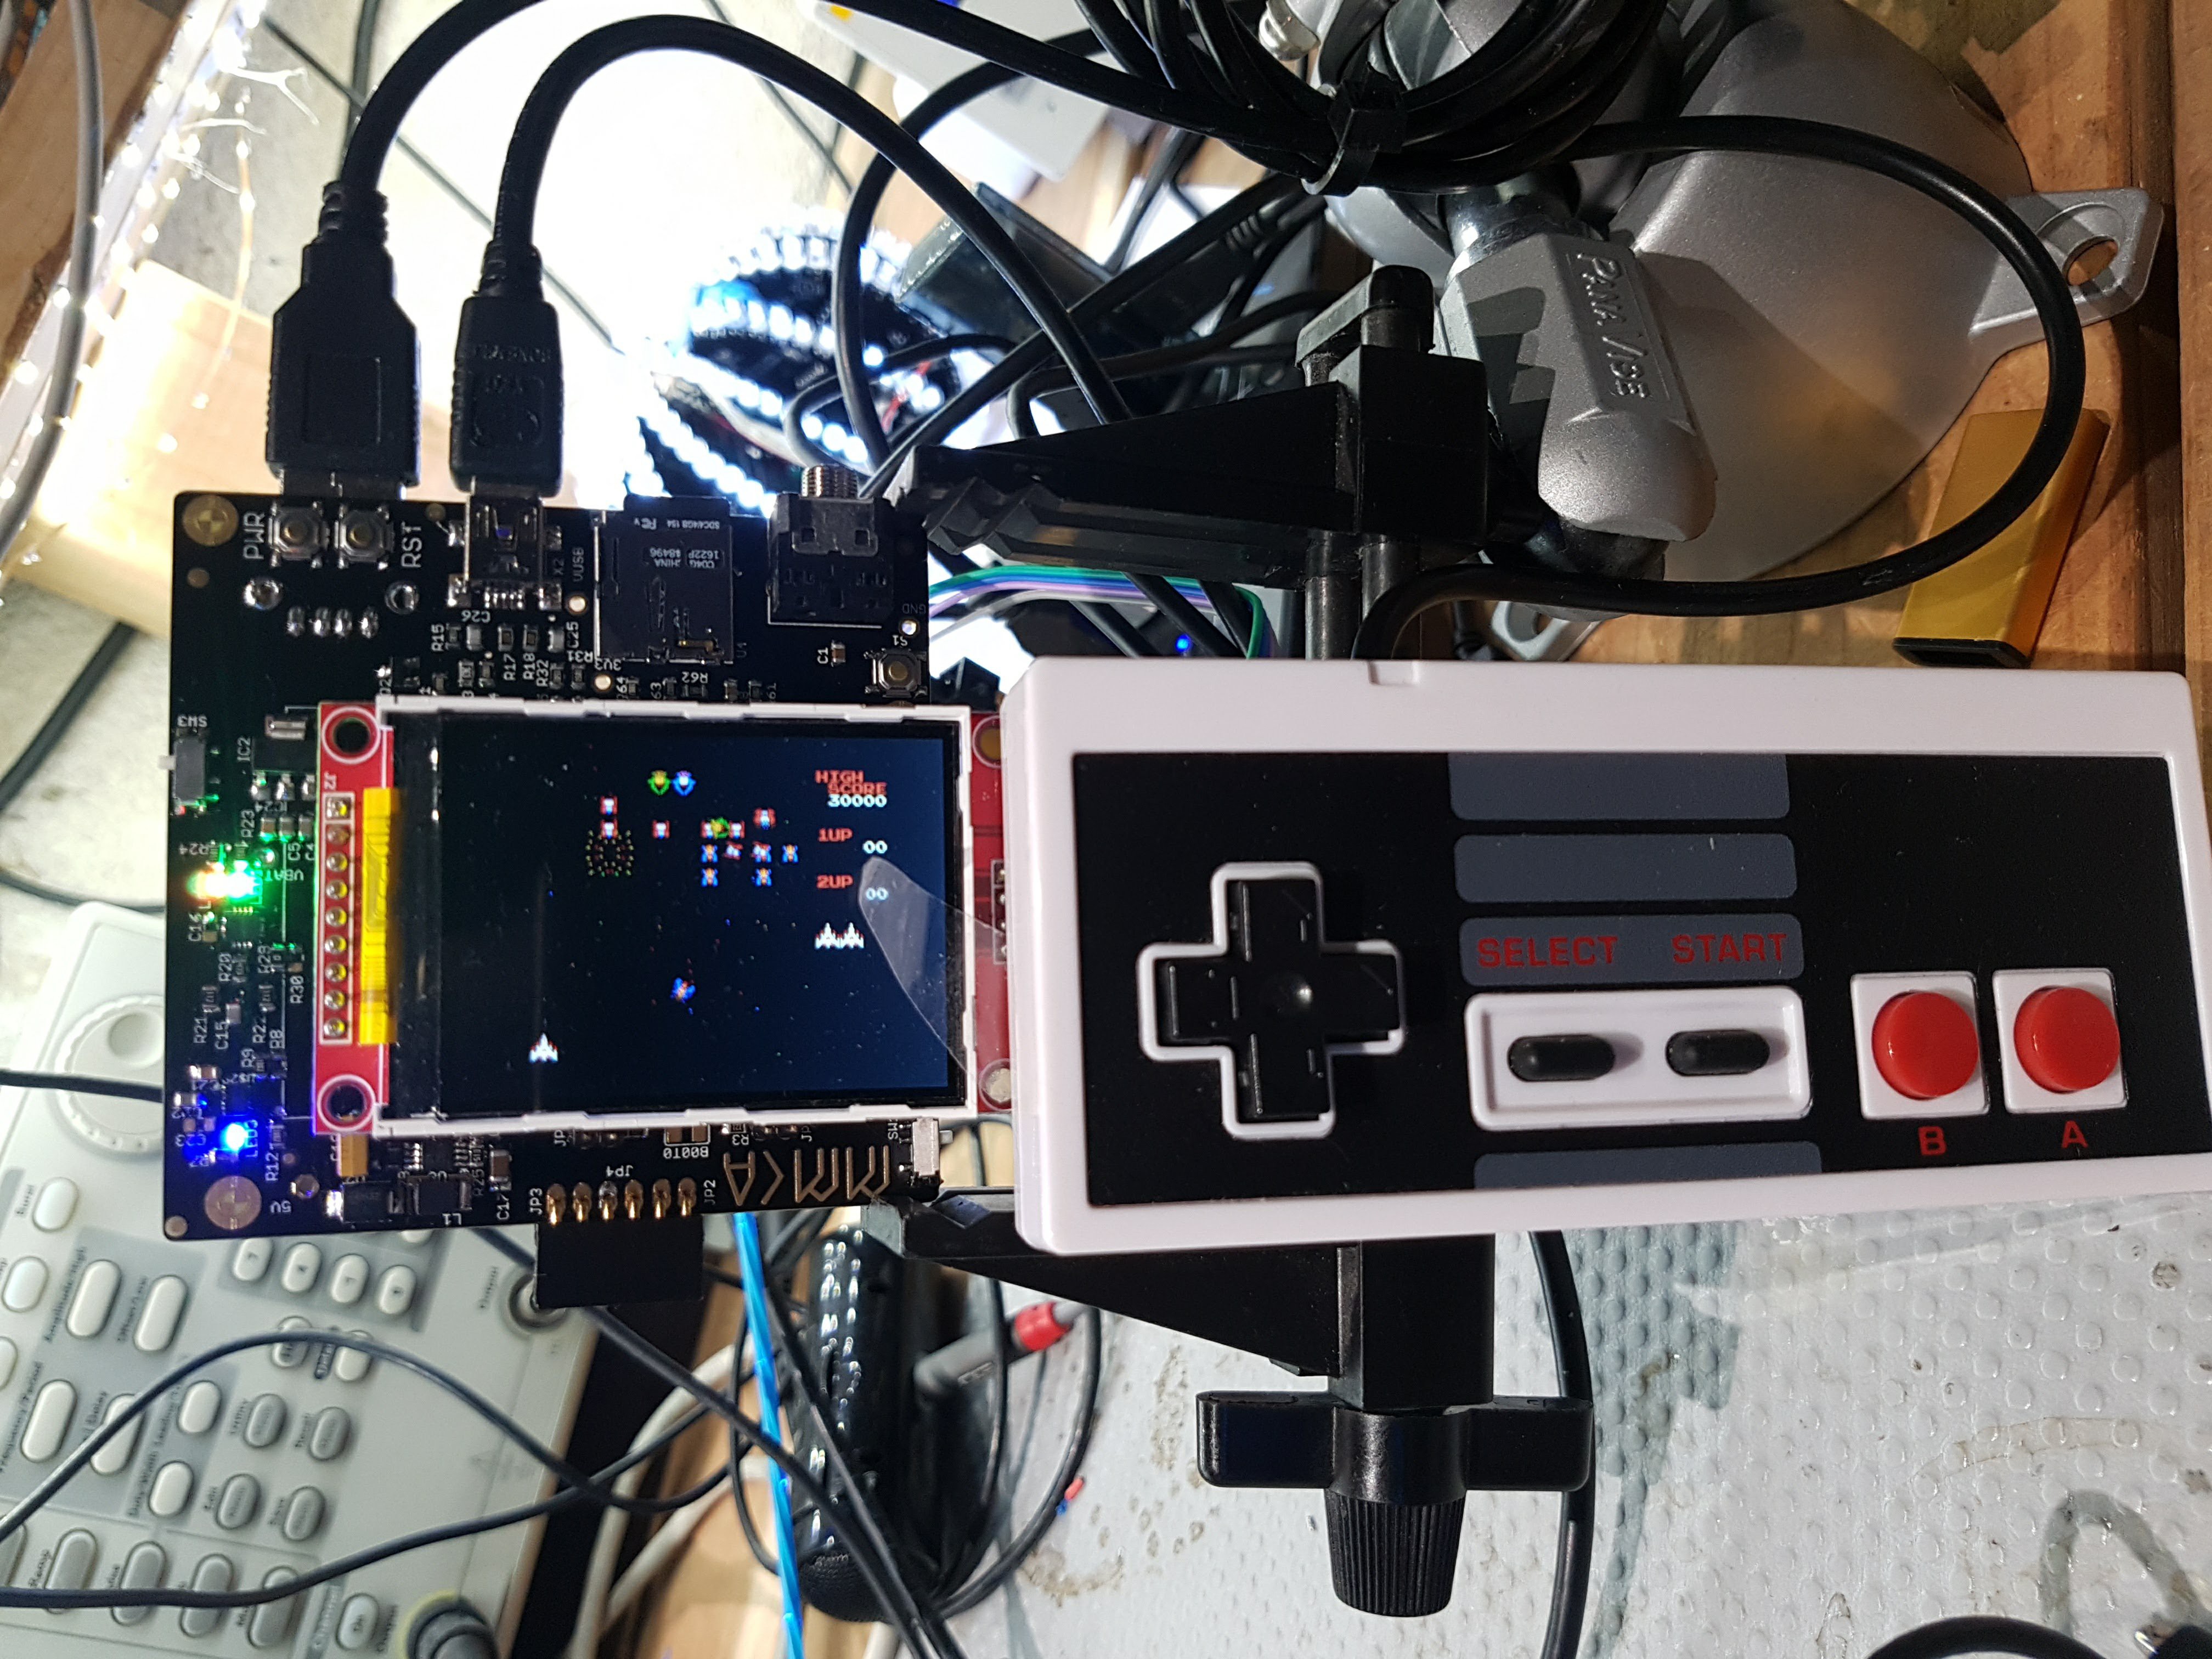
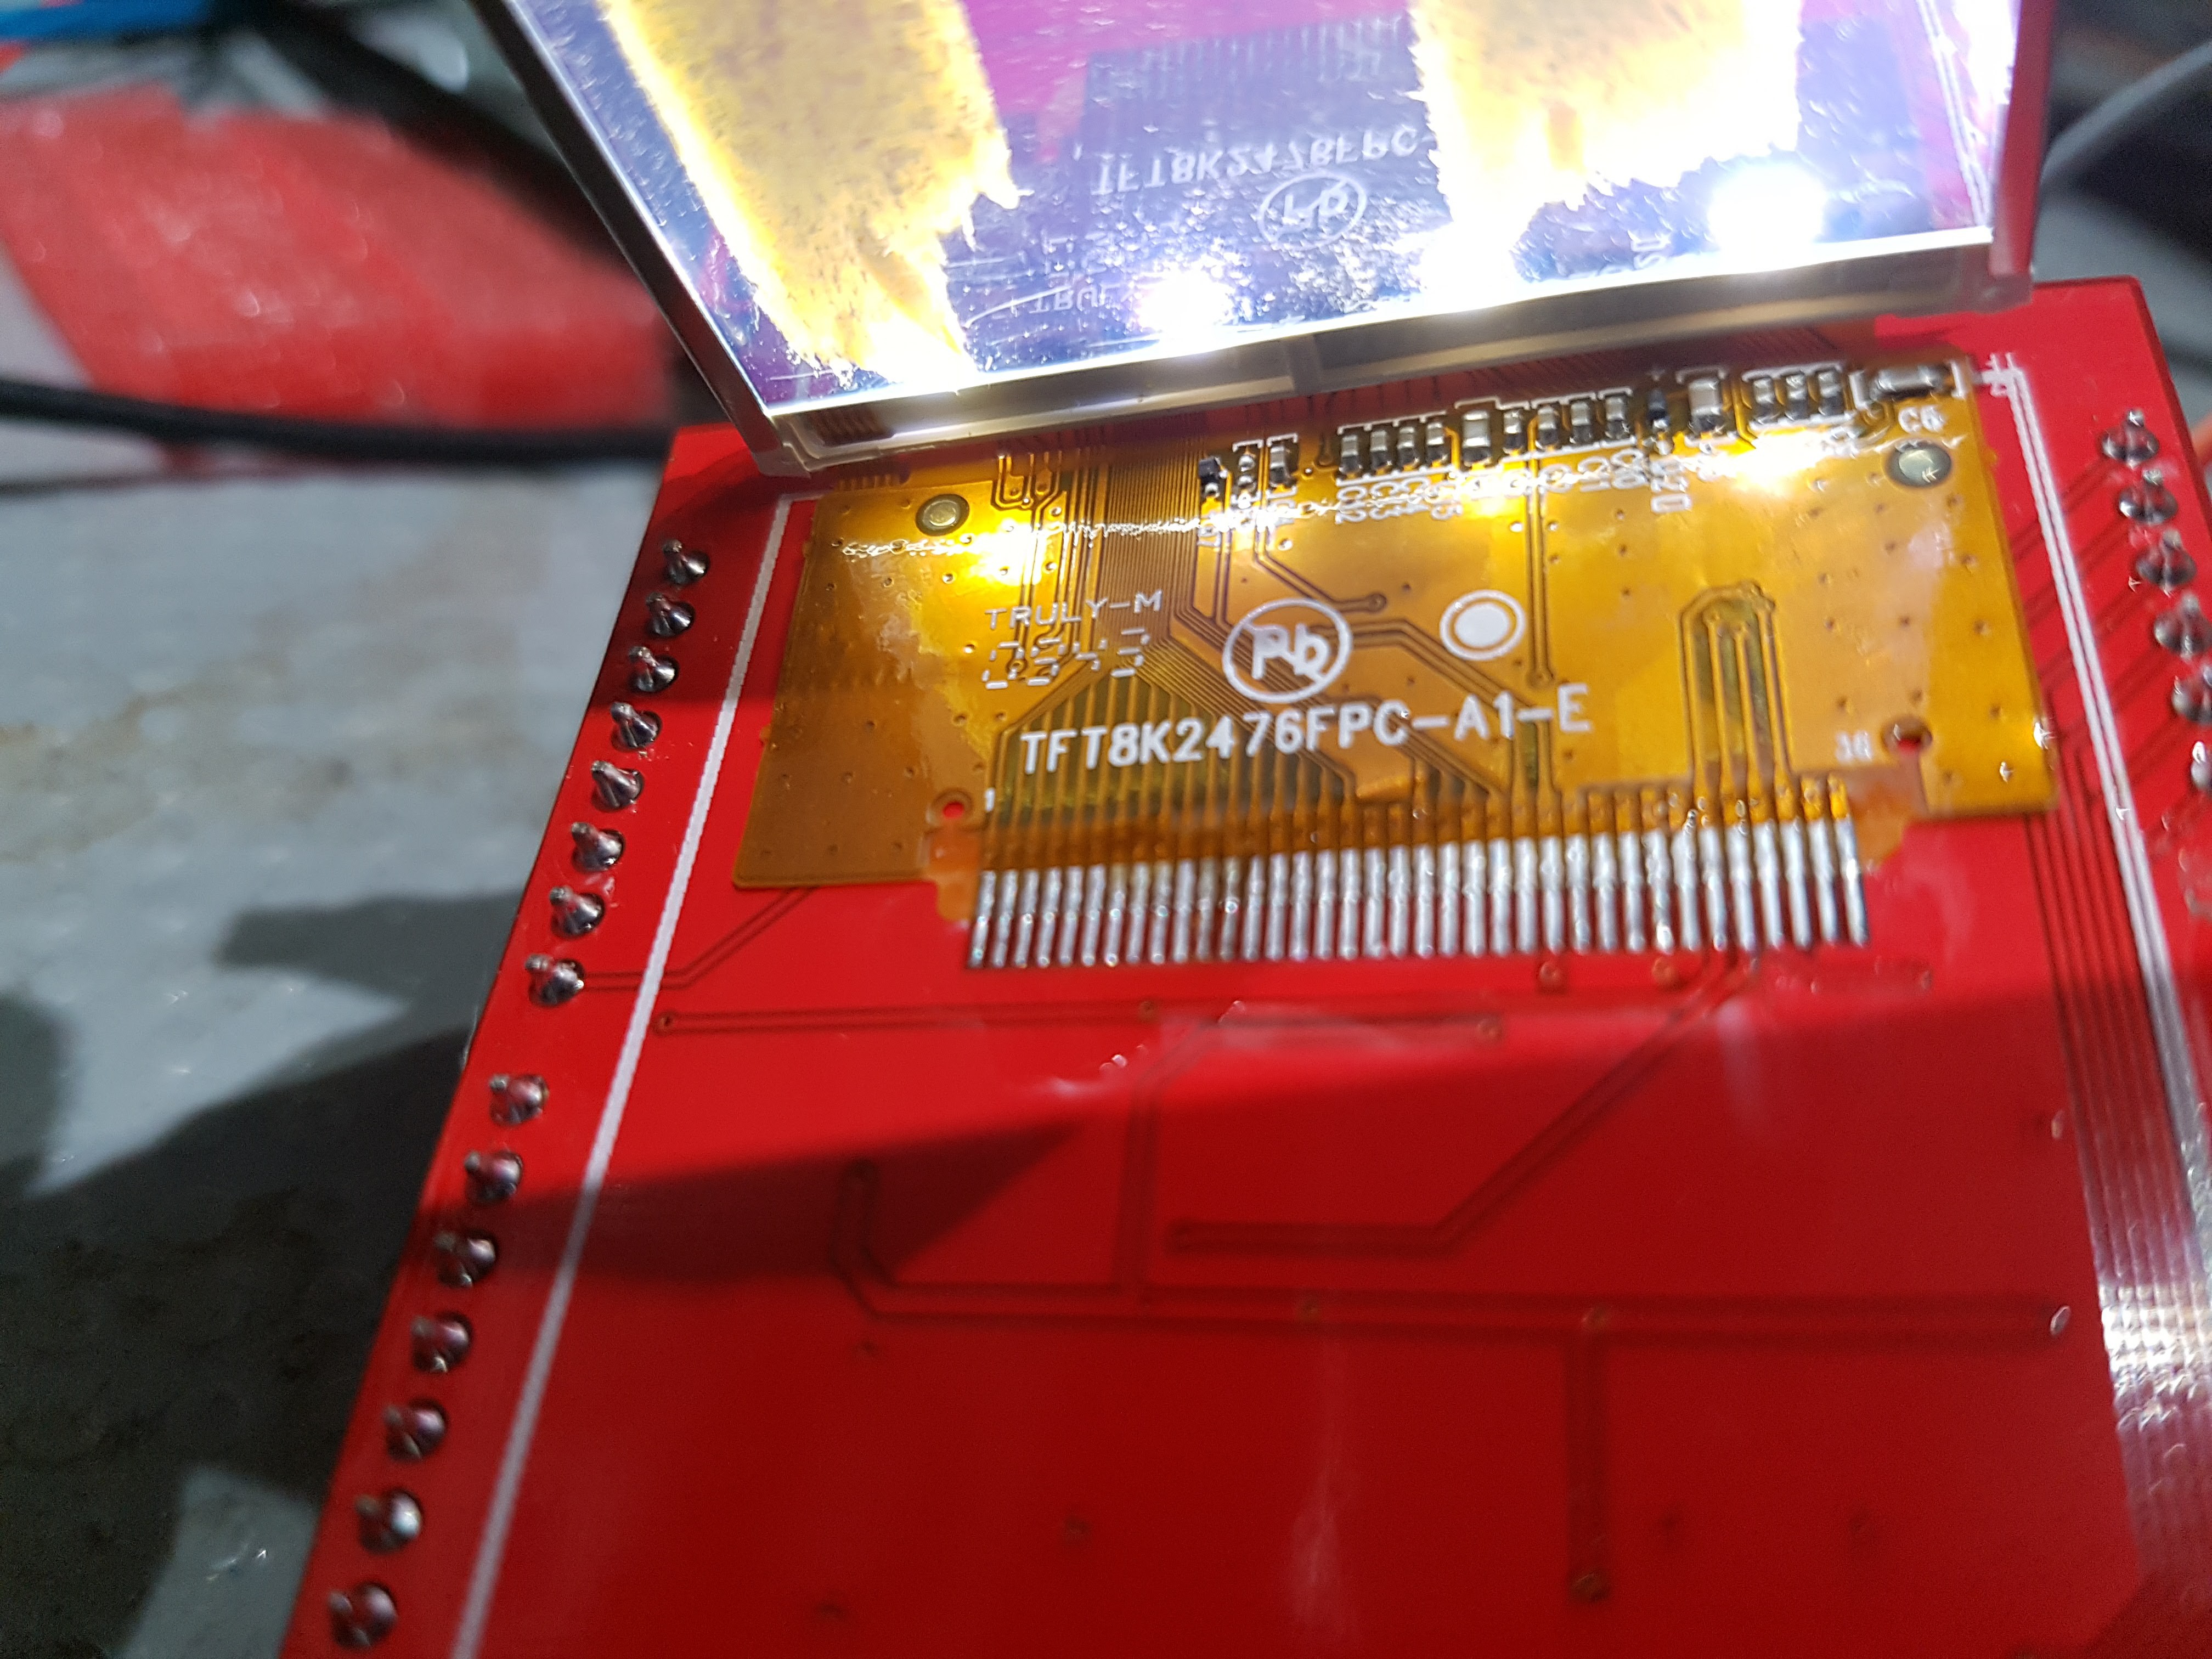
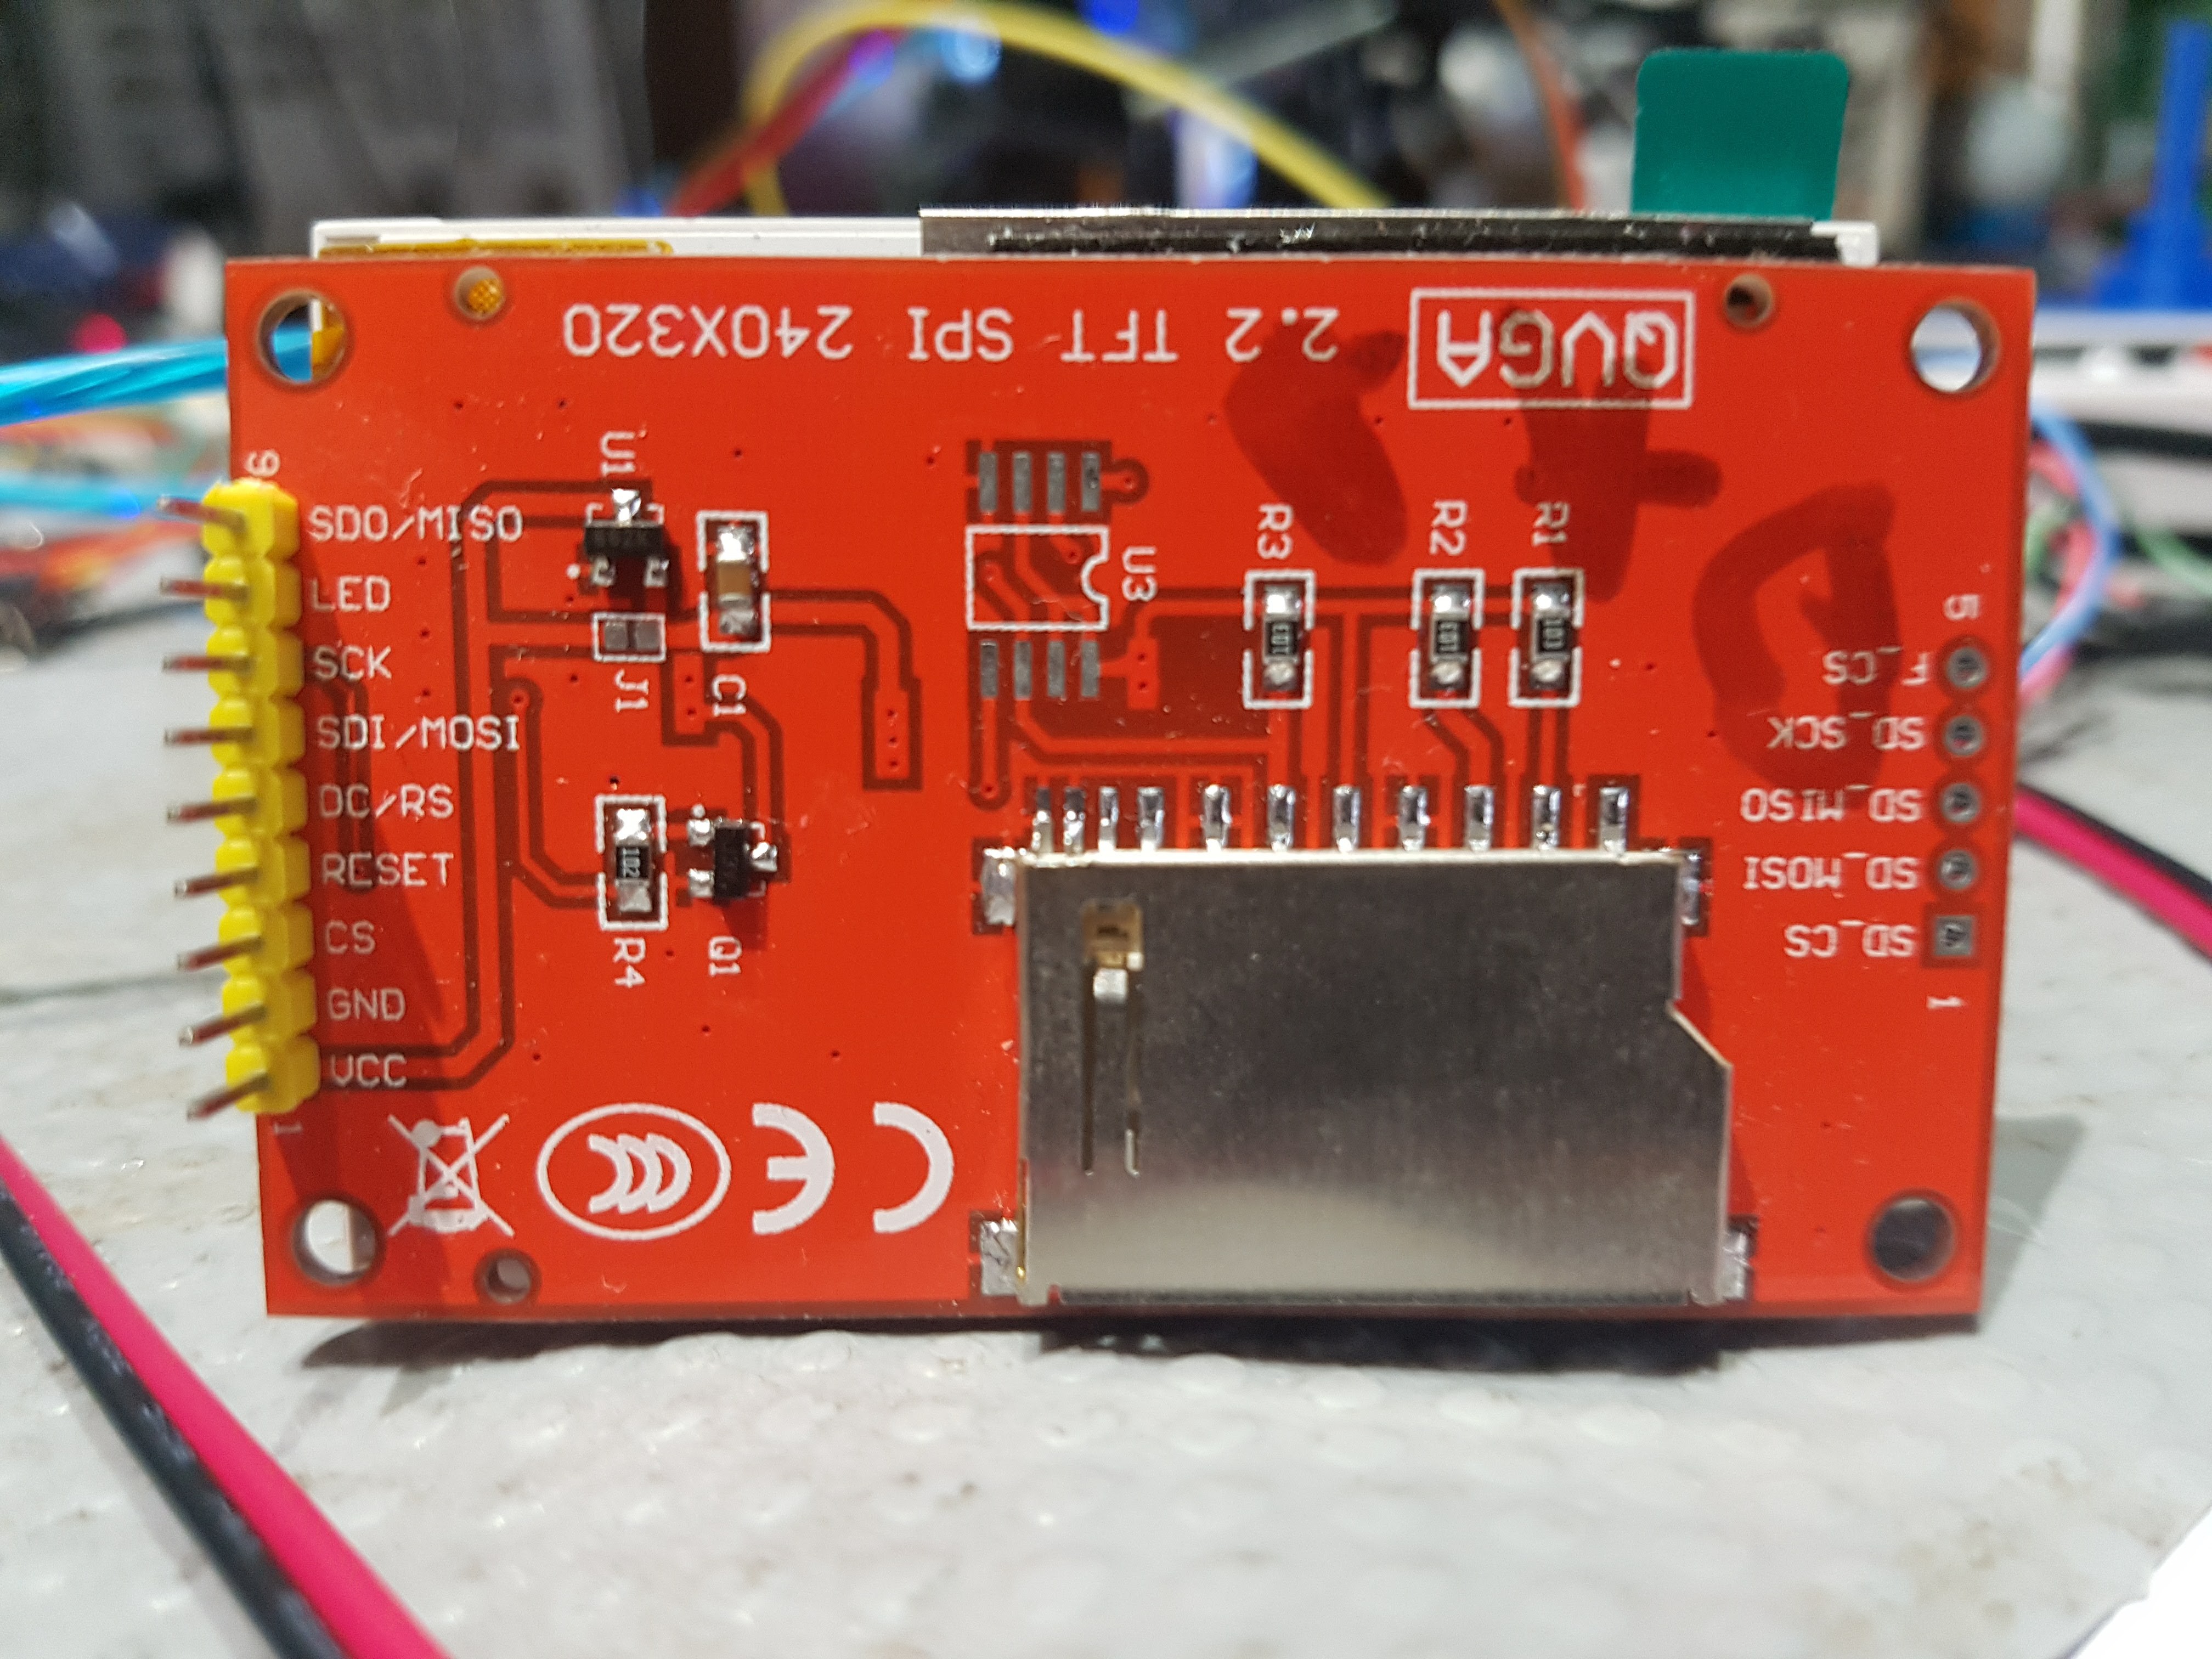
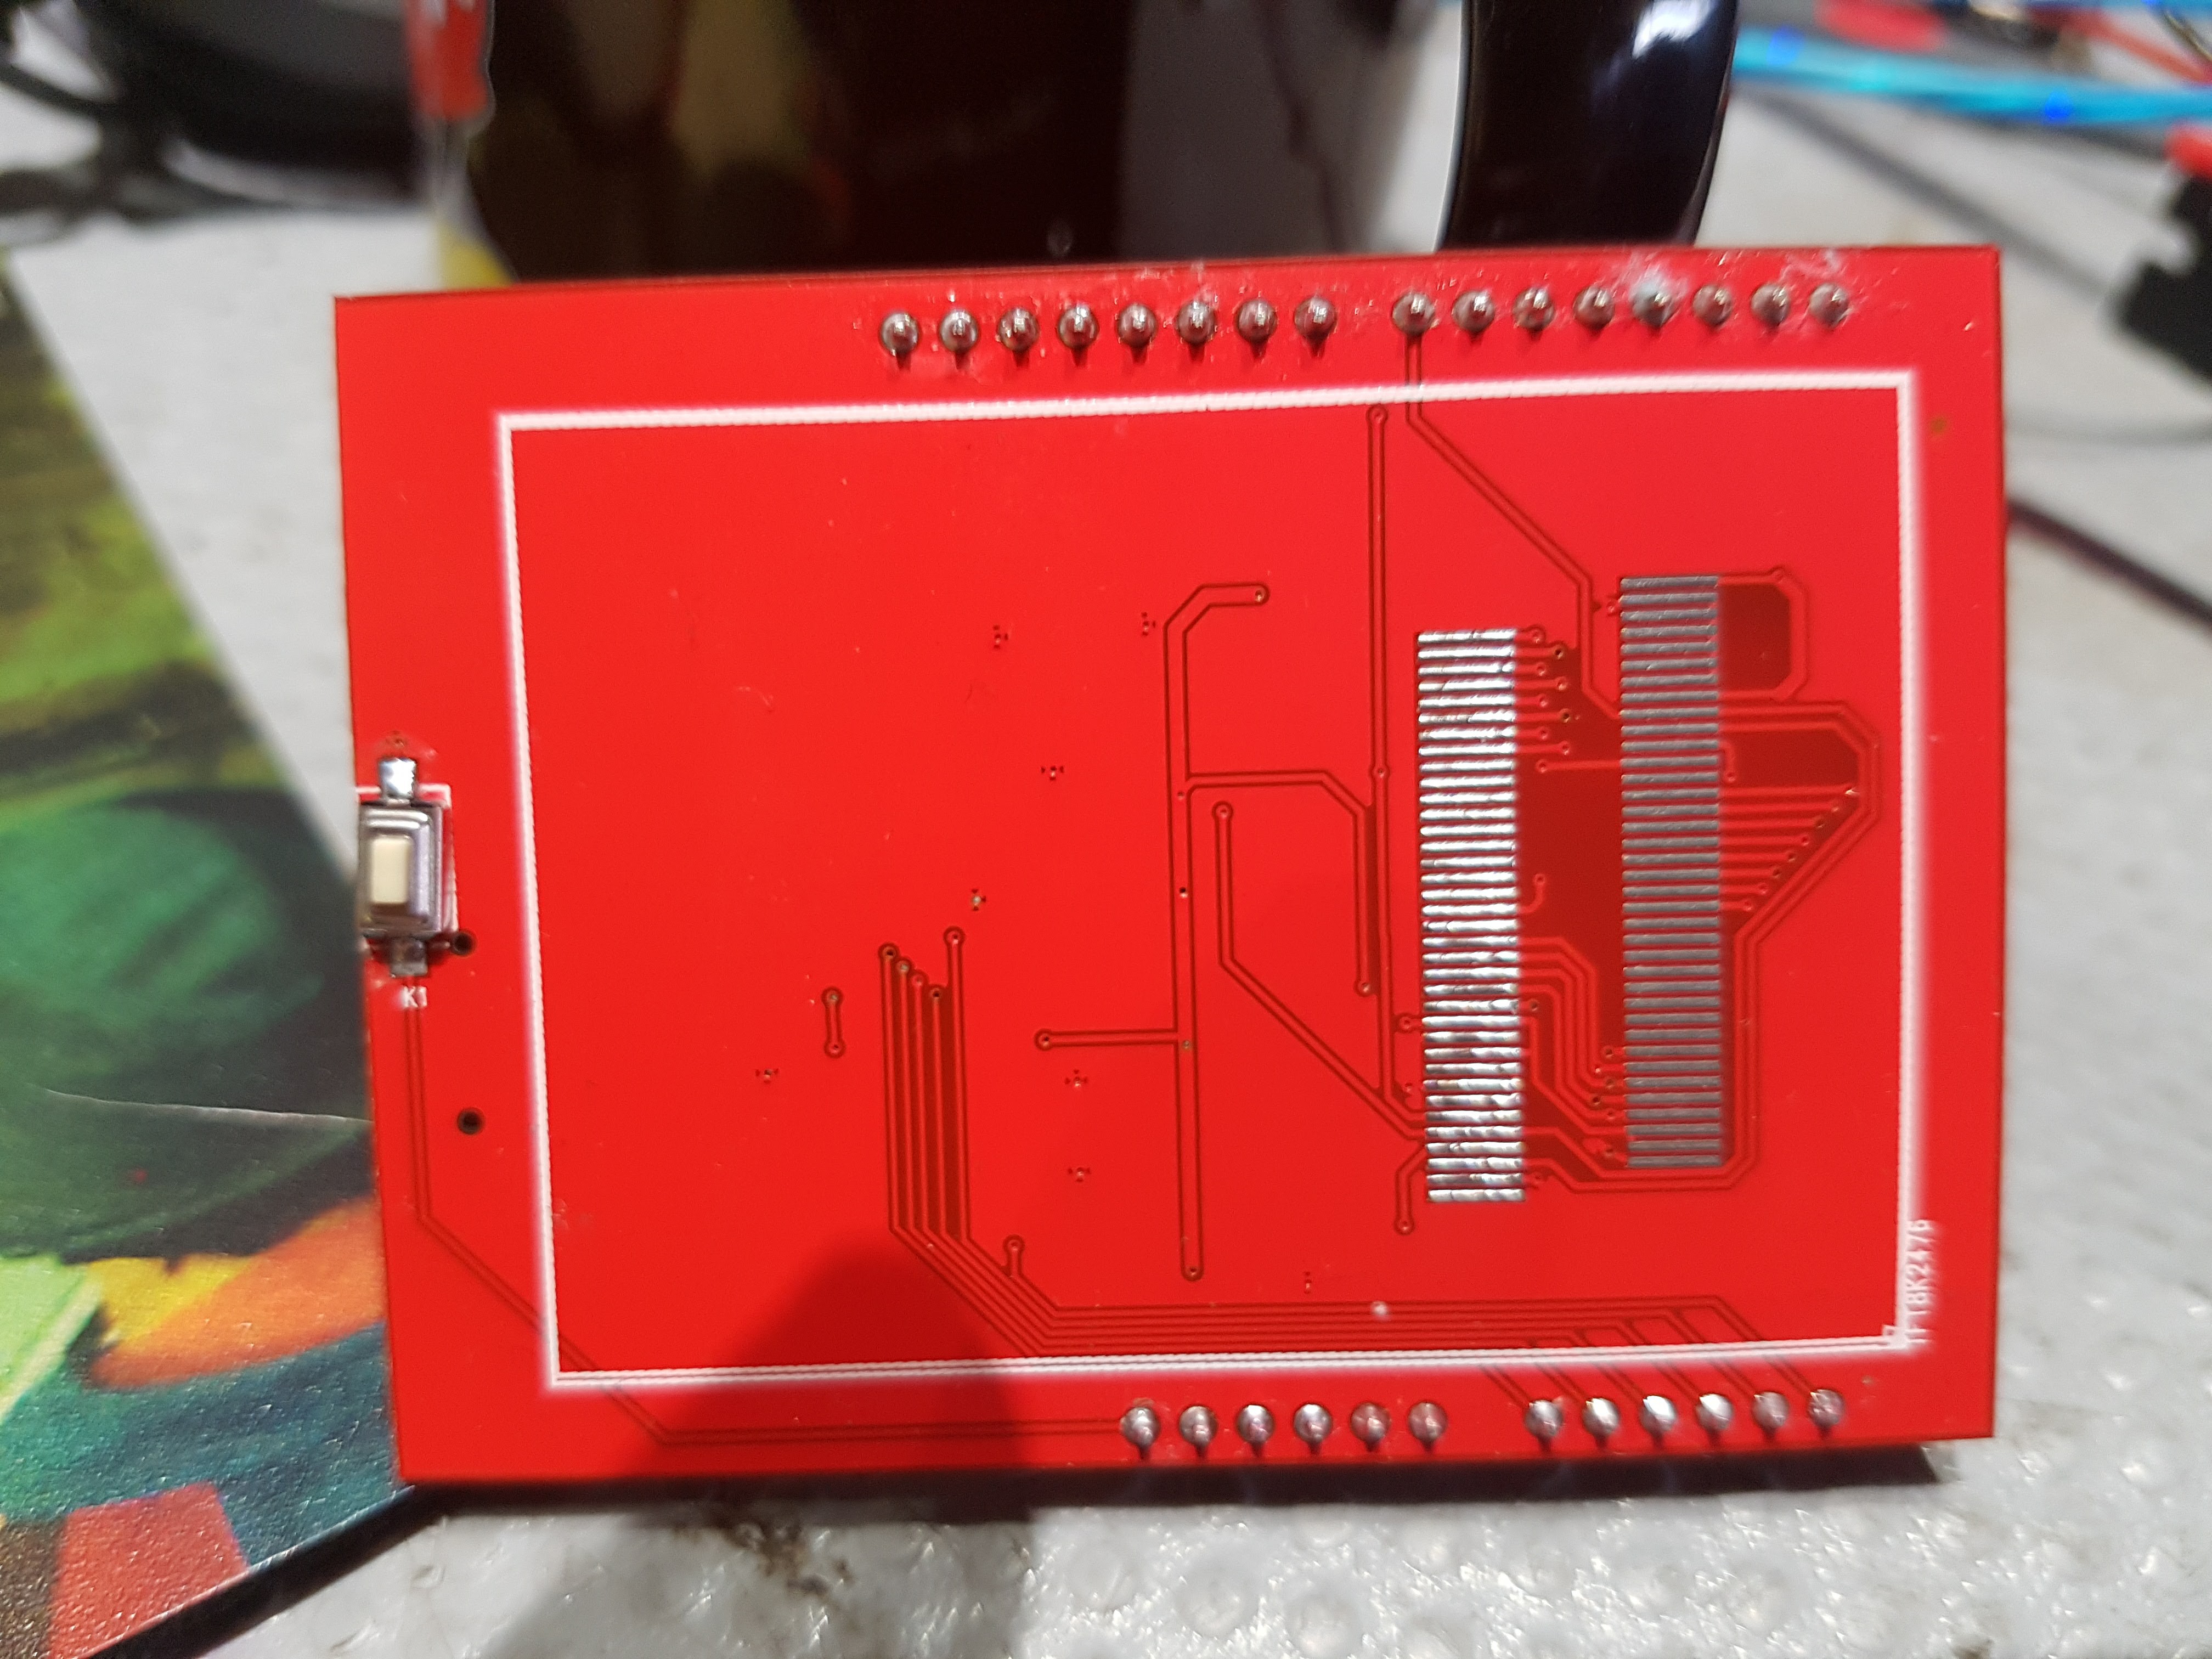
- 2.2 or 2.4" TFT display that is DMA driven SPI for 30+ FPS, ILIO9341/45 supported
- STM32F446 LQFP64 is the current leader, Now supports 446/405 and 415
- SDCARD smaller size SPI driven (prototype six)
- Twin CAN bus for 1Mbps CAN with two transceivers TI sn65vhd230 supports 235 as well
- USB , supporting HID controller
- USB host
- Headers for cables to external CAN Bus
- Breakout for second CAN for MITM or dual logging
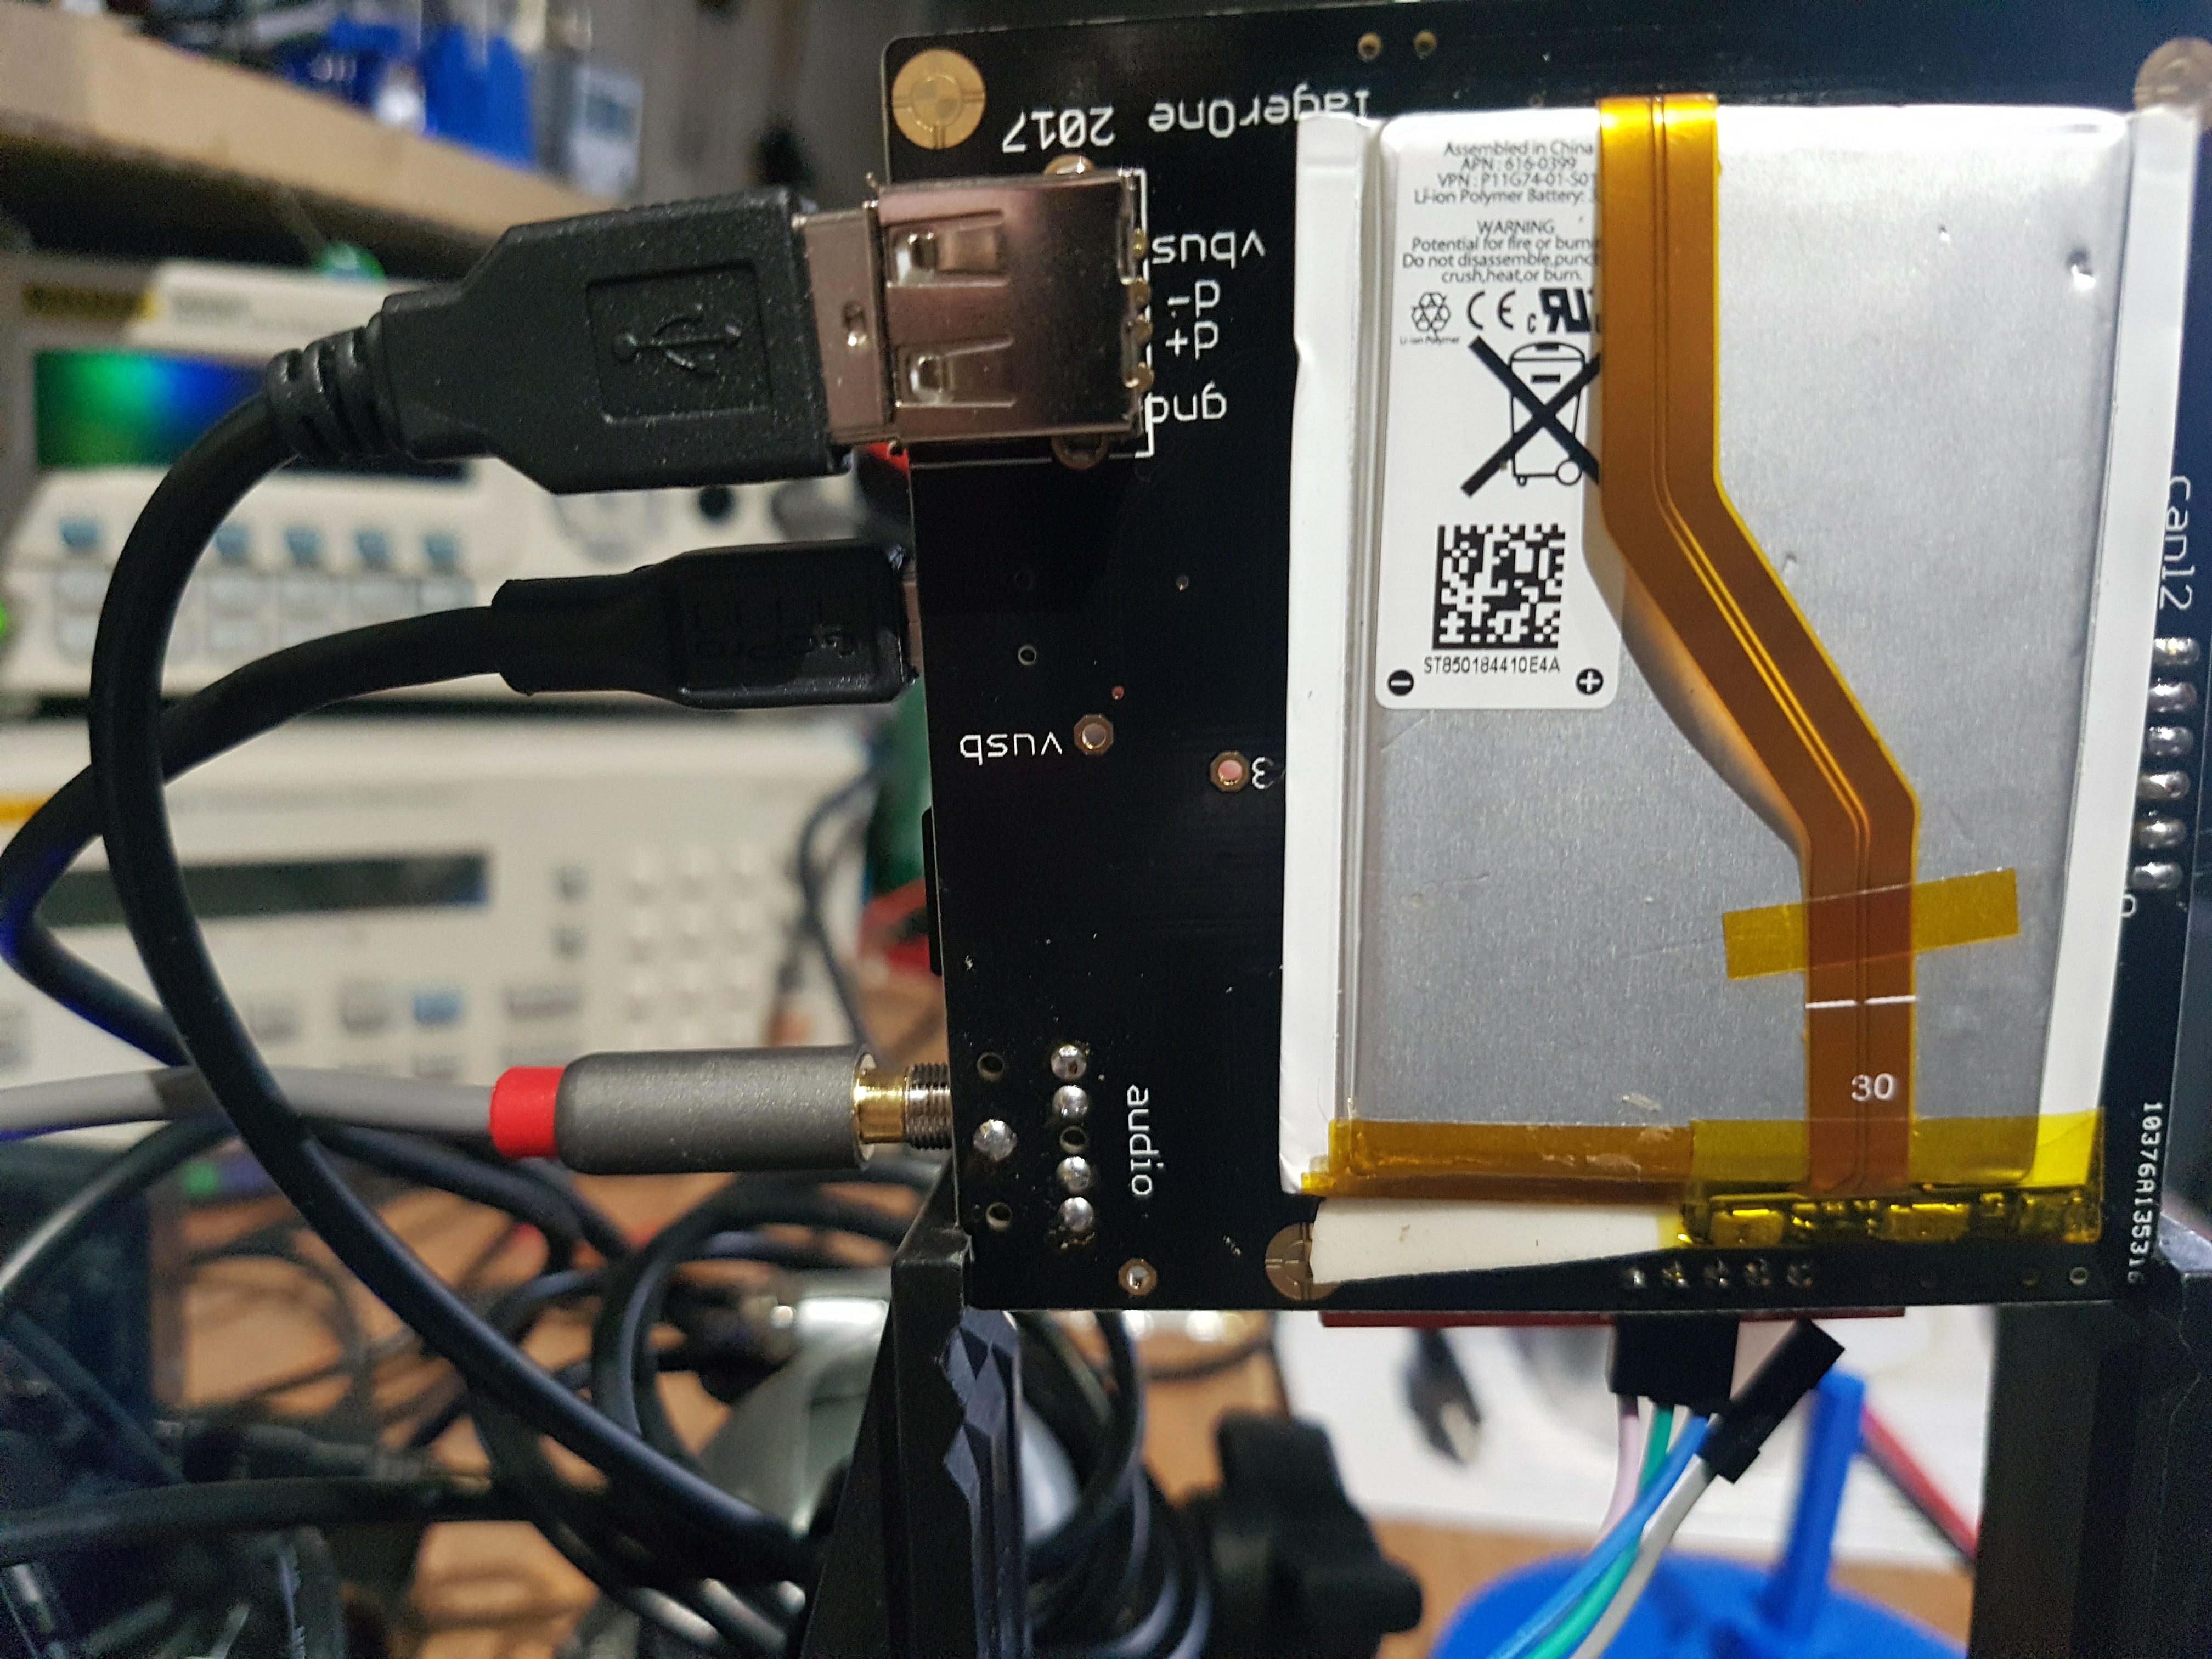
- Audio output, headphone jack, added filter
- Battery powered ( rechargeable ) yep 18650 which can also charge your cell phone
- Buttons, two , plus two switches
- PC side software to work with CAN
- J2534 202/404 (mostly) compatible DLL
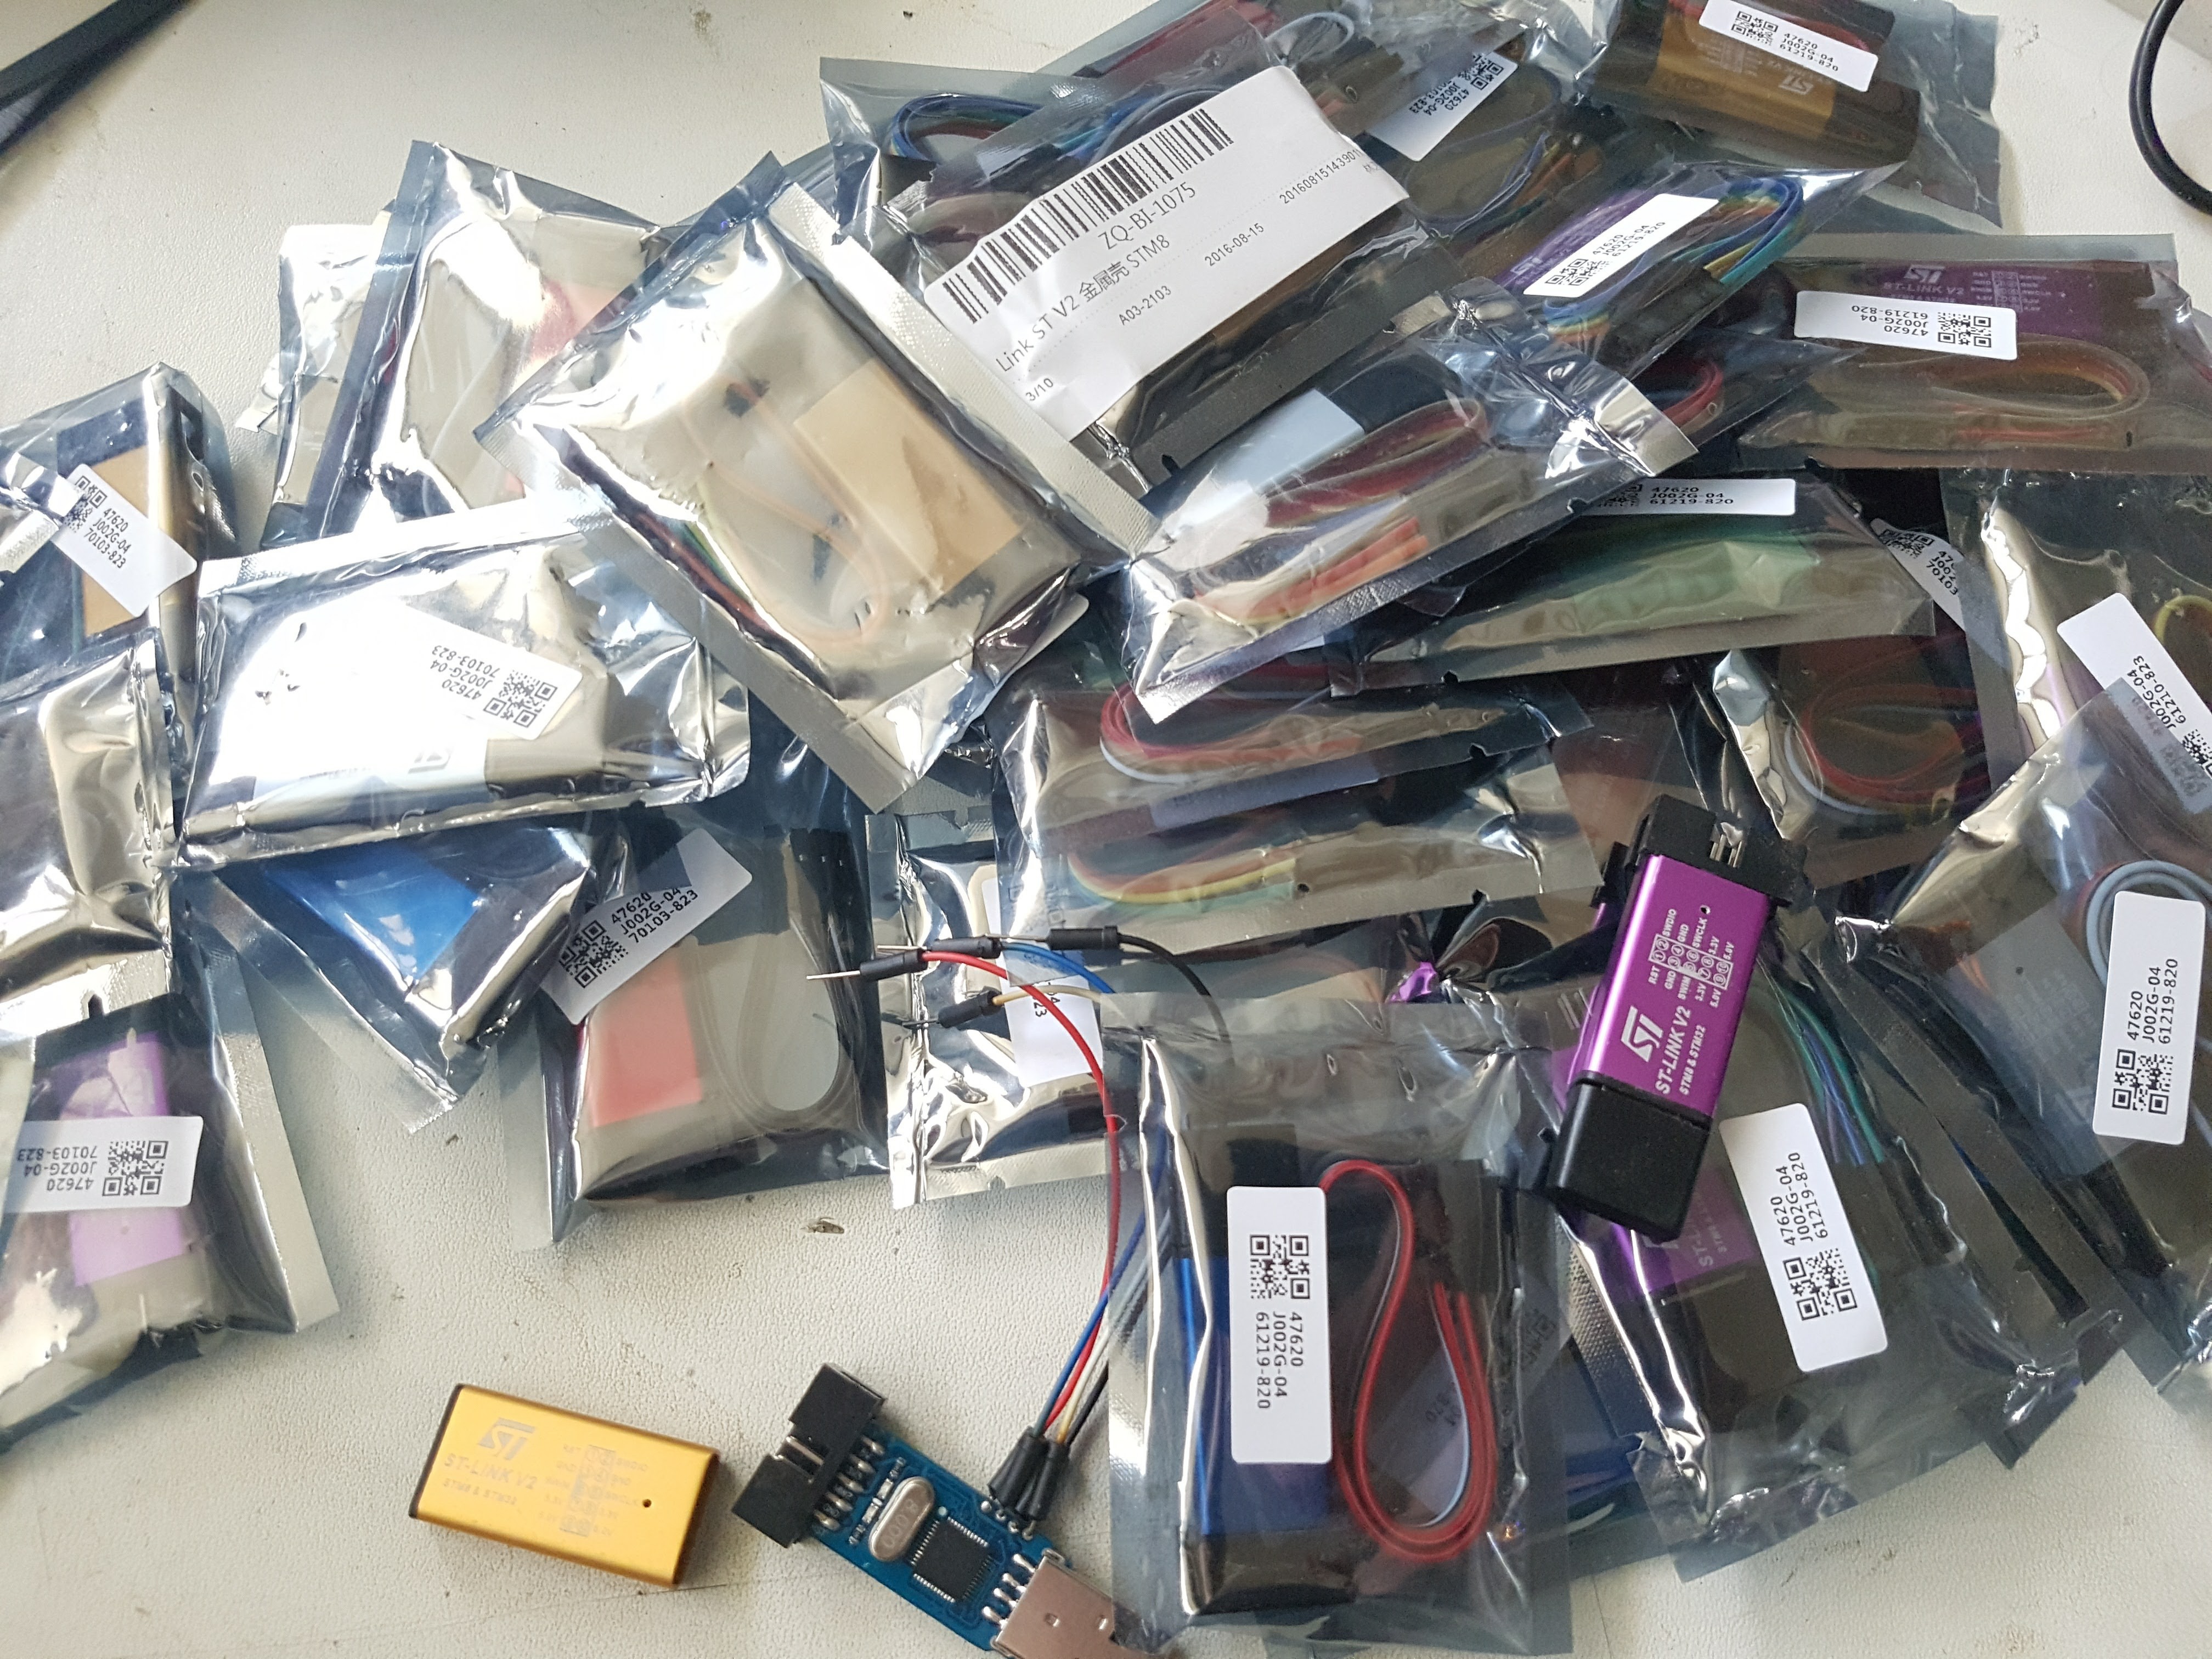
- Bootloader is TBD, currently it'll be ST-Link V2's which we have a whole bunch of, via SWD
Due to cost, we probably will have to do the OBD-II cable and USB controller as low cost add ons, but we'll do our best, and we'll find them as inexpensive as possible, and in bulk. I always like to try to include everything needed, its not always possible.
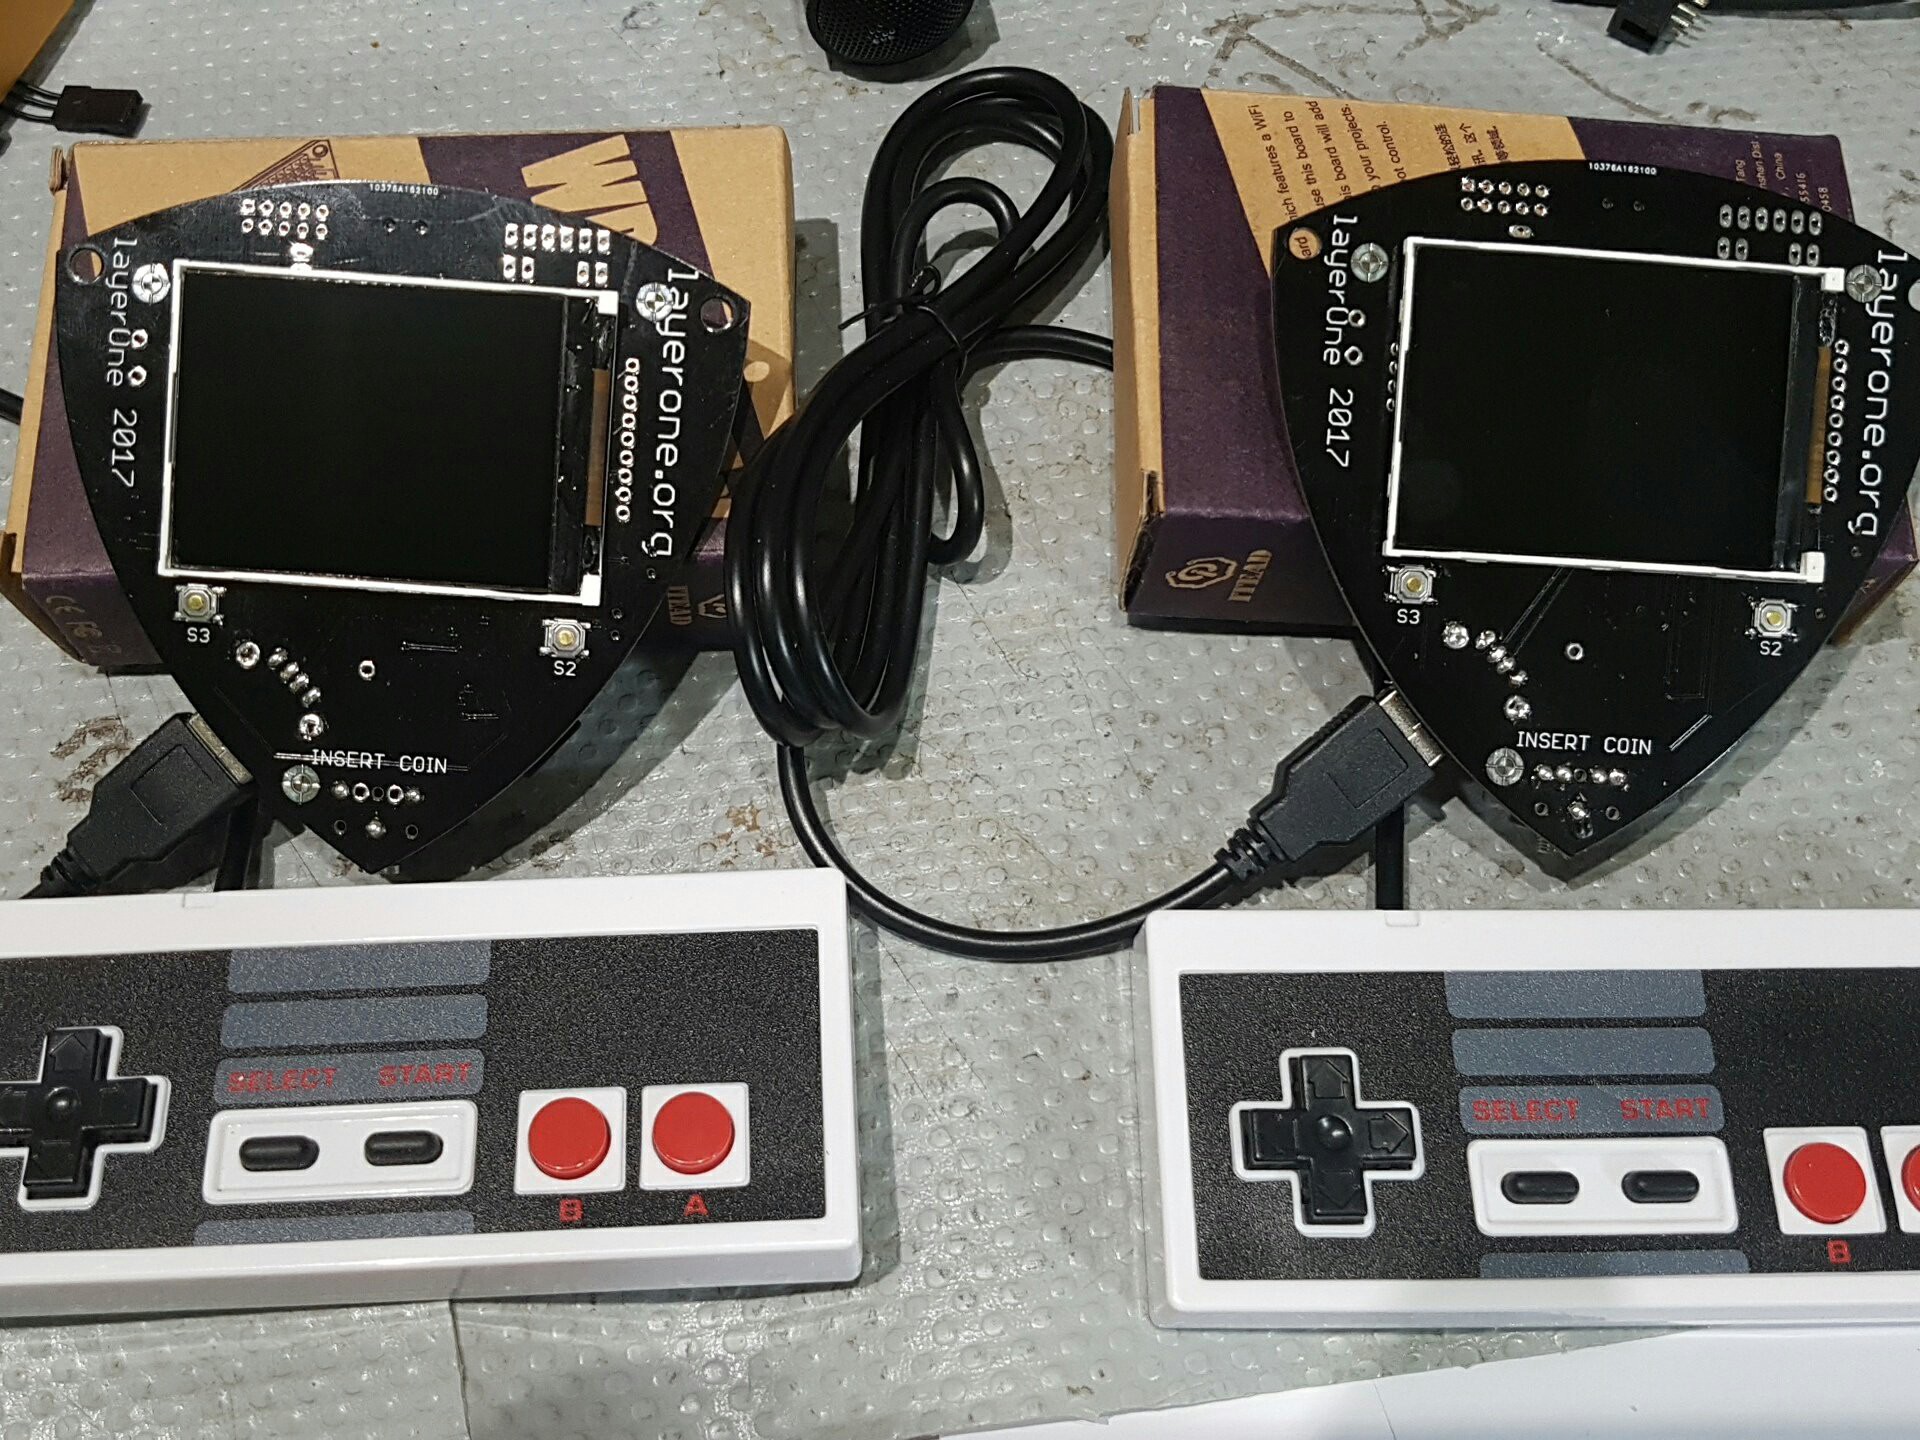
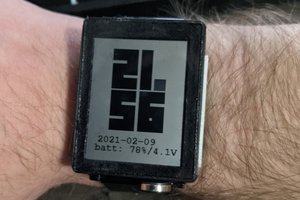
The aim is to have 400 built badges at LayerOne 2017, we hand made 300 in 2016. This will be our second most complex badge, the 10 year anniversary Proxmark version being the most complex we've done to date.
The badge currently has two, and later maybe three separate firmwares that all do different things, we'll probably keep some of under wraps til the event just for the fun, the focus will be on the CAN side. But one of the test firmwares is up and running on the bench and random people have been picking up and playing it.
The development environment can be completely online with a zero install. Or it can use GCC/IAR/Keil etc.


 Jeff Cooper
 John Adams
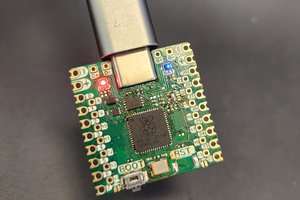
 Chris
Chris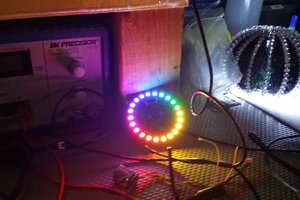
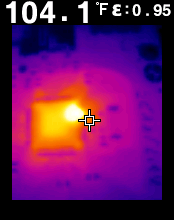
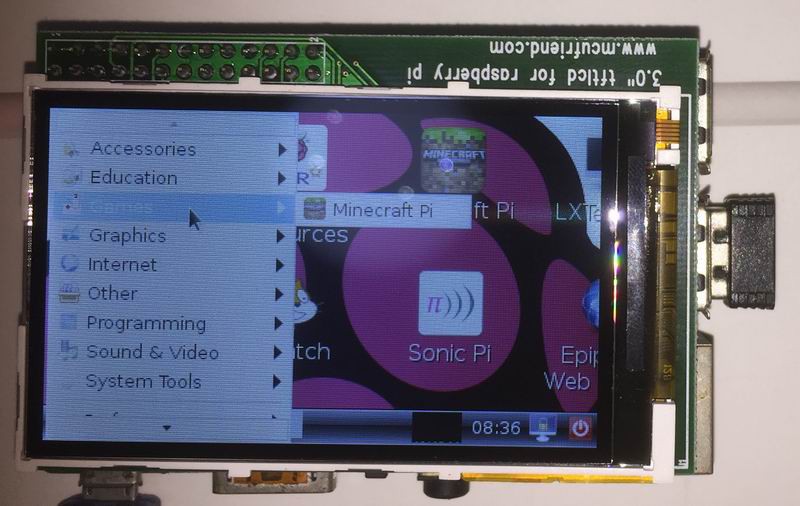
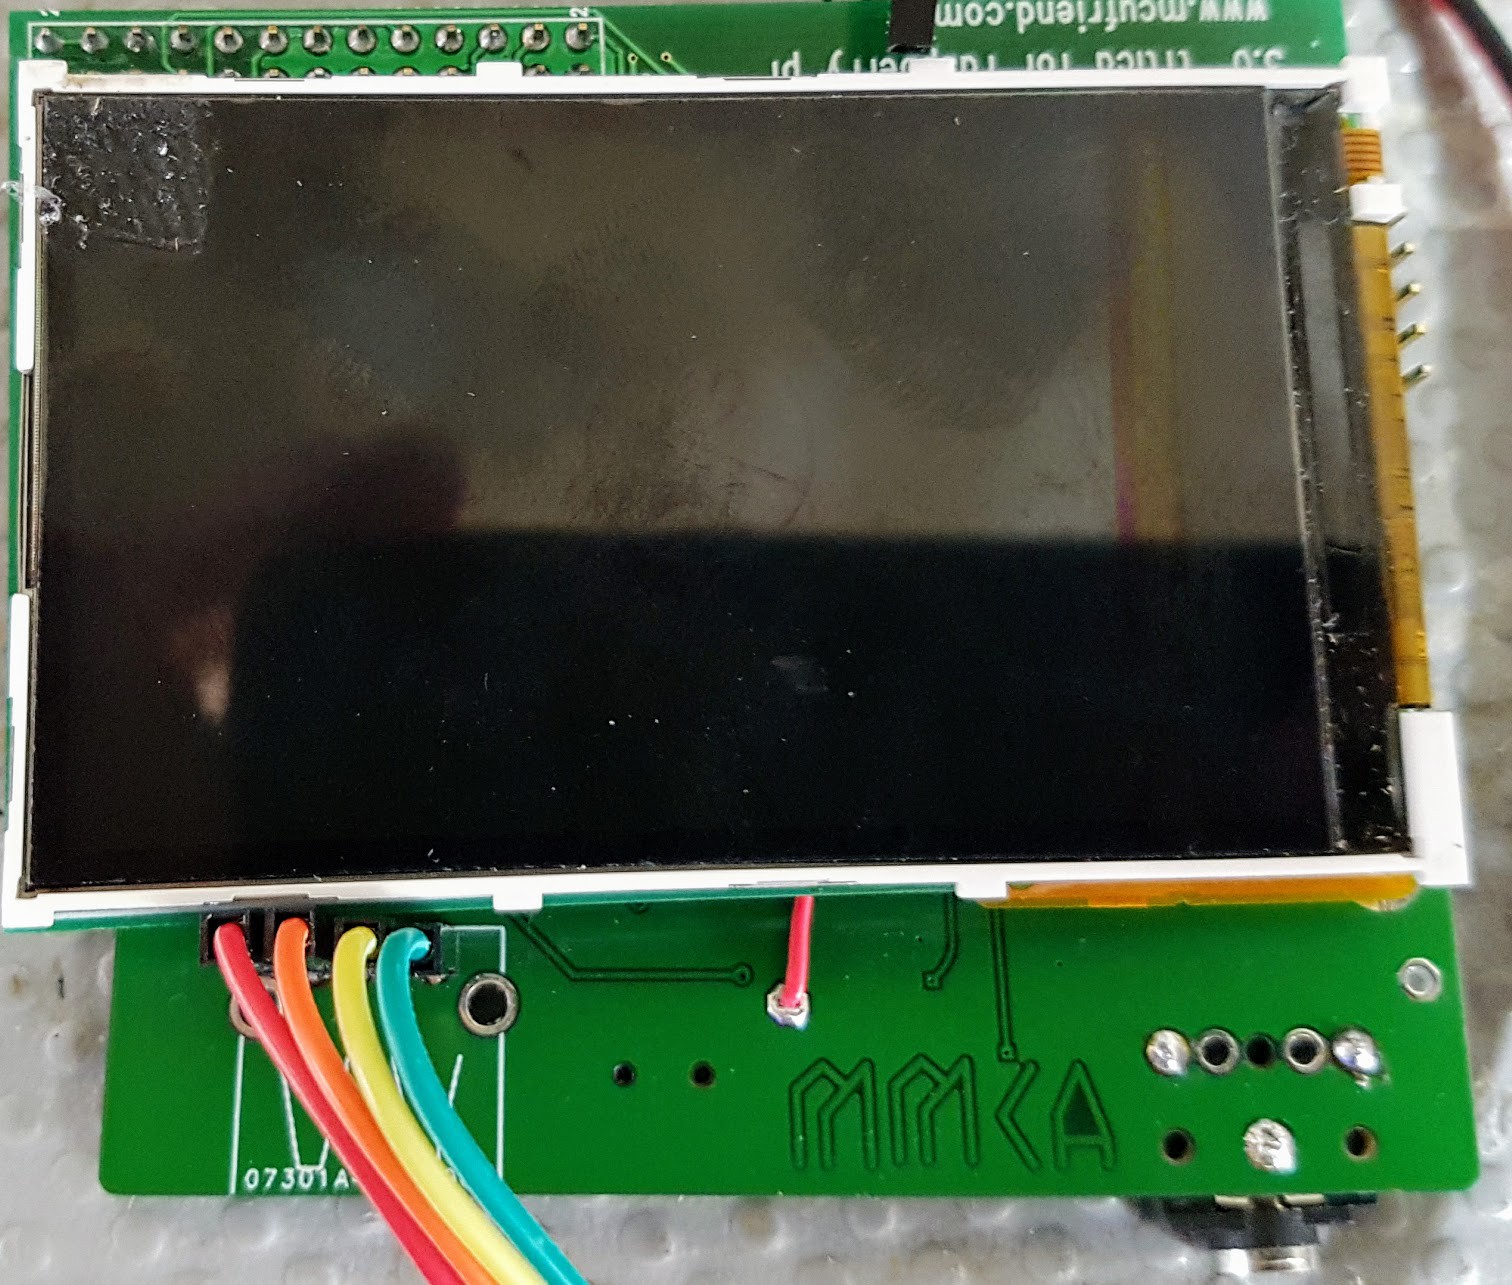
I tried to add an on-board speaker, but this is what happened https://hackaday.io/project/25281-hacking-the-layerone-2017-badge-for-audio-fail