 Tim Wilkinson
I wanted to see if I could build a simple, waterproofed, composite video camera which could be used in ROV competitions like MATE. The camera components need to be easy to acquire, cheap to buy, and simple to put together. I particularly wanted to look at using higher-resolution imaging than found on a "standard" waterproof car backup cameras common at competitions.
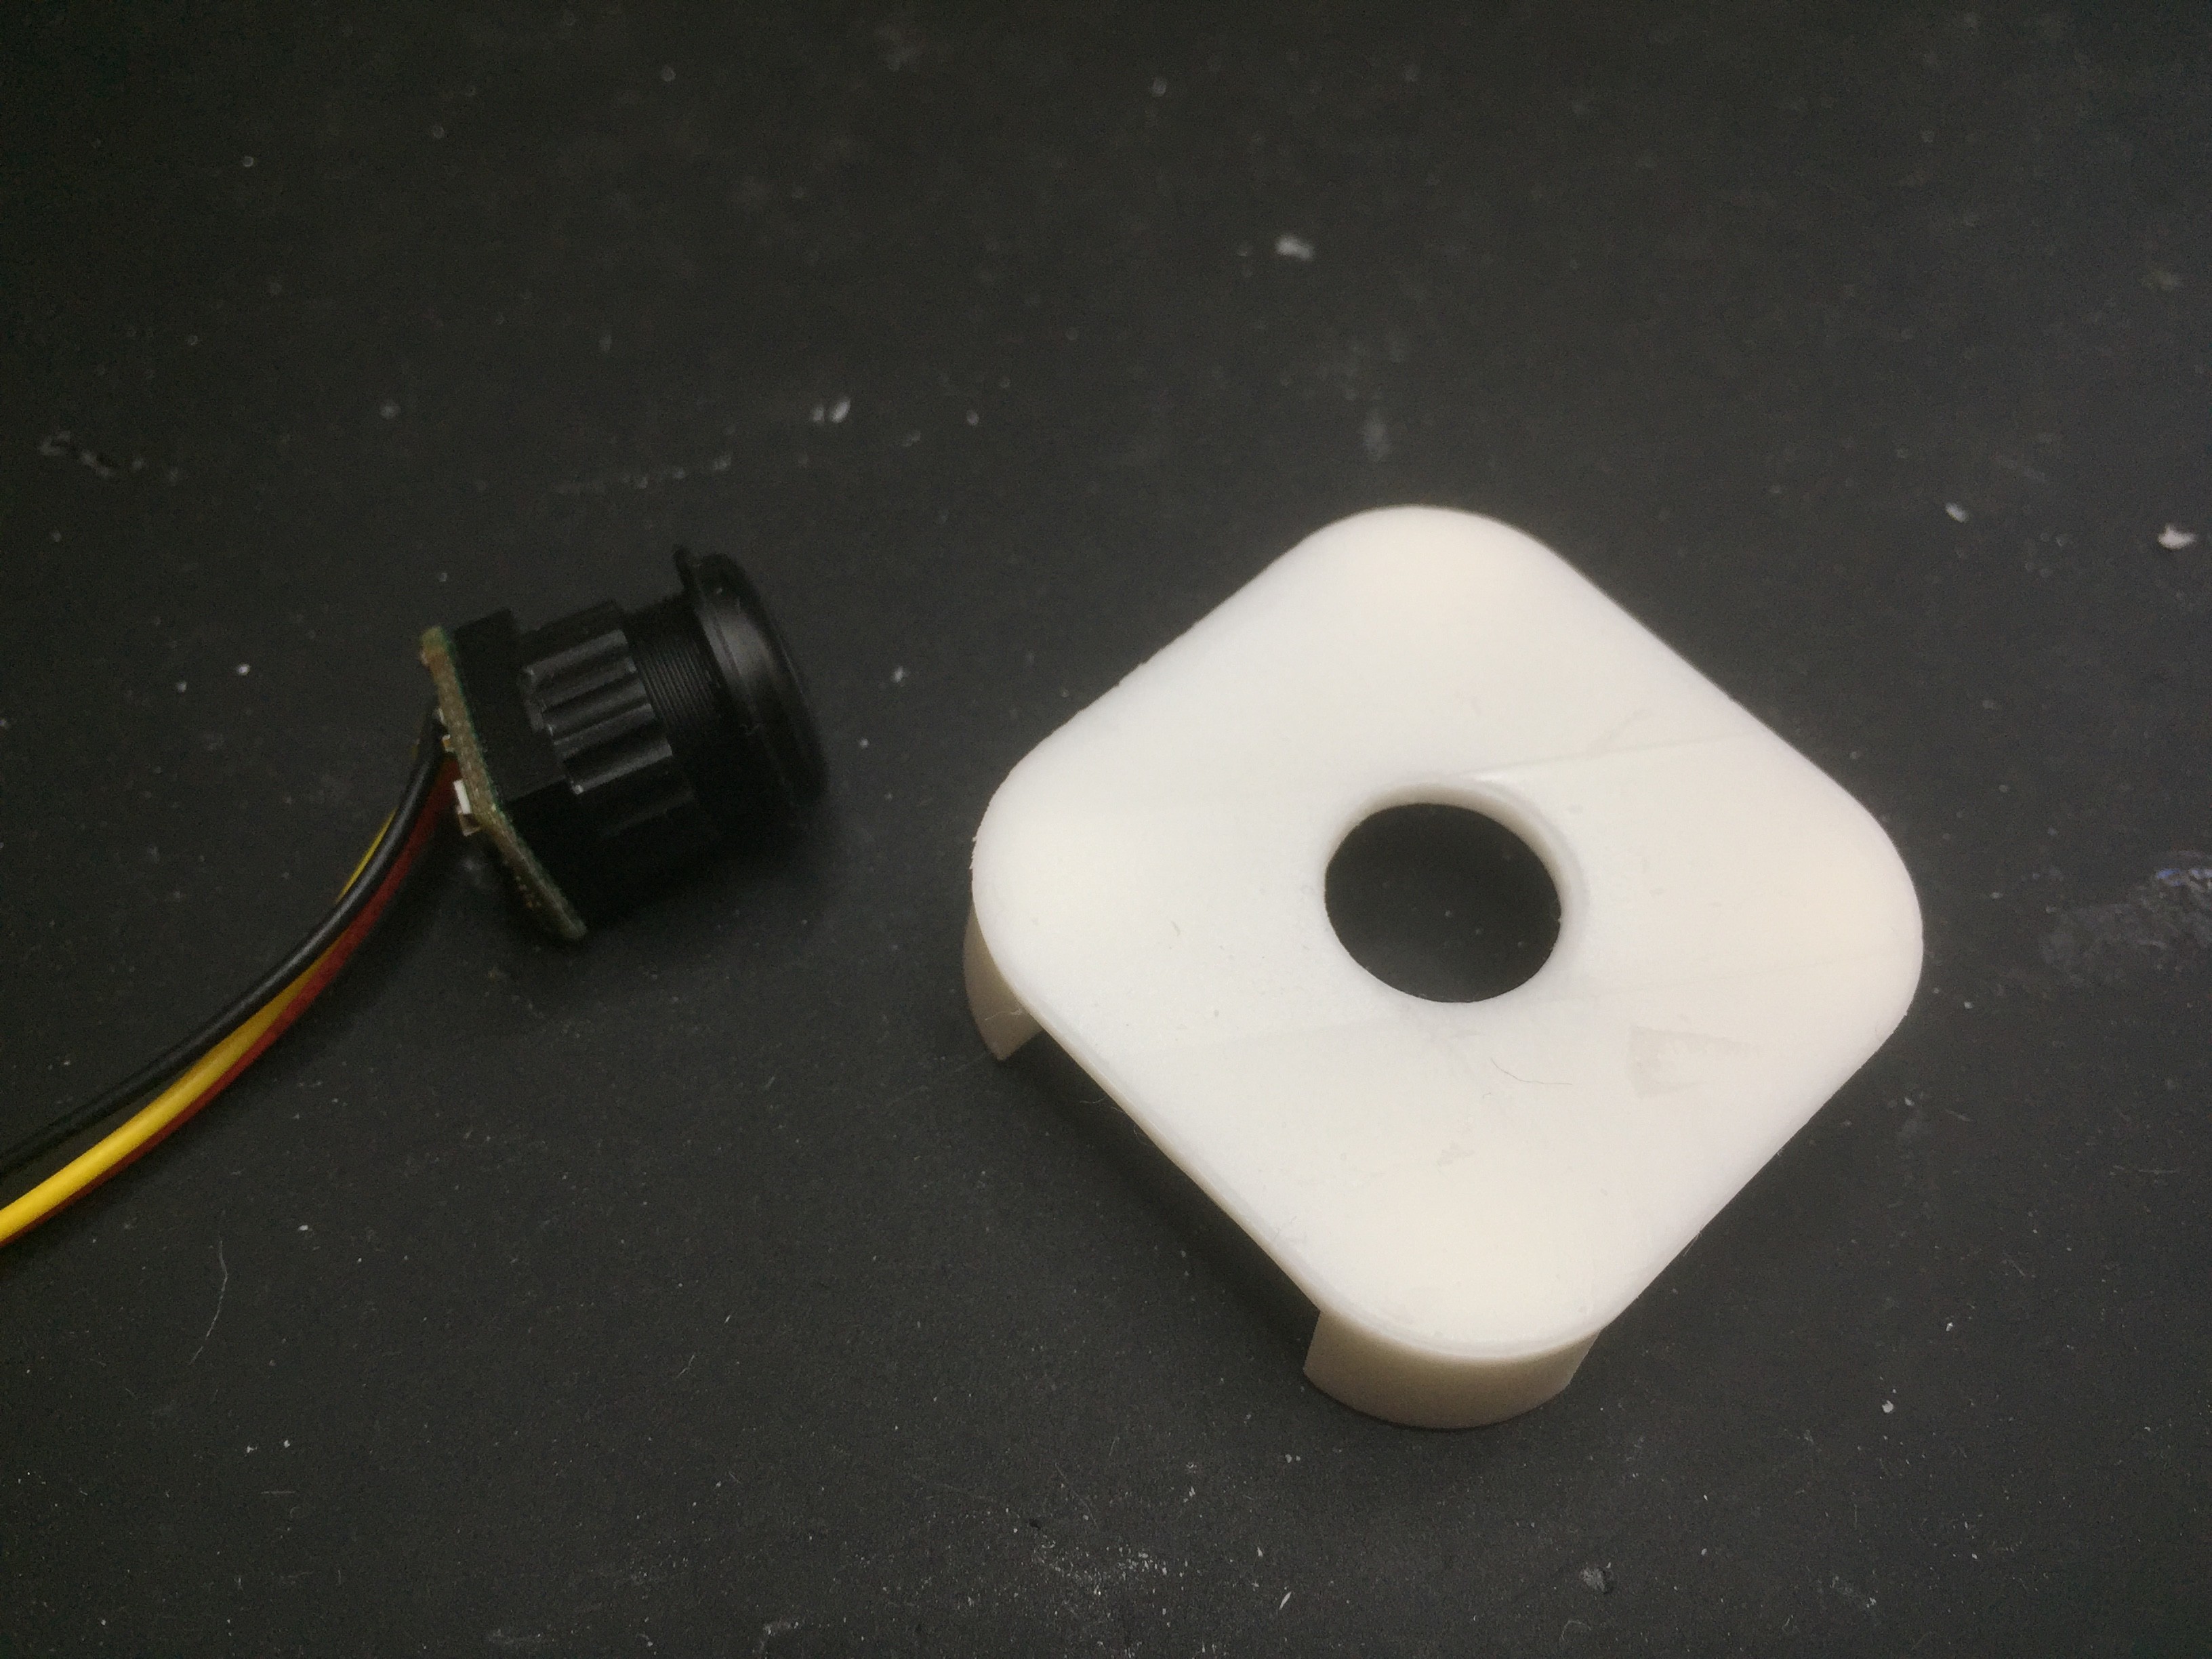
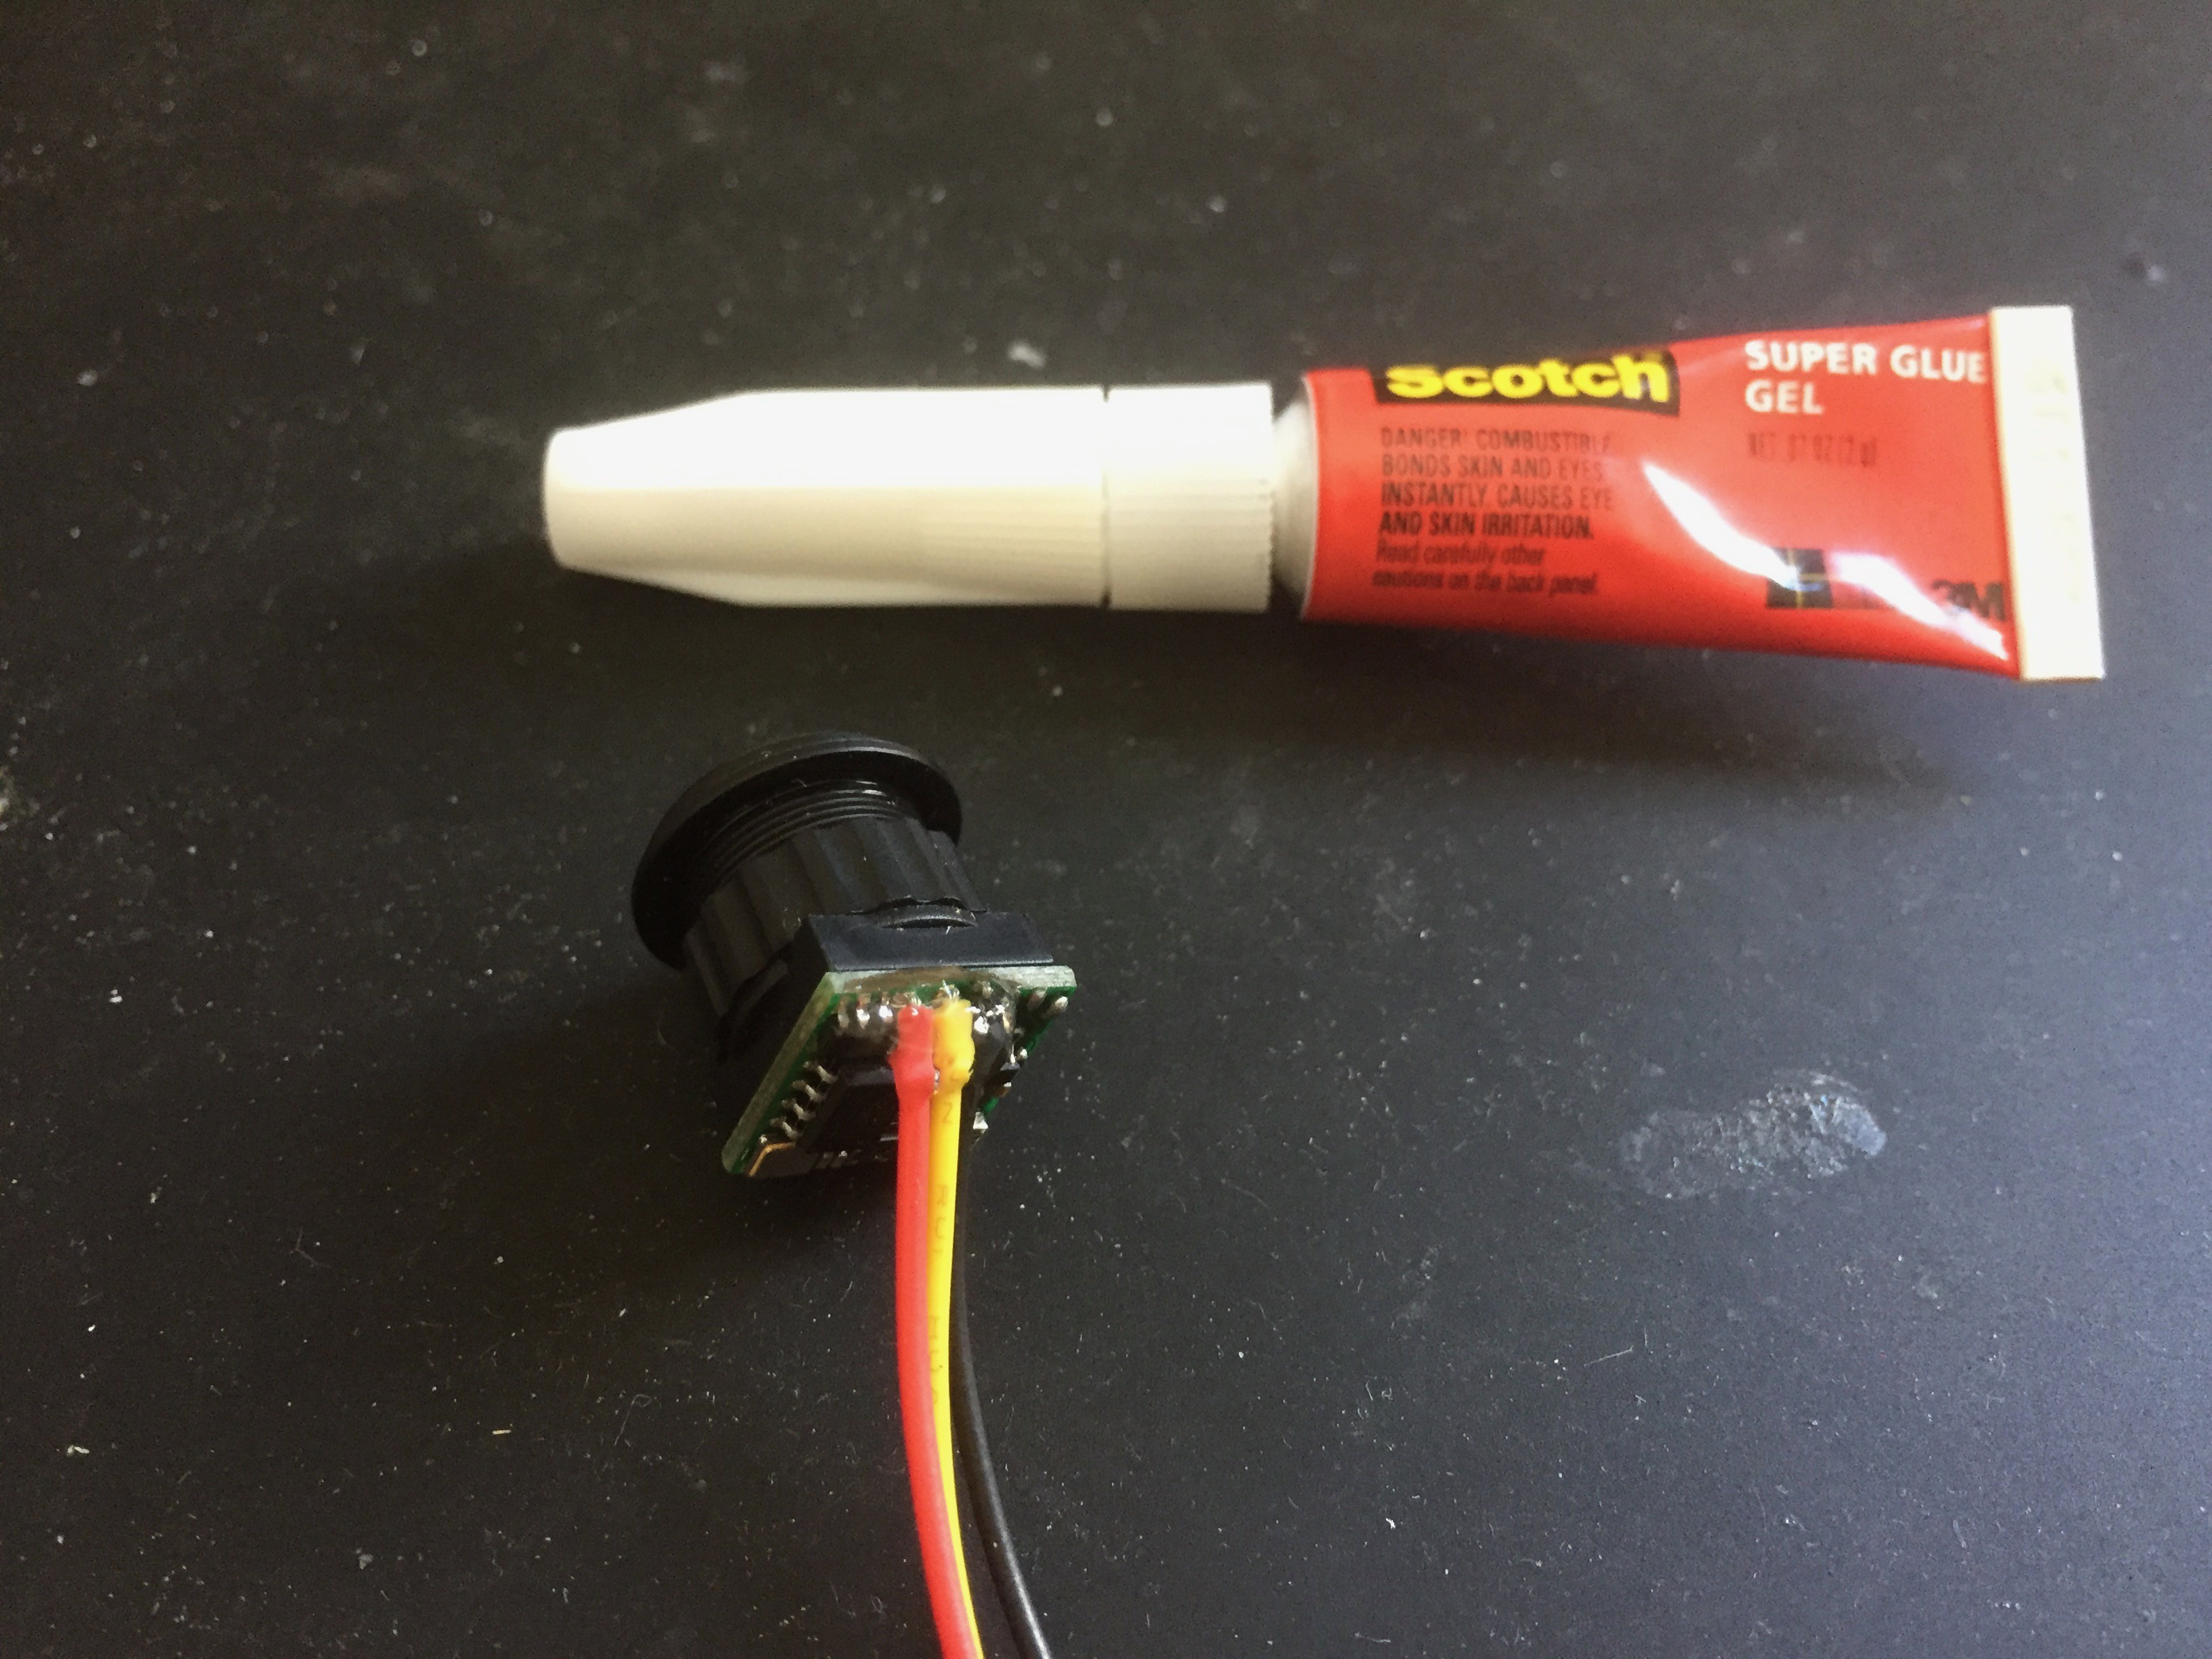
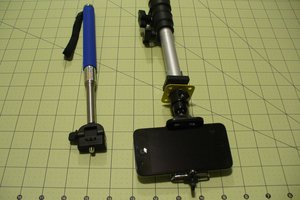
I came up with this design. It consists of a FPV composite video camera (populate for drone flying), and a video balun to convert the output of the camera to a balanced signal we can transmit over normal wires (no coax required).
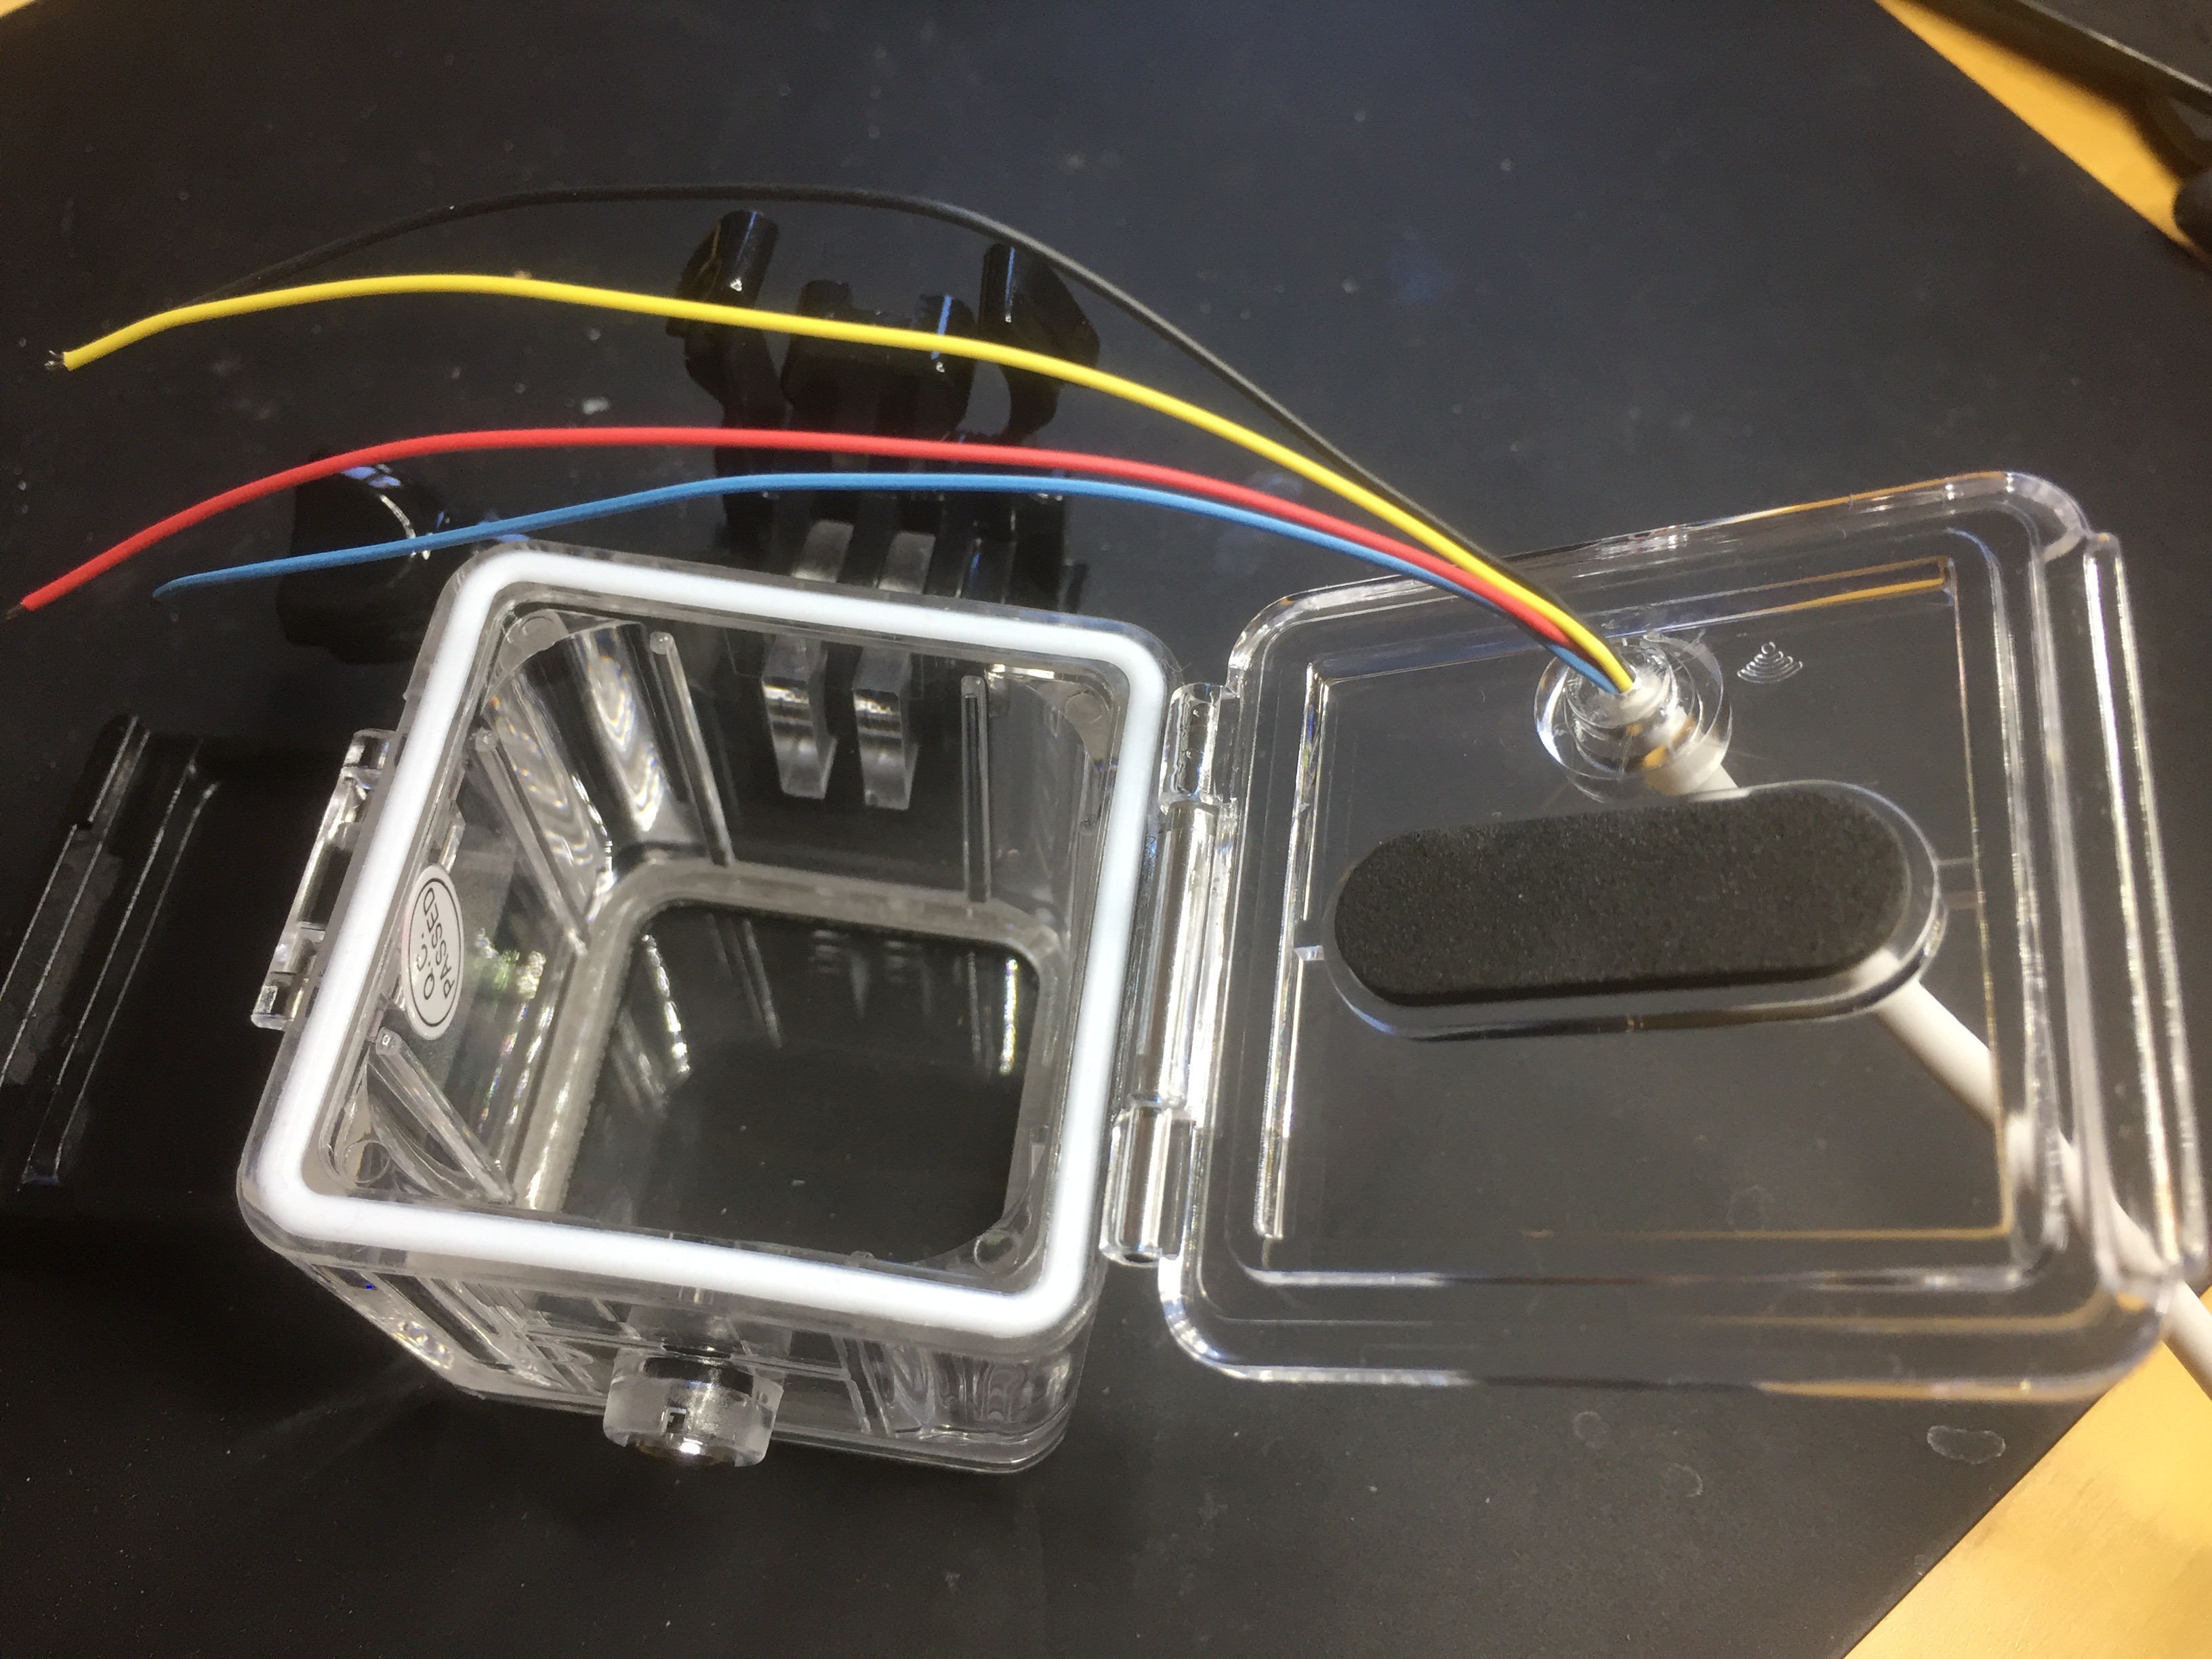
The tricky bit is sealing the electronics from the water.
Design 1: My first design encased all the electronics in marine grade heat shrink tubing, but this design didn't seal well enough. [Fail]
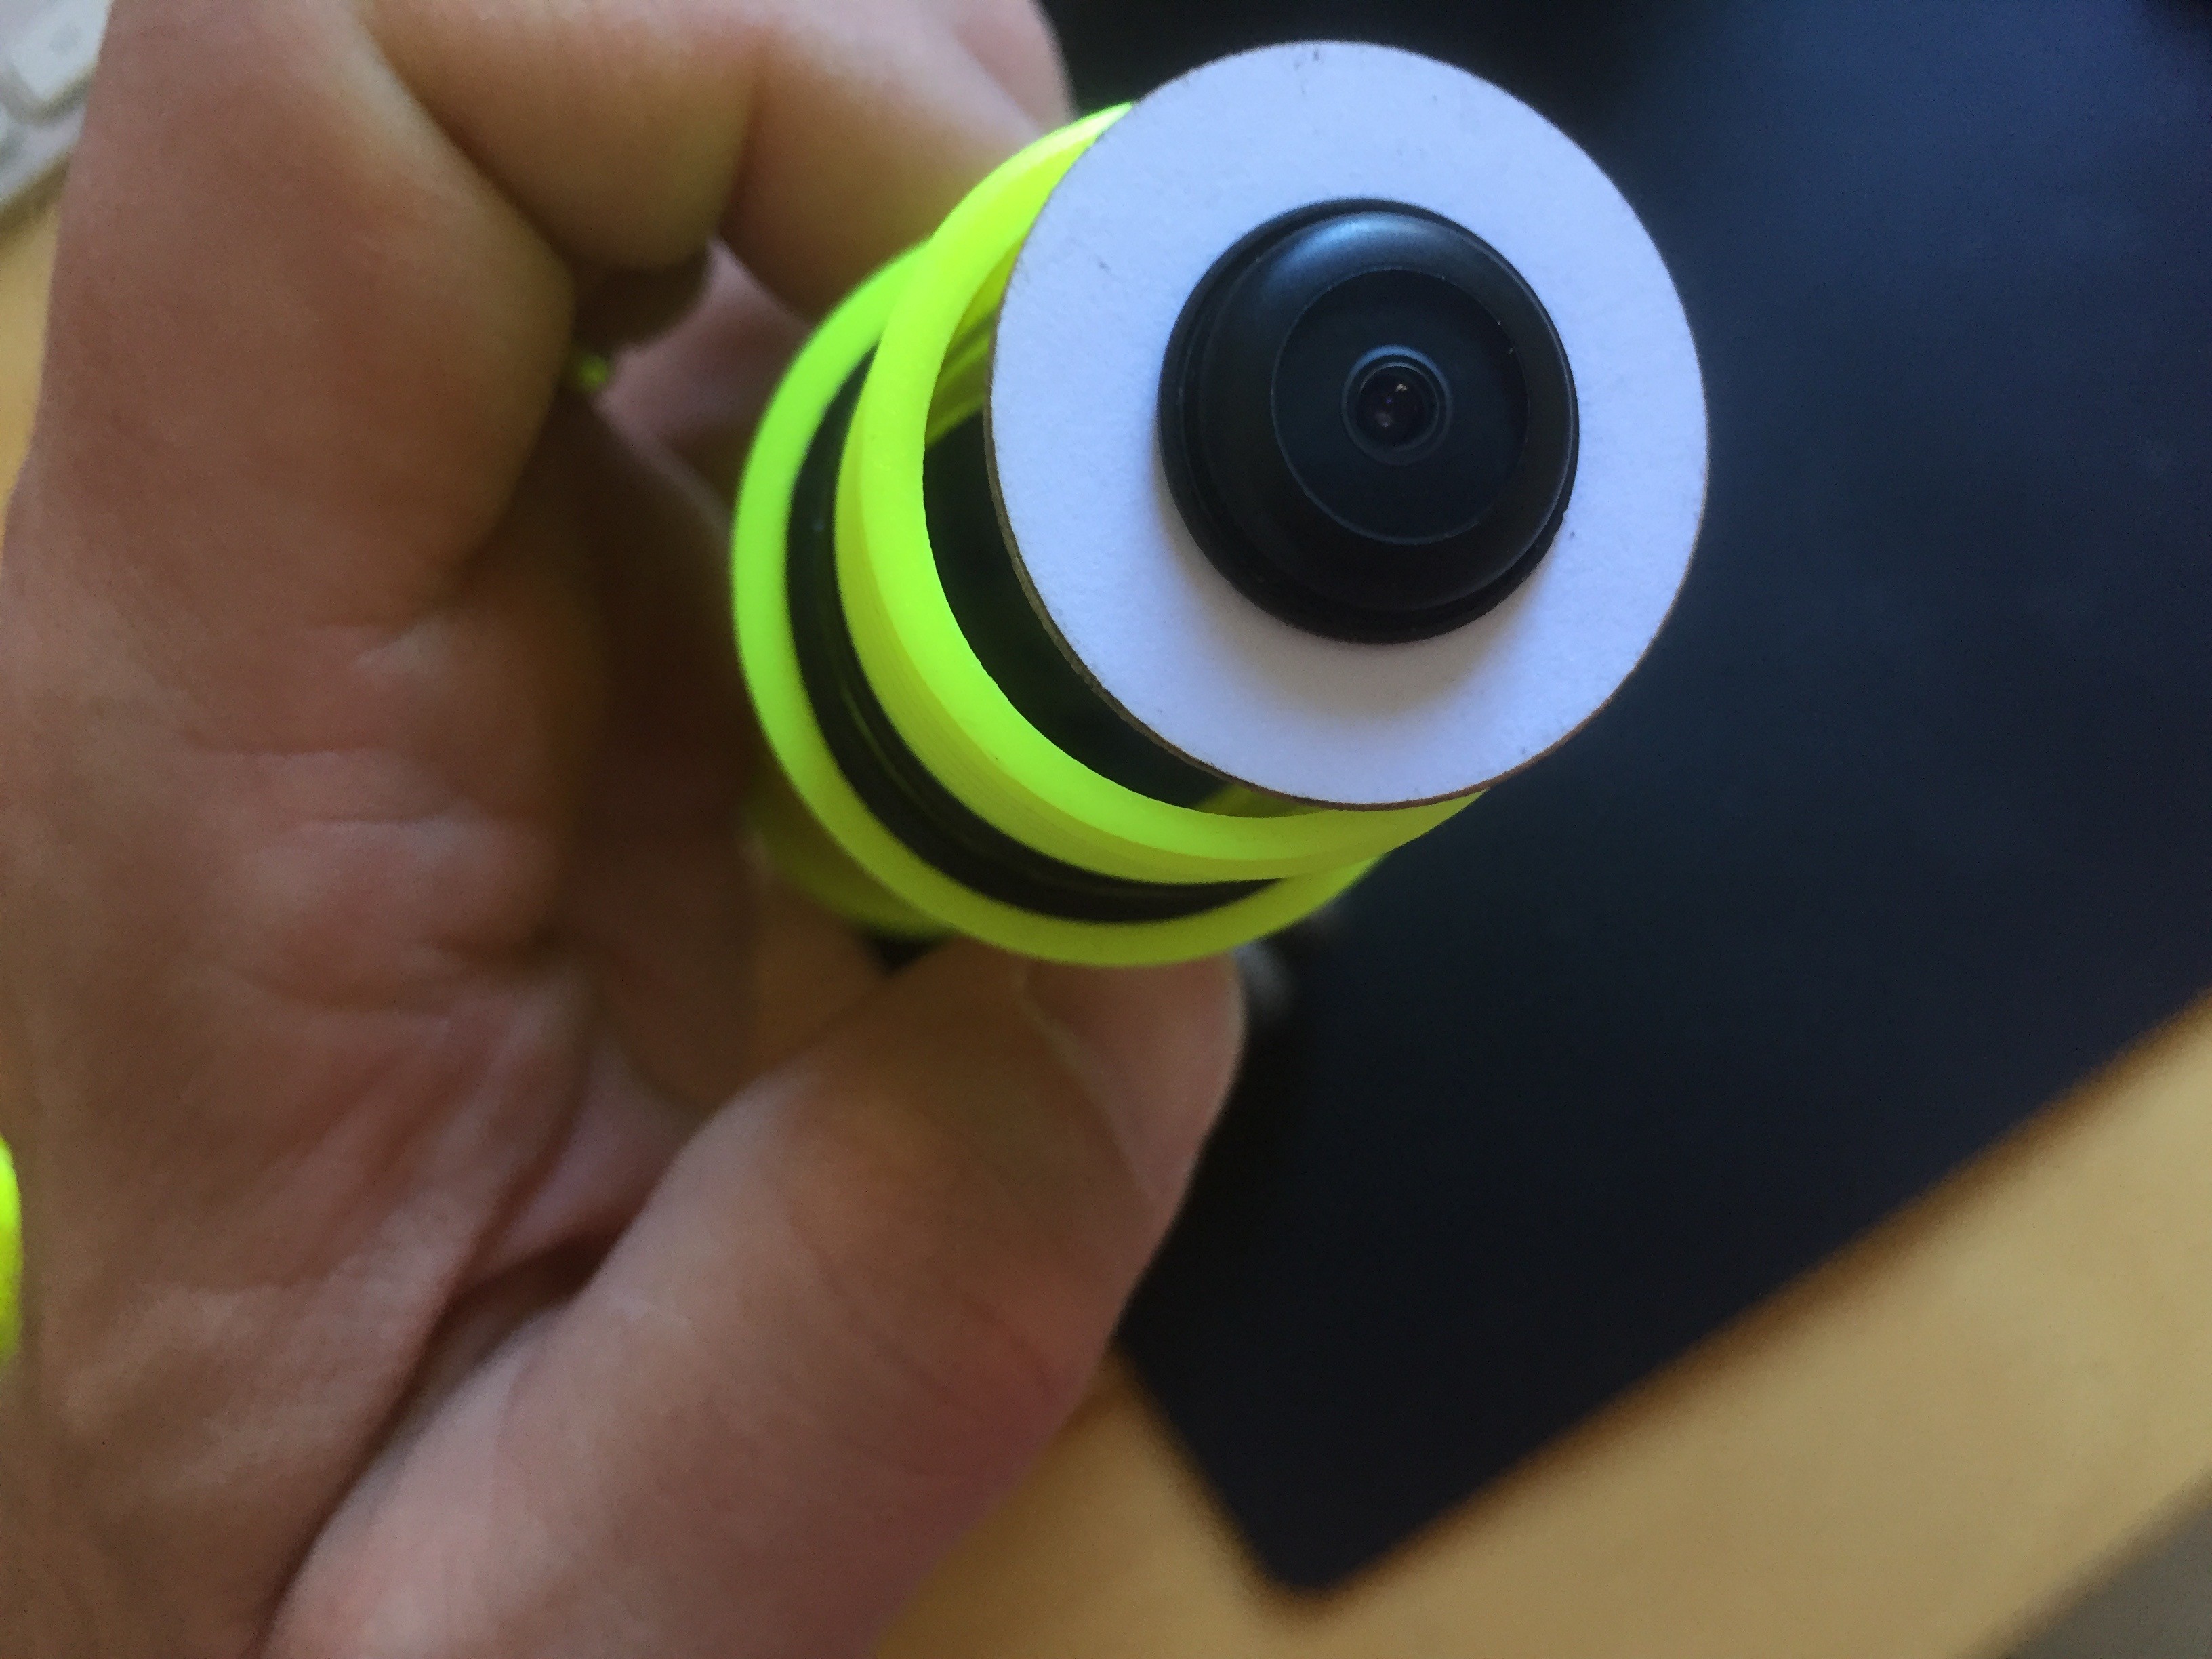
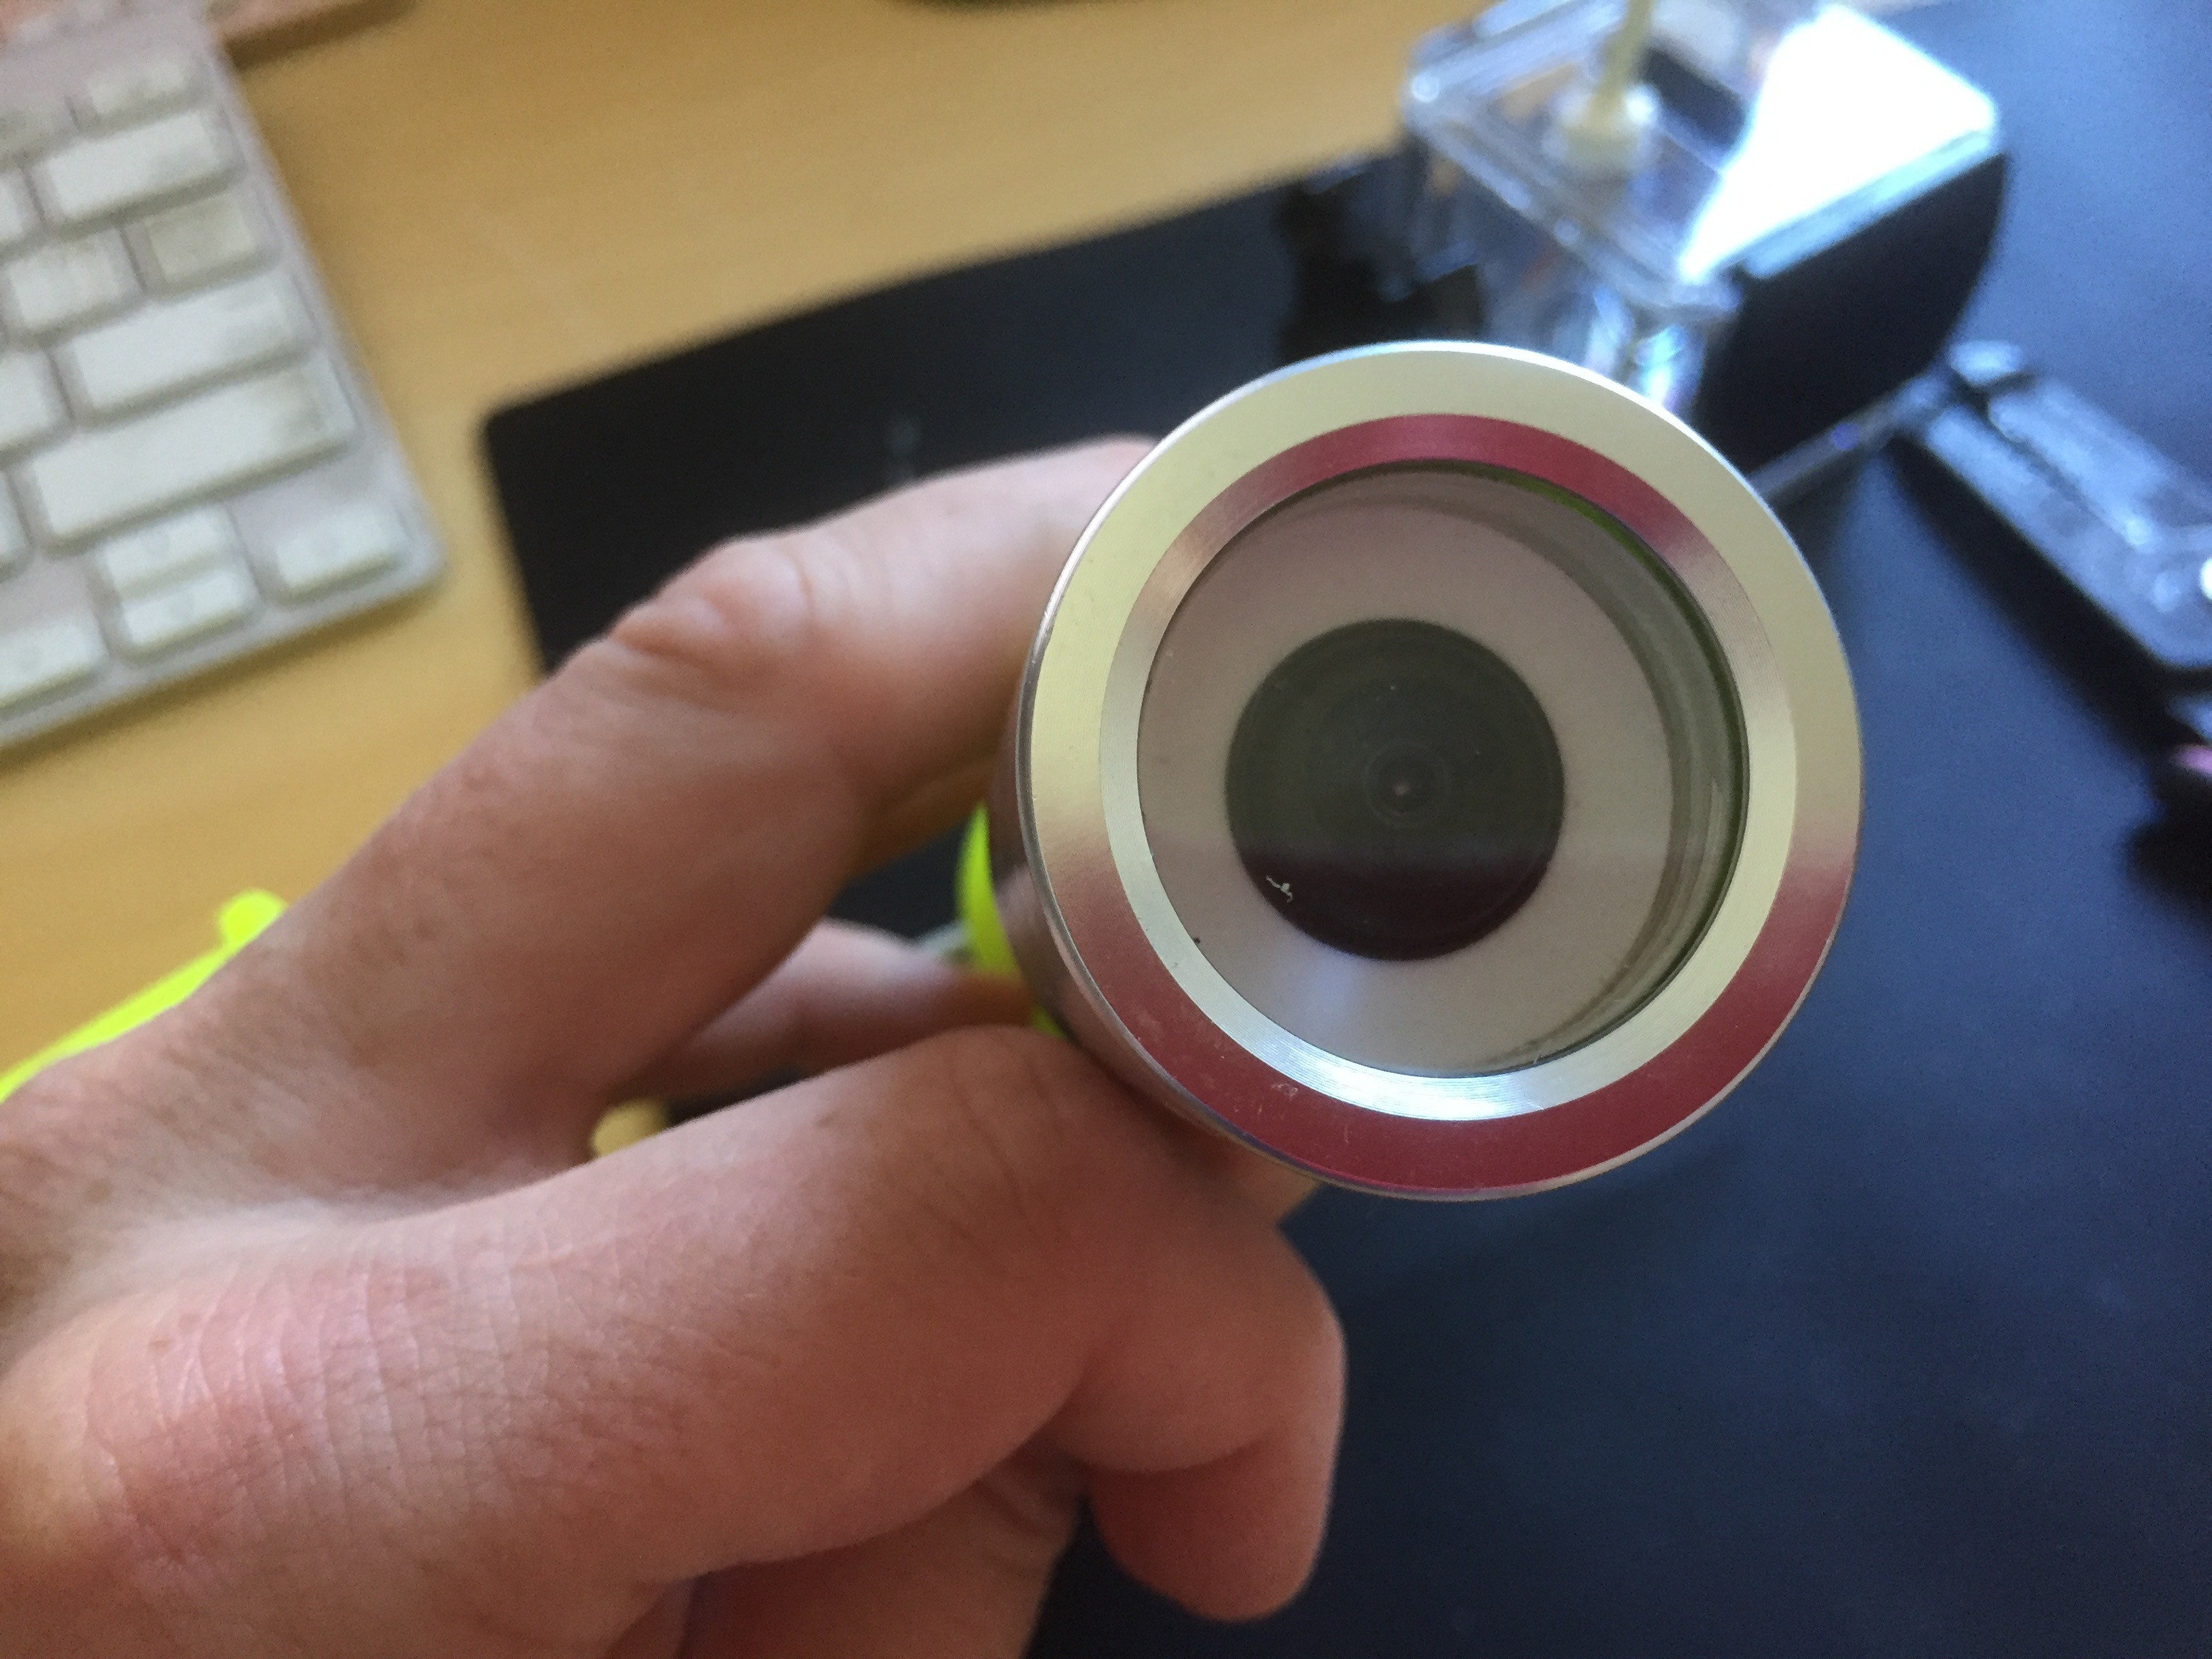
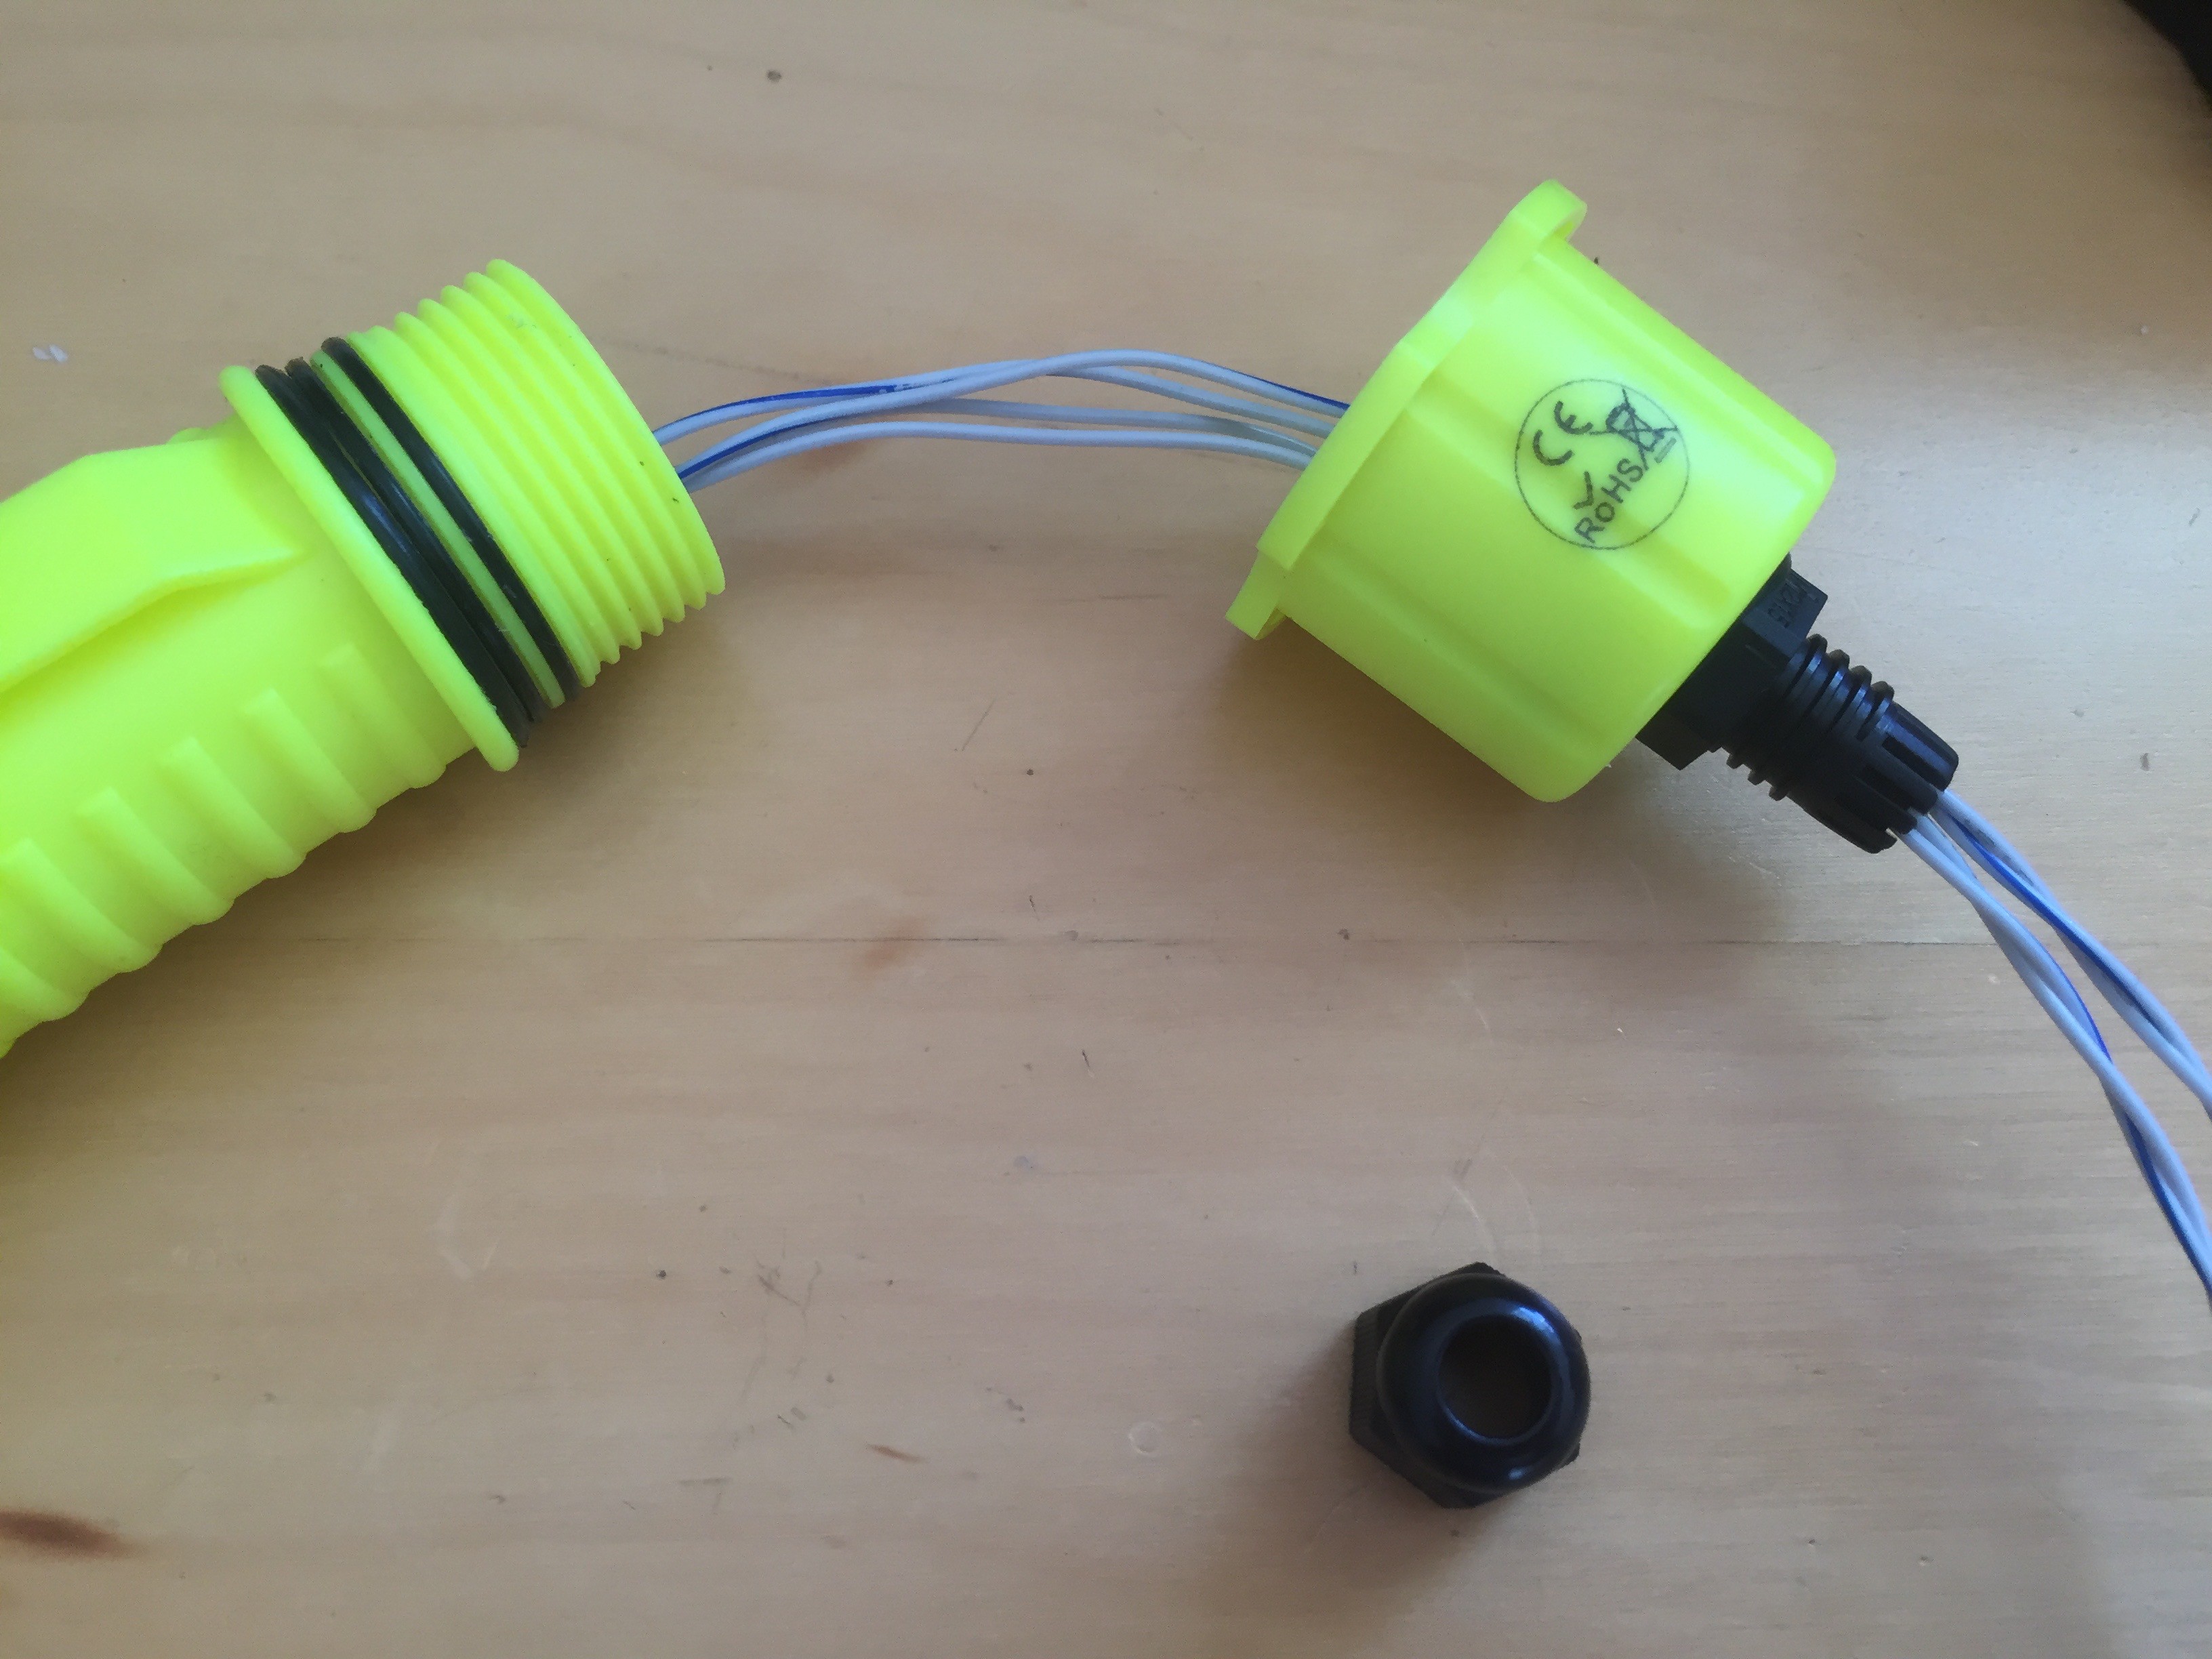
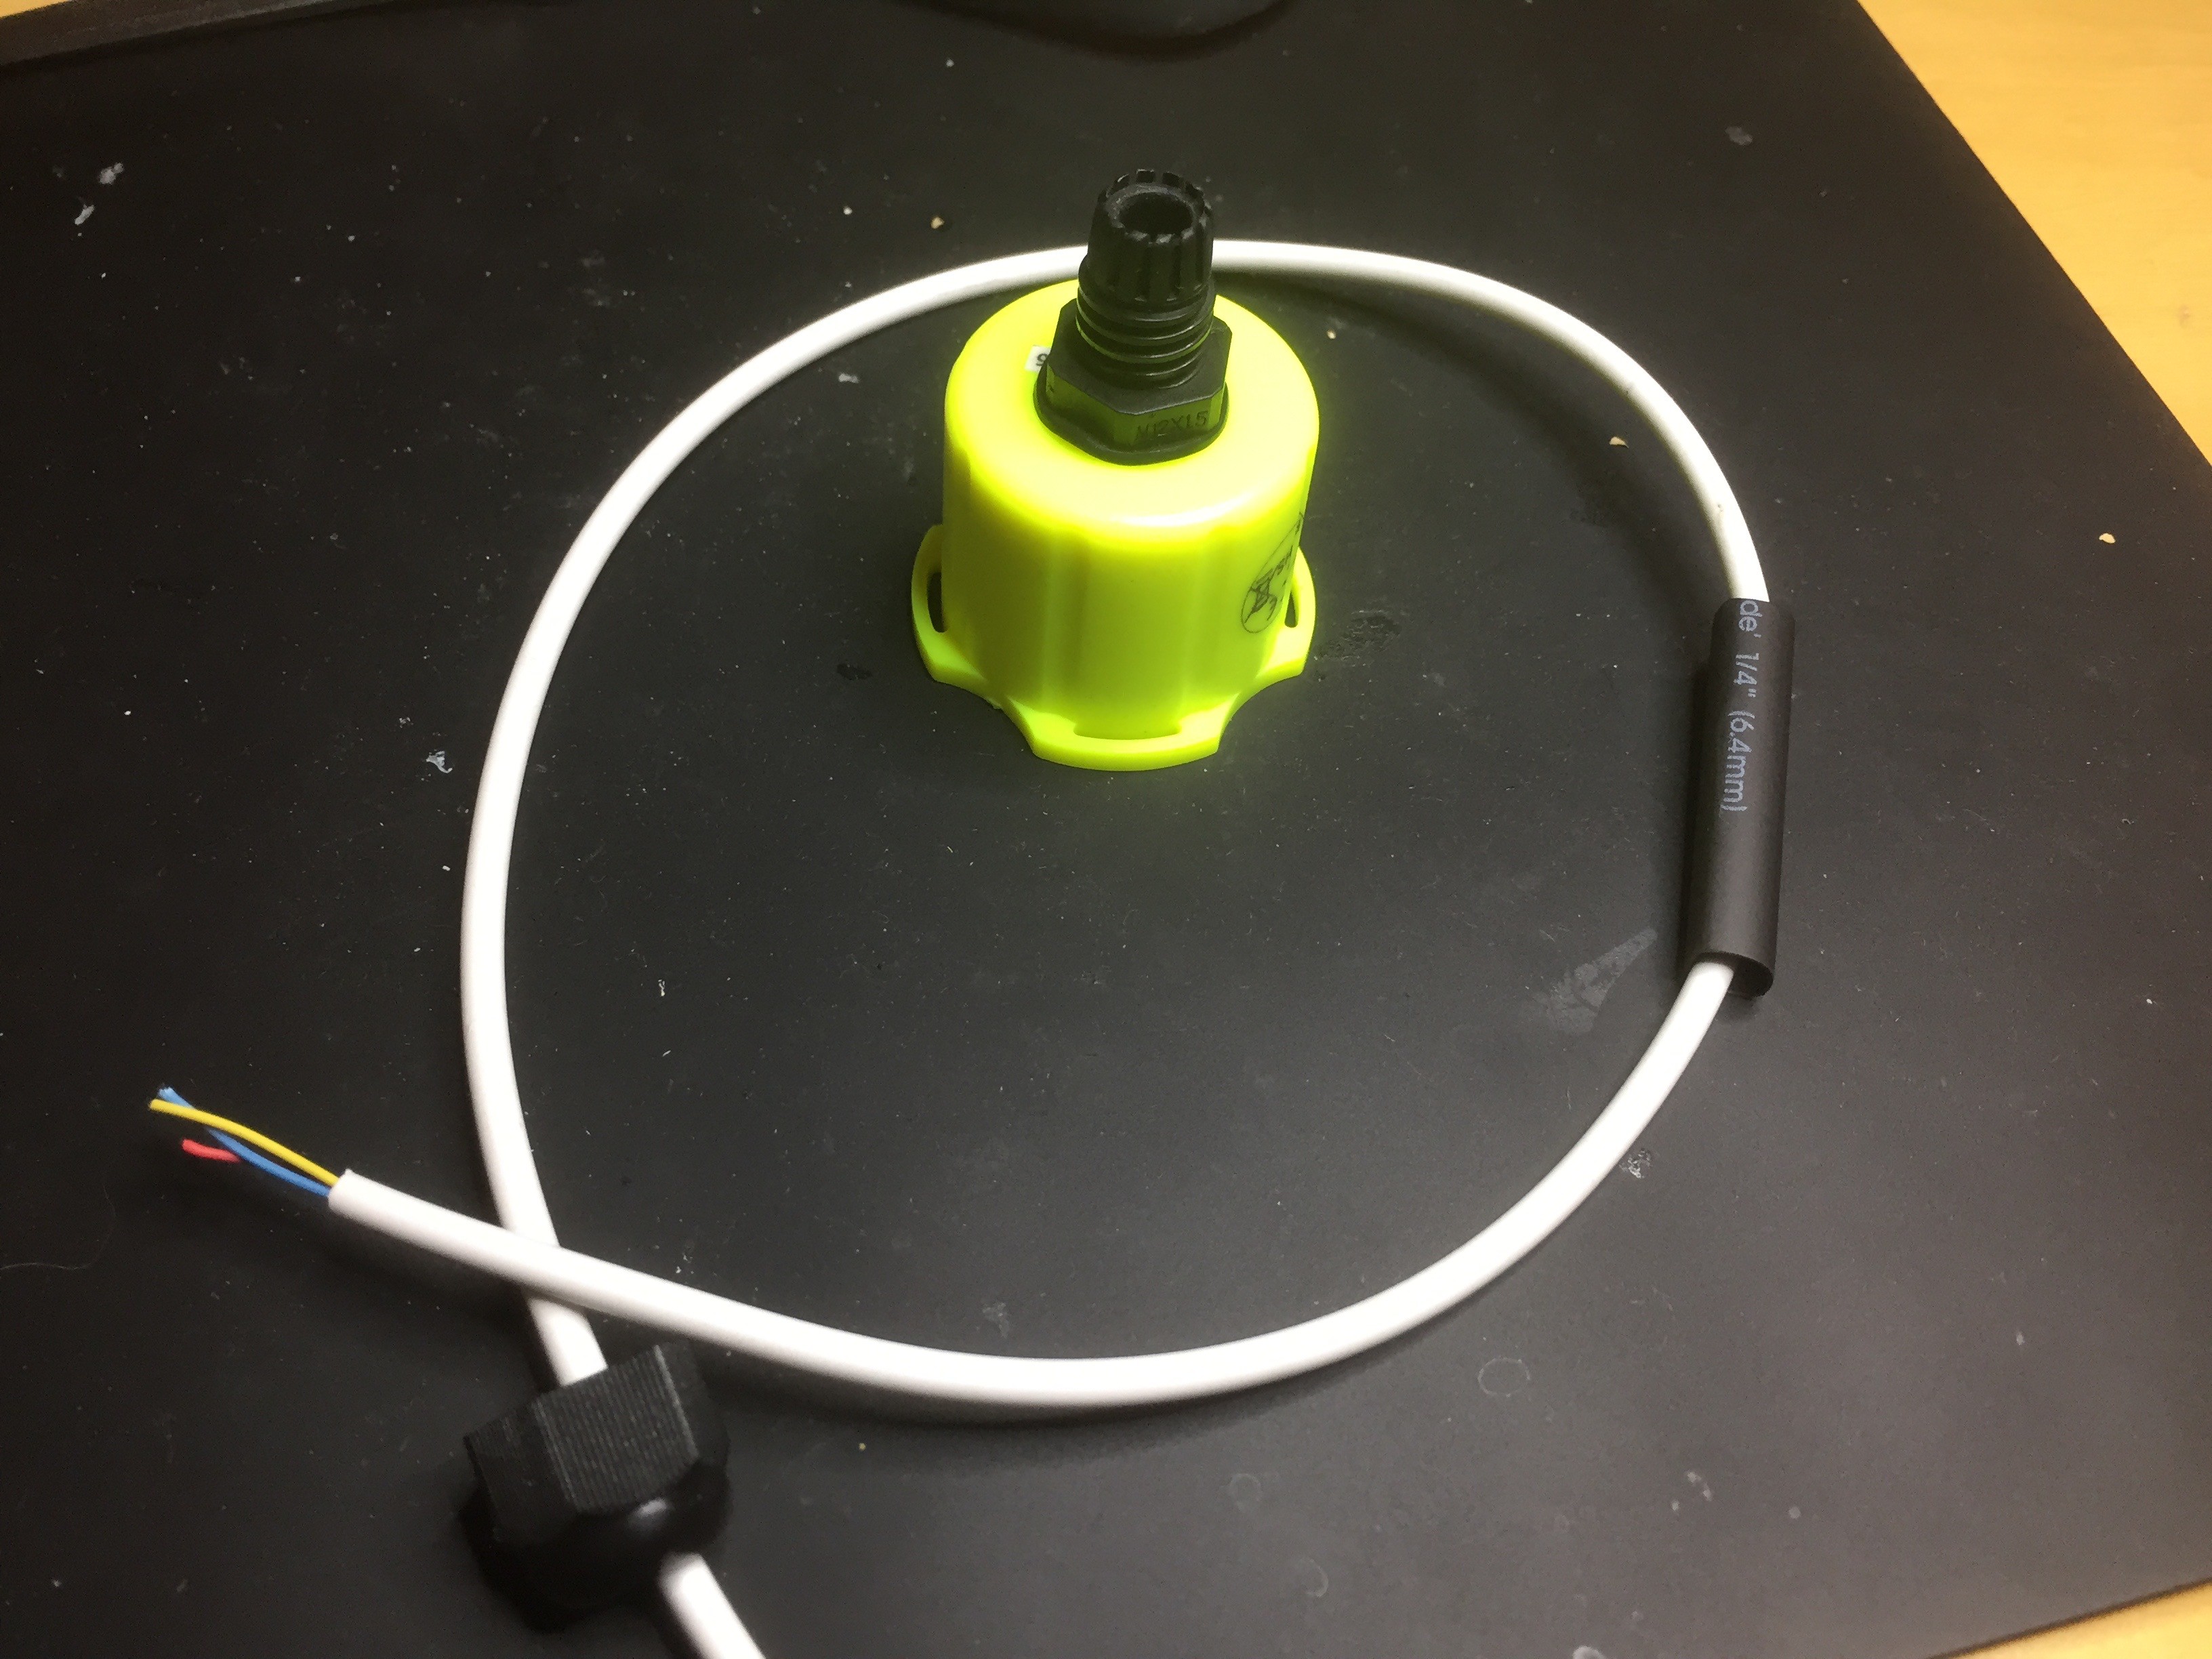
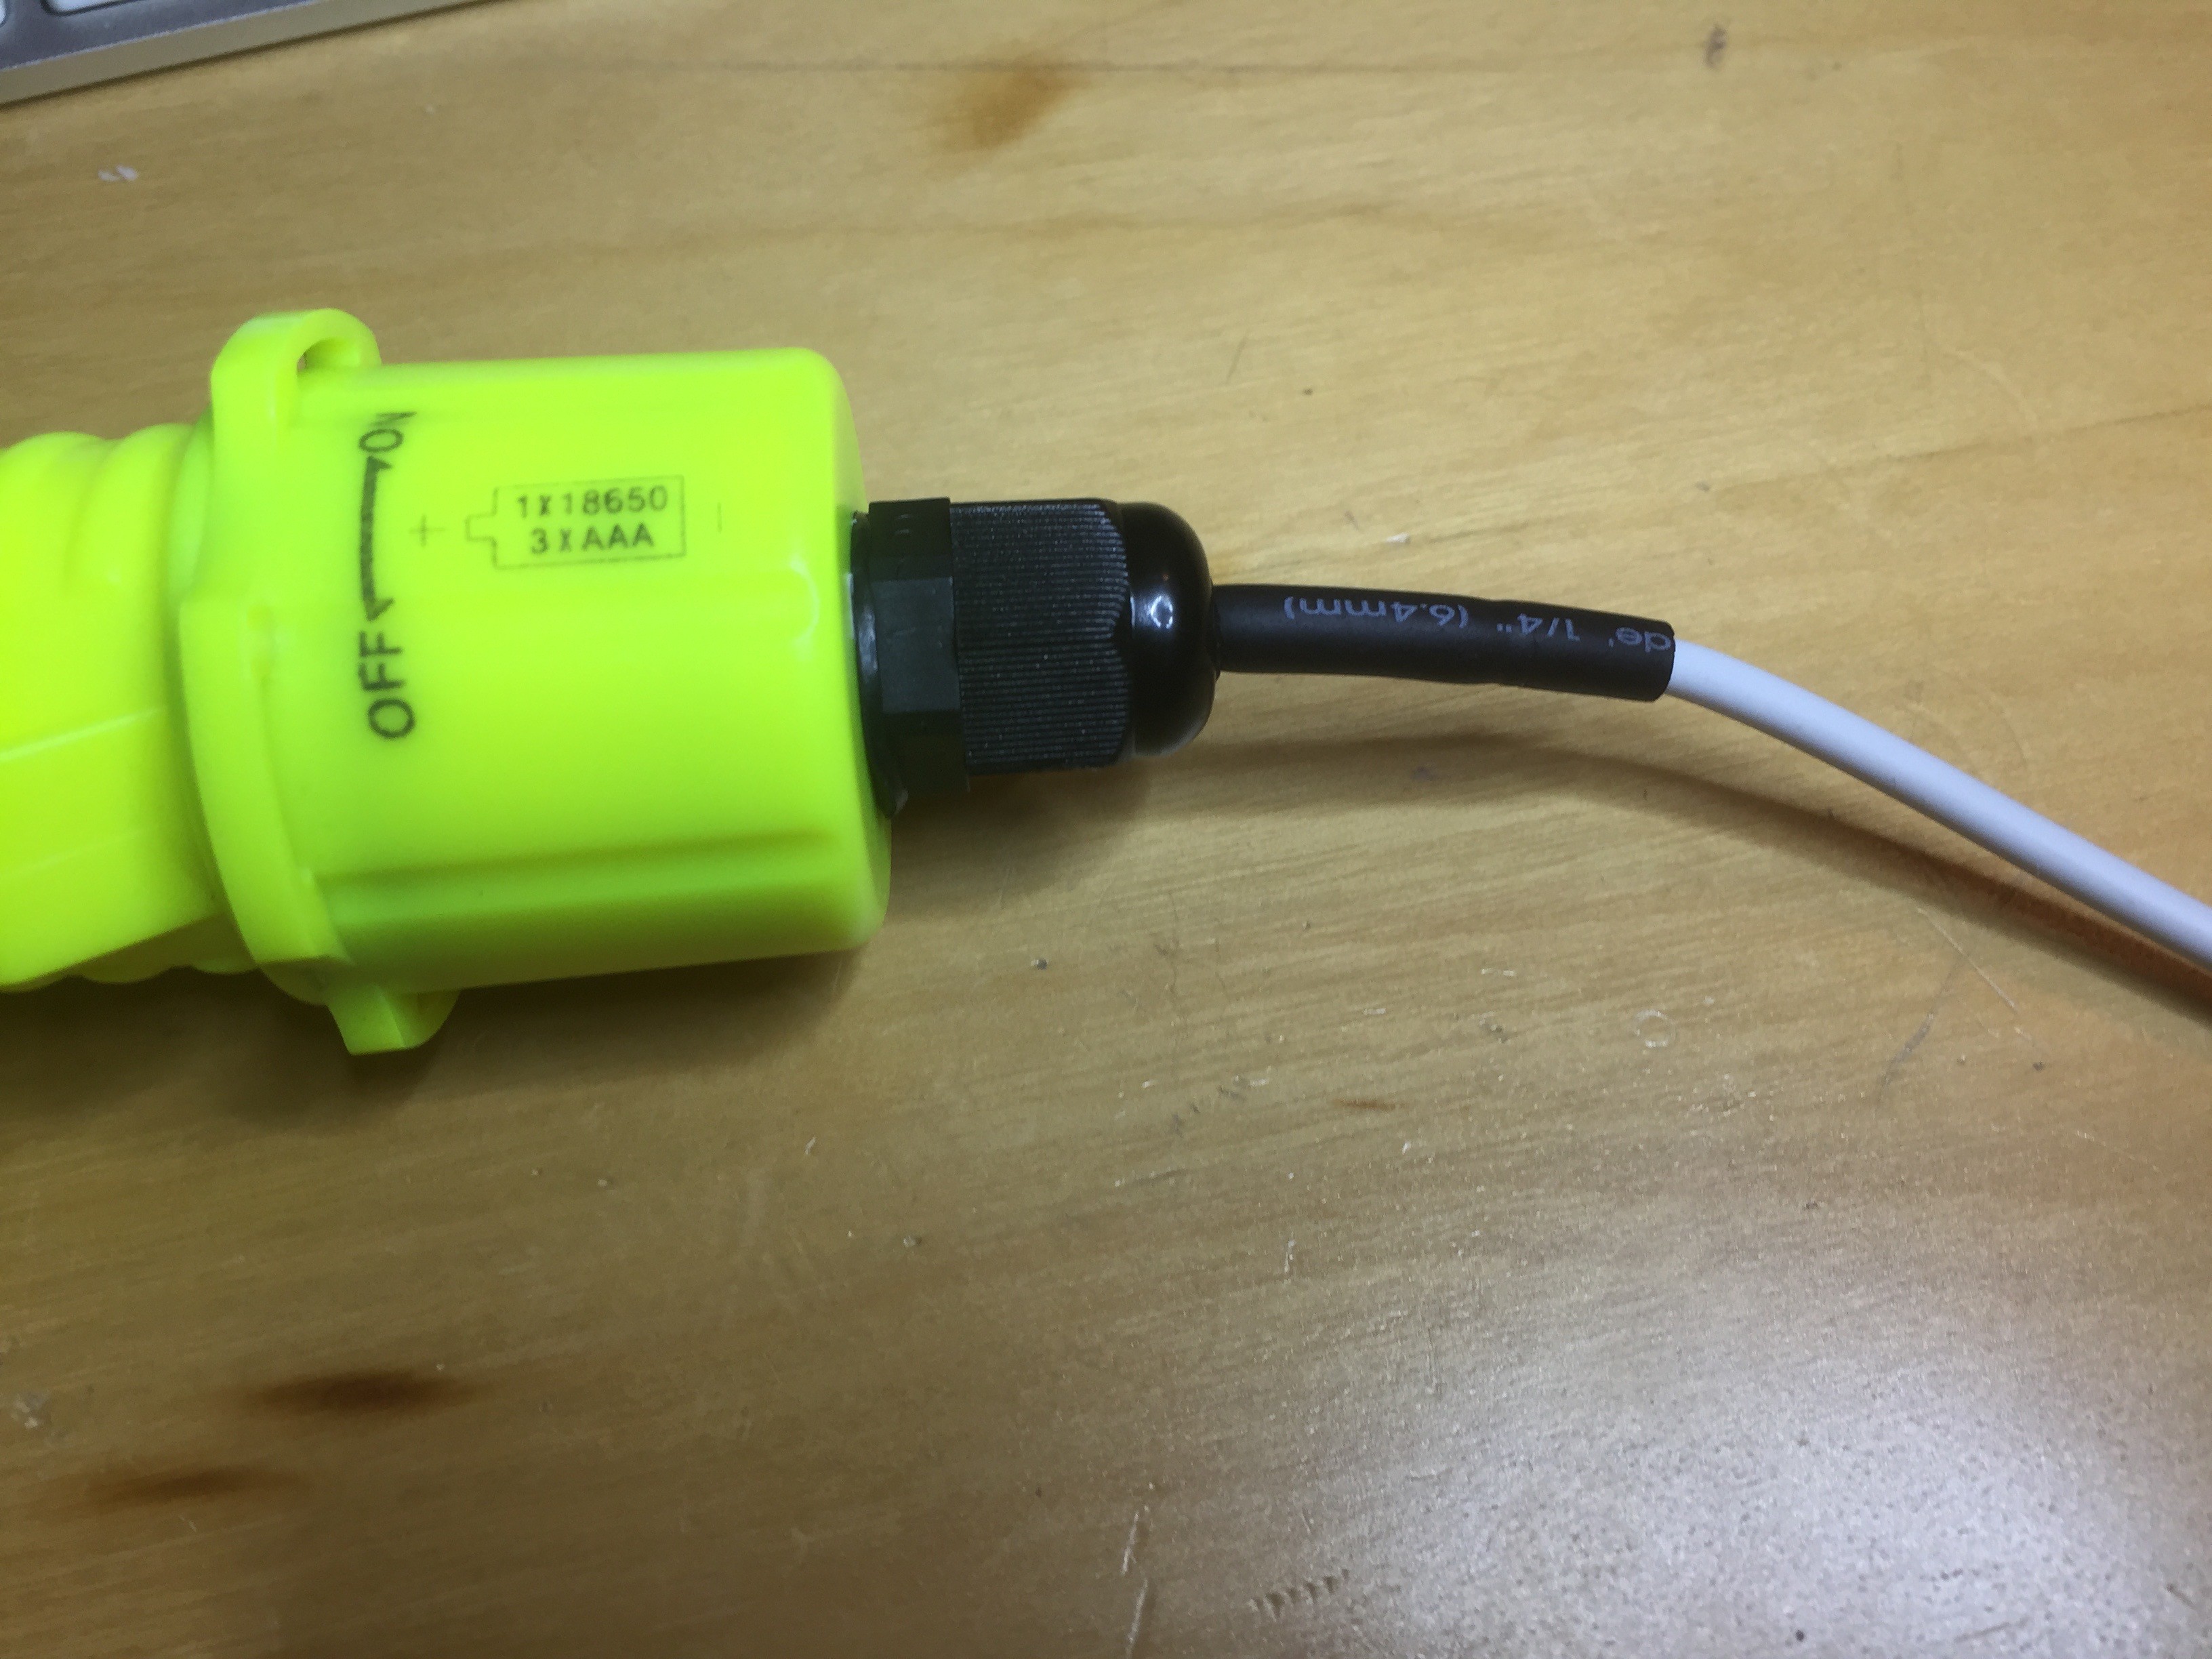
Design 2: The second design uses a pre-purchased waterproof flashlight which has been hollowed out and the camera installed. [Success]
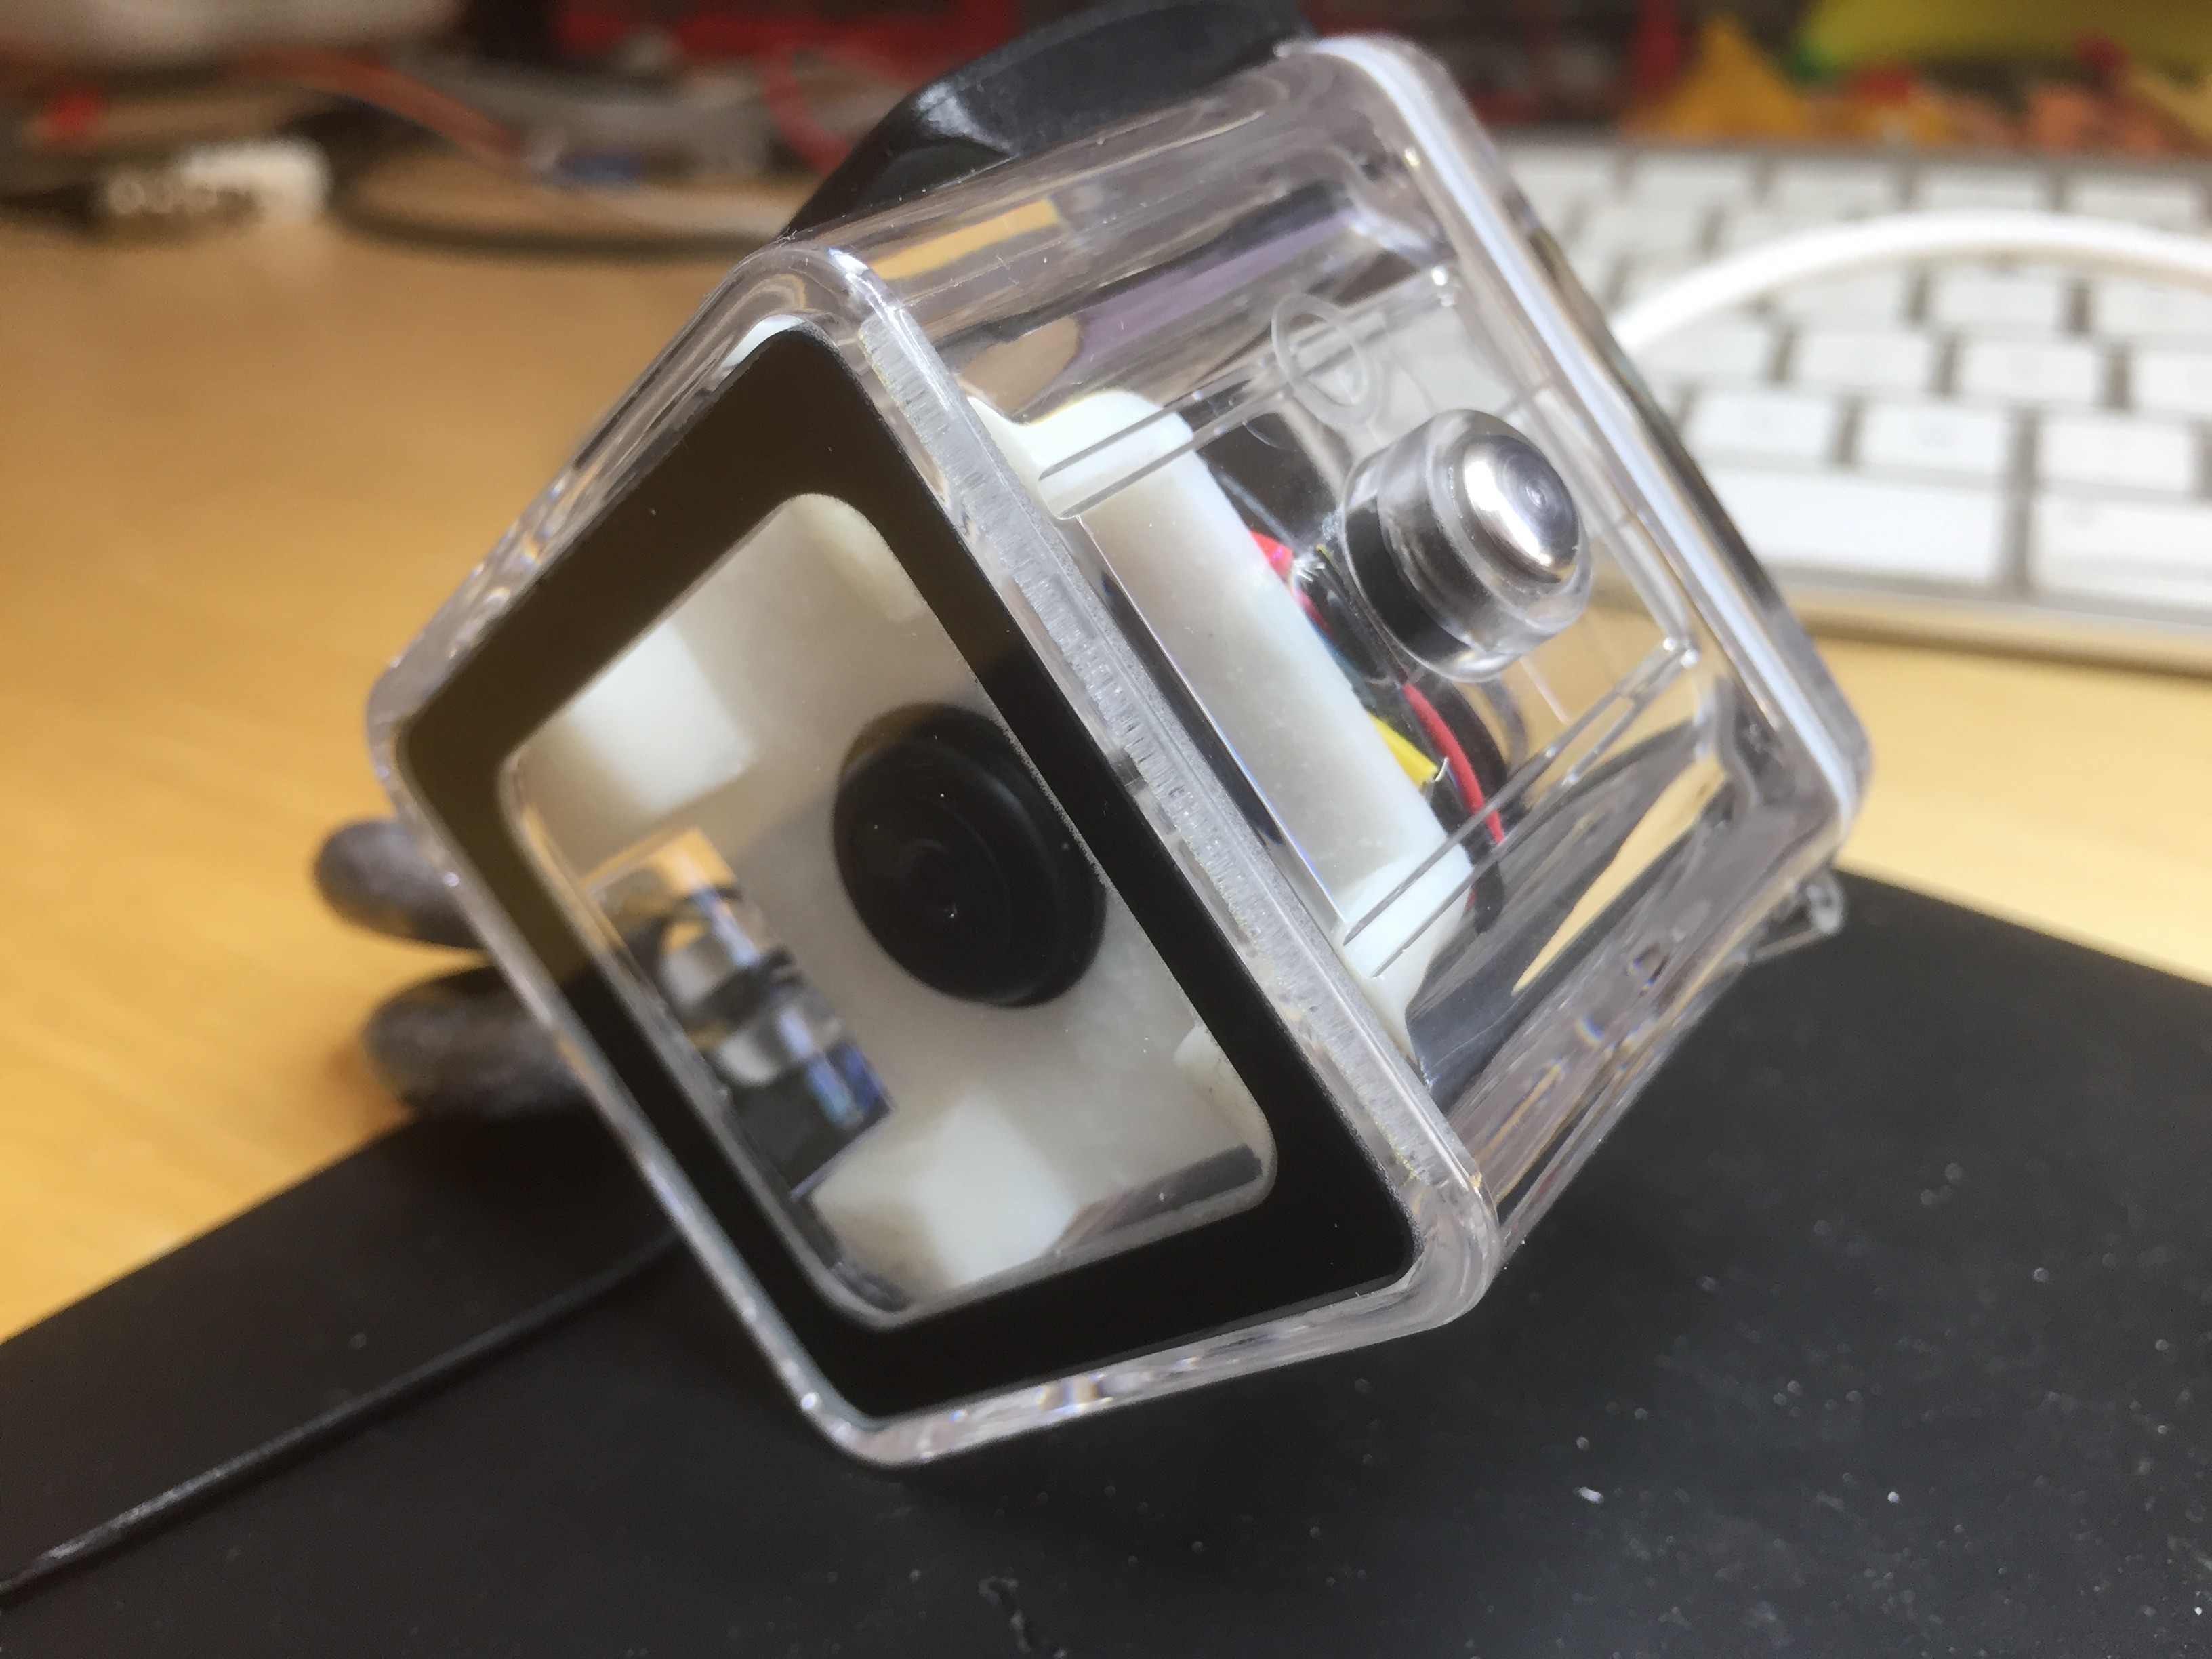
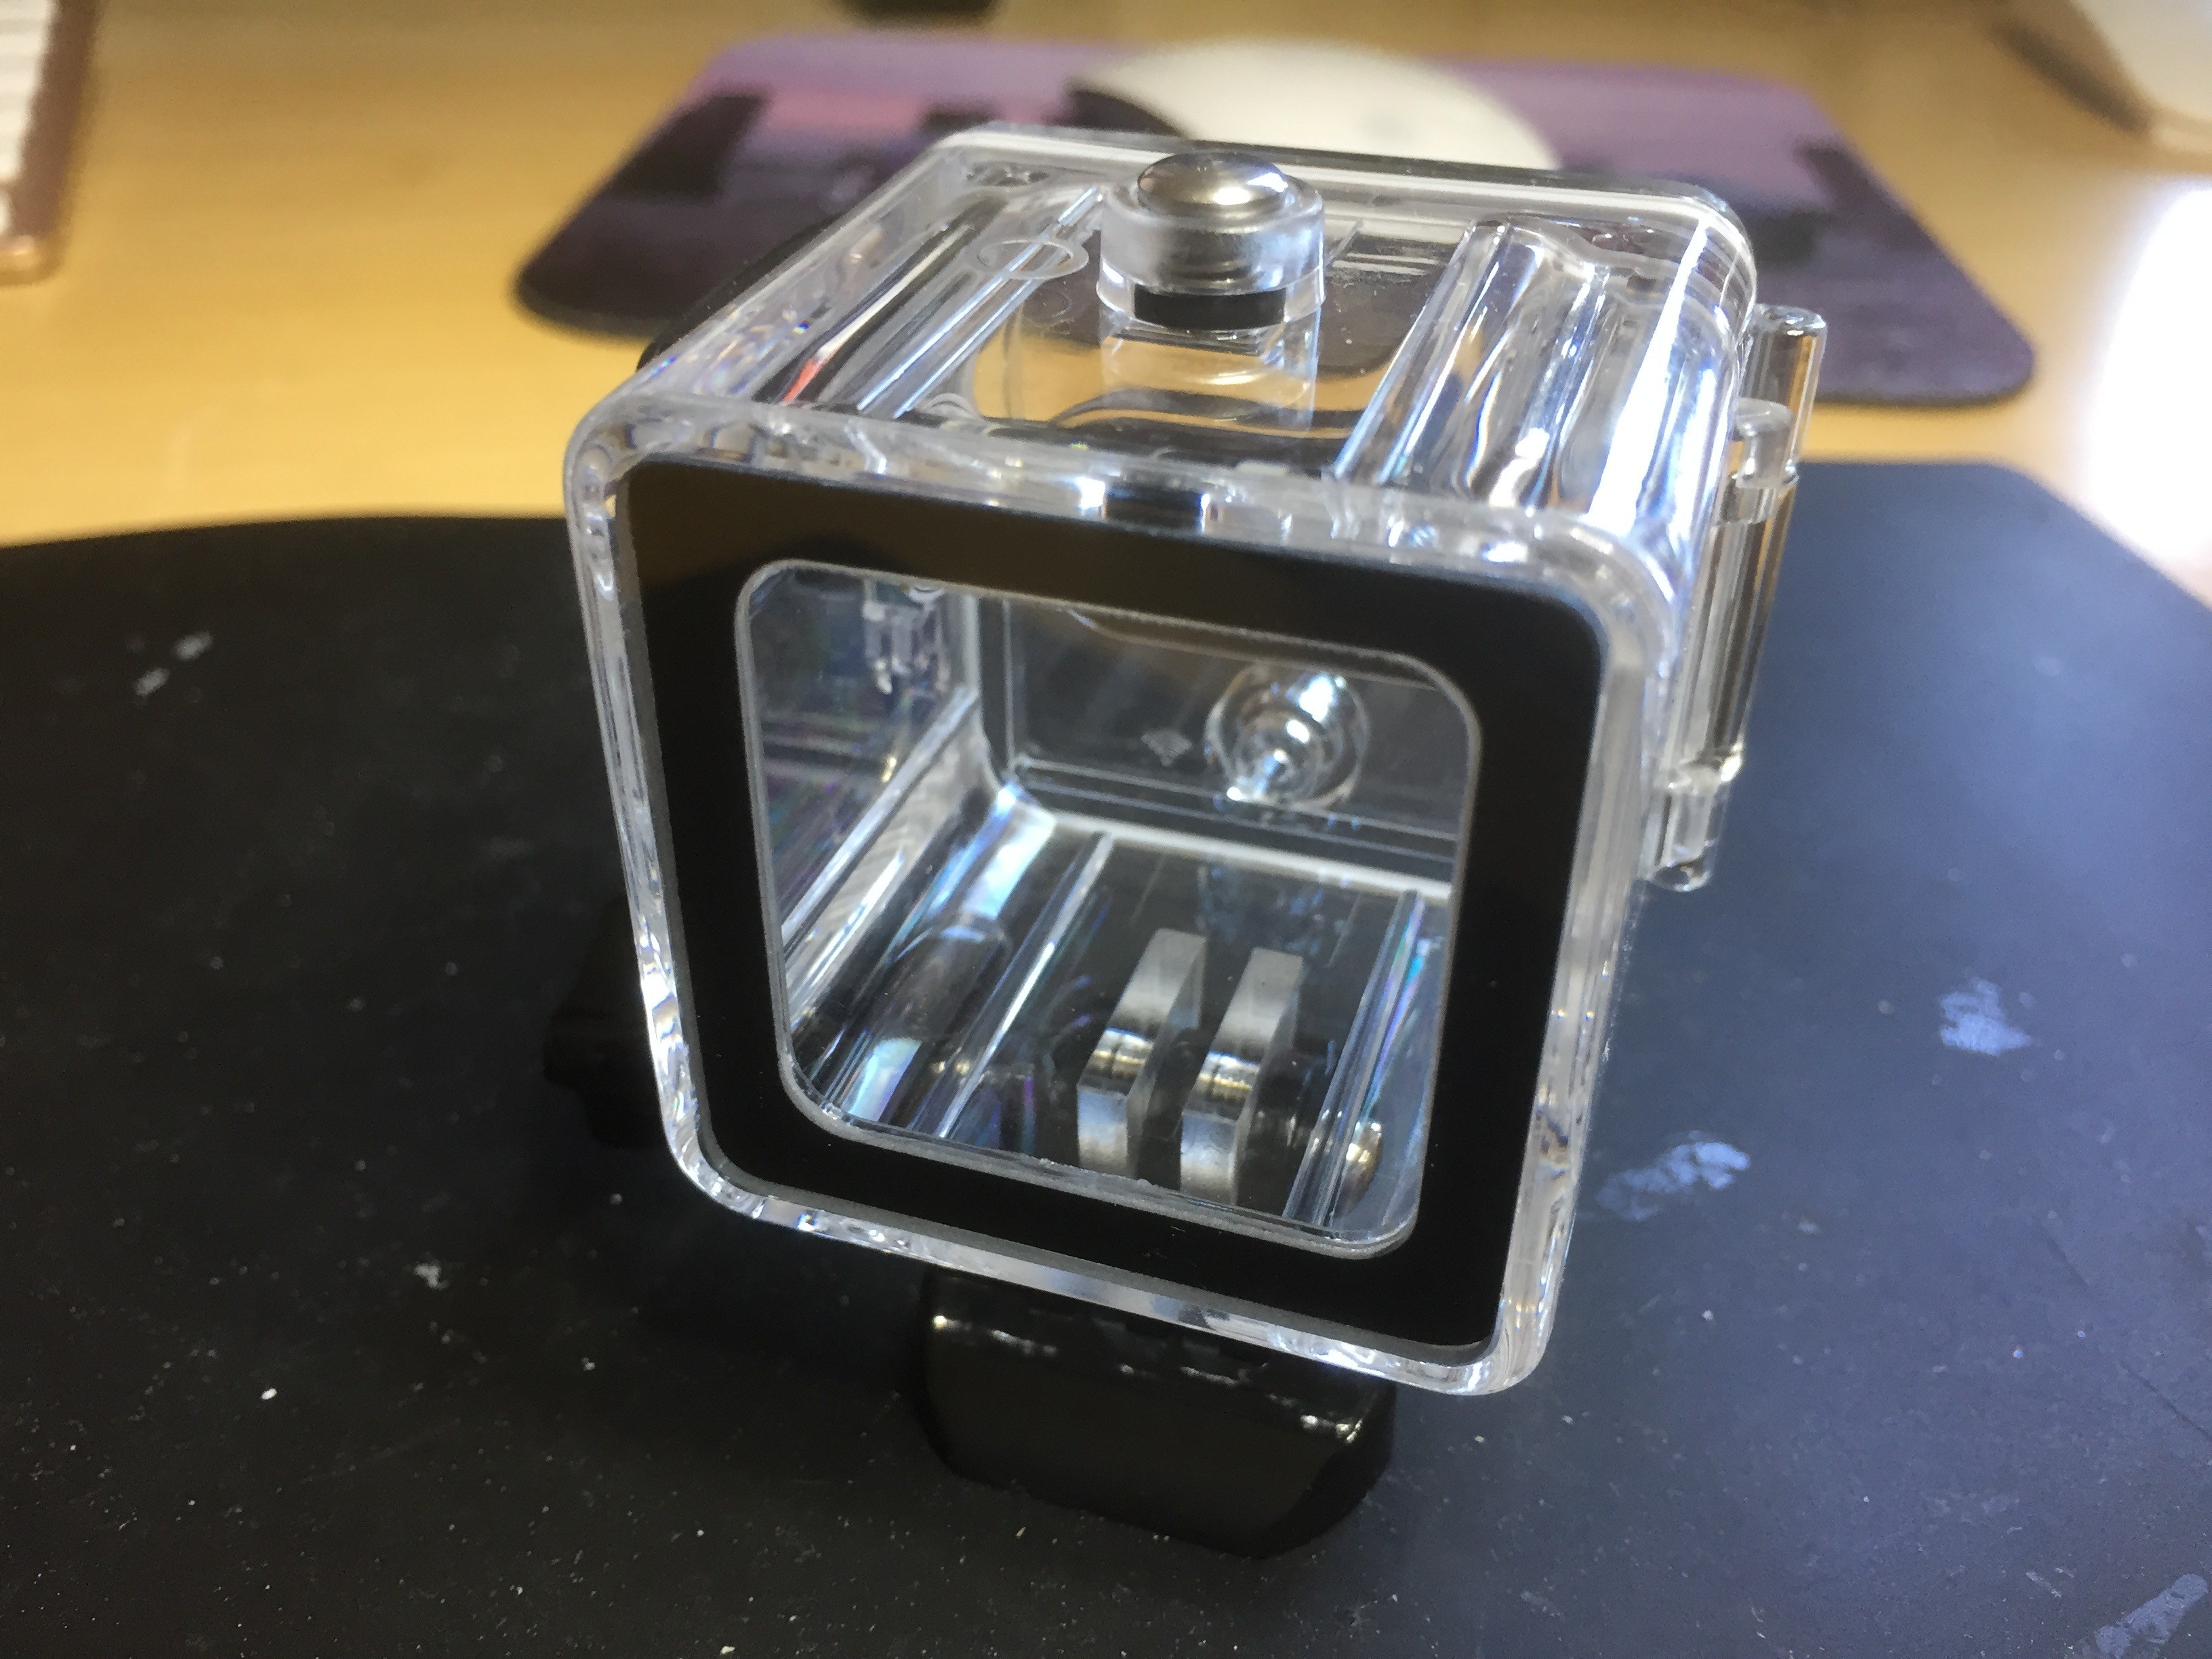
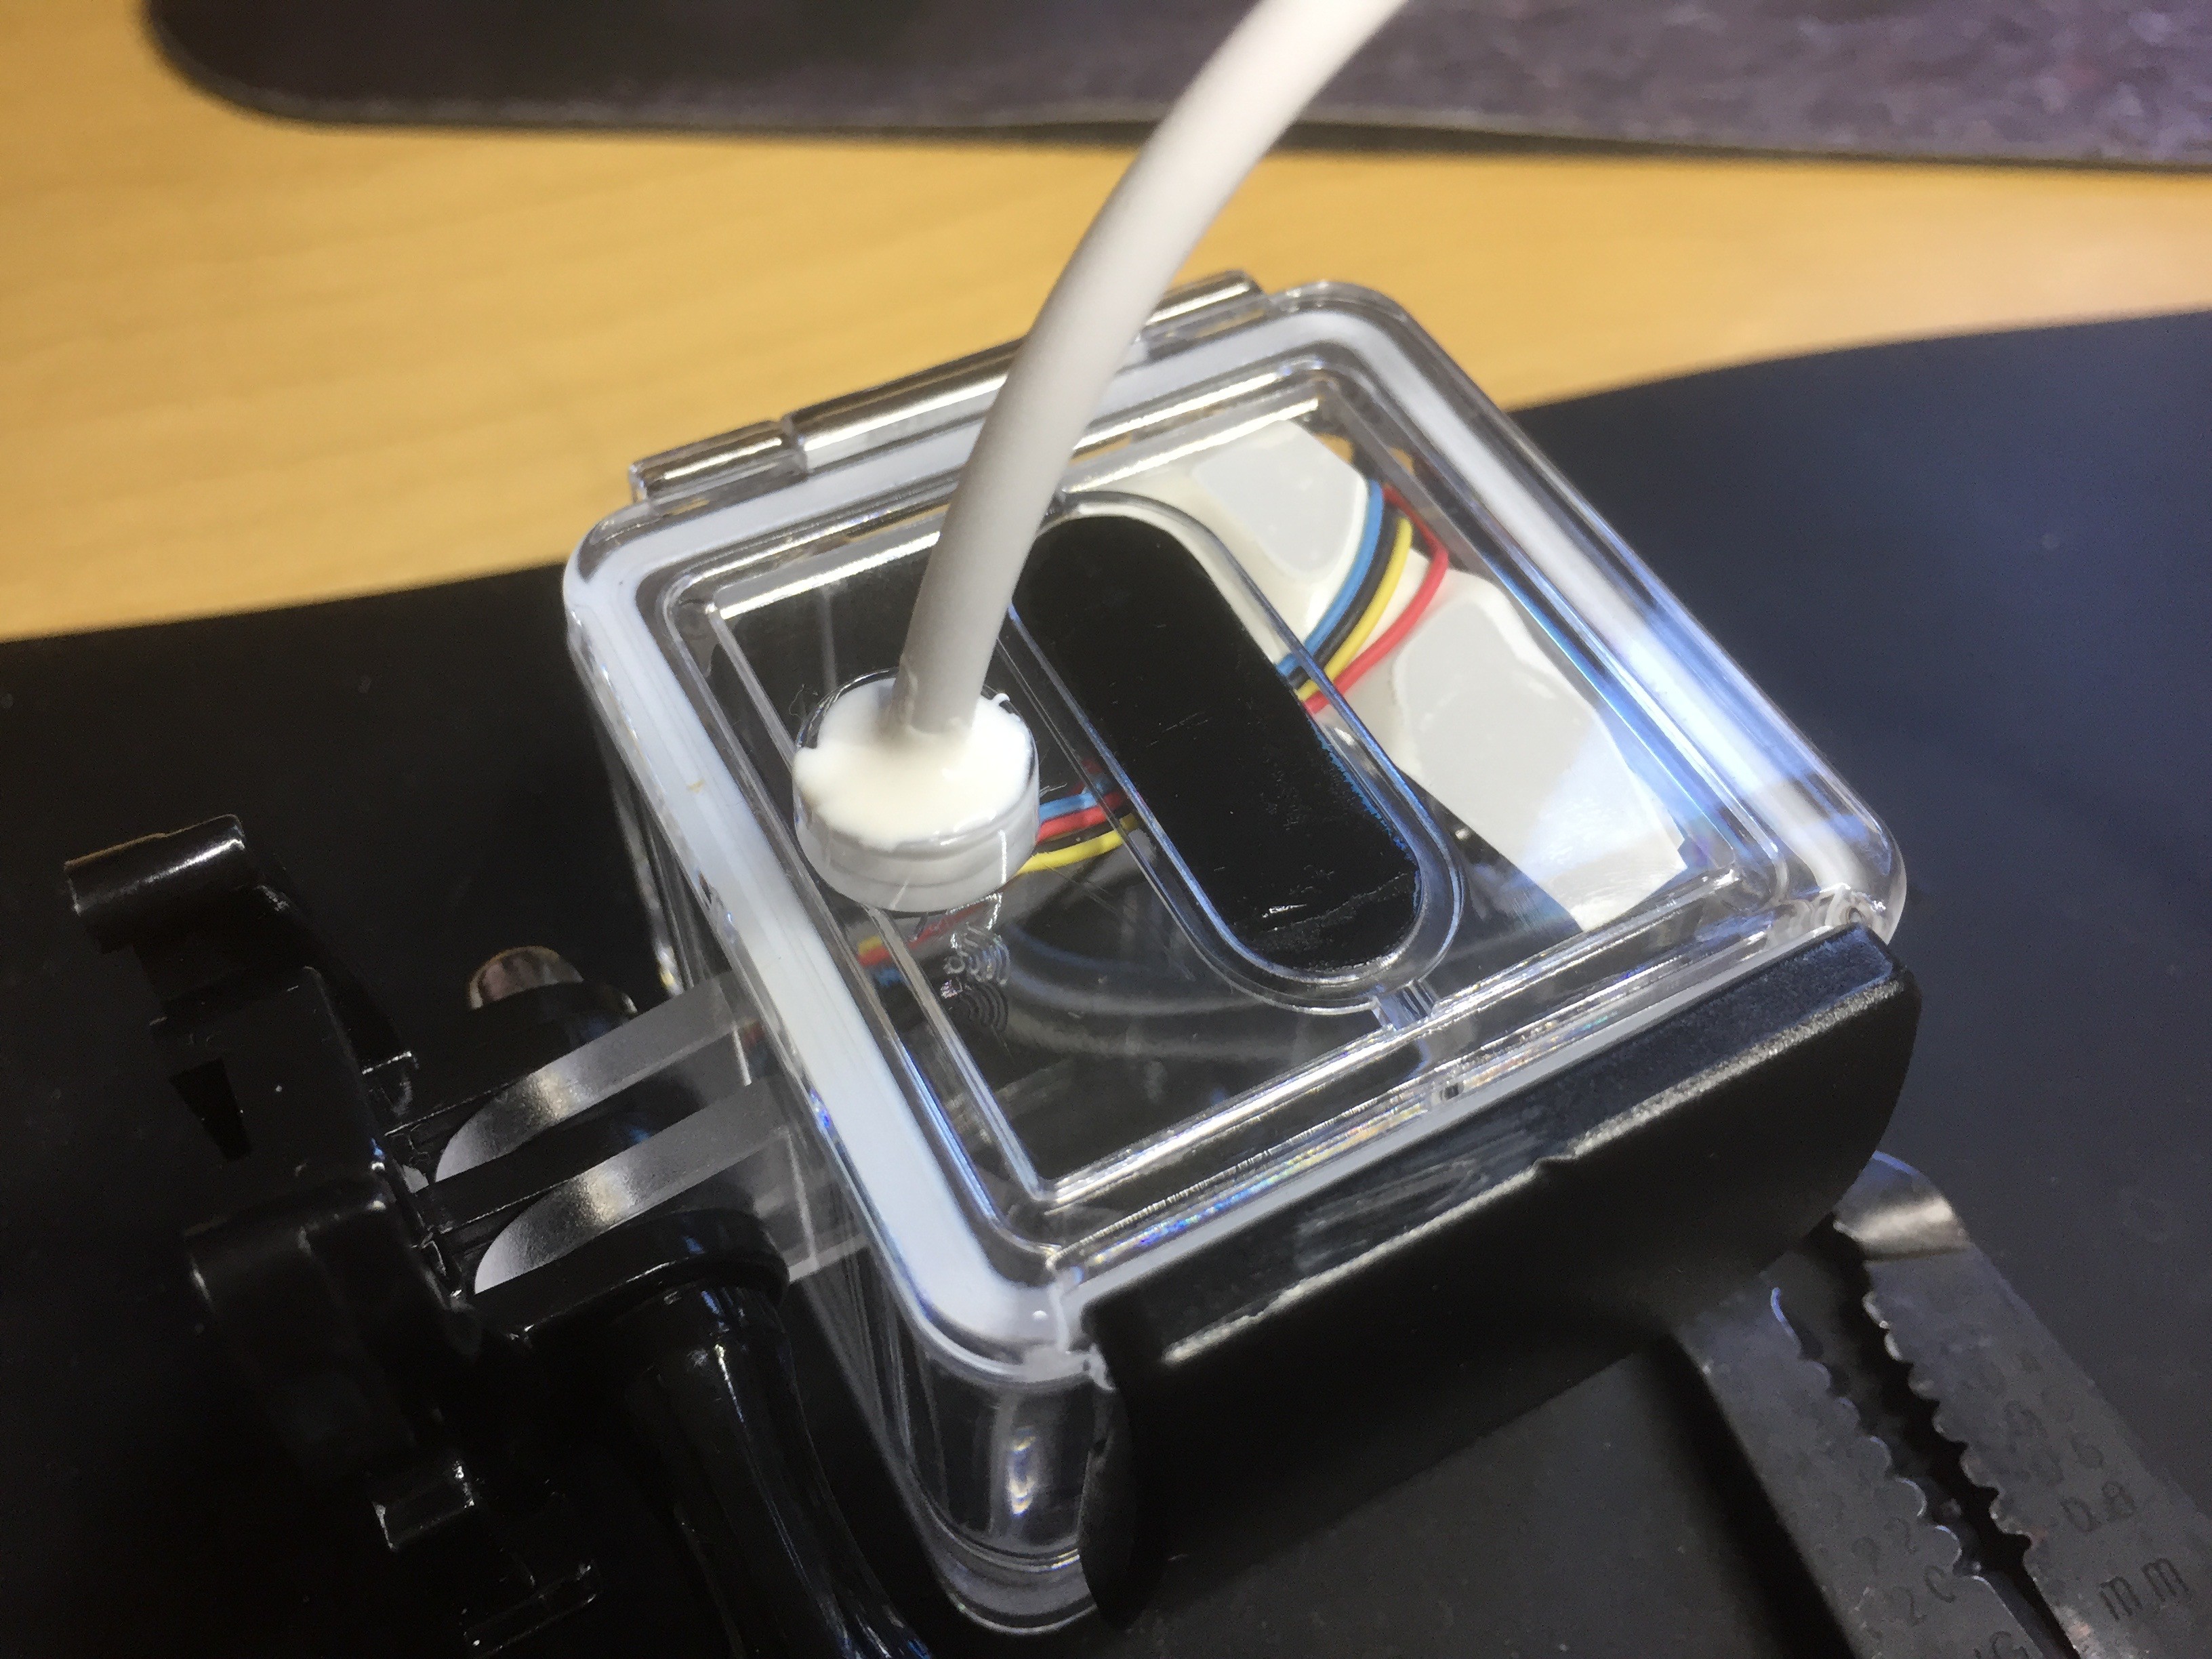
Design 3: The third design uses a pre-purchased waterproof GoPro case. Instead of putting a GoPro inside, I put the video camera. [Success]
Files:
Camera mount designs: http://bit.ly/2drxVC4


 Steve Schuler
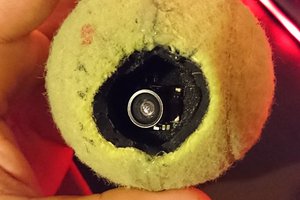
 Max-Felix Müller
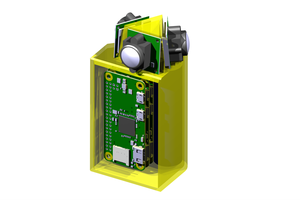
 taposk
I once converted a non-waterproof electric shaver to a waterproof shaver using waterproofing sprays. You can read more on my blog here: https://ultimateelectricshavers.com/. It might help to give some ideas for your project.