 Cole B
CAD Files and code can be found on our GitHub repository: https://github.com/Team-Automata/Modular-Universal-Jamming-Gripper
Created by the Arizona Makers Collective
Universal 3D printed gripper for robotics.
Already have an account? Log in.
To make the experience fit your profile, pick a username and tell us what interests you.
CAD Files and code can be found on our GitHub repository: https://github.com/Team-Automata/Modular-Universal-Jamming-Gripper
Created by the Arizona Makers Collective
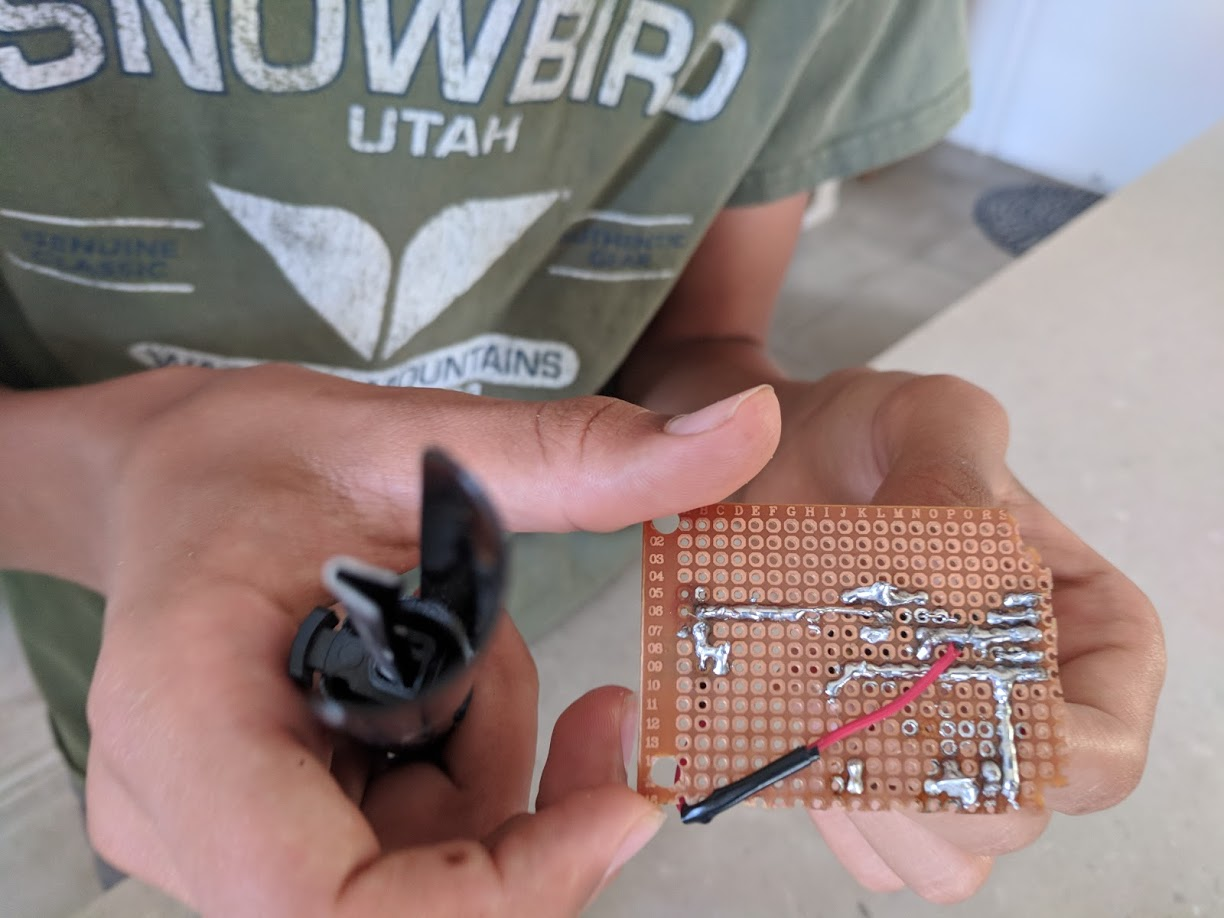
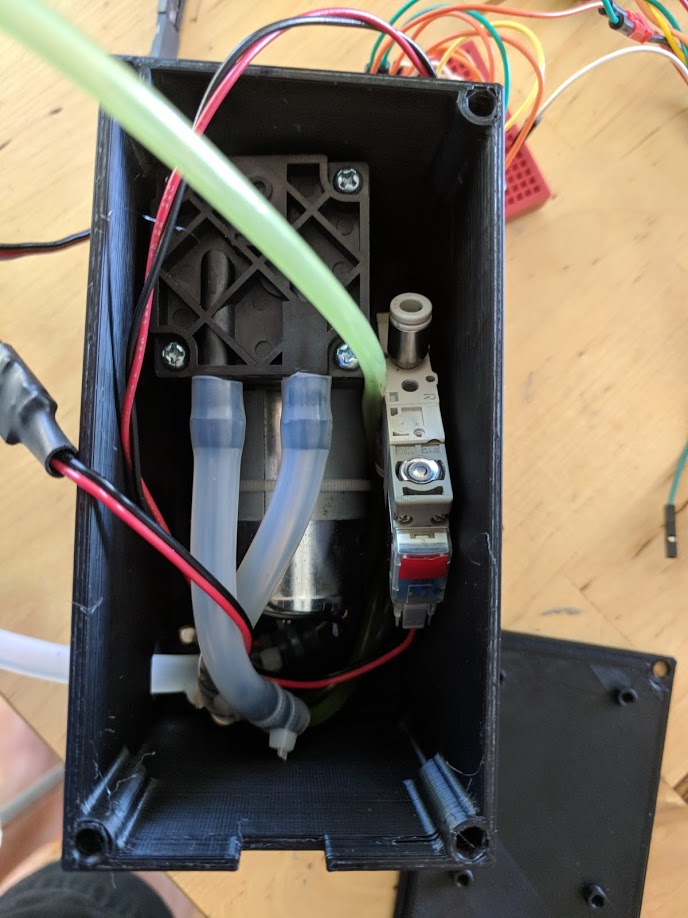
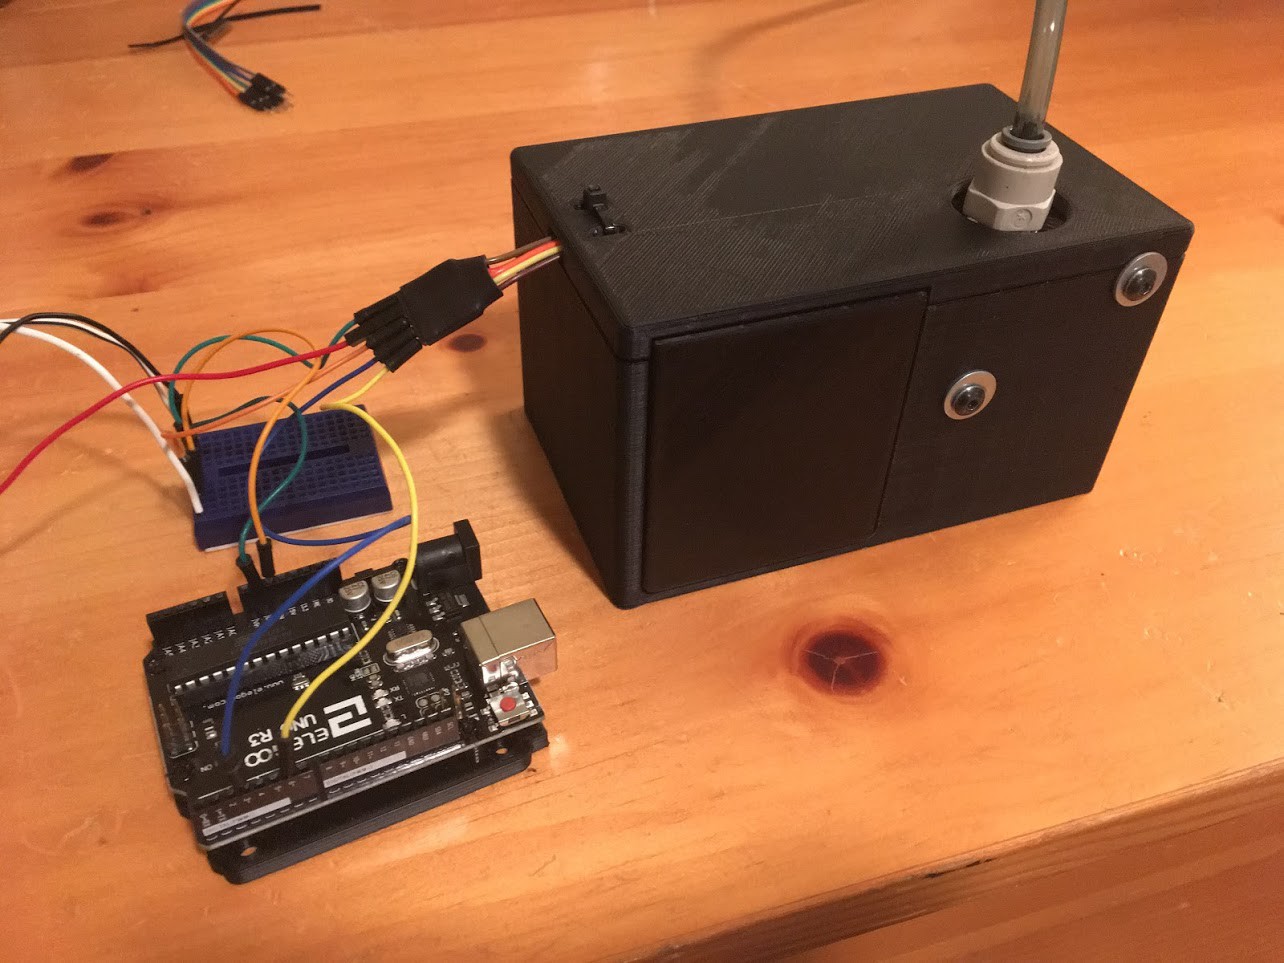
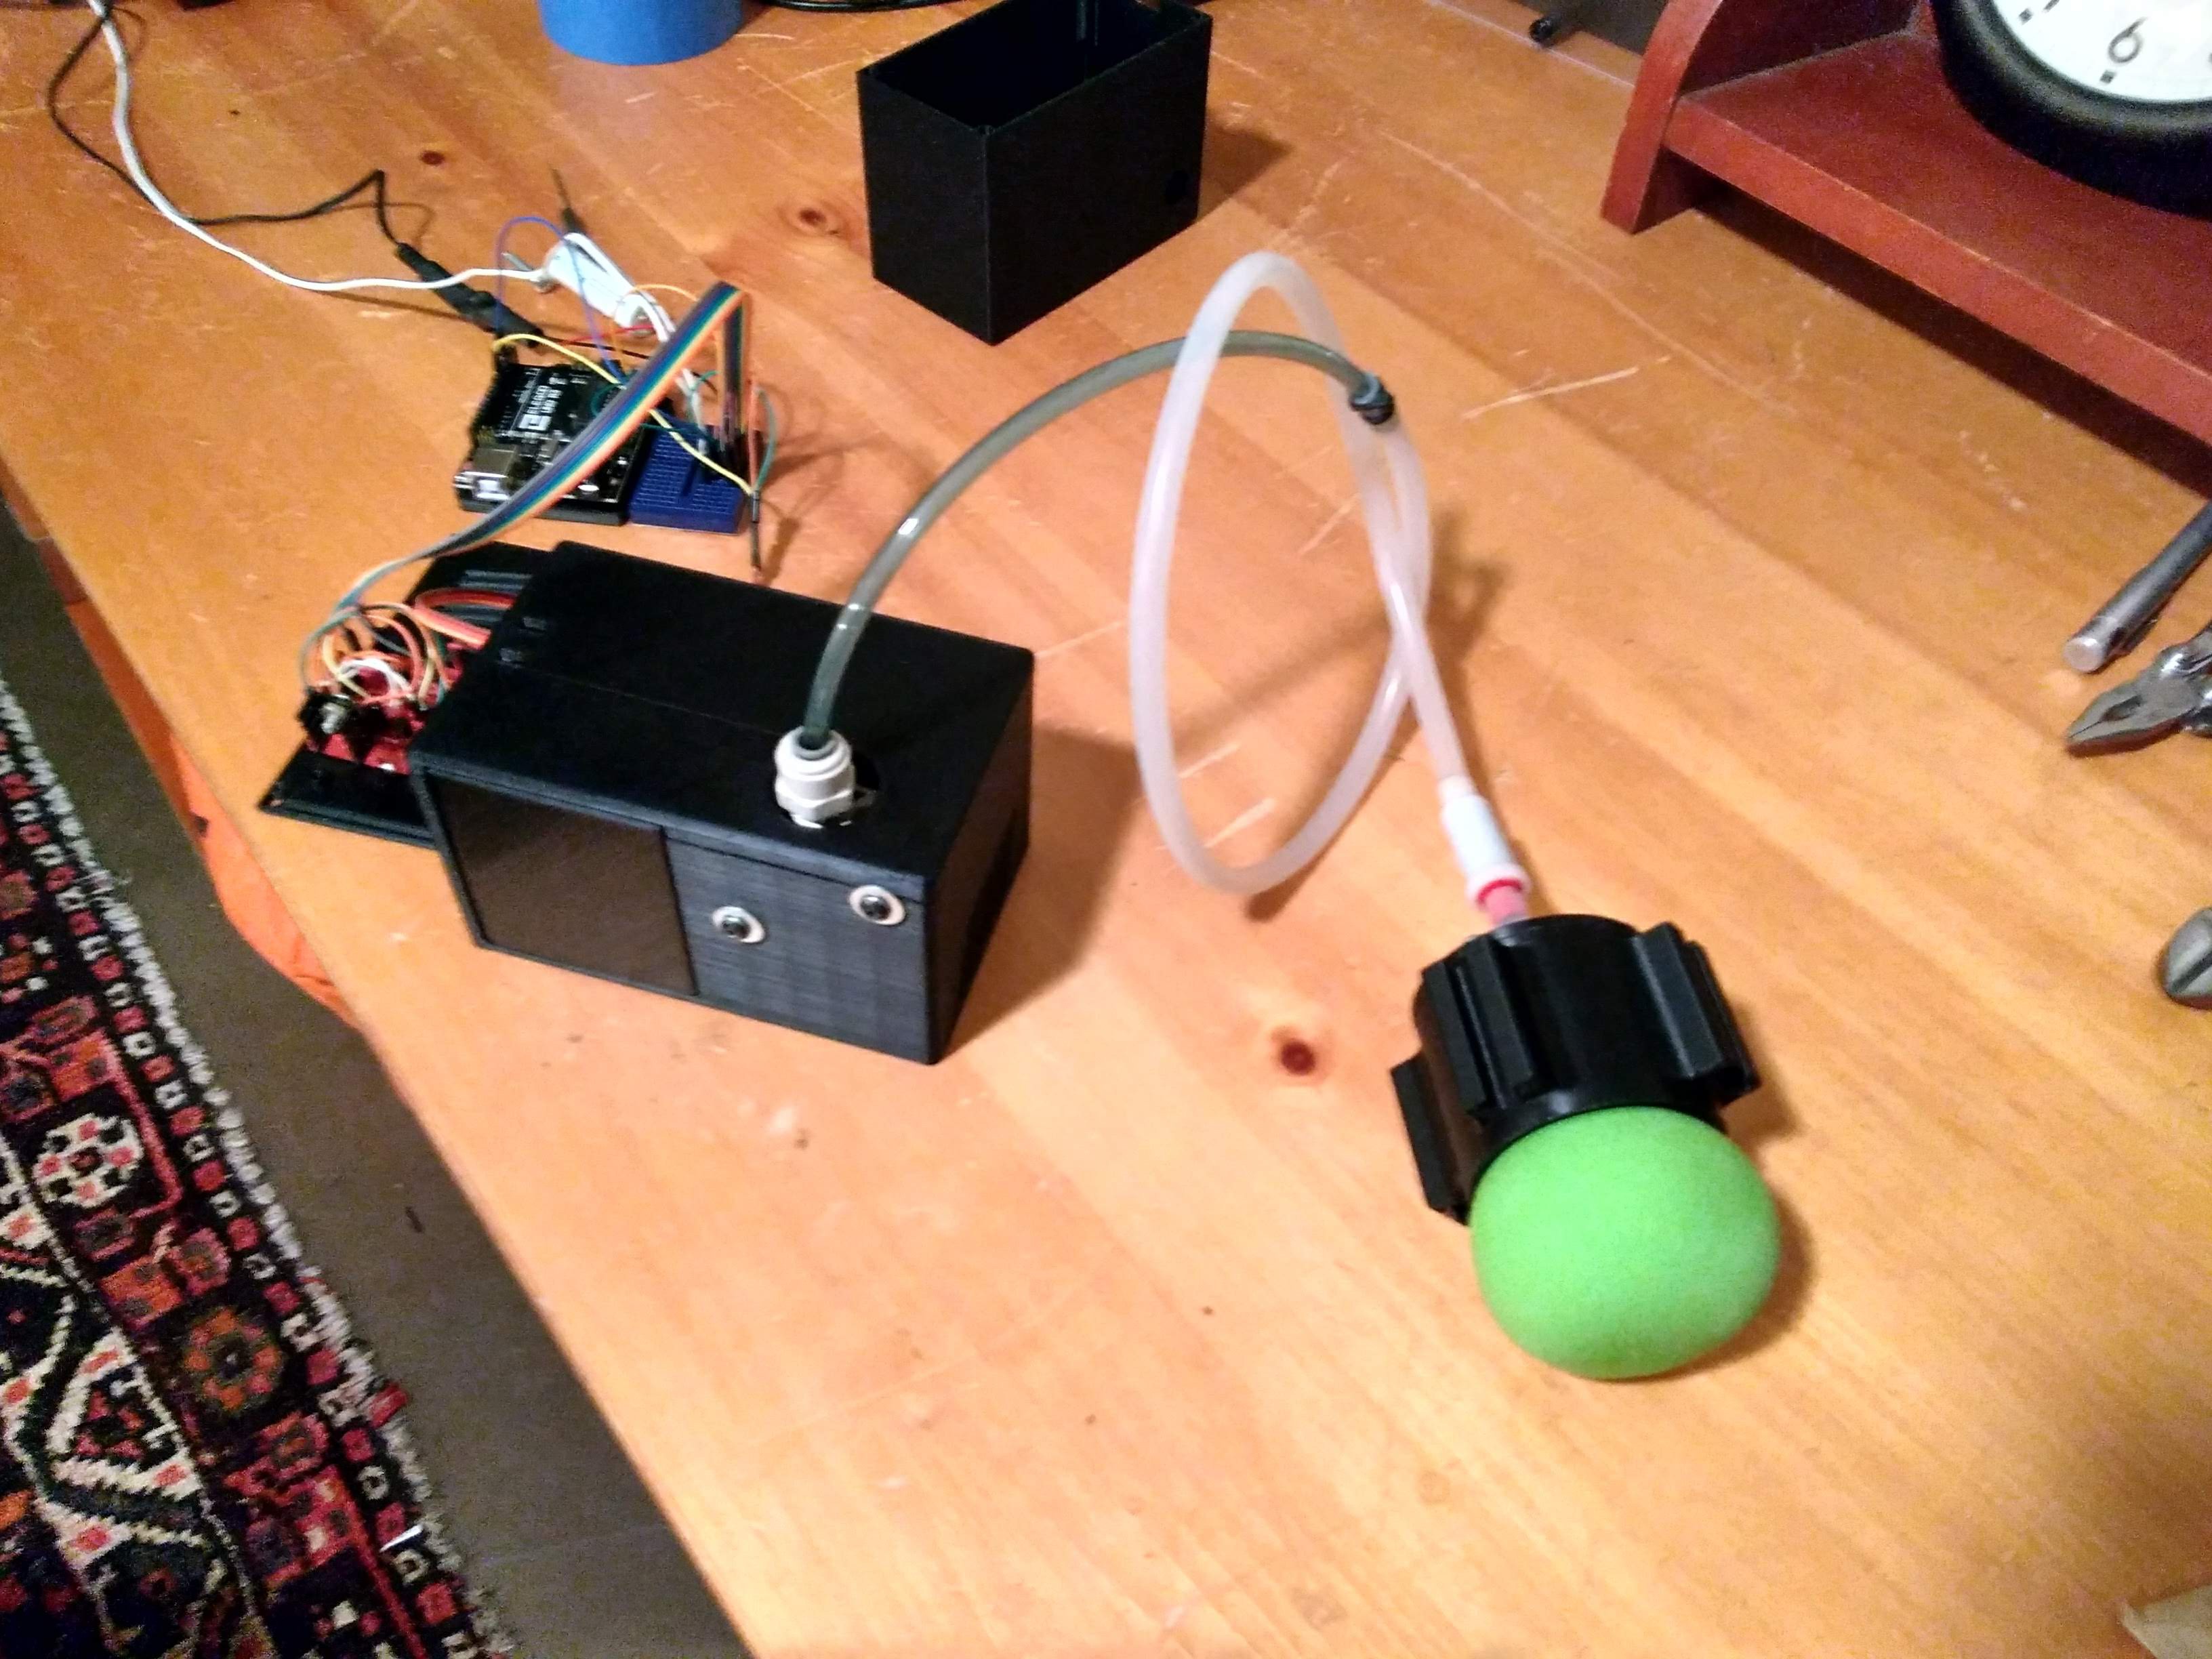
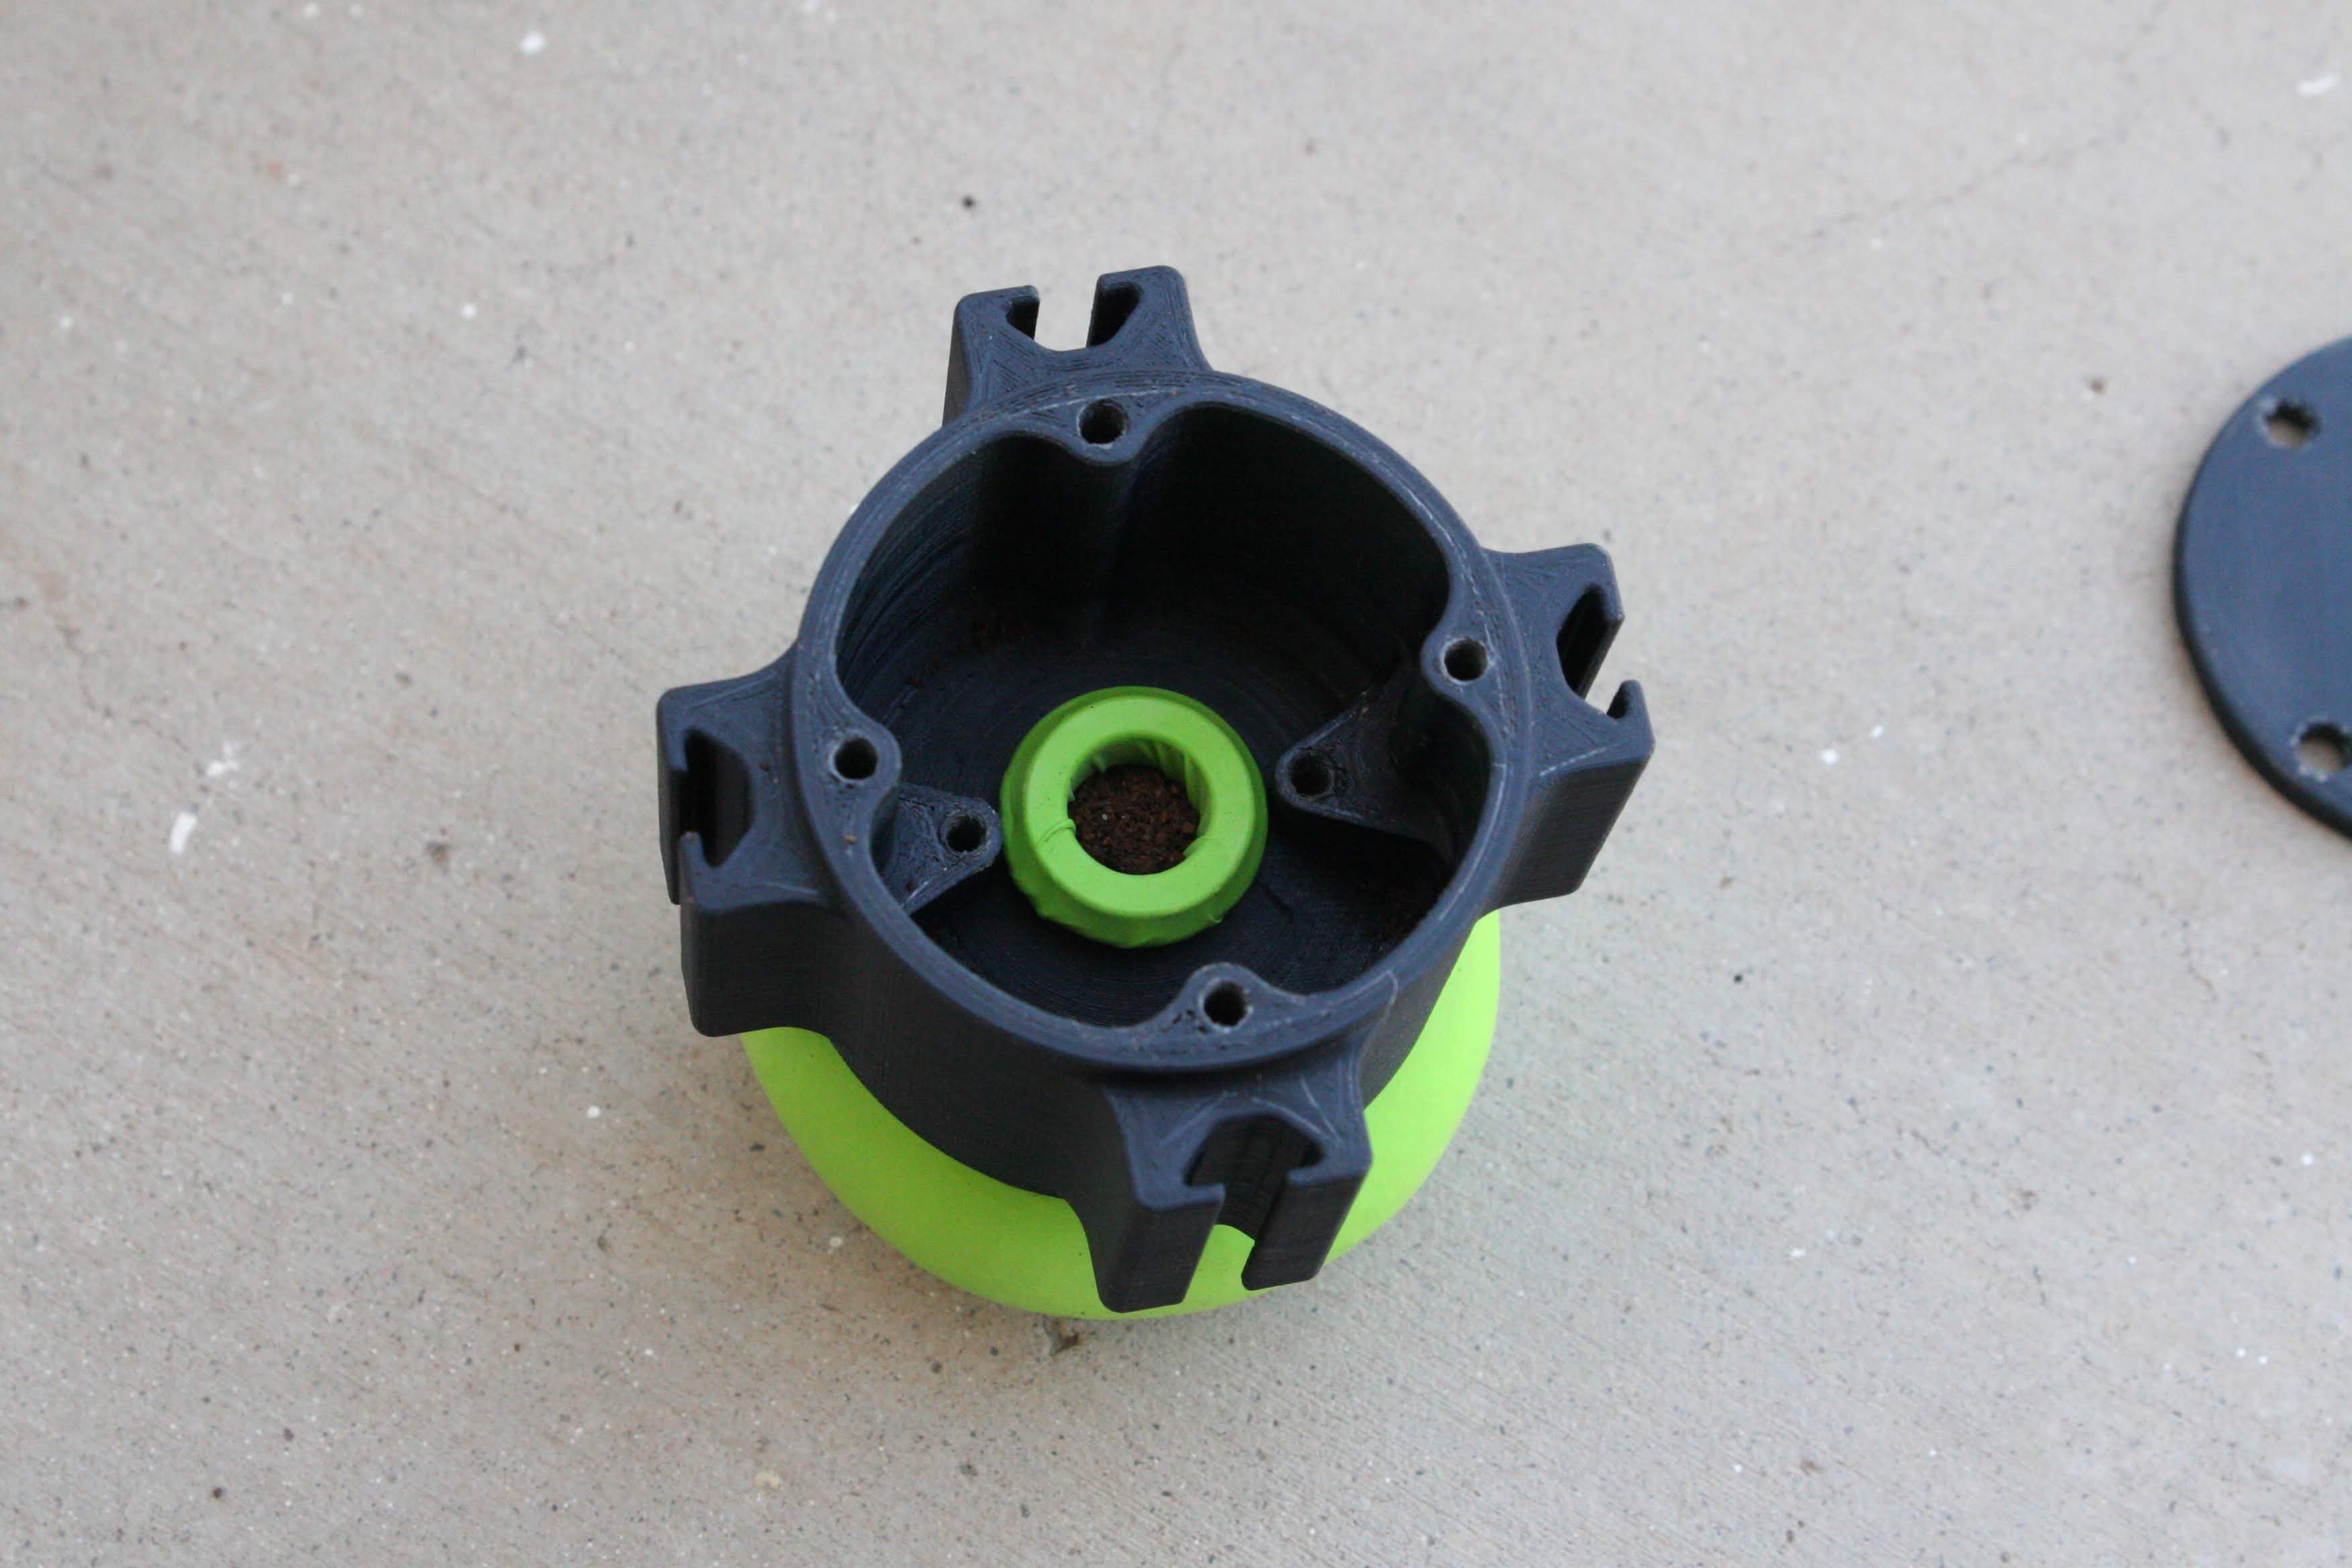
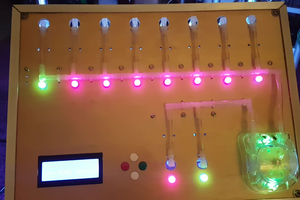
Today we moved the control circuit to a protoboard and finalized the wiring in the case. Everything continues to function as intended. We also worked on finalizing instructions for building the gripper.
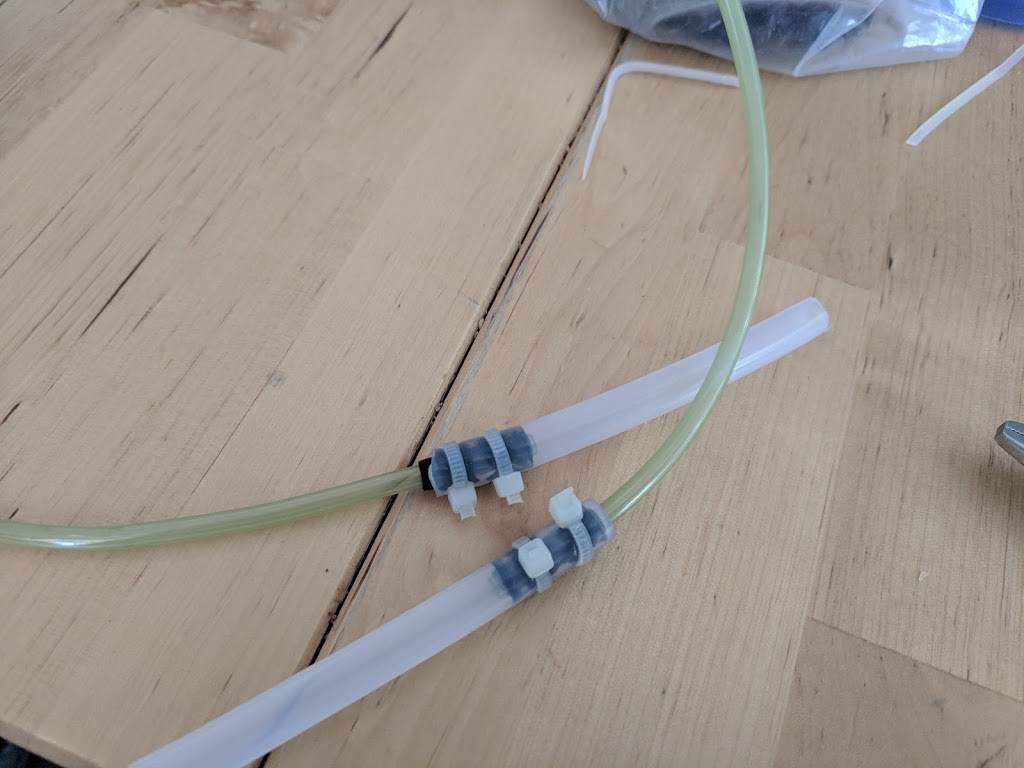
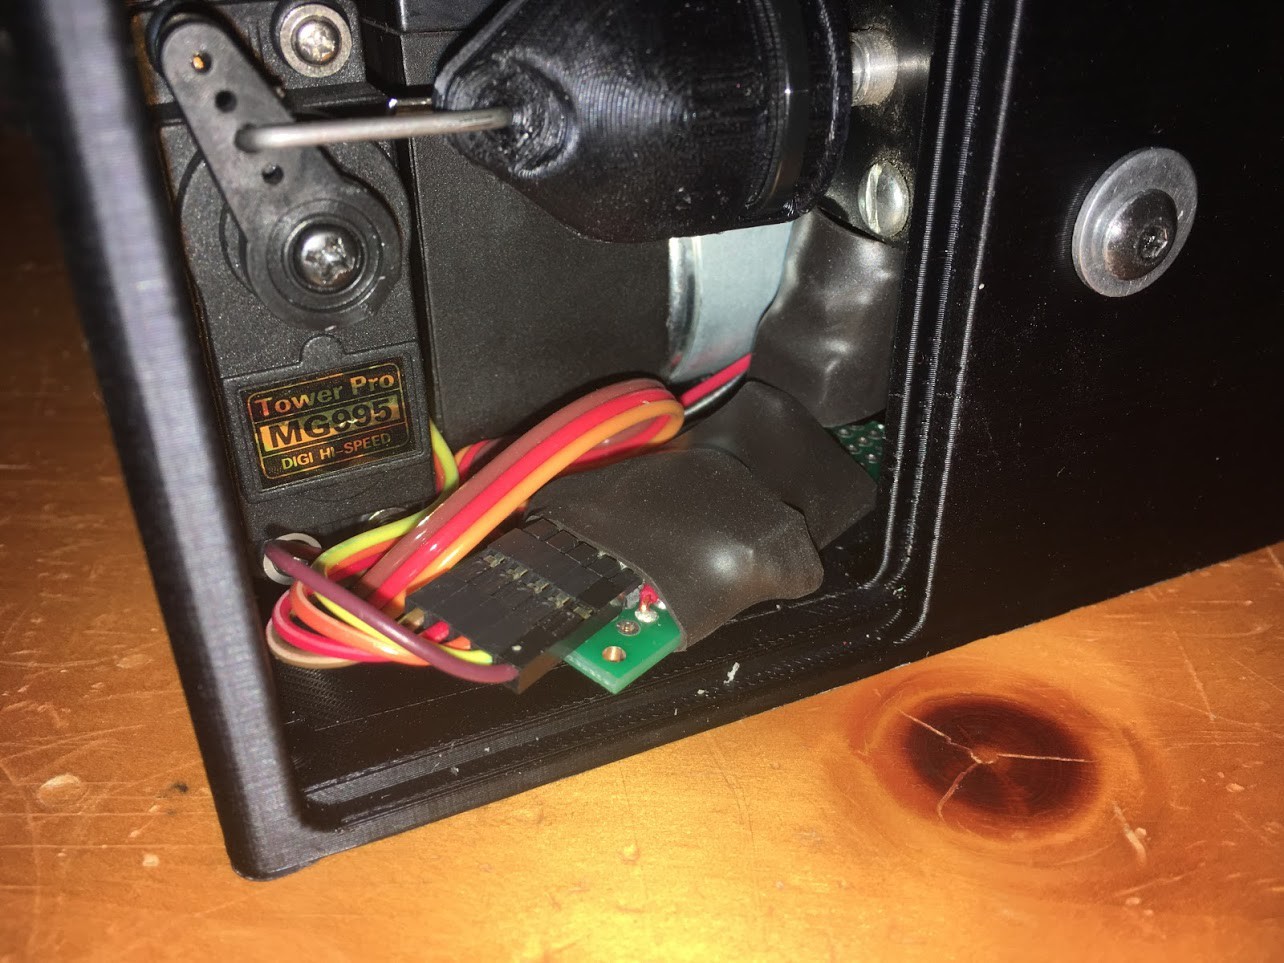
Today we installed the servo, valve, and pump into the new case. Testing showed the new valve setup to work well. We also were able to reduce the amount of air leakage in the system by adding more silicone caulking to the hose adapter assembly inside the gripper. Our next step will be moving the circuit from the breadboard to a protoboard so that it will fit in the case as well.
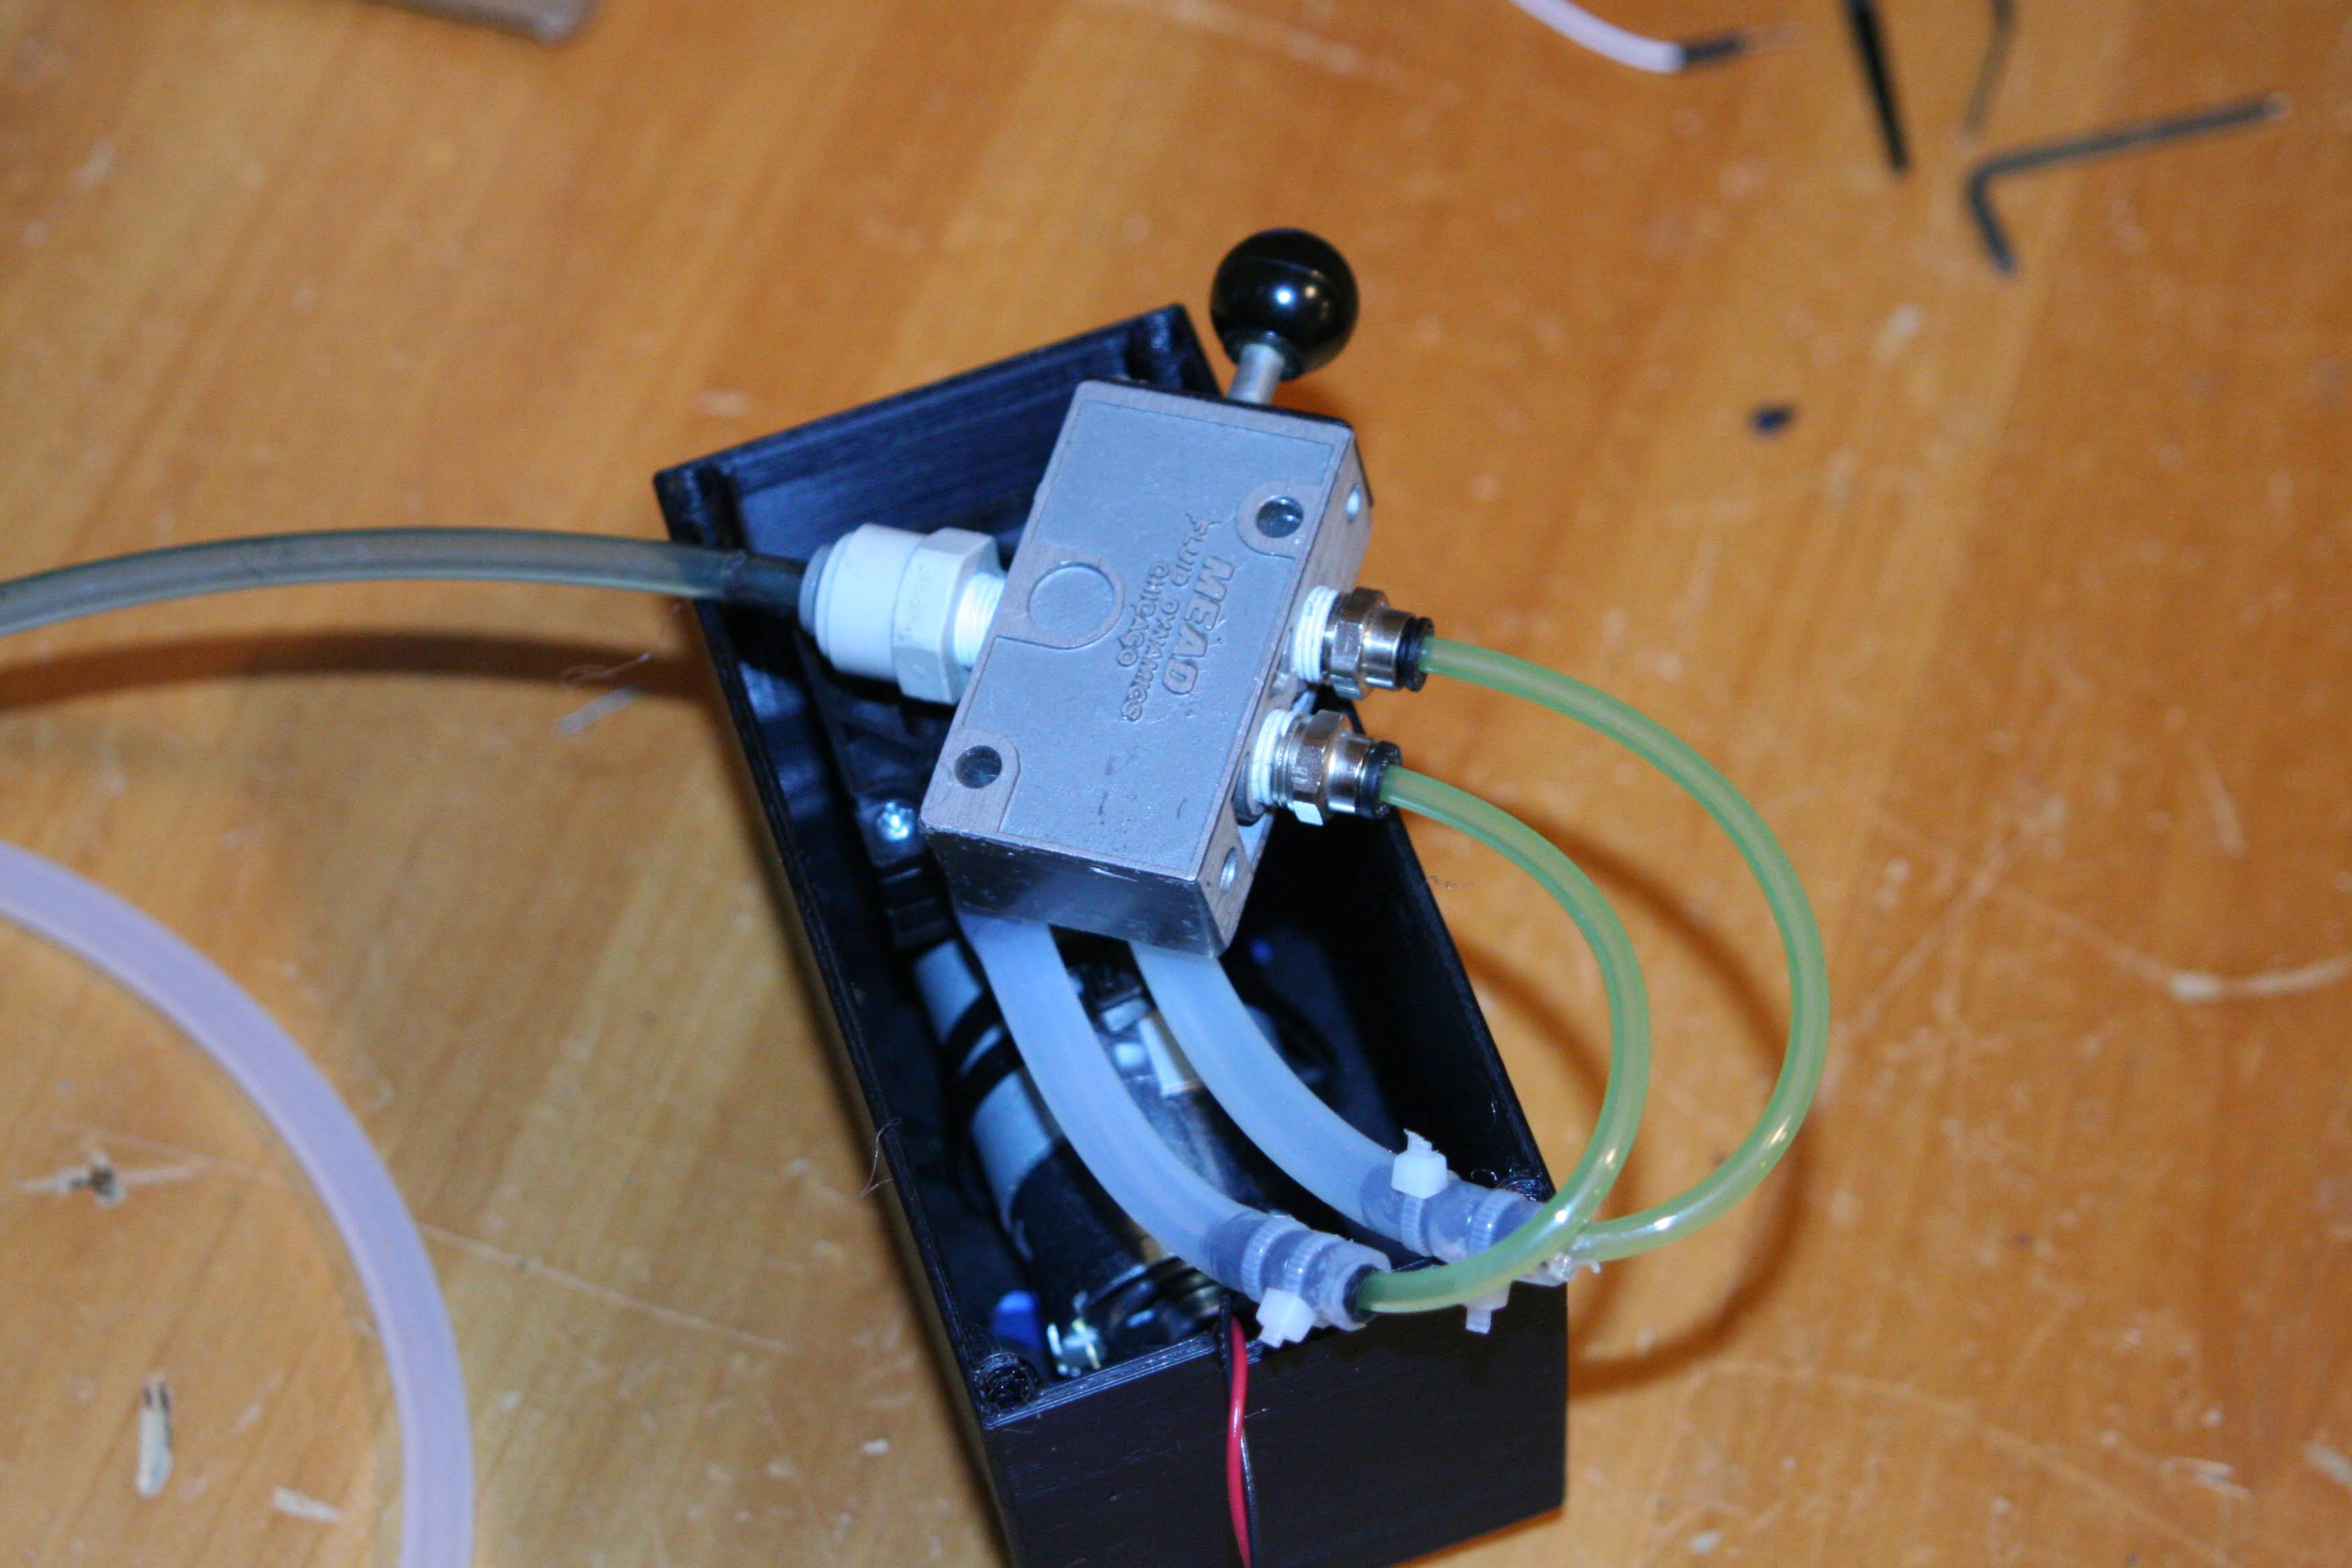
Today we worked on the pneumatic solenoid system used to control the gripper. We found that the alternative solenoid setup we had planned on using still would not work because the solenoids we had available were only designed for controlling a pressure source and not a vacuum. However, we were able to find a manually controlled air valve that worked with our system. We will need to actuate the valve using a servo. We have started 3D printing a new case to hold the pump, valve, and servo.
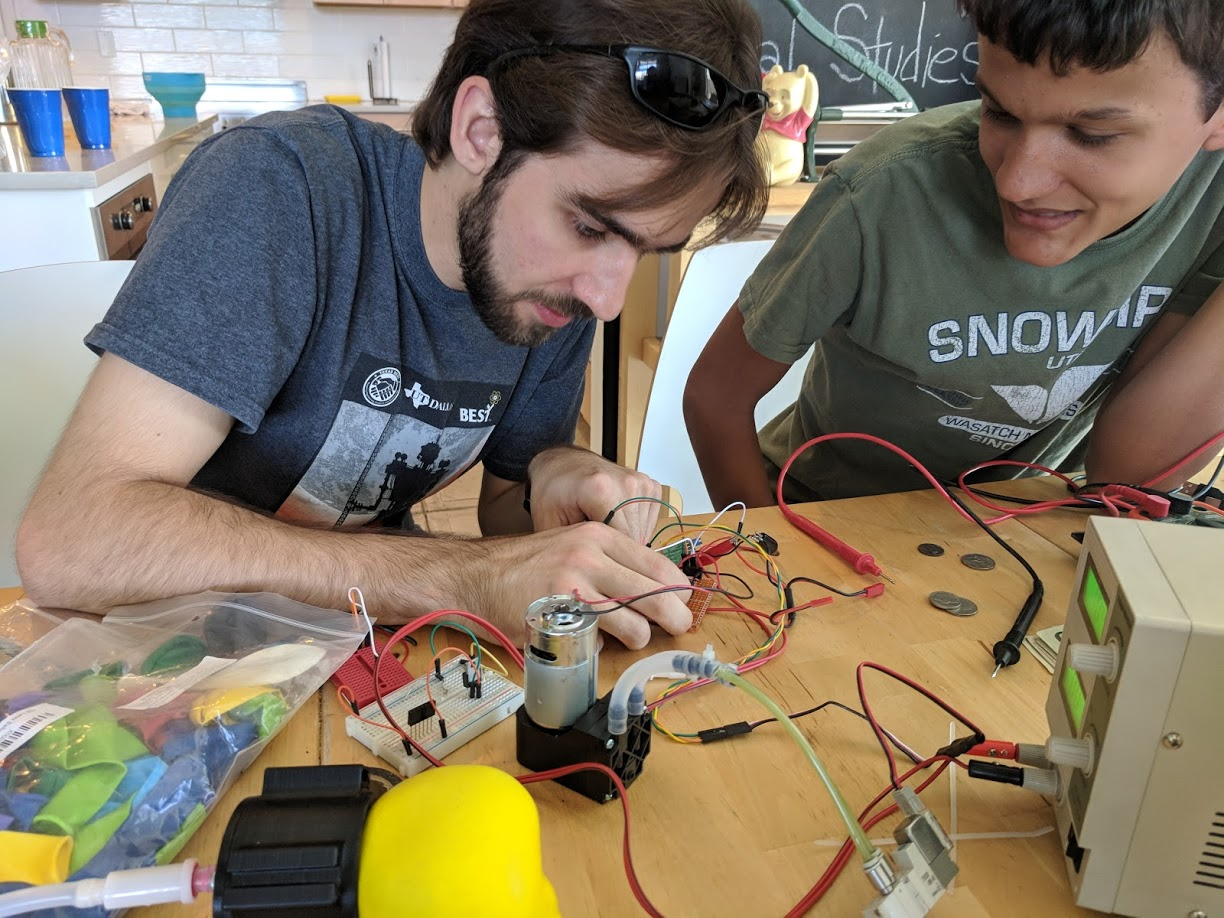
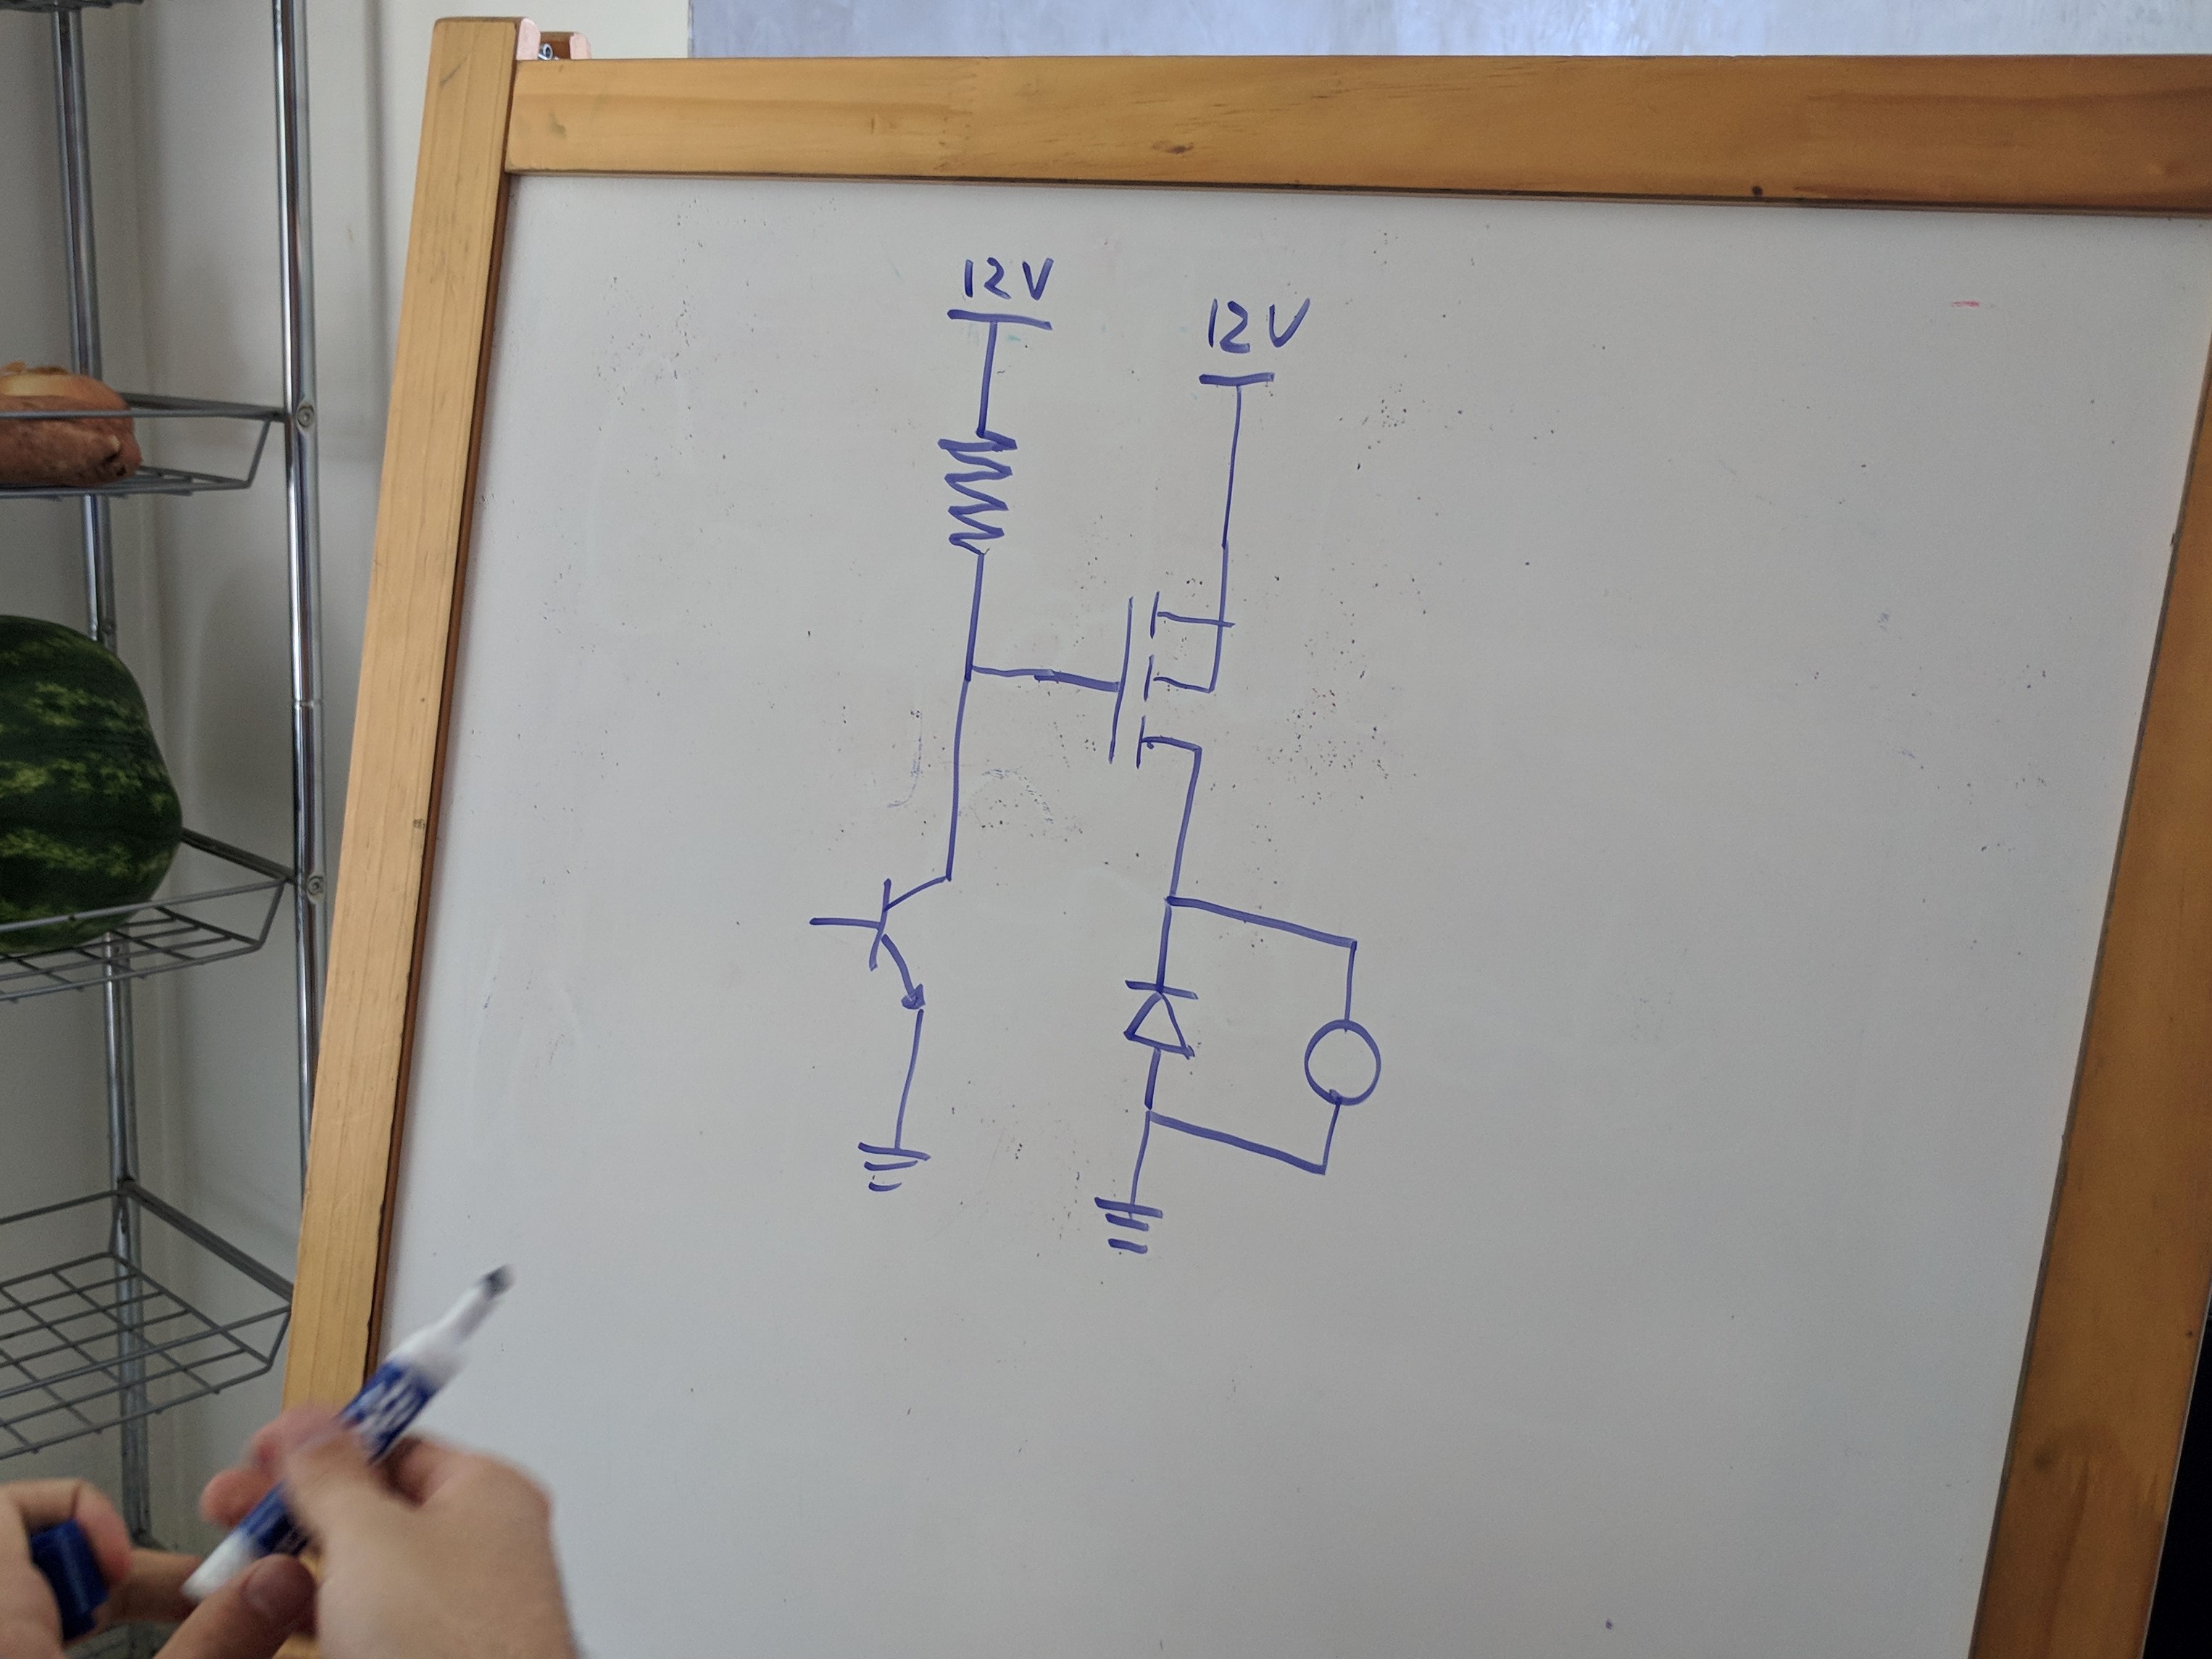
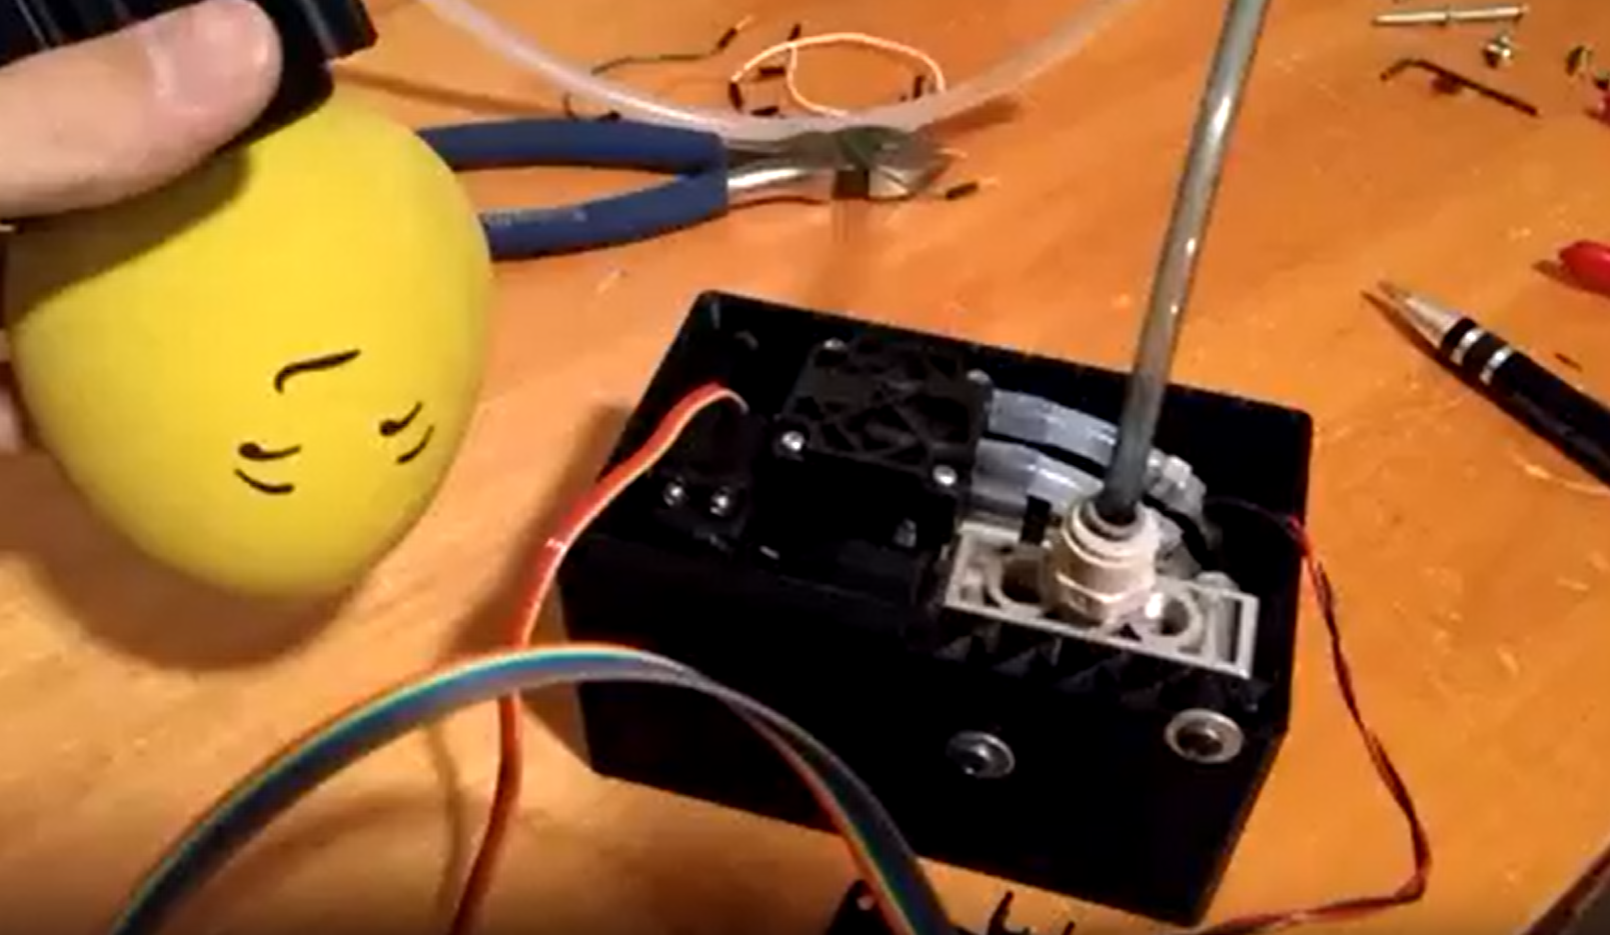
The main goal of this meeting was to get the electronic systems working and this was almost fully achieved. The team successfully finished the circuit on a breadboard and was able to properly house all the electronics components including the vacuum pump in the 3D printed electronics box. Unfortunately, the air solenoid setup was found to not function as intended, preventing any further progress until an alternative setup could be found. There are some build pictures below.


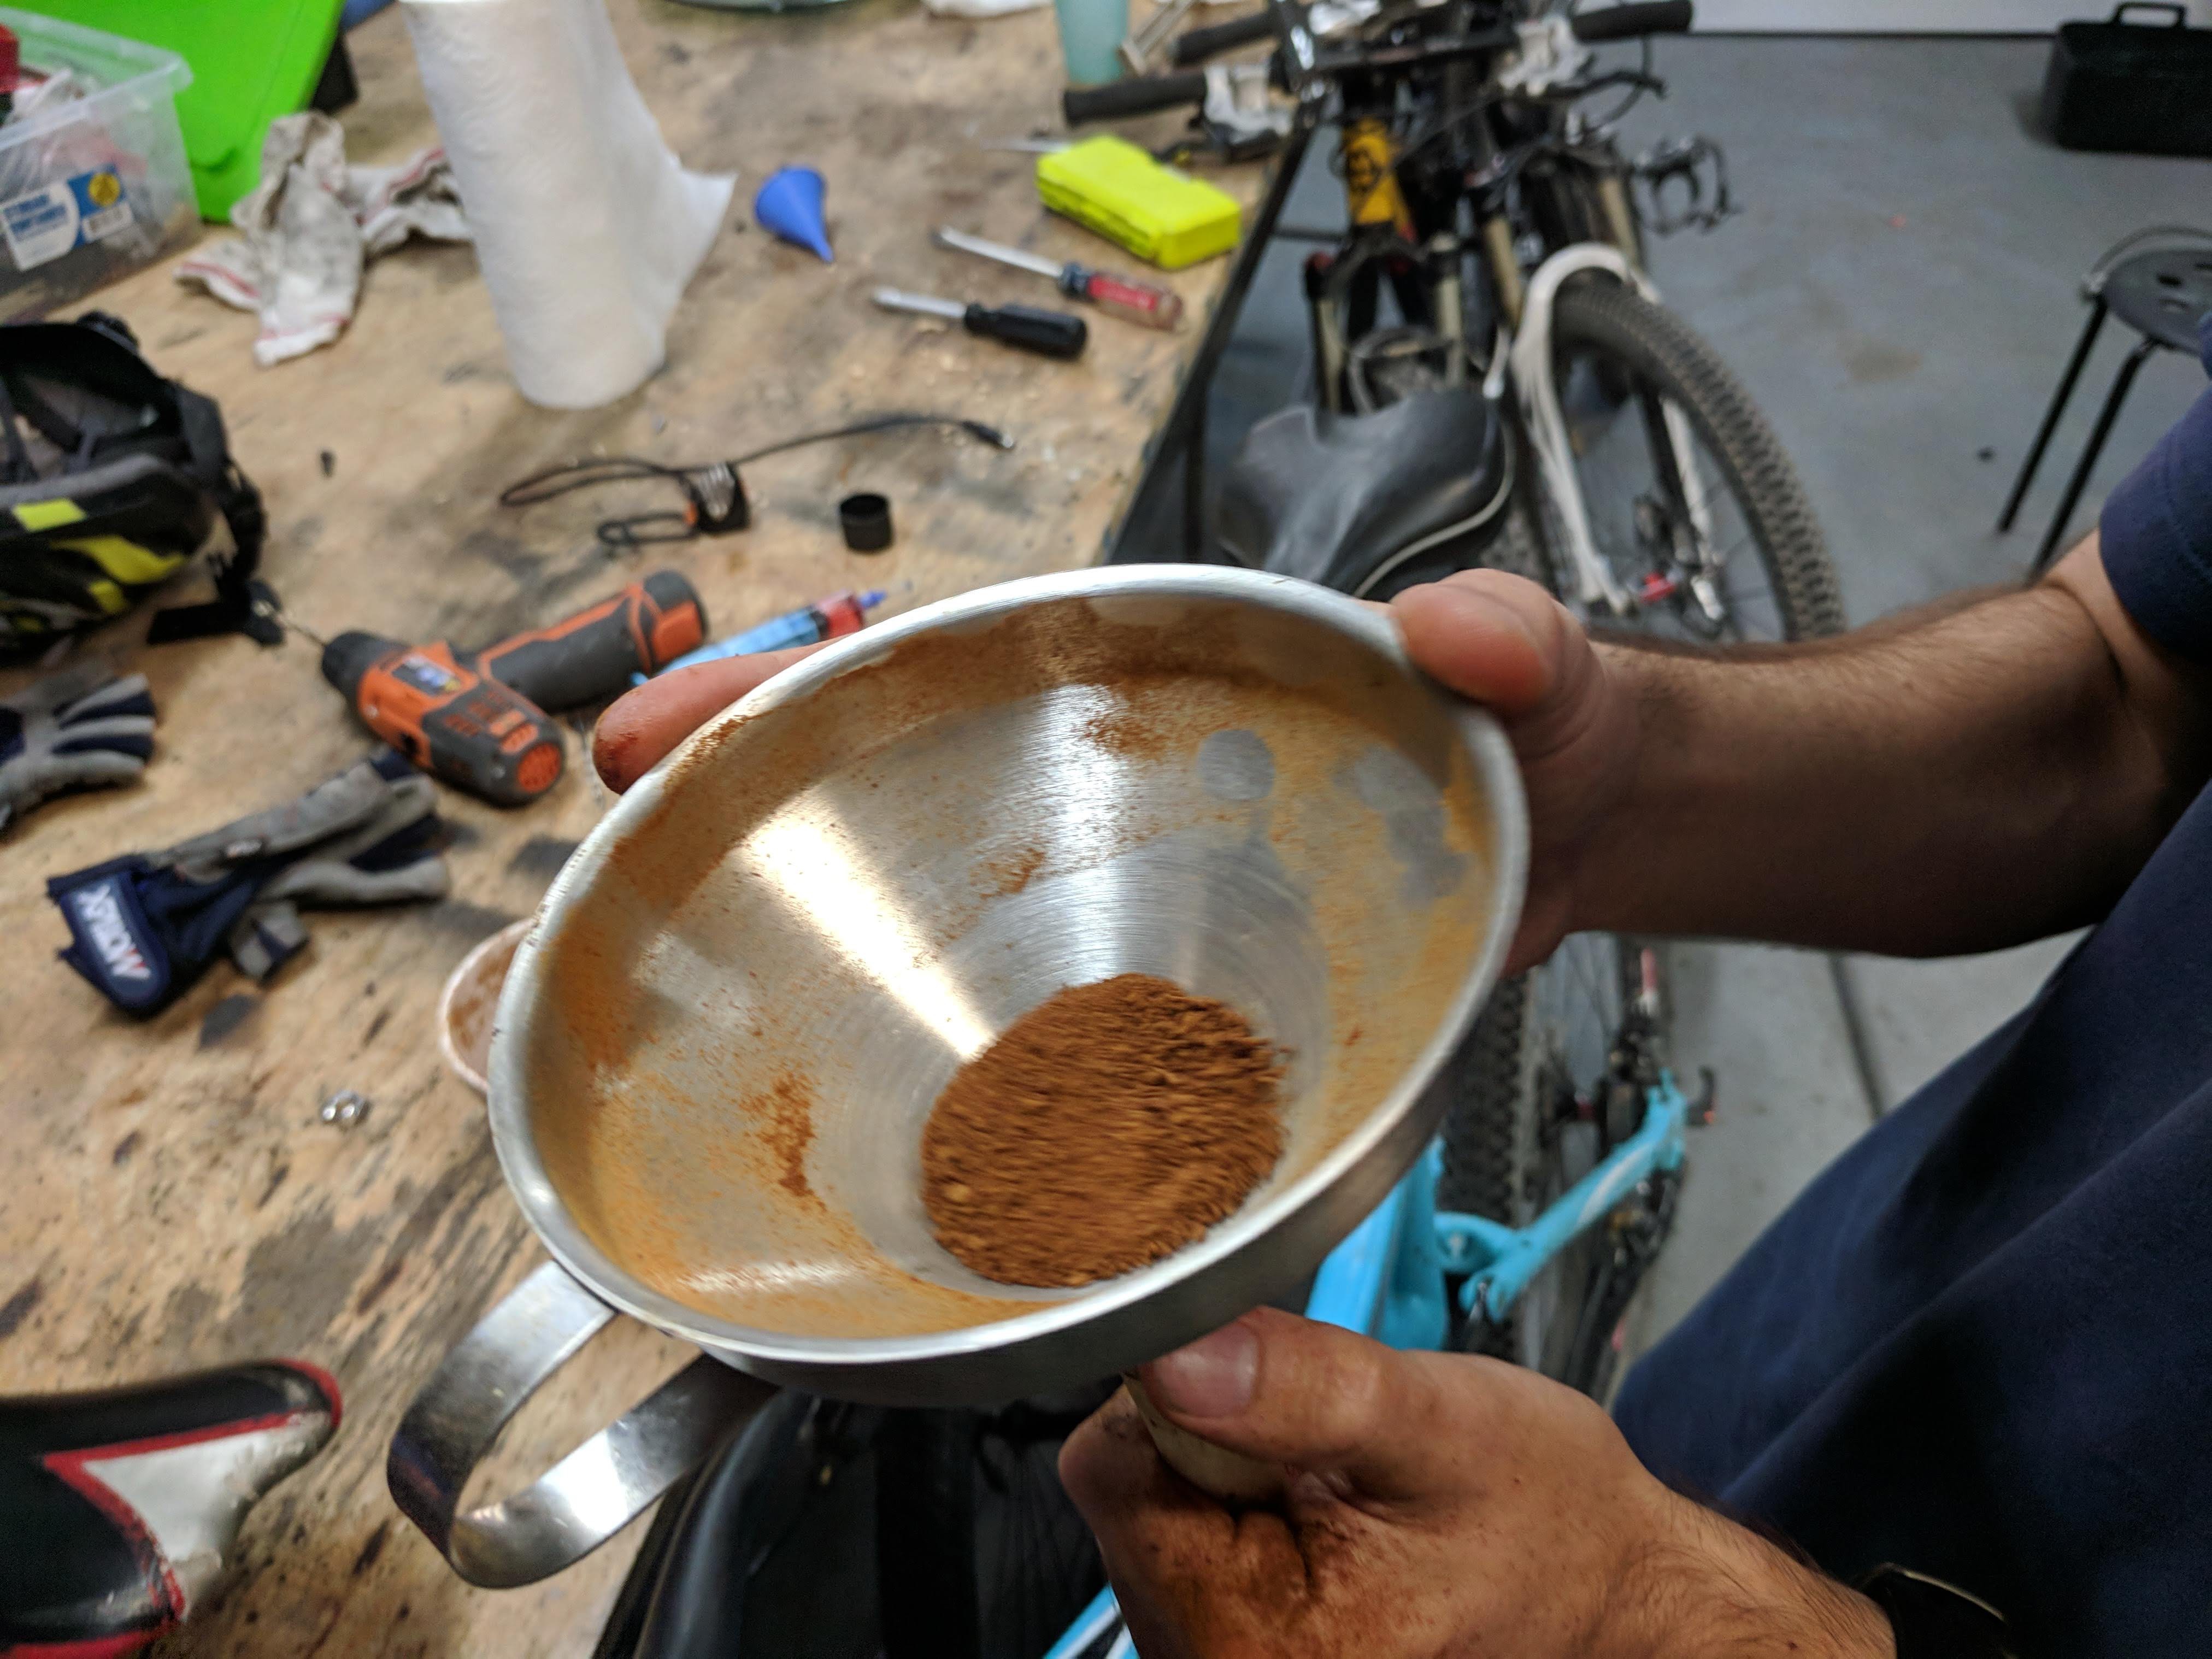
Today we met to work on the electronics and try a different type of coffee grounds in the gripper, as the type we were using before had a hard time gripping objects. We also installed a new air filter to replace the old one because it would clog and restrict air flow. We are using the following air filter: https://www.mcmaster.com/#8991T31. Unfortunately, we were unable to get the control circuit board working today. We will continue working on the board at our next meeting. We filled a new balloon with the new coffee grounds, however we were unable to test it today. We also started a box for the control board, pneumatic solenoid, and air pump 3D printing at the meeting.
Some pictures from today’s meeting:

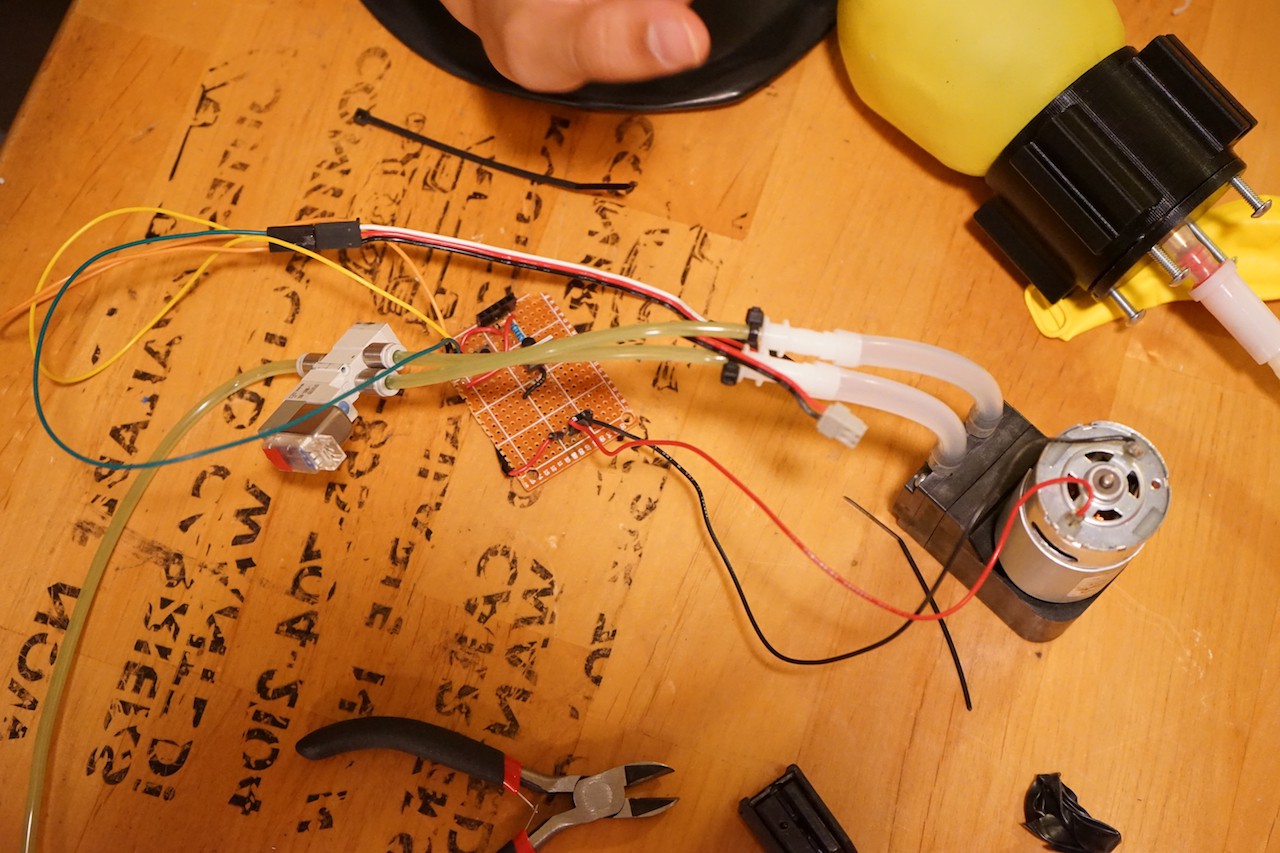
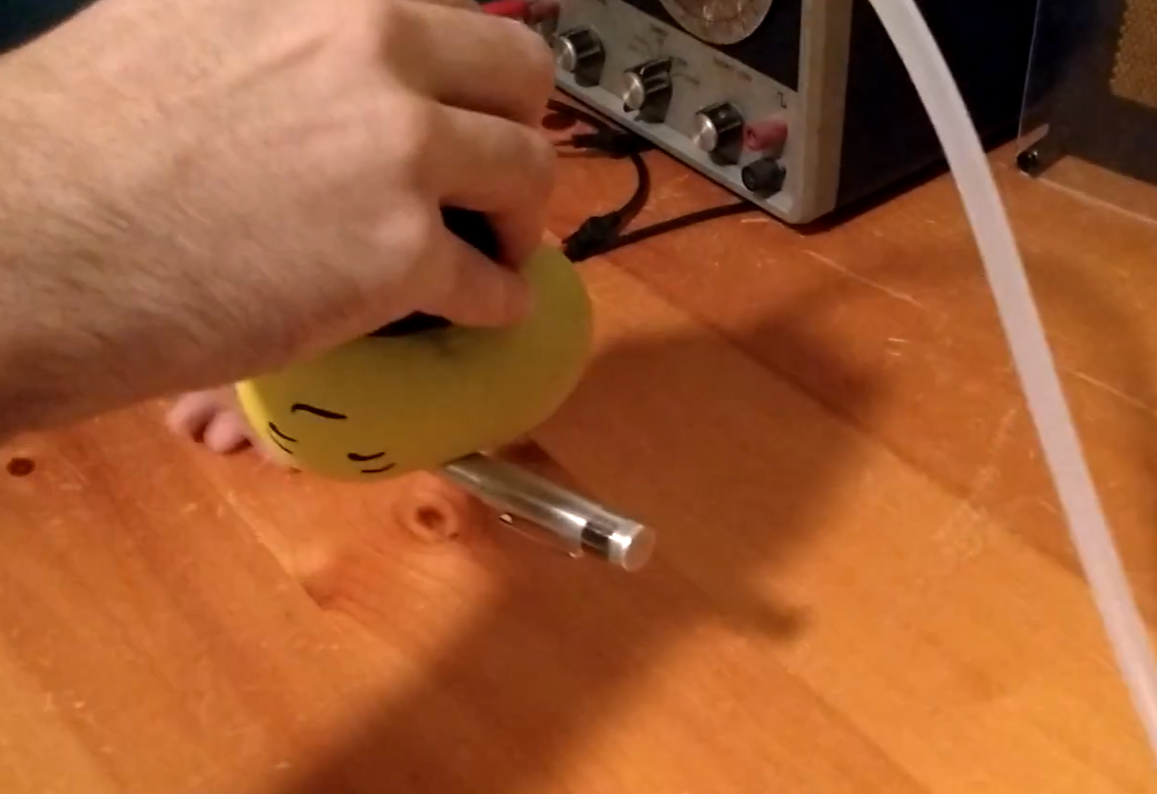
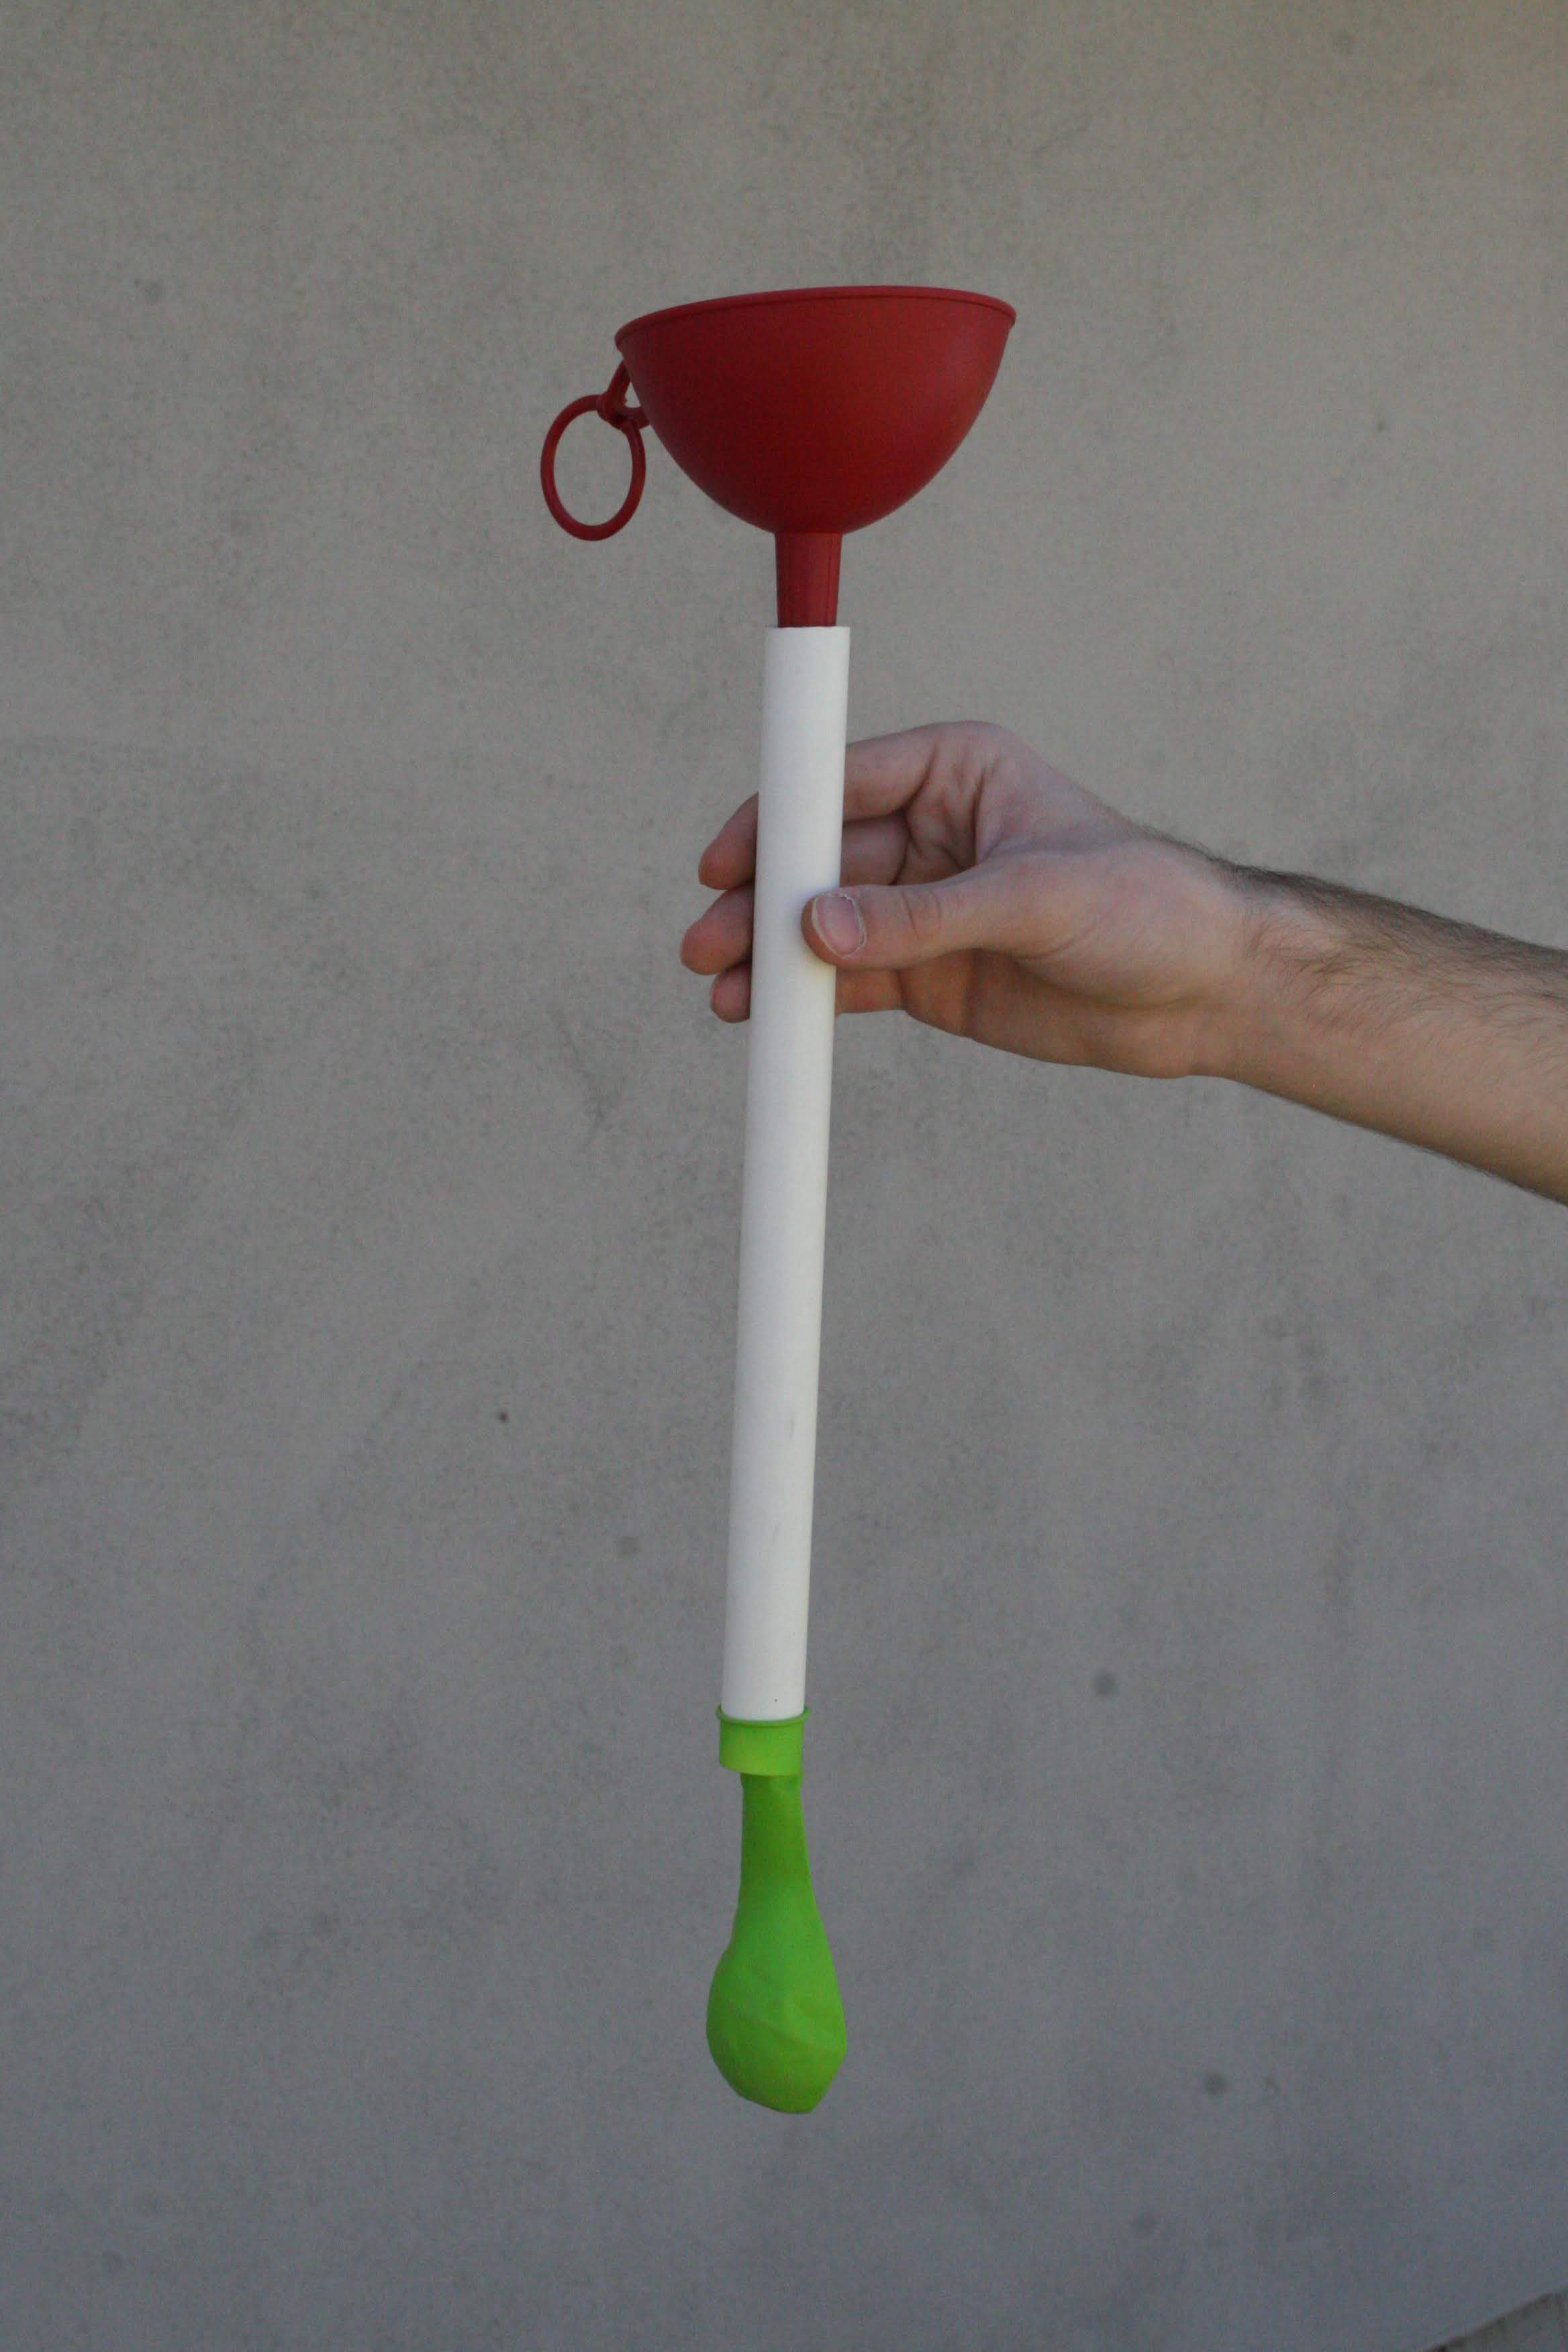
Now that the team had a plan and had a new selection of parts, they went about building the first working prototype. This was fraught with challenge because there seemed to be no good way to filter the coffee out of the air that was being pumped out of the ballon. Either the filter was too restrictive causing the pump to struggle to pull the vacuum quickly or the filter let the coffee grounds through which proved to be damaging to the fragile air solenoid that would switch from pulling a vacuum to grasp the object or blowing the air back into the ball to release the object. While no solution was found to this problem, it was set as a top priority for the next meeting. Nonetheless, the team was still able to get the prototype working well enough to start lifting small objects.
Some build pictures:


We started the meeting be thoroughly examining the challenge and brainstorming possible ideas. After some careful thought, the team decided that some grabbing/claw mechanism would be the best route to pursue. Next, each team member did his own research and formulated unique ideas. The team then reconvened to discuss the options. Ultimately the team decided to prototype a vacuum powered coffee and balloon grabber. Next, materials that were laying around were gathered and the prototyping process began. After a couple of hours of experimenting, it was decided that the grabber had potential and the team decided to officially name it as their entry.


Today our team met to brainstorm ideas for the robotics module challenge. We decided to develop a low-cost, universal jamming gripper. This type of gripper is ideal for picking up a variety of small objects because the compliant design can deform to almost any shape, unlike grippers that use rigid fingers.
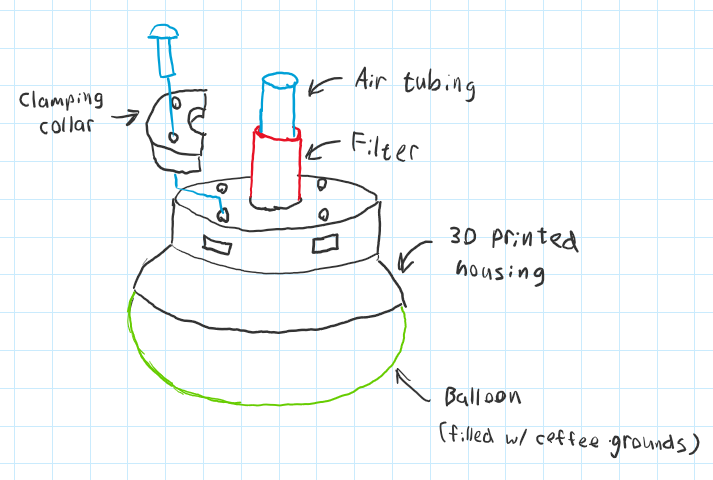
We are planning to design a gripper housing that can be produced using 3D printing and that includes versatile mounting options. We are also planning on creating an accompanying controller that will allow the air pump to be easily controlled by a microcontroller.
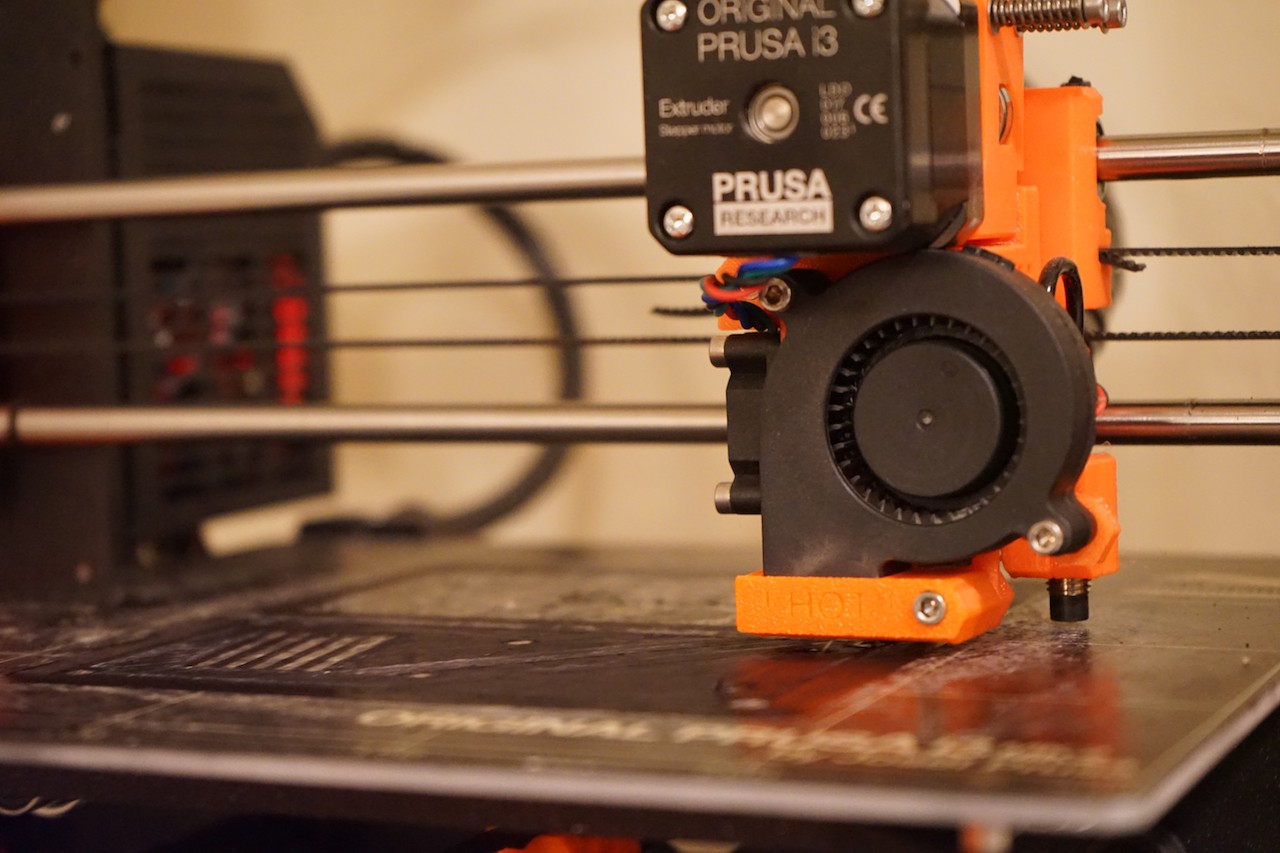
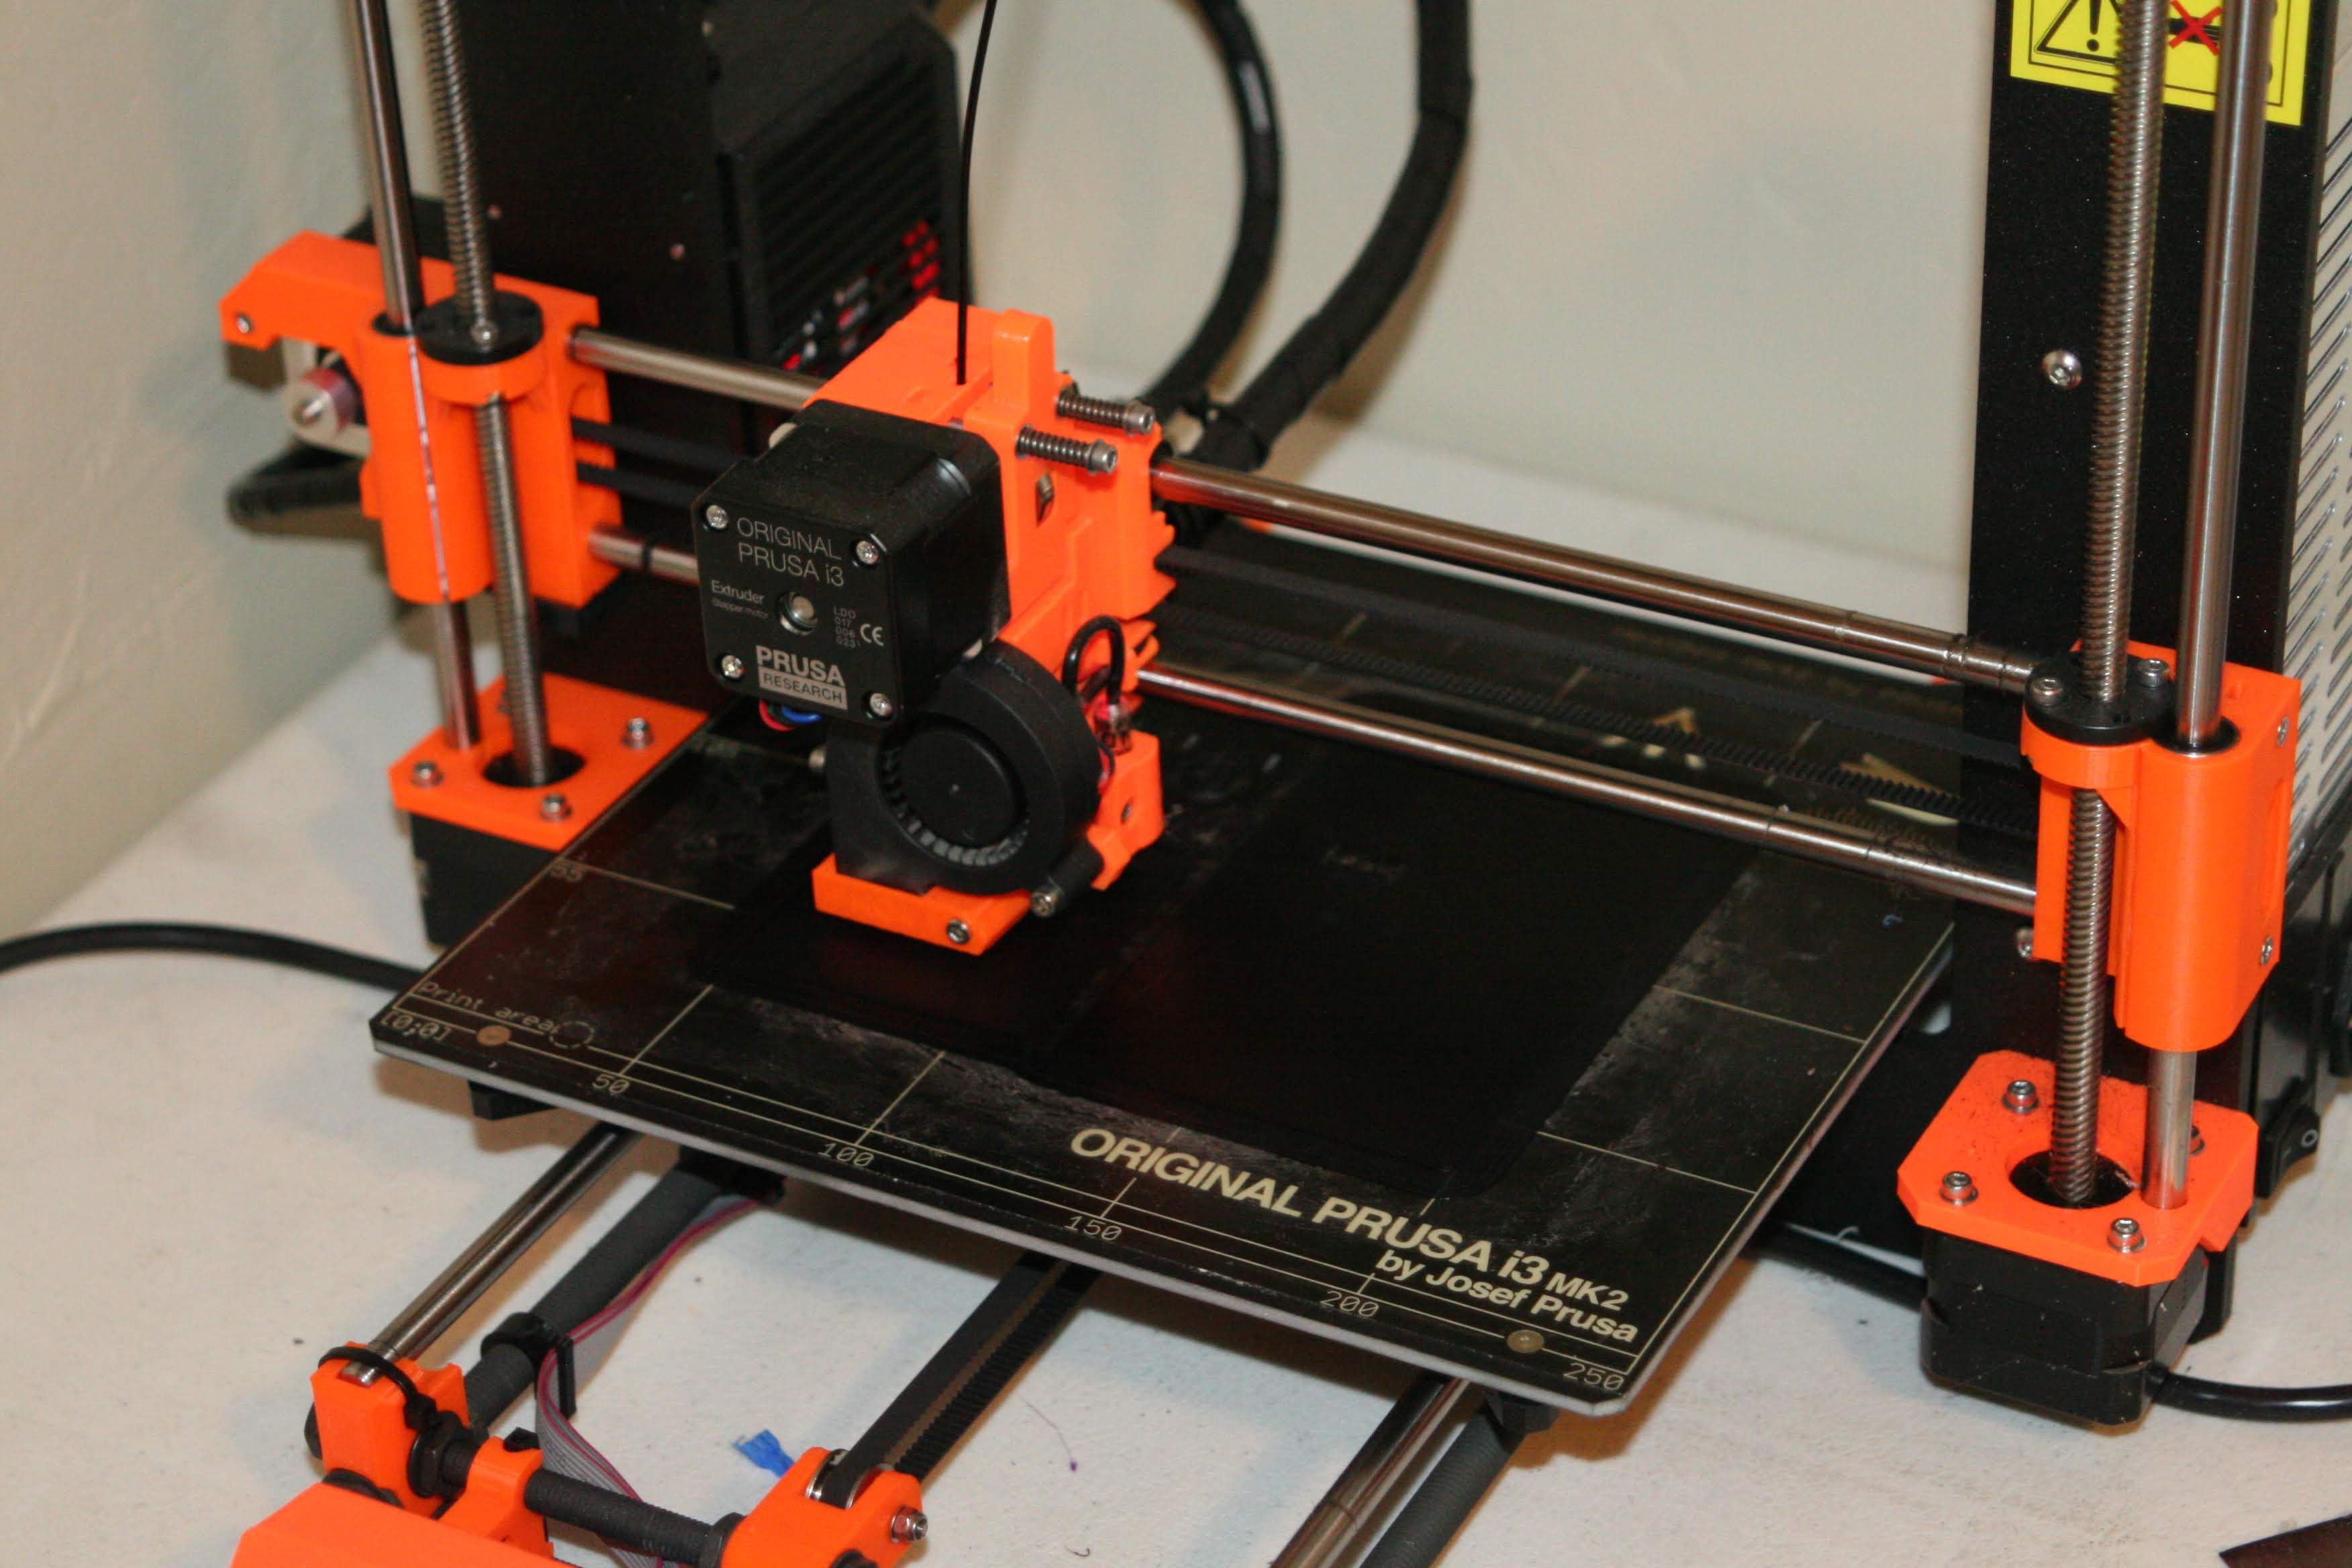
3D print the required components. All files can be found at: https://github.com/Team-Automata/Modular-Universal-Jamming-Gripper/tree/master/3D%20Printer%20Files. Print all .stl files found in this folder.
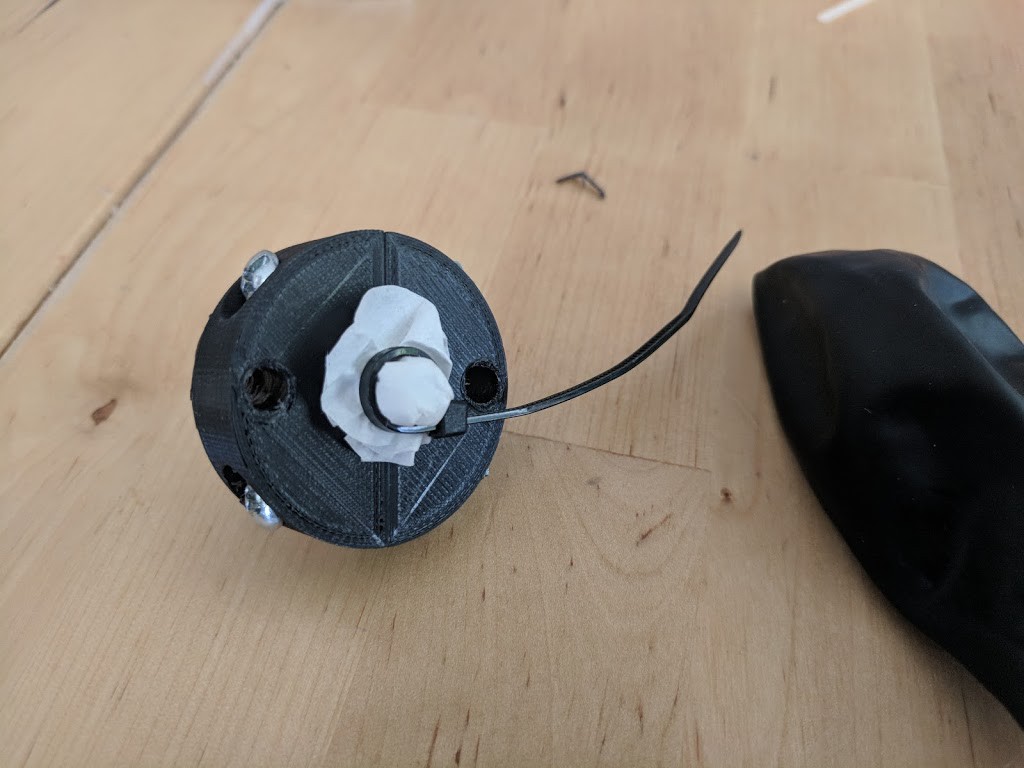
Fill the balloon with coffee grounds.
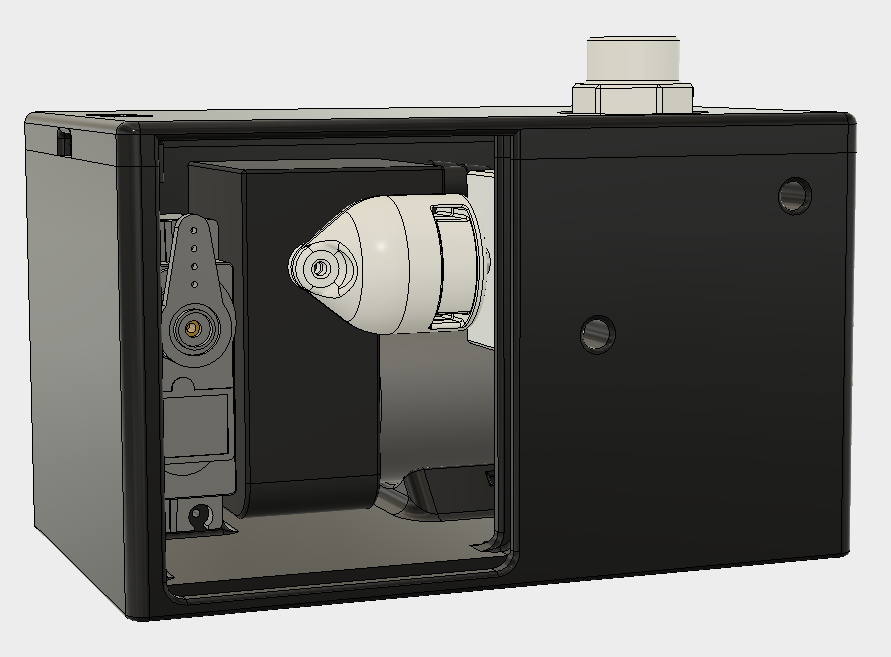
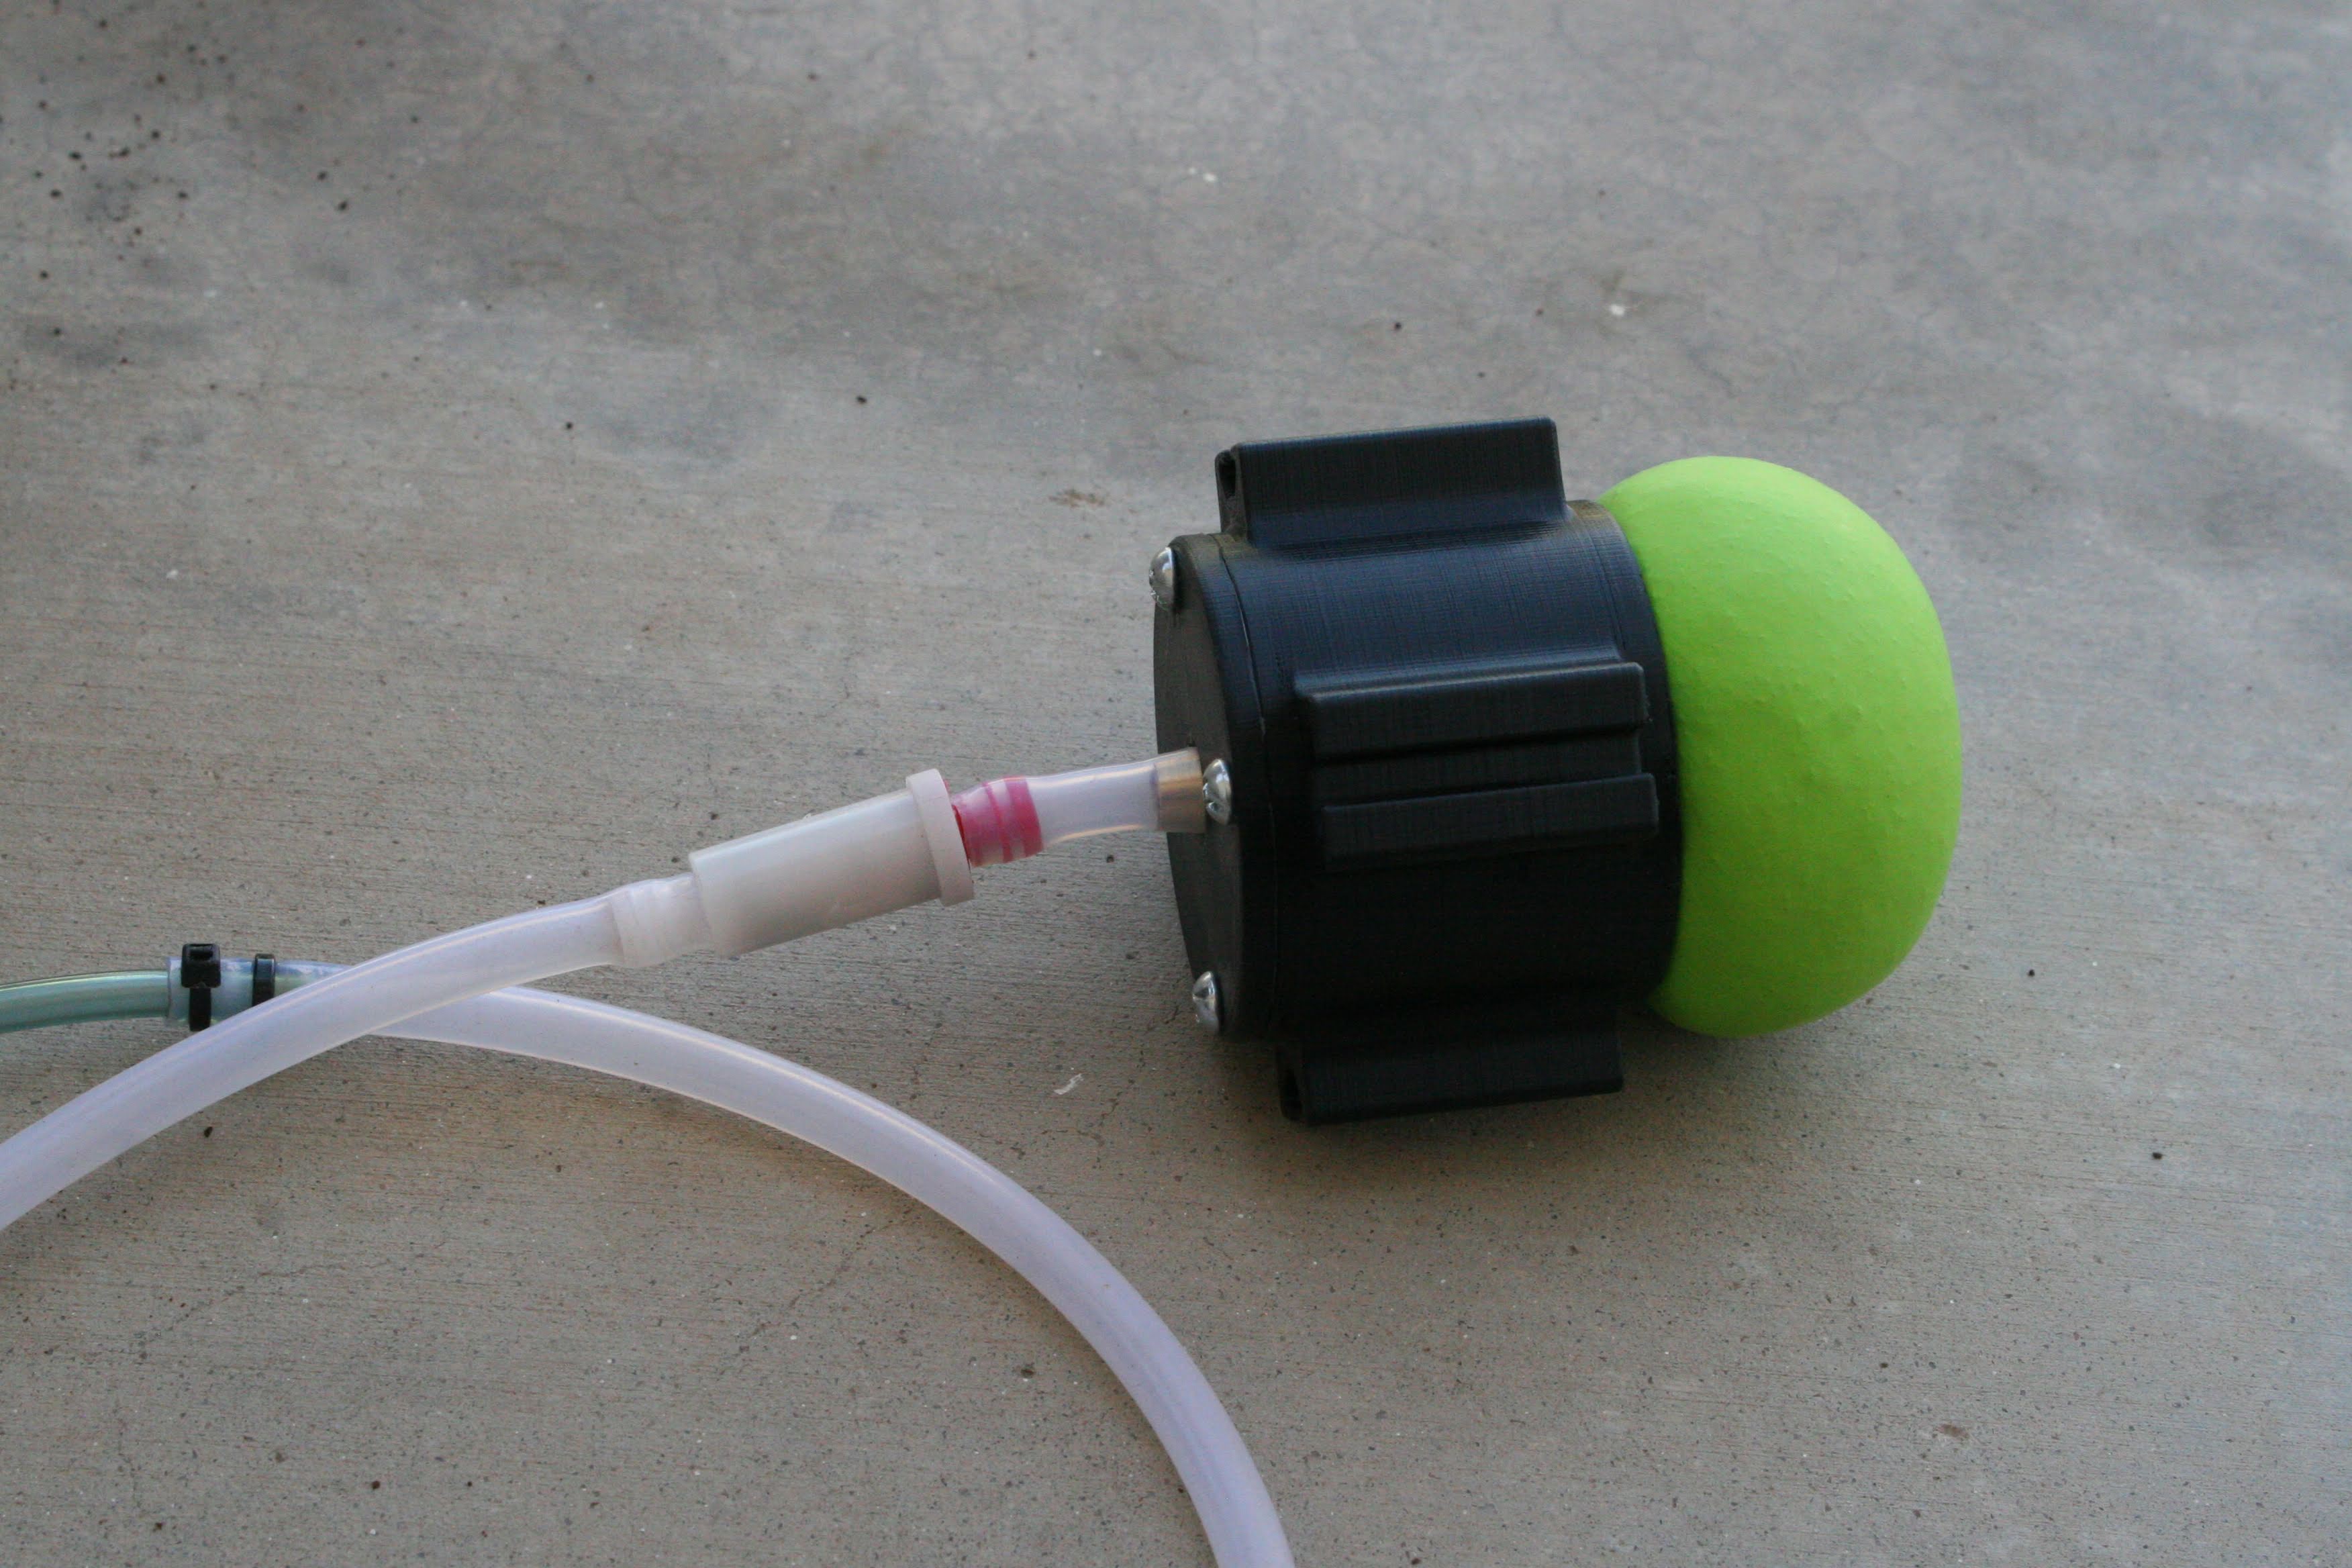
Assemble the gripper.
1. Put balloon in and roll up extra length of neck so that the balloon is snug in funnel
2. Wrap air nozzle in teflon tape and secure between nozzle clamps
3. Seal nozzle with silicone caulking in the highlighted area
4. Attach nozzle before silicone dries
5. Secure lid on gripper assembly
6. Attach hose and air filter


 David Hopkins
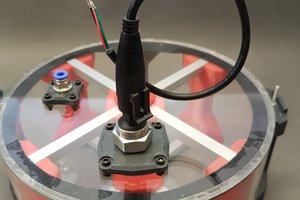
 Fabian
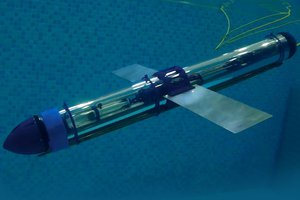
 alexw
alexw
 Dominik Meffert
This is awesome, you should definitely enter it in the Hackaday Prize!