0%
0%
1 Square inch 4-quadrant floating power supply
A 4-quadrant power supply built on a 1sqin PCB, +/-12V, 100mA, and floatable for multiple paralleling/series. 4layer, $10 OSHPark PCB.
 Martin Held
Become a Hackaday.io member
Already have an account? Log in.
Just one more thing
To make the experience fit your profile, pick a username and tell us what interests you.
Pick an awesome username
hackaday.io/
Your profile's URL: hackaday.io/username. Max 25 alphanumeric characters.
Pick a few interests
Projects that share your interests
People that share your interests

 Paul Andrews
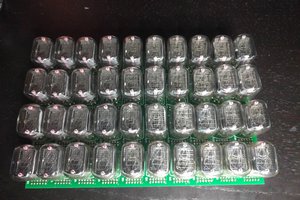
 robert.c.baruch
 Rue Mohr
 Elia
Elia
Built up the PCB's this weekend; now working on the toolchain/software for debugging ; talk about cutting it close on this project... We'll see if I get it done.