 Paczkaexpress
I this section I am going to focus on the technical details of the project.
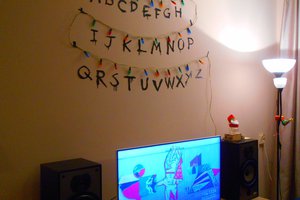
Finished RGB-Tree
The presentation of capabilities of the tree can be found in the youtube channel:
Project Assumptions
During the project, I tried to follow the assumptions I have made before I started the project. I have made the following assumptions:
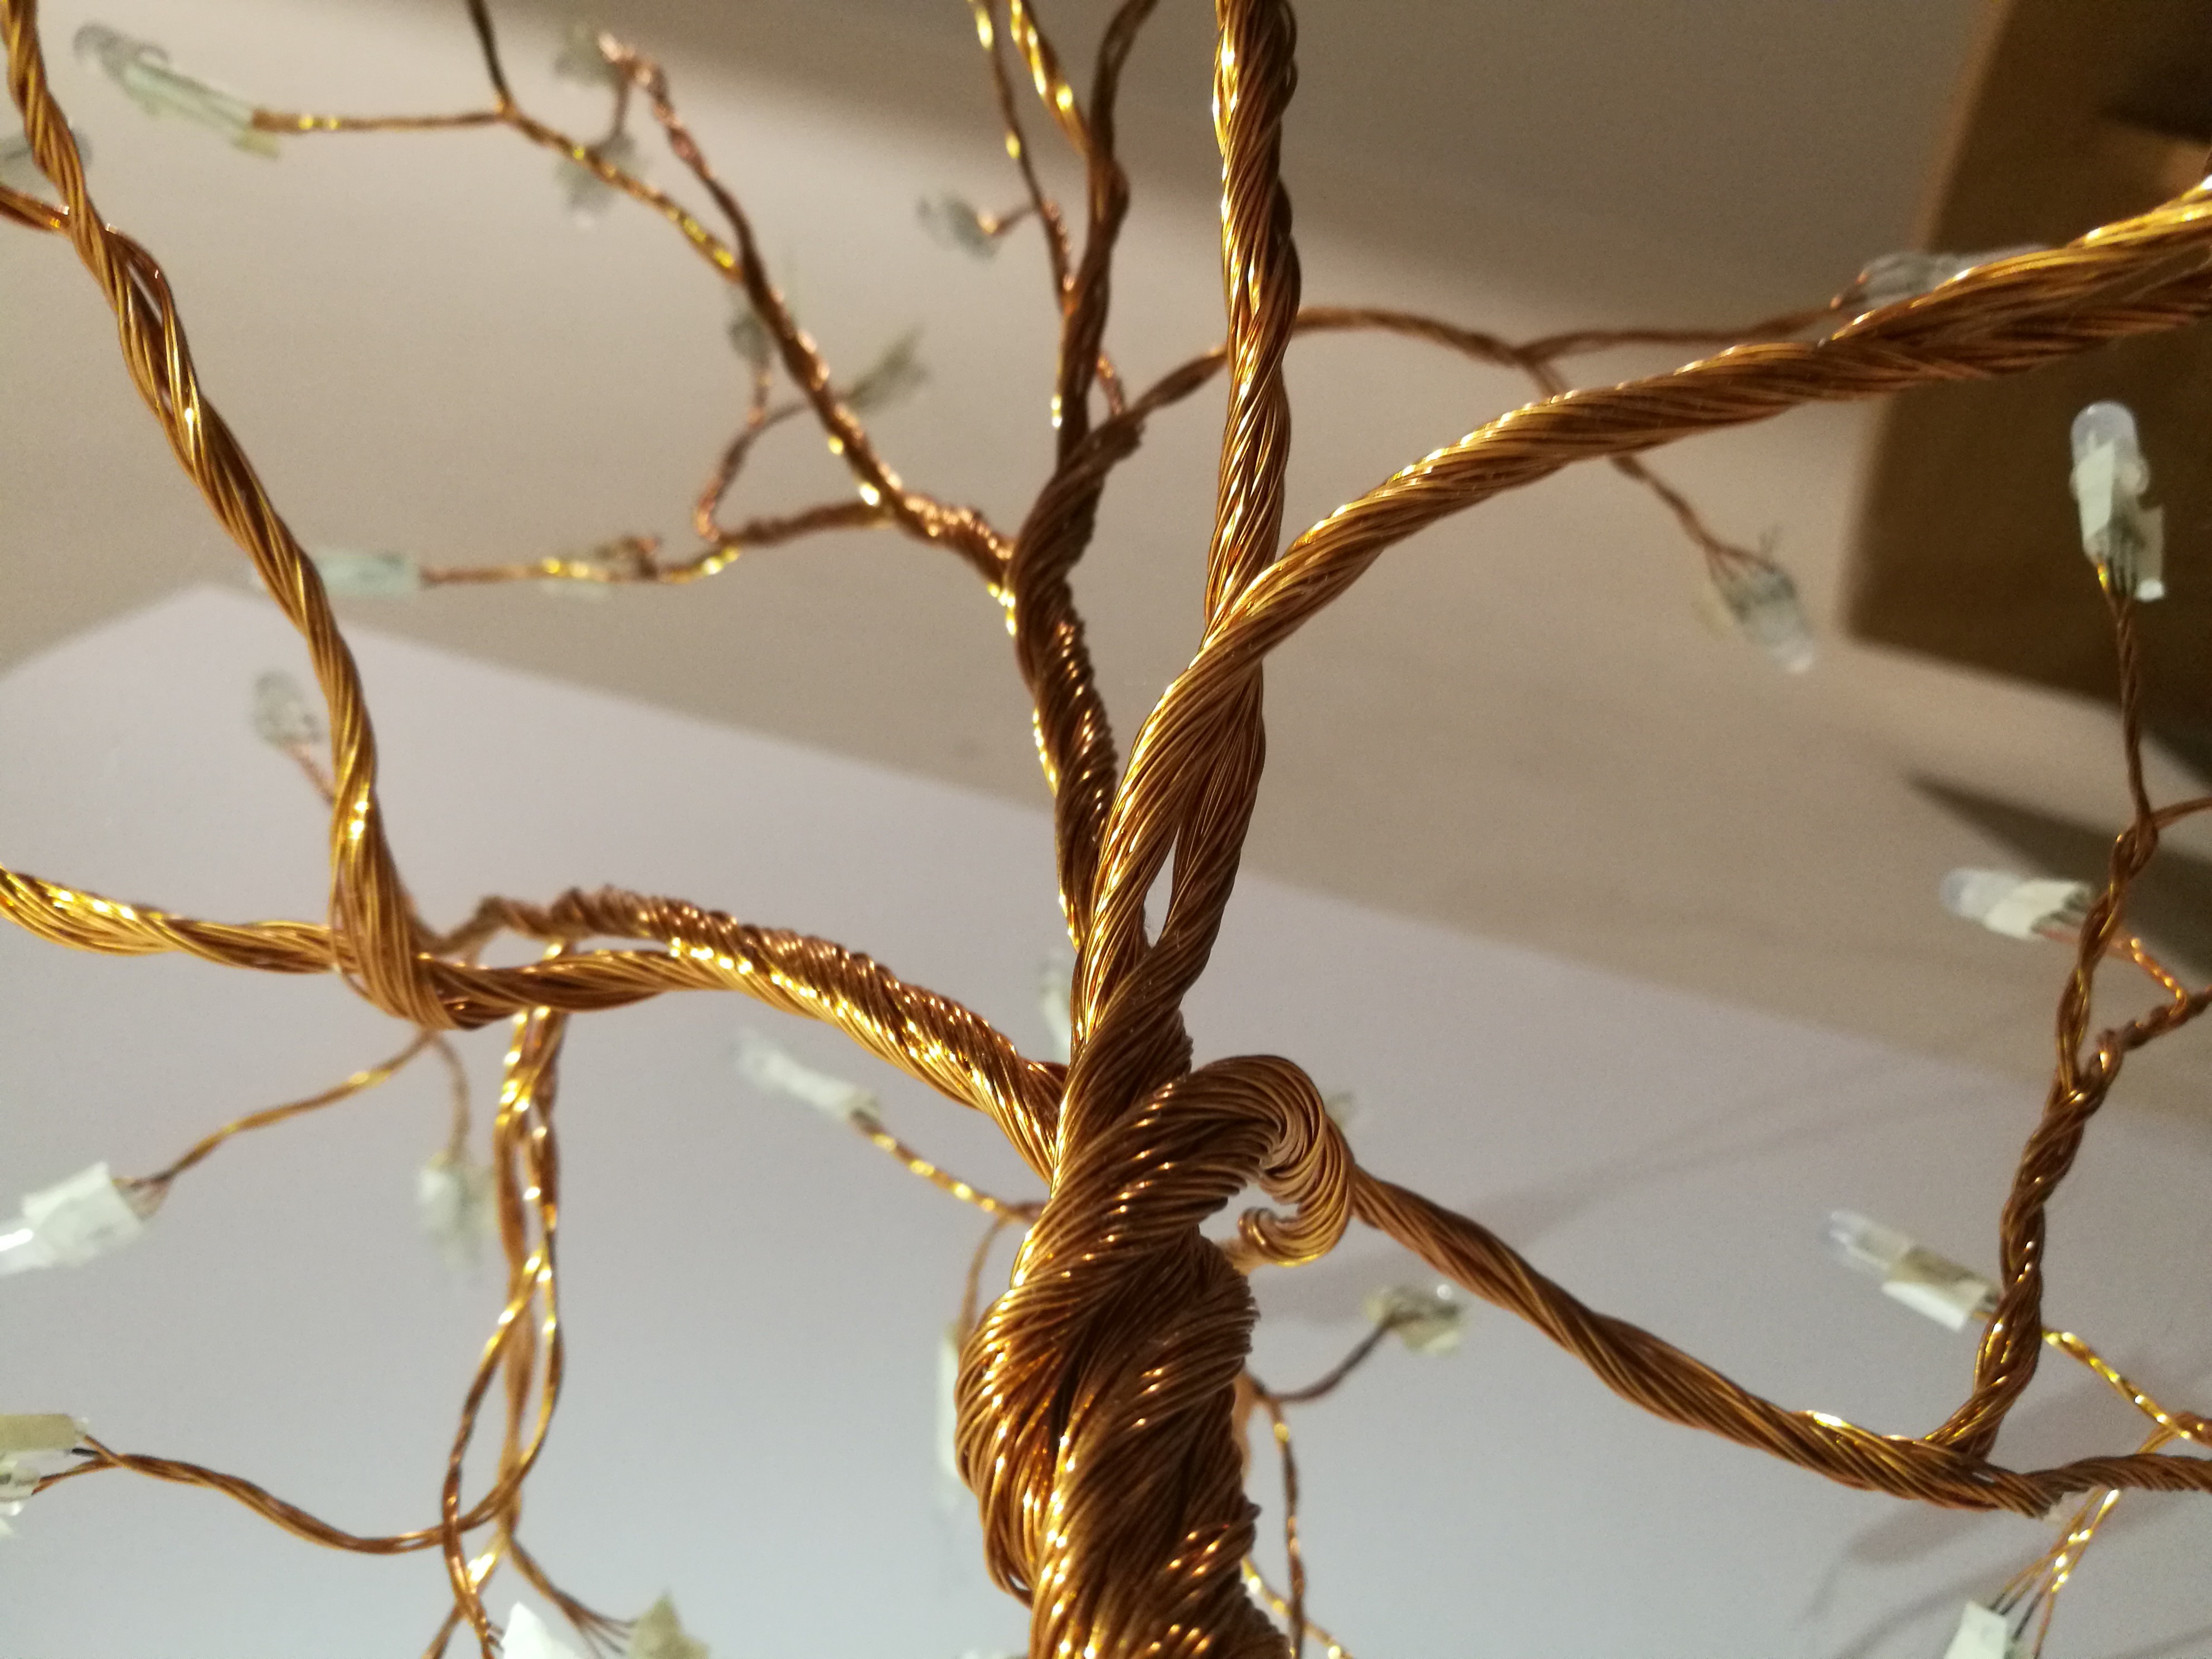
- Create a tree-like structure made from the copper wire. I modelled on the tree of luck. So, the idea was to expose each wire to create an artistic and modern design.
- Each leaf will be equipped in RGB LED.
- Every LED should be controlled separately.
- Smooth transition between LED states/colours is required.
- Wireless communication is desired to control the tree.
Tree description is divided into three sections: electronics, RGB-Tree construction, Firmware.
Tree Sculpture Construction
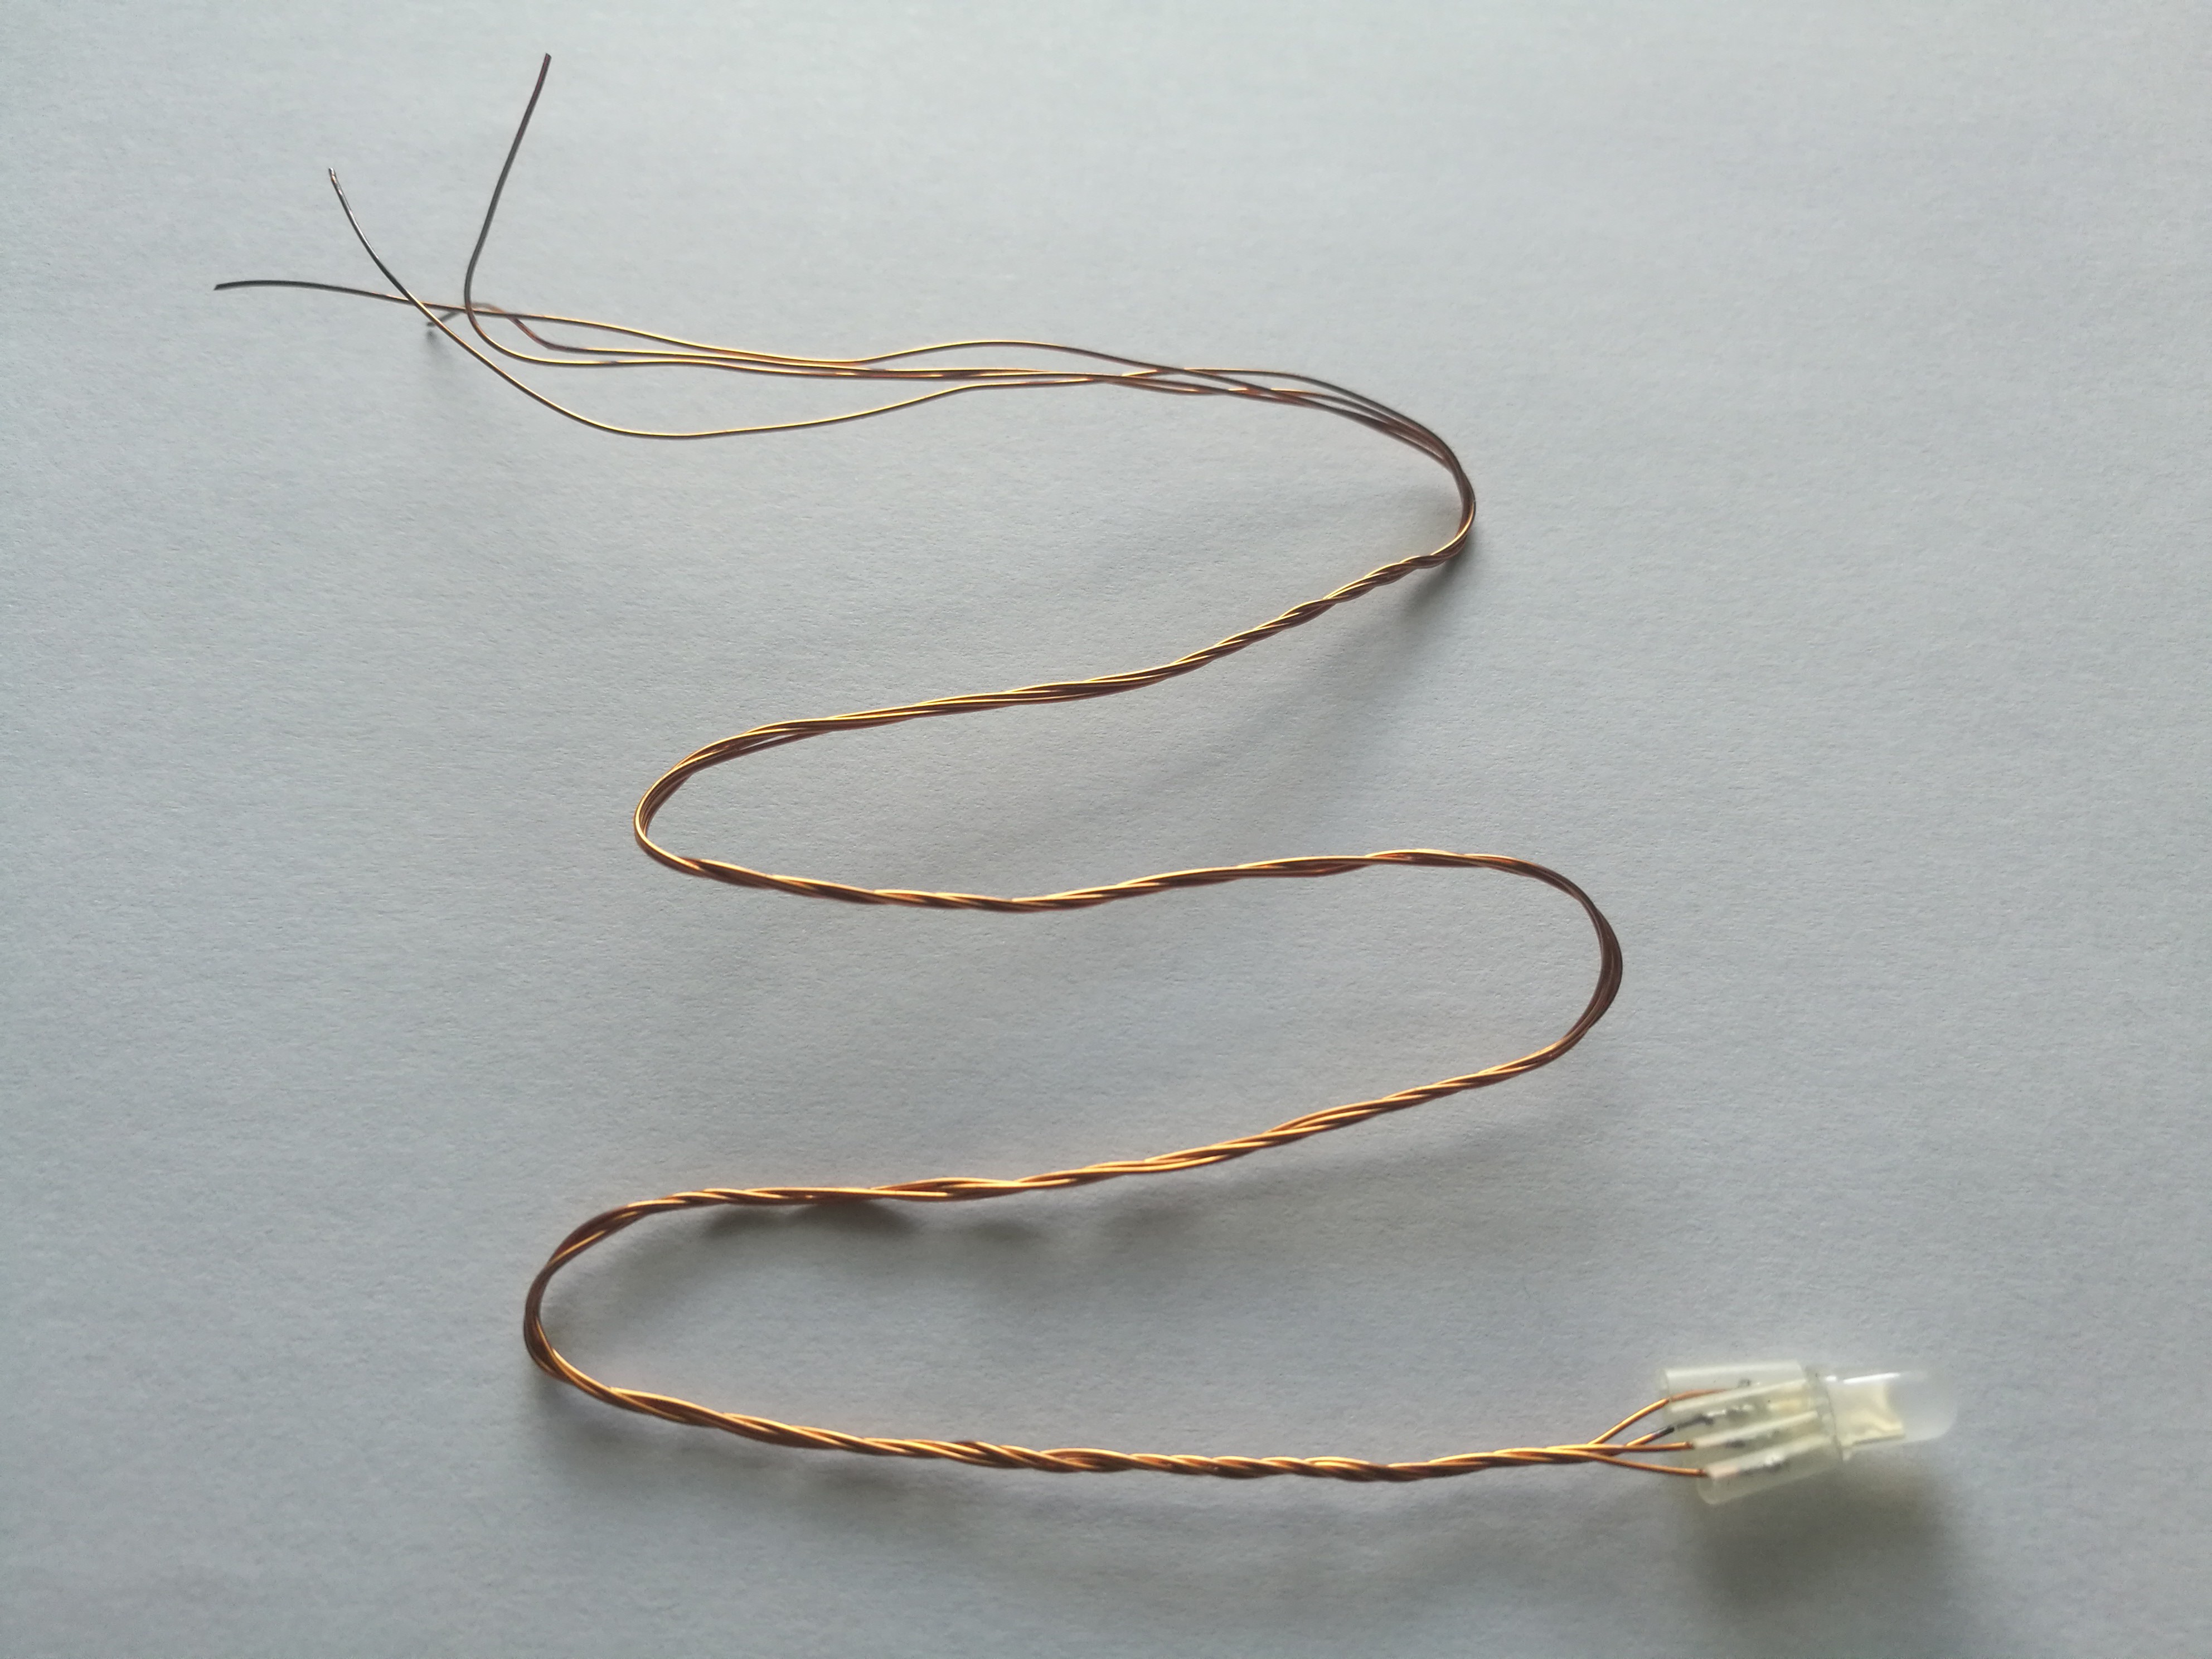
Let's talk a bit about the construction. As you probably found it out I need an isolated wire … a lot. I don’t exactly remember how much wire I used, however, I will try to estimate this number. I decided to make each connection around 0.5 meters long. I have 64 RGB LEDs, each of them has four signals (red, green, blue channel and power). So, I need to prepare 64 * 4 * 0.5 = 128 meters of isolated wire. Sounds, a lot! However, it is much simpler to trim wires if they are too long, and it is impossible to make them longer if required.
OK, so now how to cut the wire to equal length? The easiest way is to find something which has desired length and then wind it around. After that, we just need to cut it. And at the end of this step, we have 256 equal length wires.
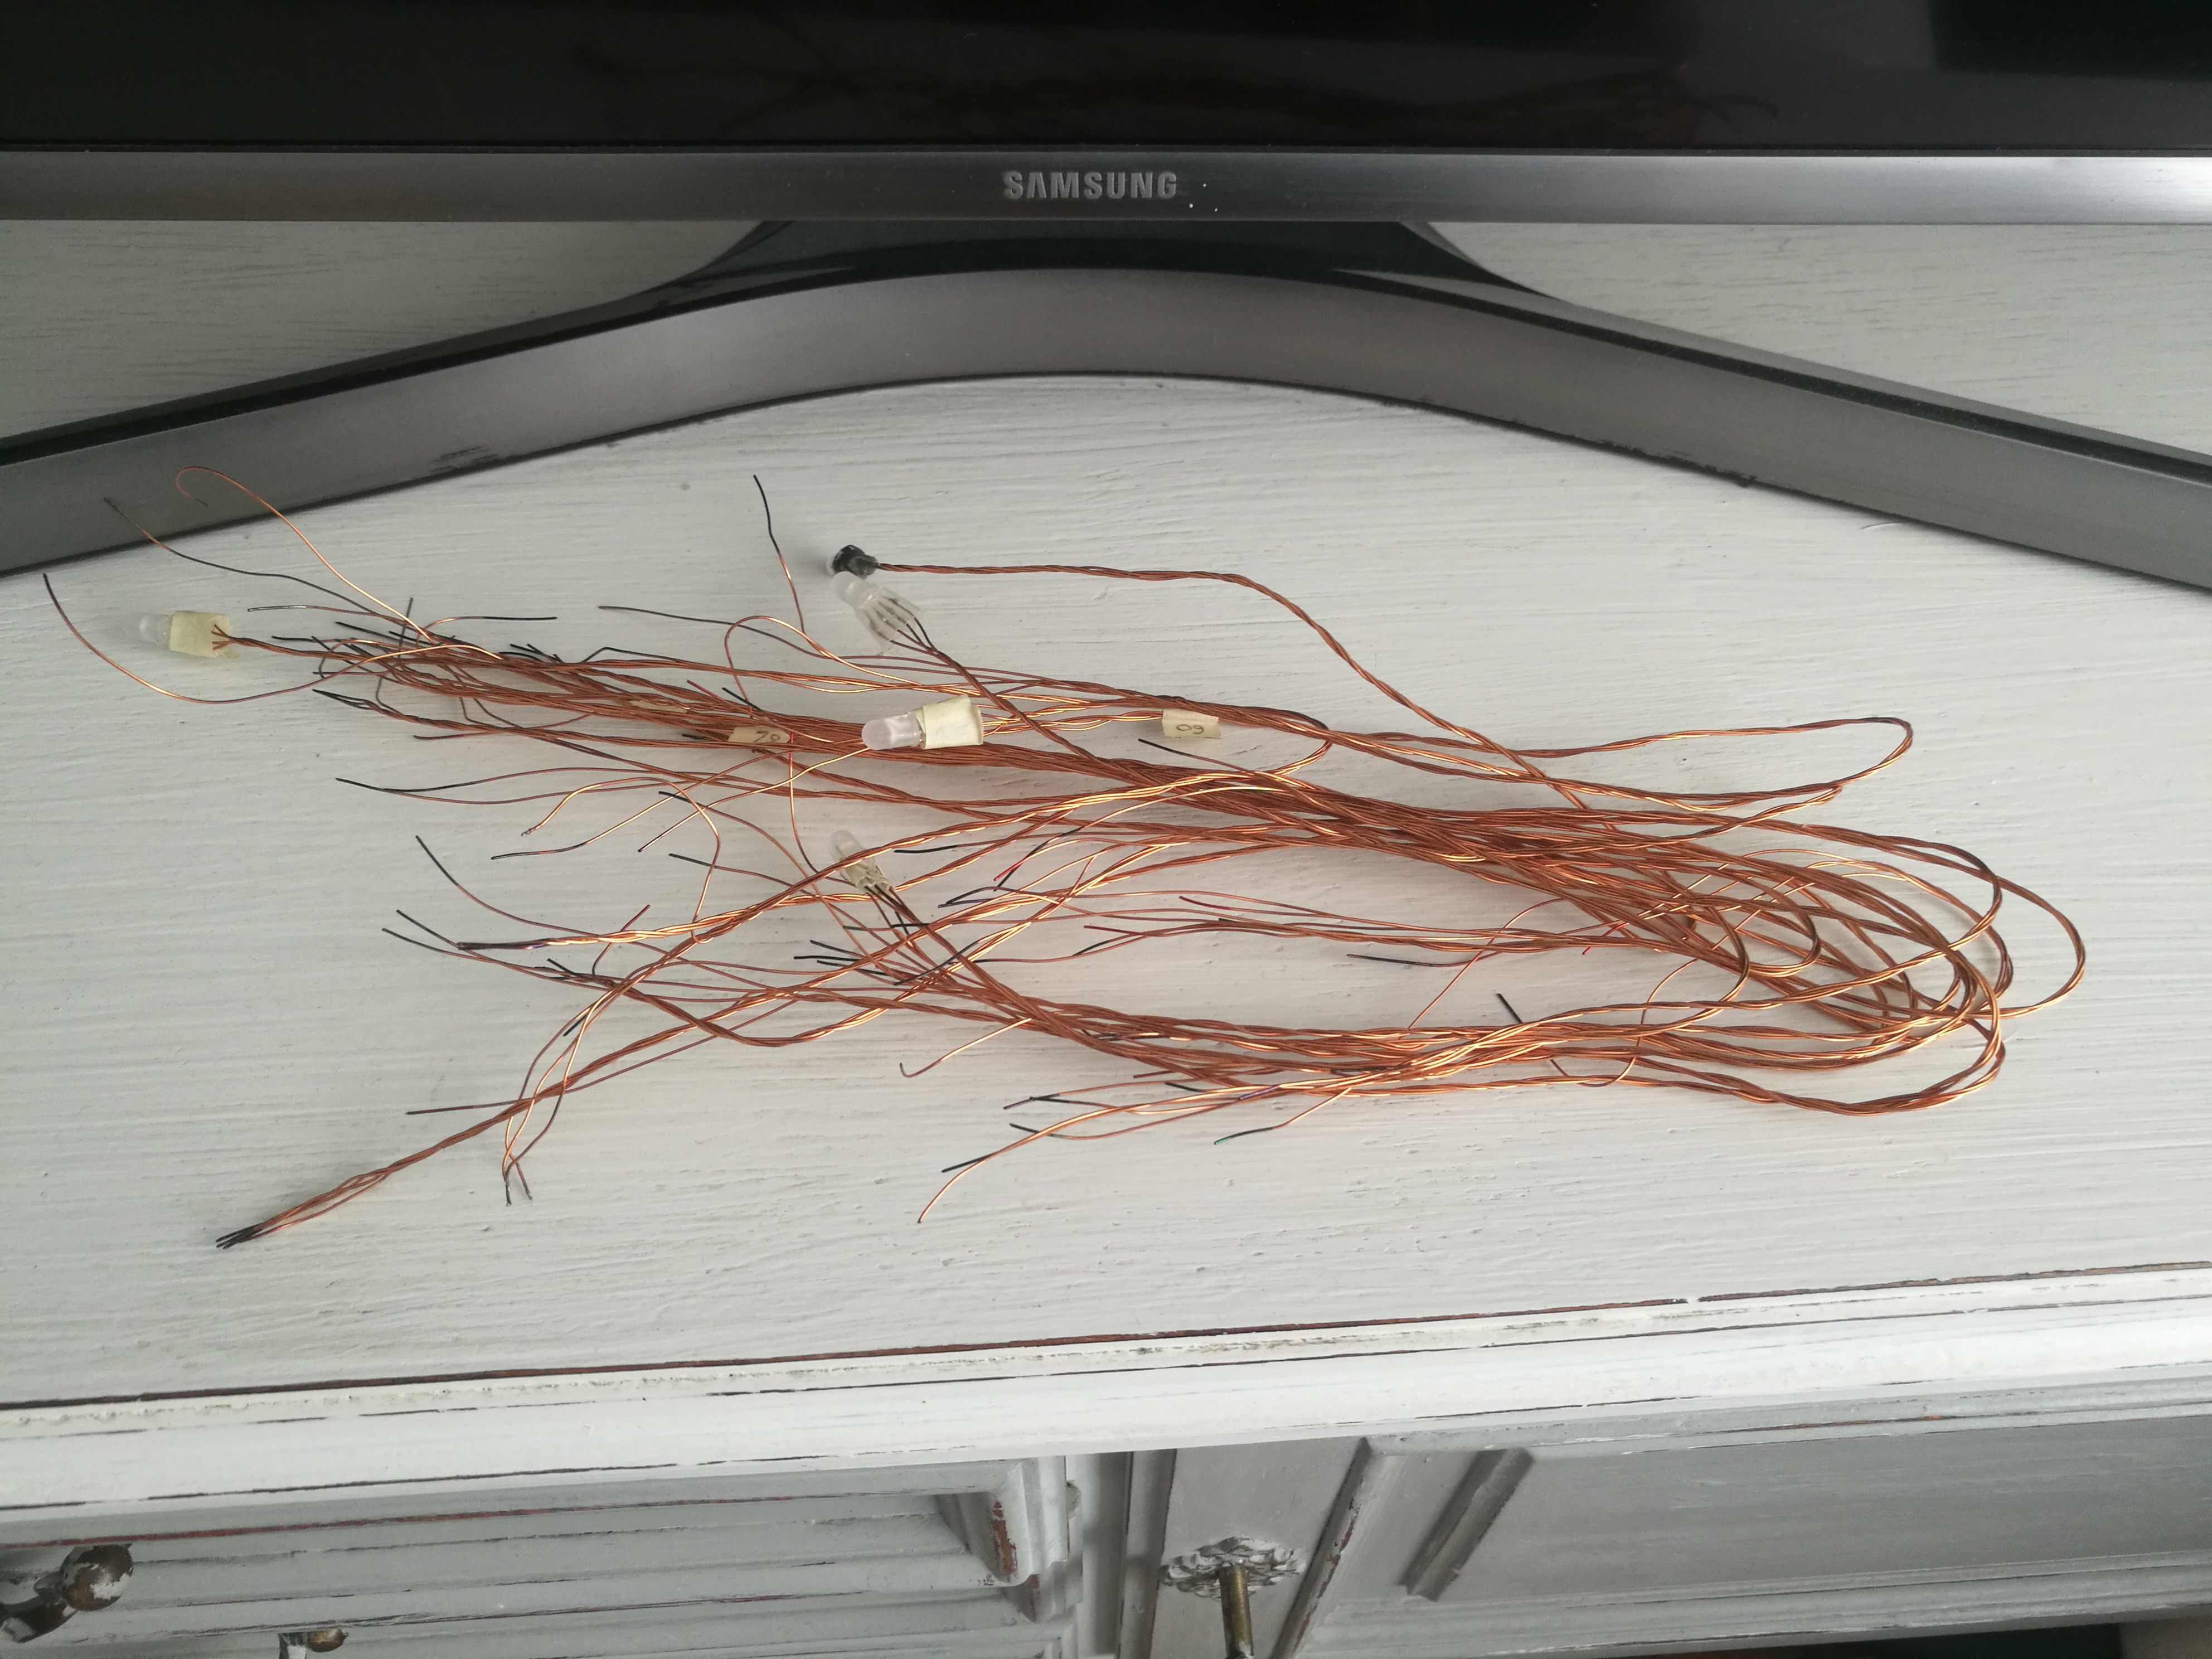
Now the real fun part will start. Time for wires preparation and soldering. I decided to use a production line approach. In the first step, I need to divide wires into four groups each group, for each group, has been assigned a colour. So, I had a red, green, blue and black group. Then, I need to mark each end of each wire. I marking the wires so after grouping them in a leaf group I can still easily distinguish which wire should be connected where. As a next step, I created 64 leafs groups. Each group has one wire from each colour (four in total). Then, each leaf group has been twisted against yourself. So, after this step, I had 64 twisted leafs group (without LEDs).
The next step is to solder RGB LEDs to each leaf group. I had to remember to solder each LED pin to the appropriate wire (there are coloured, so it was quite easy). Each soldering point has been secured by using heat shink. That increased junction strength and decreased chances of breaking the wire in soldering point. After the soldering, each leaf was numbered and marked. This number will be important during the last twisting and during code development.
After all that, I had prepared each leaf with RGB LEDs. Unfortunately, that is only a half job.
The second big part of the job is to solder LEDs to the connectors, which are later one plugged into the PCB sockets. That is the last moment to trim wires! So, if wires are too long after initial twisting we need to trim them a bit. Fortunately, it wasn’t required in my case. Again during soldering, I need to be cautious about two things, the first one was the order of the leaves. Each leaf needs to be soldered in a proper order to make it simpler to control them later on. Secondly, I need to remember about soldering a suitable led colours to a suitable connector (fortunately each wire was market previously).
Finally, time for the final twisting! Firstly, I decided leaves to 8 groups each of them have 8 leaves. I twisted each of these groups.
After the point when I have been satisfied, I can finally connect the tree with the PCB base.
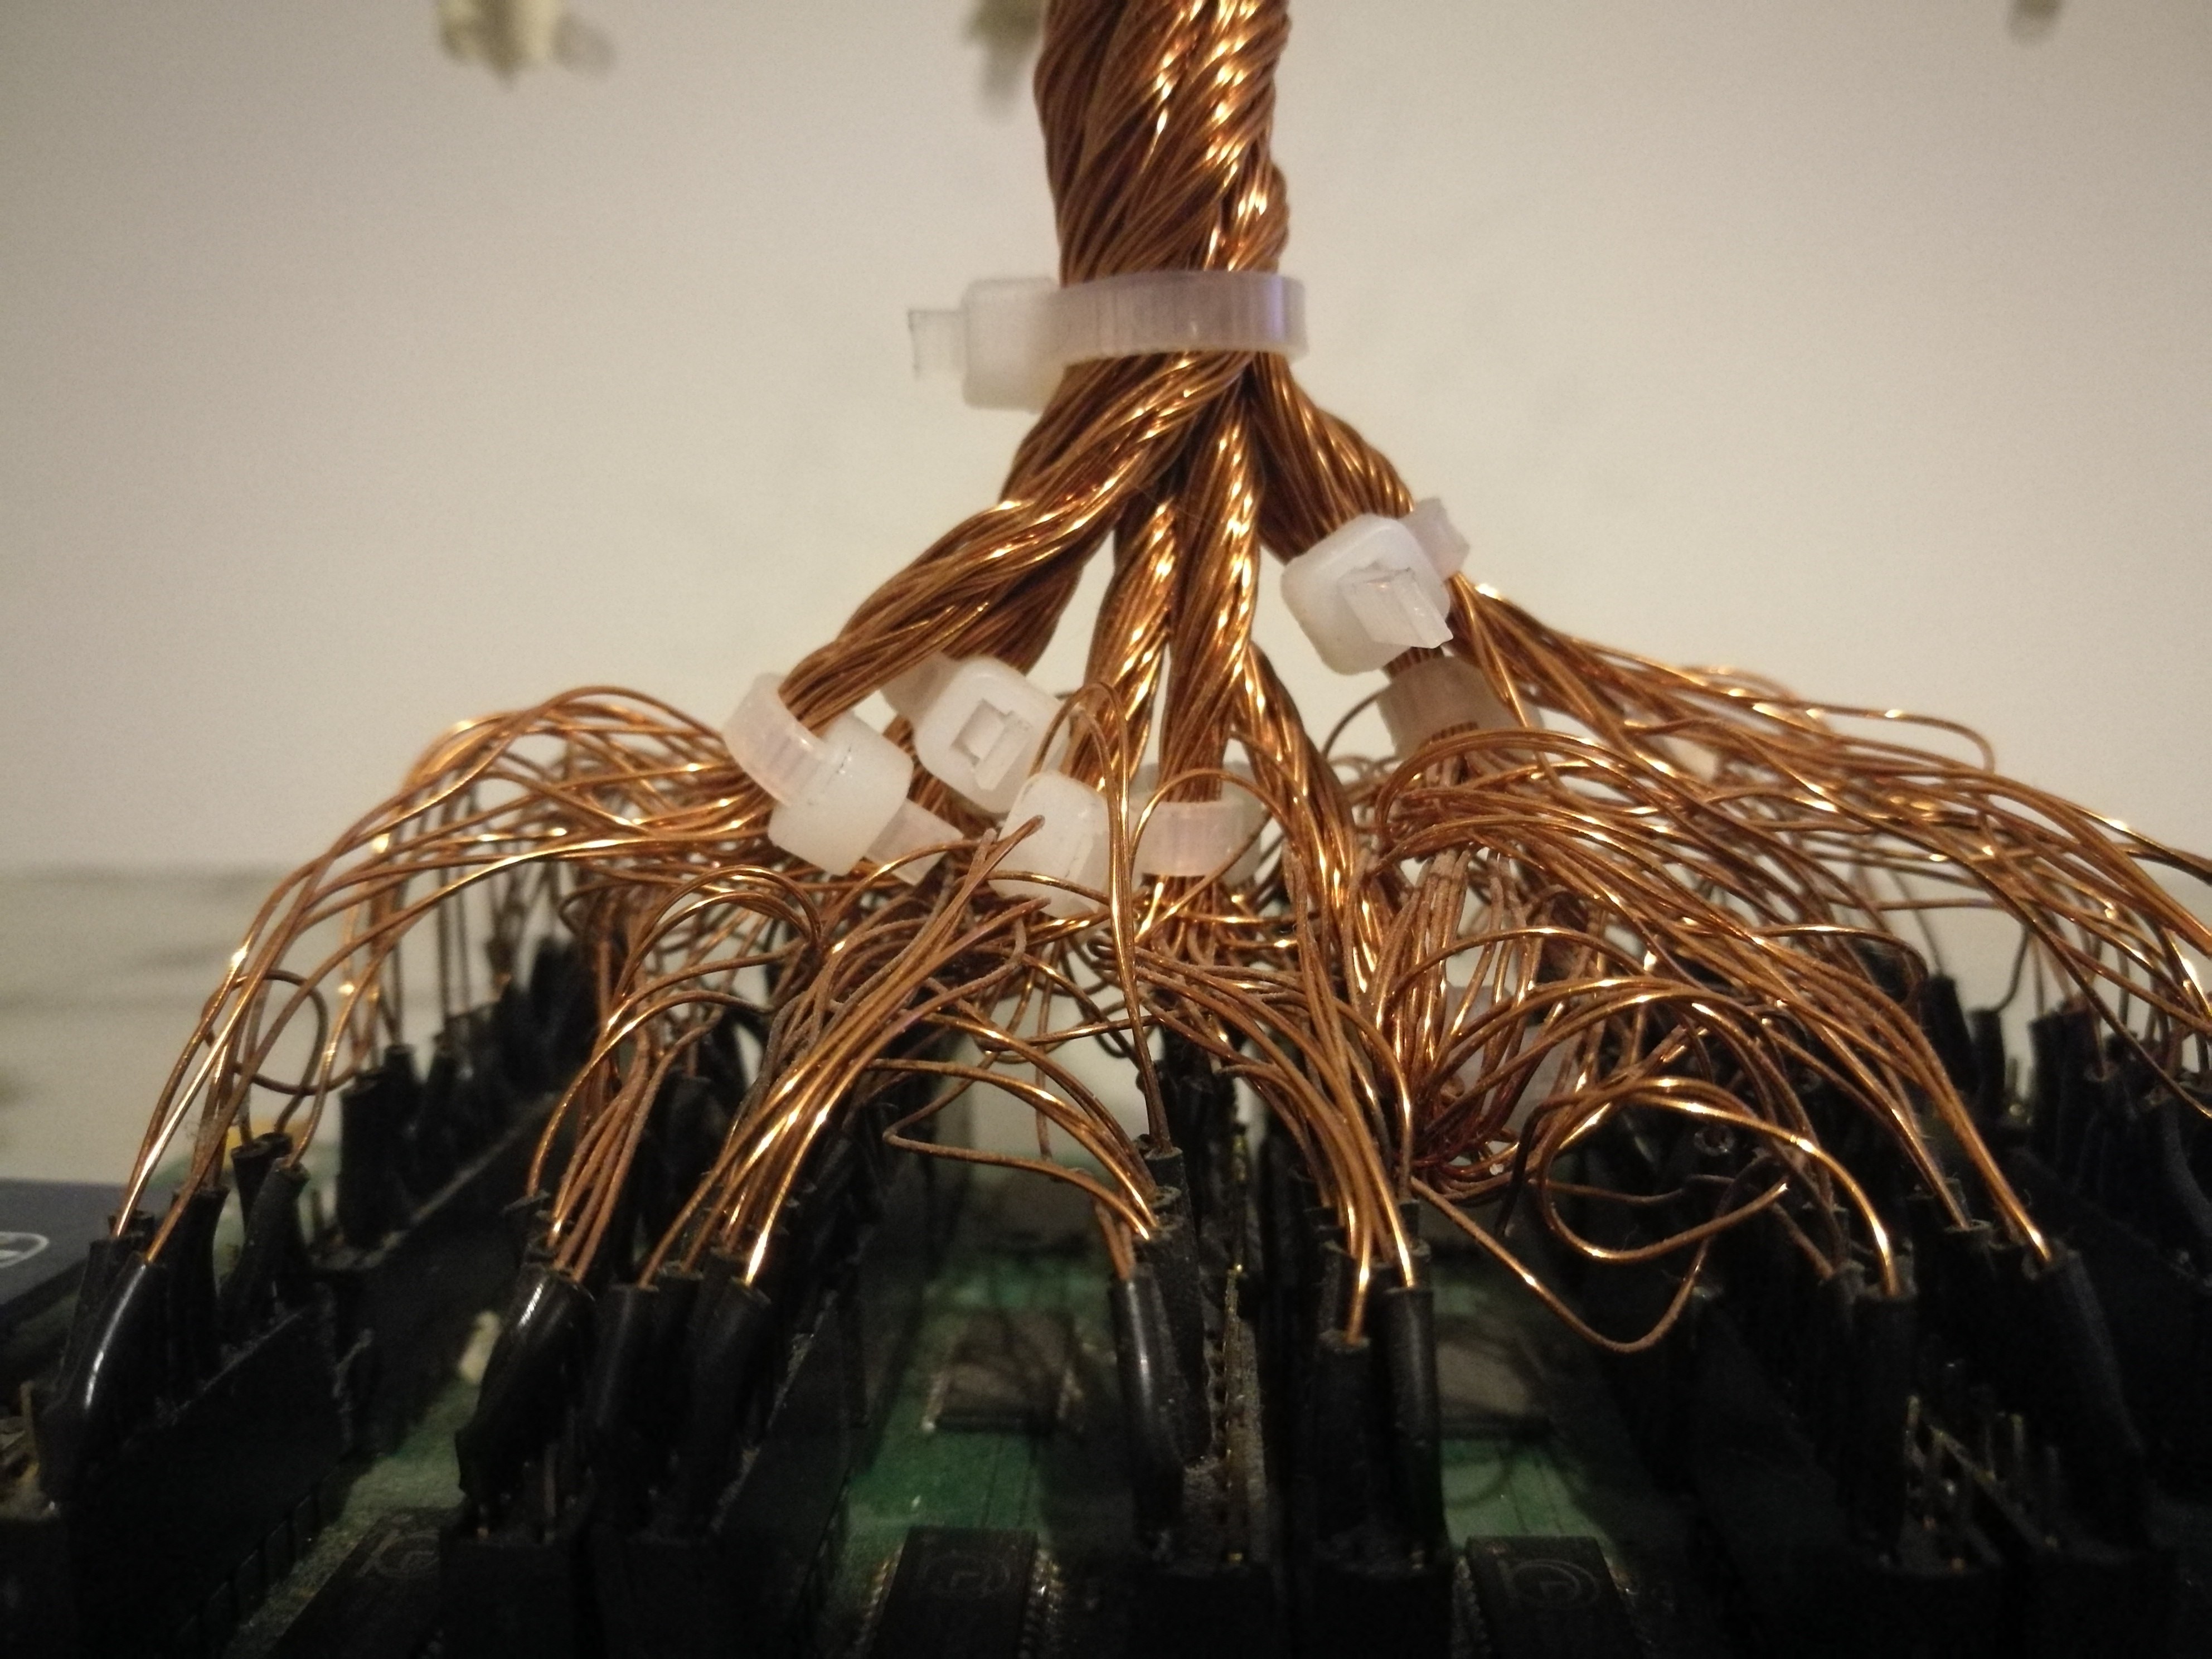
After that, I can finally connect the whole tree together and make...
Read more »


 Enrico
 WallYofficial
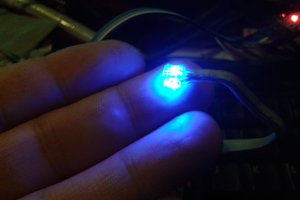
 Morning.Star
 Ian Norton
this is a really amazing project. I must share this on my site acacia tree facts.