 Daniel Domínguez
I never intended on entering this contest because I like to keep to myself. But after reflecting on the new year I thought it might be interesting and worthwhile to contribute a project that had a deeper perspective than electronics and things.
I looked around in my parts bin and my shed and thought I might make something personal. Not too personal though, I wanted the subject of my entry to ultimately be bigger than myself. I wanted to try something different and unexpected.
So with a five gallon bucket full of junk, I laid it all out on my desk and began to think. 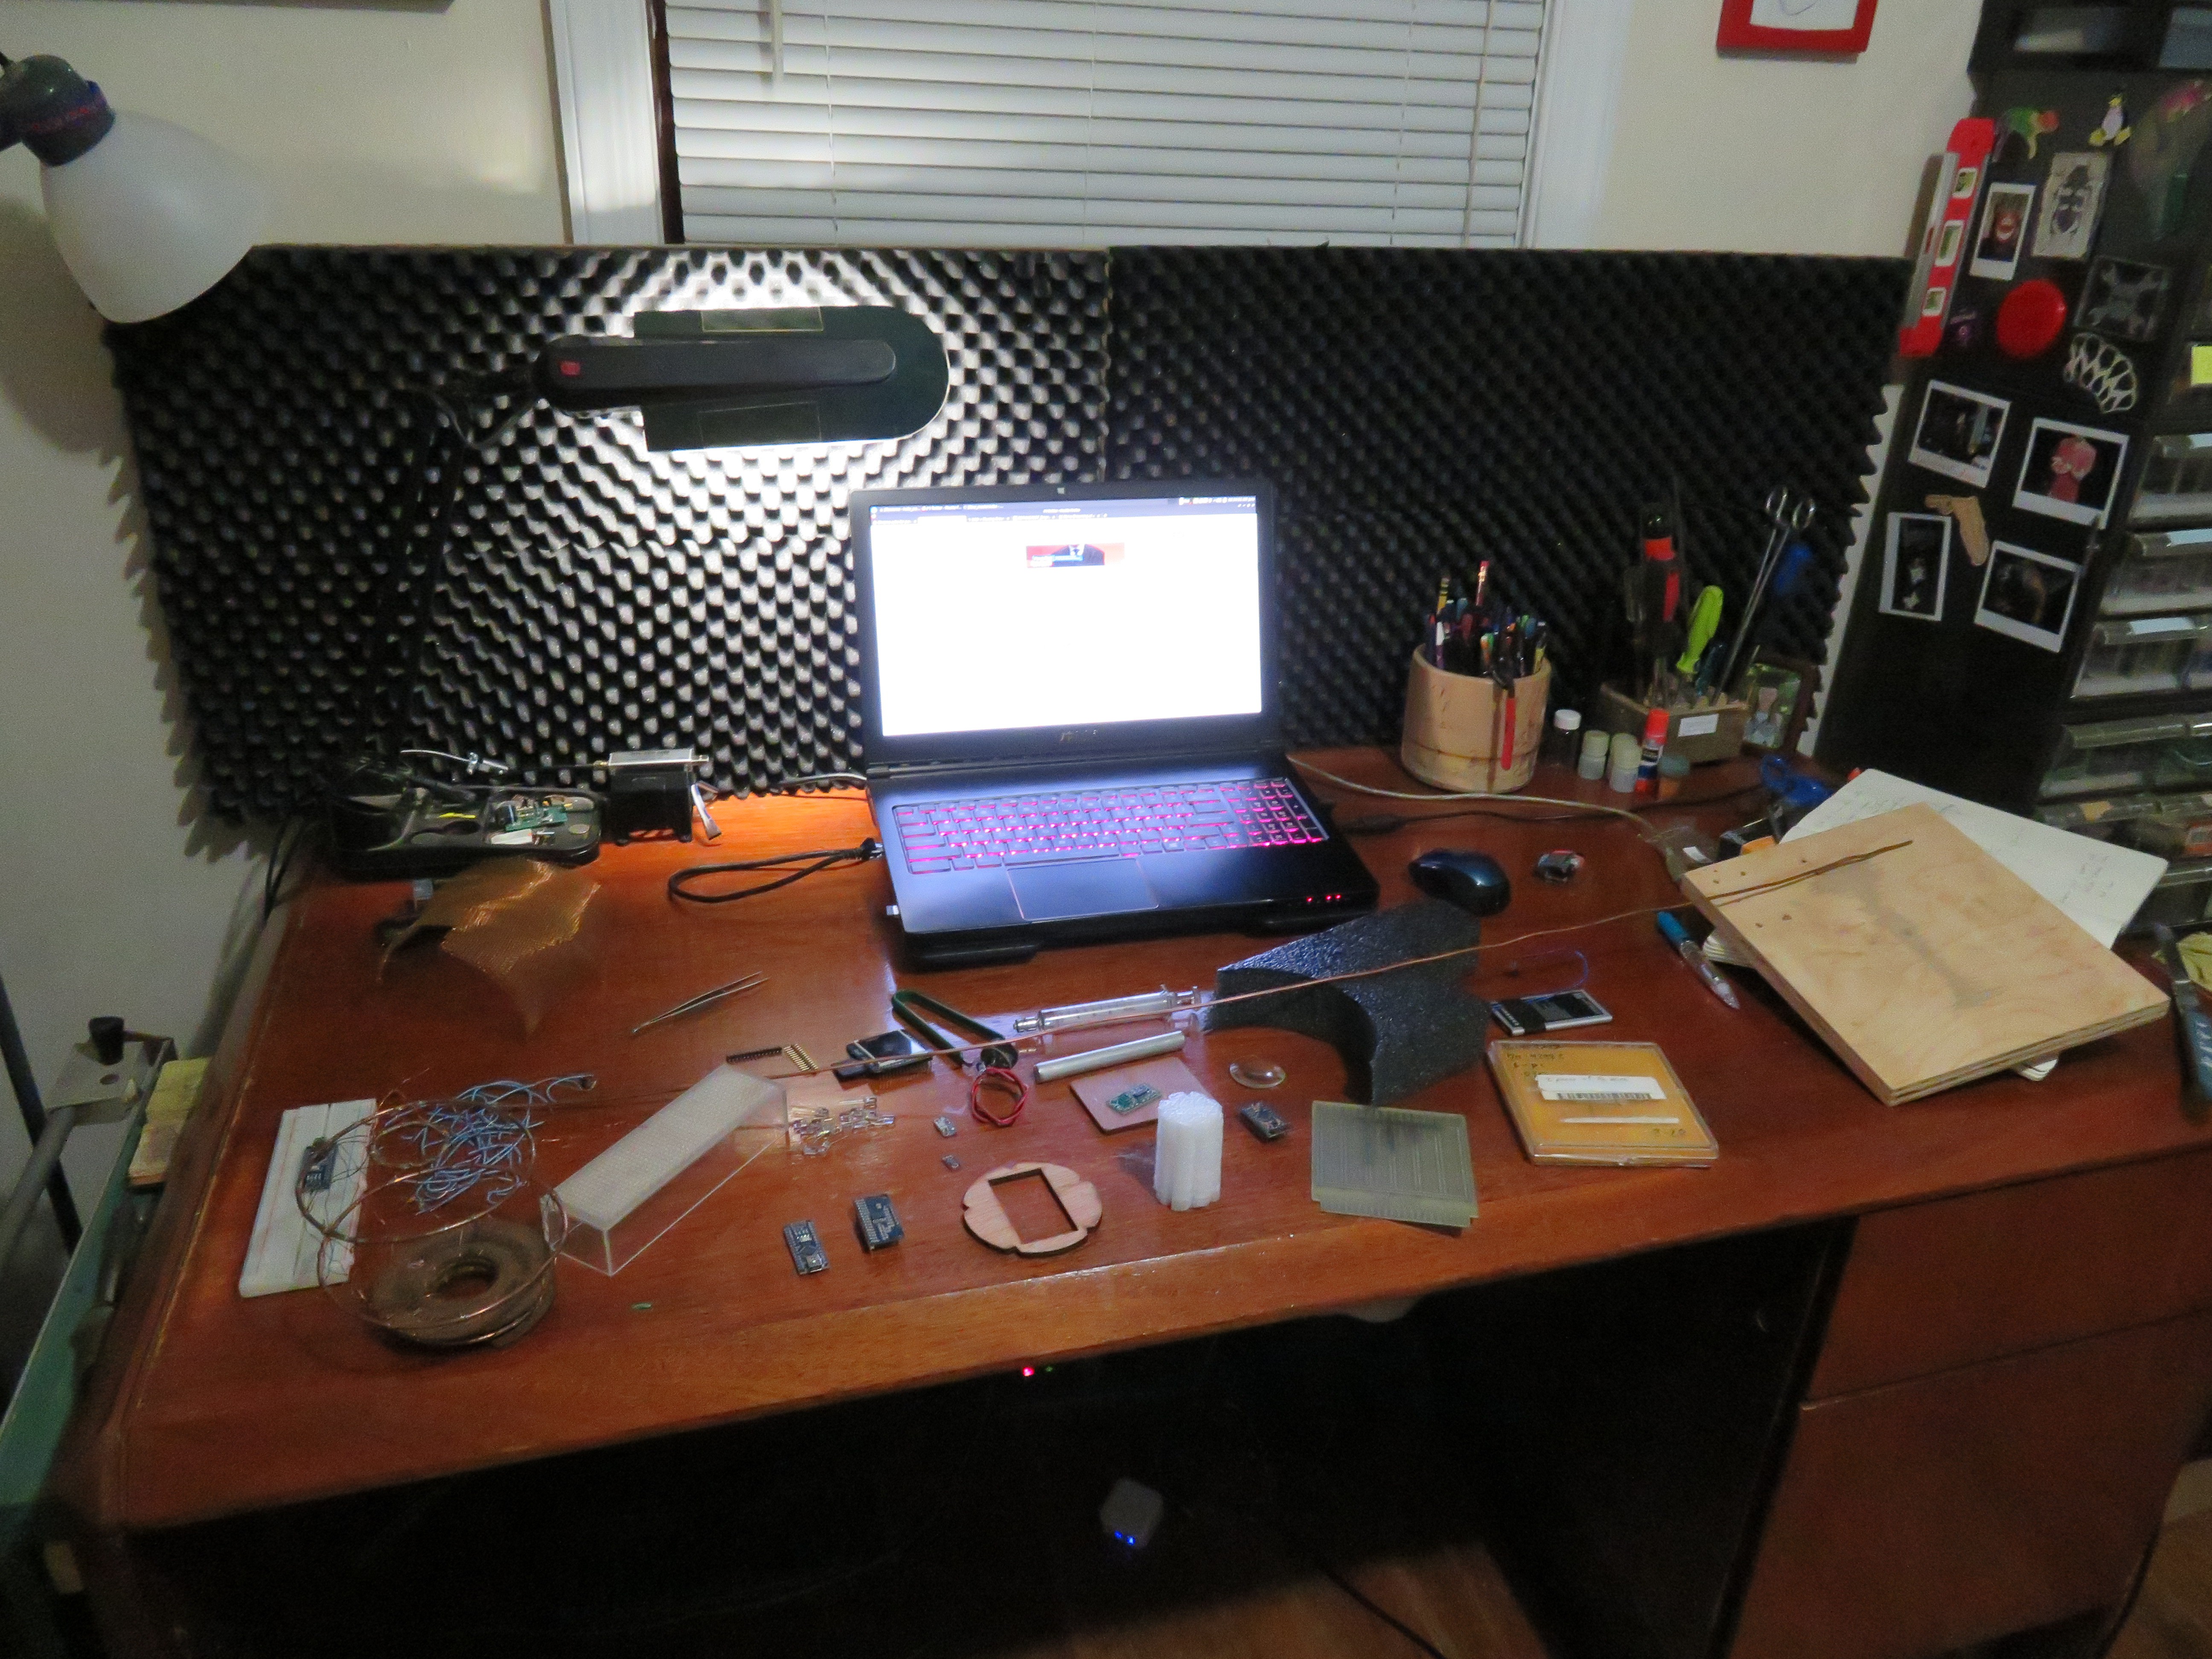
I drew a few sketches of free floating boards and lights and eventually came up with a plan for a self portrait of sorts, It was hard making decisions with nothing to go on in the beginning, but part of my creative process is to let the pieces build themselves as they aggregate.

I began the sculpture by taking a picture of my profile and used GIMP to make it a black and white silhouette which I glued onto a (very old) piece of circuit board that I dug out of the dump at my local university.

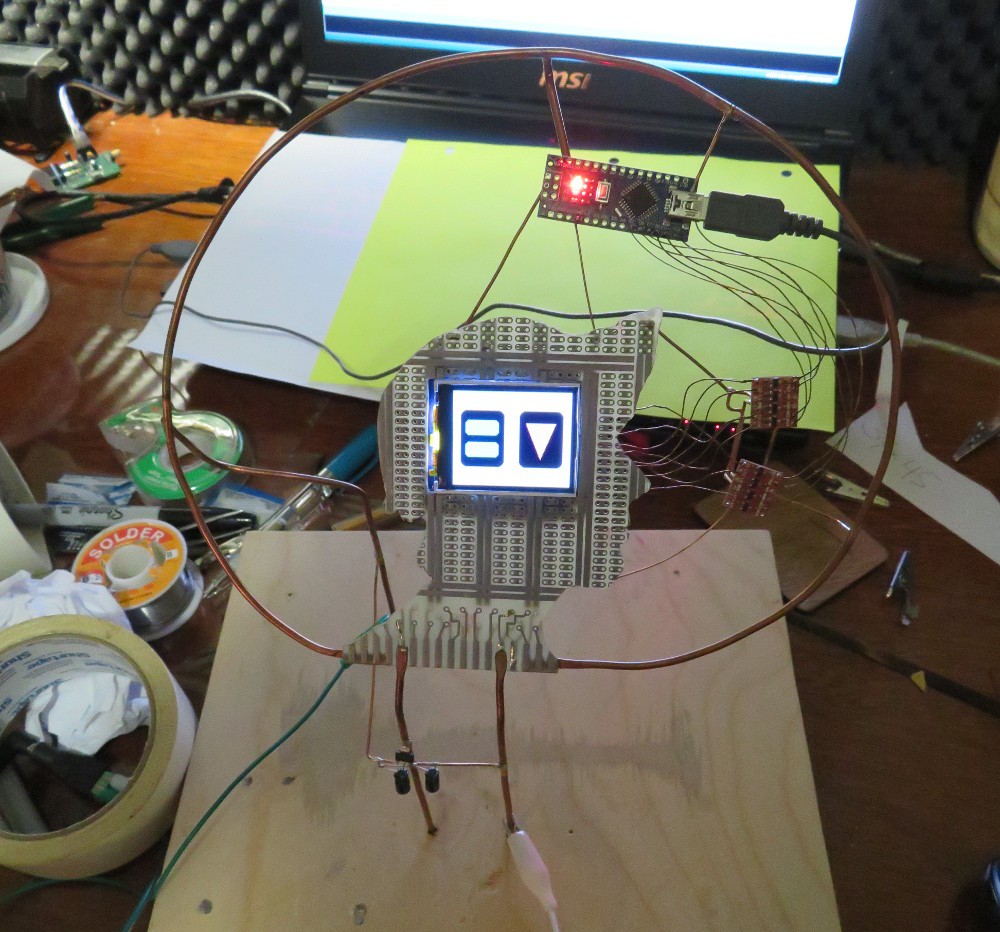
After I epoxied in the display I began building the support structure for the PCB. The support wires were carefully arranged to also be the power rails for the circuitry. The copper wire that I used was heavy stuff from the dumpster that I had been saving for some time. It was difficult to work with as the really heavy gauge wire does not solder without substantial heat, and as many of us know, substantial heat has a tendency to tear traces from a PCB.
I was very careful and finally able to install the thick copper wire with only a superficial trace tear. I took the whole thing and epoxied it into a block of plywood that I had saved from a previous salvage project. This left me with a sufficiently stable structure on which to mount the circuitry and move forward.
 The way that I mounted the LCD necessitated the location of the logic level shifters as they needed to be close to the SPI connections. I next installed a voltage regulator for 3.3v and the Arduino Nano clone to power rails. At this point I felt I needed to hook up the display and make certain that it was still working after all the handling and stress, -but I didn't want to use bare wire for connections. Because the circuitry is free form, if any wires were to cross the result could be catastrophic and conjure the magical smoke that we have all love so dearly.
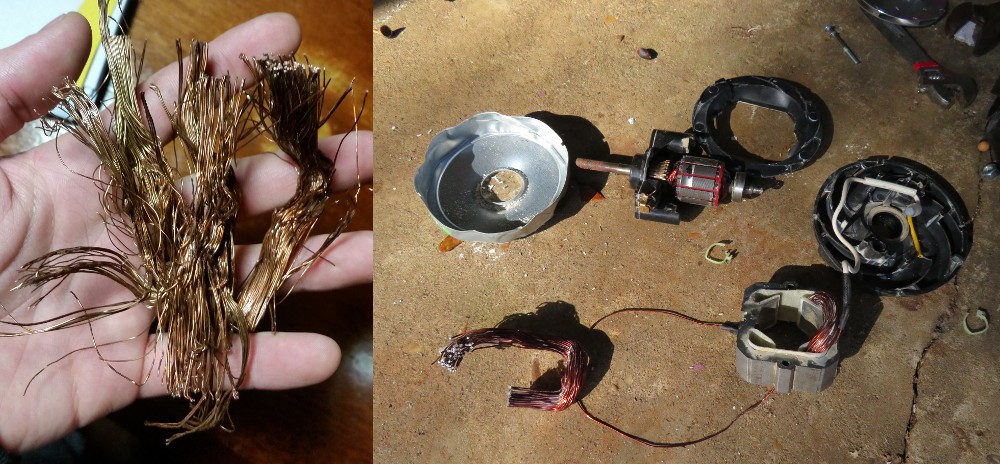
I thought to use magnet wire for this case because it is insulated with enamel but still metal in appearance, yet I had no magnet wire on hand and I wasn't about to violate the spirit of the project (or my wallet) by running out and purchasing any. My solution was the typical one, wake up in the early morning (on January 1st) and look for some in the trash.
I drove around for about an hour and was able to find an old vacuum and ceiling fan discarded on the side of the road.
With some hand tools and my dremel I was able to liberate a good amount of magnet wire from these trash motors and was on my way to making bus connections to test the LCD.
Now, soldering magnet wire is not easy without the proper equipment. I remember many years ago at Ham Fest, an older man demonstrating his magnificent hot tip magnet wire enamel stripping gear to a wide-eyed younger version of myself. How I wish I had something like that laying around. But I'm not a ham guy, heck- I'm not even a true engineer, so I don't have anything that specialized laying around. I do have some good ole fashioned 150 grit sand paper, and I used that to PAINSTAKINGLY sand down the tips of each and every connection I needed.
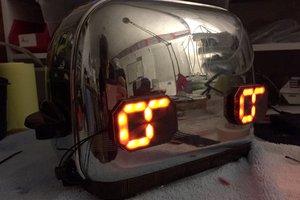
Much to my enjoyment the display fired up correctly the first time I applied power. The magic smoke gods shuddered.
Next I assembled the rest of the components into the wire frame to fill out the empty space...
Read more »
 Sarah Petkus
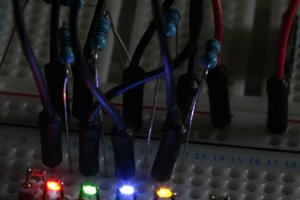
 ftregan
 MakersBox
 Inne
Inne
I see you found and used the best doppler radar sensor out there. At work we ordered like all the different sensors aliexpress has to offer and settled on this one.