0%
0%
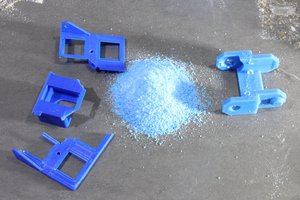
Recycling Household Plastic for 3D printing
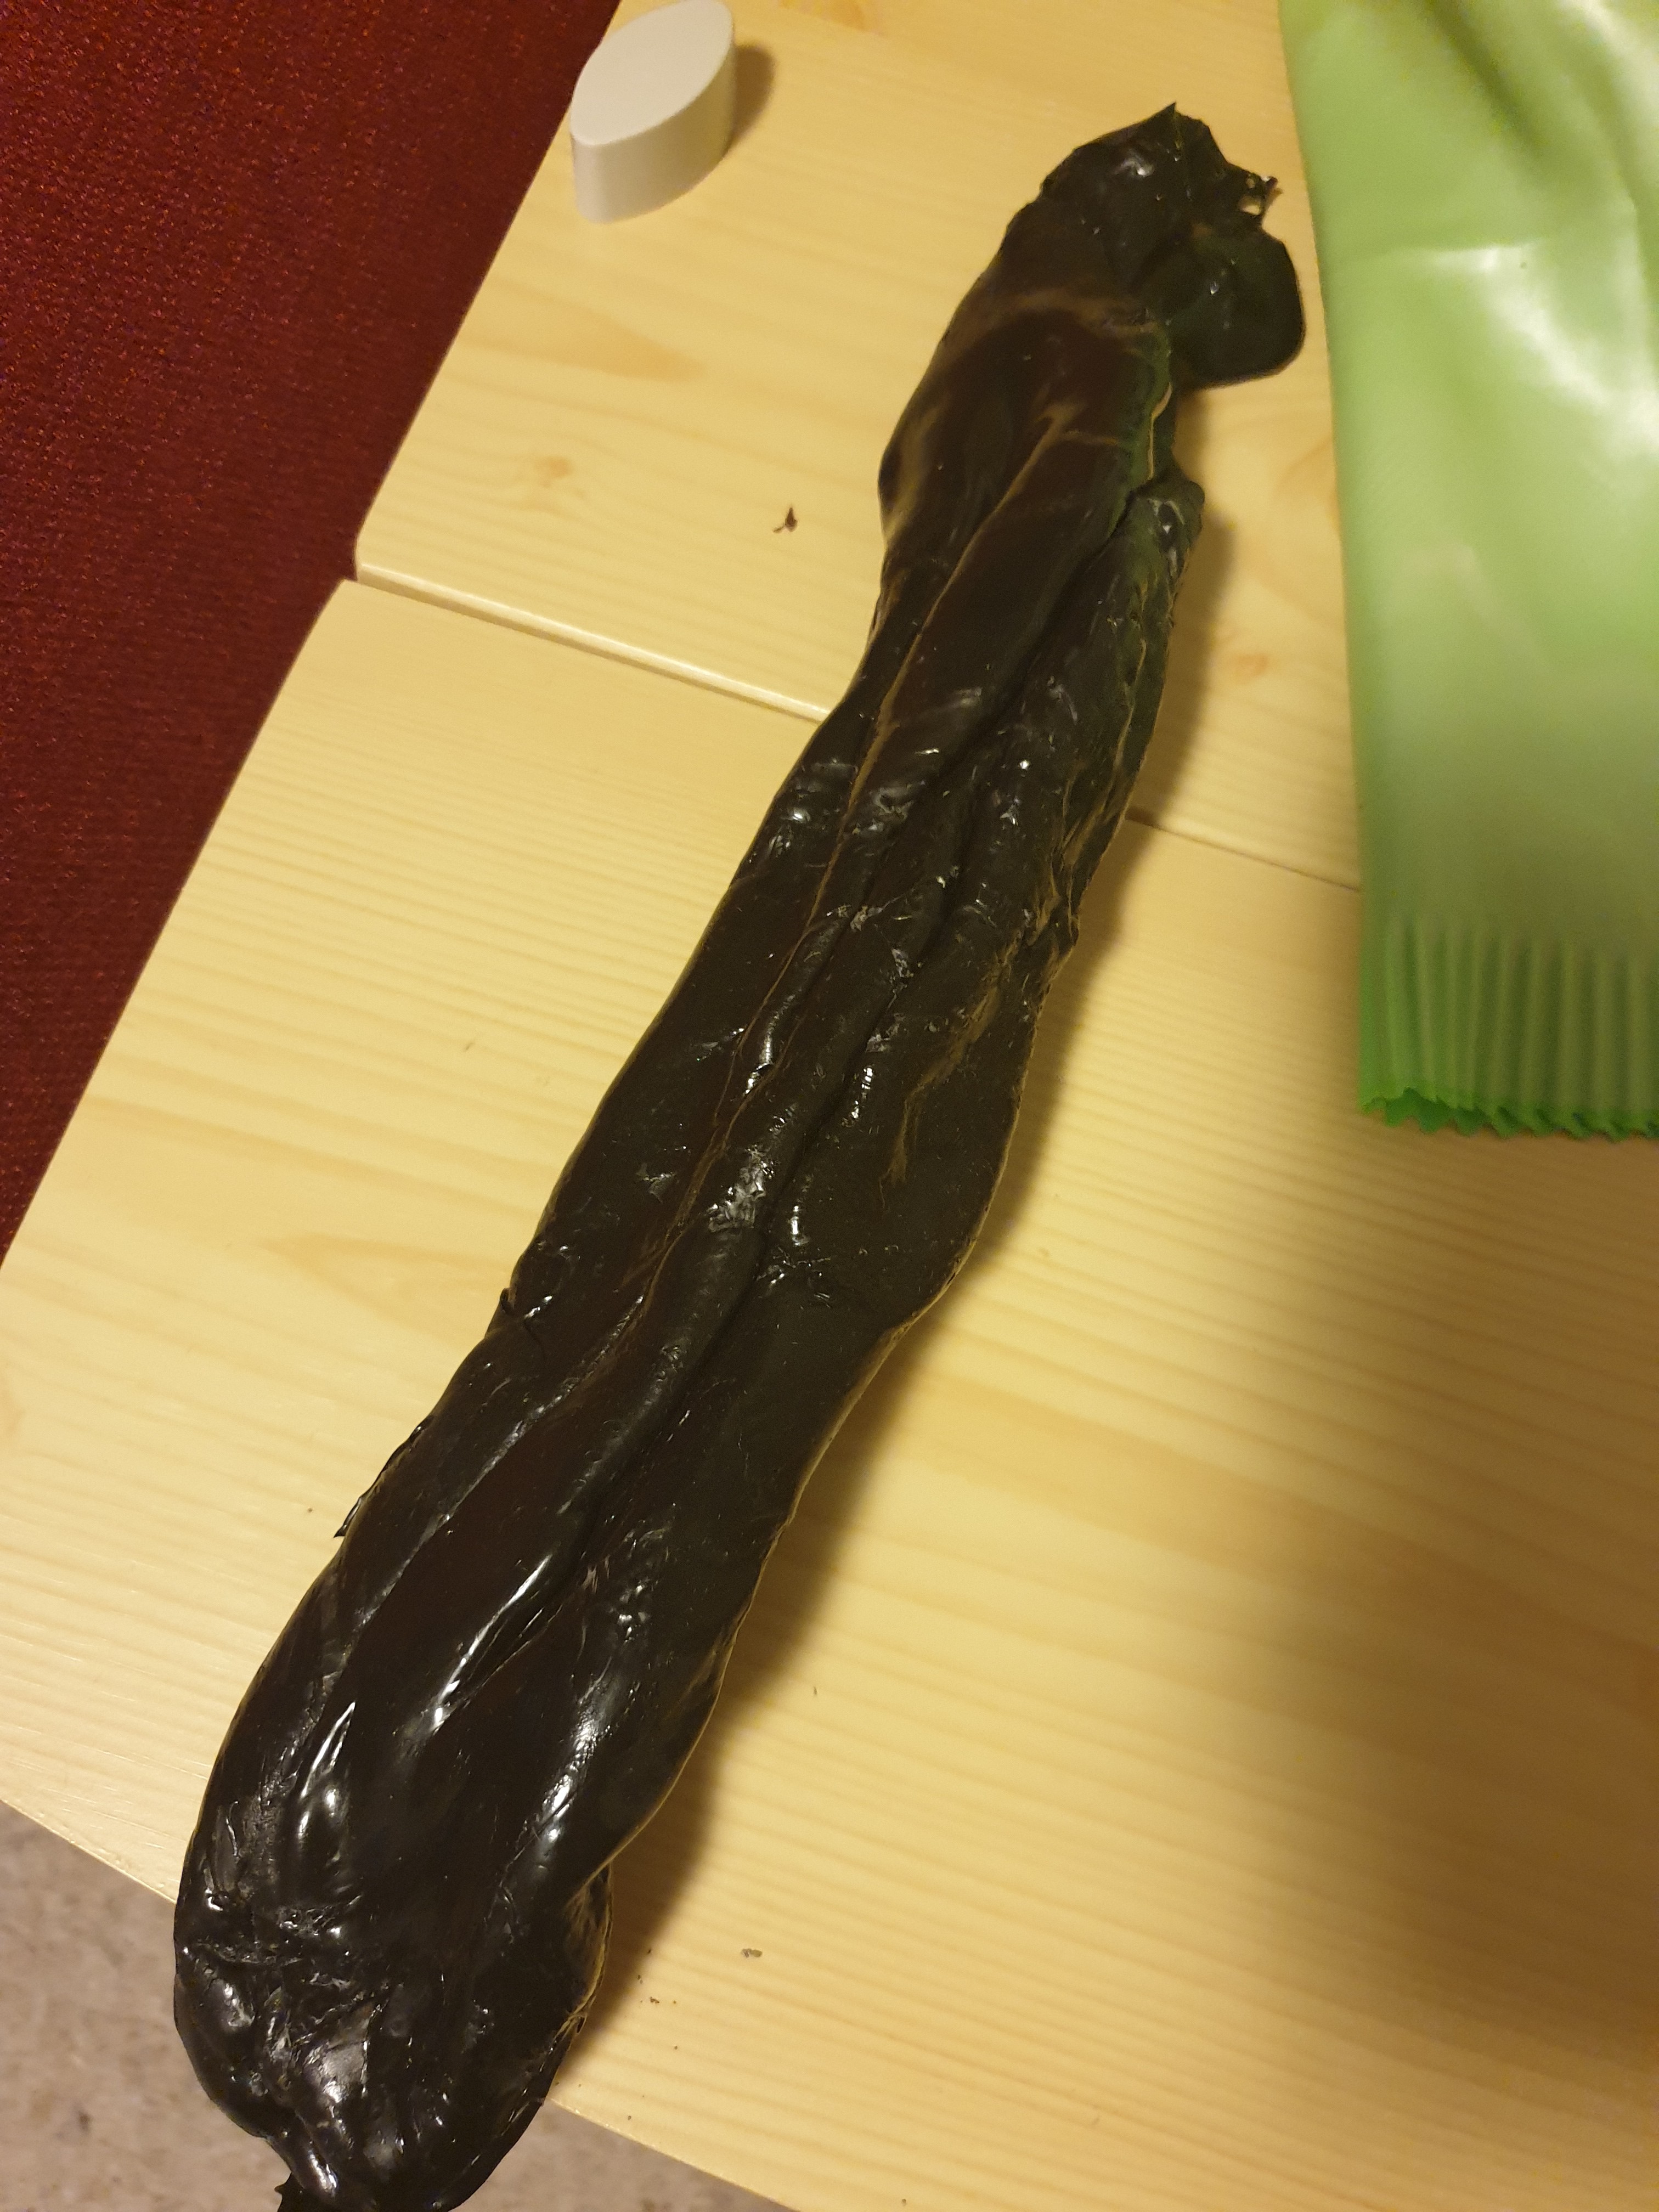
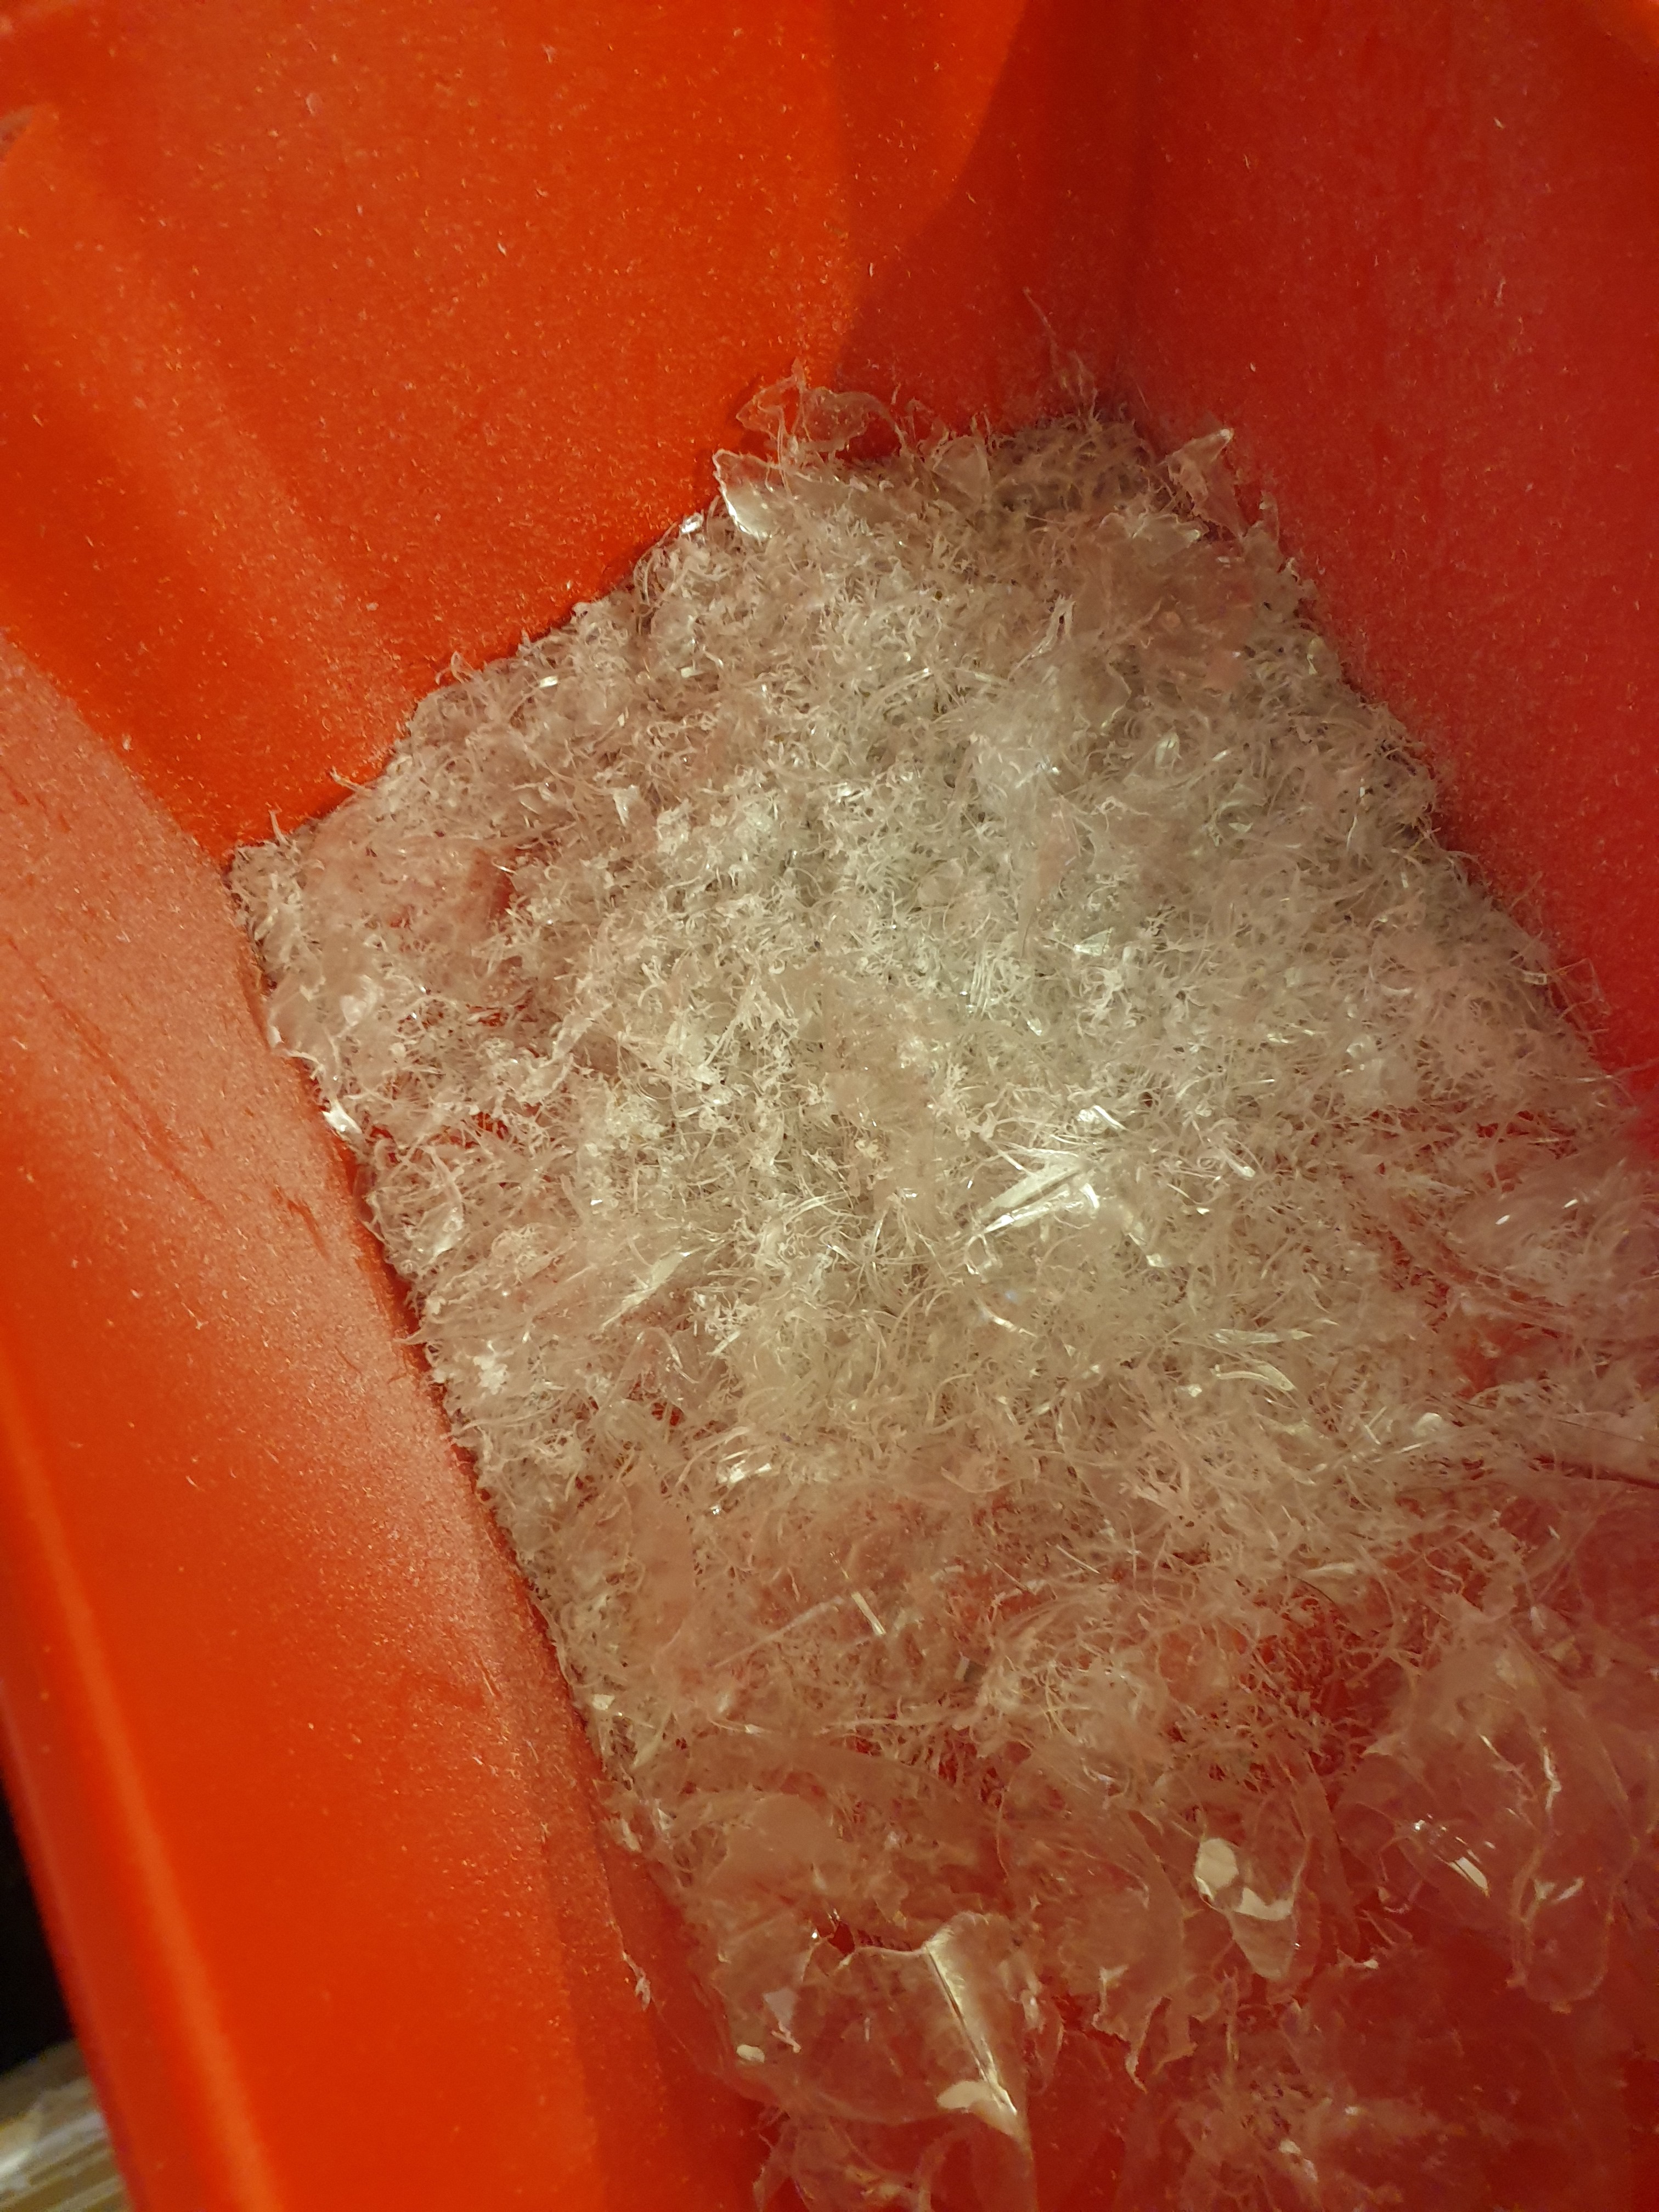
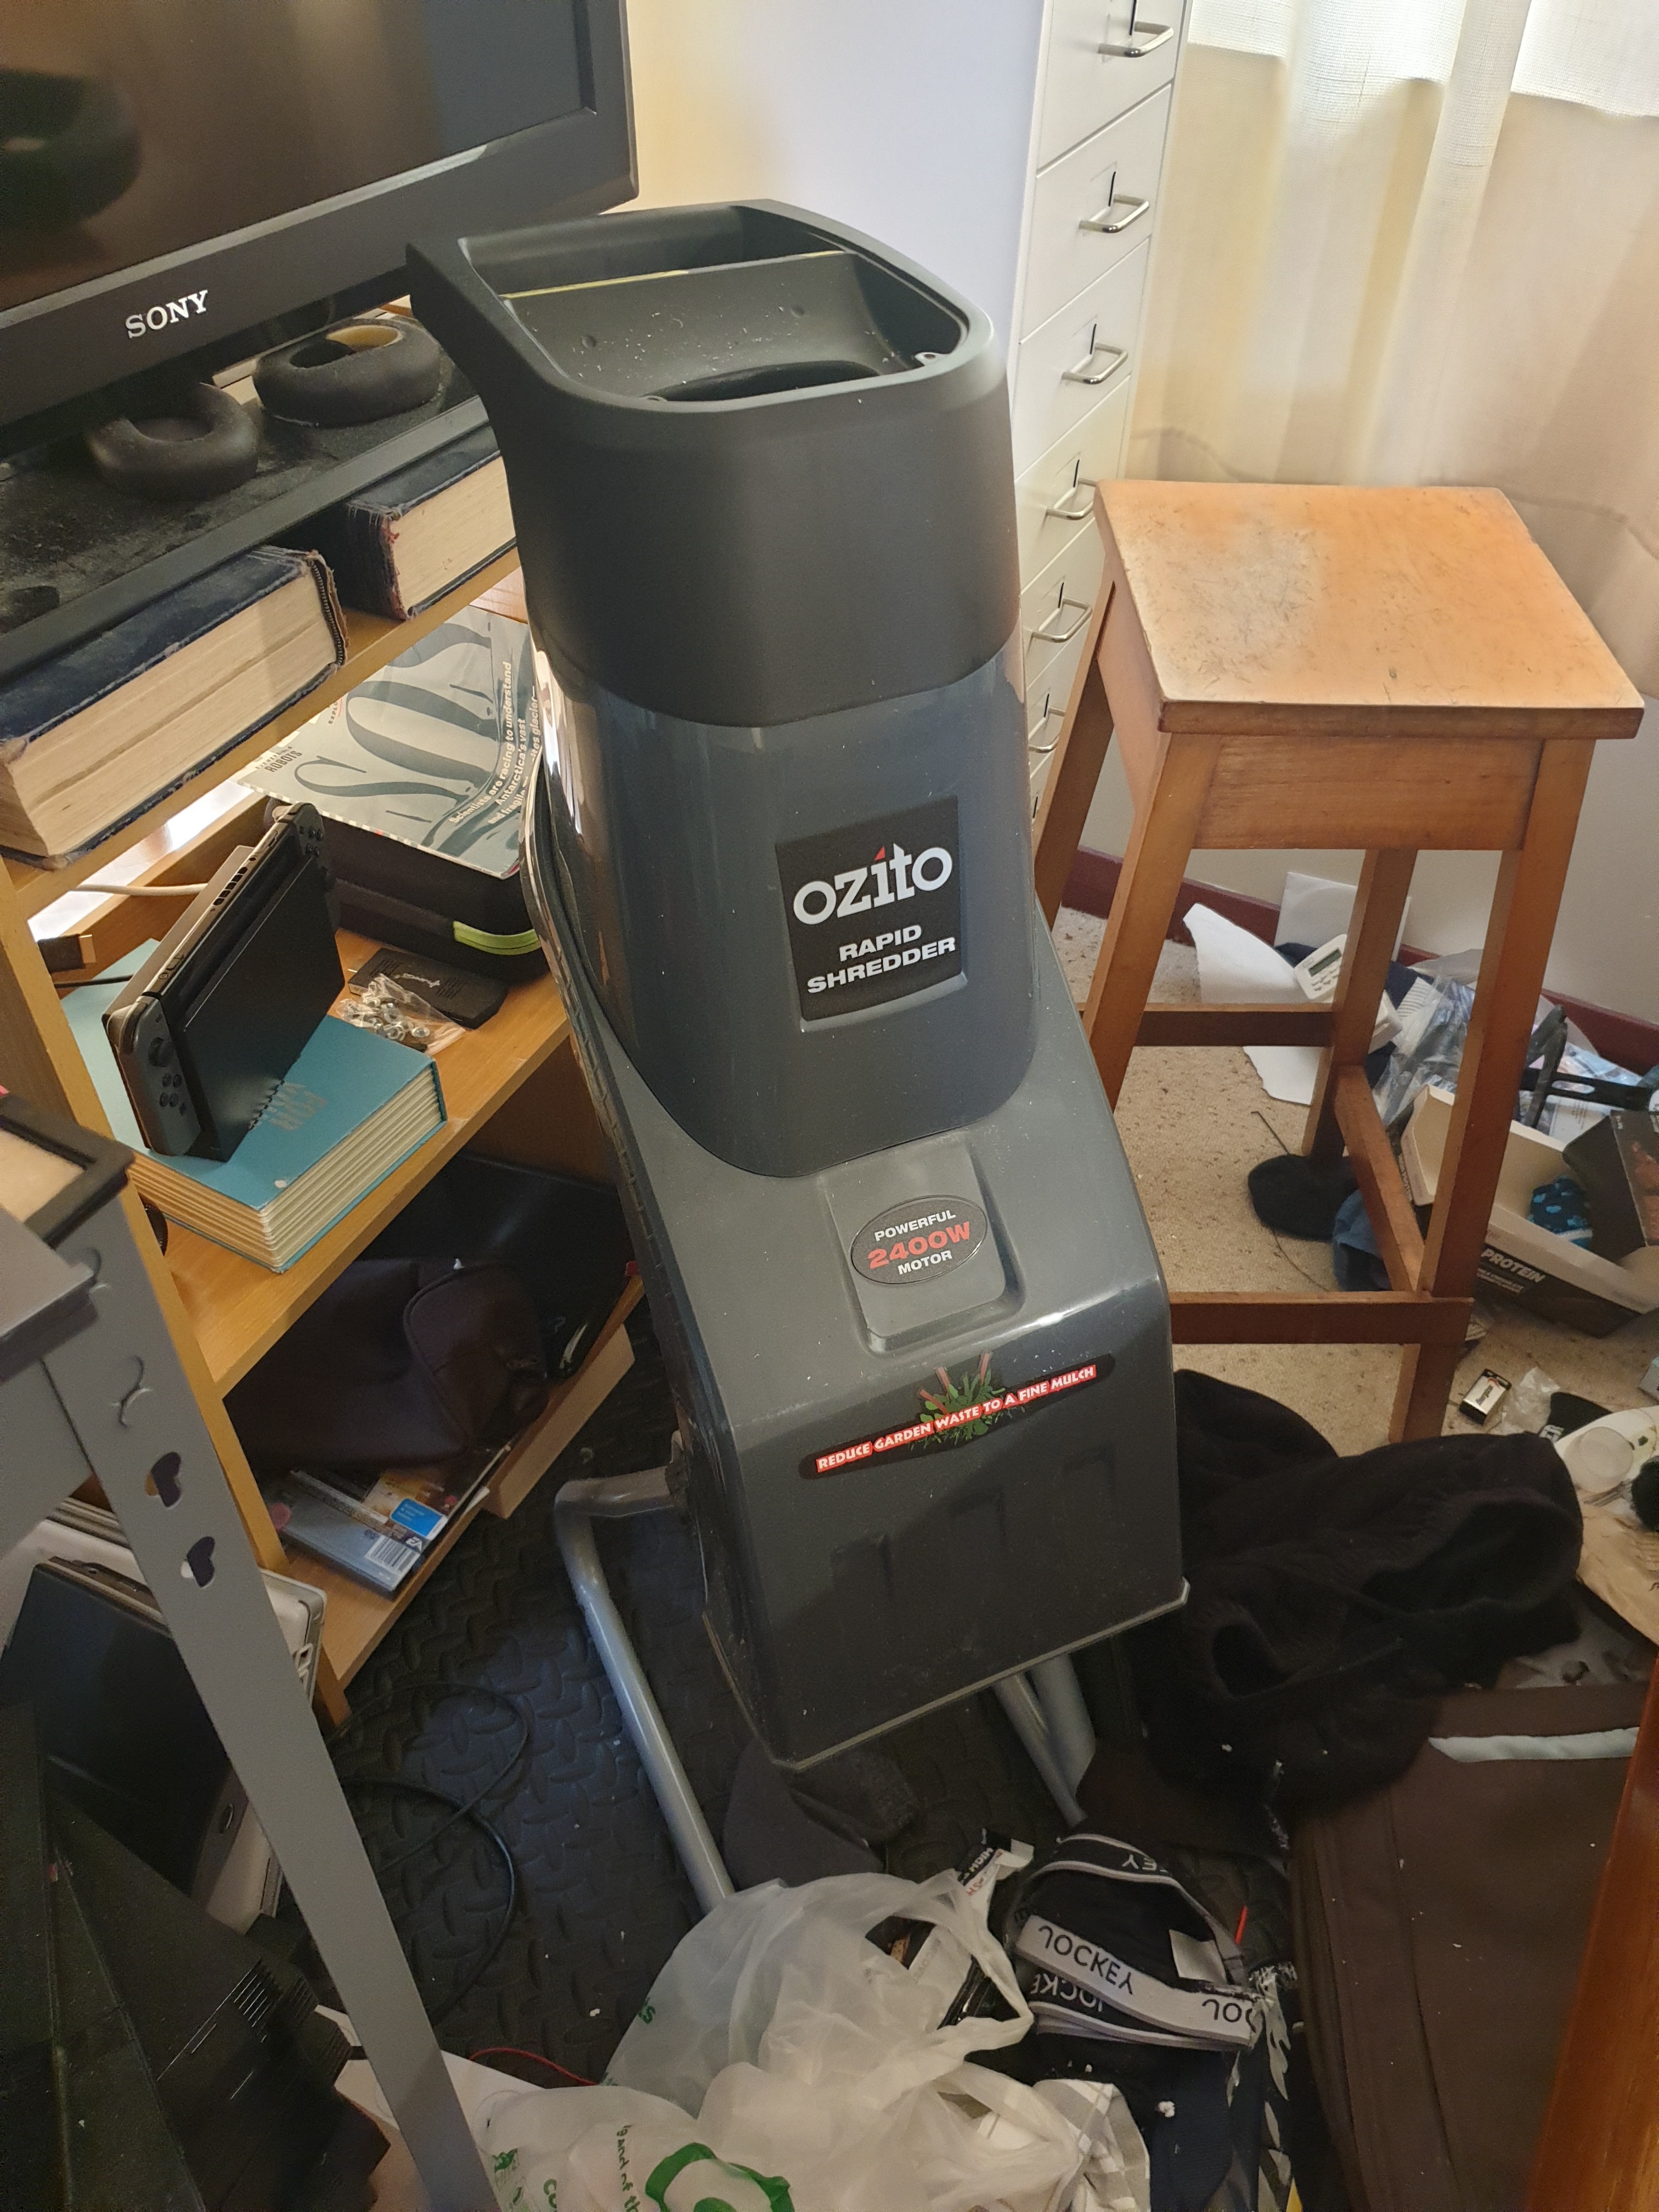
I'm attempting to recycle my household plastic into usable 3D printer filament
 EM
EMBecome a Hackaday.io member
Already have an account? Log in.
Just one more thing
To make the experience fit your profile, pick a username and tell us what interests you.
Pick an awesome username
hackaday.io/
Your profile's URL: hackaday.io/username. Max 25 alphanumeric characters.
Pick a few interests
Projects that share your interests
People that share your interests


 Norbert Heinz
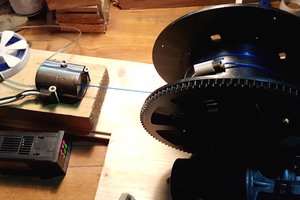
 JP Gleyzes
 ken.do
Do You have an extruder, to make new Filament out of the results?