-
1Intro
These instructions assume that you’ve already built the base for the Saturn V (use Asa Miller’s great tutorial). They cover only the LM base and the electronics enclosure. Also, if you’re not familiar with the Photon, I highly recommend that you play around with one before doing this project so that you can get an understanding of how it works. They’re very similar to an Arduino but with a few minor differences that can catch you off-guard. They have some great tutorials on their website to walk you through the basics of the internet-of-things aspect of it.
Additionally, I didn’t put together a write-up for the launch switch that I made for the neighbor kids. I put it together pretty quickly and didn’t document it plus it’s no longer in my possession and I didn’t know how many people would want to add that part. If you’re up to doing the rest of this project then creating one from scratch would be pretty trivial for you, however if there’s interest I would be more than happy to write up some instructions and a wiring diagram.
Once you’ve gathered all the necessary components (including the 3D-printed ones), you’re ready to start.
The printed components are hosted on Thingiverse here.
-
2The board
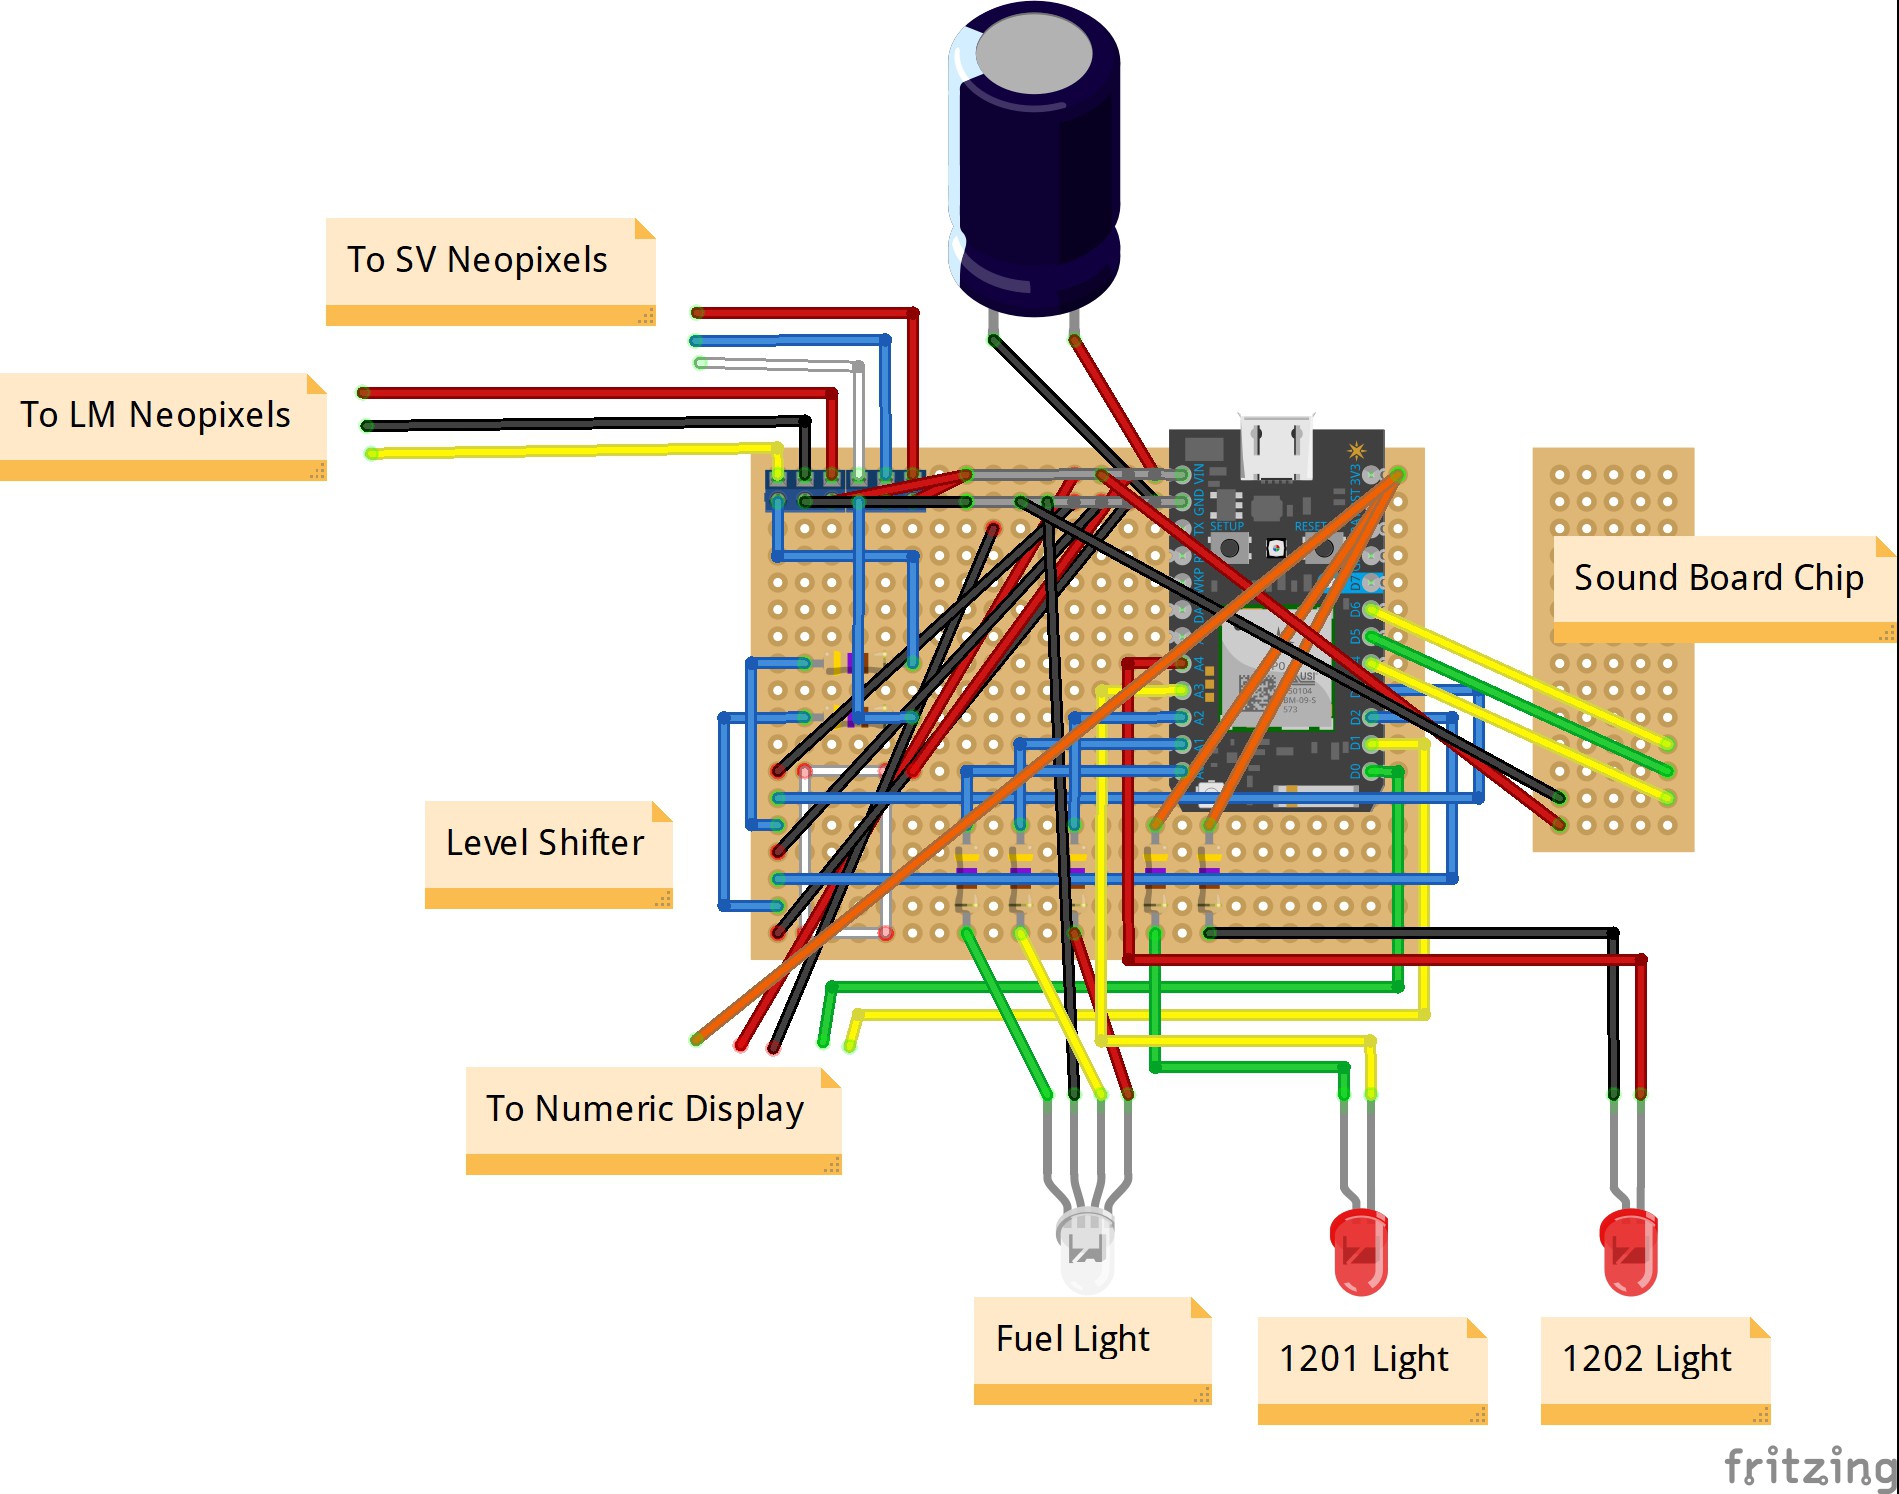
The most time-consuming part of the whole project (besides the print-time) is soldering together the board. I drew it up in Fritzing, and while it’s fairly simple conceptually it does still take a little time (especially for me and my sub-par soldering skills). Obviously you can use a breadboard if you prefer (this is what I started with during the initial design), but it will be quite prone to connections coming loose. Note that you’ll want to route the individual LED bulb wires through the printed back pieces before soldering them.
![]()
![]()
-
3The enclosure
Once you have your board constructed, you almost ready to begin mounting it in the enclosure box. But before you do this, I recommend that you upload your audio files to the Audio Board. Be sure NOT to change the names of the files as this tells the board which pin corresponds to which file.
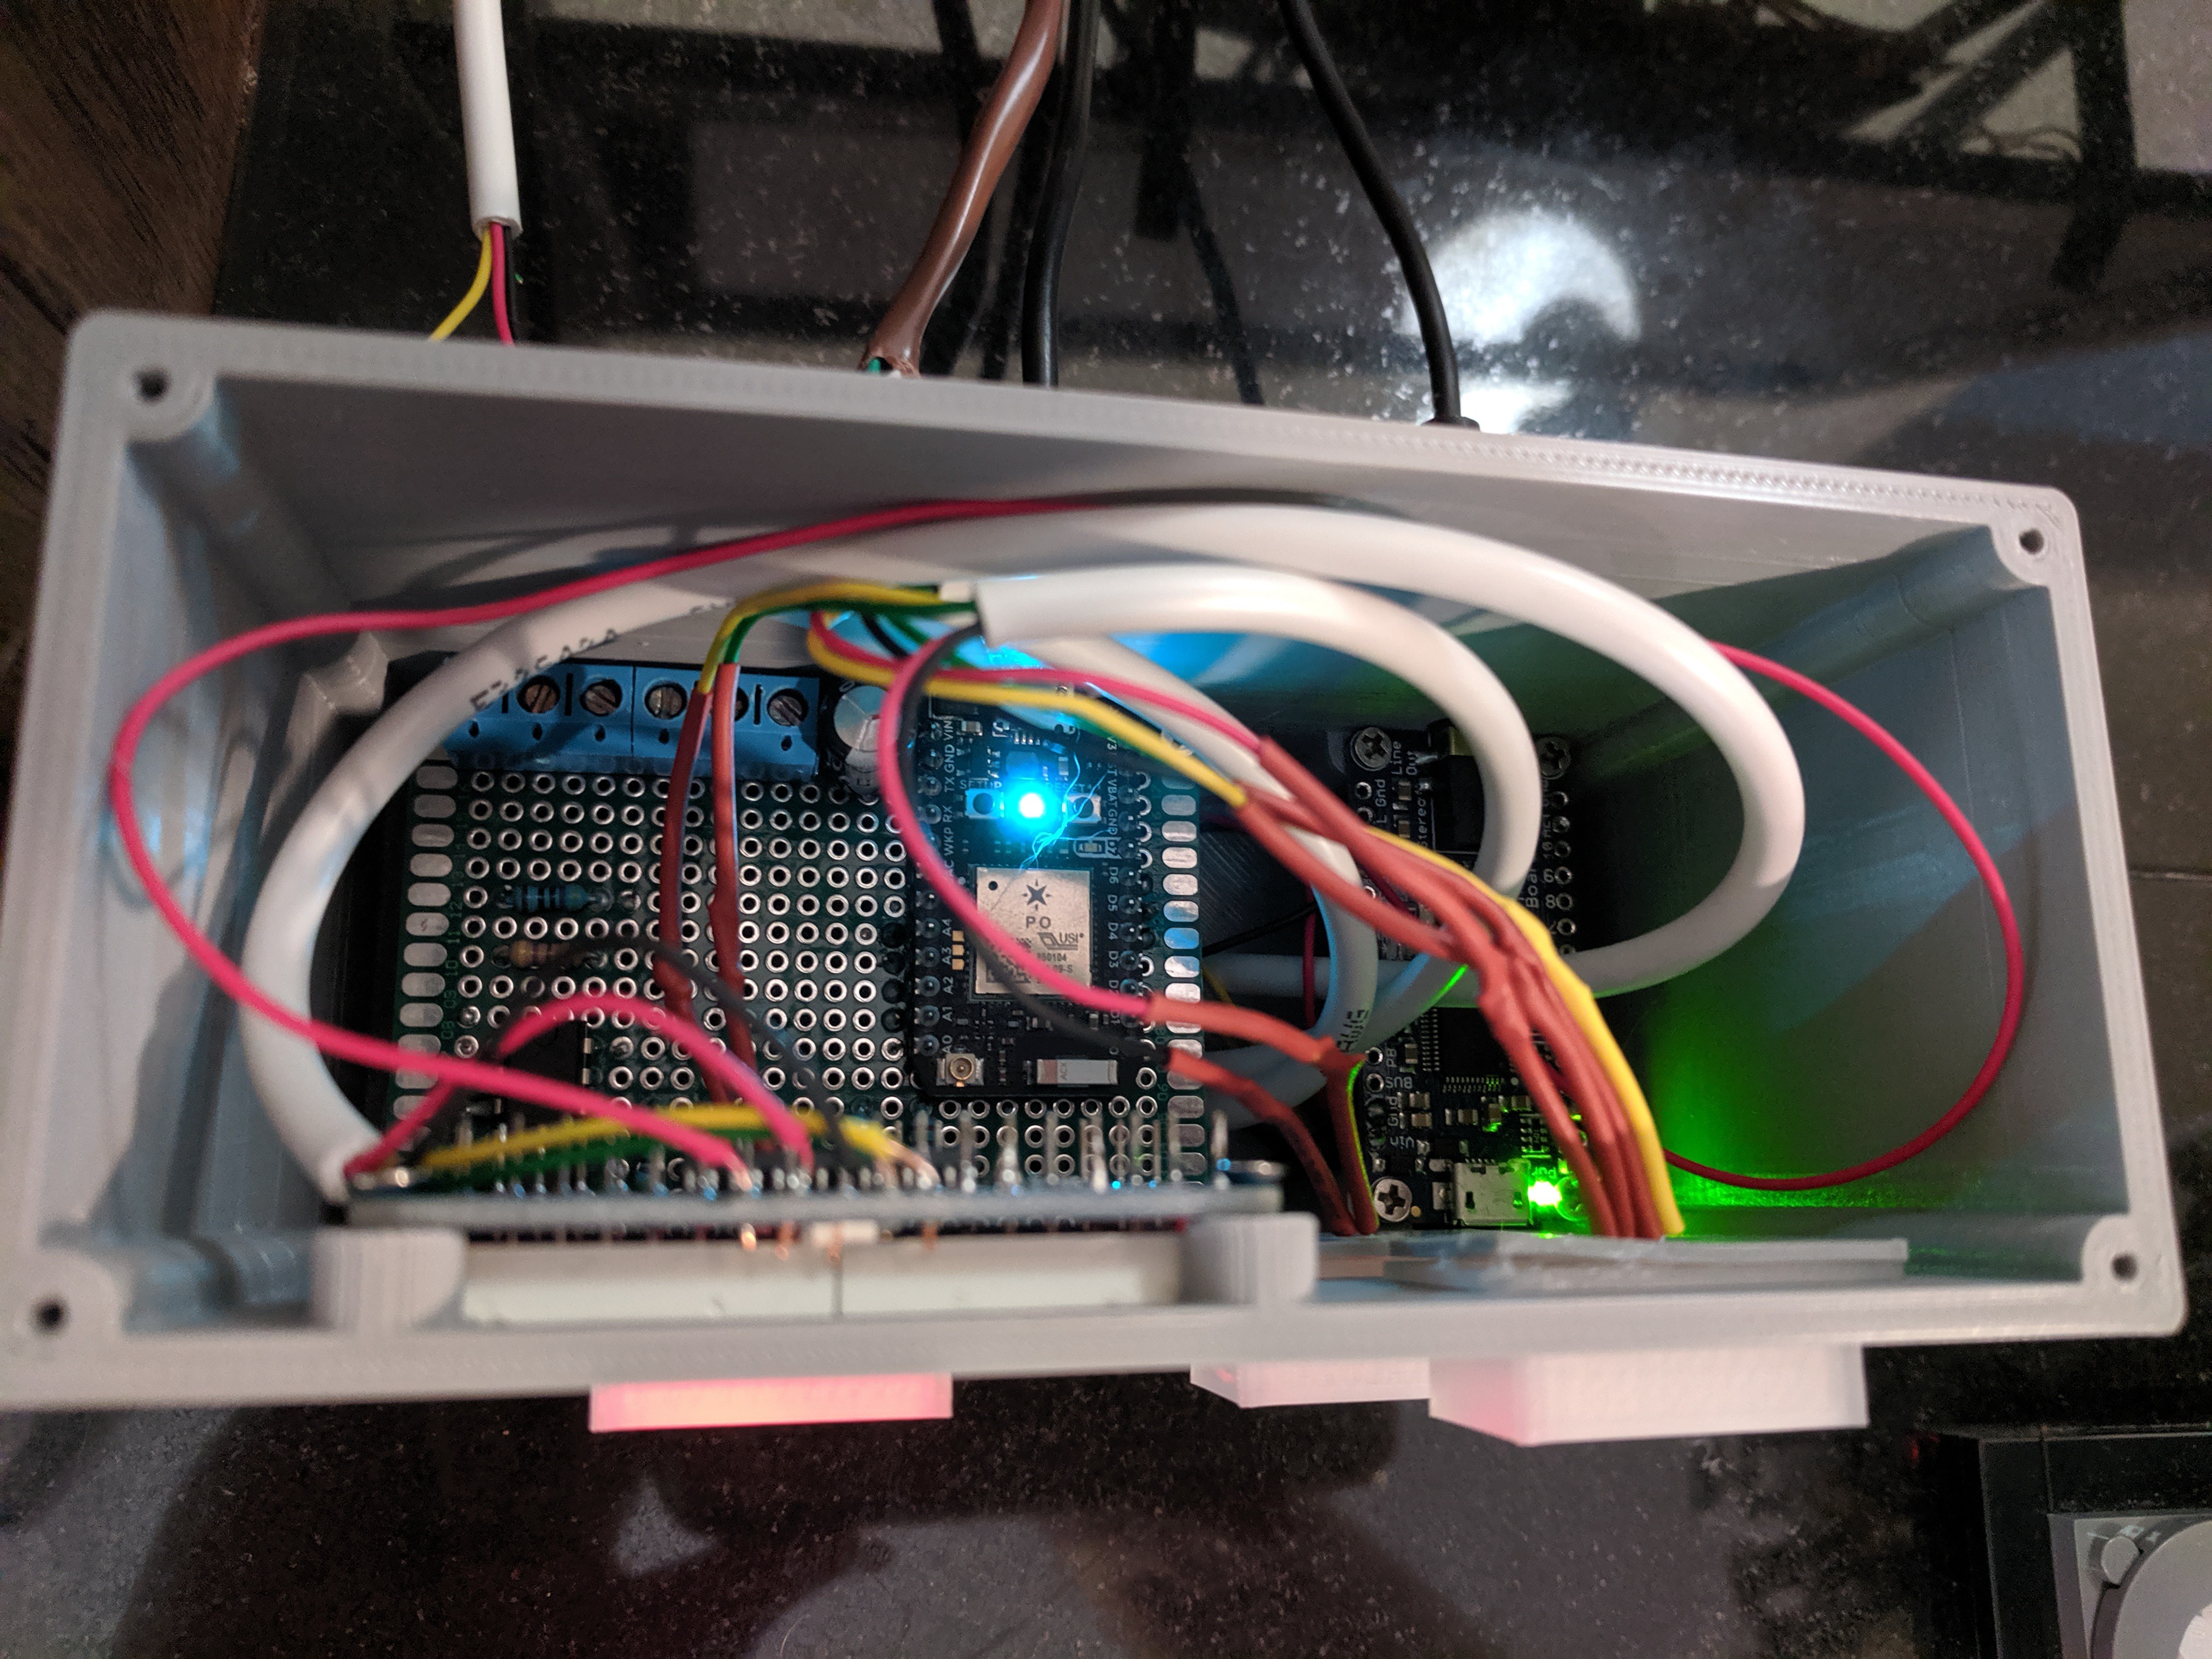
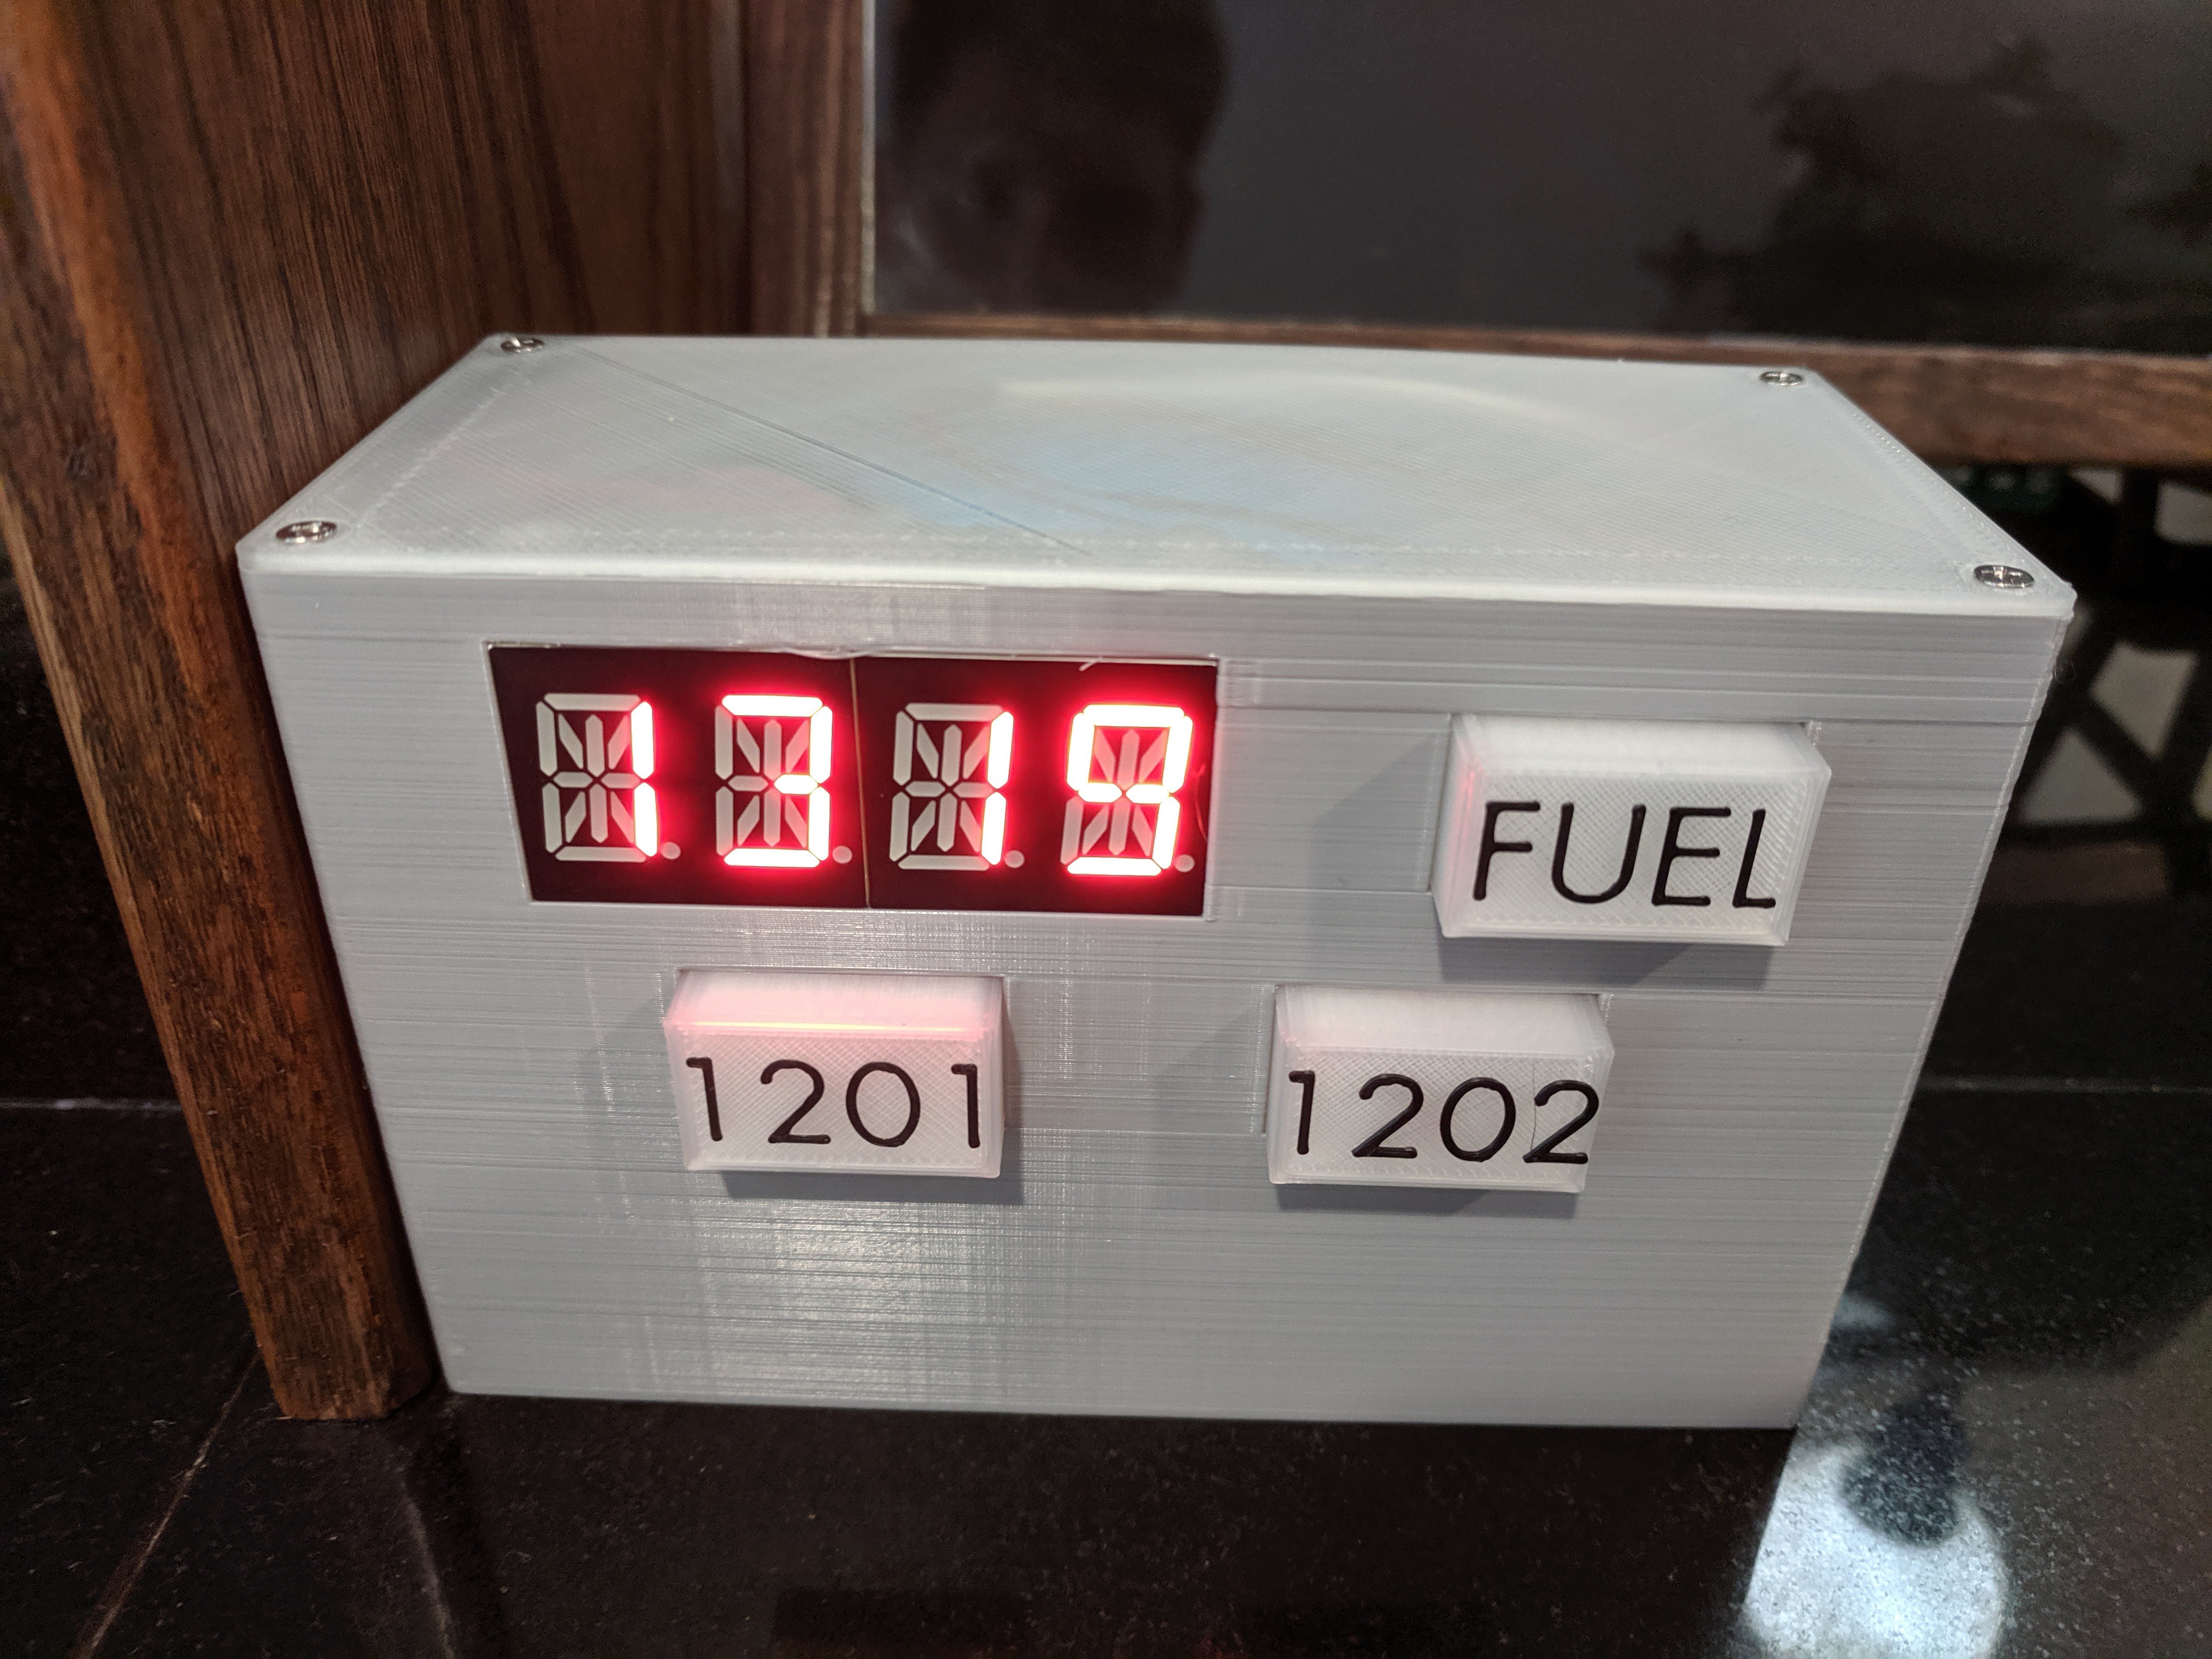
Now the construction can begin! You will want to mount the Fuel and 1201/1202 alarm light boxes to the enclosure first. Ideally, they will be interference fits, but you might need or want to add a little super-glue to make it sturdier. At this point you’re ready to mount the main board, sound board and 7-Segment Display with the screws. The back pieces of the Fuel and Alarm lights can then be glued in their respective positions.
![]()
-
4The LM base
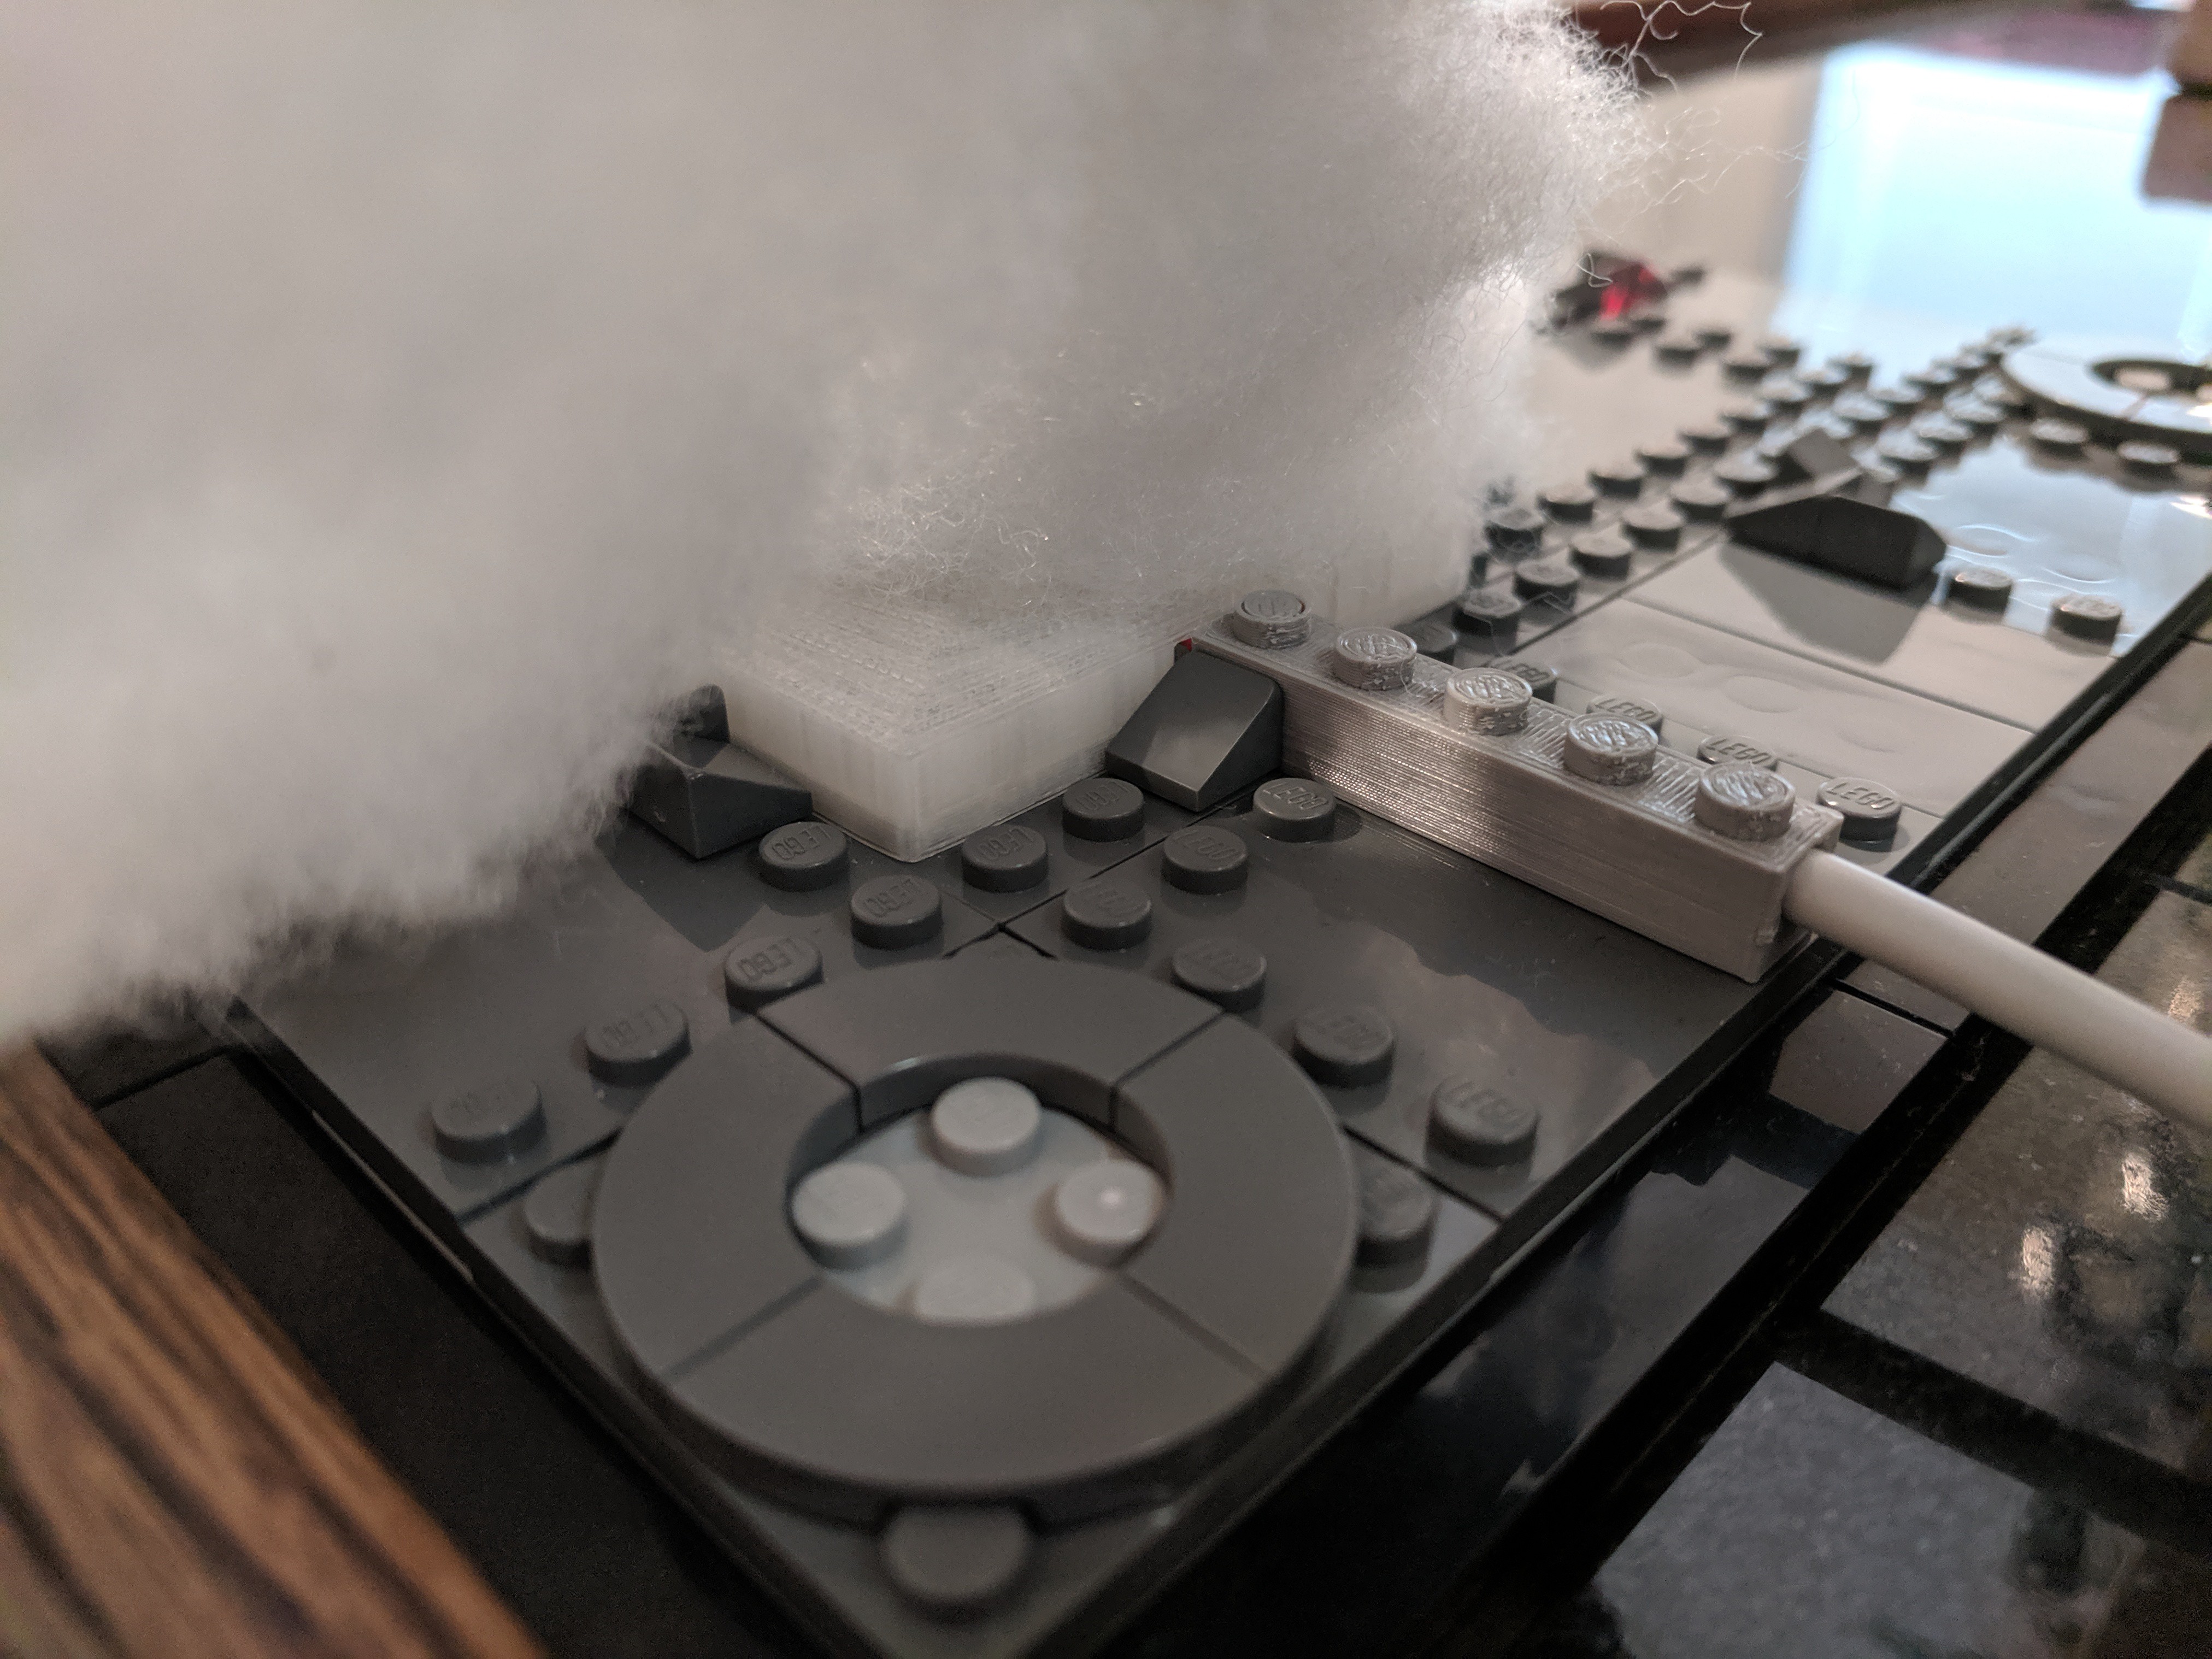
Next, you’ll want to fish your Neopixel strip into the Lunar Module base as far up as it will go (about 6 LEDs worth) with the LEDs facing the front. It might take a little finesse, but I was able to do it without any issues. At this point you can cut the Neopixel strip at the nearest cut point as it leaves the base and then solder up some wires with enough length to route it to wherever your control box will ultimately be placed (I gave myself about 6 feet just to be safe, always easier to shorten it later than lengthen it). Route the wire through the ‘LEGO Wiring Piece’ you should have already printed. Not strictly necessary, but it helps hide the wire and keeps the LEGO theme going.
![]()
-
5Bring it all together
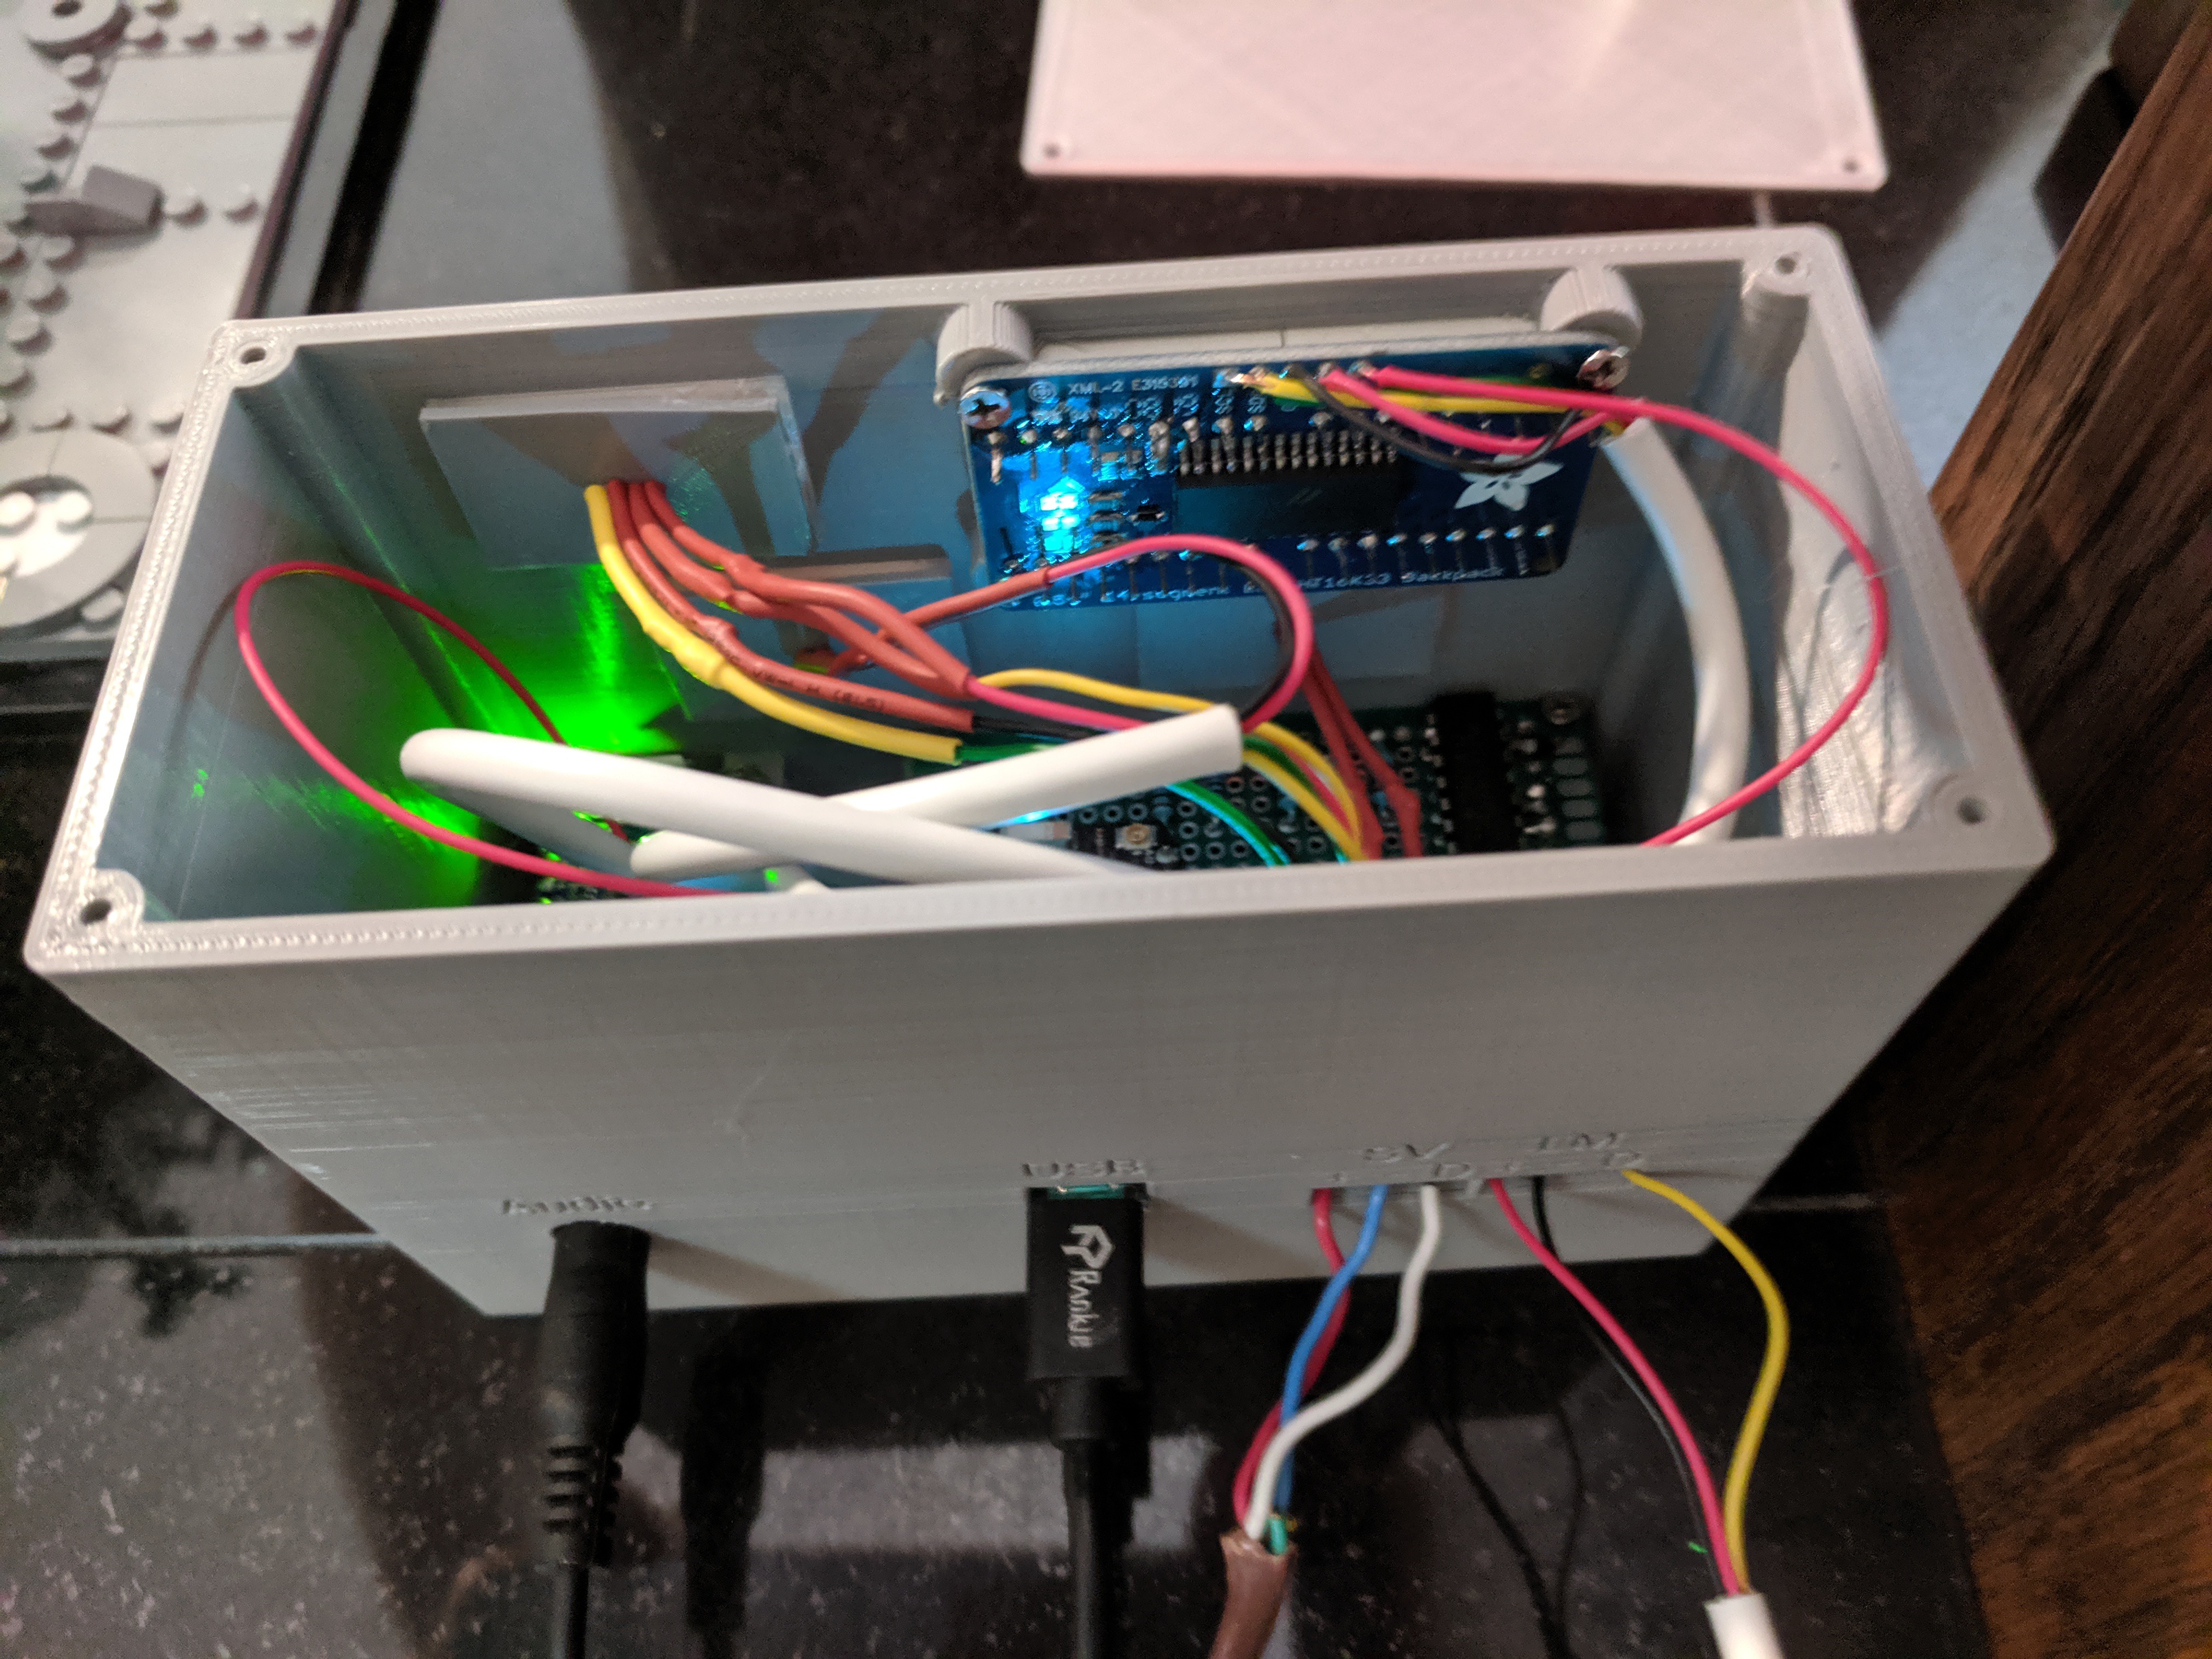
Now you’re ready to wire it up to the controller via the screw terminals for the LM (if you’ve already made the Saturn V base you can also attach its wires now). Place the enclosure lid over the top and use the last of the screws to secure it on. Connect a USB cable to the Photon and power it up as well as connect a 1/8” audio cable to your speaker of choice.
![]()
-
6Make it pretty
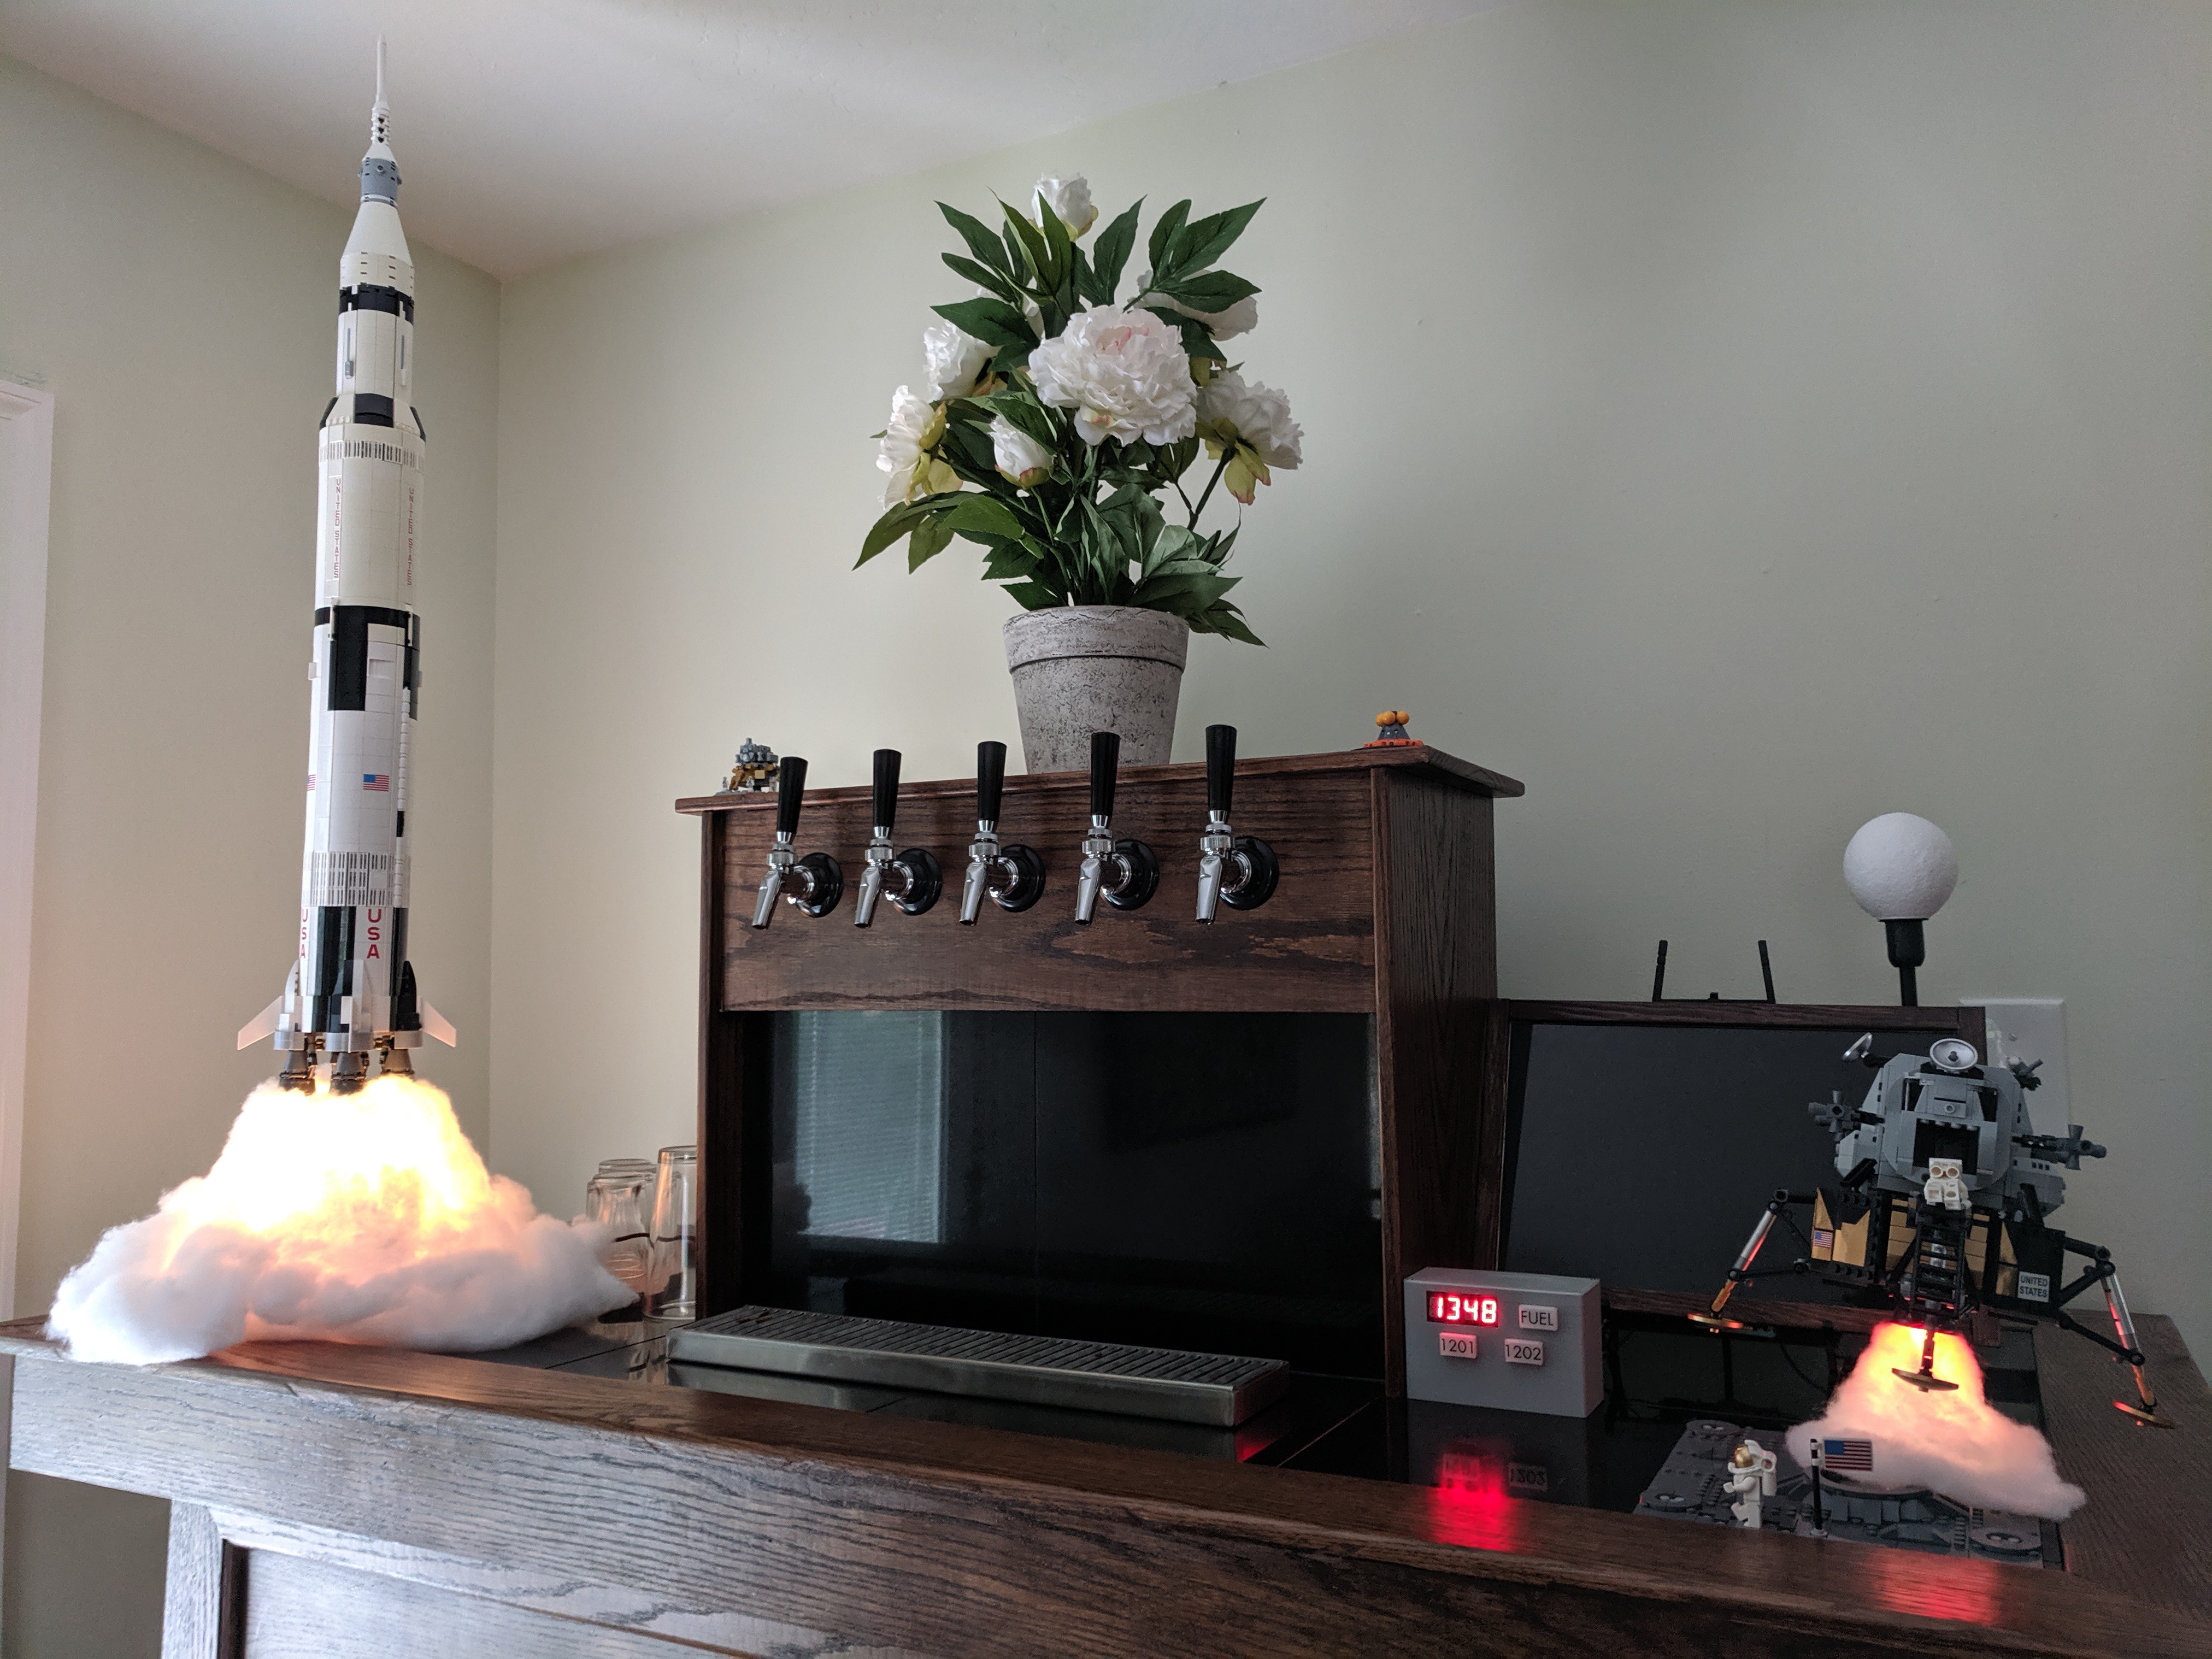
Now you’re ready to be a little creative and place the ‘Snow Fluff Blanket’ around the LM base. You can use hot-glue to secure it in place or just leave it sitting there. I recommend turning the LEDs on while placing the fluff so you can get the finished look that you’re after.
-
7Try it out!
The code is hosted on GitHub and is located here.
Now you’re ready to test it out! Here are the various commands that I have within the code. They all utilize the Particle Publish function, so reference the Particle website if you don’t fully understand this.
- Particle.publish(“Launch", "Go", Private) – Used to turn the Saturn V LEDs on (All of these are ‘private’ functions, meaning that they are only seen by your devices).
- Particle.publish(“Launch", "Audio", Private) – Used to start the Saturn V countdown audio sequence
- Particle.publish(“Launch", "NoGo", Private) – Used to turn the Saturn V LEDs off or to start the engine cutoff audio sequence if you previously ran the countdown audio sequence.
- Particle.publish(“Landing", "Go", Private) – Used to turn the Lunar Module LEDs on
- Particle.publish(“Landing", "NoGo", Private) – Used to turn the Lunar Module LEDs off
- Particle.publish(“Landing", "Audio", Private) – Used to start the Lunar Module landing audio sequence
There are multiple ways you can publish these functions (the particle website is an easy way to test them out). Particle has integration with IFTTT, which I used to create buttons on my phone that run these. I hope you enjoy this project as much as I have and let me know how it works out for you!
![]()
LEGO Saturn V and Lunar Module Come to Life
Add some interactivity to the LEGO Apollo sets! Includes exhaust plumes, audio, a countdown timer and warning lights.
 Ben Brooks
Discussions
Become a Hackaday.io Member
Create an account to leave a comment. Already have an account? Log In.
hi there how would u build the base and the fire for the Saturn v?
Are you sure? yes | no