 volzo
volzomore info and videos in the blog post: http://volzo.de/posts/digital-solargraphy/
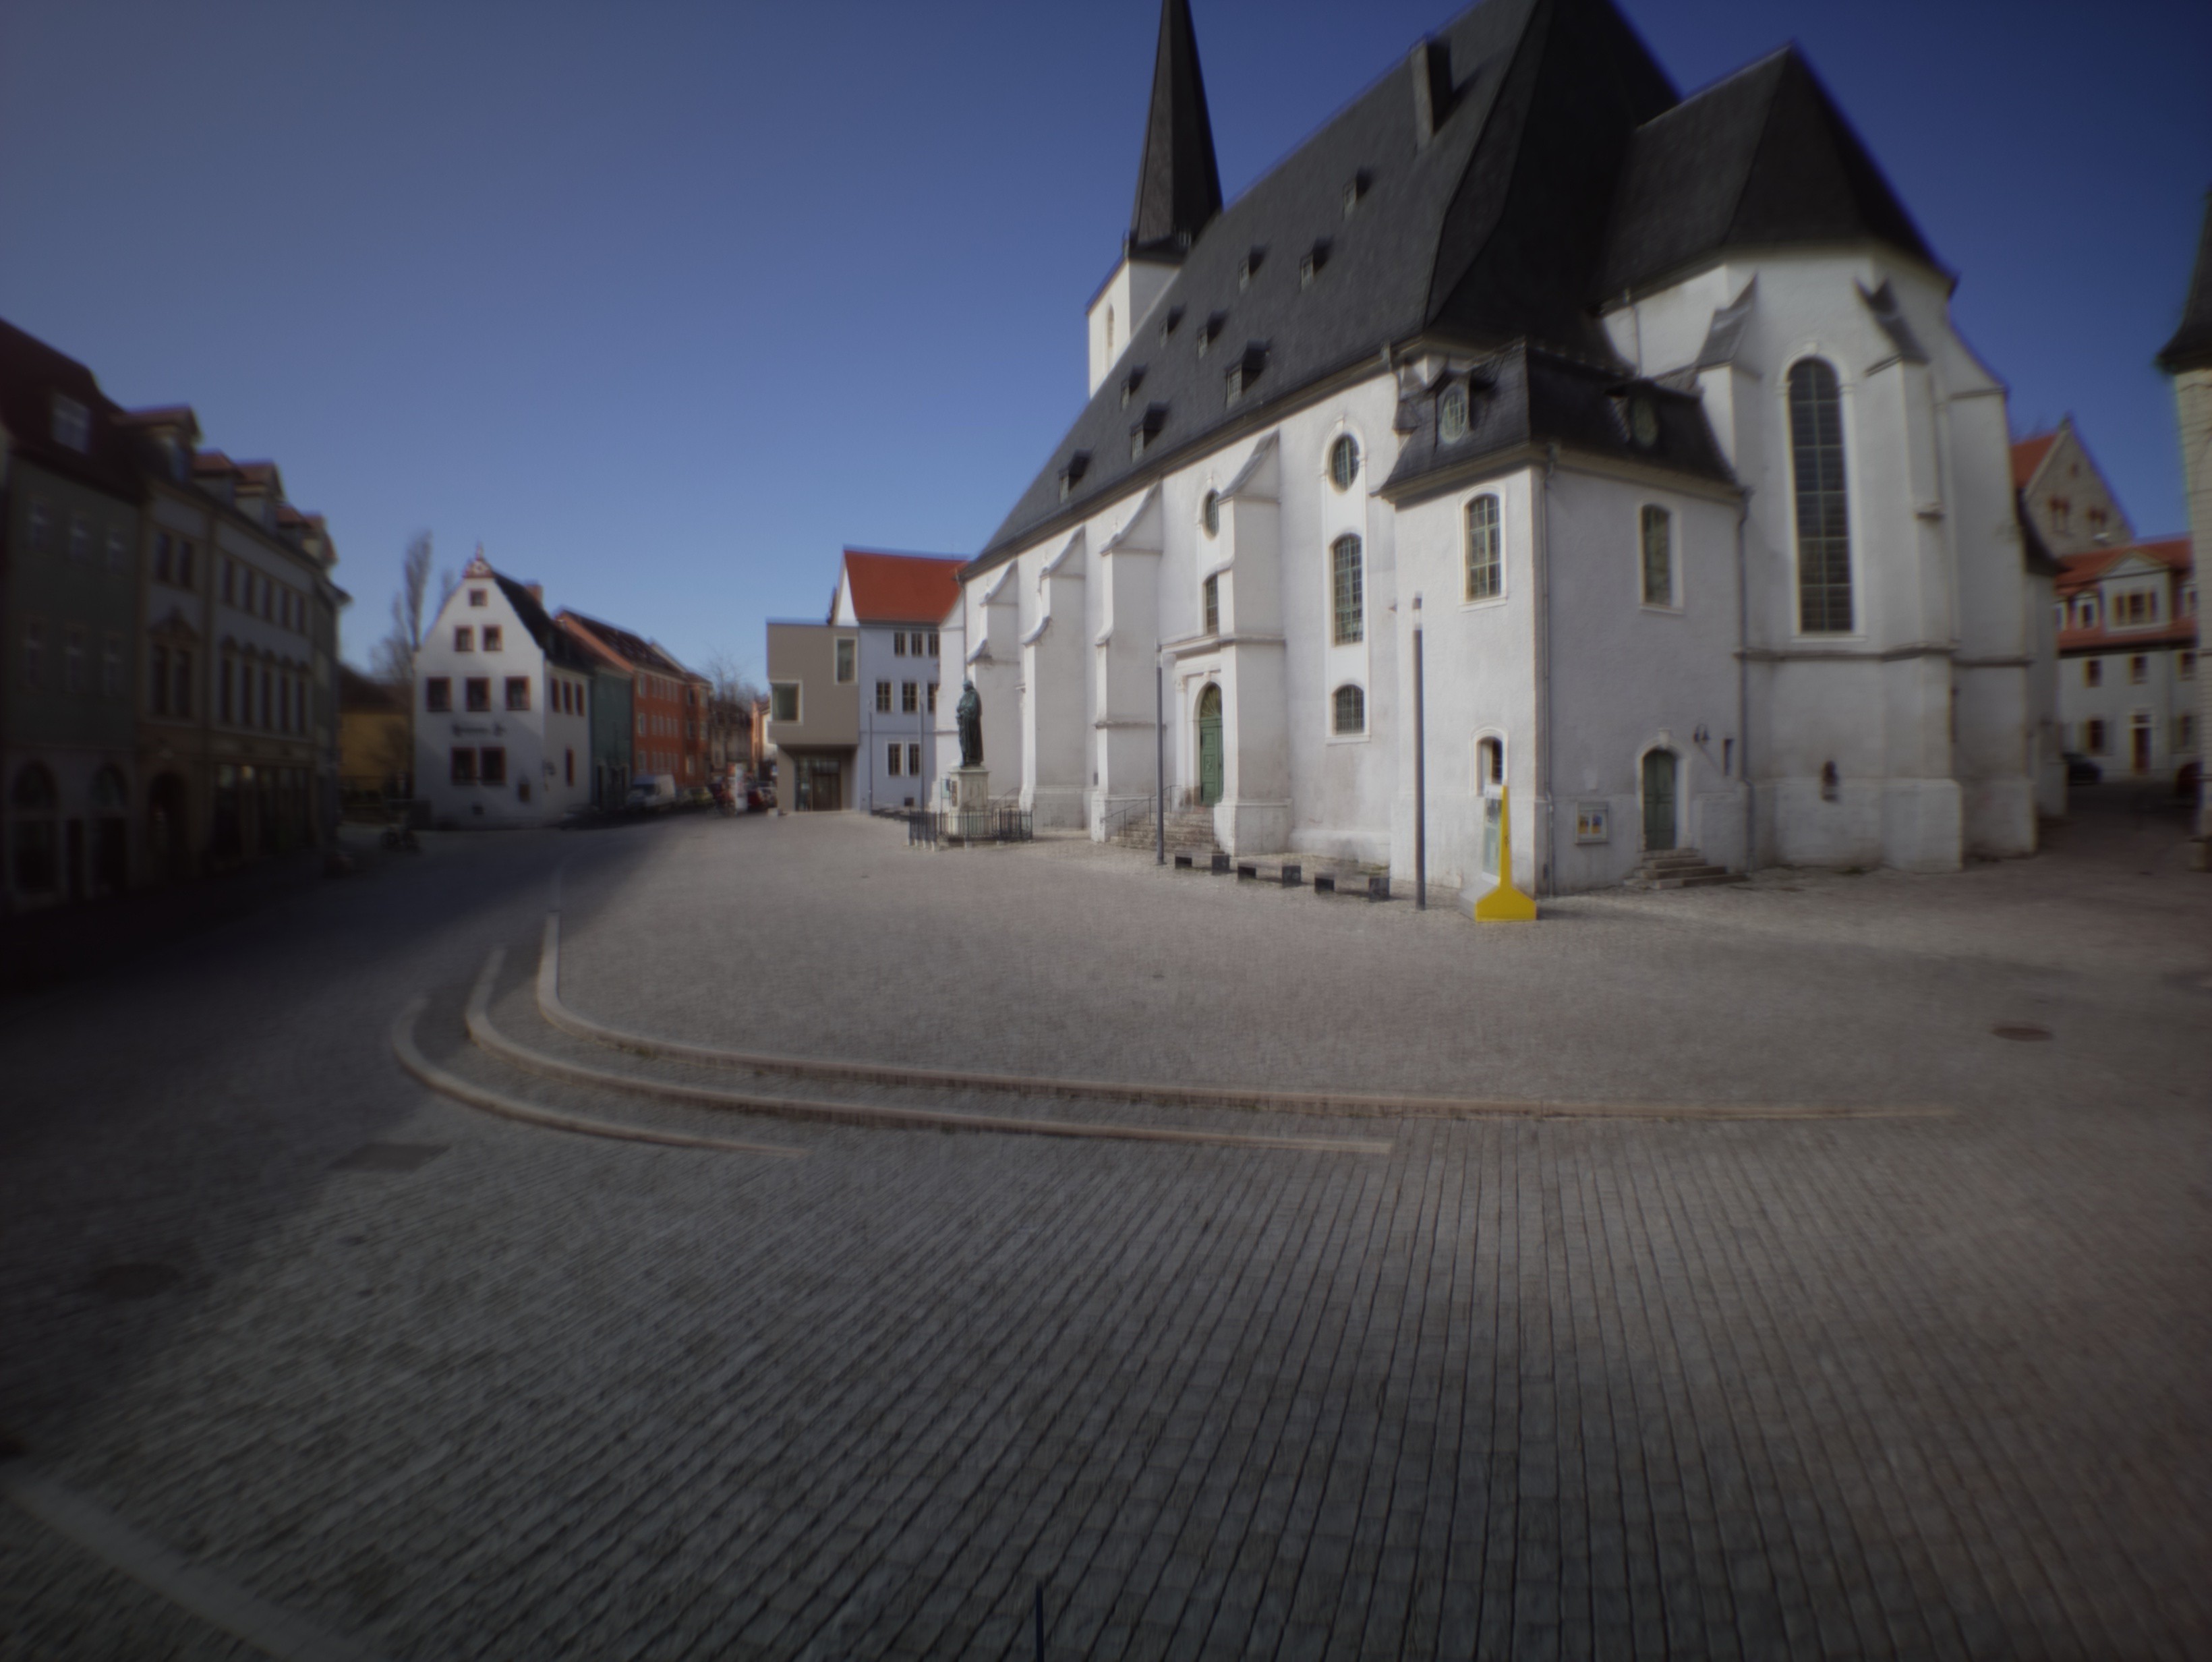
It’s easy to create digital long exposures. Reduce the sensors’ exposure to light and let it run for a few seconds. If you want to go longer you will realize that after a few seconds it will get horribly noisy. The next step up in the game is taking many single exposures and averaging them. This way an arbitarily long exposure can be simulated quite well in software. Nice! Except that won’t work for solargraphy images. While the sun burns into the film and marks it permanently, the extremly bright spot/streak of the sun is averaged away and won’t be visible in the digital ultra long exposure.
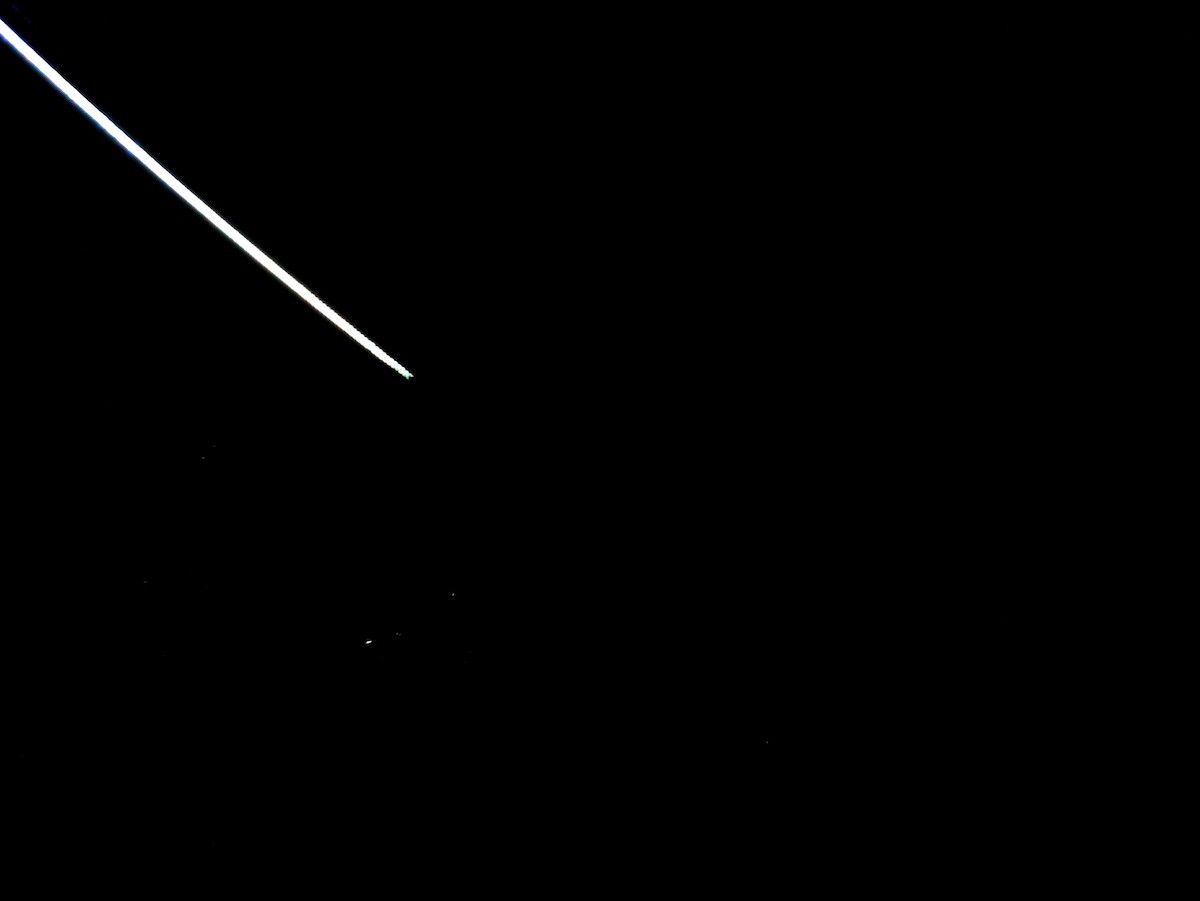
So, how can we solve this problem? While taking single exposures we need to keep track of the spots of the film that would be “burned” or solarized. For every image we take (with the correct exposure) we take another image right away with the least amount of light possible hitting the sensor. We assume that every bit of light that would have hit the sensor in our second, much darker exposure would have been sufficiently bright to permanently mark the film.
By using a neutral-density filter we reduce the amount of light that hits the sensor considerably, and we have an easier time detecting these ultra-bright parts of an image. However, the camera won’t be able to capture images in the dusk or dawn or the night, but that’s not a problem in our case since these images wouldn’t be relevant for a multi-day long exposure anyway (compared to the bright daytime their impact on the overall image is negligible).
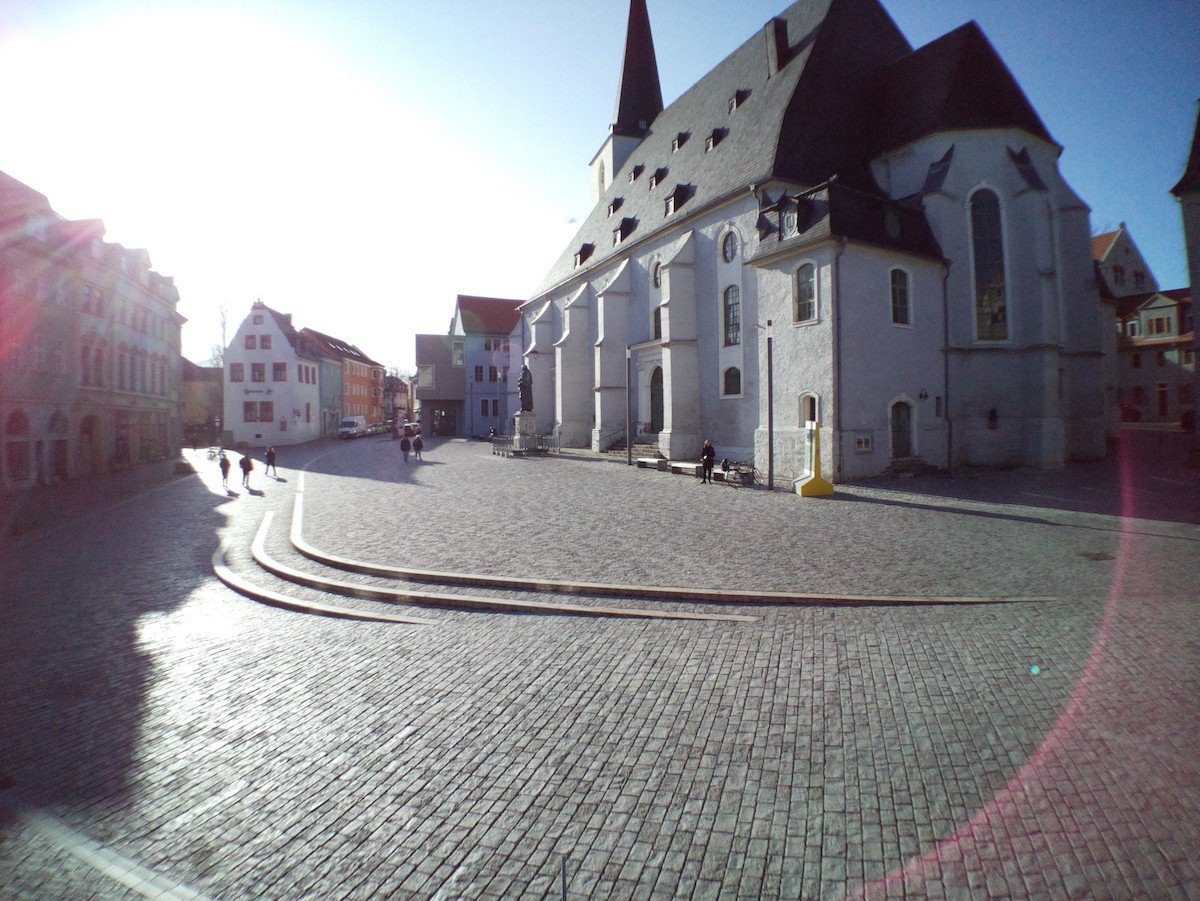

So, how to process this? Take a correctly exposed photo every X seconds and a second photo at the lowest exposure setting right away too. From all the first photos the long exposure image is calculated by doing a weighted average based on metadata. We can calculate the EV value from the EXIF data of the image, apply an offset to the value and use 2 to the power of the offsetted EV value as our weight for averaging pixel values.
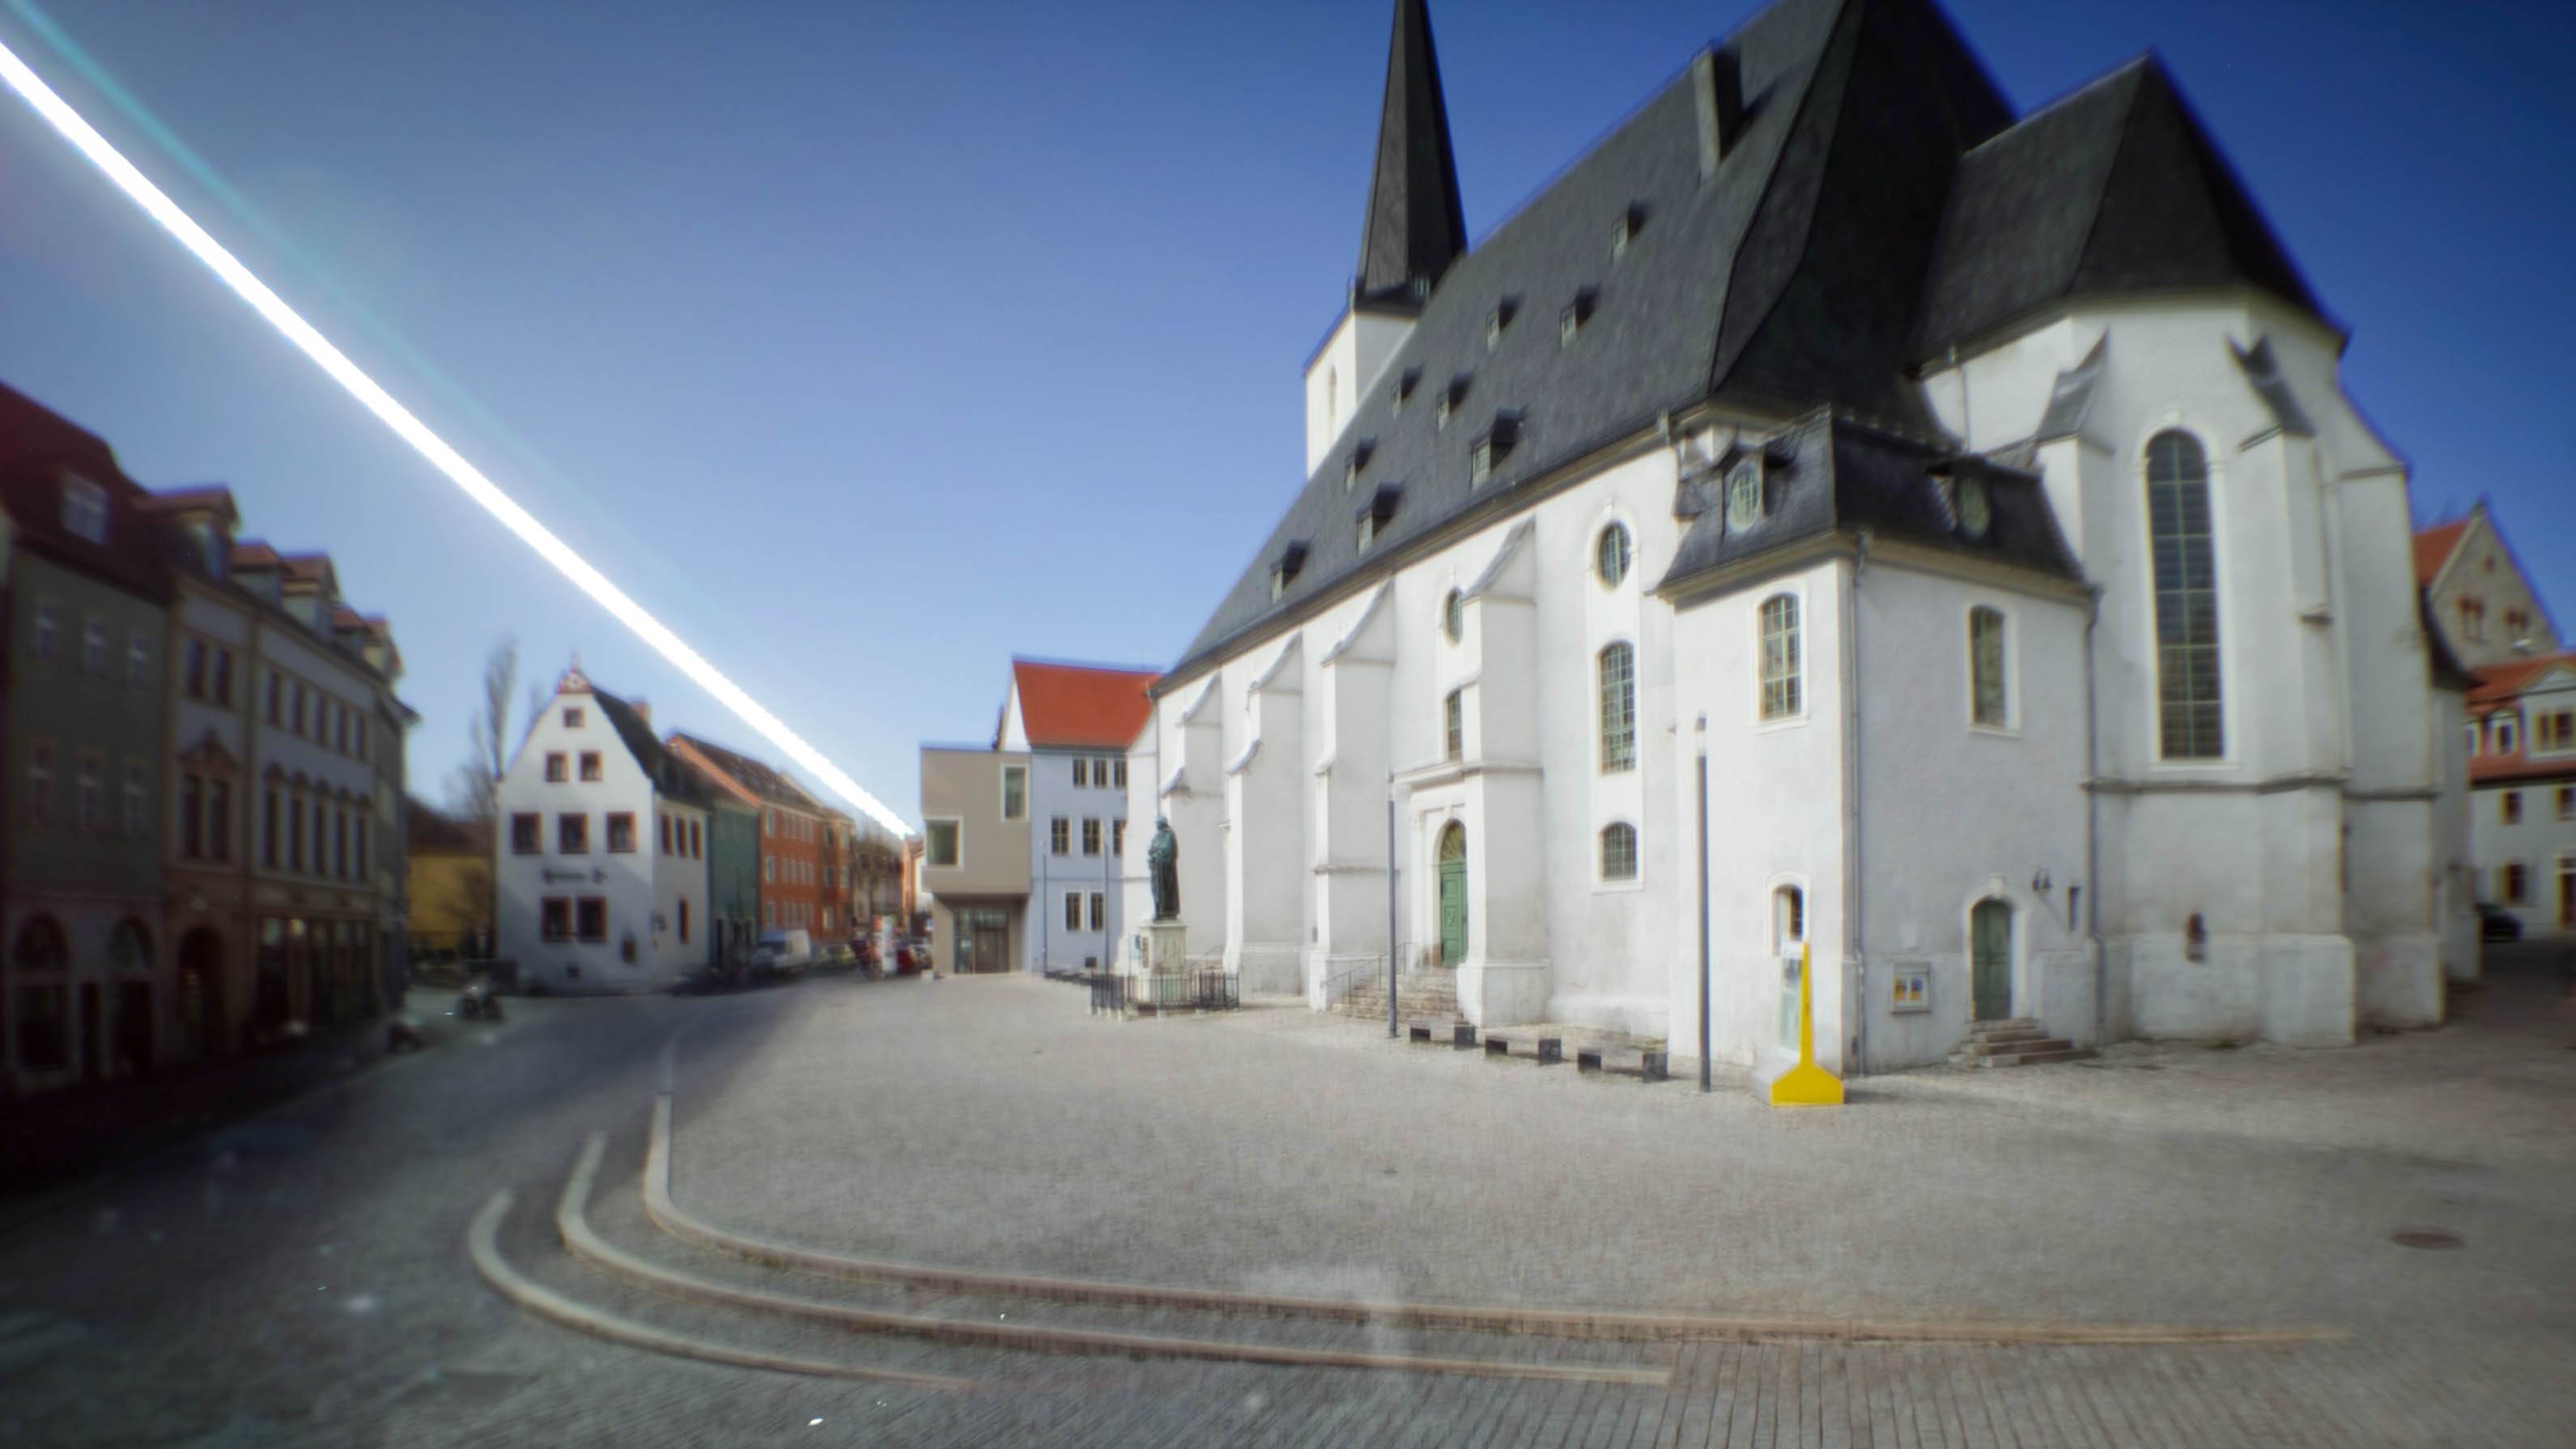
For the set of second images we can’t do that, we would average out all burned image sections/pixels. There we just overlay every image and keep the brightest pixels of all images. Afterwards we take the long exposure image and burn all the bright pixels with the data from our sun overlay.
Terrific! But how many images are required and how fast do we need to take them?
Interval duration depends on the focal length (the wider the image, the smaller the sun, the longer the time in between images may last). In my case for a wide angle image (about 24mm) 60s seem to be the minium and 45s would be preferrable. If the interval exceeds 60s the arc of the sun is reduced to overlaying circles and finally just something like a string of pearls. One way to cheat is by applying a bit of gaussian smooting on the sun overlay image to help break up the hard edges and smooth out the sun circles.
The number of images for the long exposure depends on the amount of movement but a number of 60 to 90 images works well even for tiny details.
Nice. We got a feasible way of creating a digital solargraphy. Except, we need to actually take/make one. How to get a (relatively) disposable camera out there that may be snatched away by pesky birds or even peskier public servants at any moment? Some solargraphy enthusiasts report 30 to 50 percent loss of cameras when placing them out in the wild for half a year (winter to summer solistice, i.e. highest to lowest point of the sun). I won’t do six months, but being prepared for losing a camera or two might be a good idea. The smallest and least expensive camera I (you?) can build is basically a Raspberry Pi Zero with a Pi Camera Module. That’s featuring a whoppy 8 megapixels but I guess that’s ok, we don’t want this to be ultra-sharp glossy fine-art prints. Combined with some electronics for turning it on and off to take a picture-pair at given intervals, a battery, a smartphone...
Read more »

 Tobias Kuhn
 Muth
Muth

 AIRPOCKET
This information is really helpful for who really needs this. I hope you will many more write post like this. https://www.catneedsbest.com/