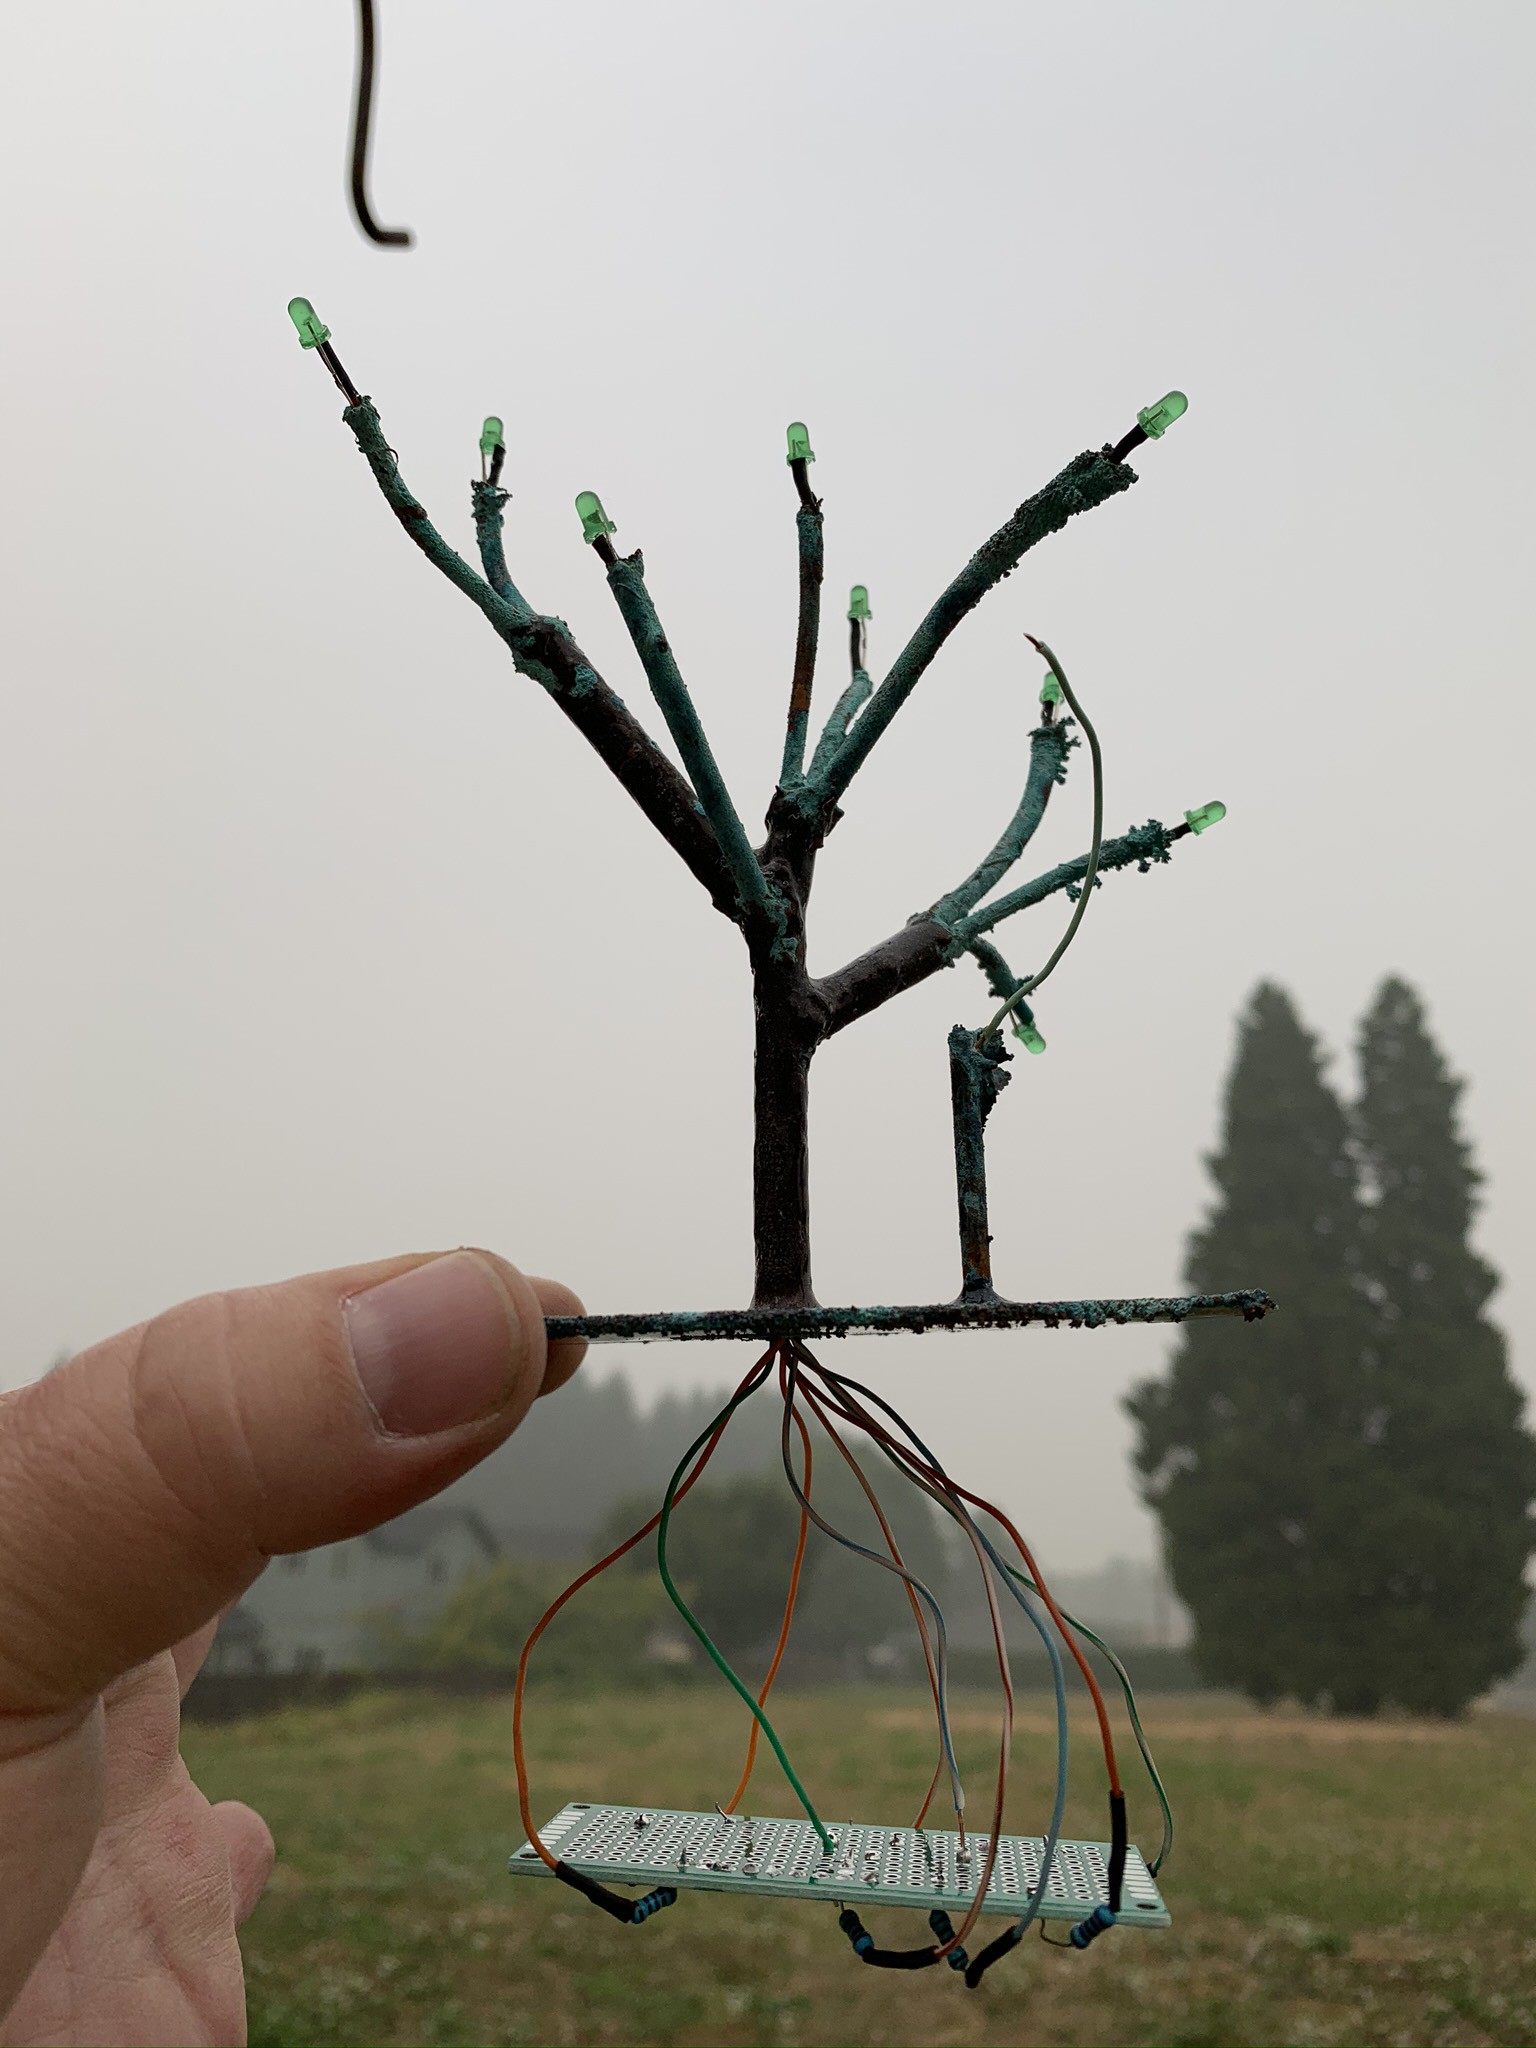
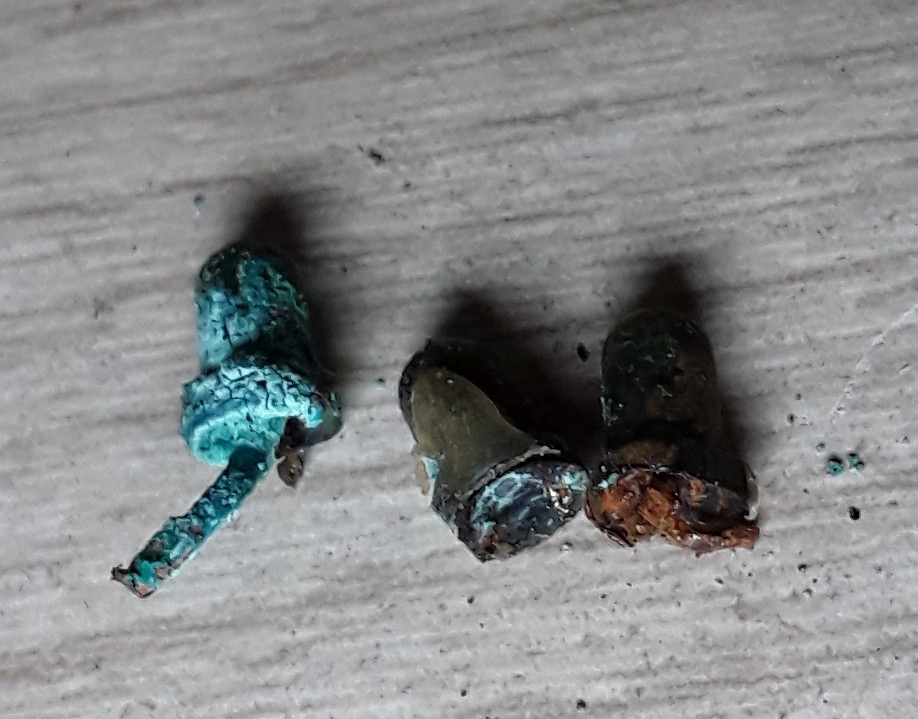
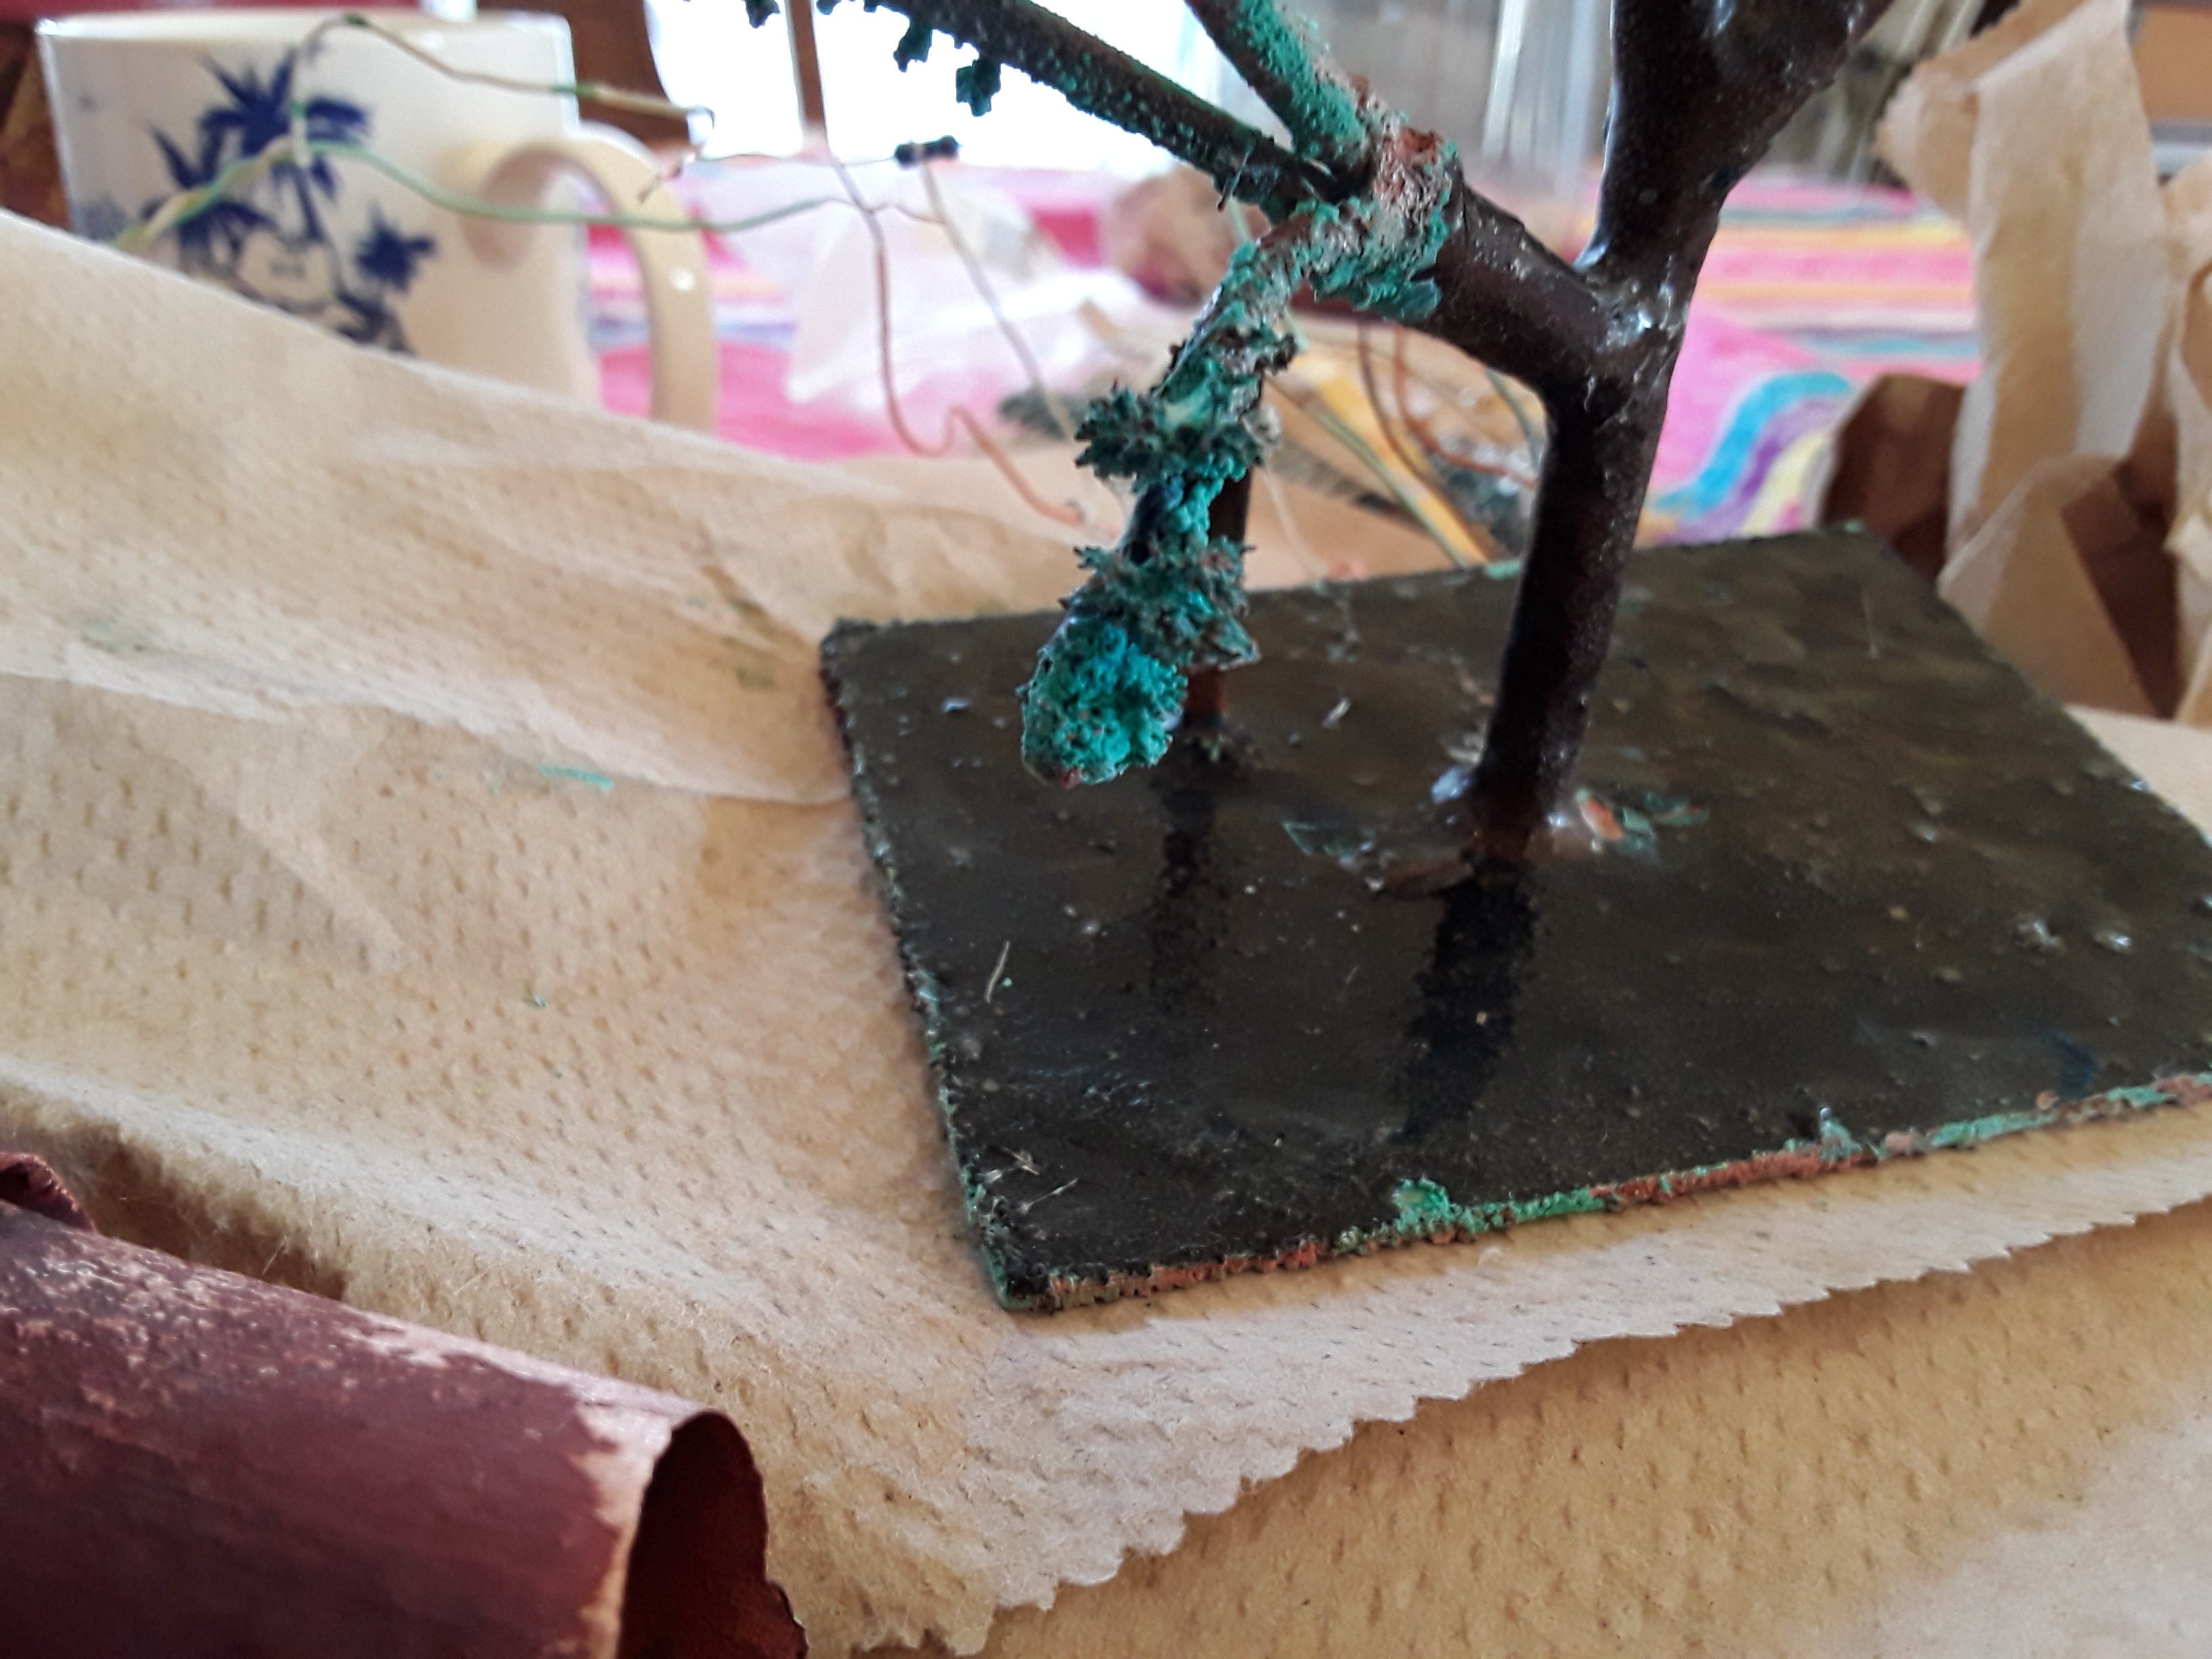
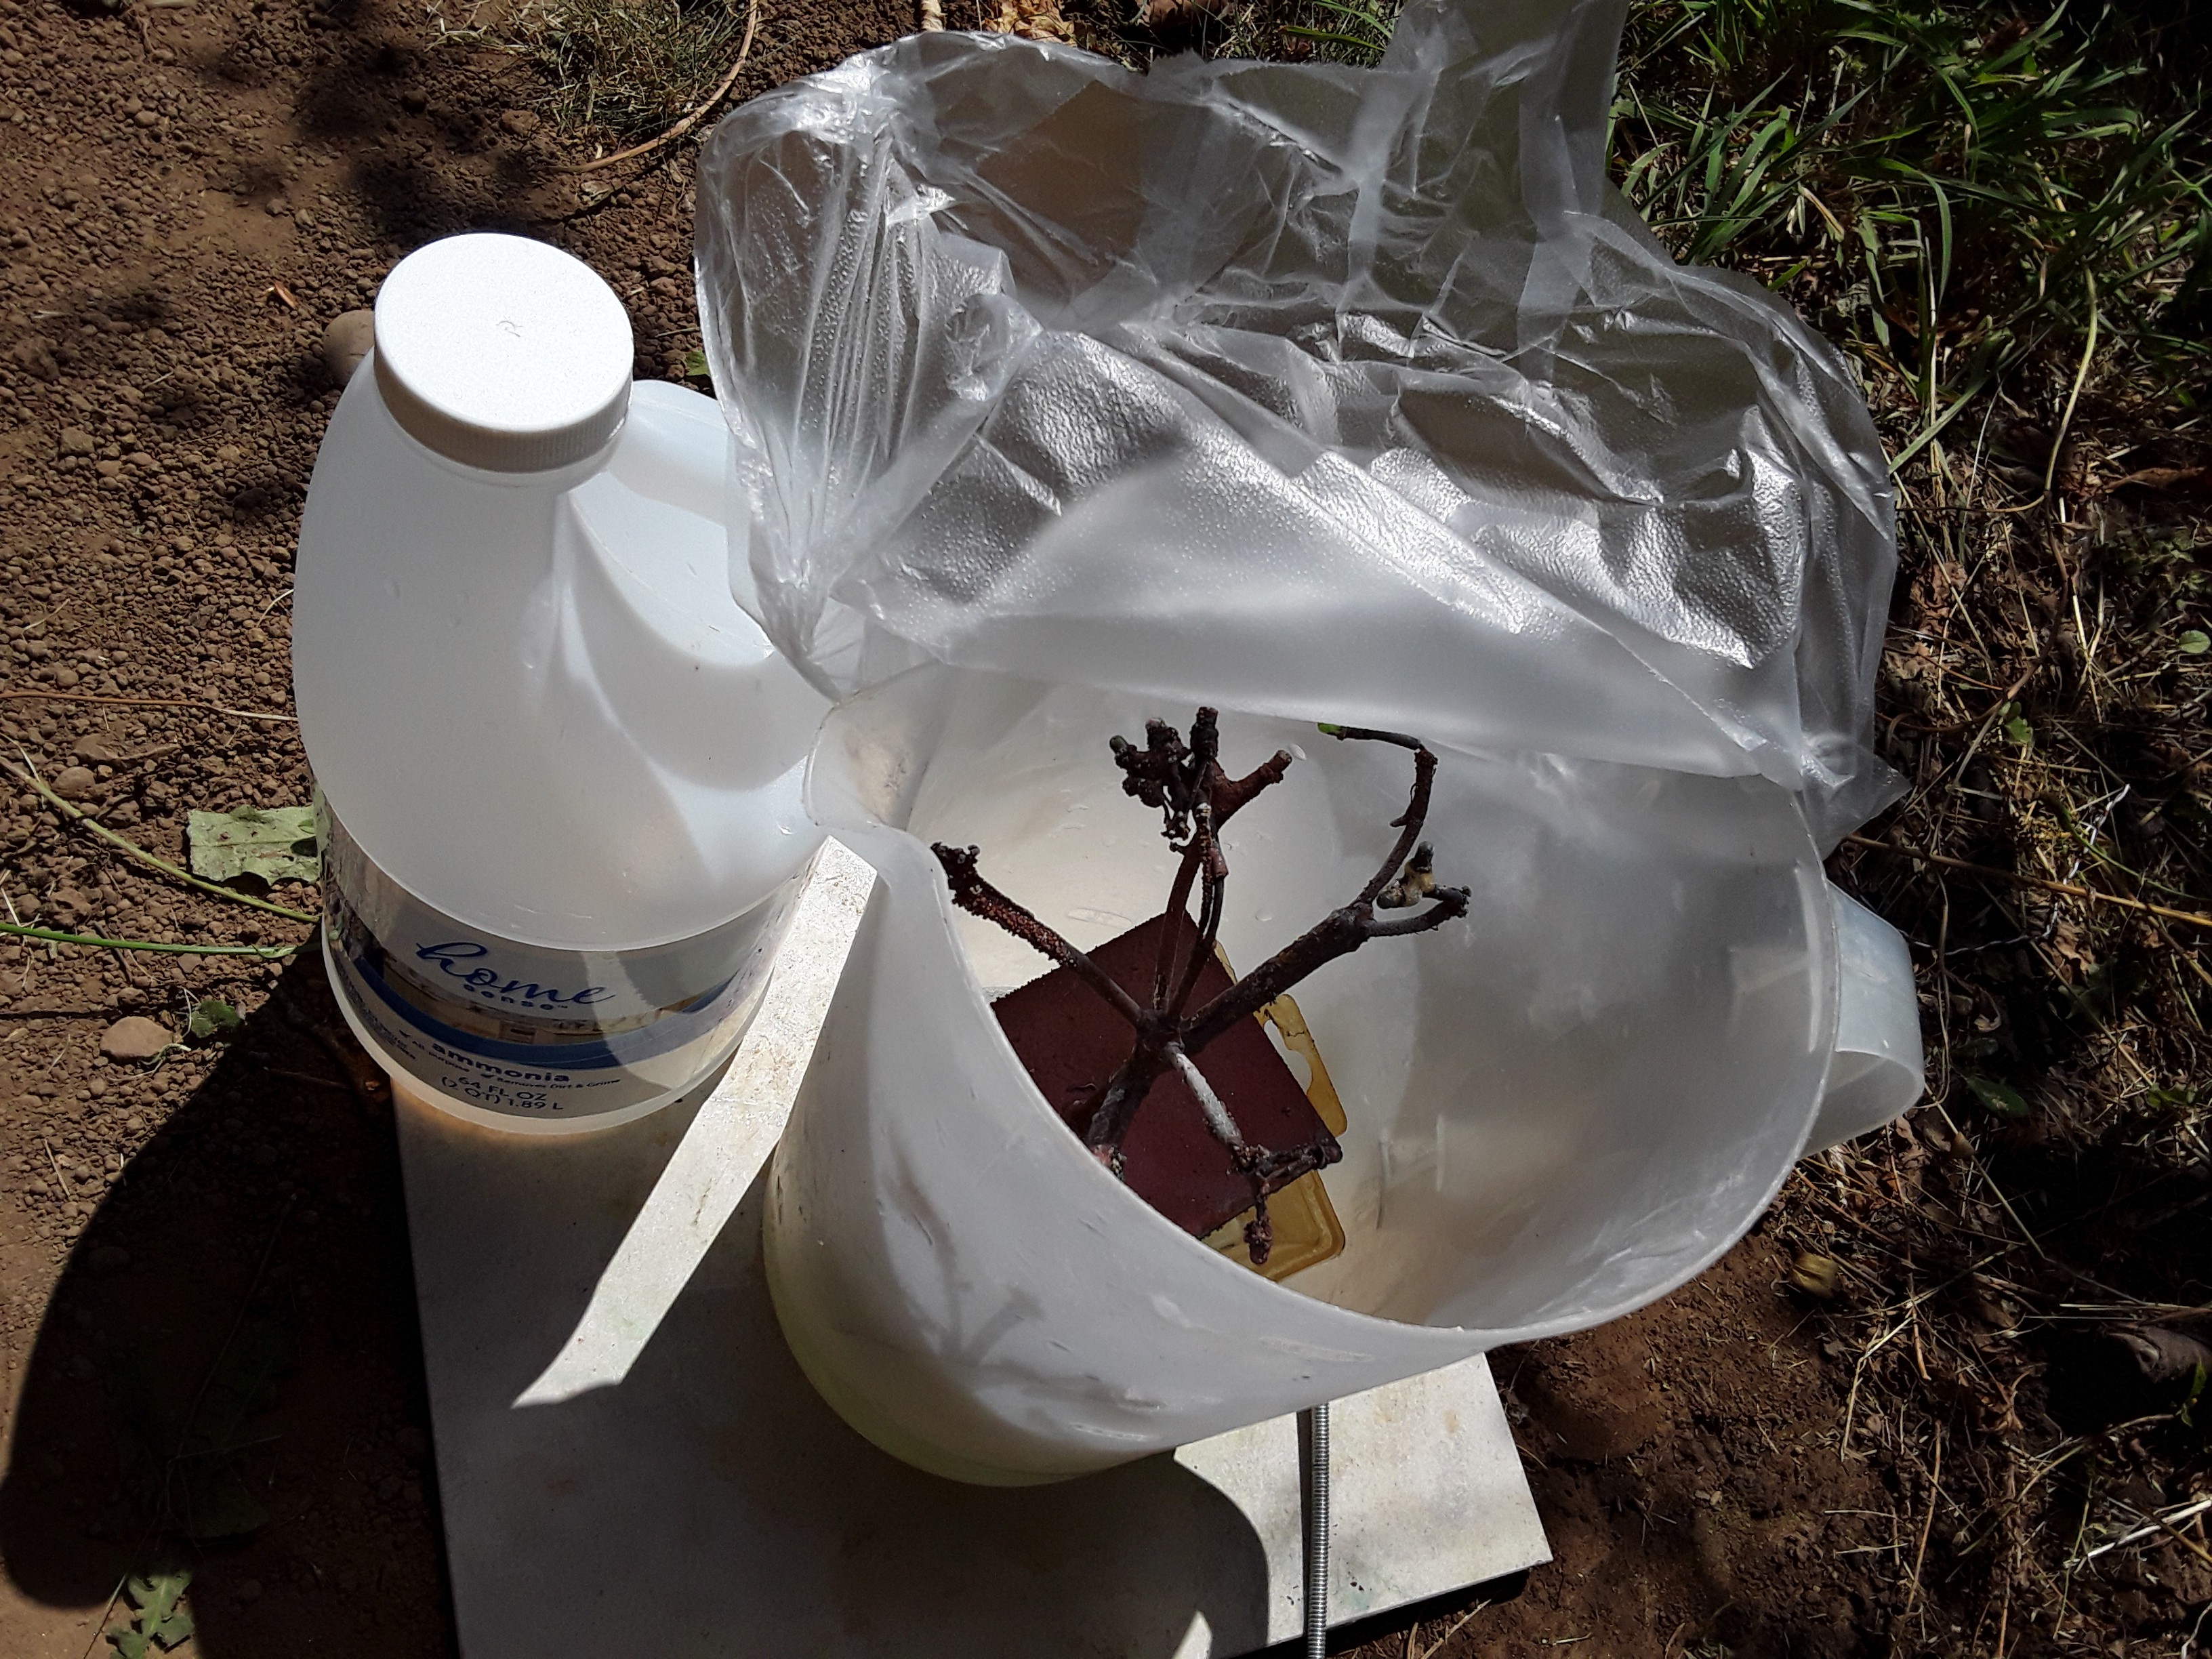
My backyard furnace and crucible are short of being able to melt copper. So that got me thinking about other ways I can move copper around. I started checking out electroplating and found the electroforming jewelry community who is happy to show what you can do with a little electricity, root killer, and some water.
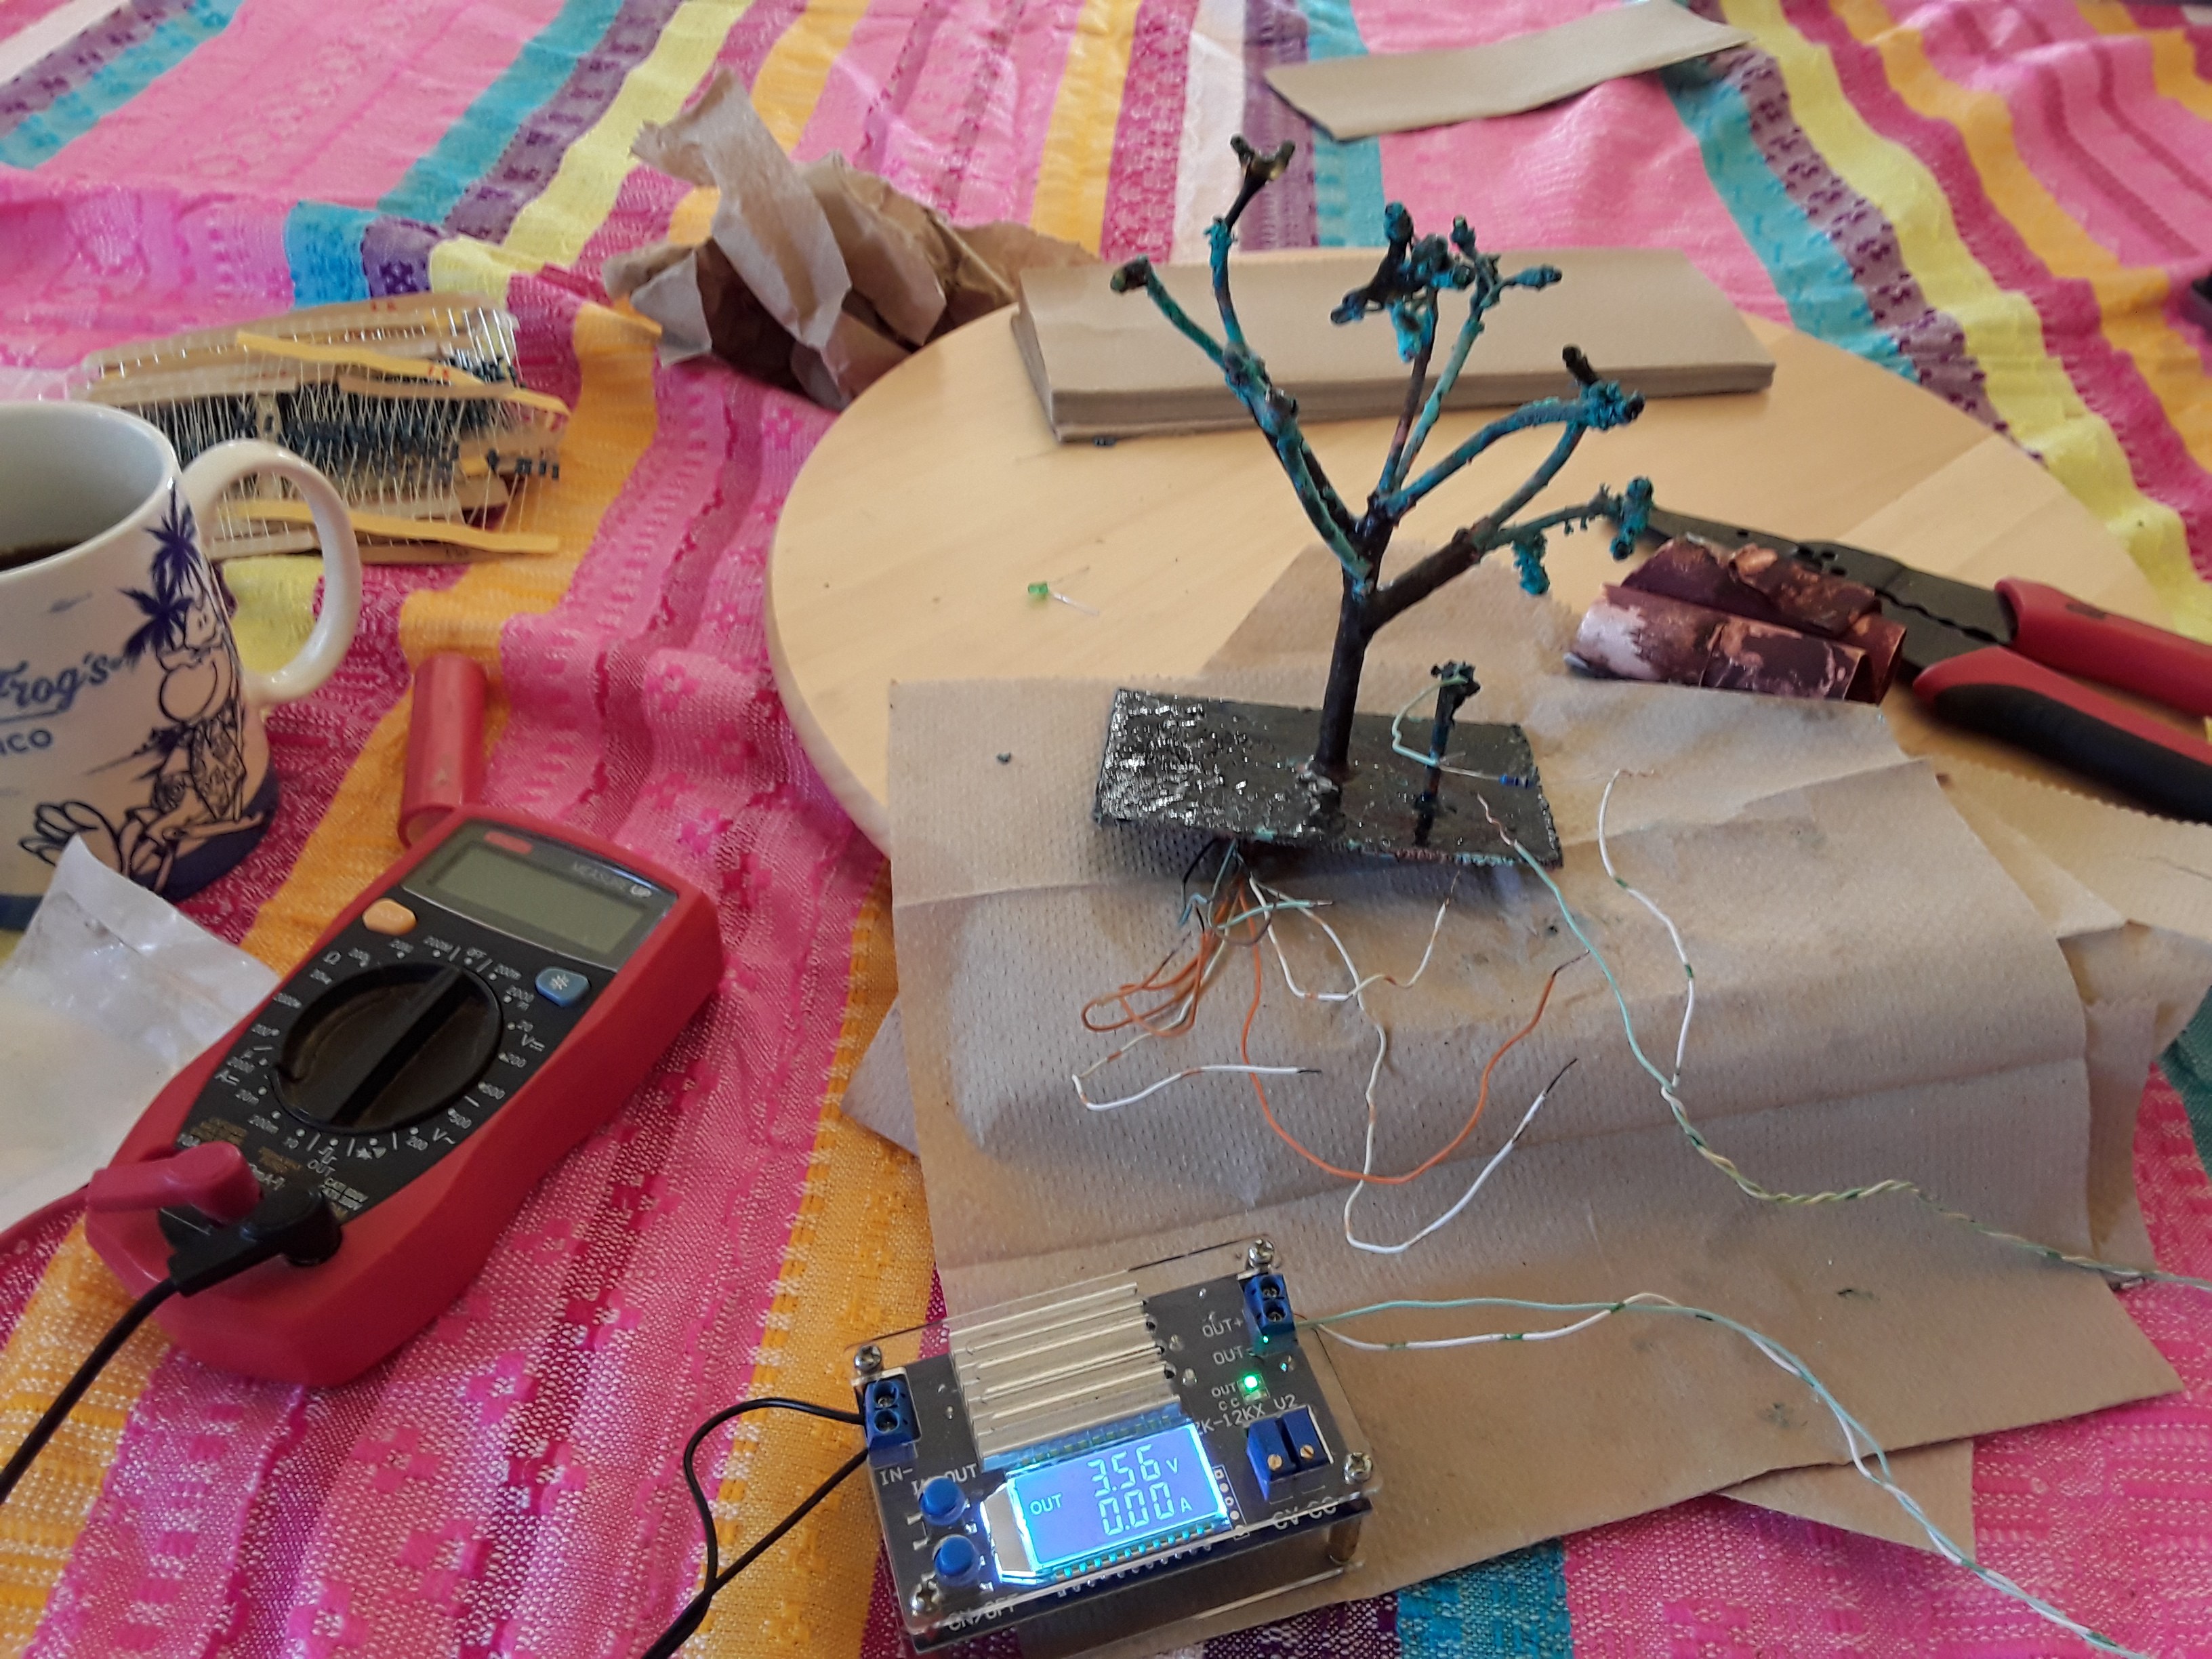
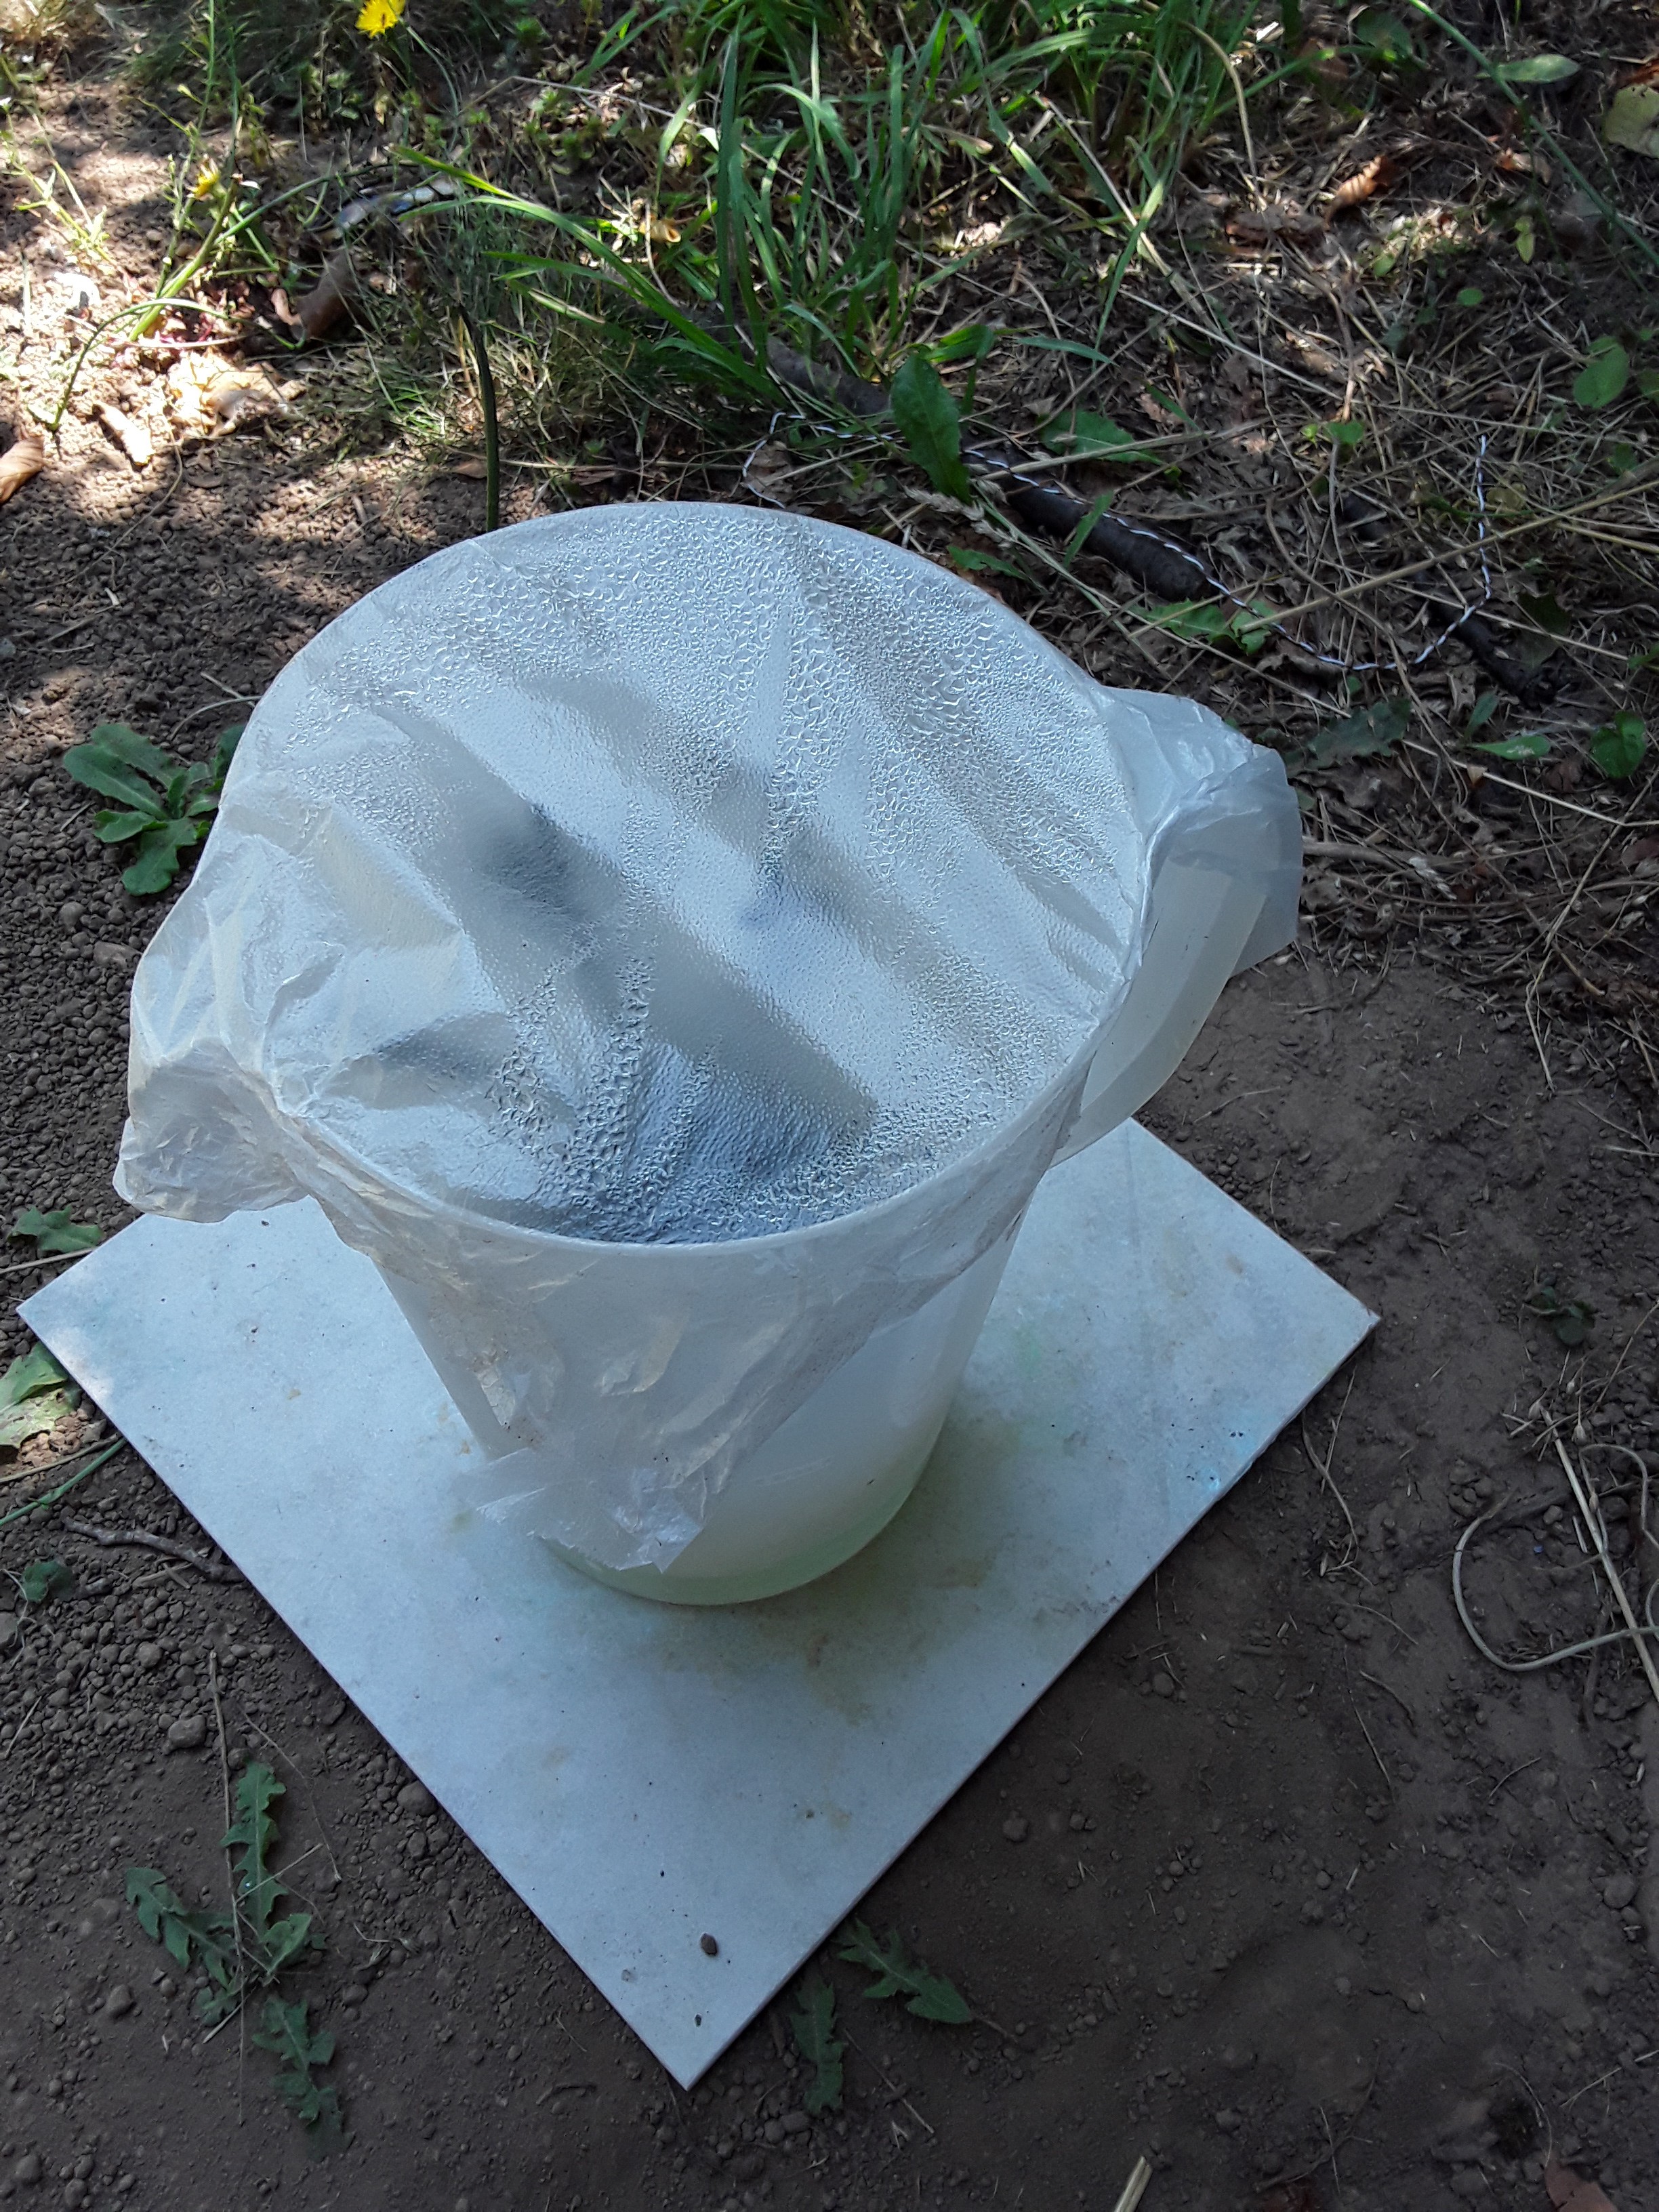
Earth battery provides the levels of voltage and current that meet the needs of electrolysis and electroforming perfectly.
I am looking to use this project to learn
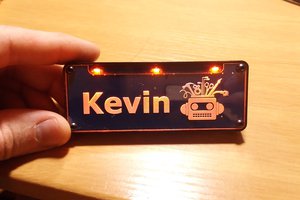
Basic blinking LEDs
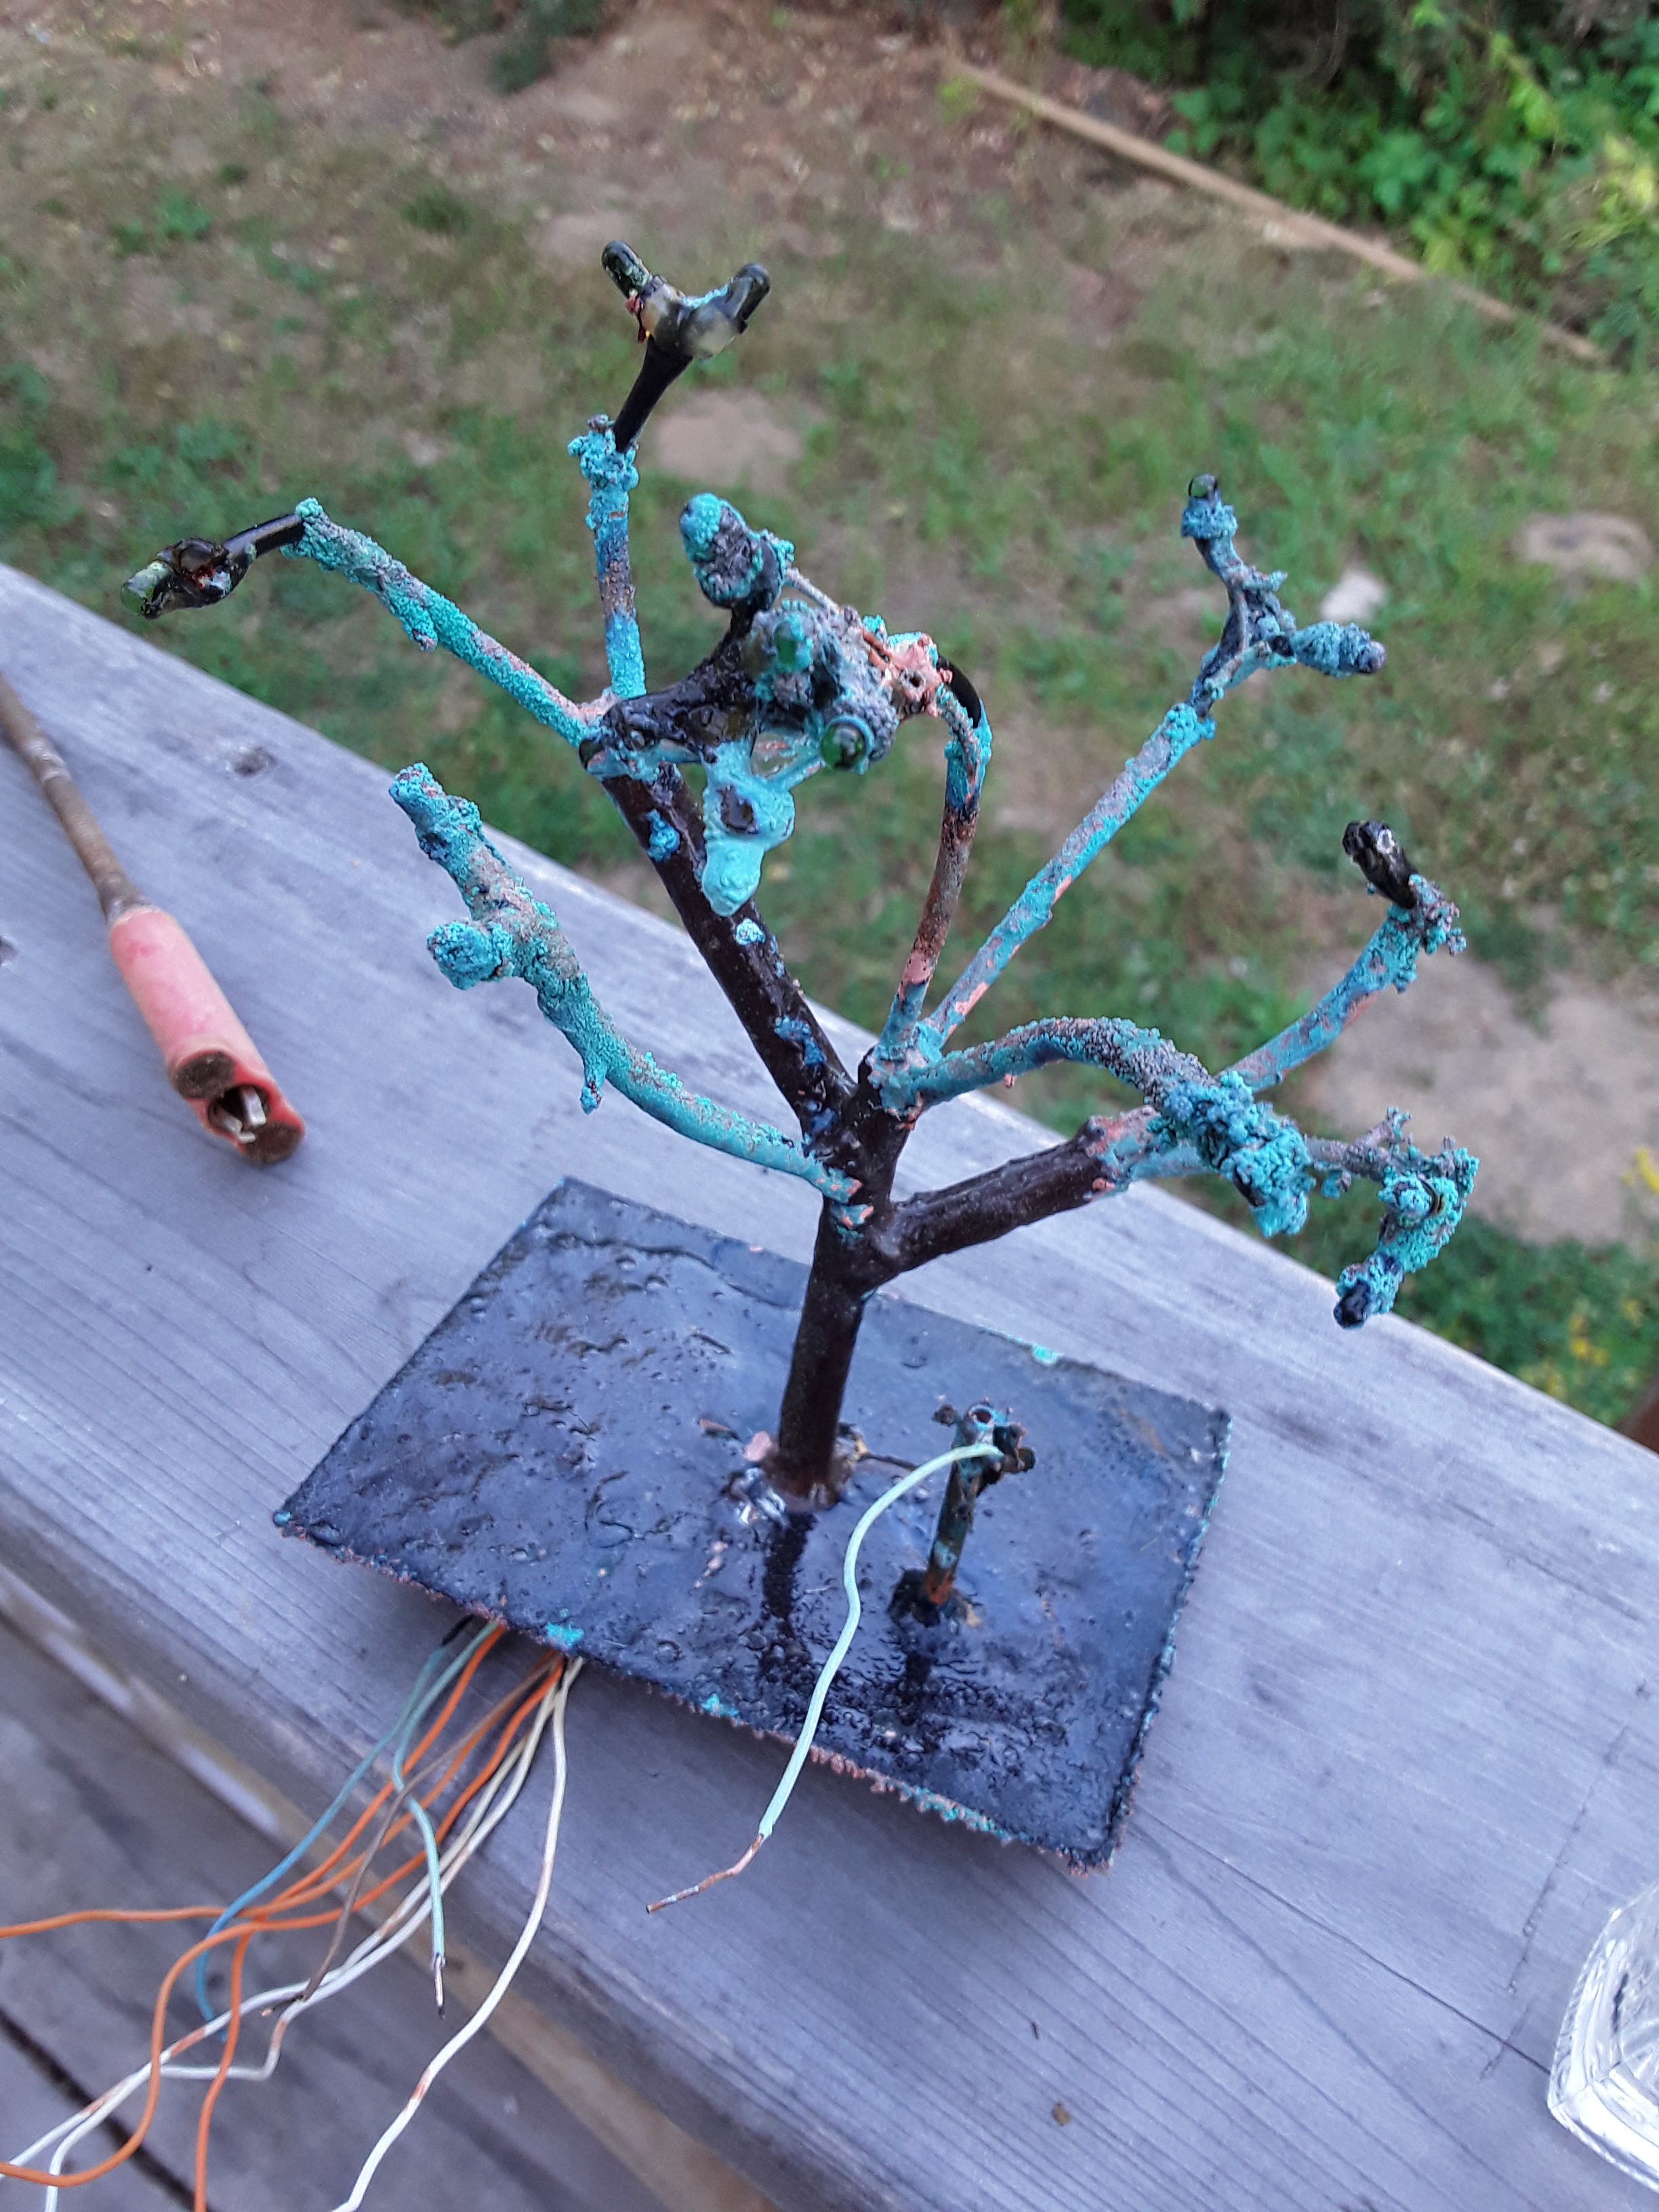
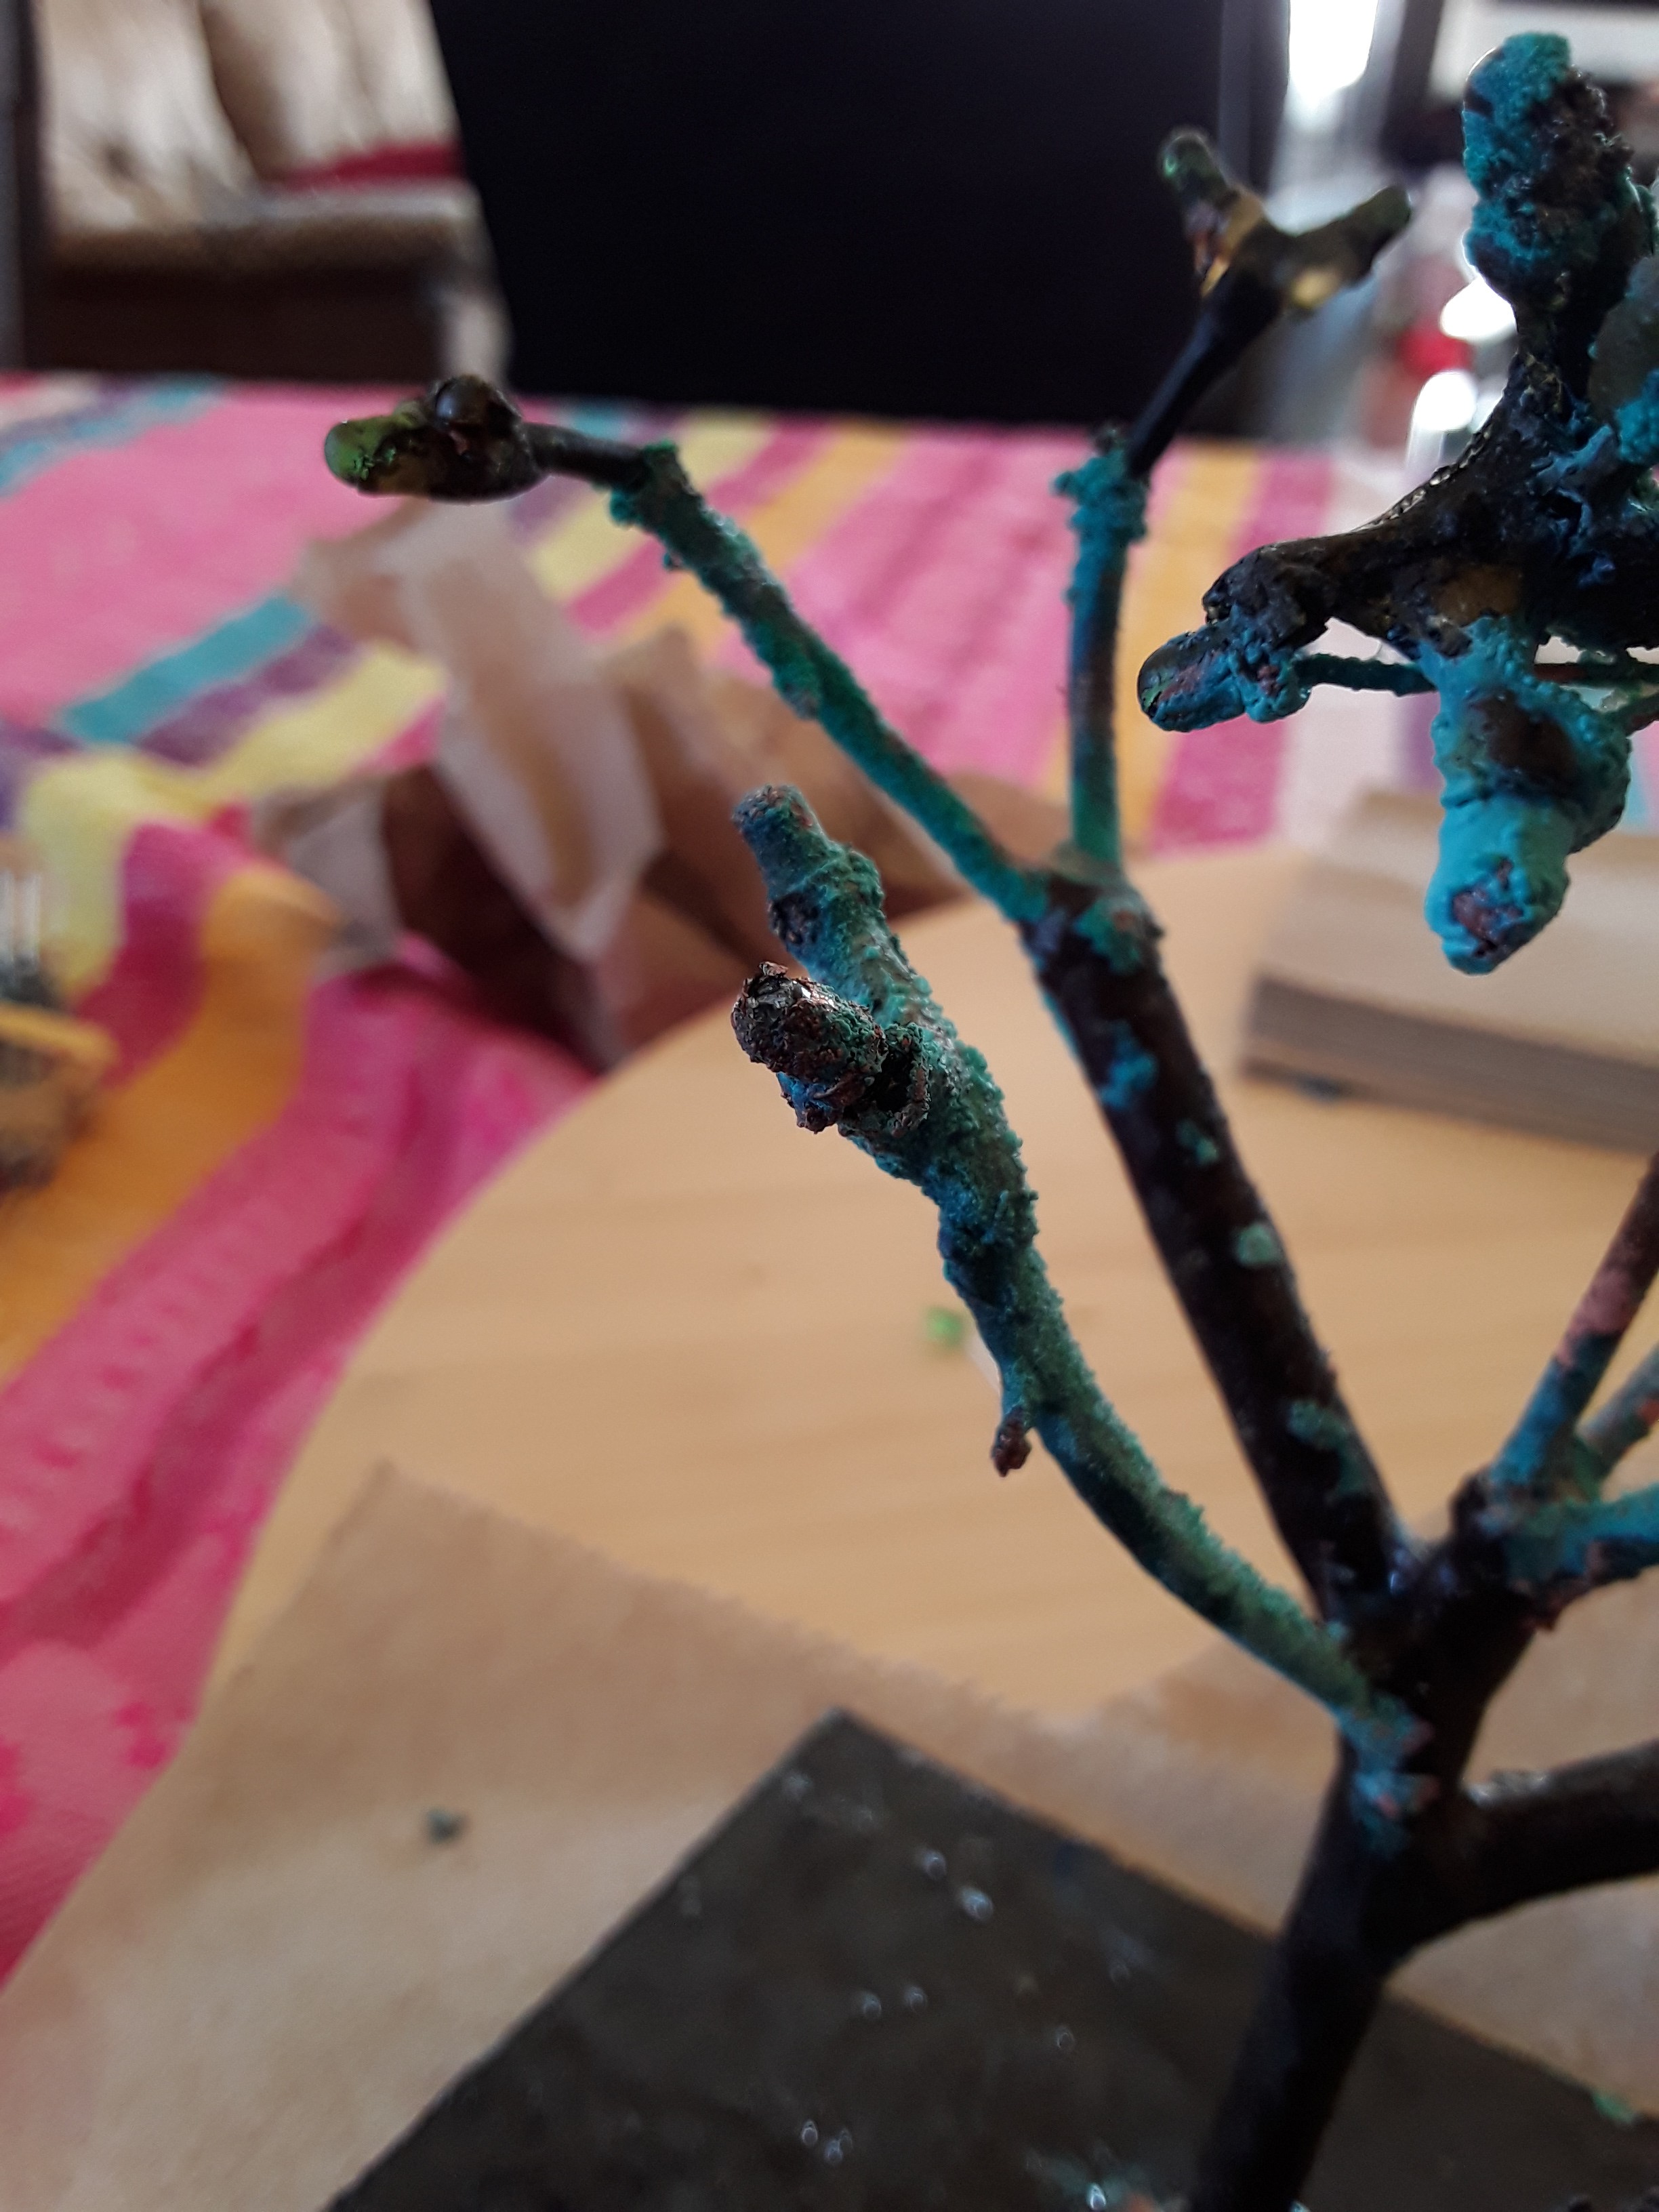
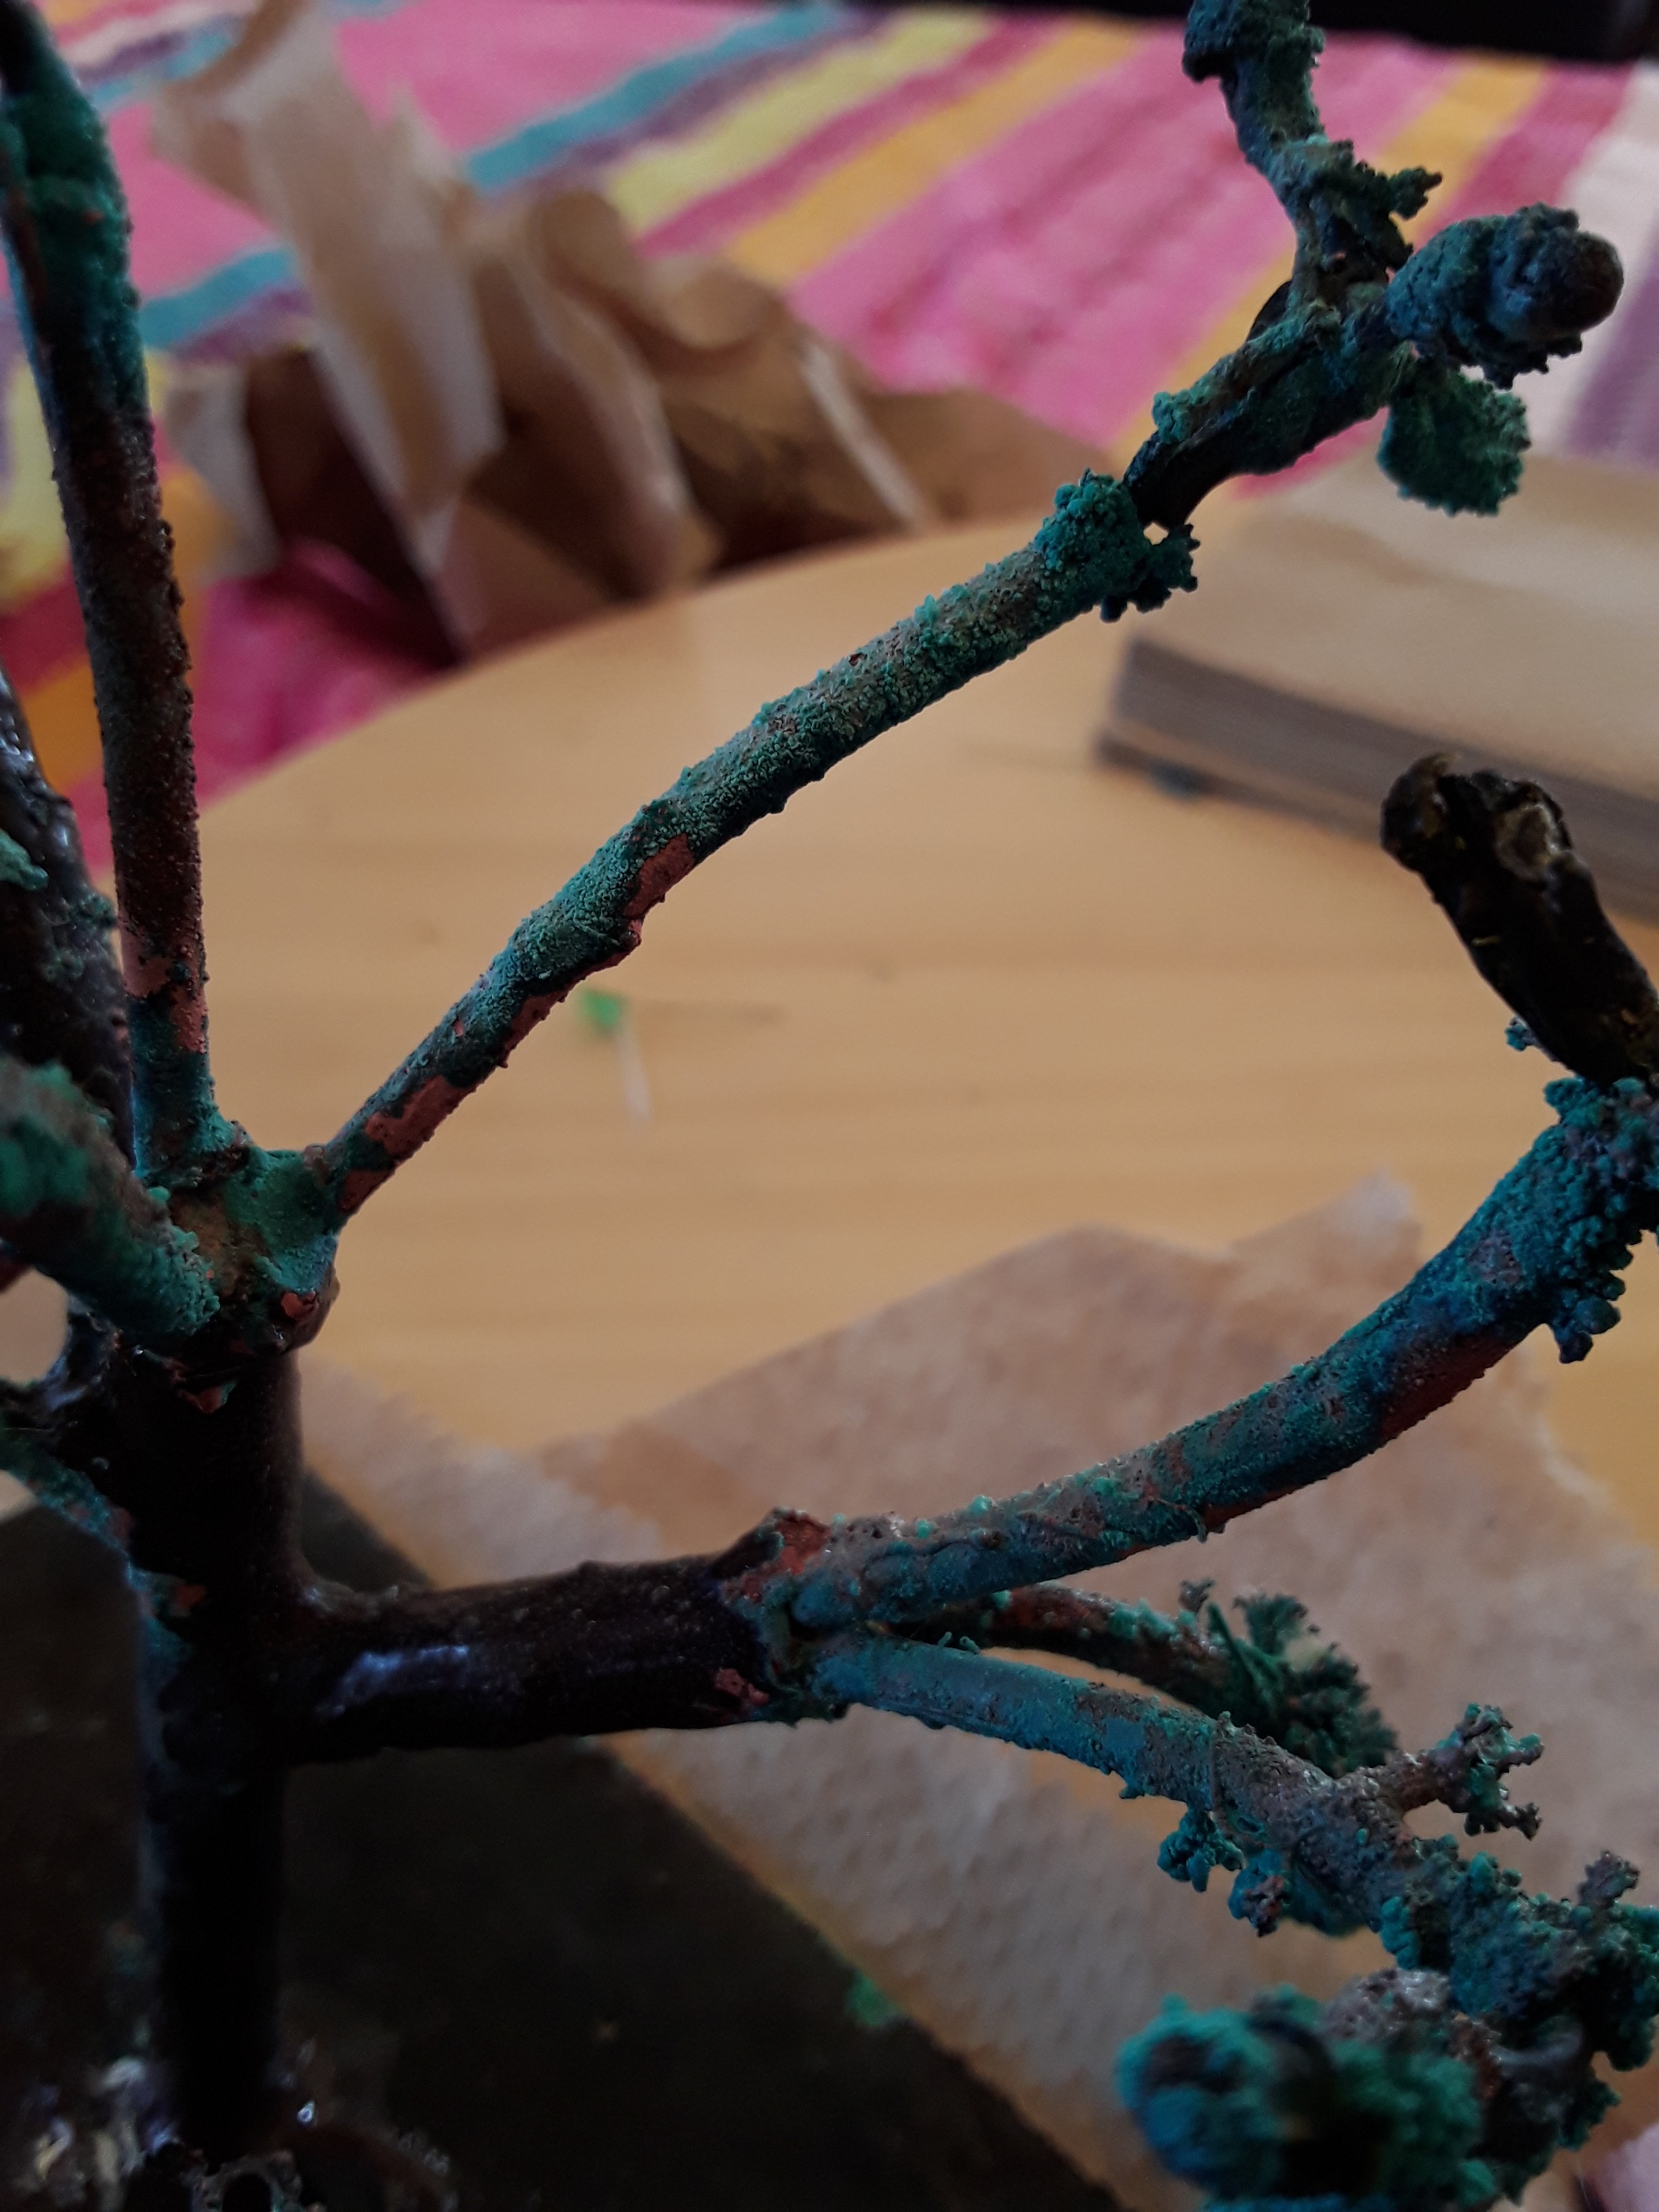
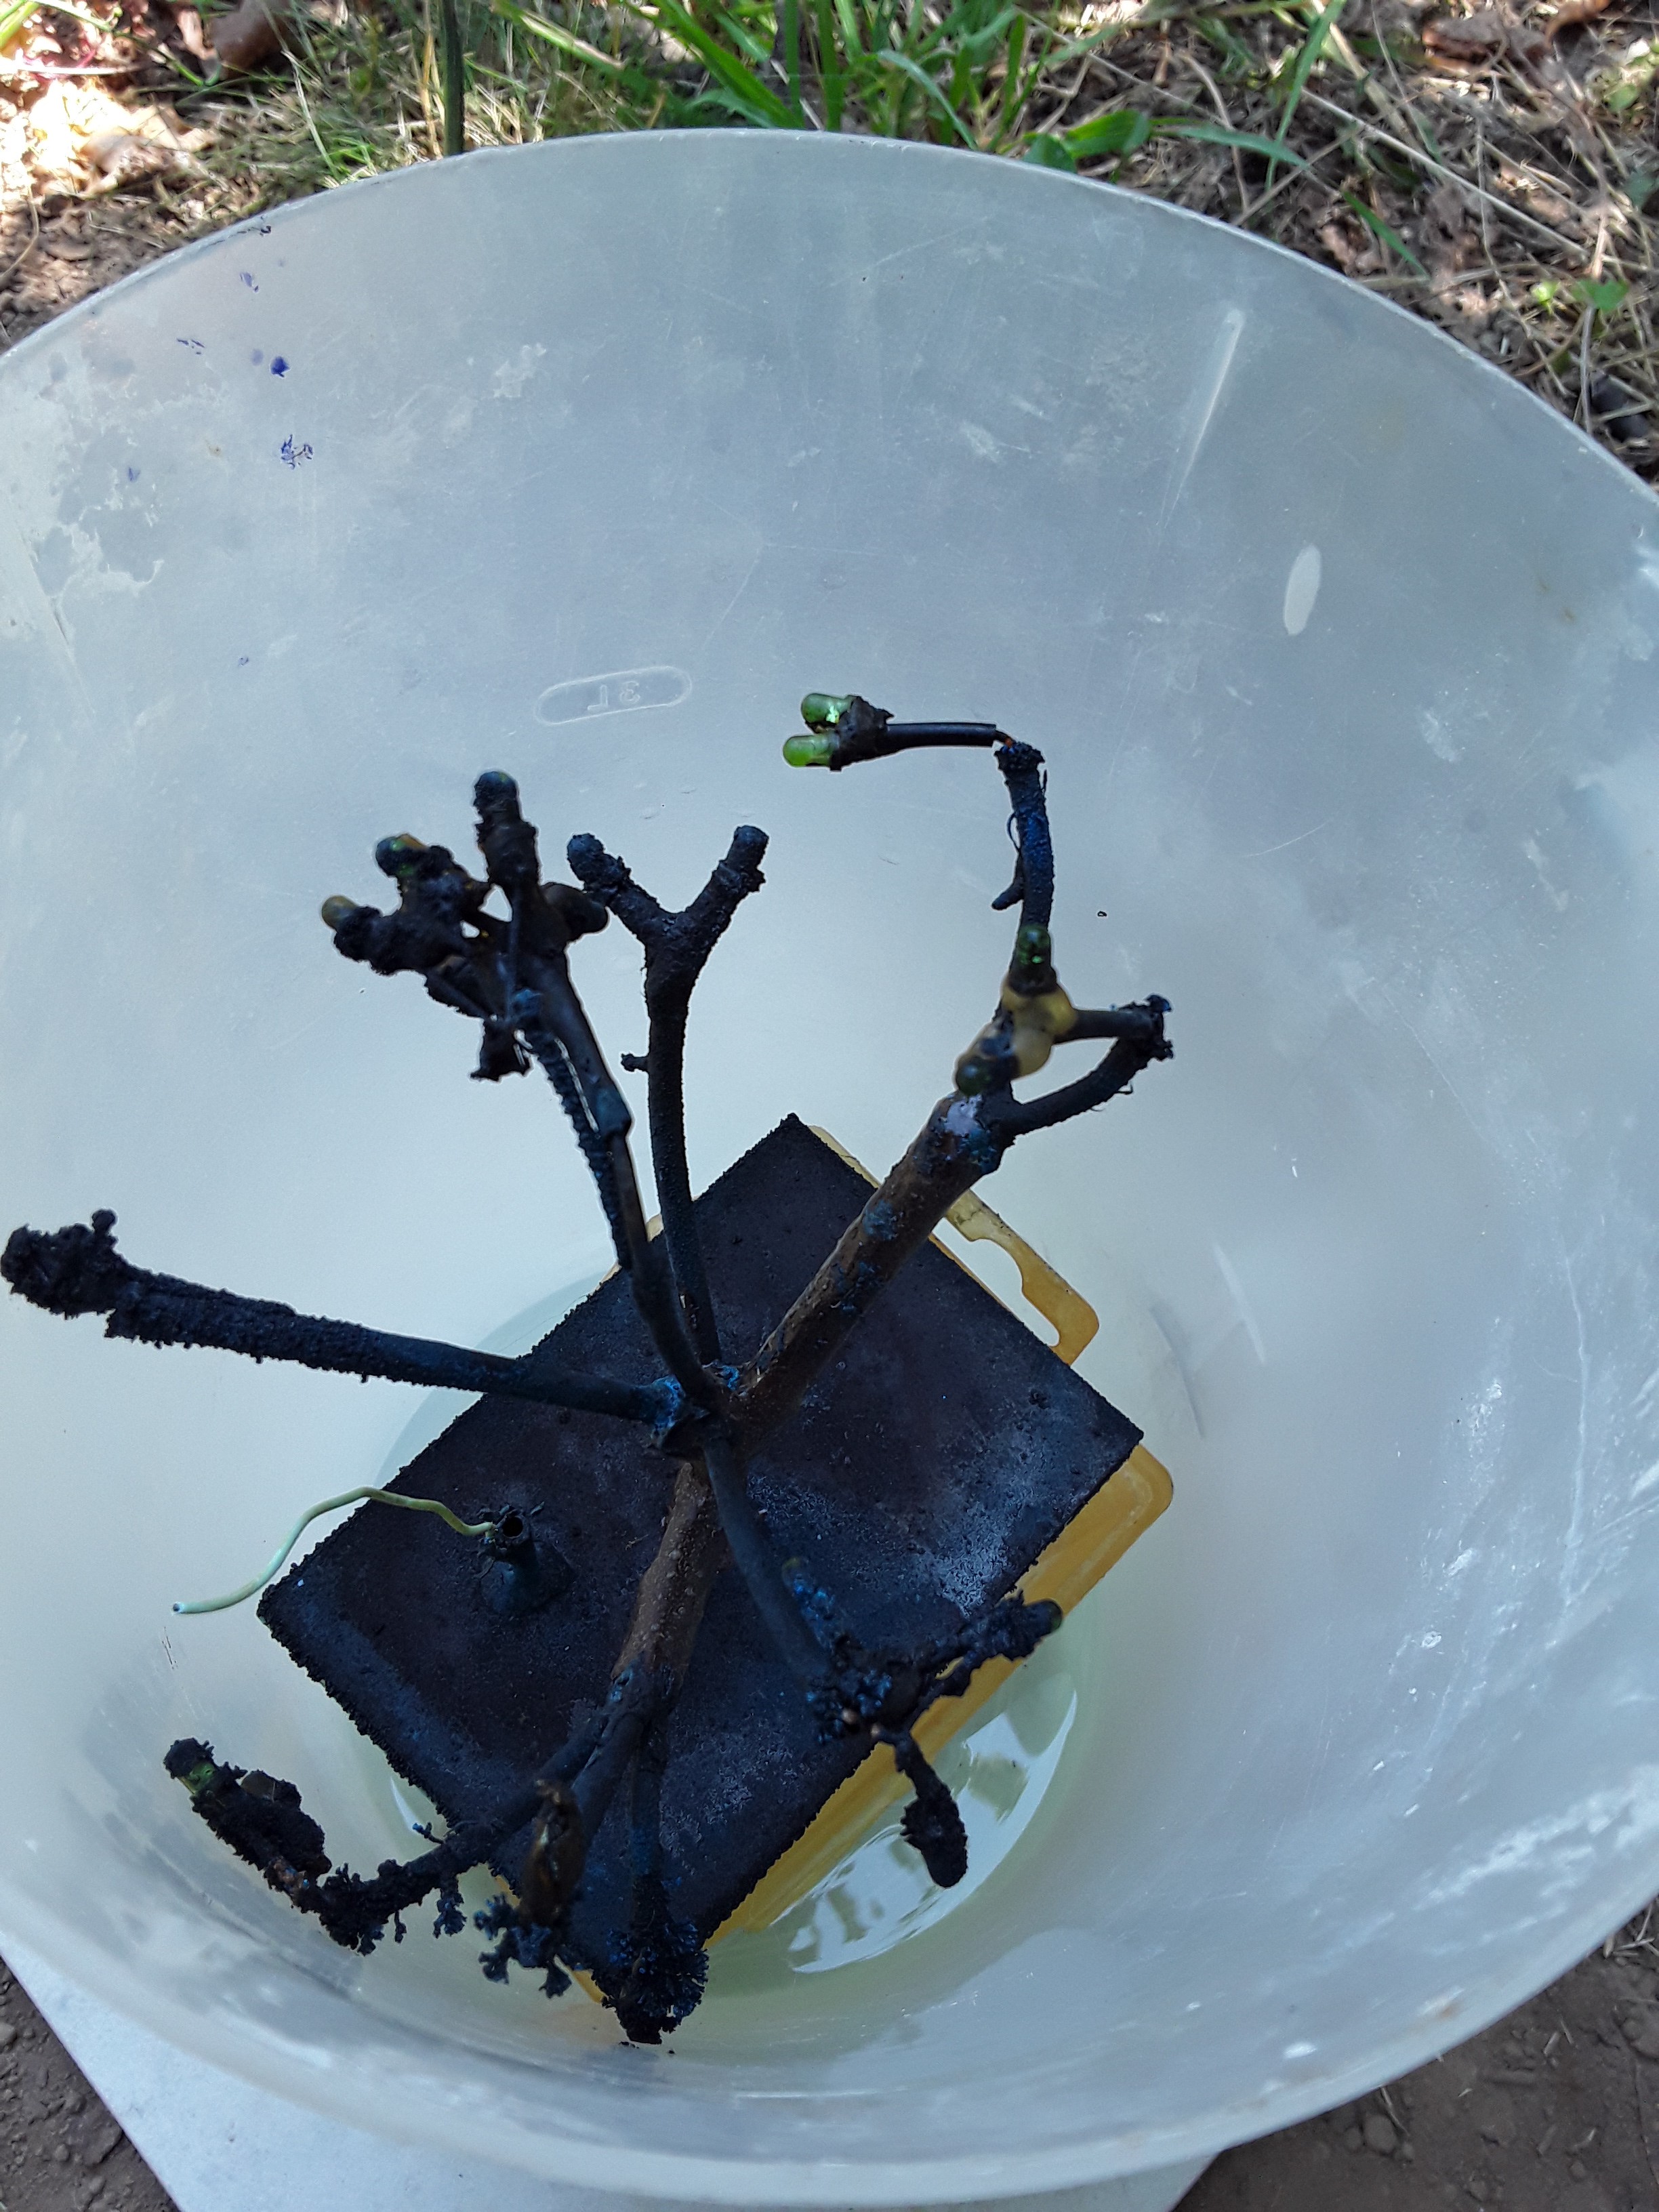
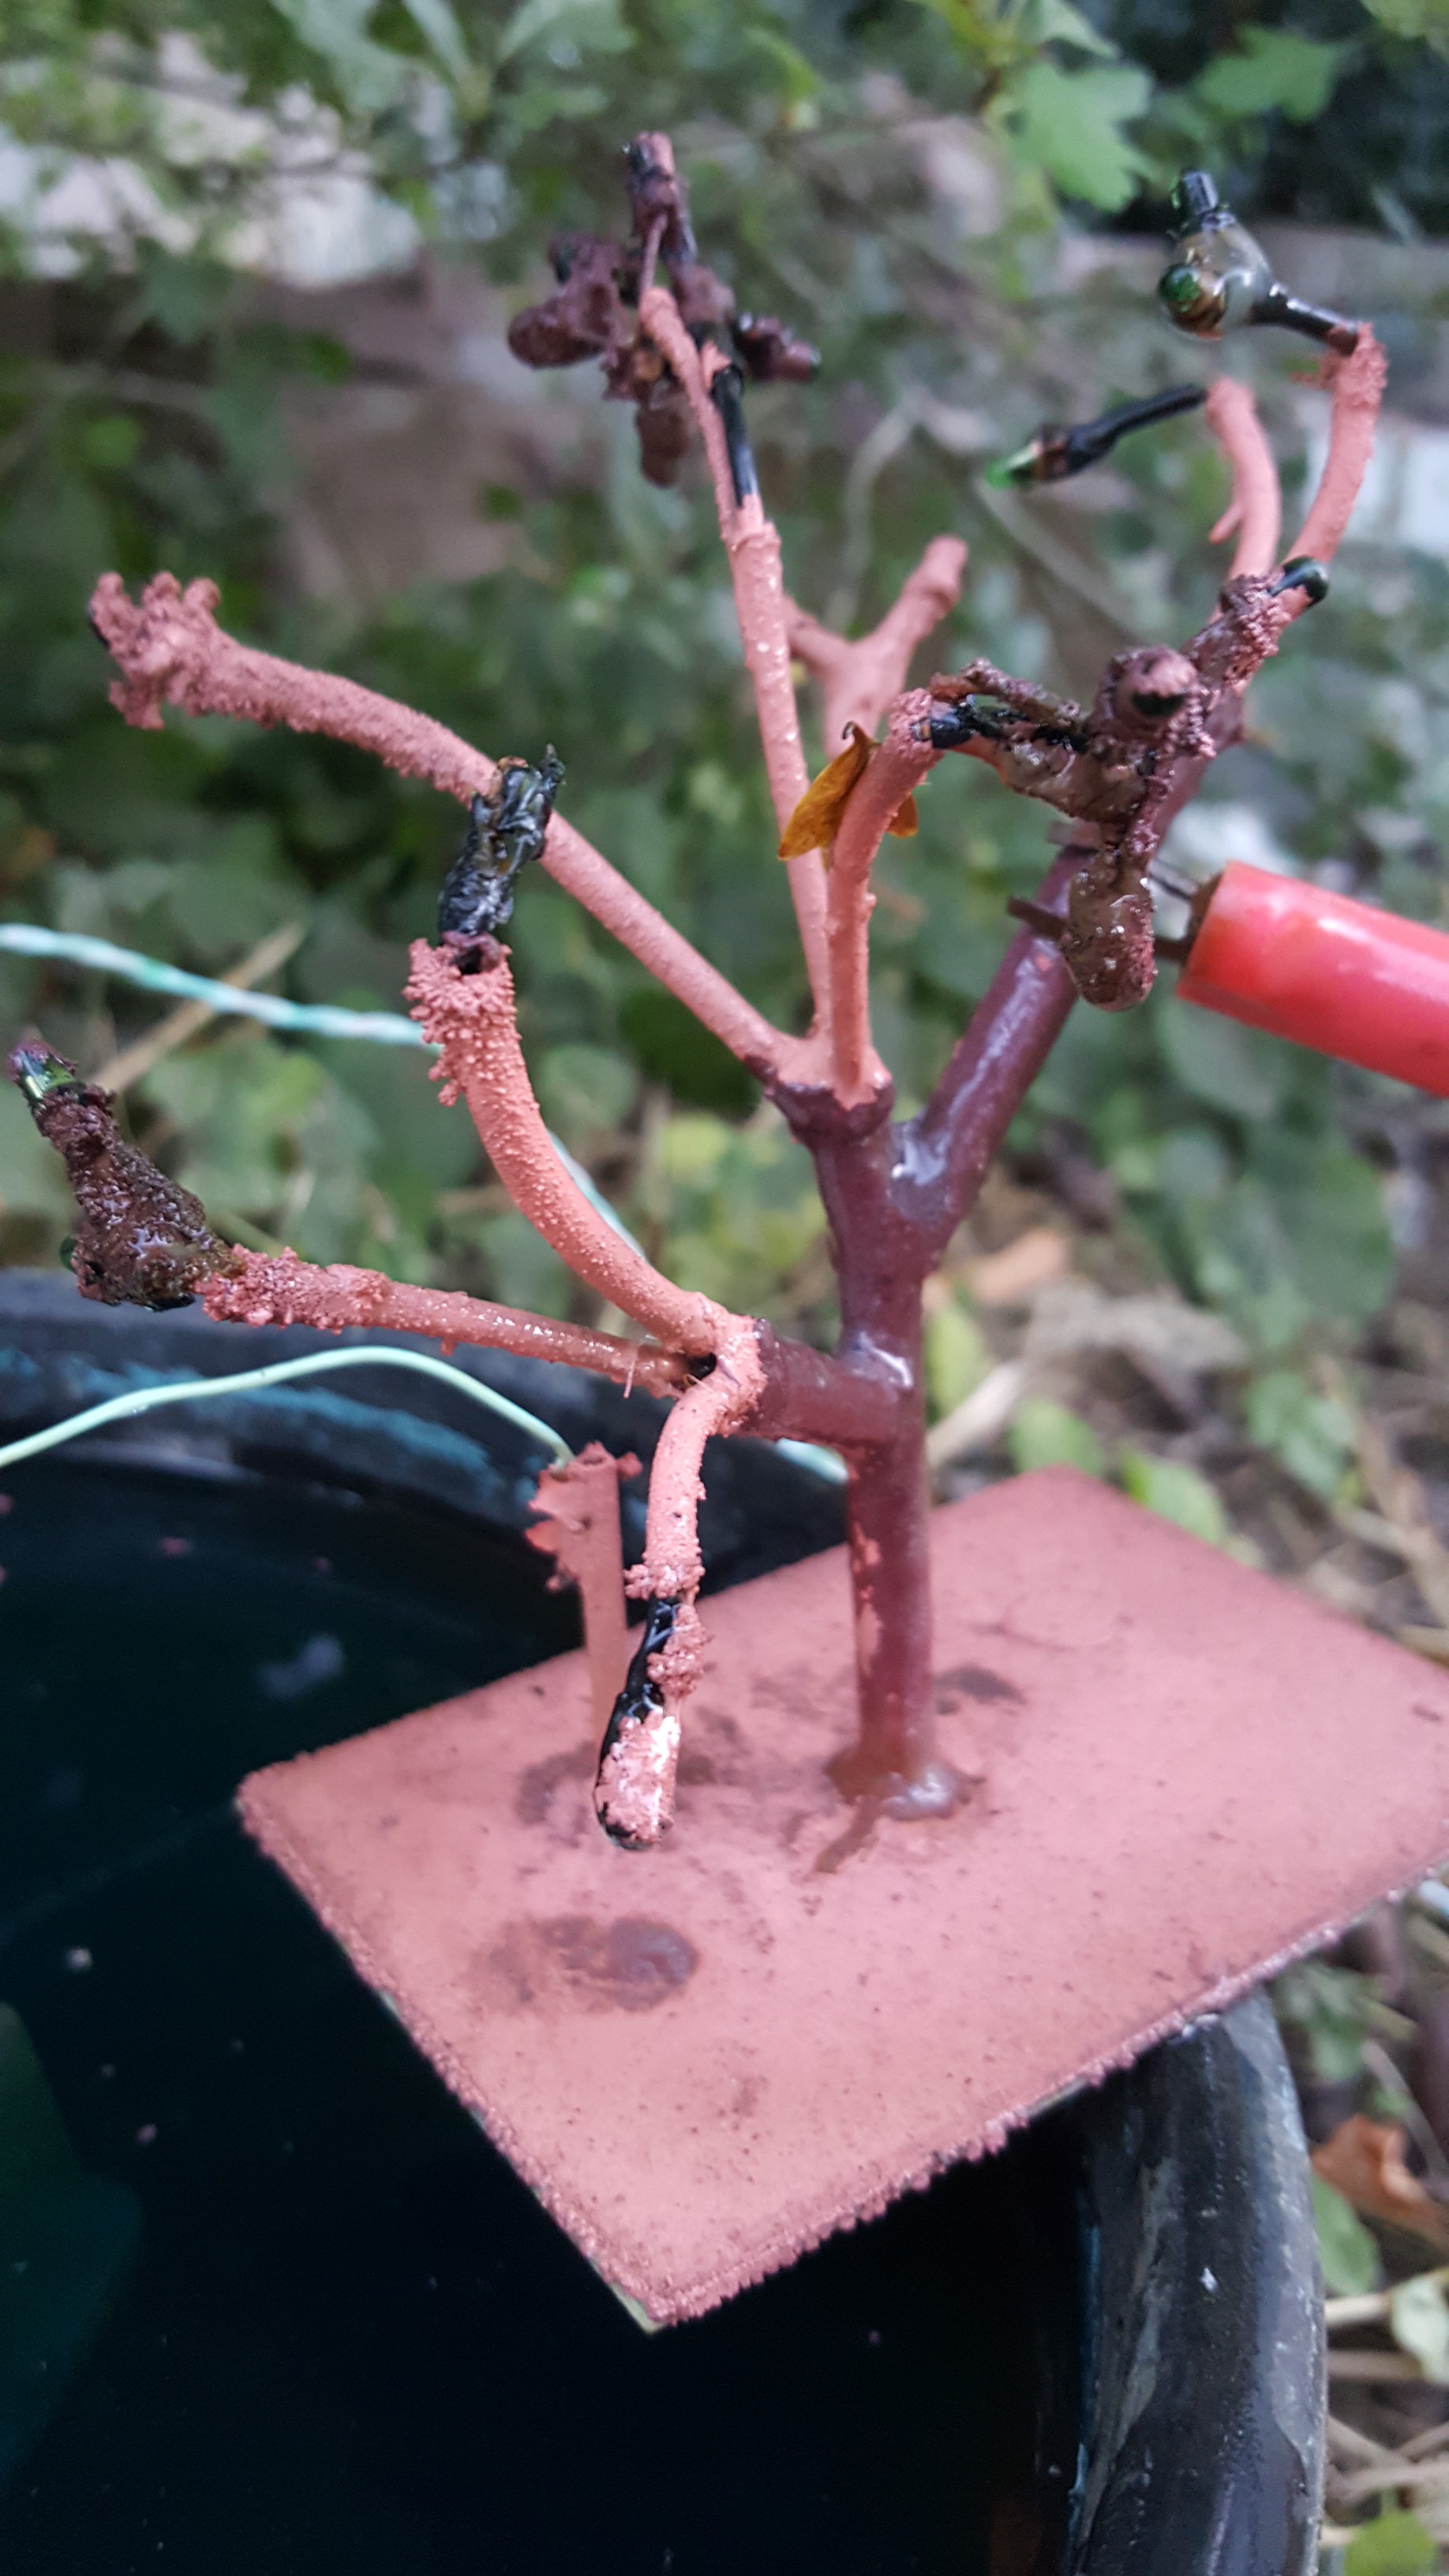
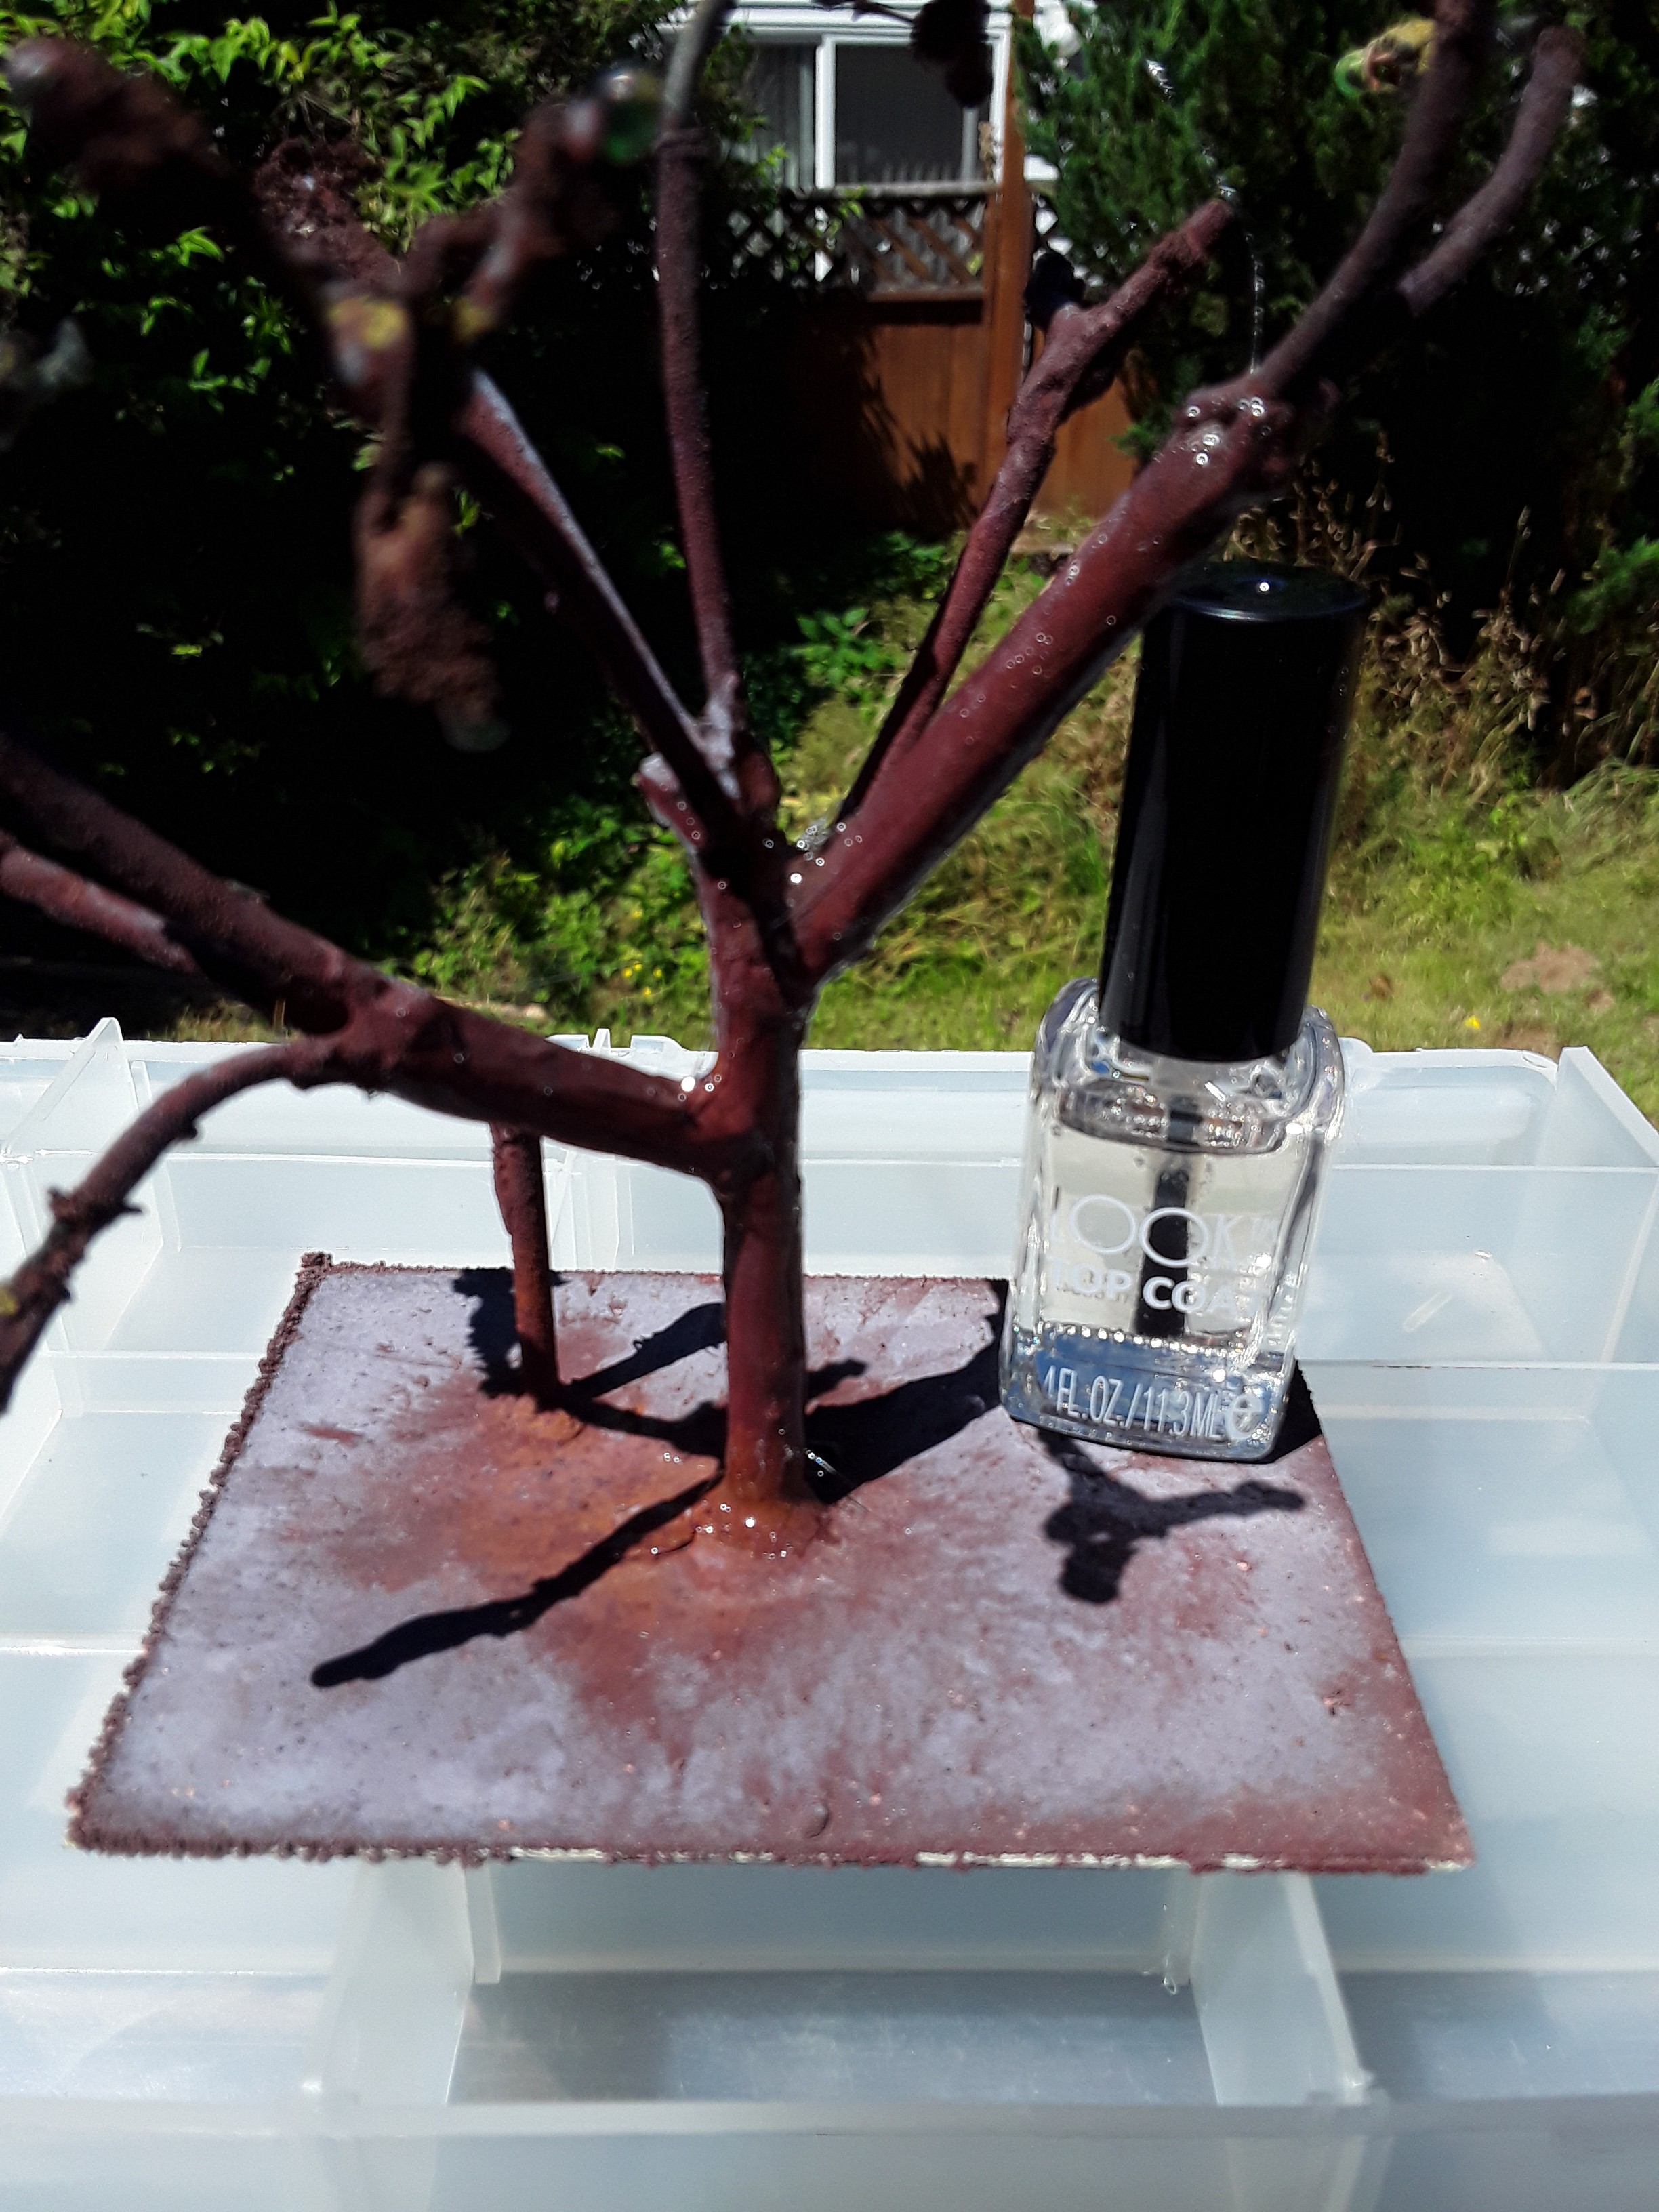
Circuit Sculpture
Electrolysis and Electroforming
Side benefit would be great if I could have functional art at the end)
Would also be cool if people who knew what they were doing picked up on my electroforming and circuit sculpture combo and made some really beautify copper art in the world.
About the making tech at home contest, Neither the copper sulfate nor the 3mm mini LEDs came from my parts bin, so I don't think I qualify, however, I will submit it anyway because earth battery, and electro-plating making a blinky circuit sculpture might be eccentric enough to garner favor to overcome the obviously thoroughly flawed project. I may replace the LEDs with the ones I did have on hand. They are 5mm and not quite right. That would leave me with just the copper sulfate from the store to complete the project from my spare parts. I don't know where to draw the line.


 Kevin Arne
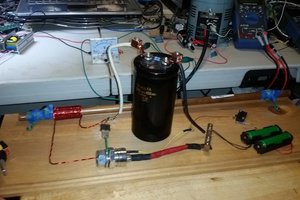
 3dscuba
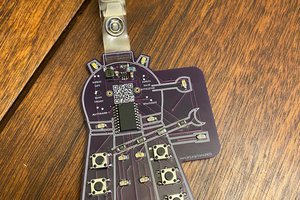
 Jorj Bauer
 Kevin Santo Cappuccio