 Jeremy
About a month ago, I moved into a new [to me] craftsman style home built in 1915. It's one of those homes where every part of it feels like there's history and stories to tell. Like the utterly overgrown greenhouse in the backyard that has been sitting dormant for ~50 years. Or the "doorway to nowhere" that opens to a 4-foot drop from the living room to outside. But I digress...
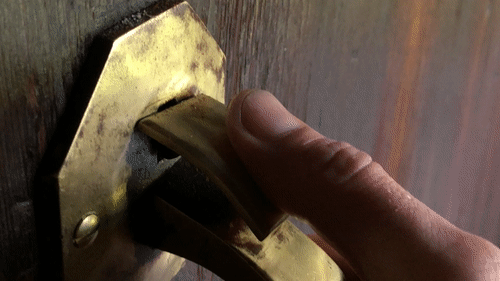
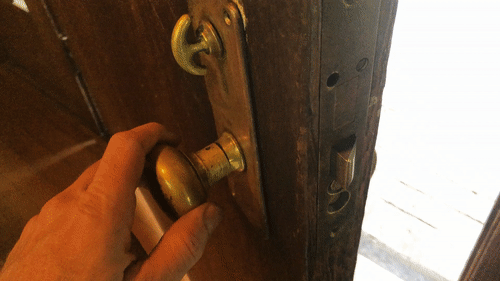
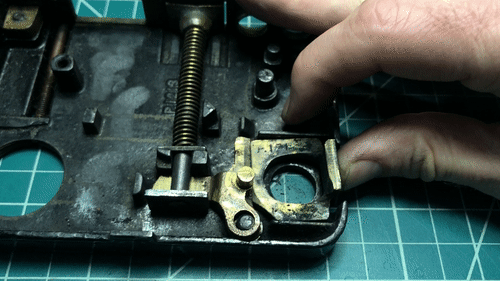
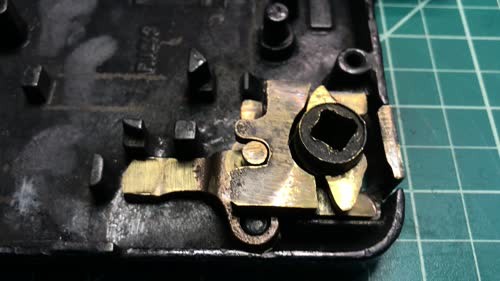
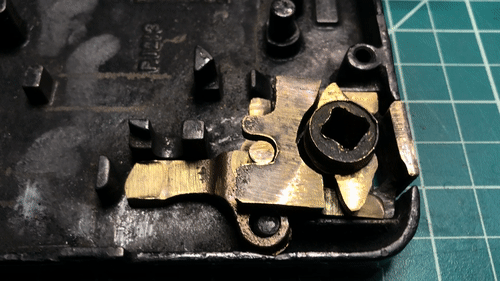
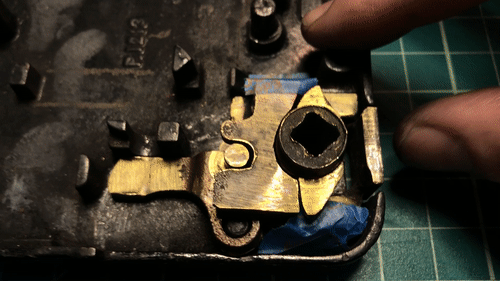
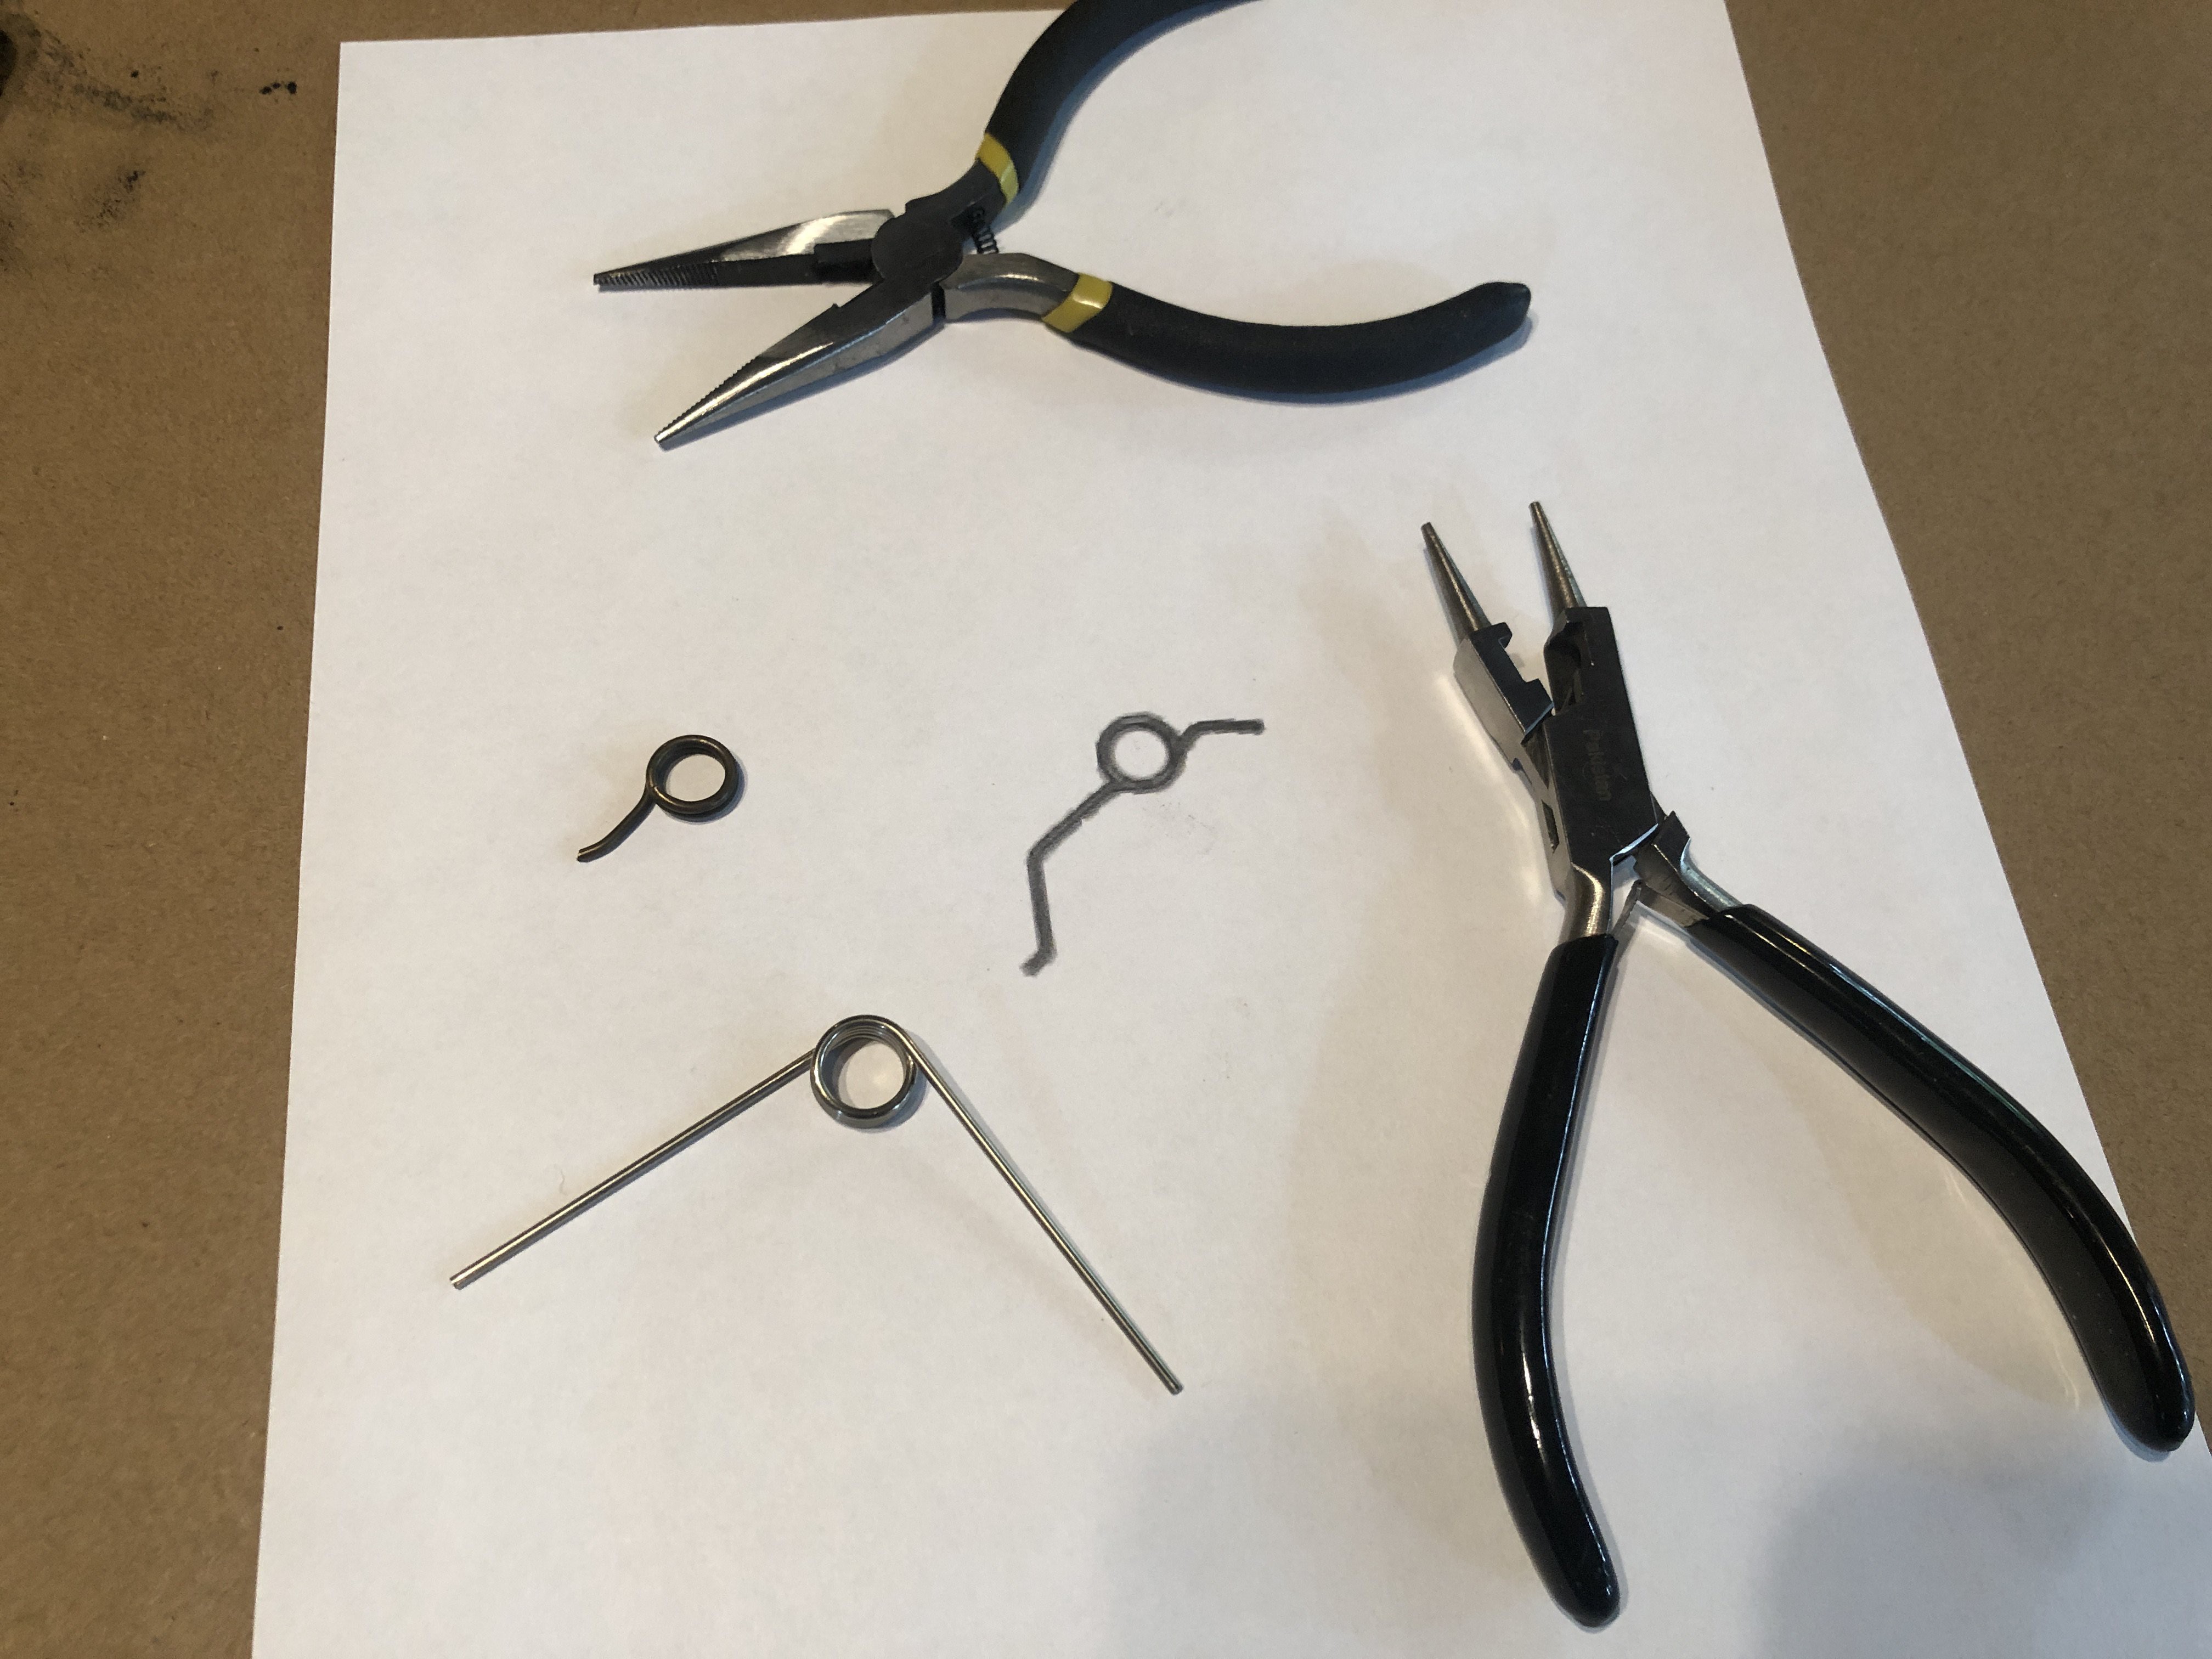
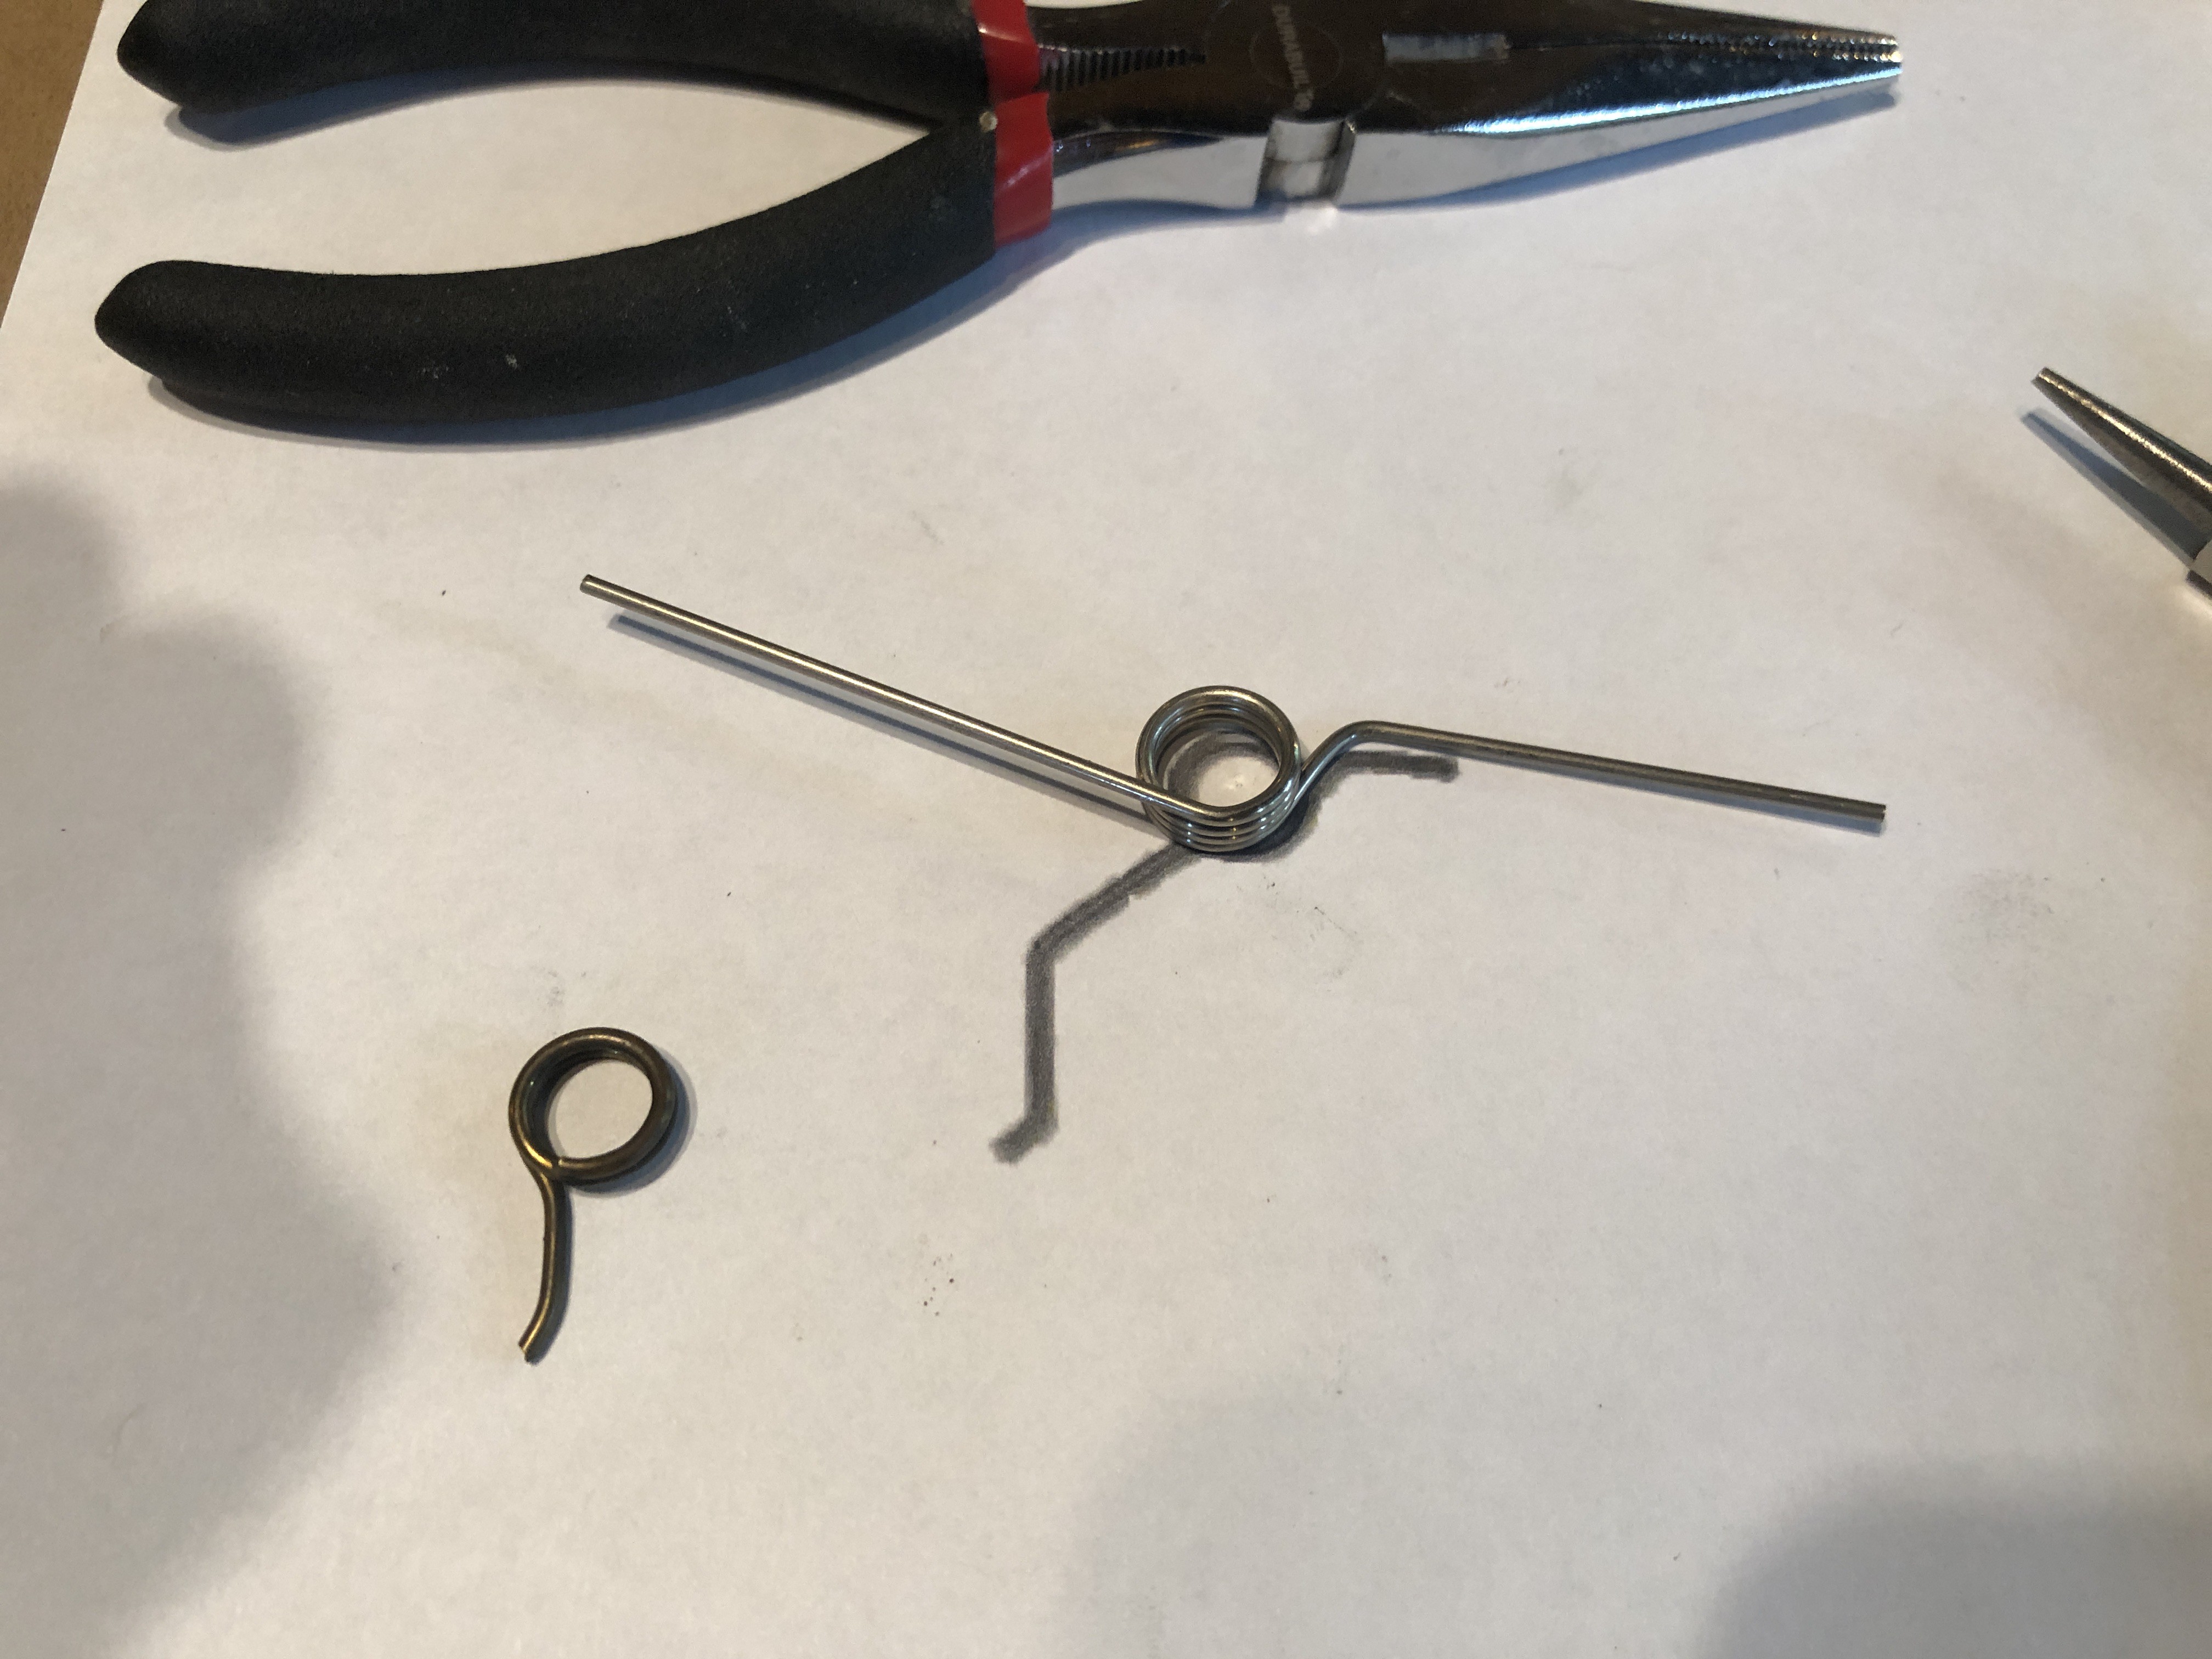
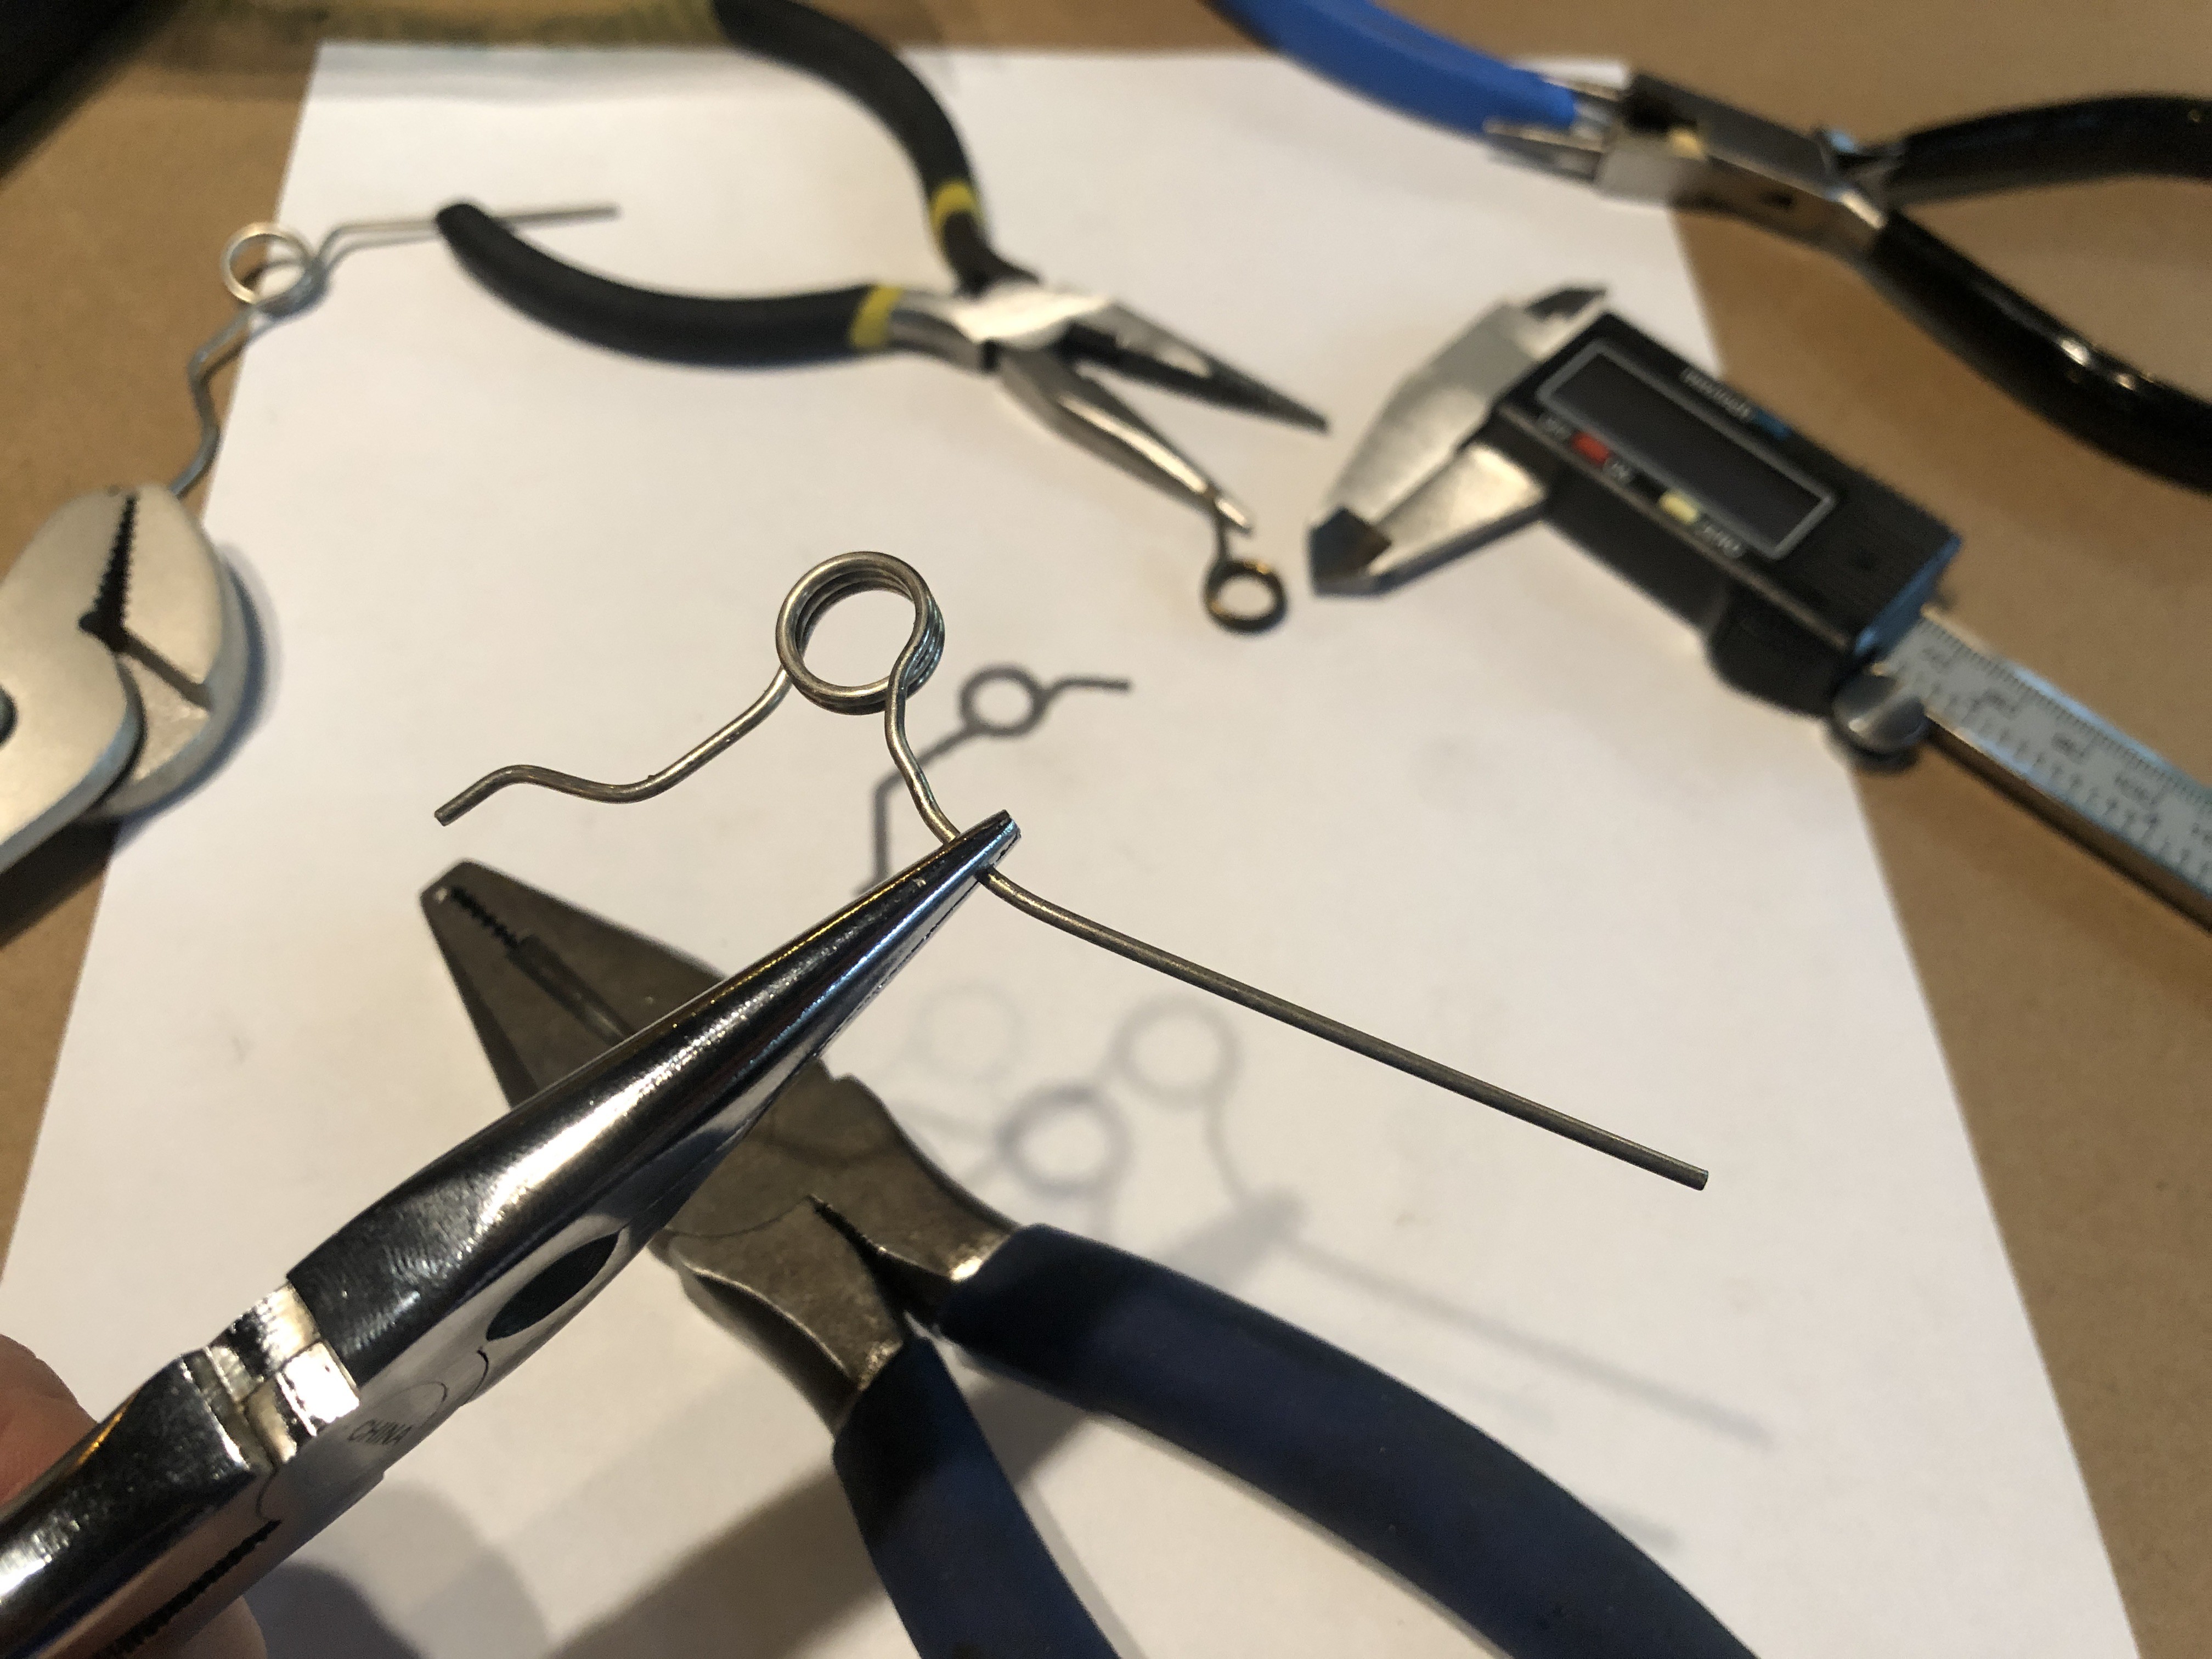
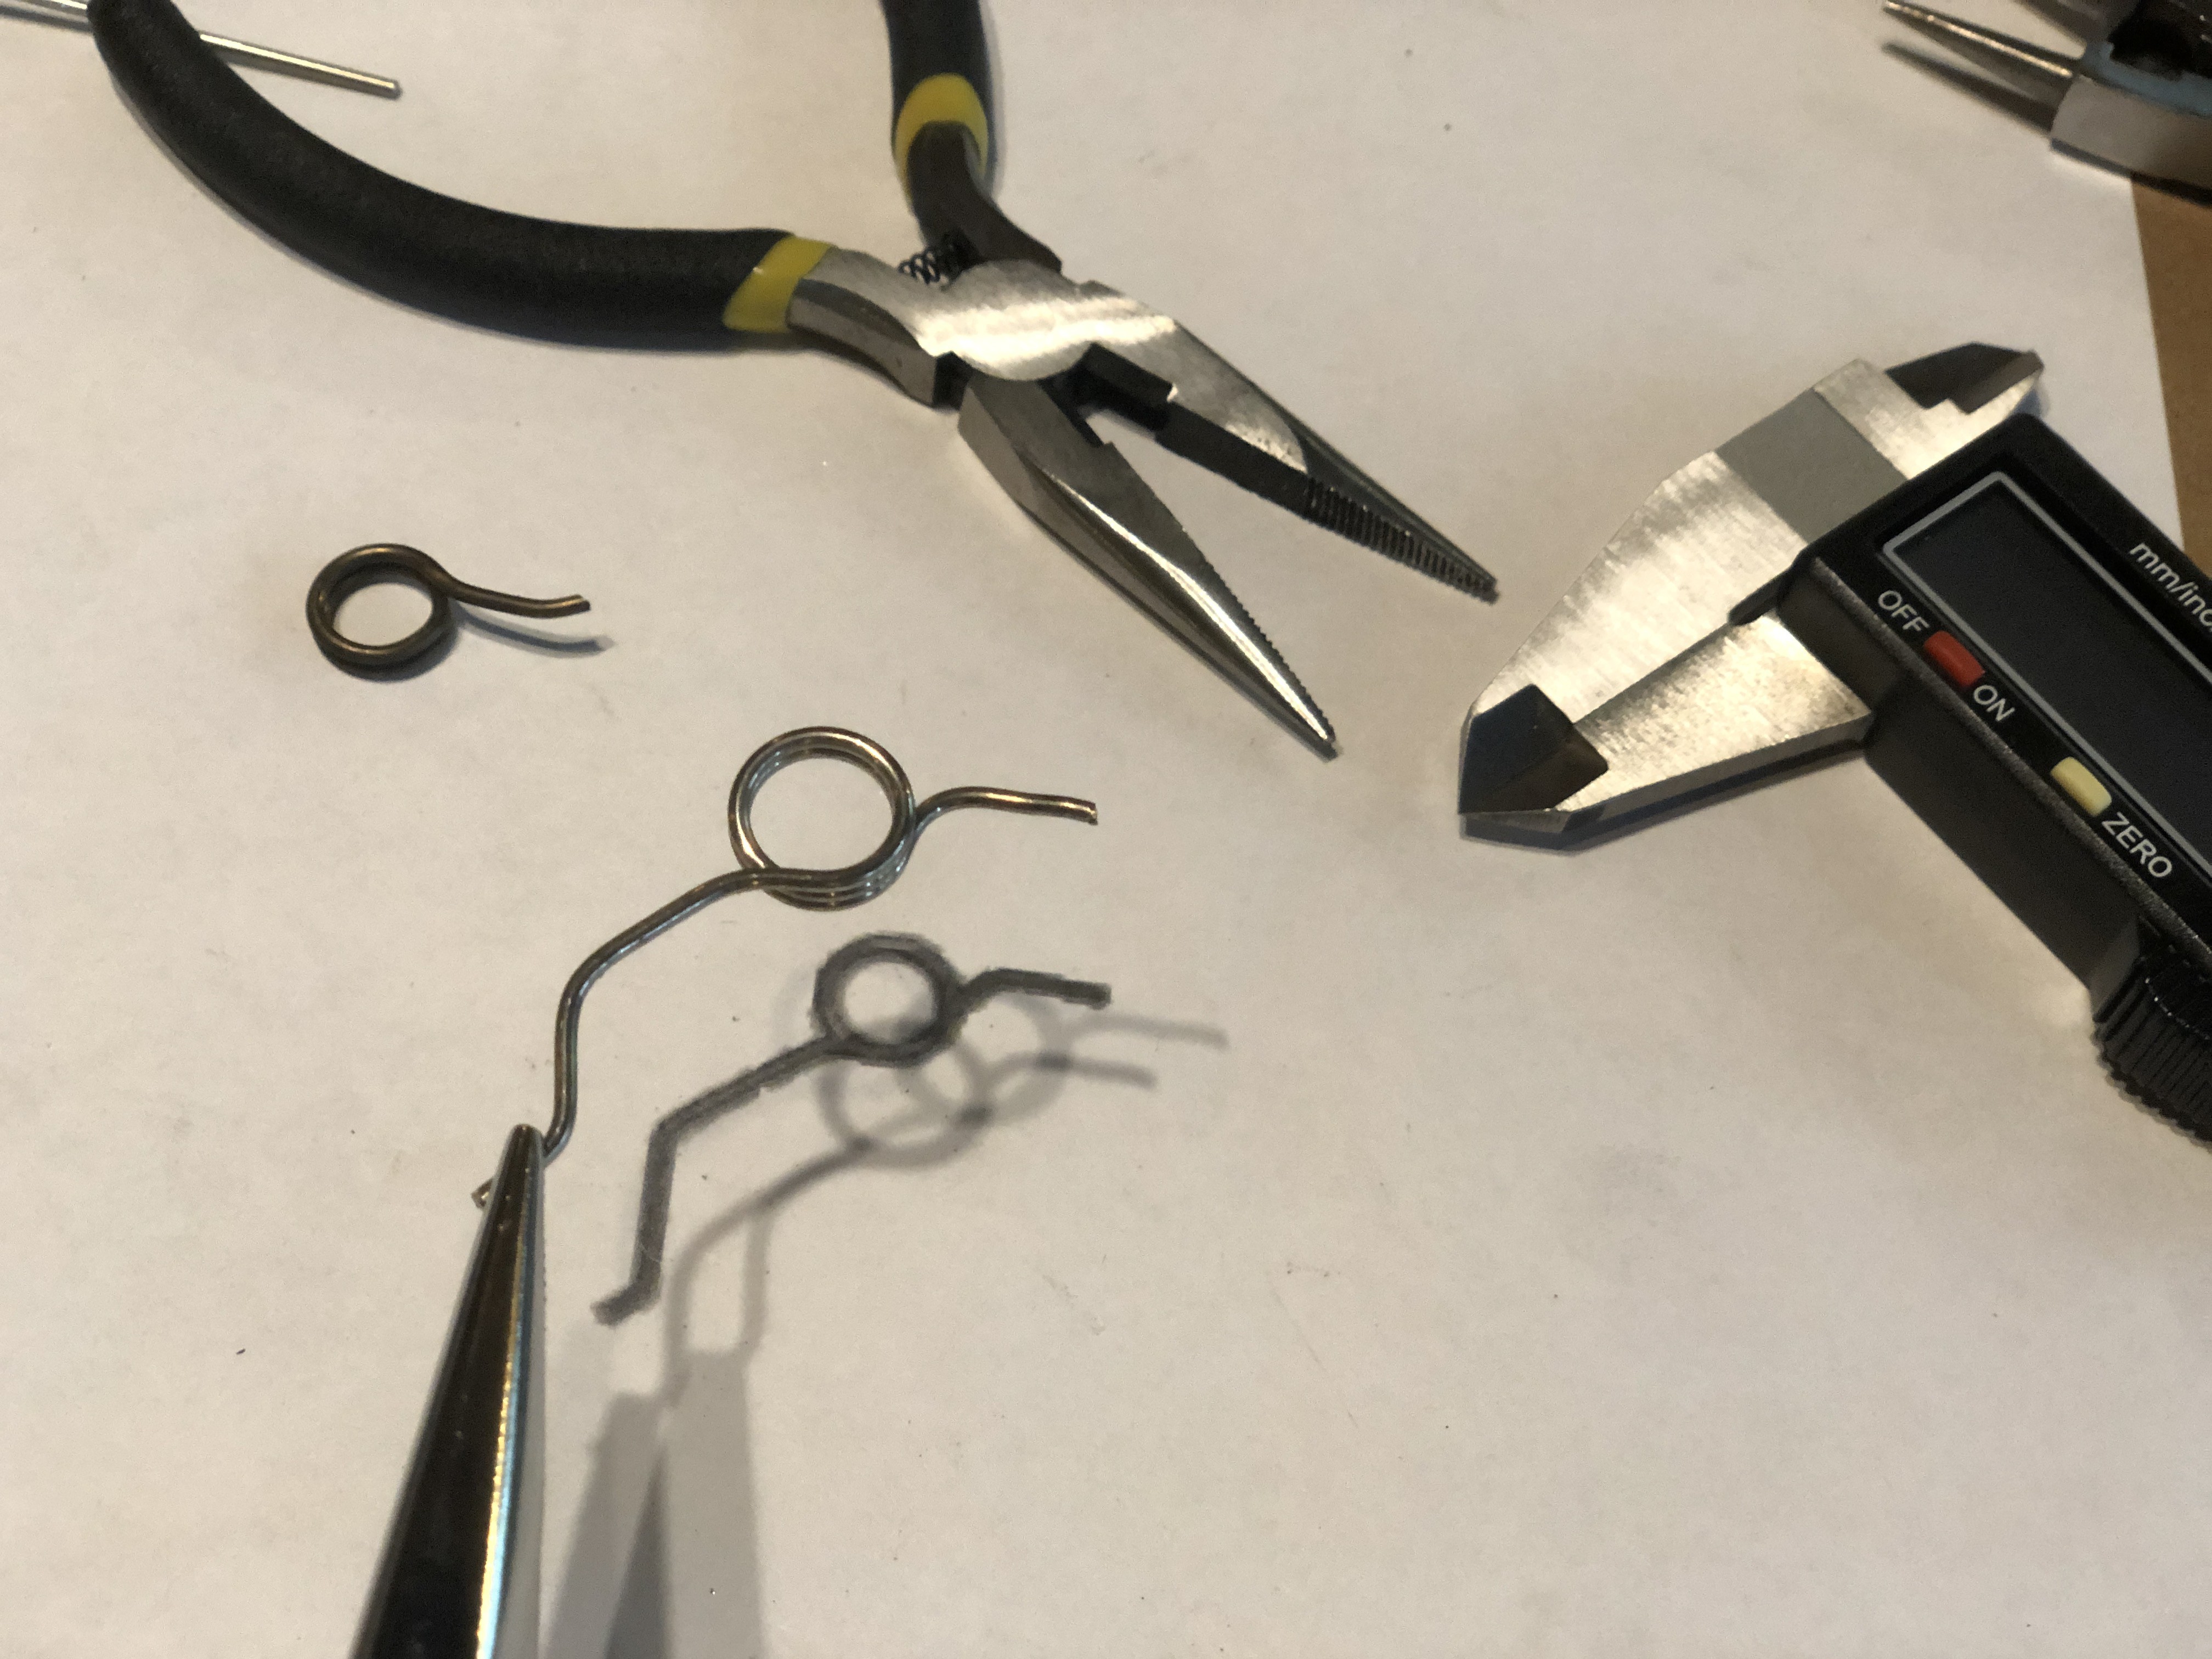
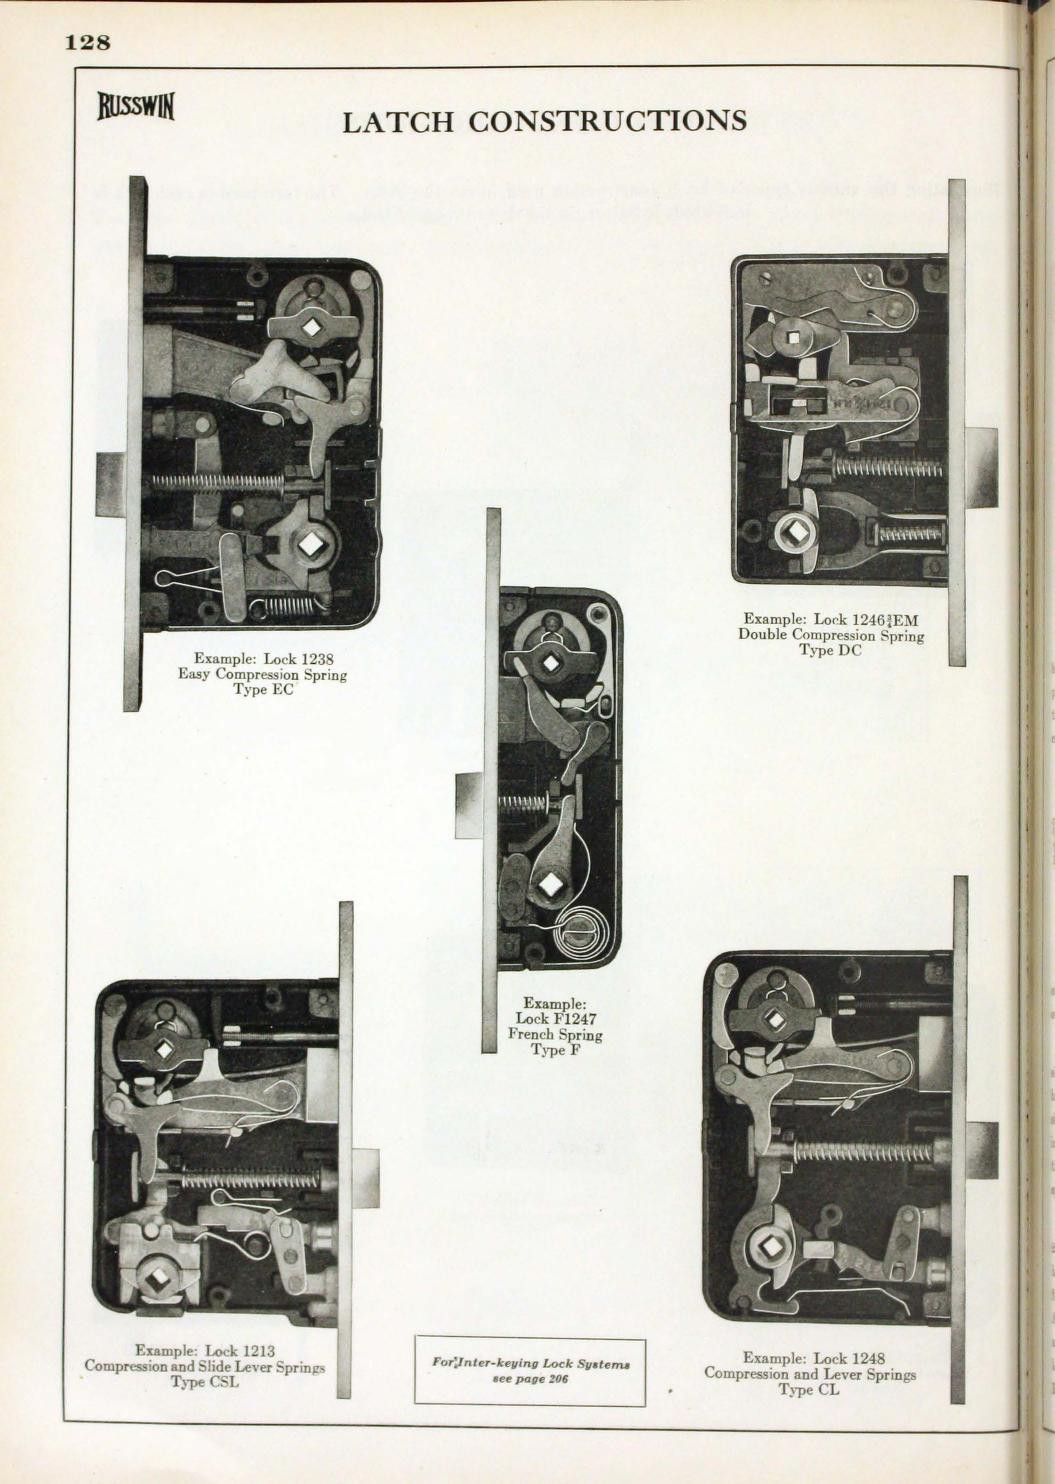
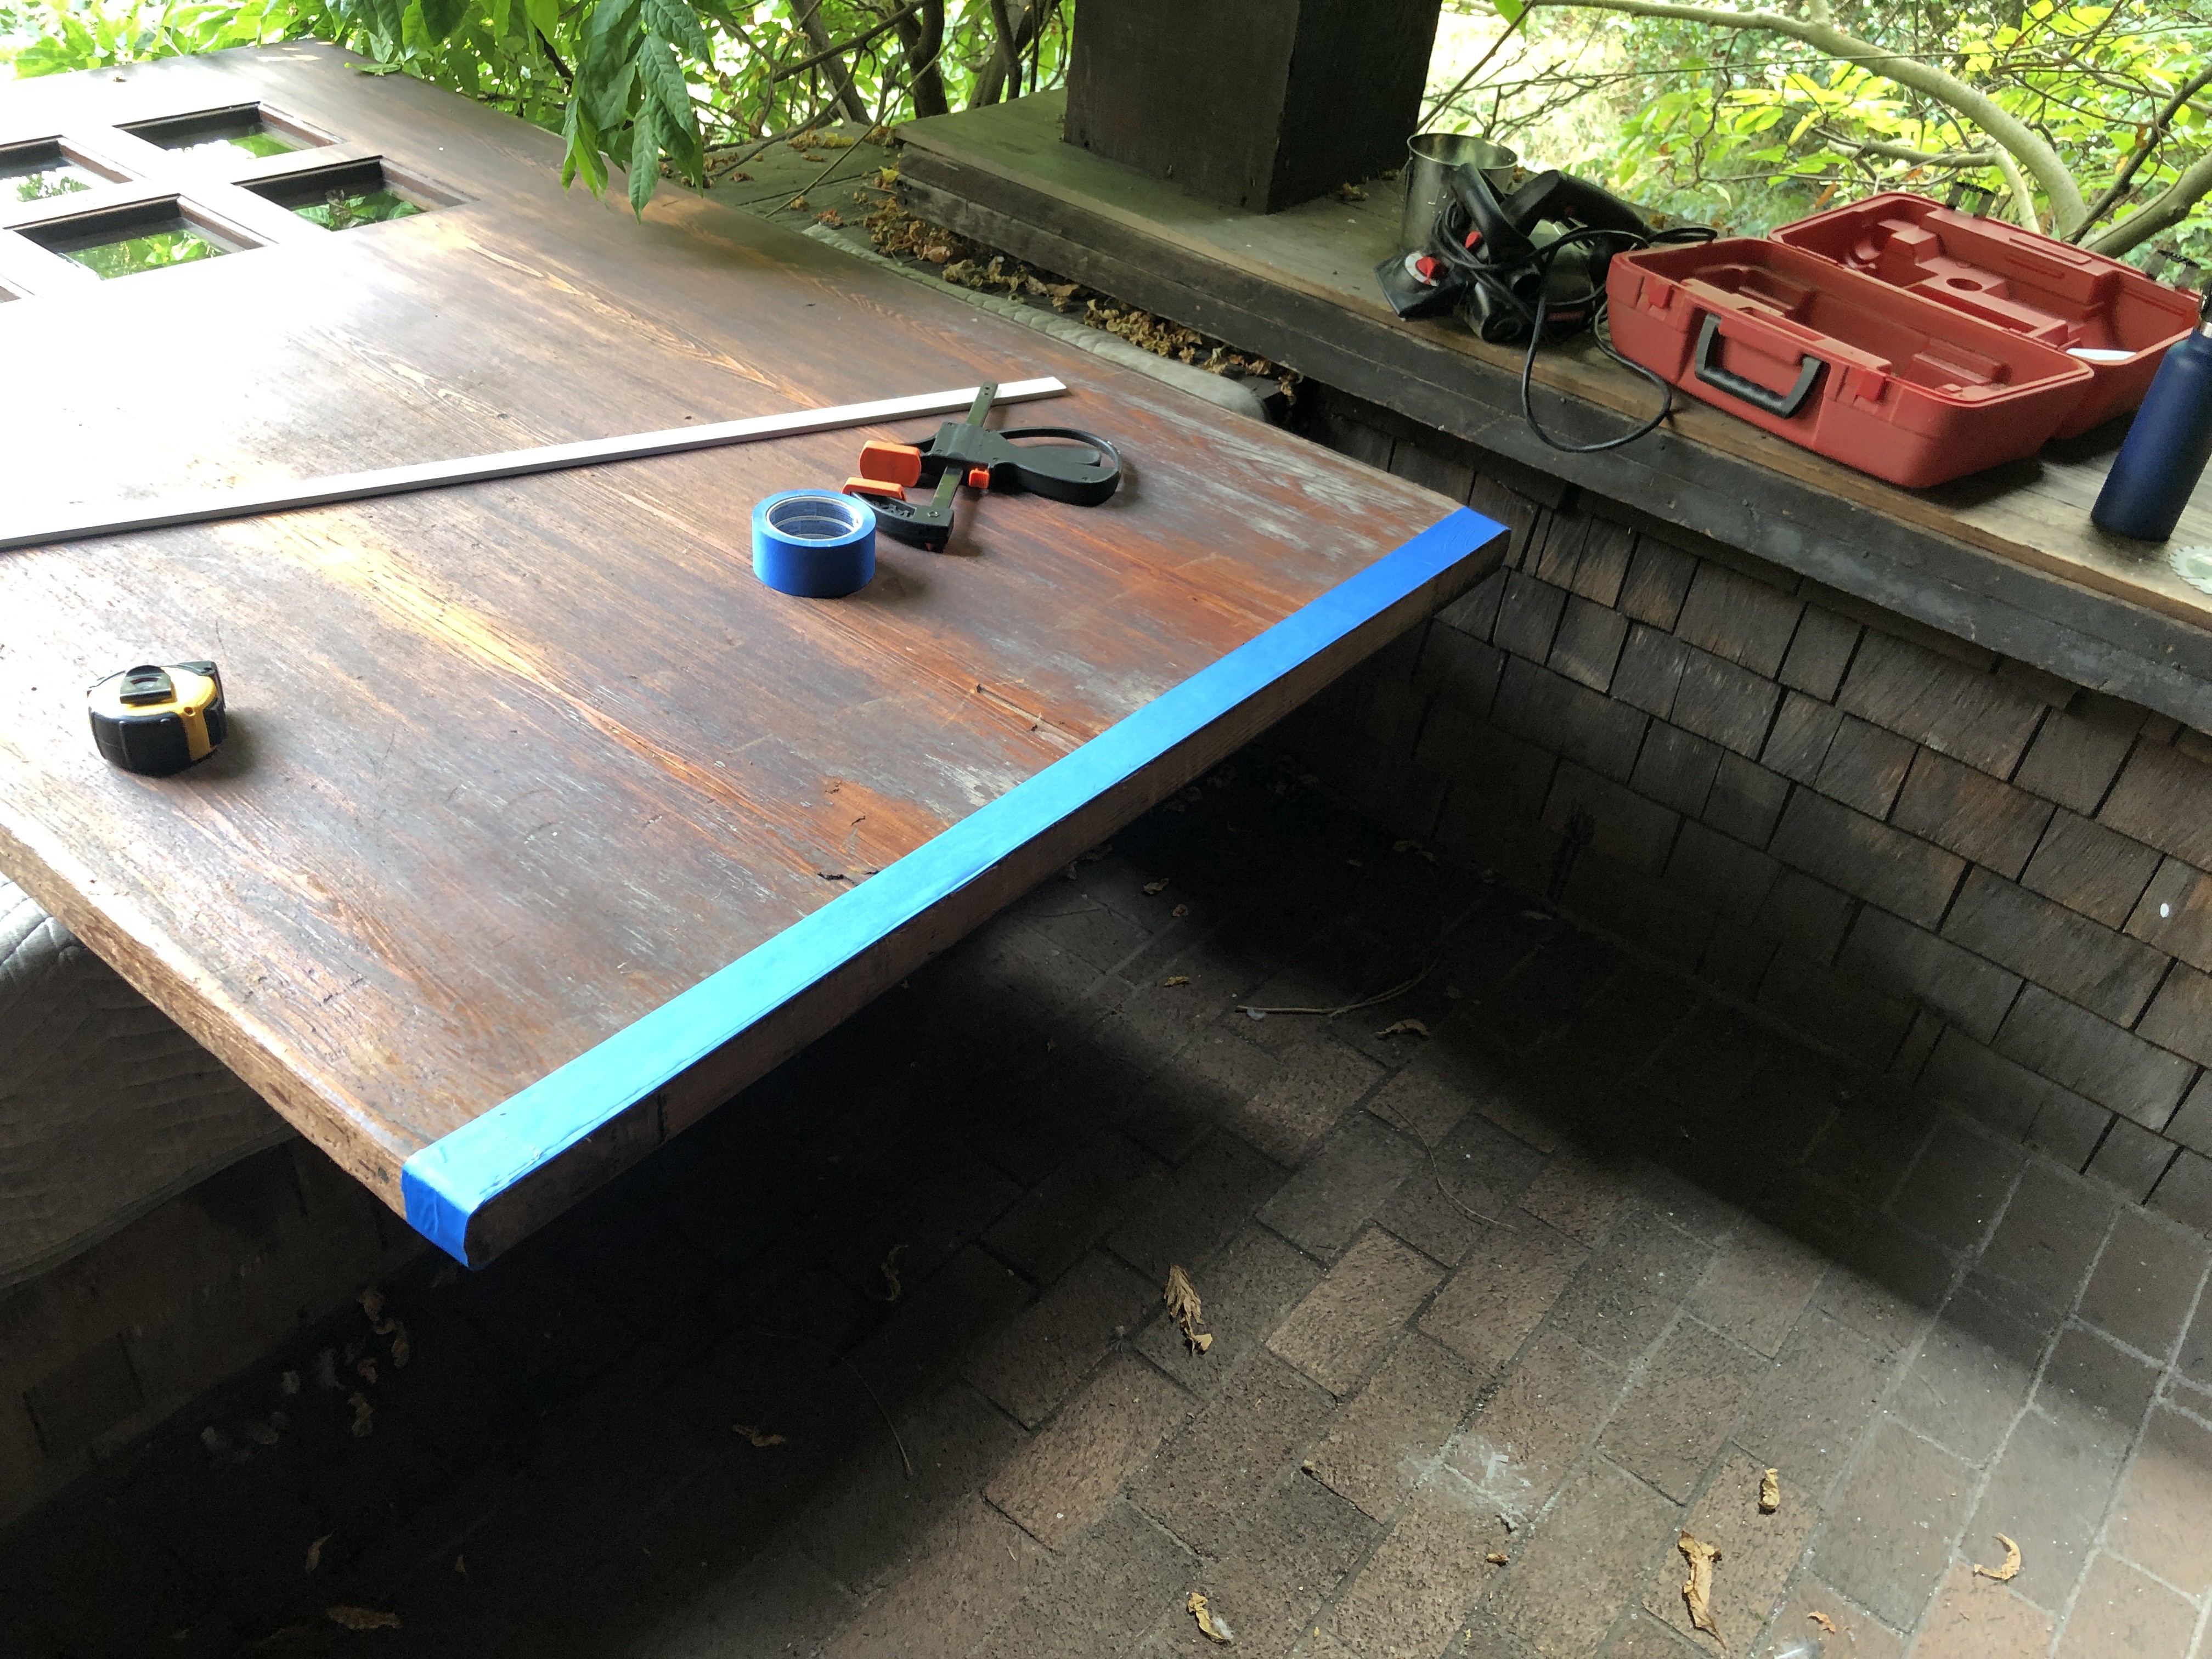
The front door is large (48" wide) and made of beautiful solid heavy wood with an antique mortise lock. As far as I can tell, the door and lock are entirely original. Over the years, the house has settled, and the door sticks terribly to the frame when opening and closing. Once you get the door open (or closed), the latch of the mortise lock sticks in the open position. At least the deadbolt works.
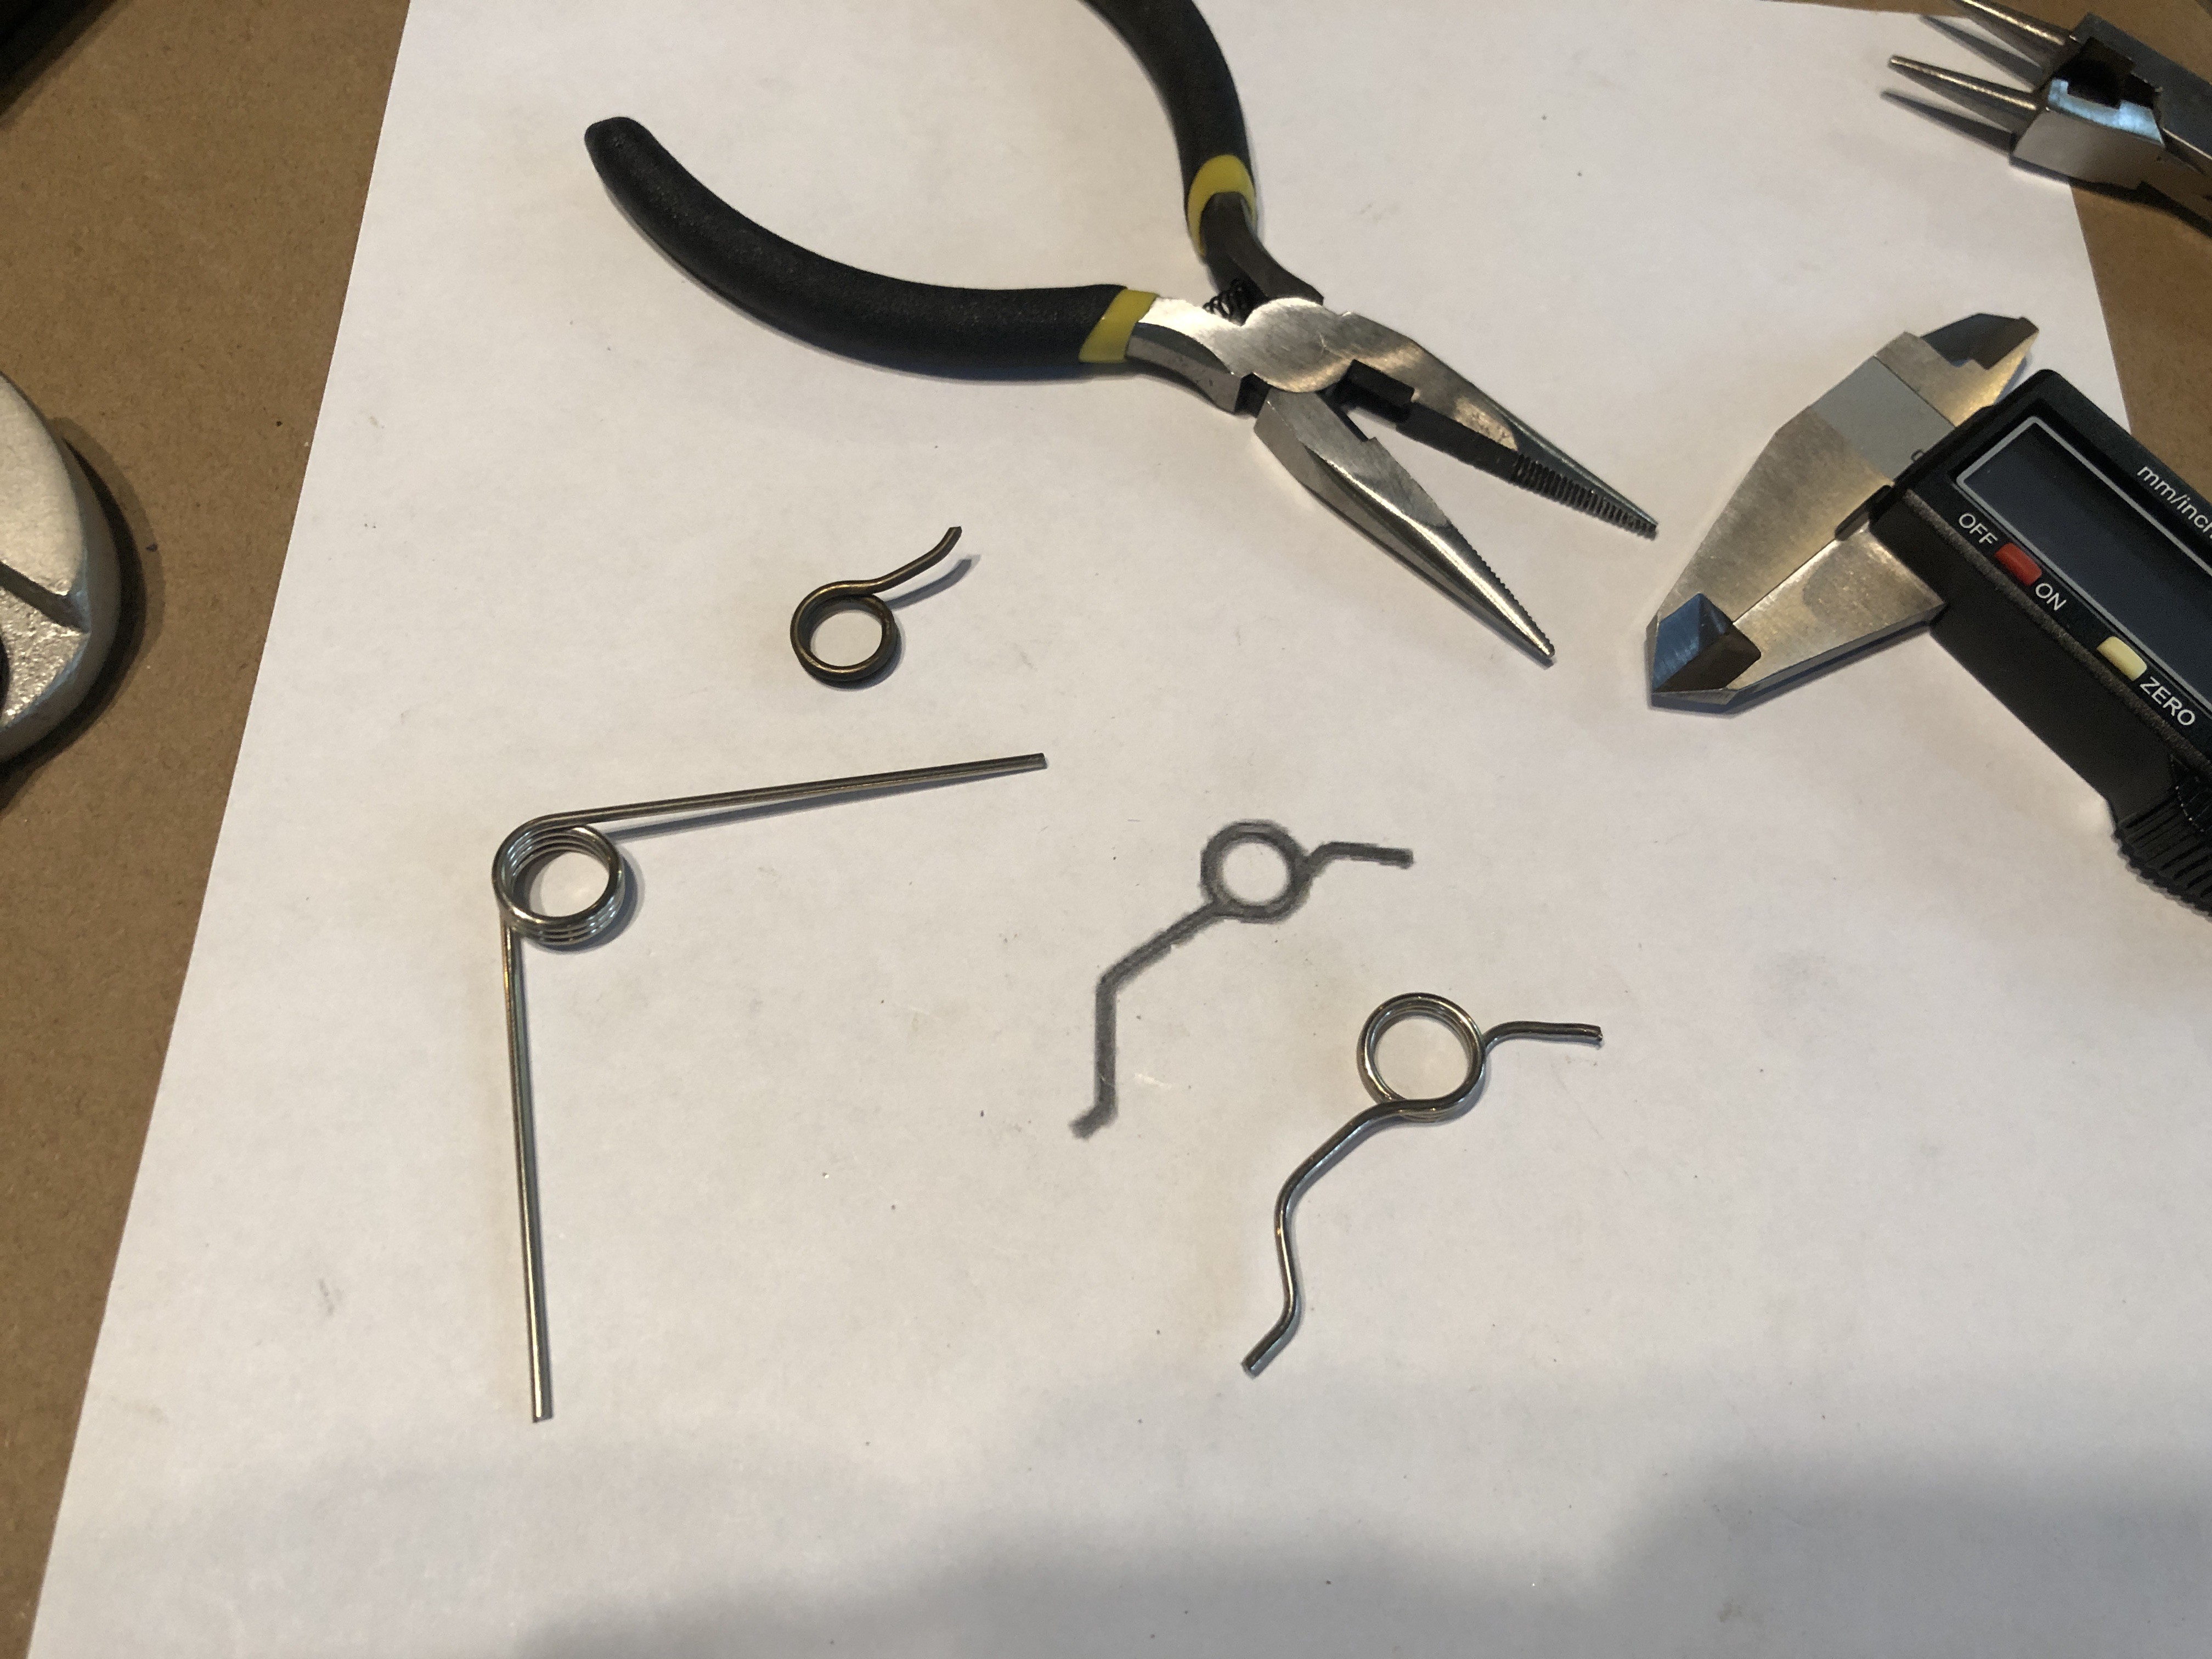
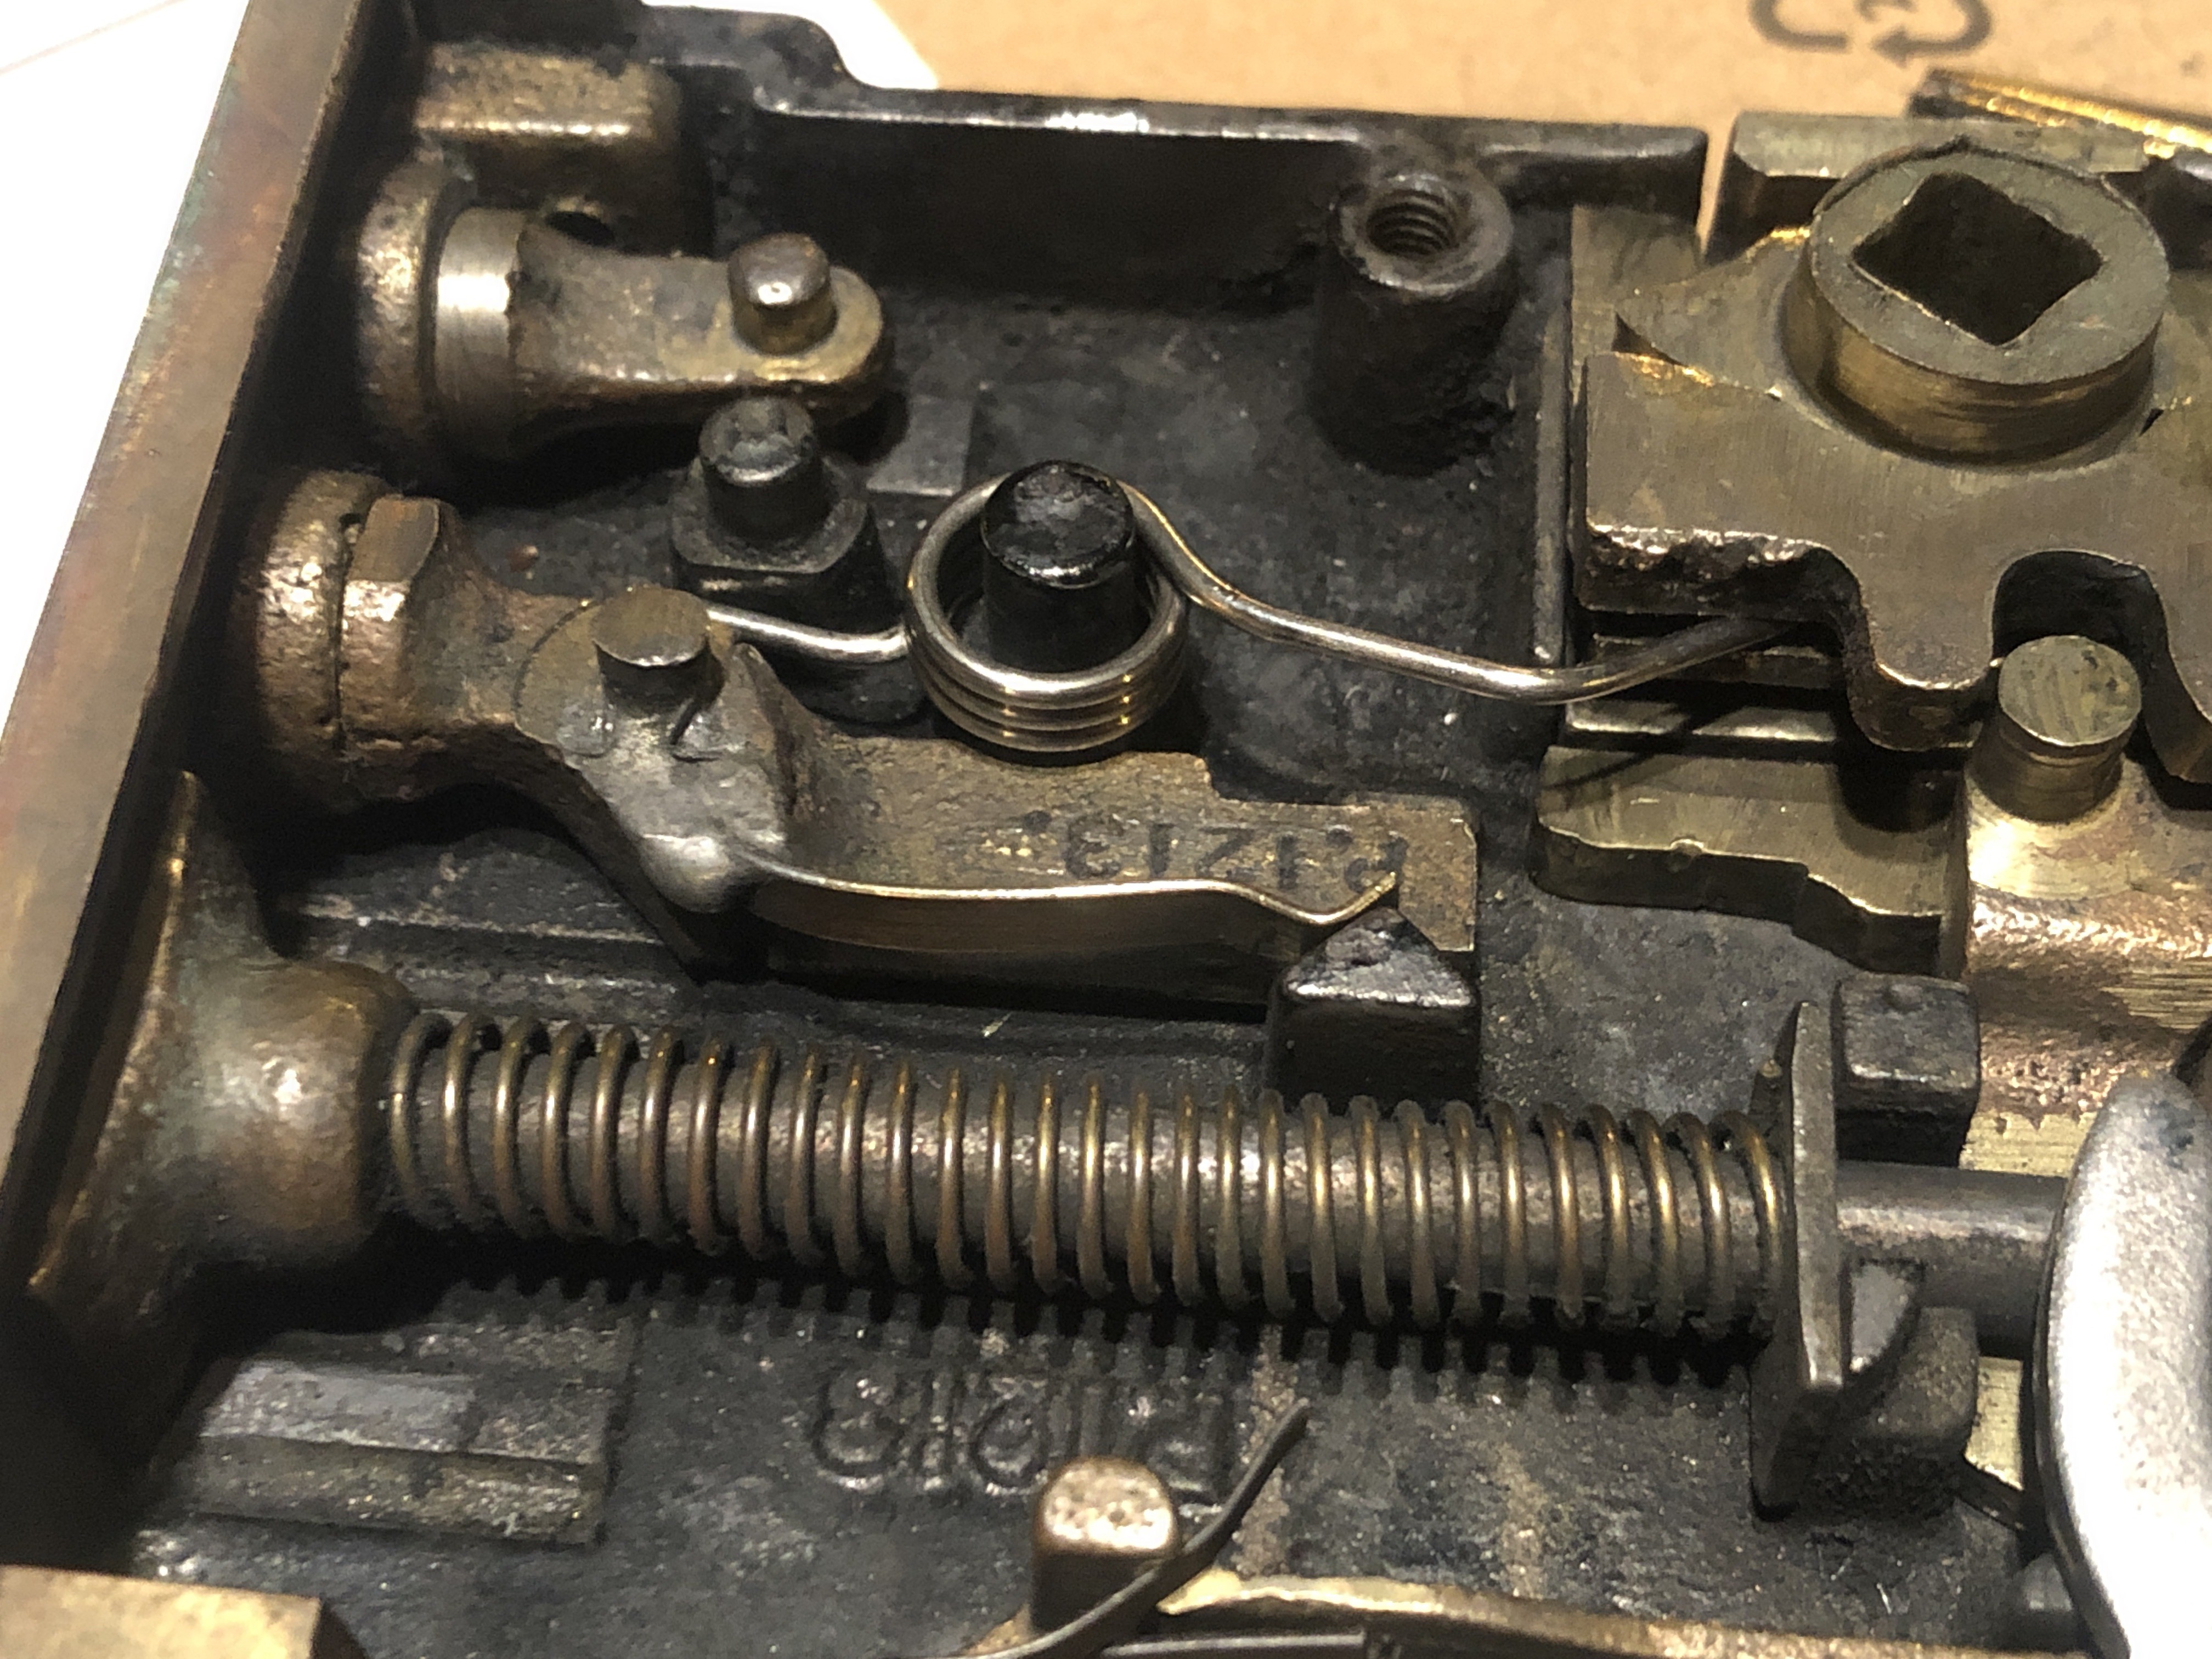
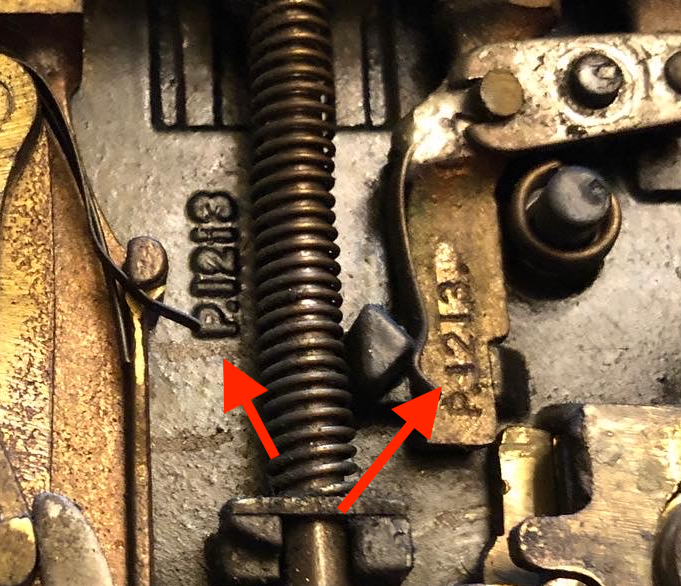
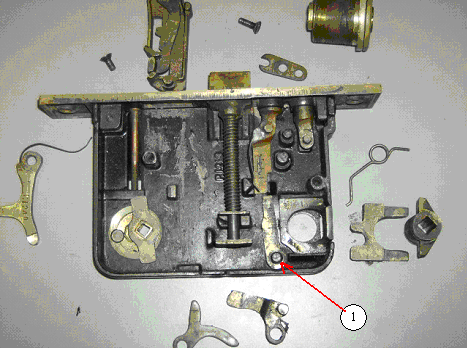
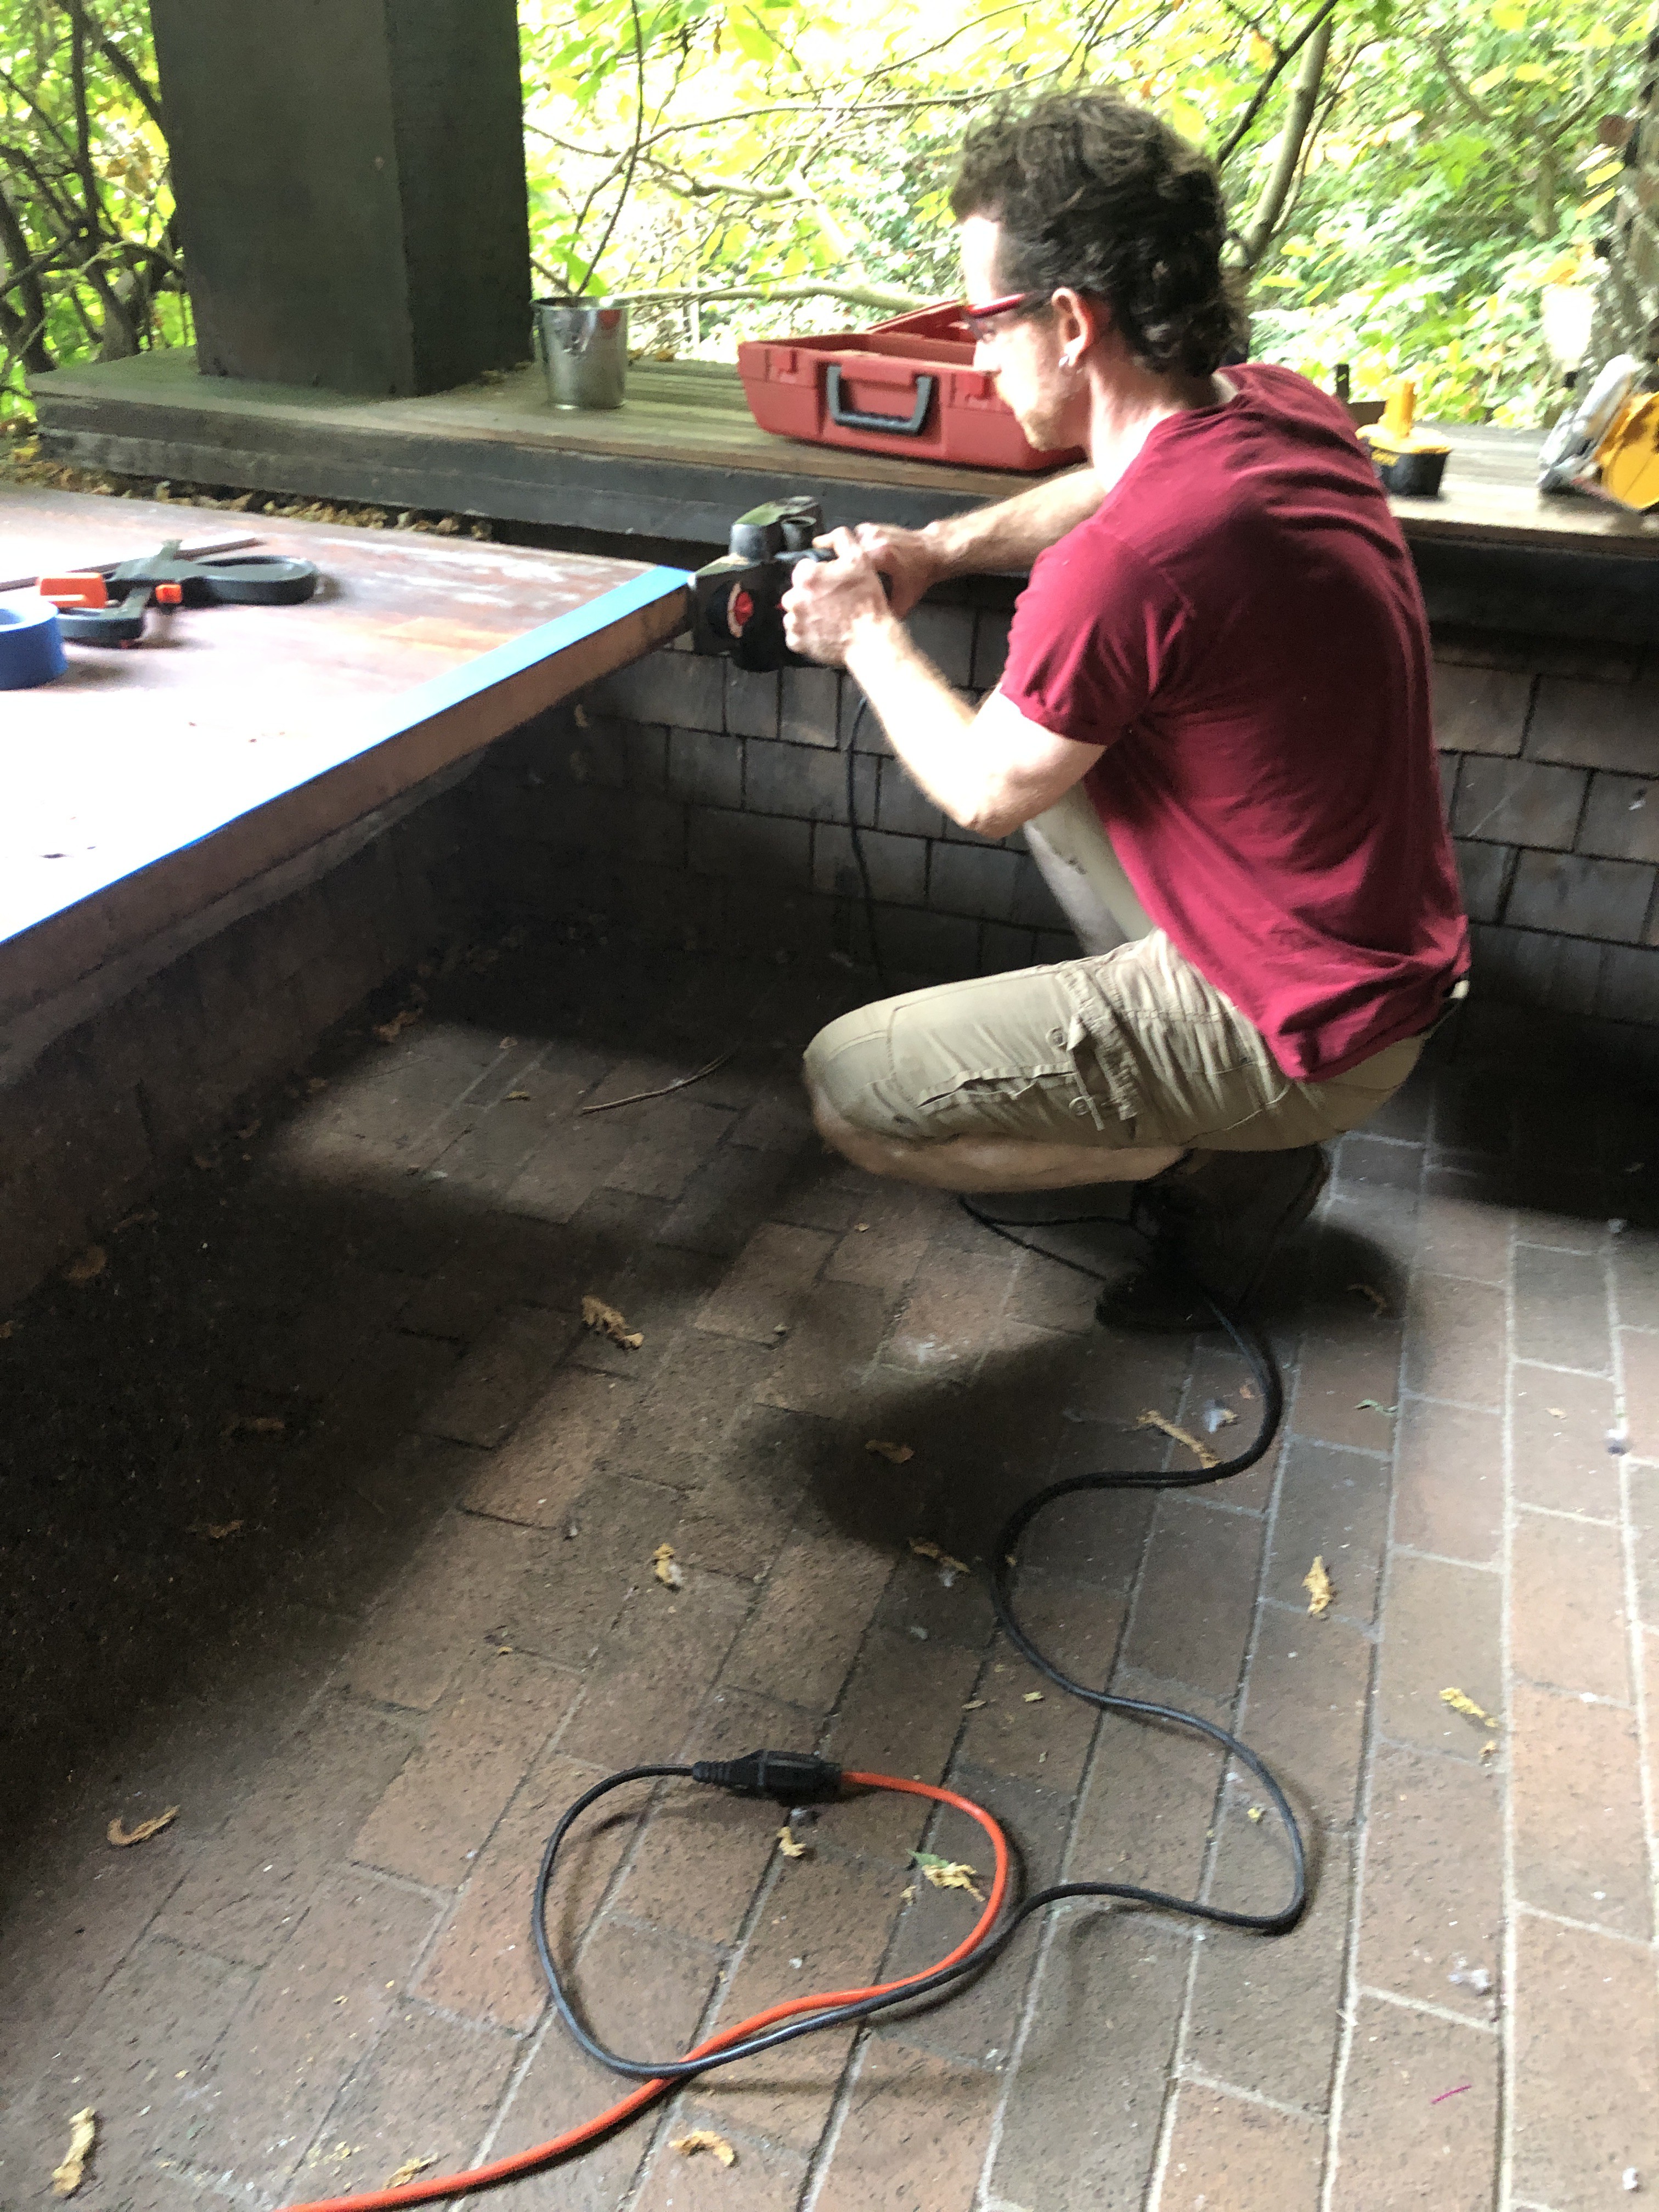
I figured it would be an easy job: Take the door off the hinges, square it up to the frame, and clean the lock. Join me on this adventure in which I learn way more about old locks than I ever expected.
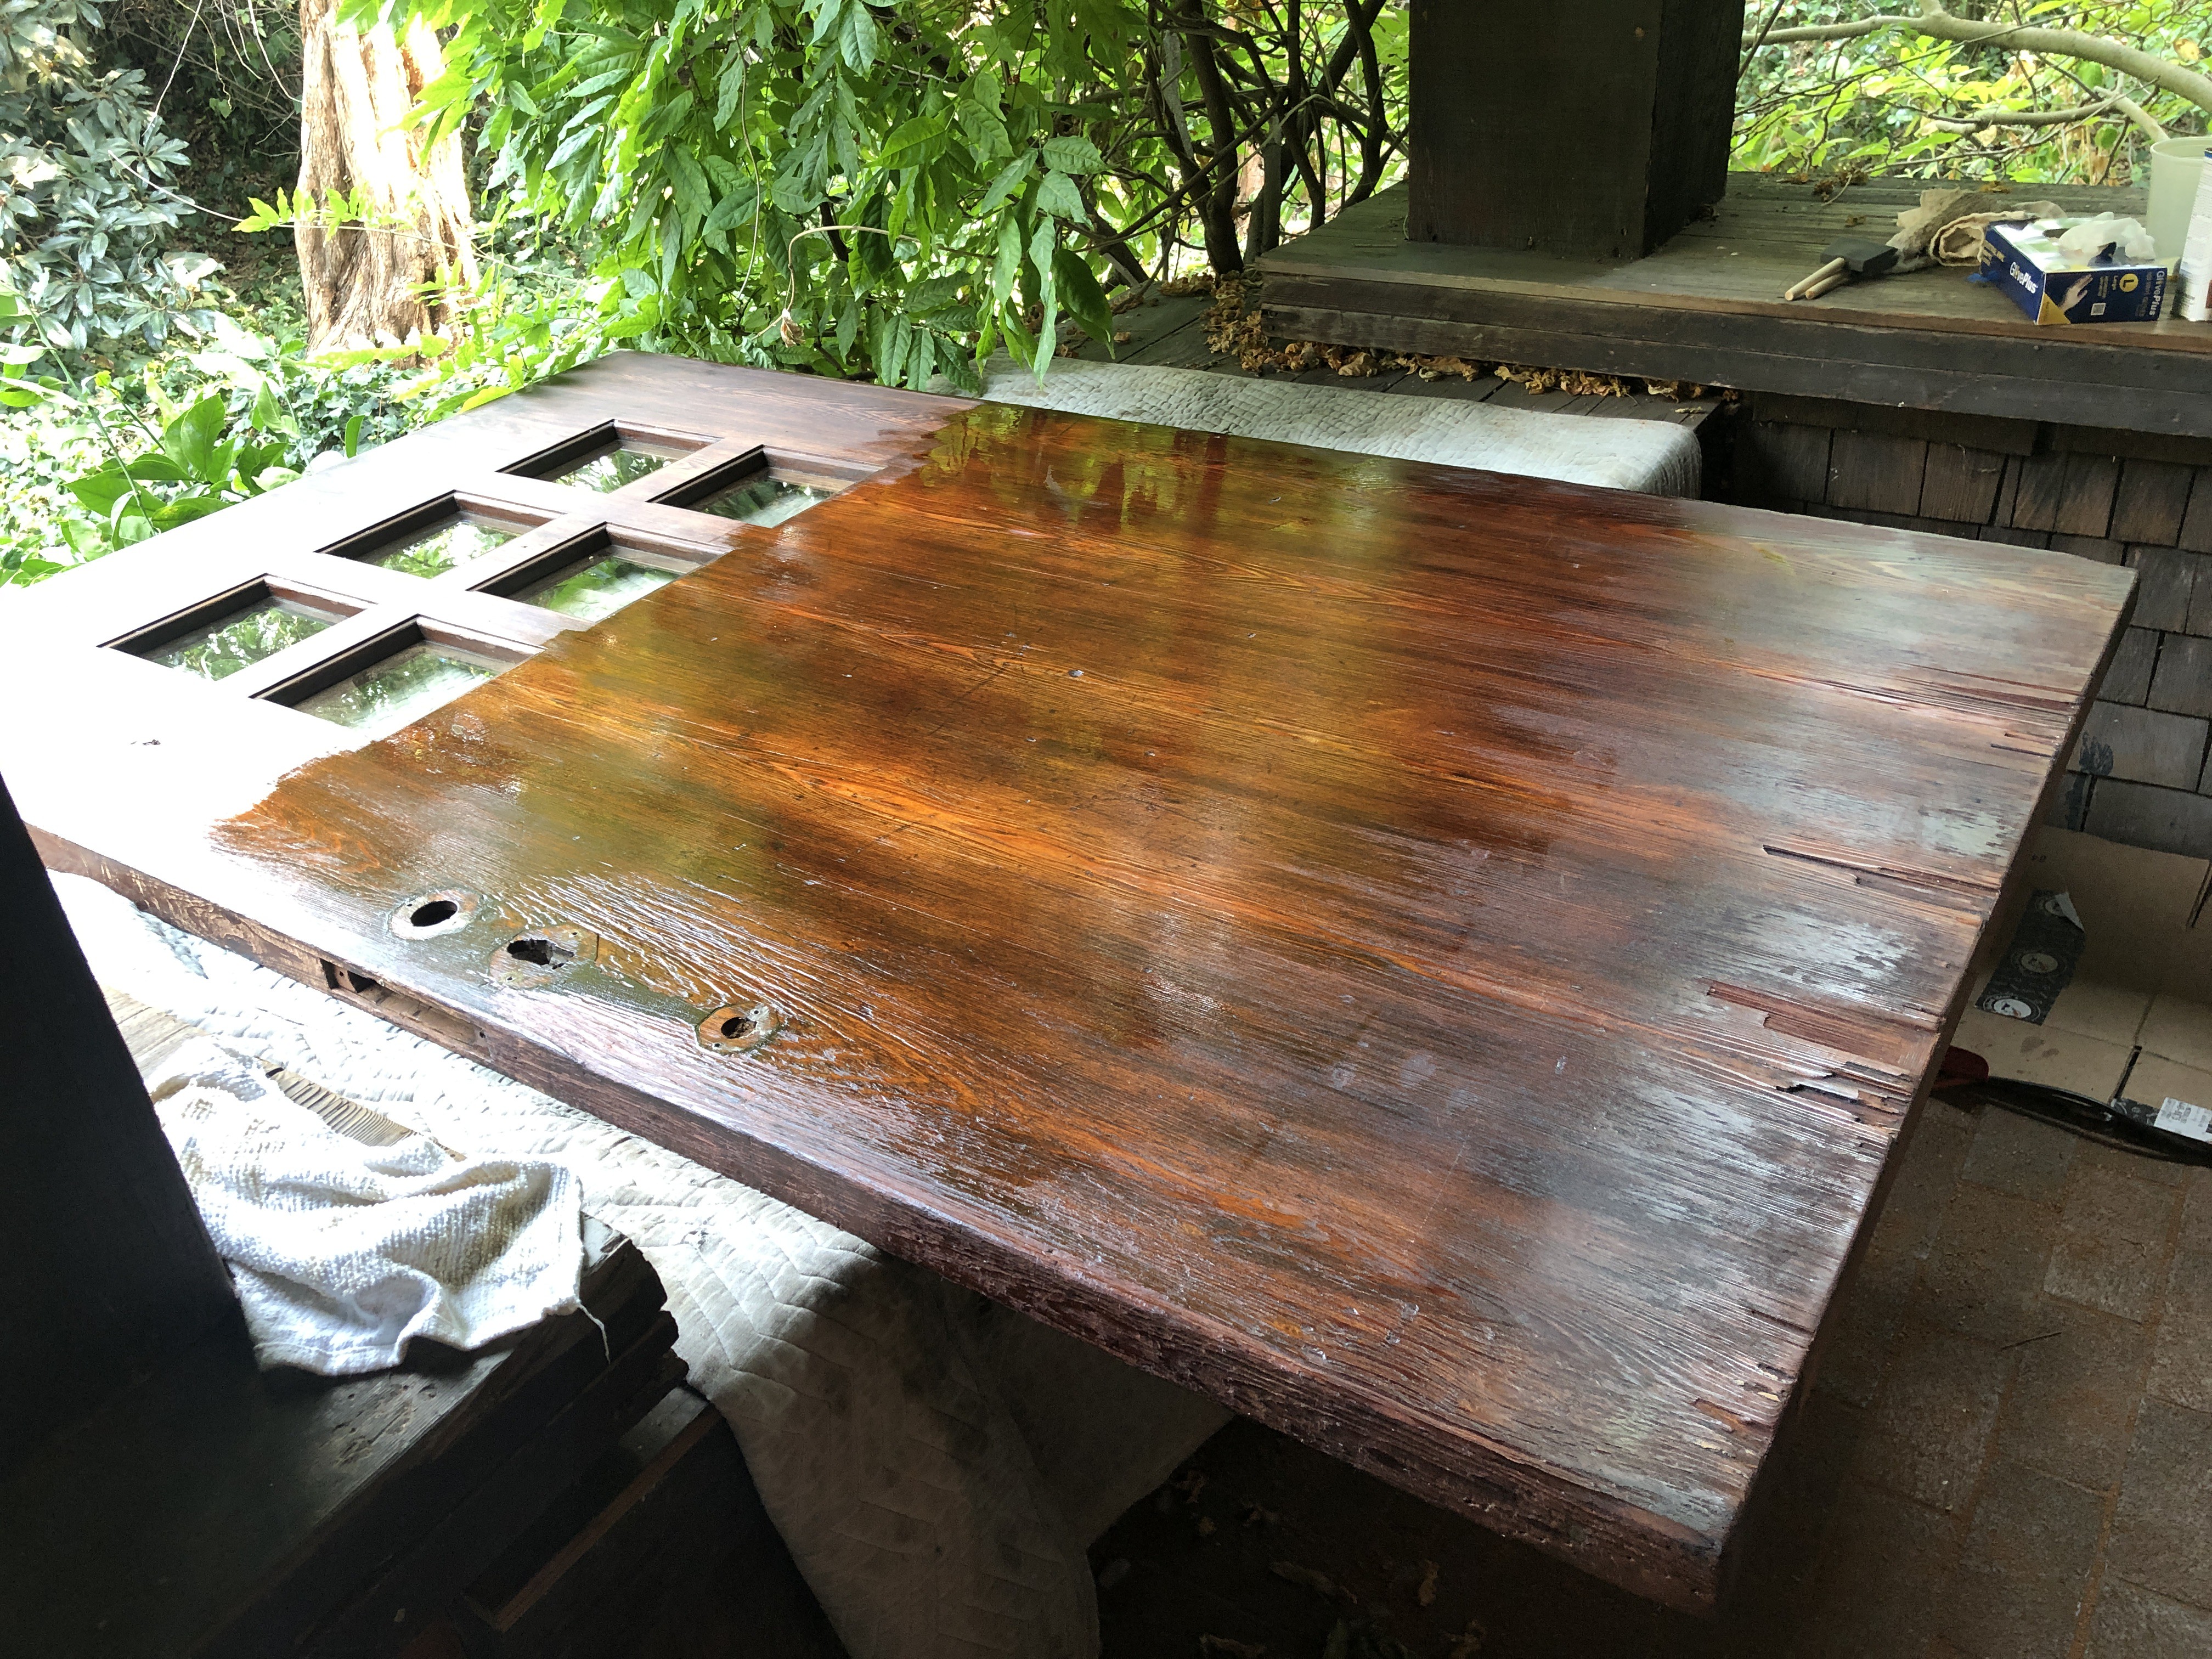
 Pretty nice, right?
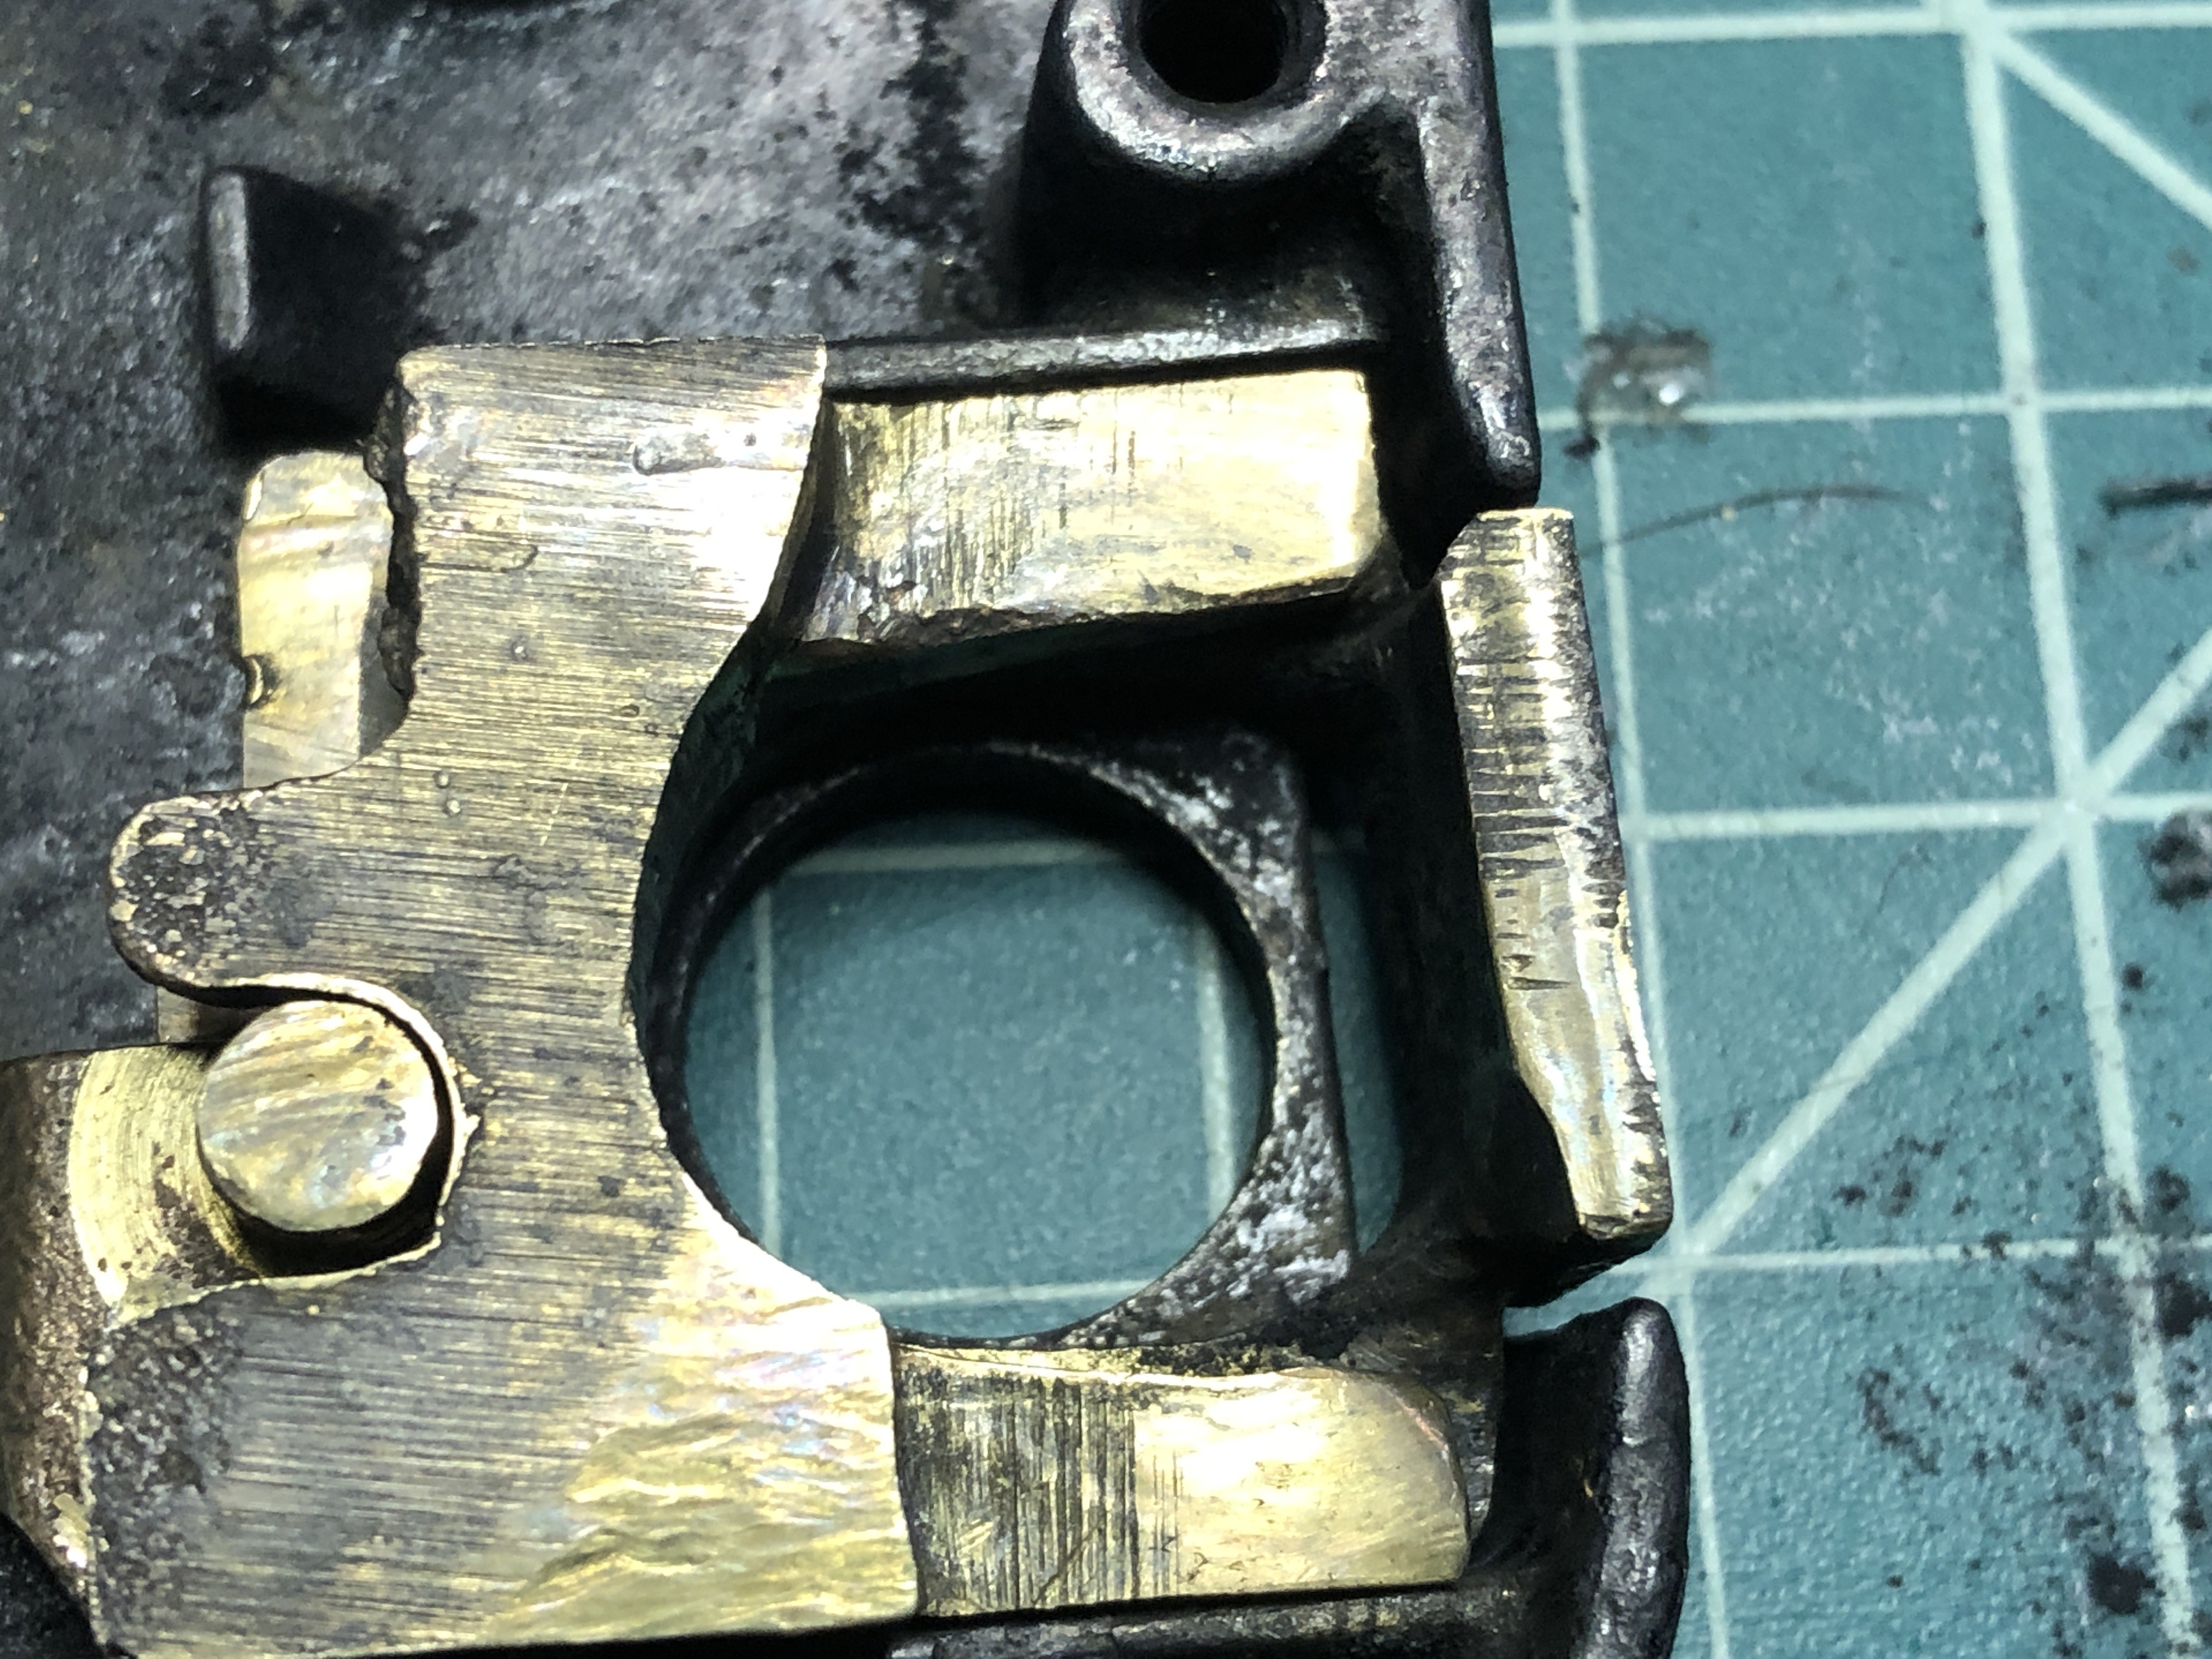

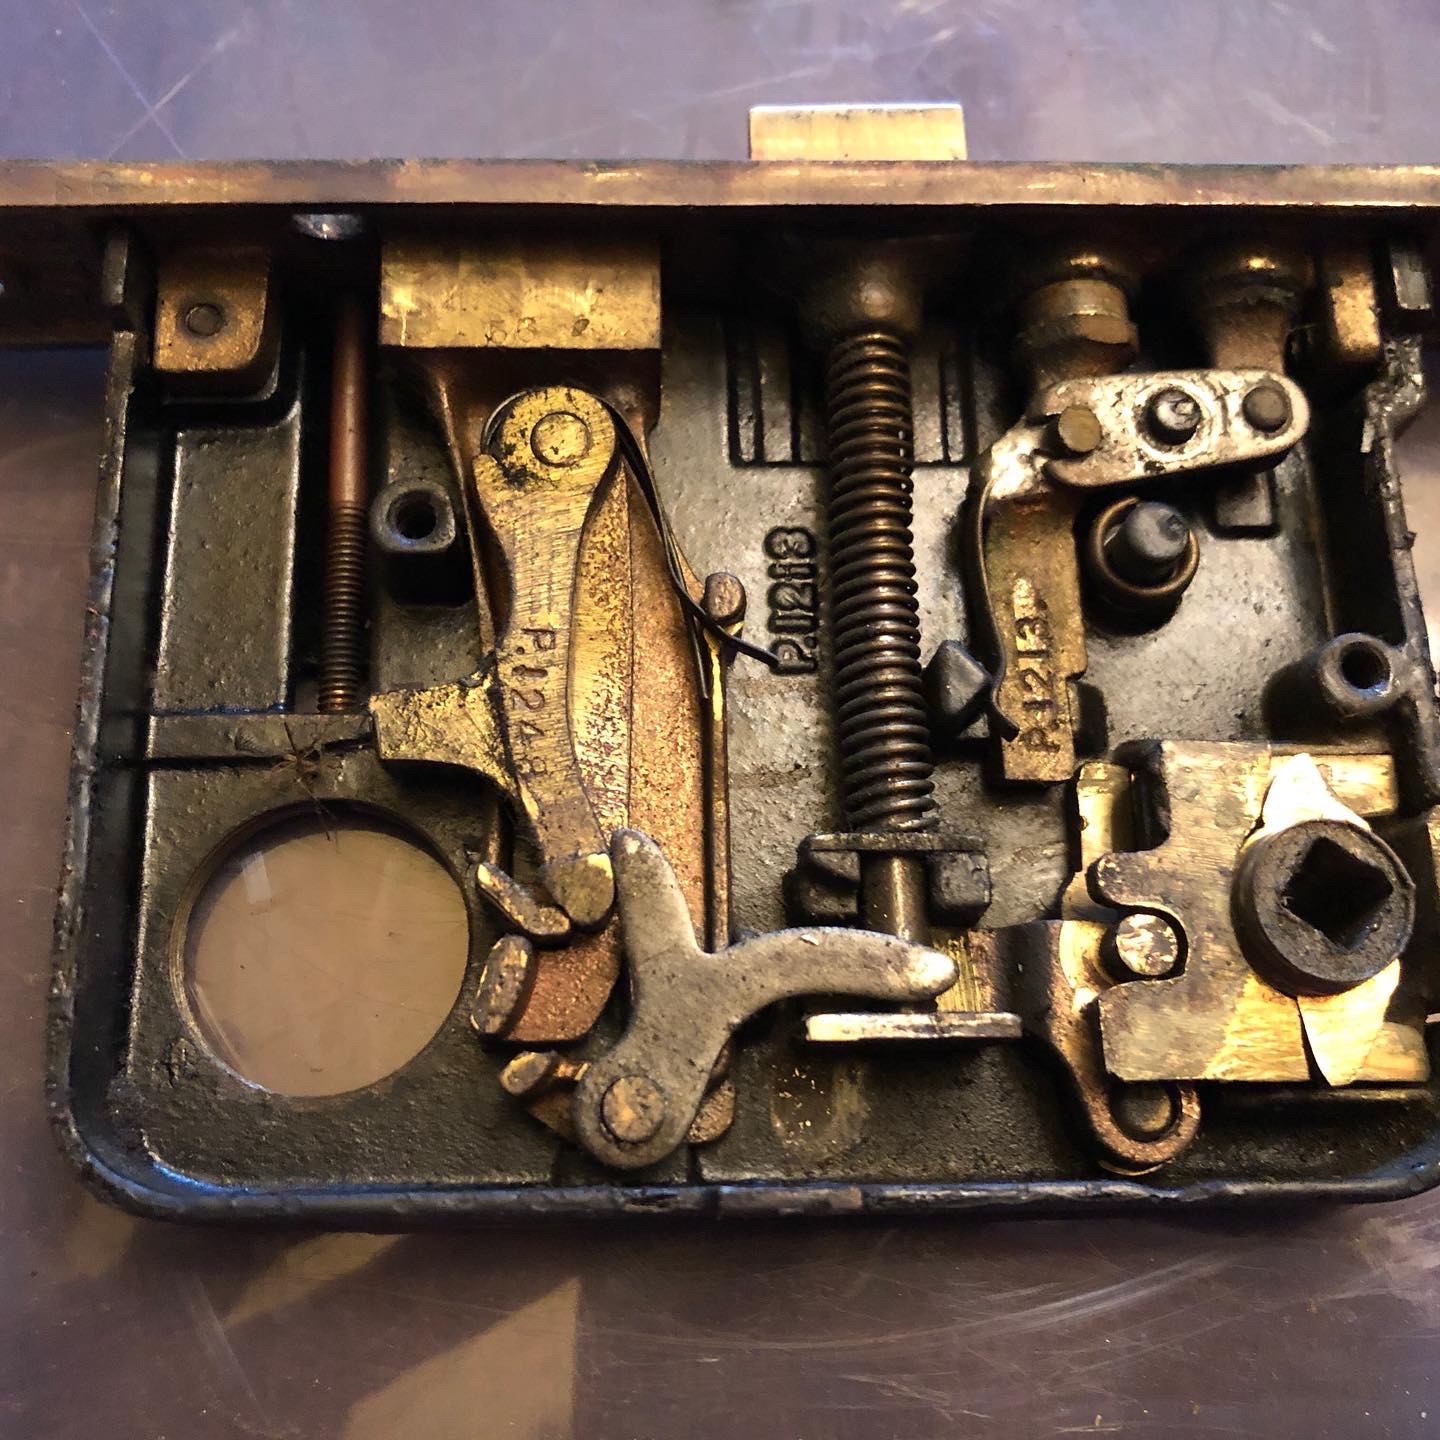
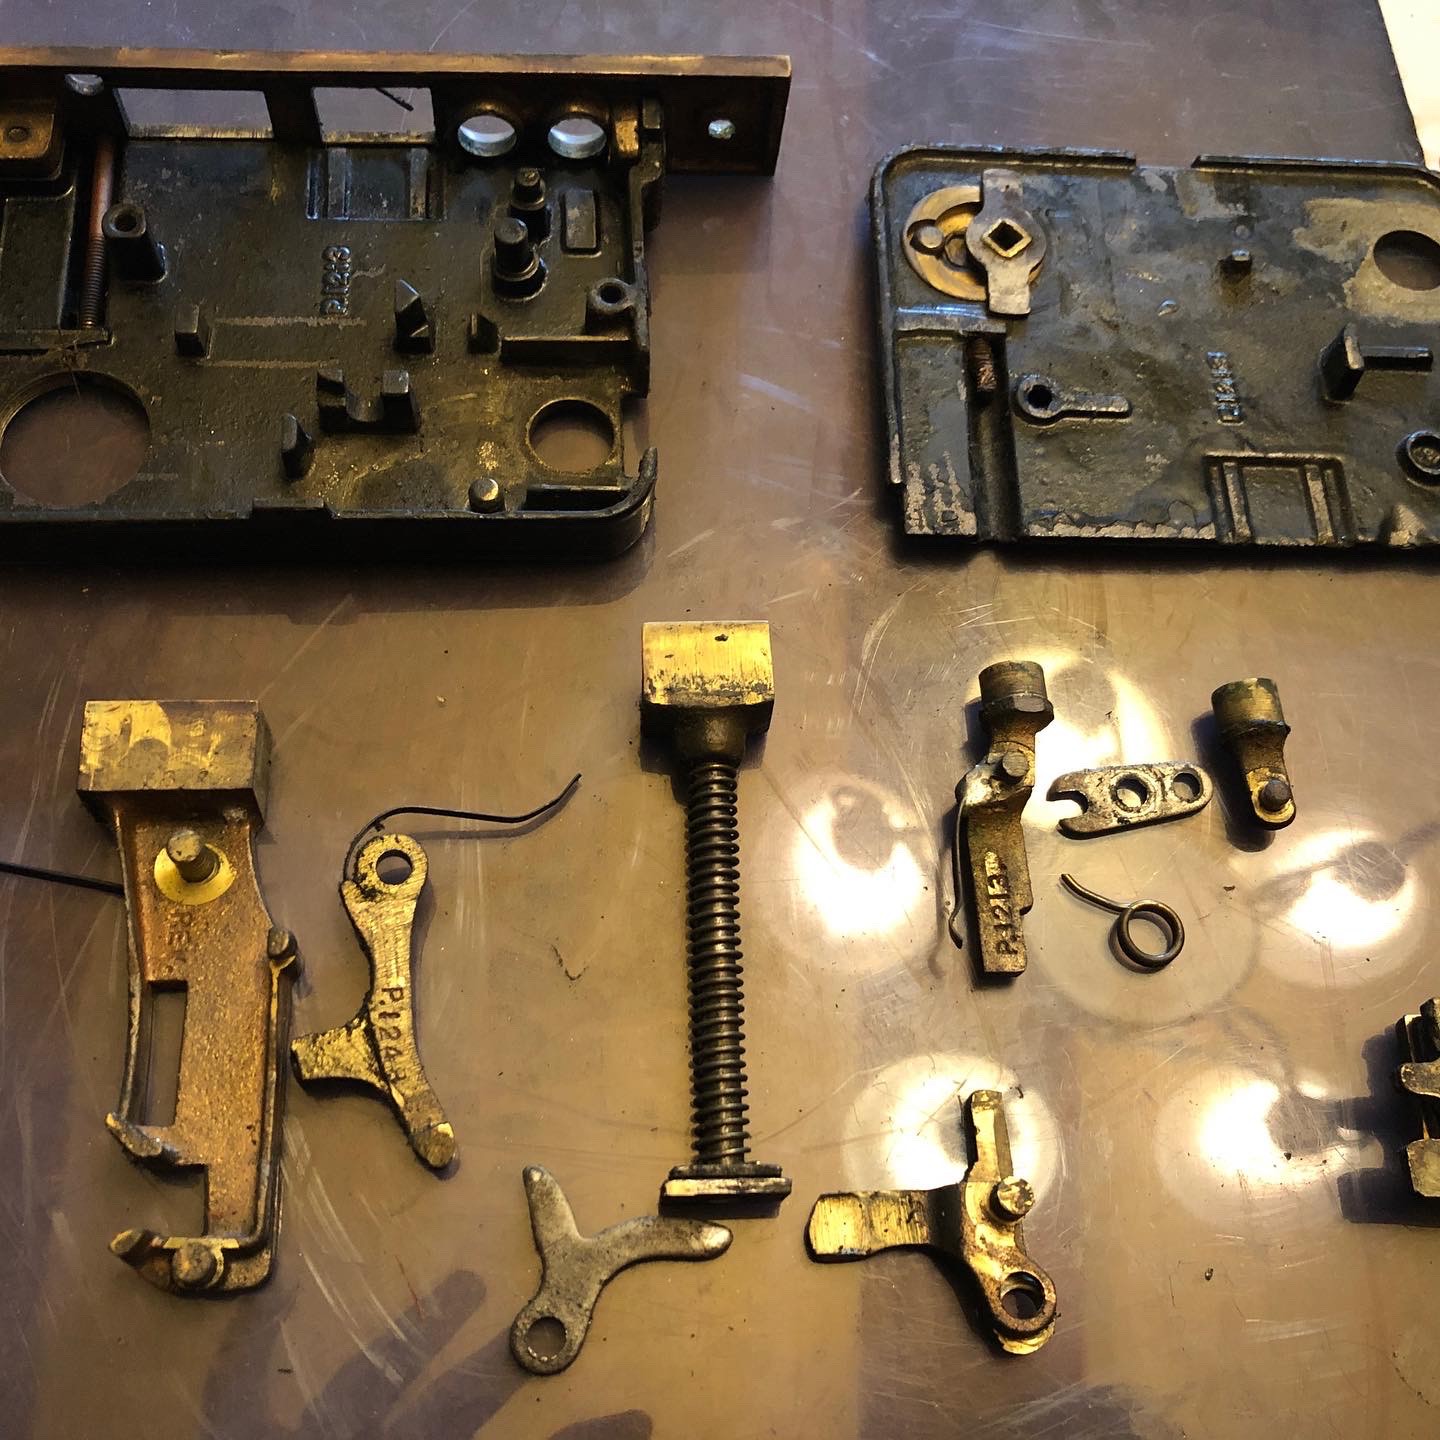


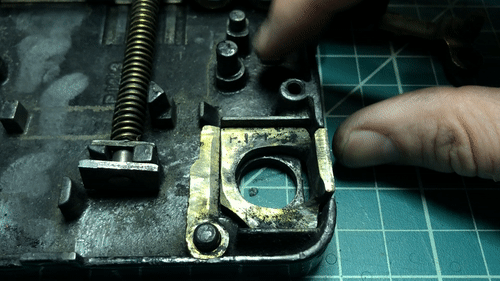
 Now to polish the door hardware. It had a lot of oxidation, so I had to bring out the dremel to get it shining again (I wish I took a before/after photo). I chose to shine the major areas but leave some of the oxidation and tarnish to keep the antique look.
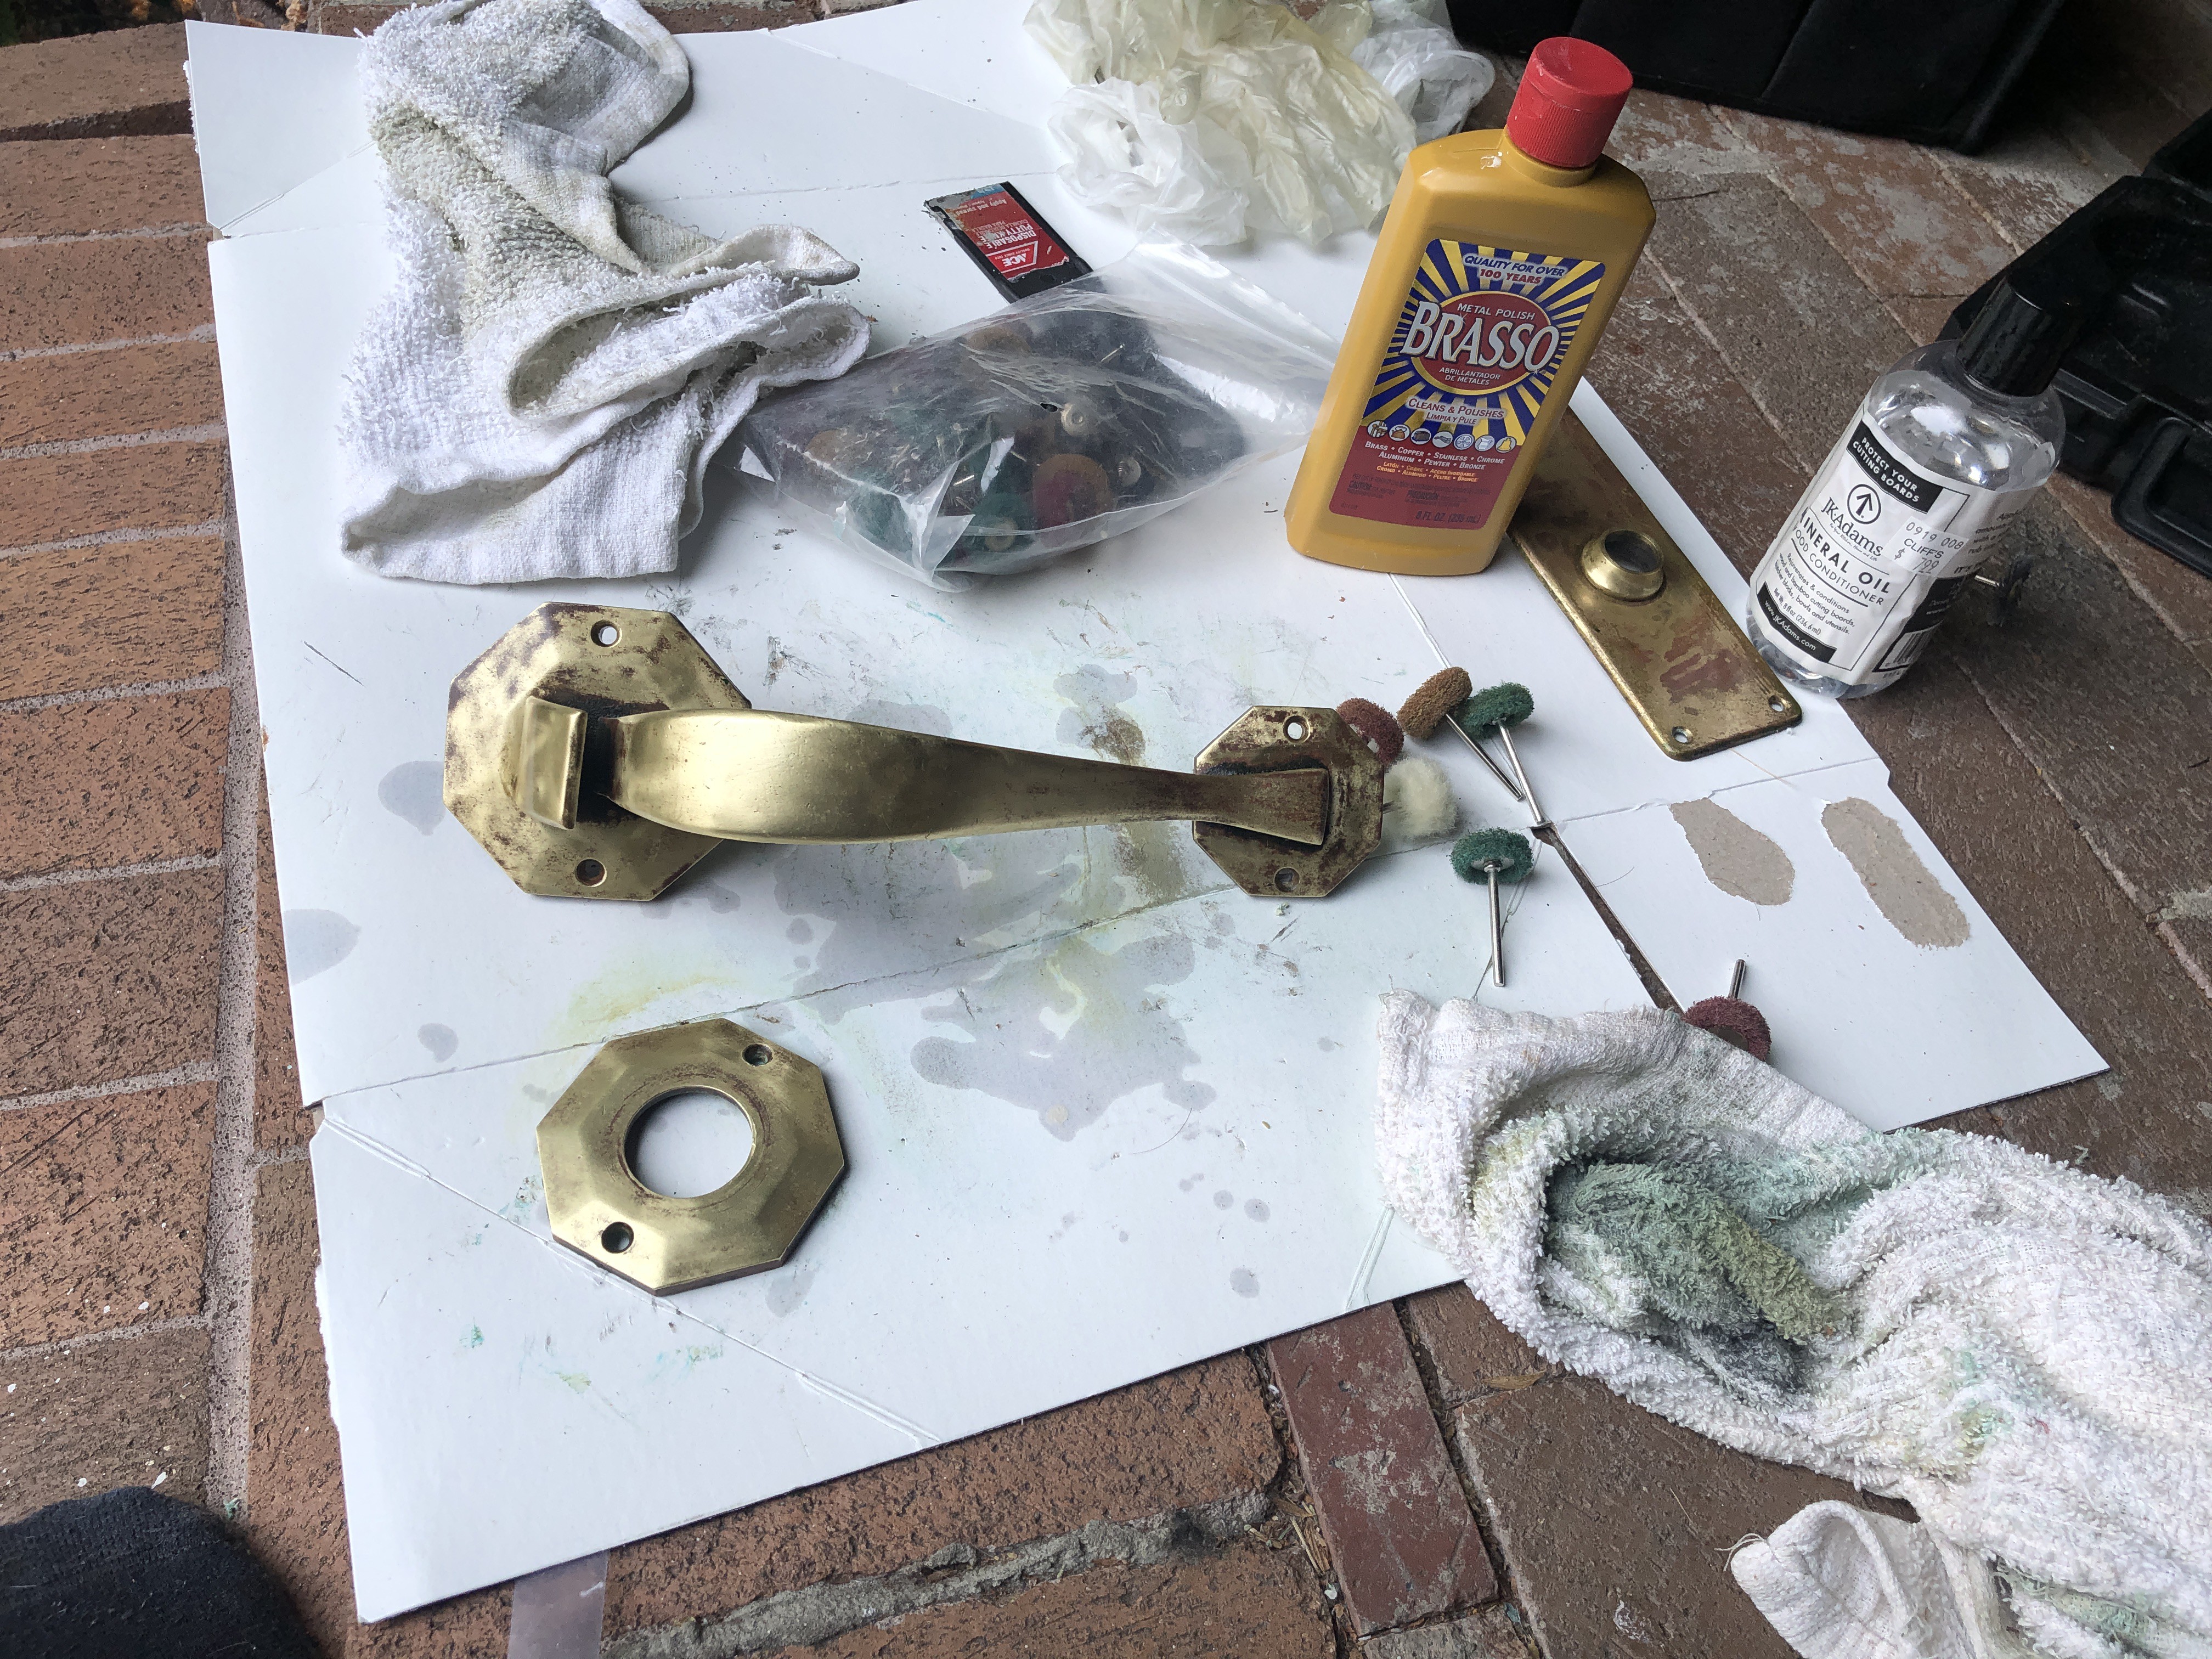
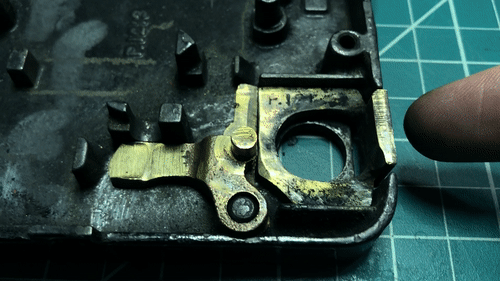
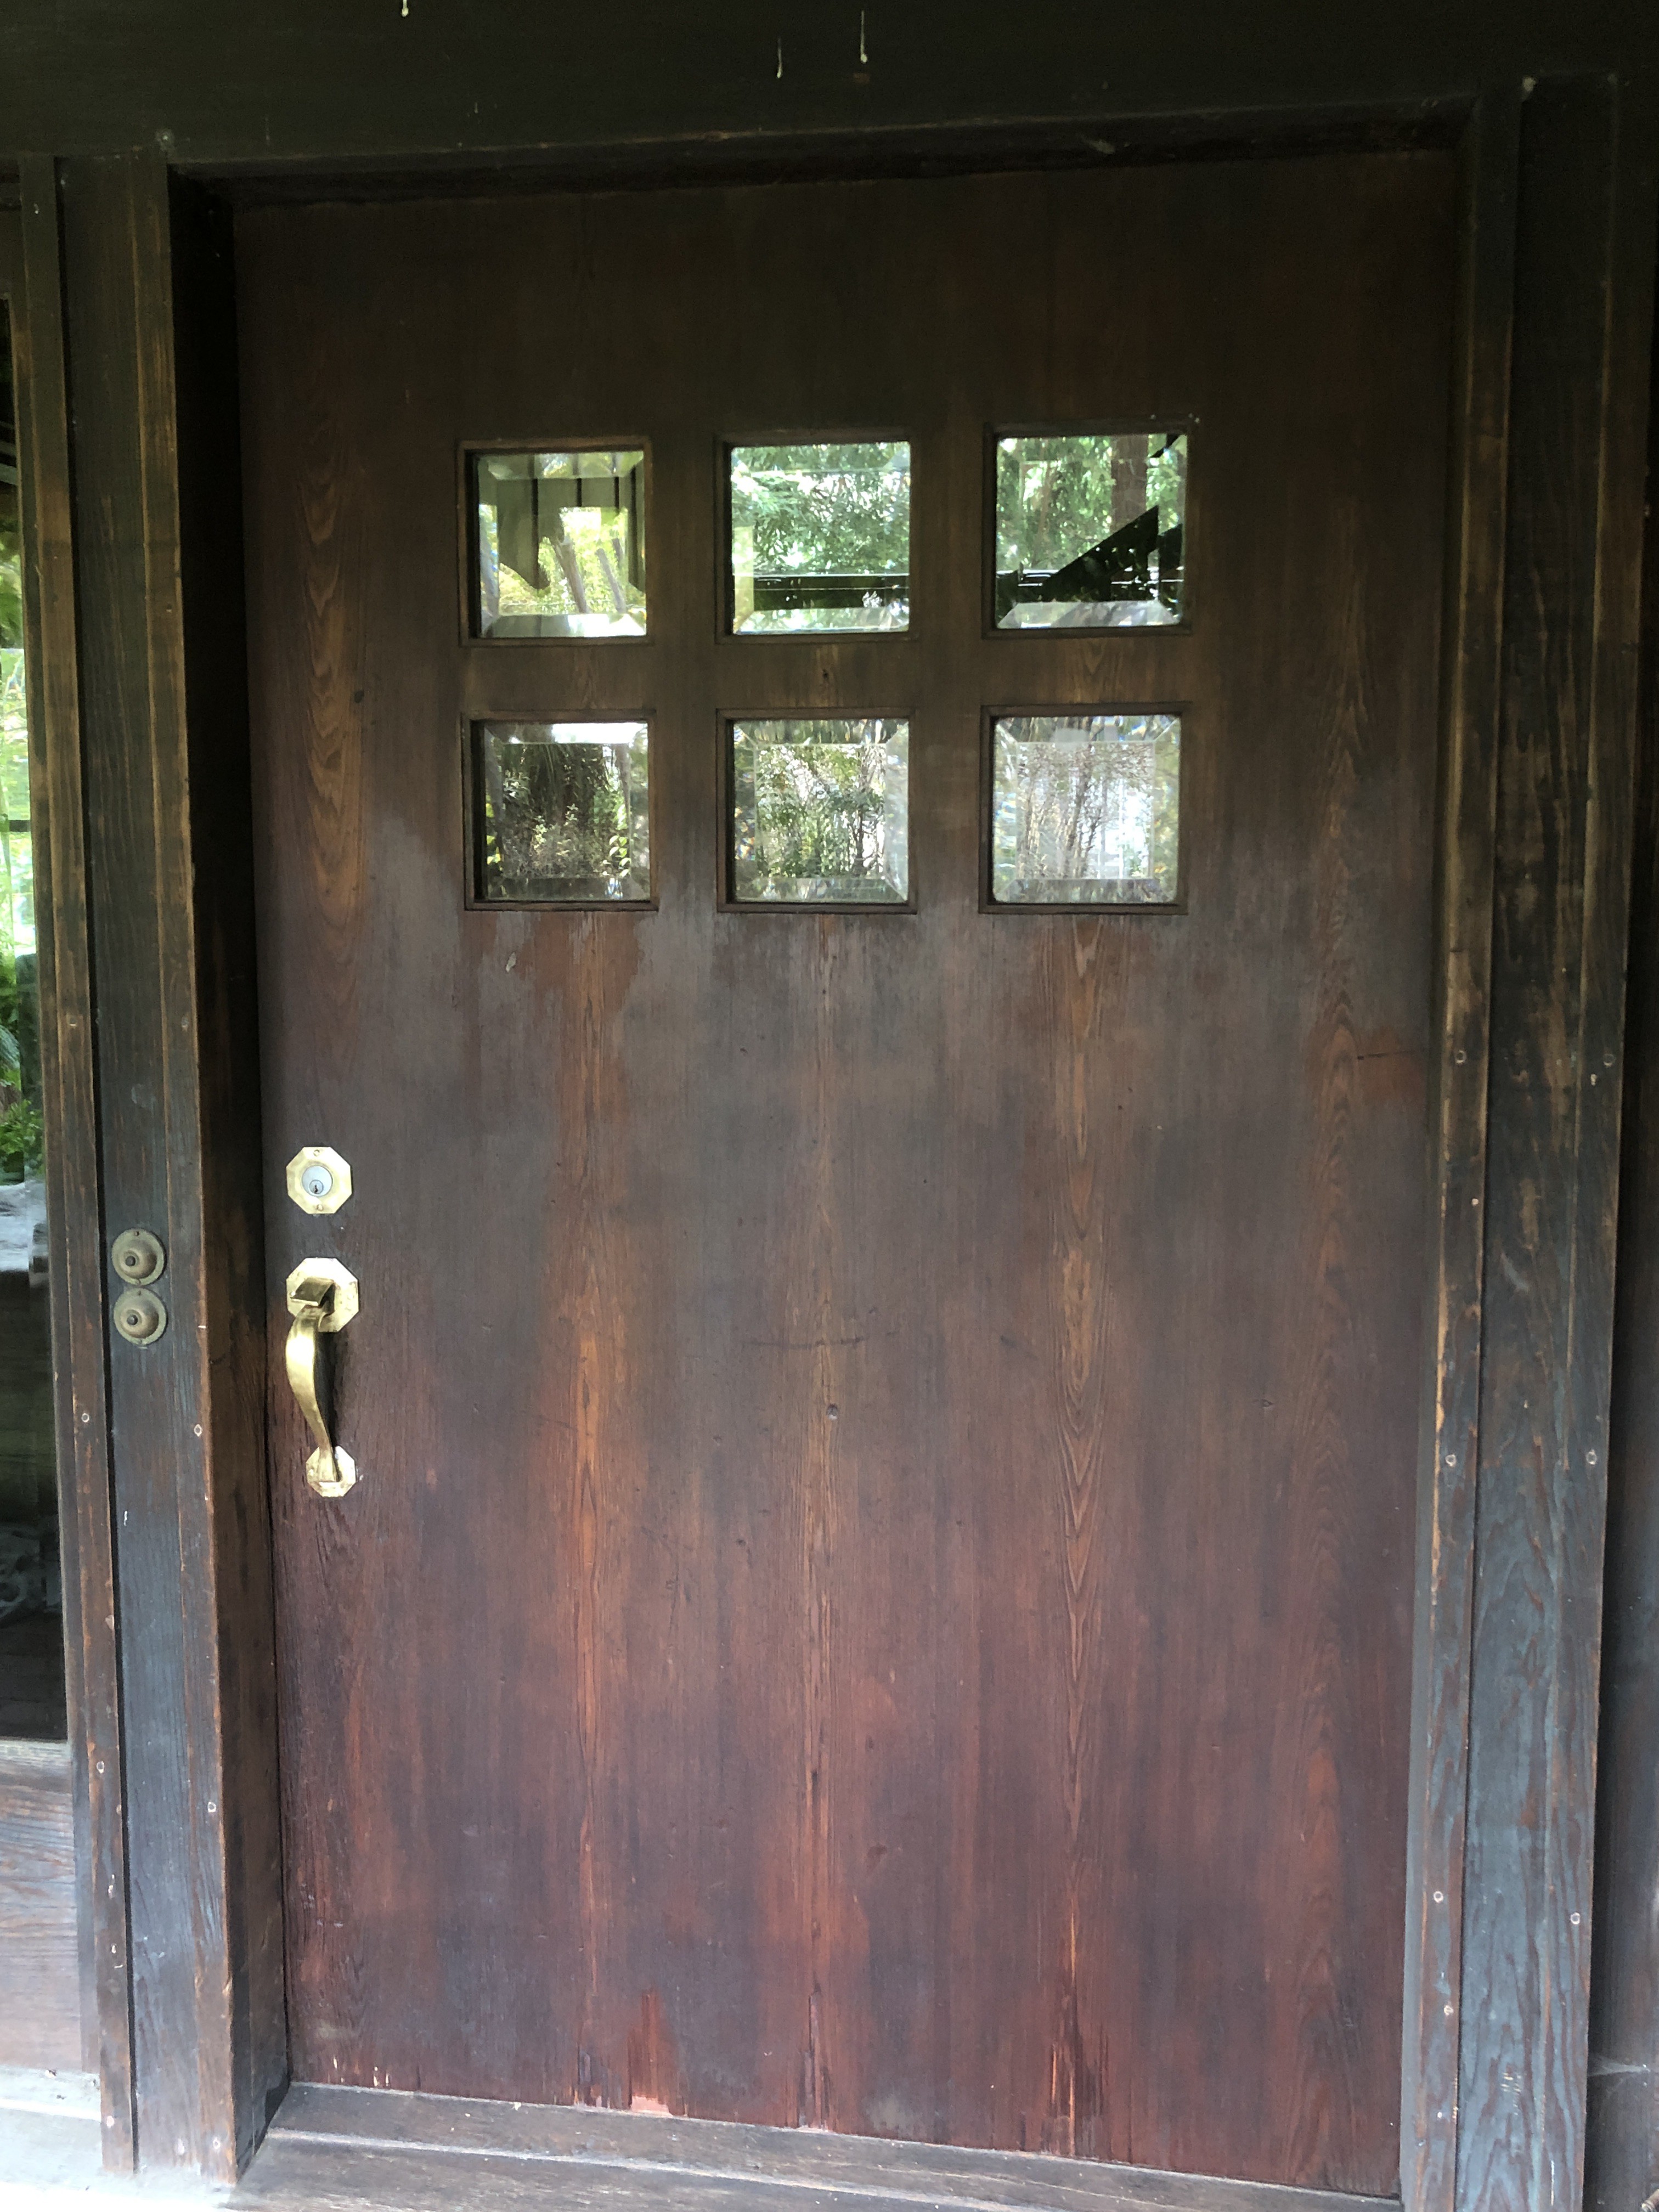 Pretty good for the first pass. I'll probably put an extra layer or two of oil on it in the next week or so.
 luxotek
 WJCarpenter
 rawe
rawe
 Joseph Eoff