Close
0%
0%

I Voted Blinky Badge - SMT, Pre-assembled

JUST VOTE.

Similar projects worth following
92 views
0 followers
Starting from
$20.22
alpenglow has 265 orders / 21reviews
Ships from United States of America
I designed these boards both to encourage people to vote, and to make it a little more fun.

I grew up in the US Virgin Islands, a territory in which the residents are denied the right to vote for President and have no voting representation in Congress, even though they are US citizens. Voting is sadly not a right, it's a privilege. If you have it, please use it, and VOTE!

If you like this project, please follow us @frivolous.circuits on instagram!

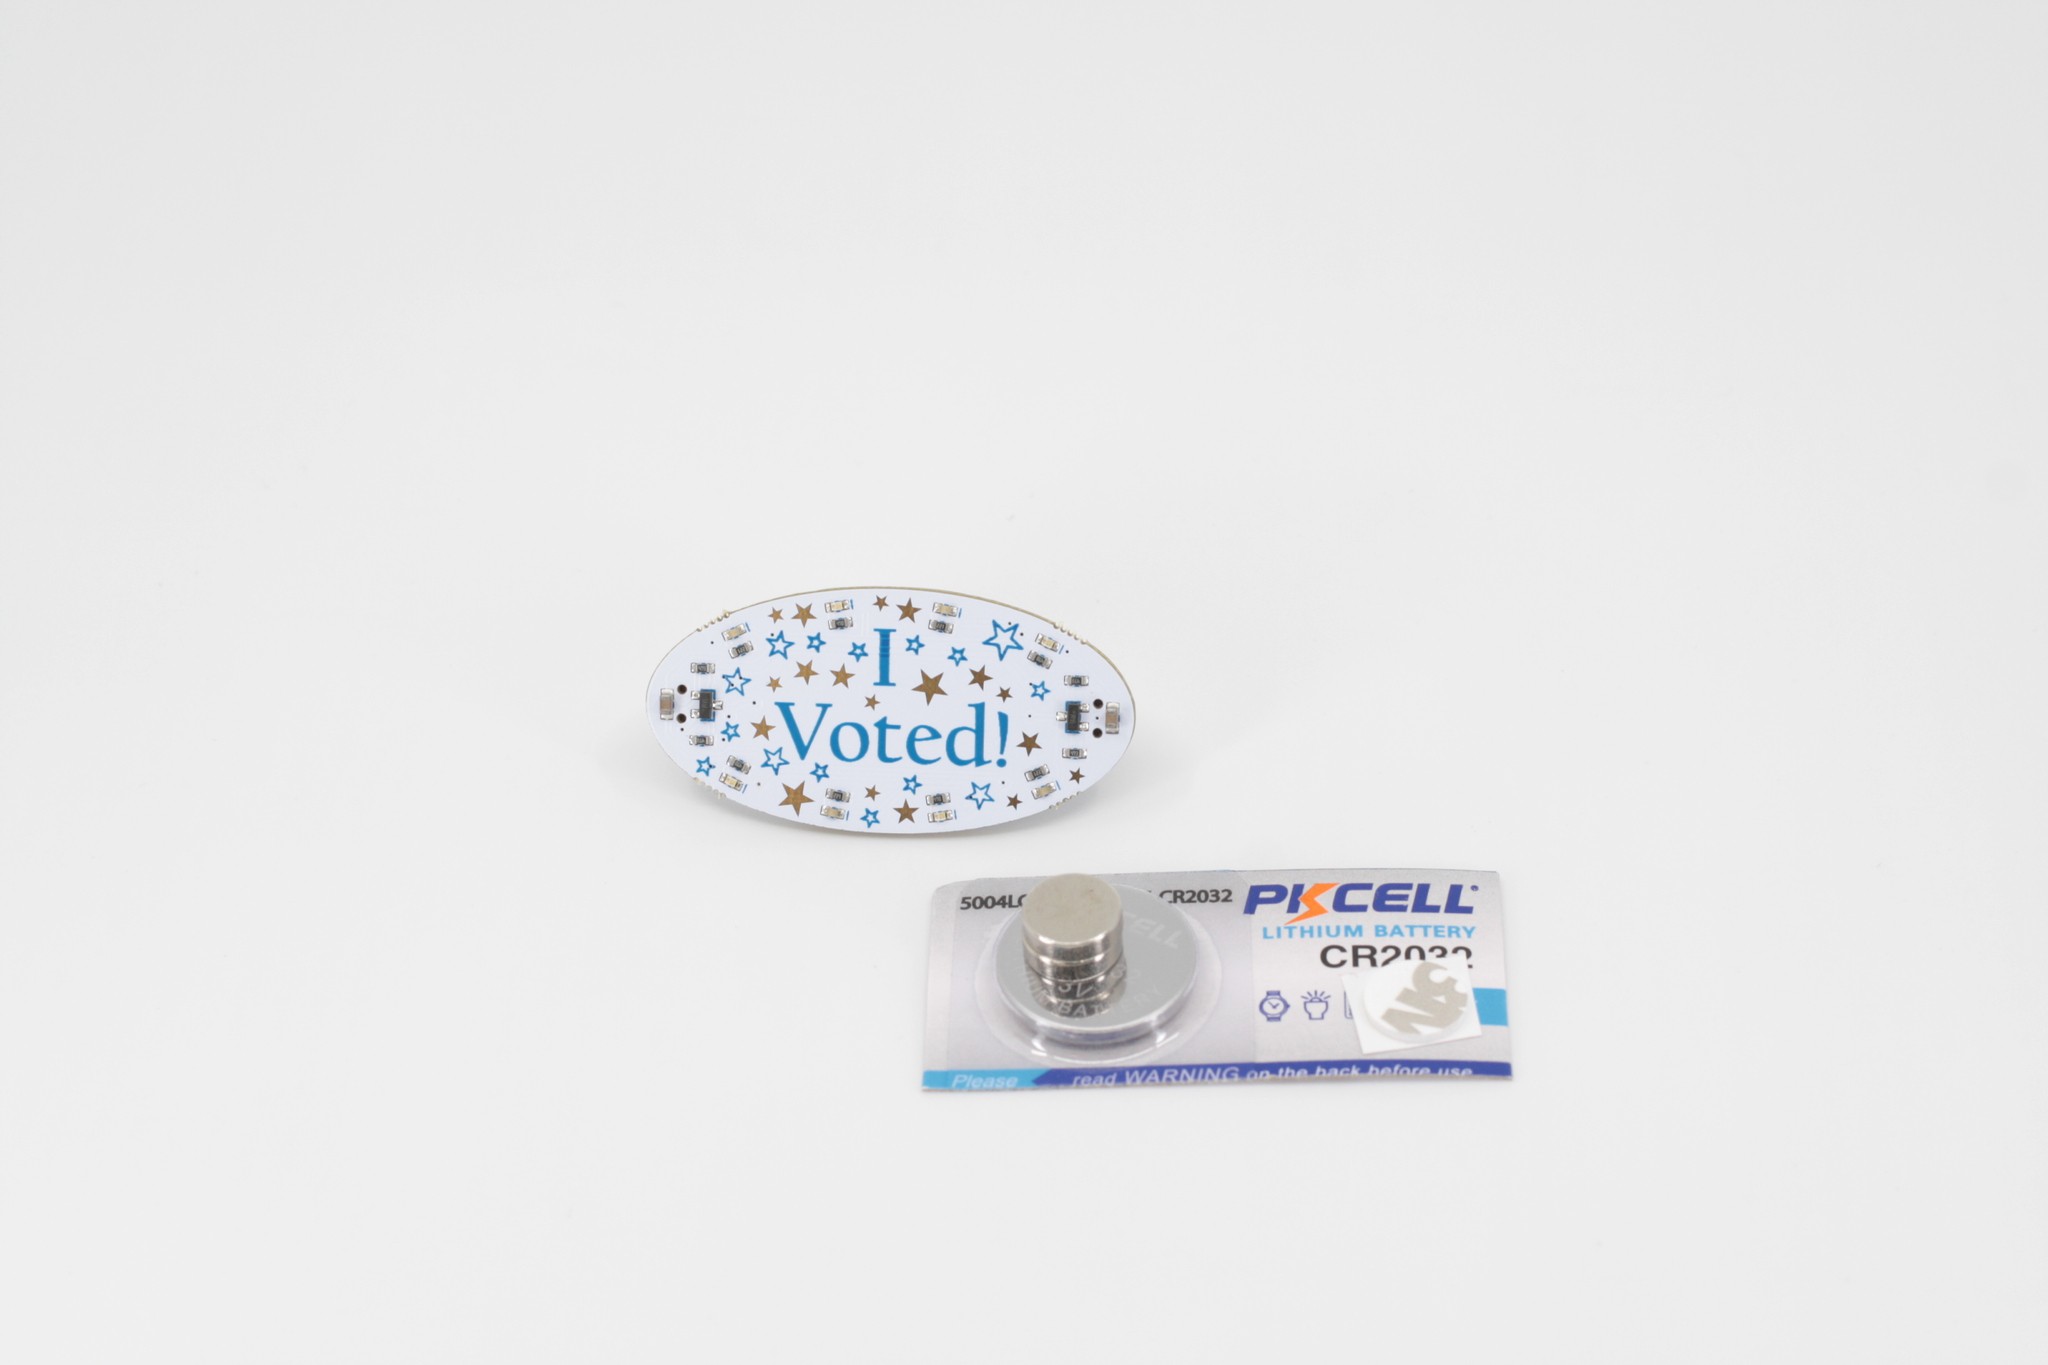
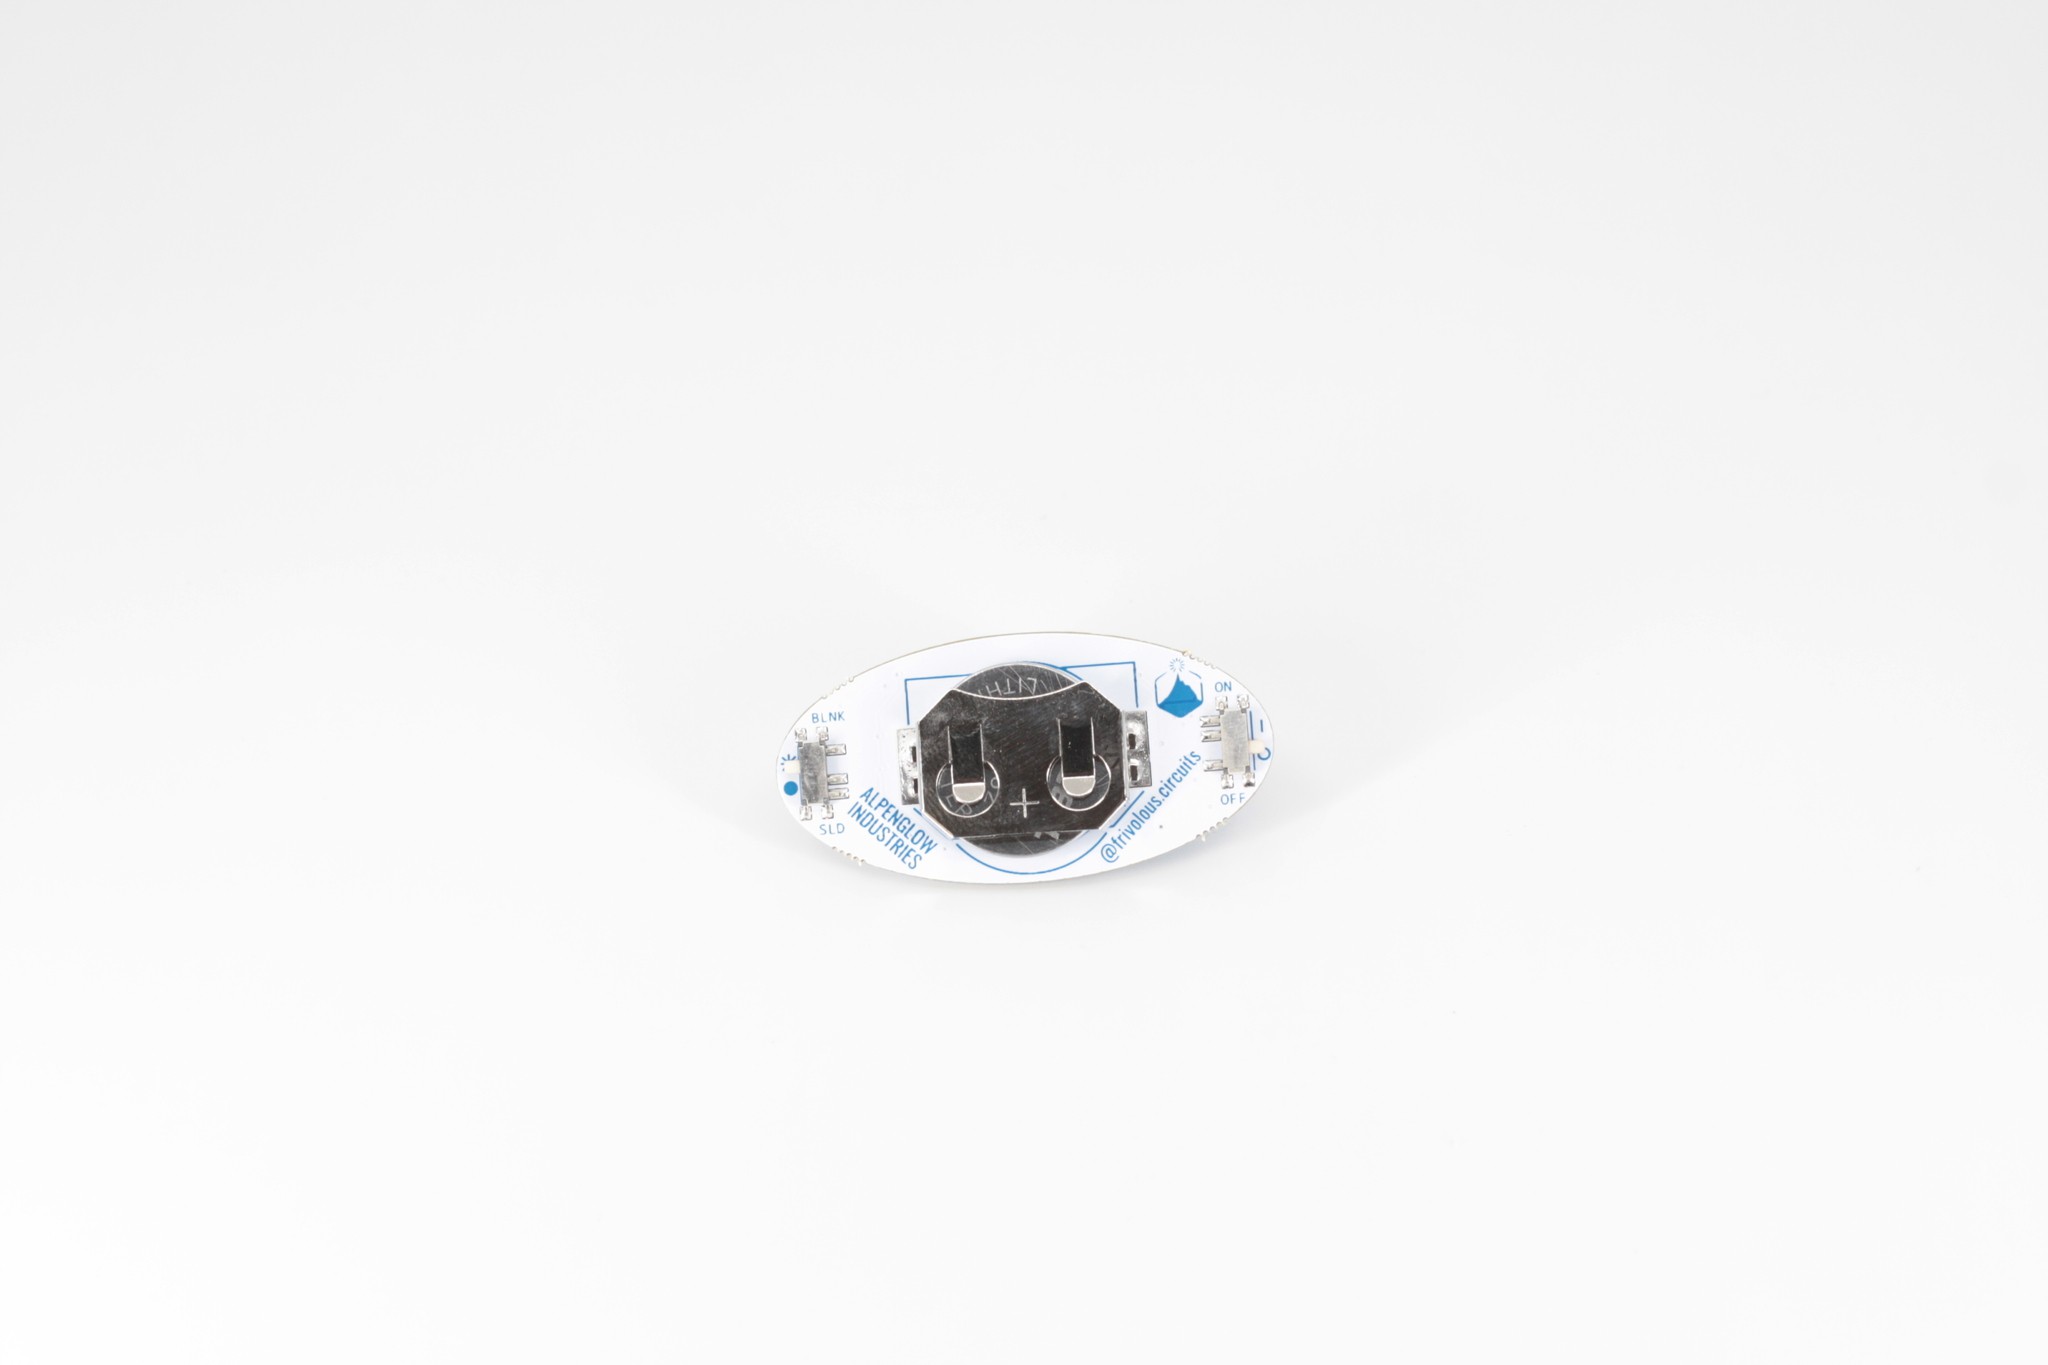
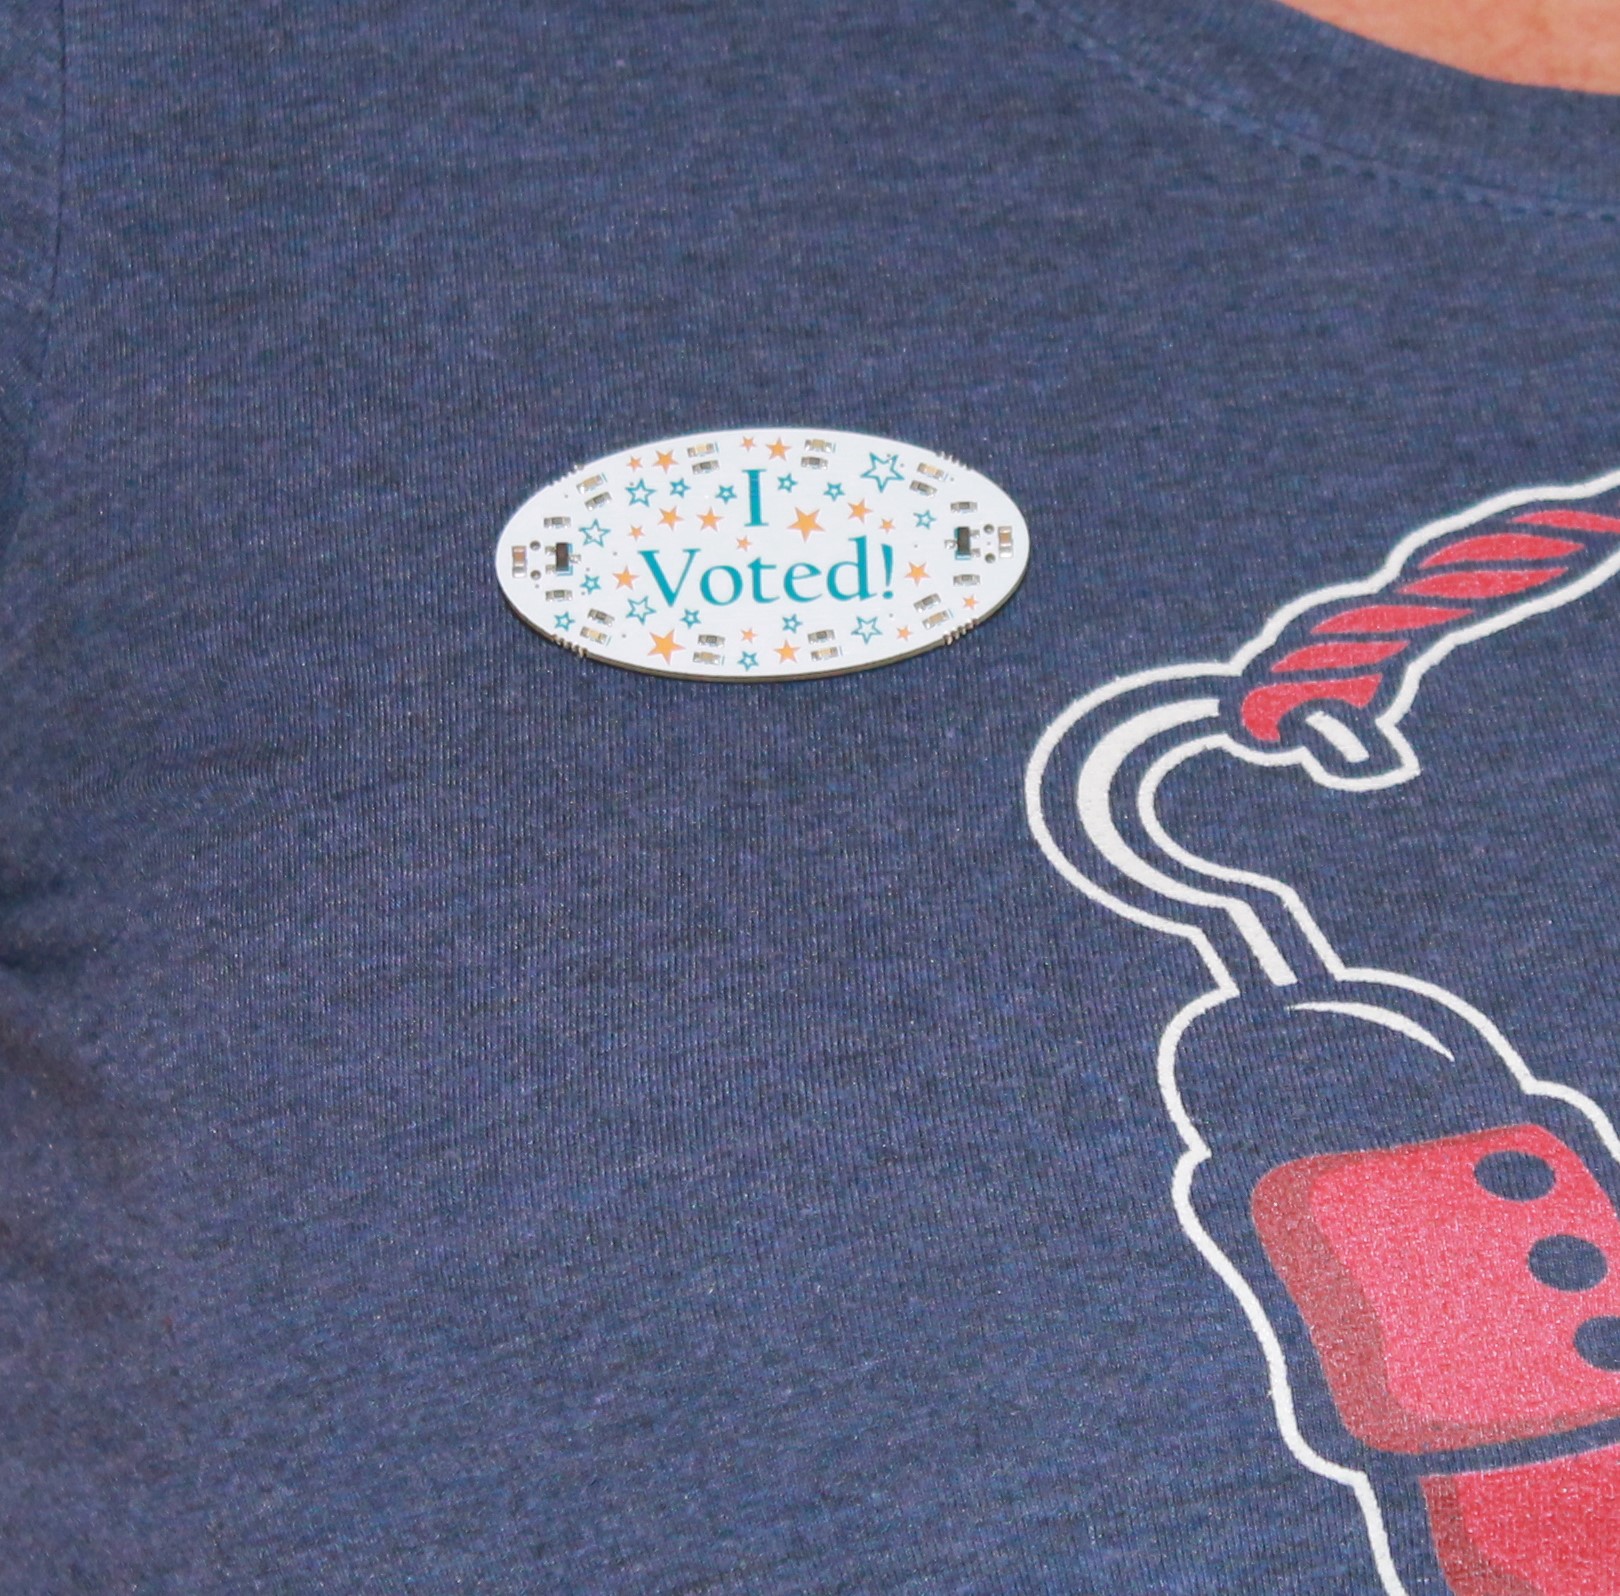
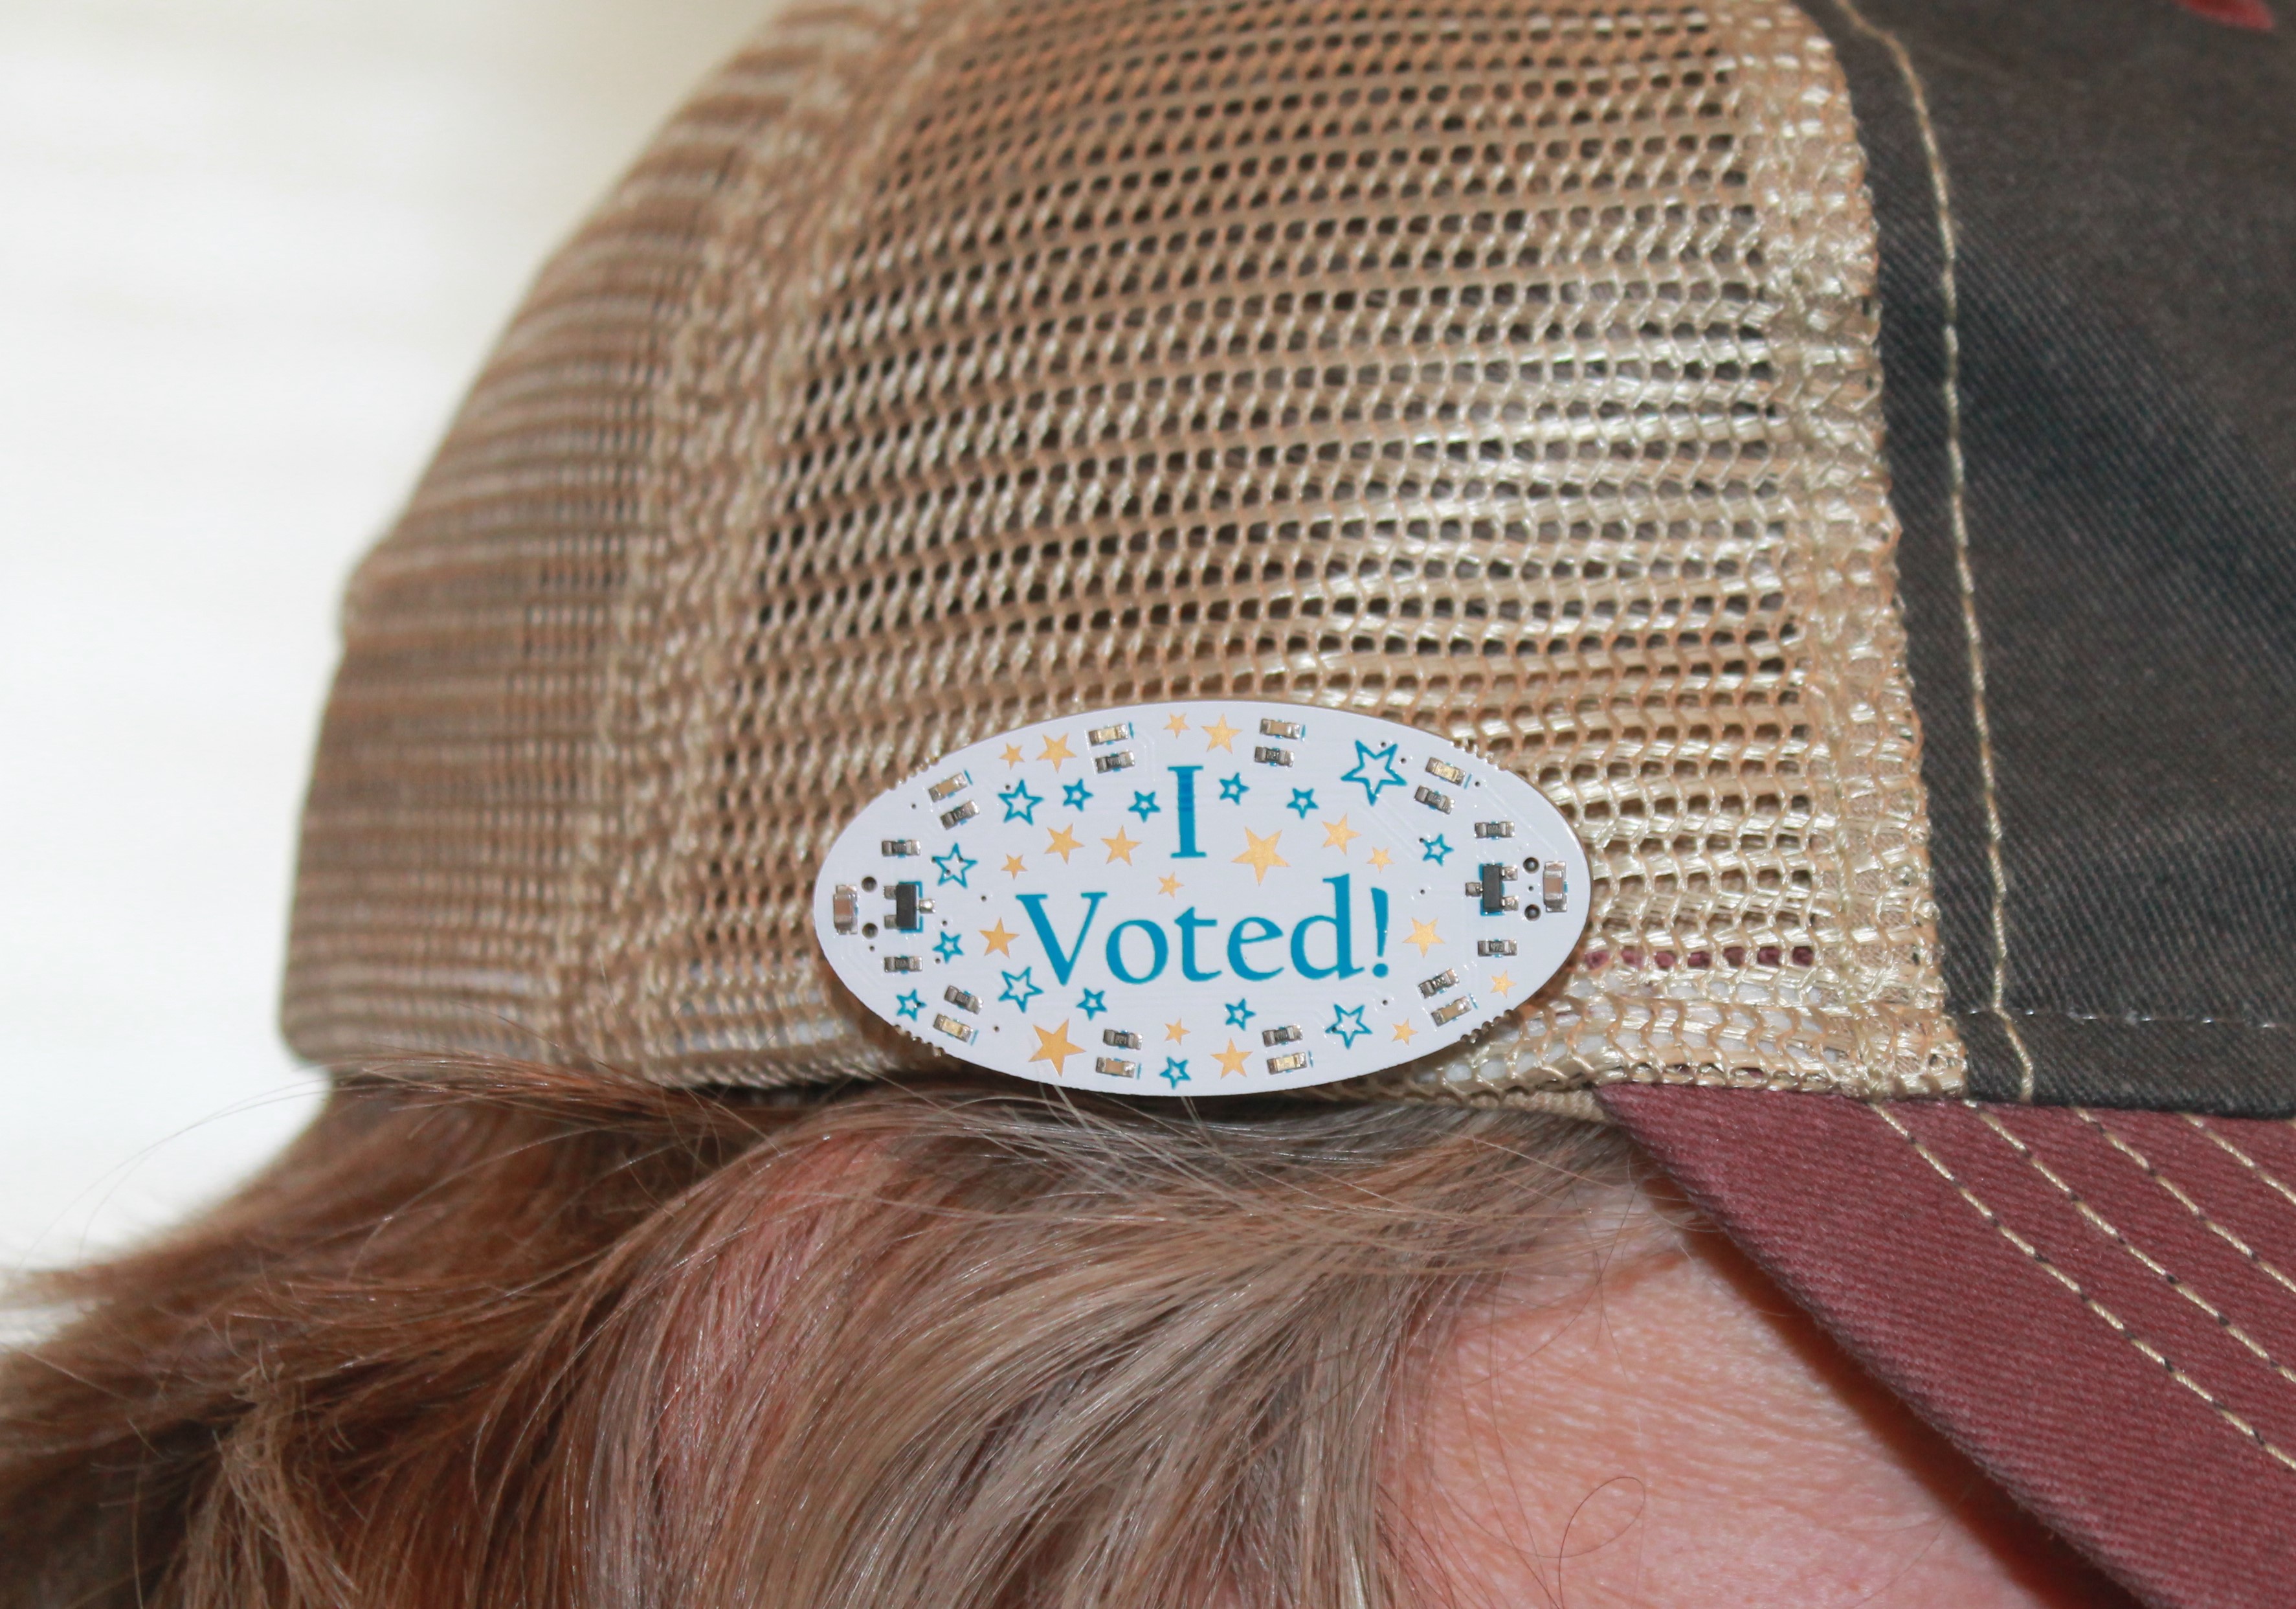
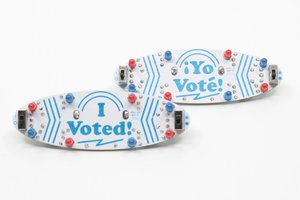
This is a pre-assembled board that is available on our Tindie store.  It's a surface-mount version of our I Voted/Yo Vote Blinky Badge Solder Kit.  Or, if you have parts and would prefer to make it yourself, you can order the boards off of OSHPark (in purple, of course!).  A bill of materials is in the files section below.

The board uses a transistor-based astable multivibrator circuit to make the red and blue LEDs alternately blink.  We'll update the Project Logs section with a description of the circuit and how it works soon.

IVotedSMT.pdf

Schematic

Adobe Portable Document Format - 169.73 kB - 10/19/2020 at 19:24

Preview
Download

I Voted SMT BOM - HD.csv

Bill of Materials

ms-excel - 1.23 kB - 10/15/2020 at 22:01

Download

  • 1
    Unpack Your Kit!

    What's inside:

    • 1 Pre-Assembled "I Voted" Blinky board
    • 1 Battery
    • 2 Magnets
    • 1 Adhesive disk
  • 2
    Insert Battery into Battery Holder

    Note: Be sure to place the positive side of the battery facing up to match the marking on the battery holder.

  • 3
    Place Magnets (optional)

    The magnets are very strong, use caution when handling.  Place one magnet on the battery holder, this will only work if the battery is installed.  You can then attach it to any magnetic surface.  If you'd like to wear your badge, you can use the two magnets as a "pin".  Place one magnet under your clothing, and the other on top.  Then place the battery holder over the magnets.  An adhesive disc is provided in case you want to permanently attached your magnet to a surface.

View all 4 instructions

Enjoy this project?

Share

Discussions

Similar Projects

Does this project spark your interest?

Become a member to follow this project and never miss any updates