 Akshay Baweja
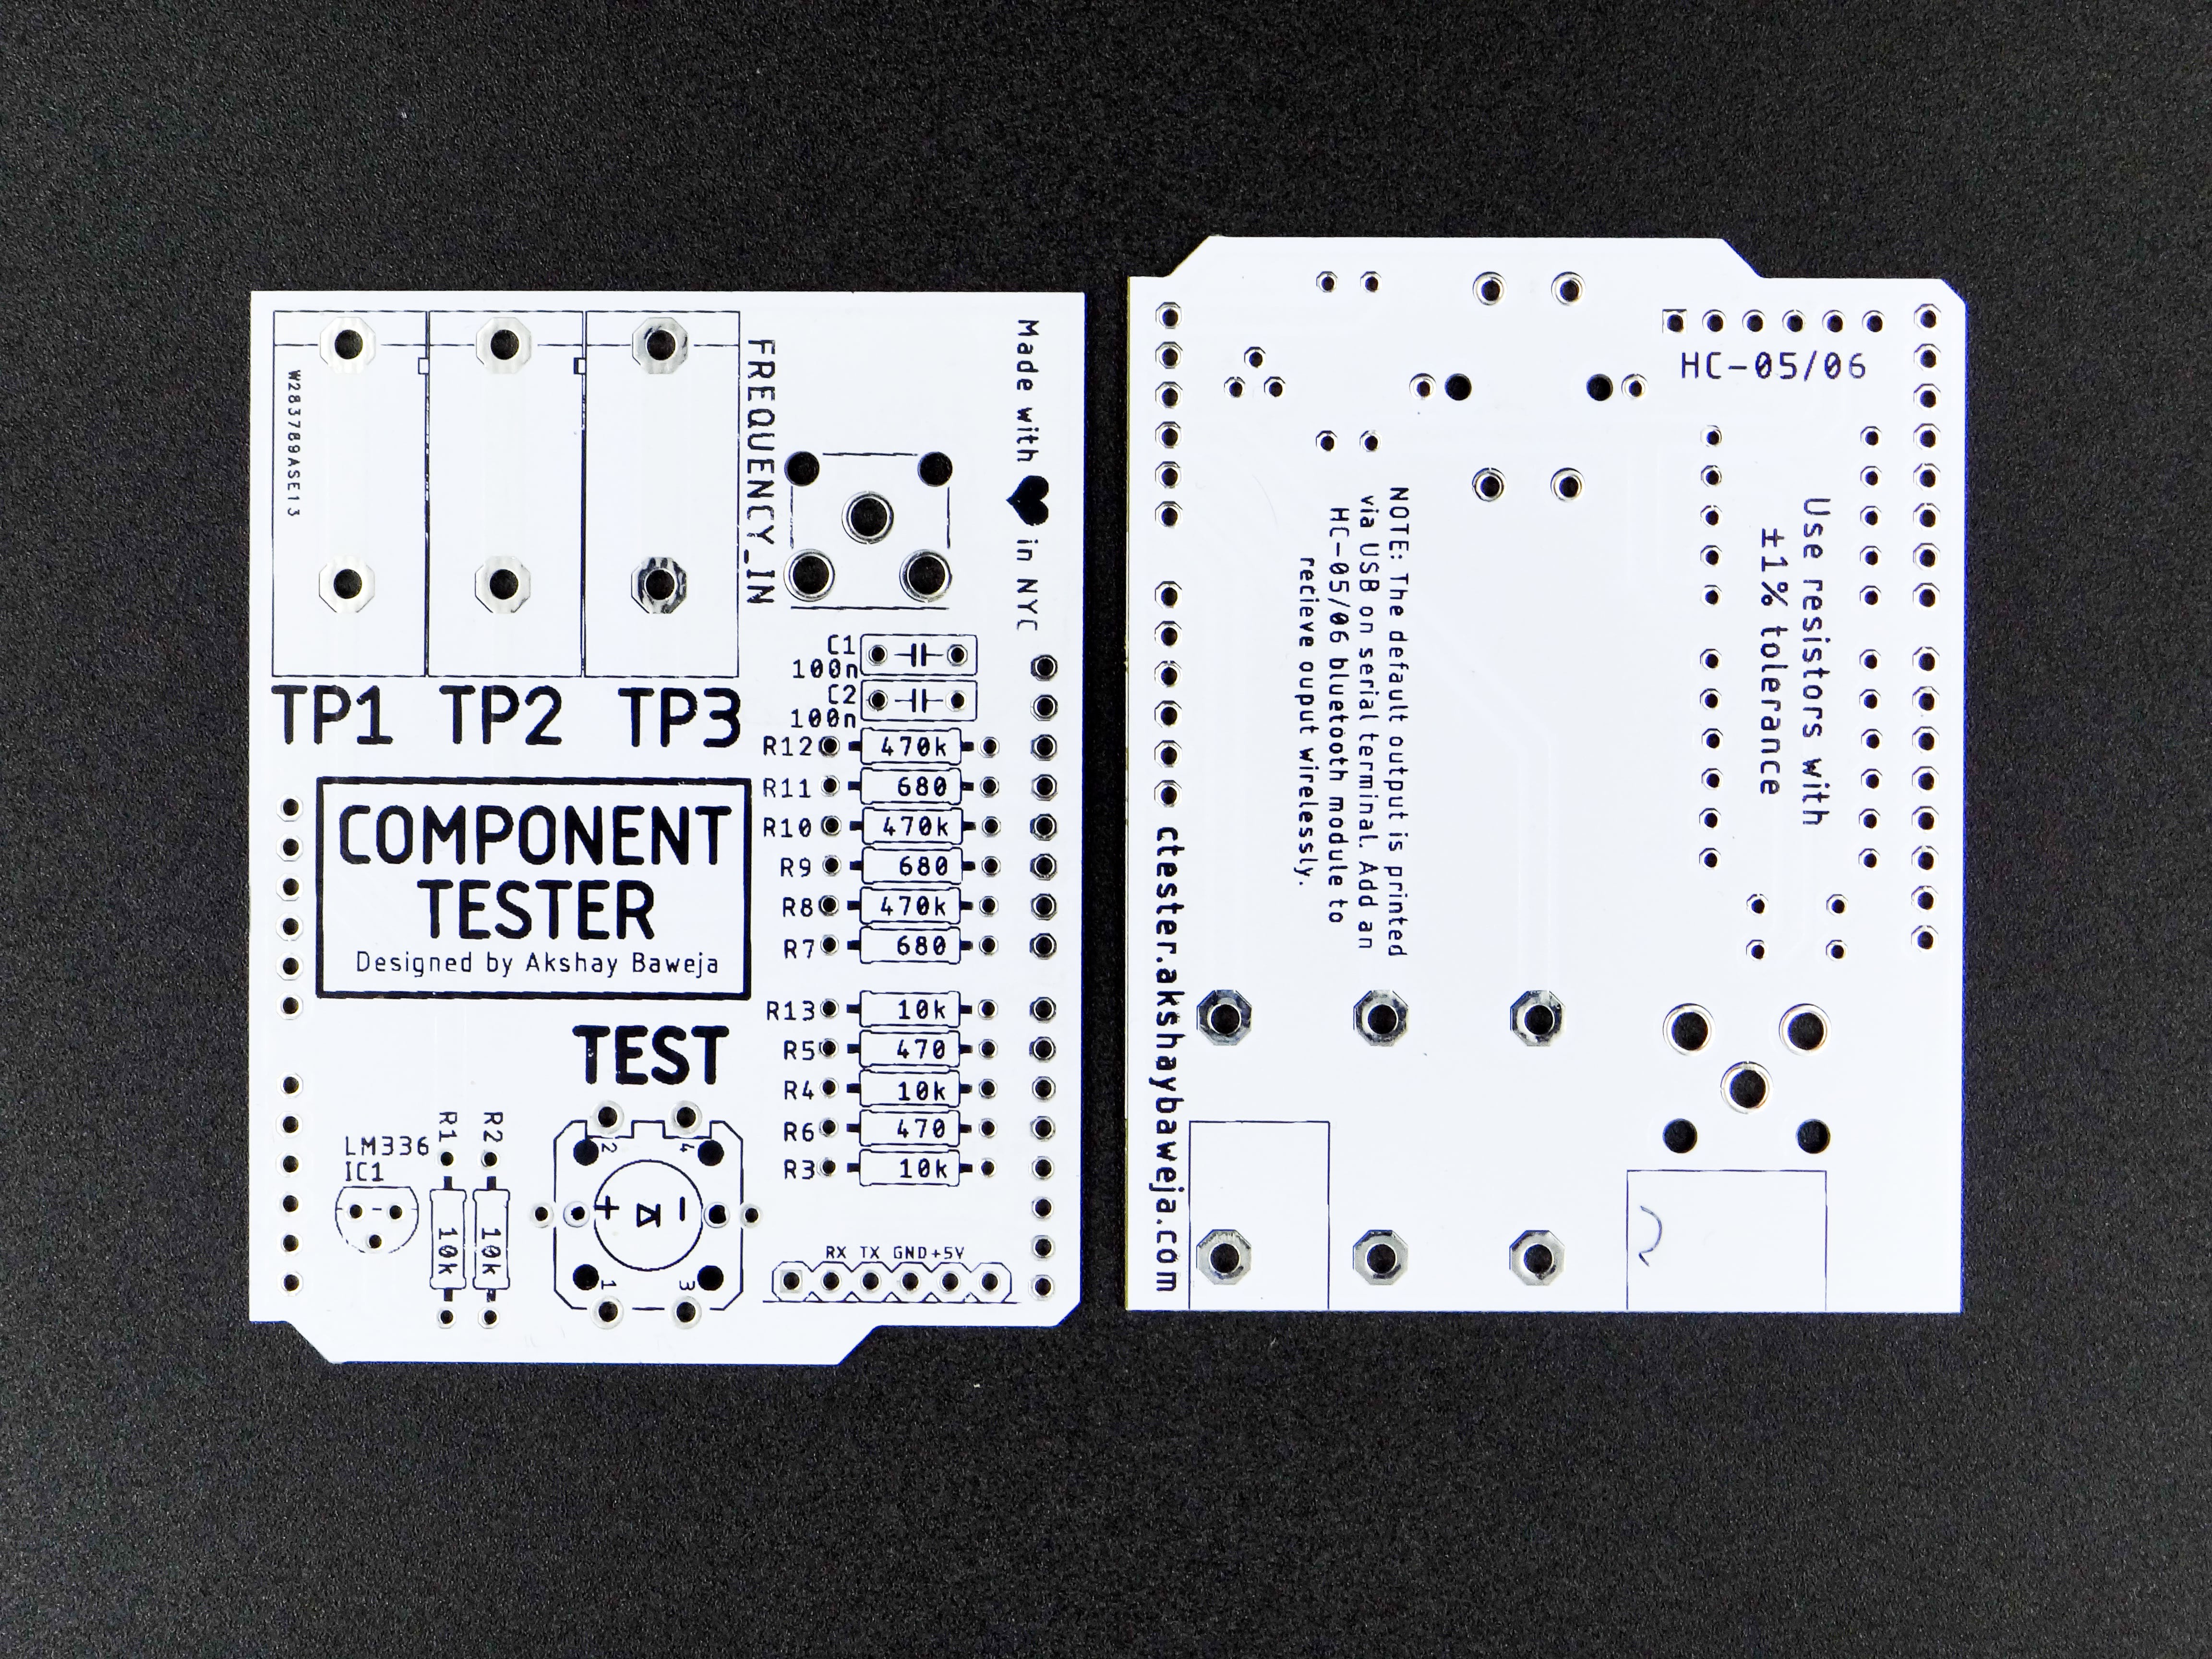
Presenting Component Tester UNO Shield...🥁 Similar functionality as of USB Component Tester, with all through-hole components and a little button to trigger the test from the board itself. It gives you the flexibility to upload the code via standard Arduino UNO USB cable. So, you don't need to re-flash the bootloader. Though Arduino's bootloader limits some of the functionalities and capabilities, still, I would argue it is a great addon to anyone wanting to convert their Arduino UNO in a Component Tester.
This project is inspired by AVR TranistorTester by Markus F.
This Project is Sponsored by PCBWAY
Here I would like to take a moment to thank PCBWay for sponsoring this build and providing me with their great quality PCBs. I got PCBs in all white soldermask and they look amazing 😍. If your project requires PCB, do check them out. You can get 10 custom PCBs for as low as $5 with a wide range of customization options to chose from, such as soldermask colors, a wide variety of thicknesses, surface finishes, and copper weights. They also offer assembly services for your custom projects for a pretty low price. The delivery service is blazing fast, I got my boards delivered in 4 days from the date of order.

 jgeisler0303
 Sandeep Patil
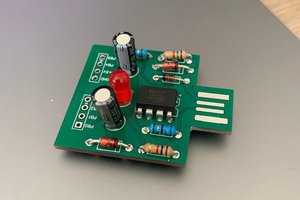
 Silícios Lab