 Dean Netherton
References and inspiration
- RC2014 - Where this all started for me.
- OMEGA MSX kit. Demonstrates that its possible to build a compatible MSX2 system, using off the shelf components with a few ebay purchases. The published designs are a great implementation reference.
- Artemisa MSX Computer System. A MSX kit using discrete component.
- MSX Technical Data book.
- https://www.msx.org/
Main Goals:
- Each board to operate independantly.
- Each board to operate on a standard RC2014 platform - with appropriate RomWBW HBIOS support.
- Board sizes will need to be kept small enough to ensure PCB manufacturing costs are manageable.
Stretch Goals:
- Figure out how to add Floppy and HDD interfaces - can we just use the existing kits available?
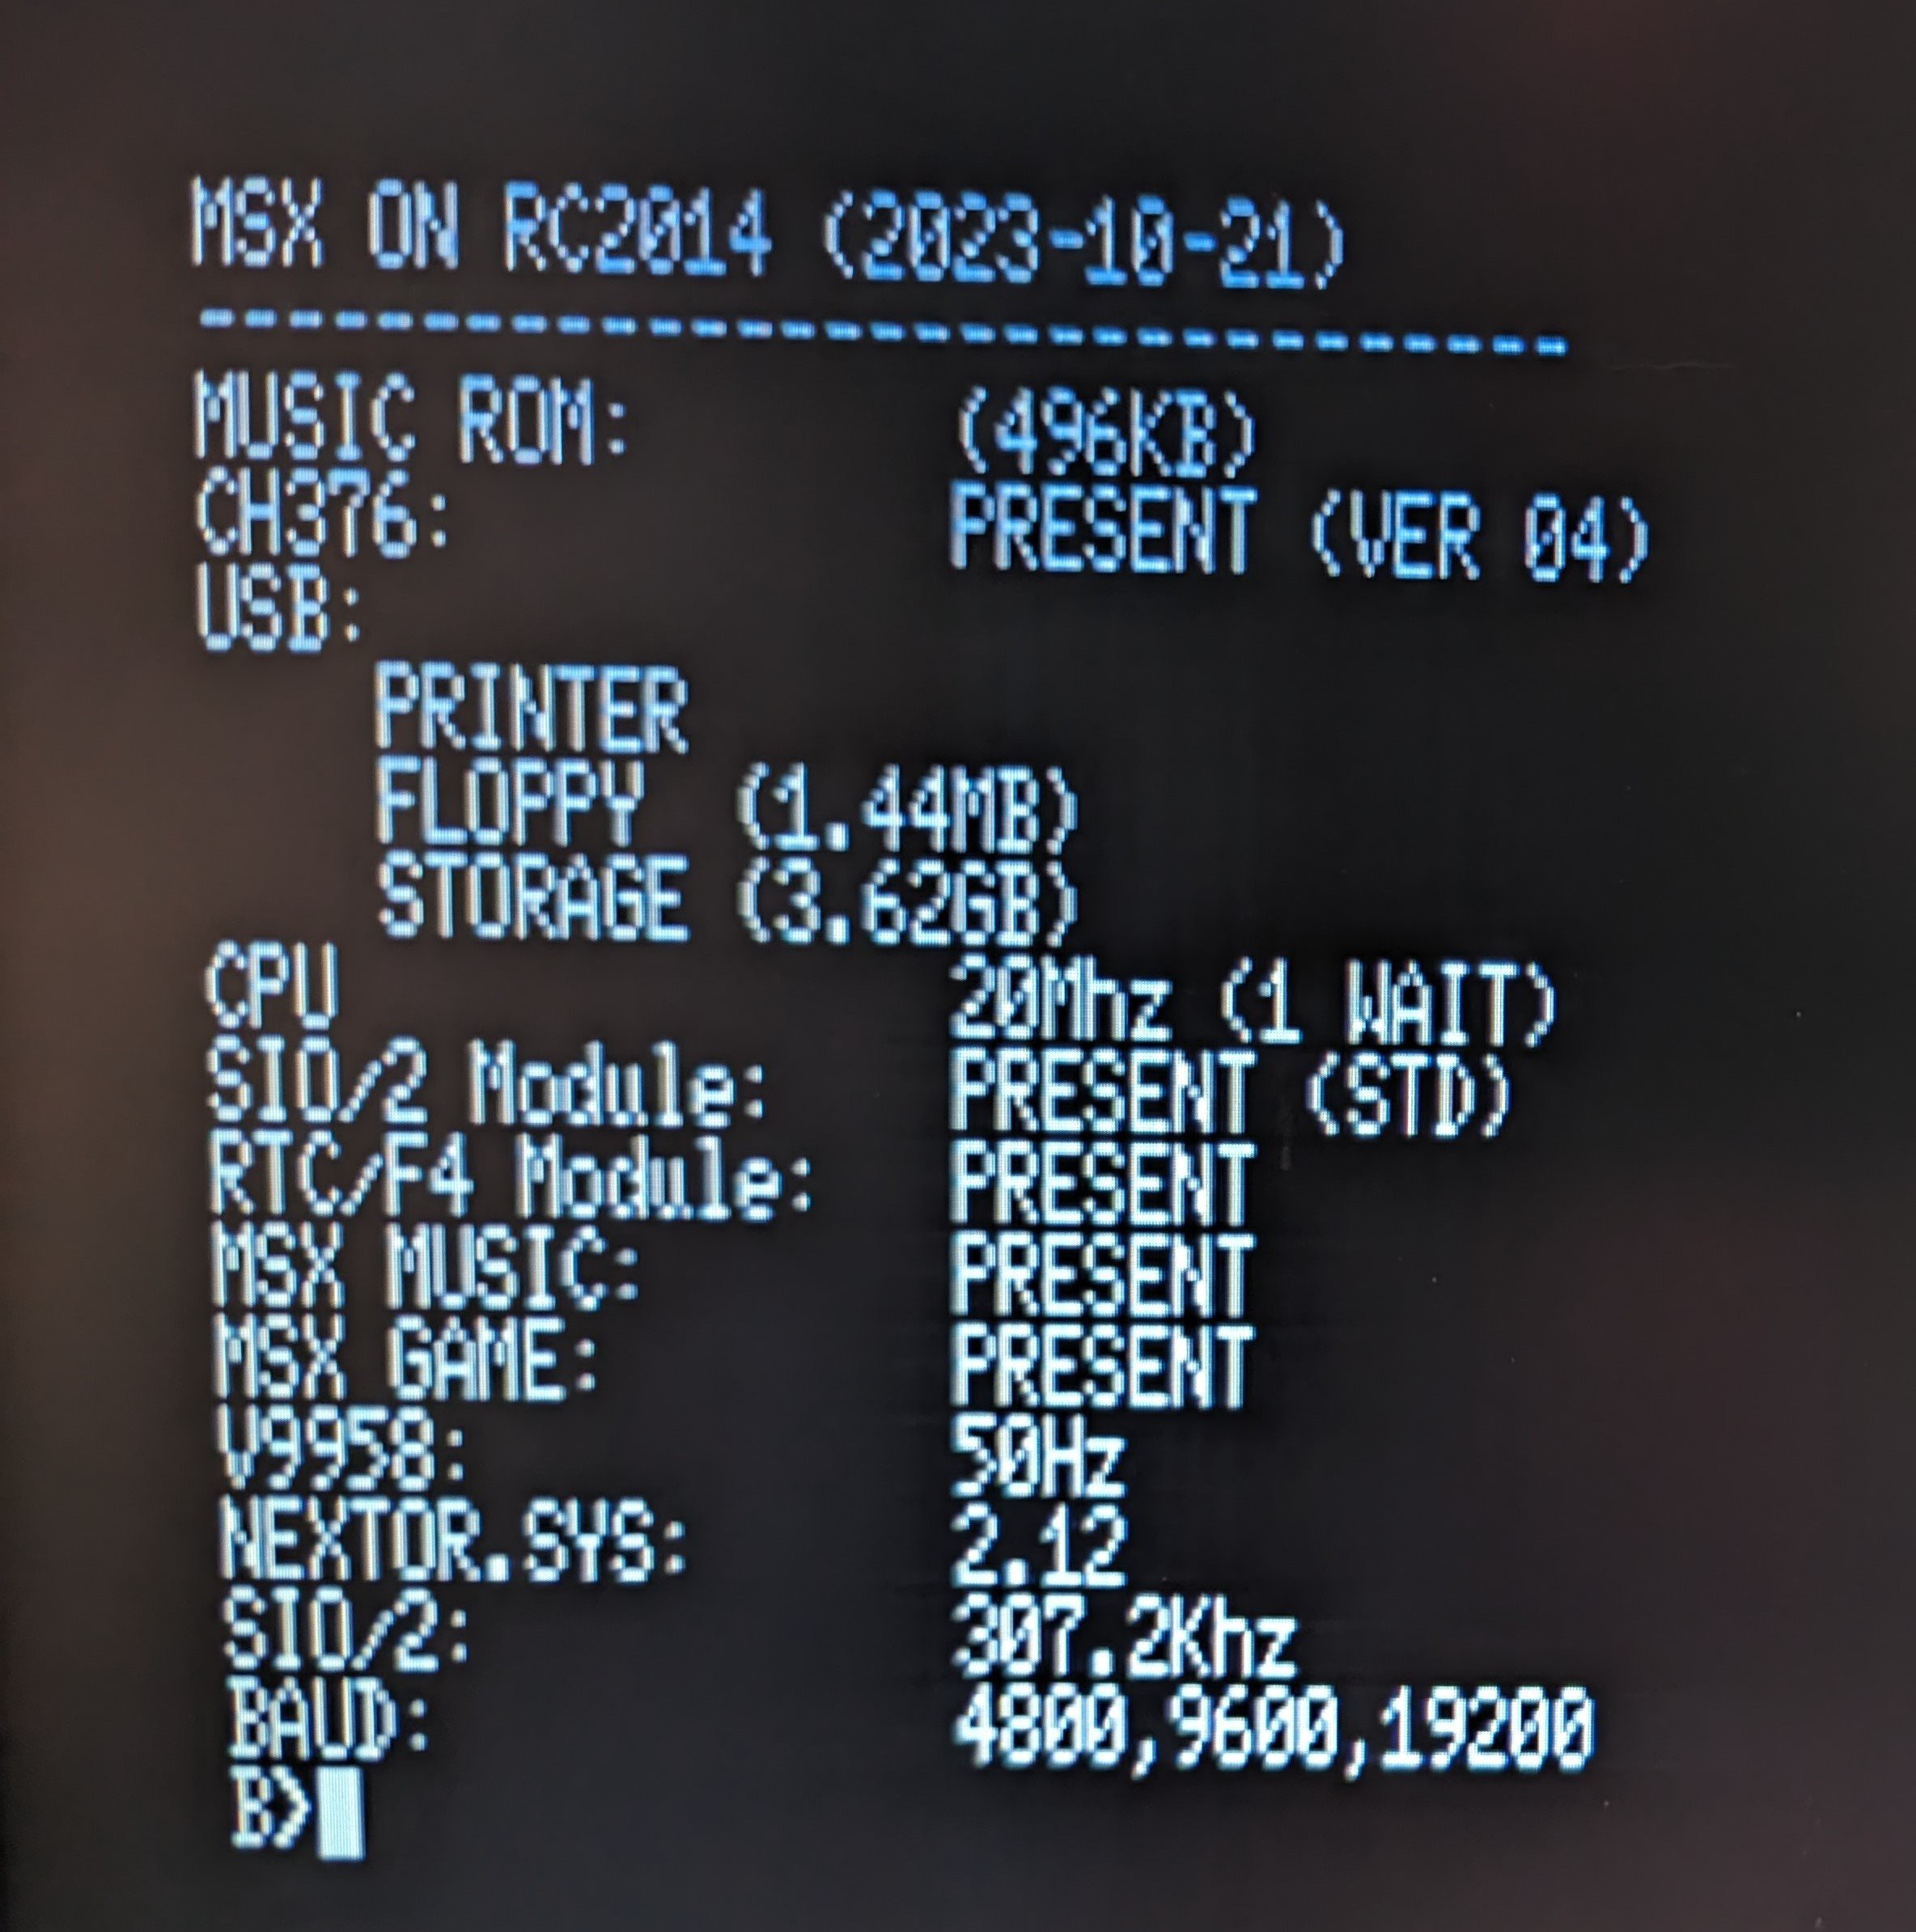
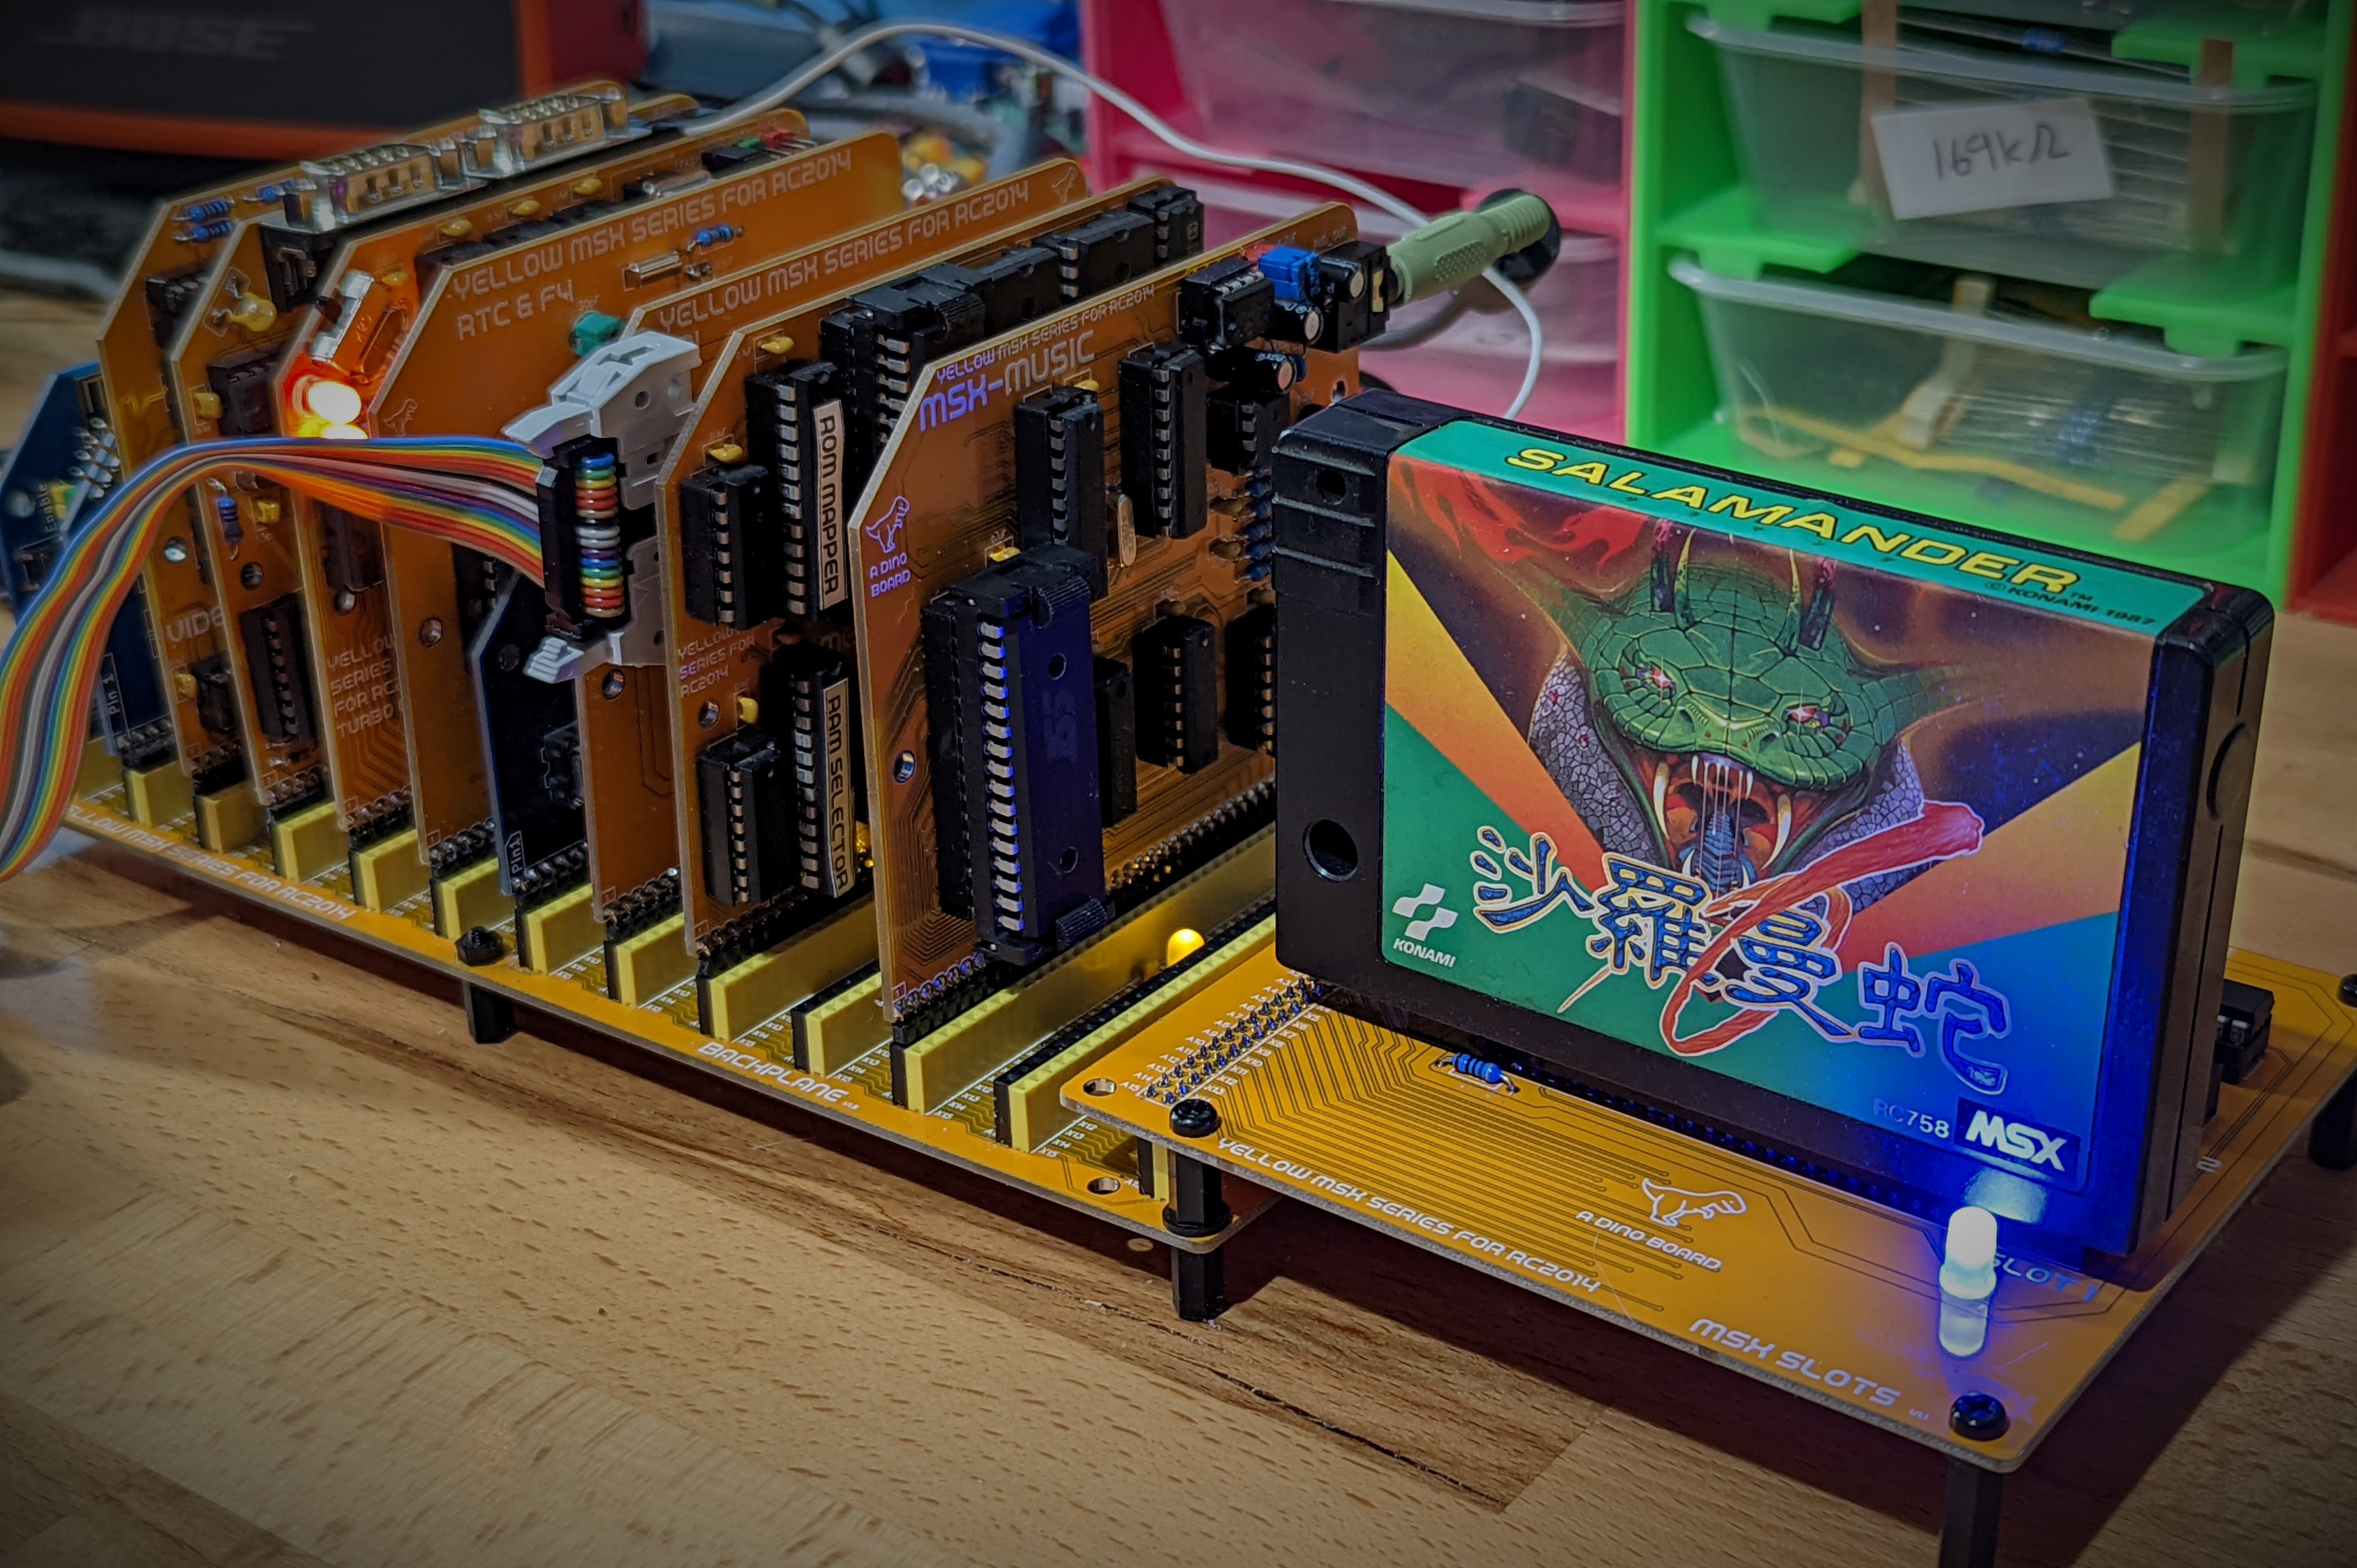
Targeted Specifications
- Graphics: v9958 with full 192K of RAM
- ROM/RAM Board(s) - Support for MSX Rom images and lots of RAM
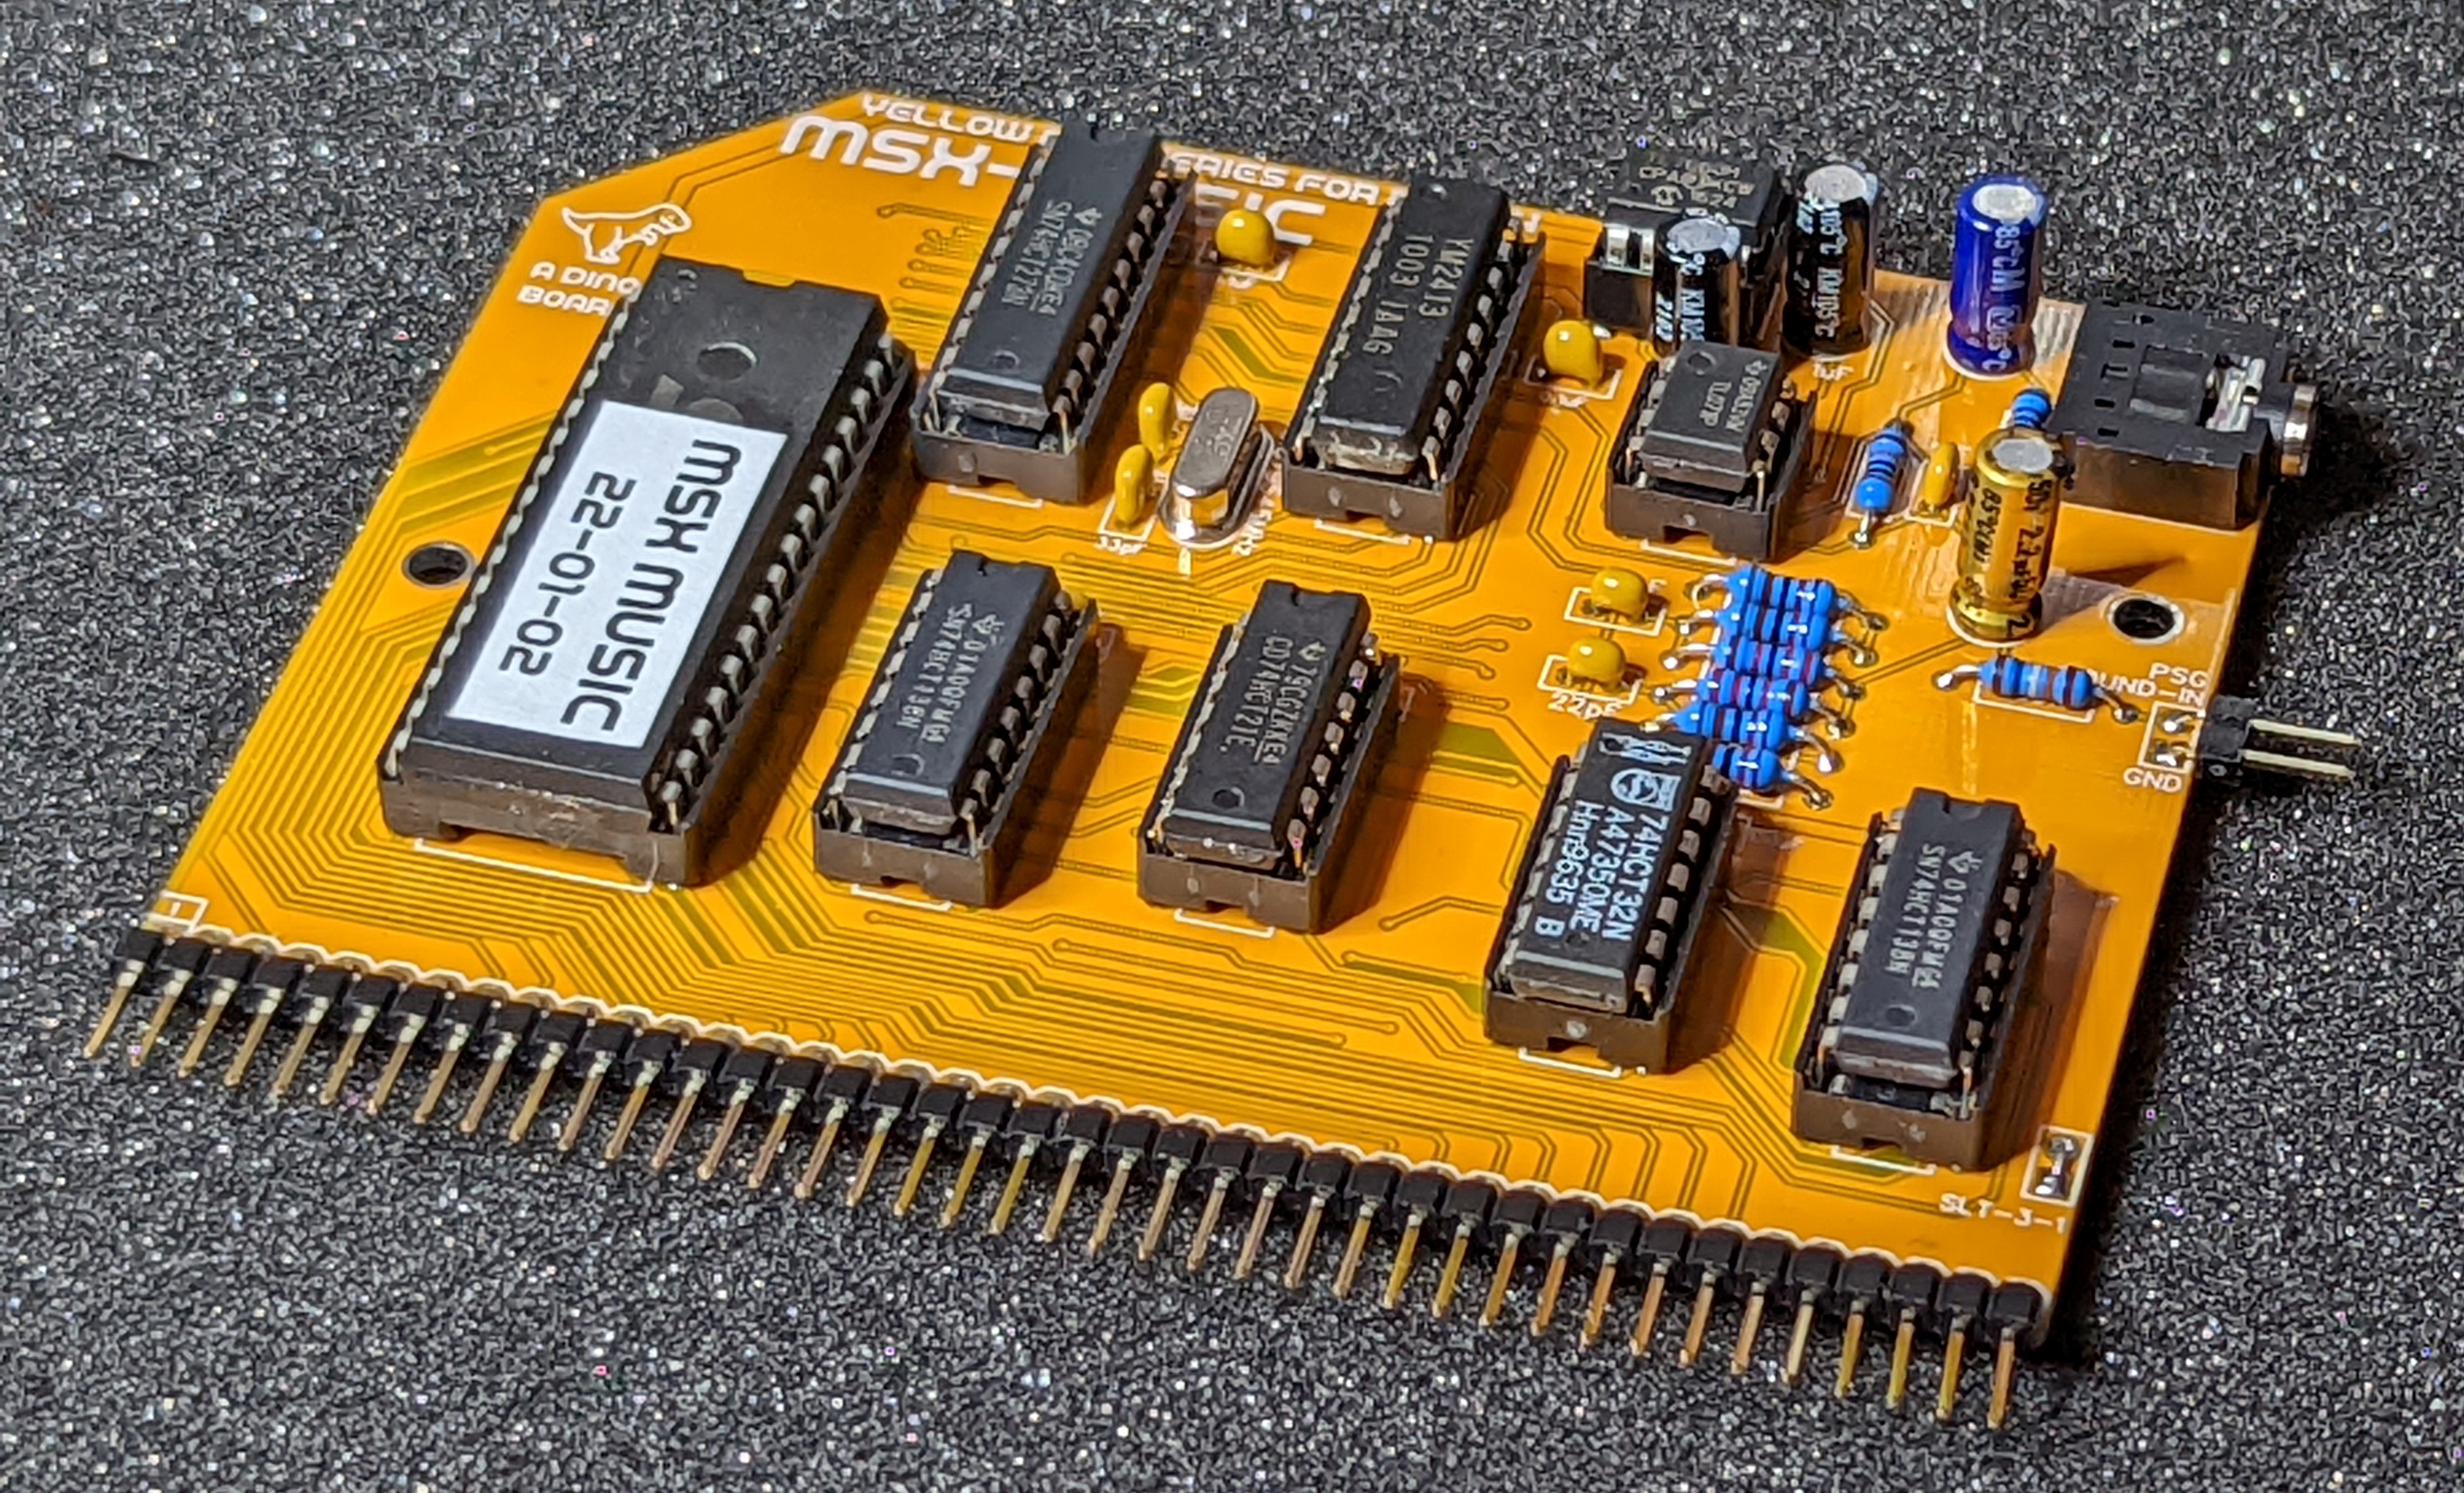
- YM2149 Based Sound chip and Joystick connectors
- RP5C01 Based RTC
- Full size keyboard
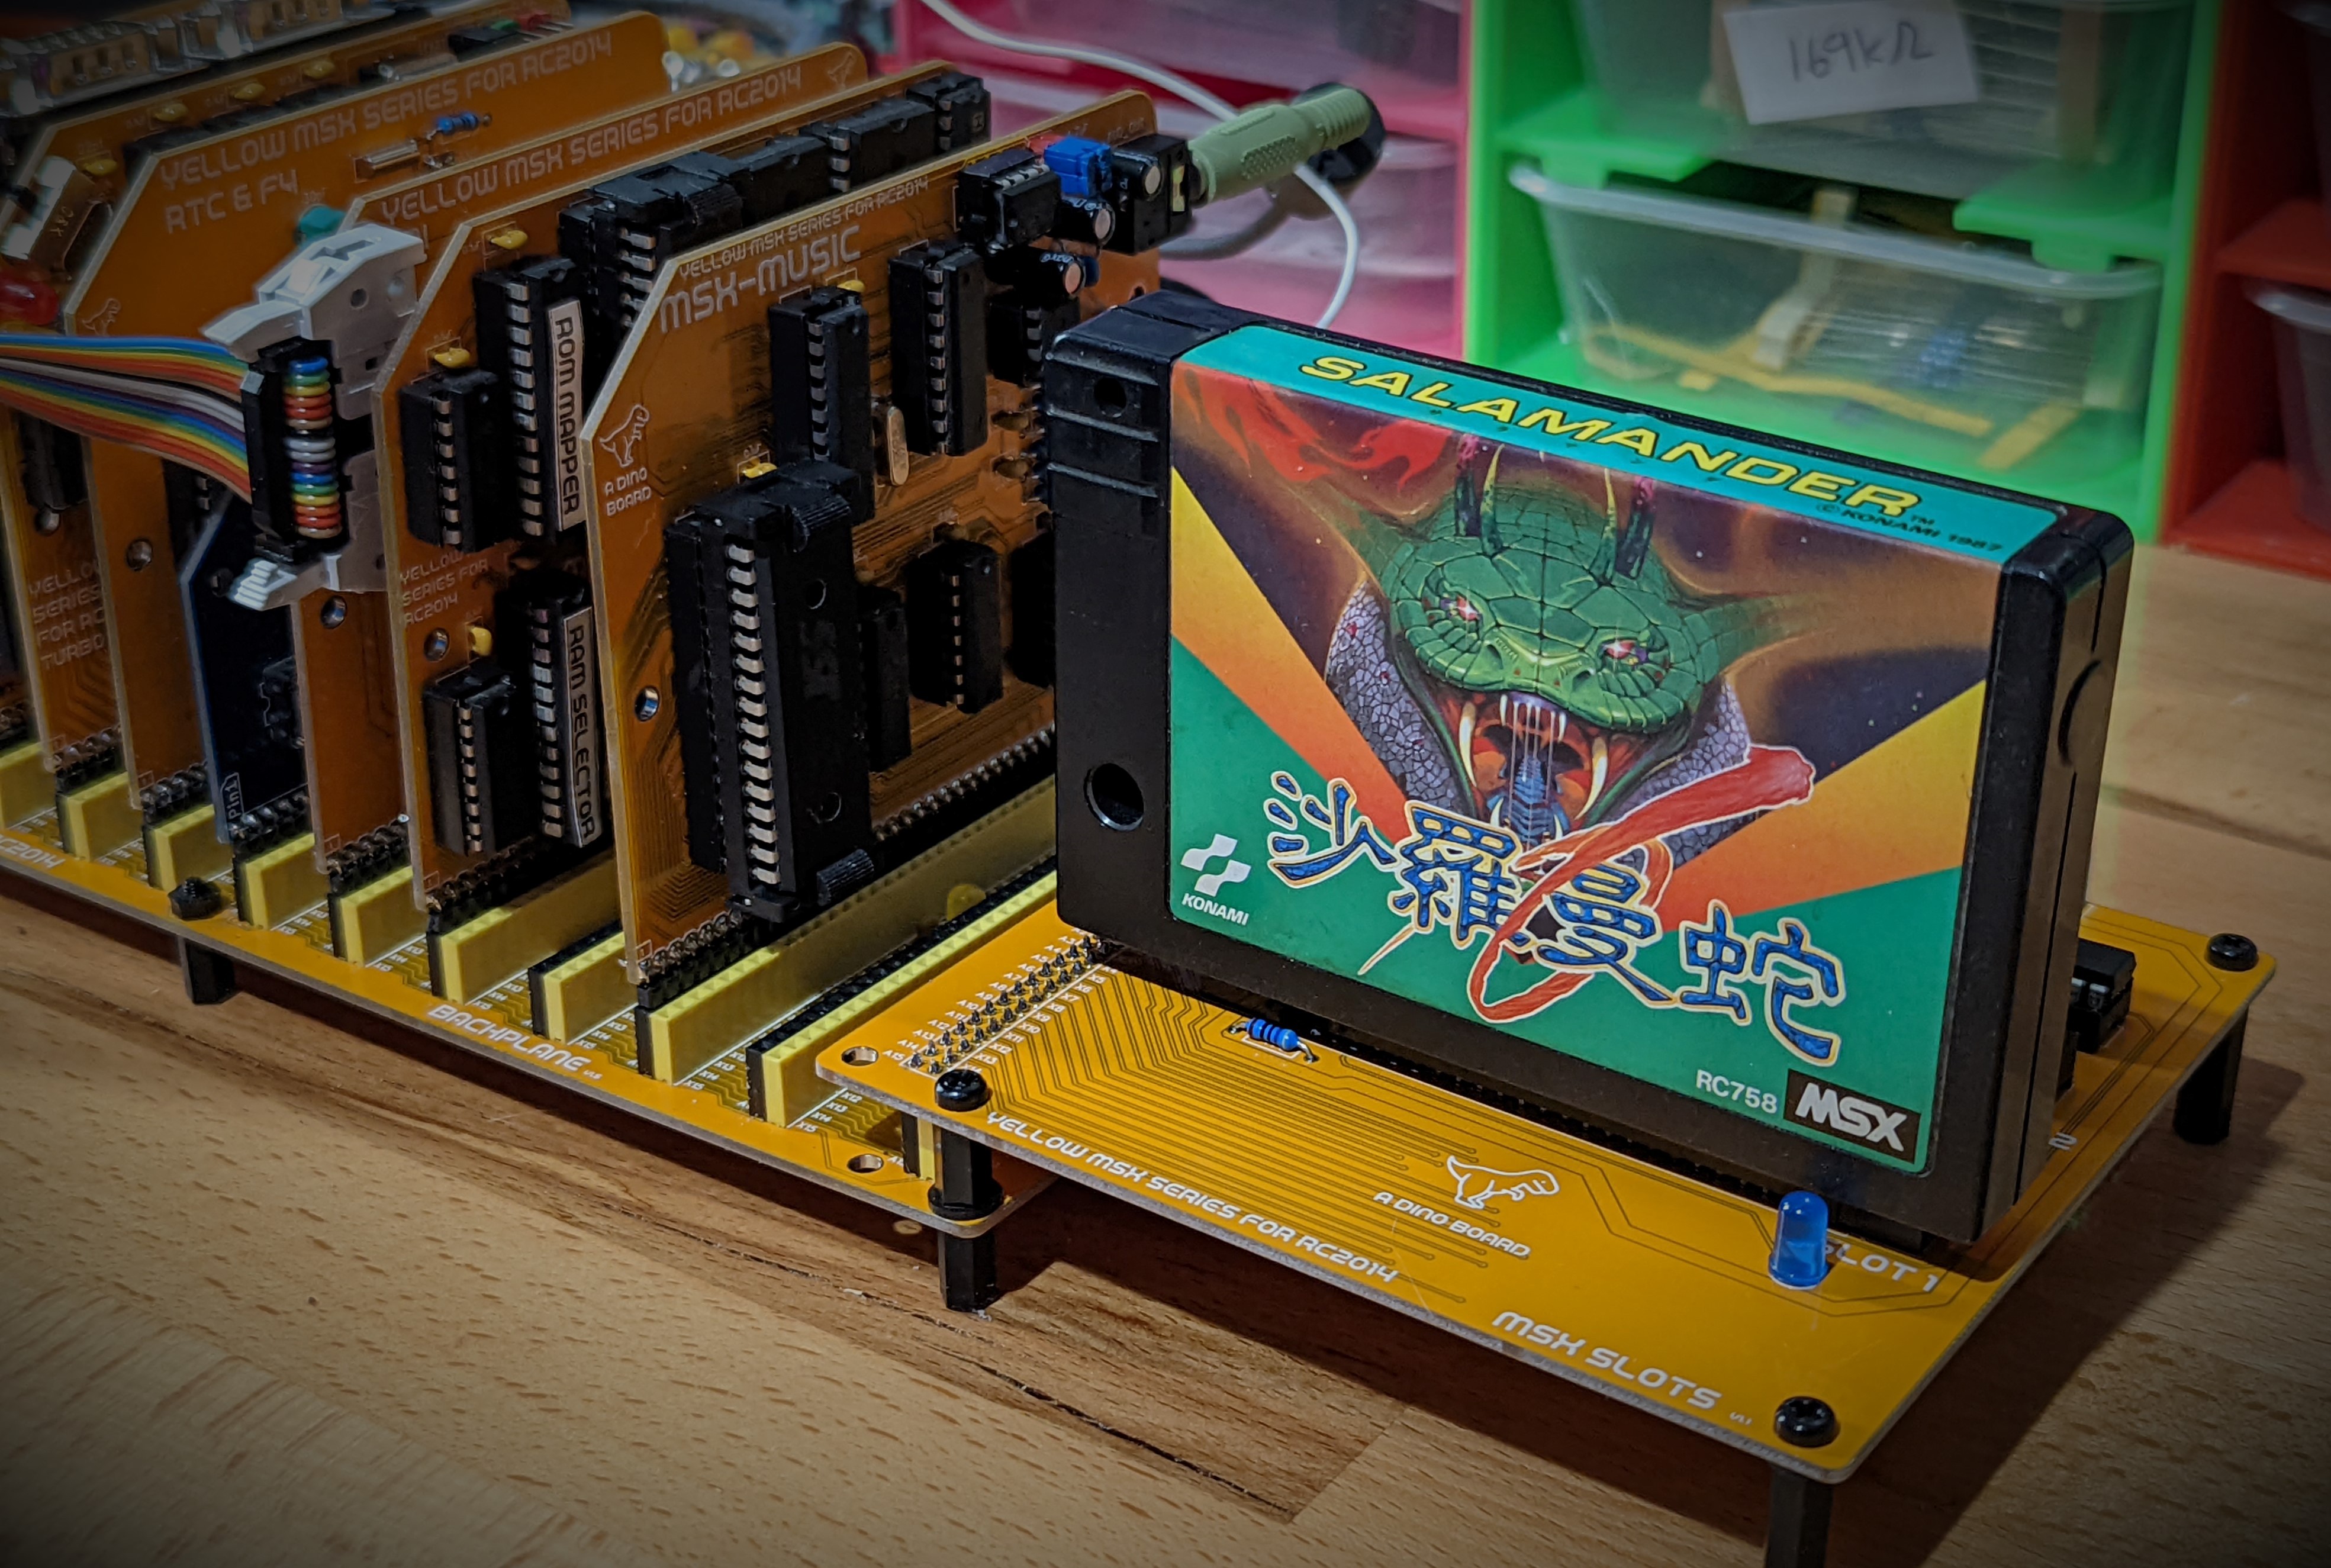
- Support for 2 Cartridge Slot expansions (a new backplane perhaps)
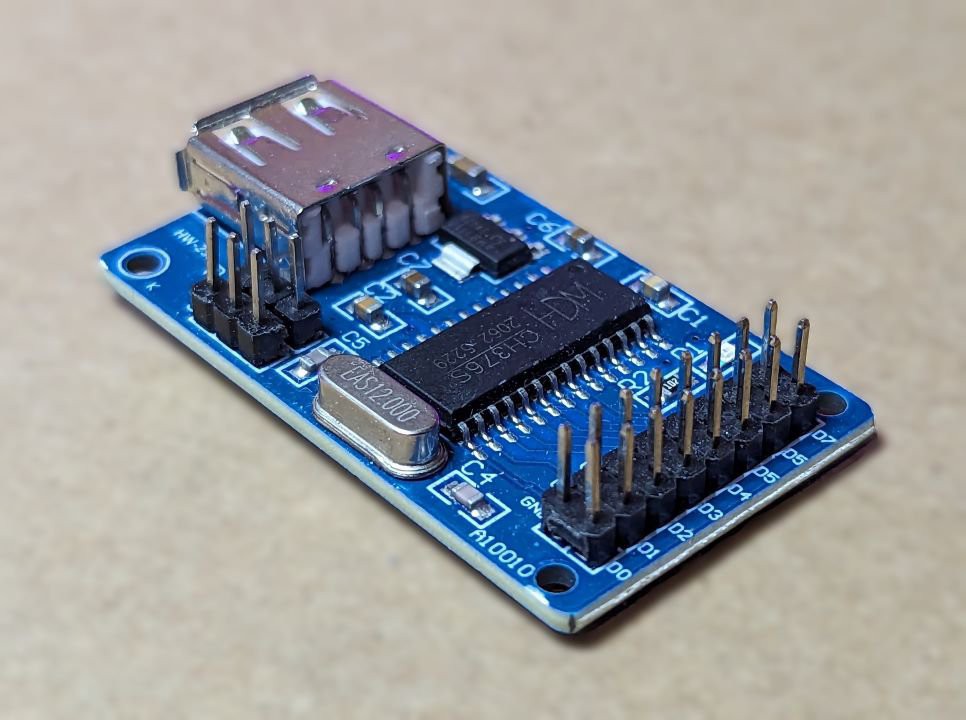
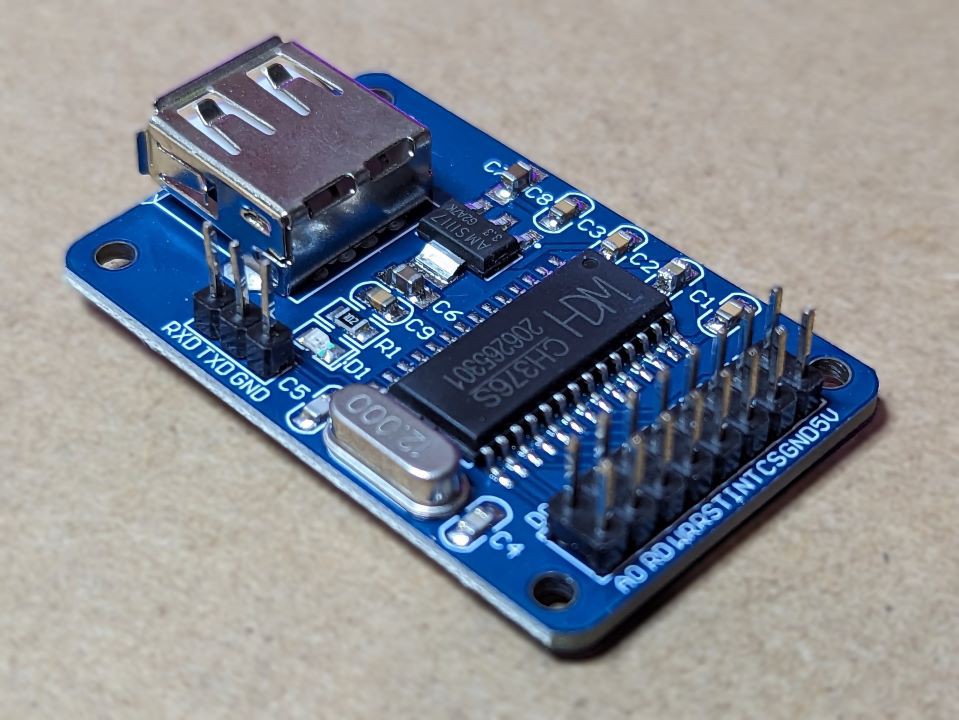
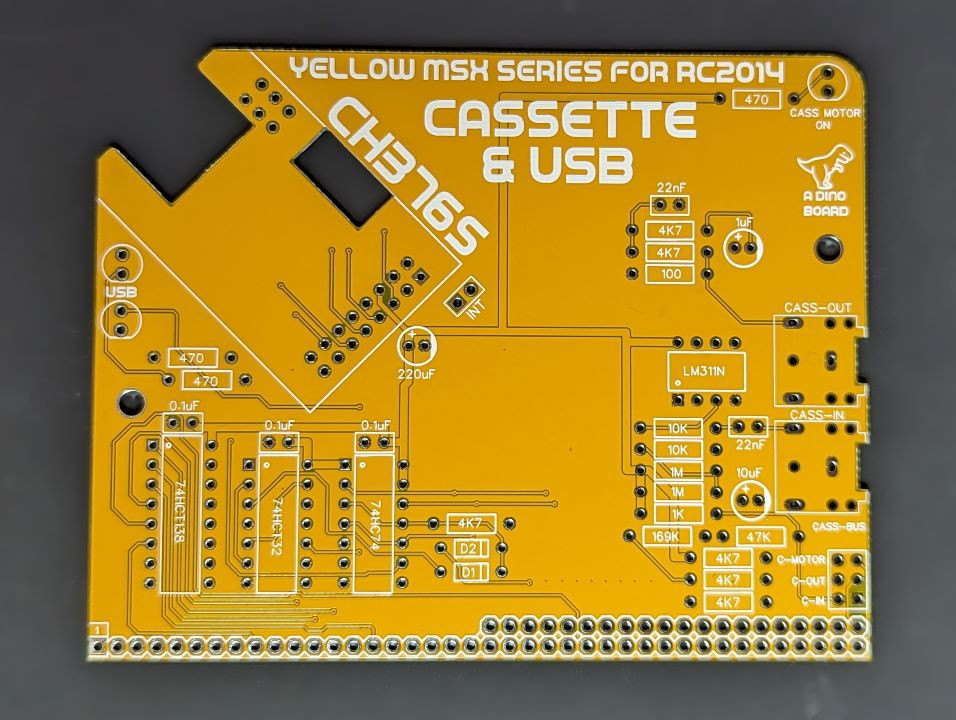
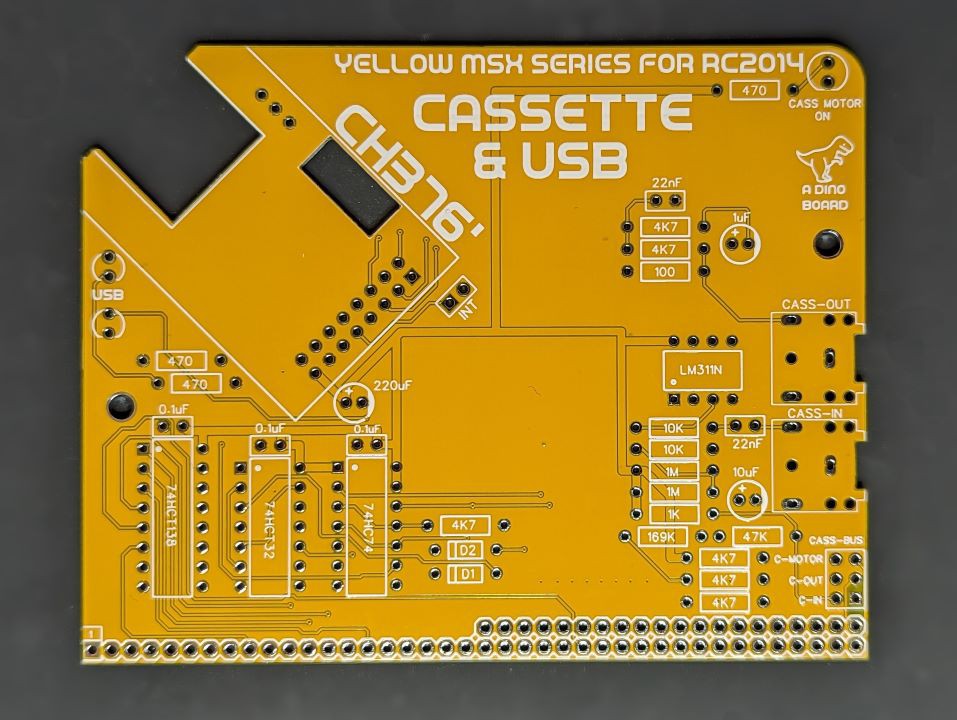
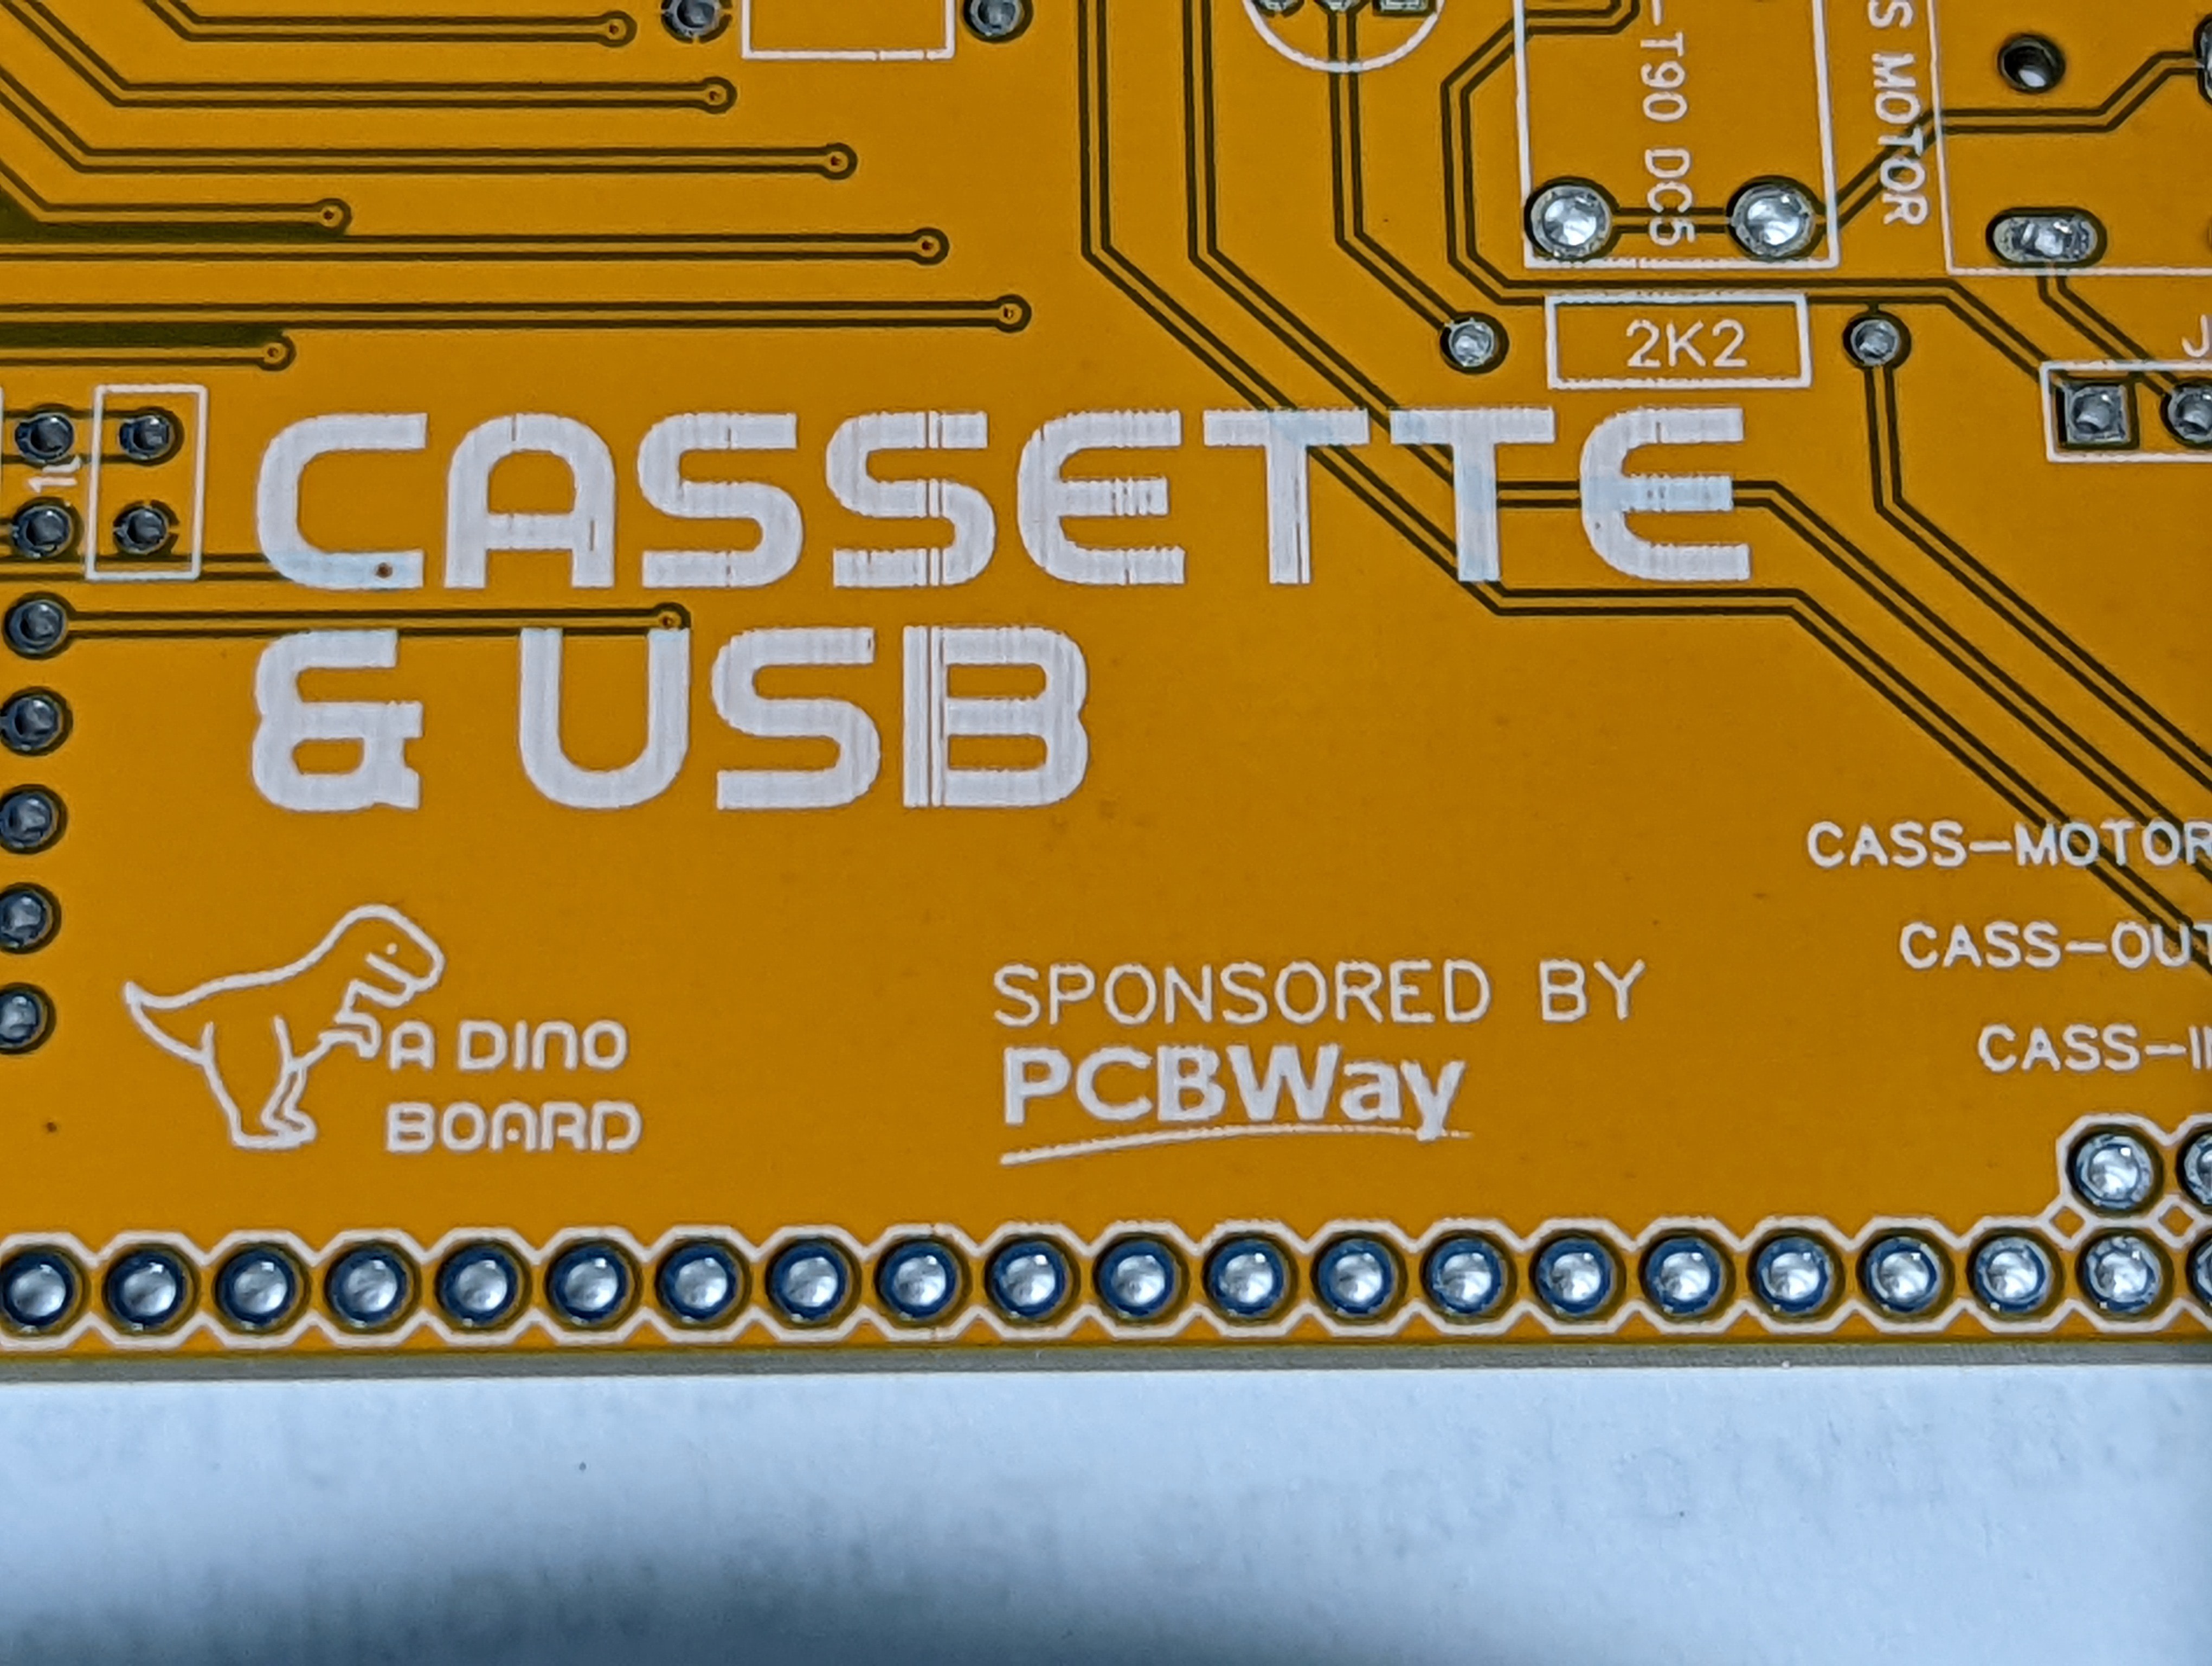
- Optional - cassette interface - because retro!
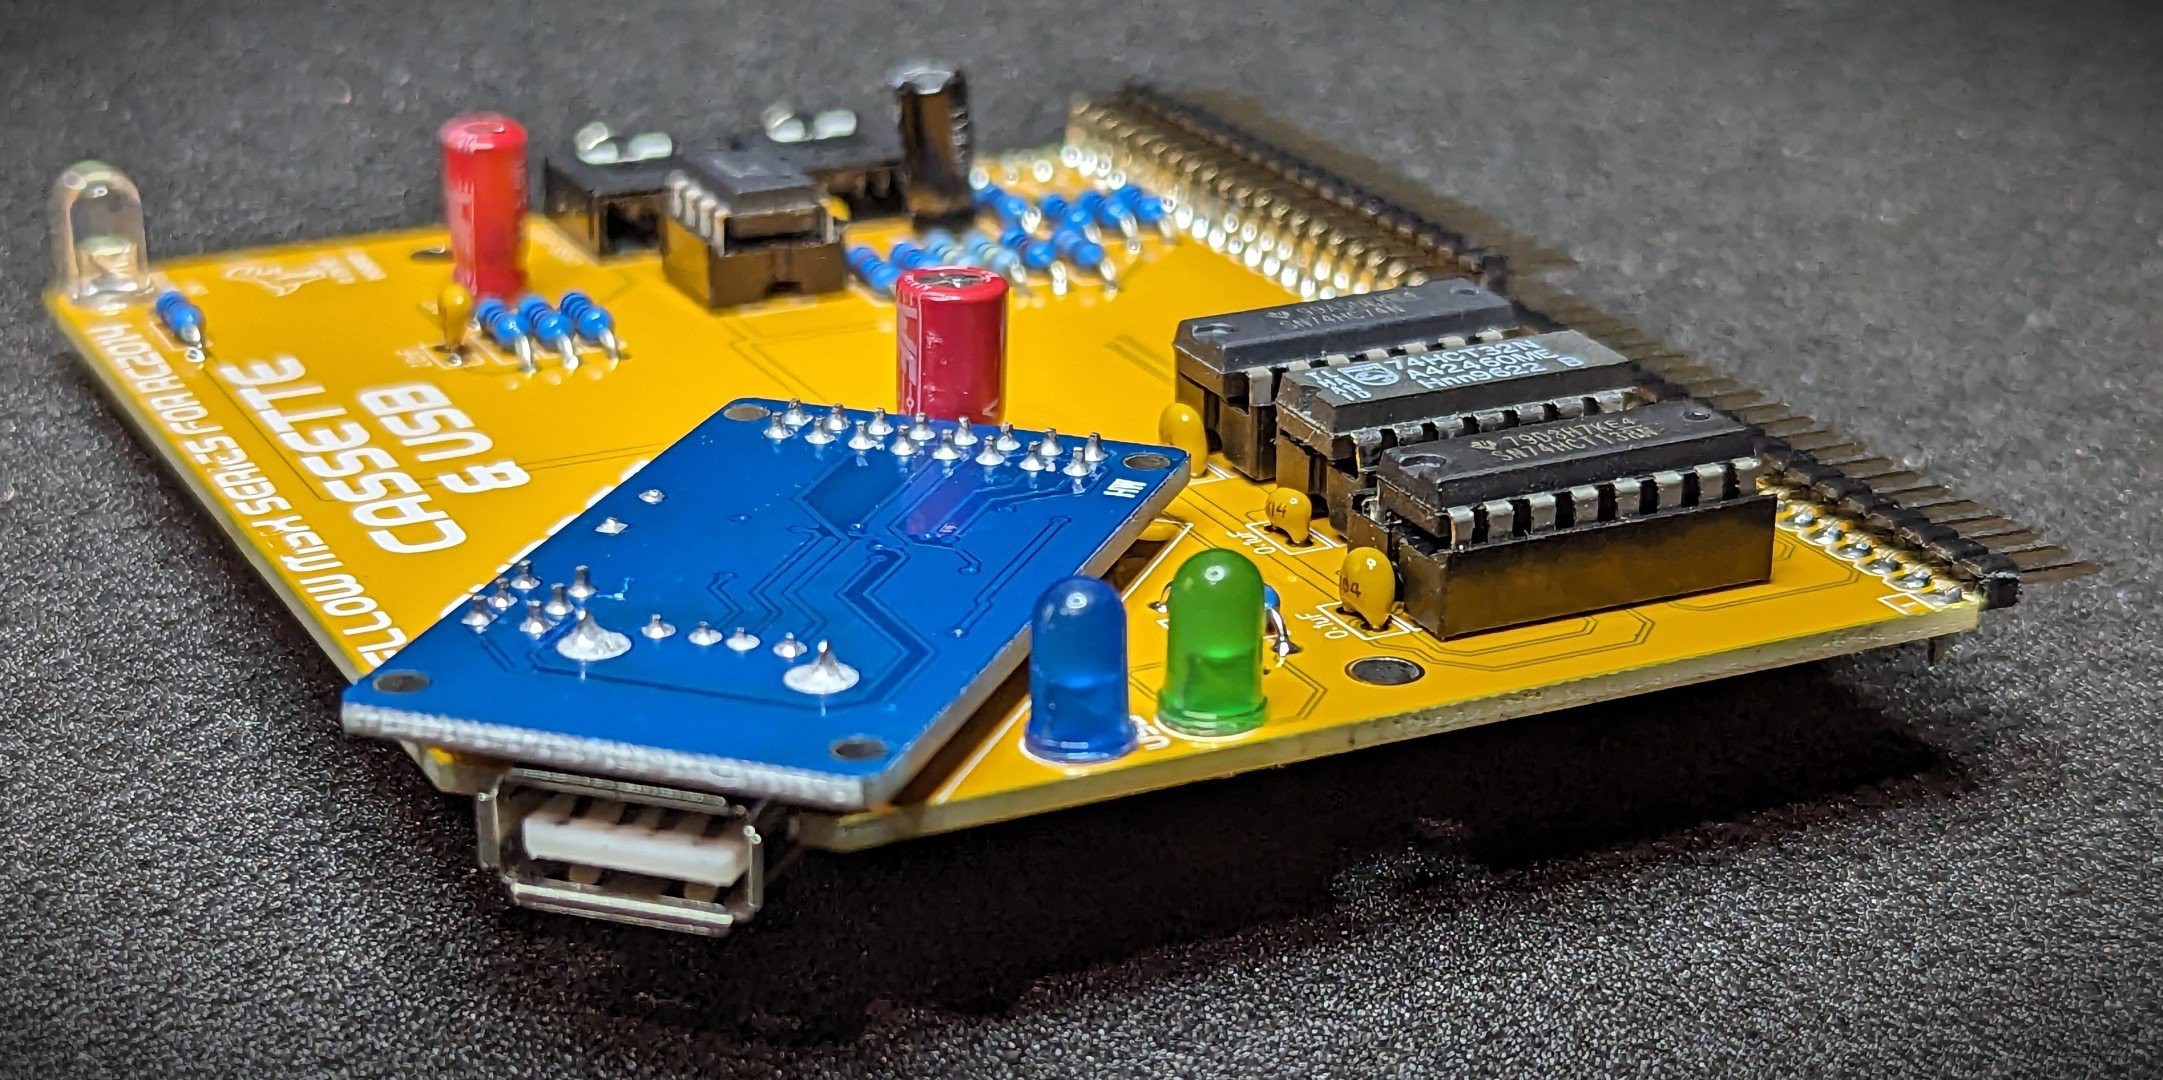
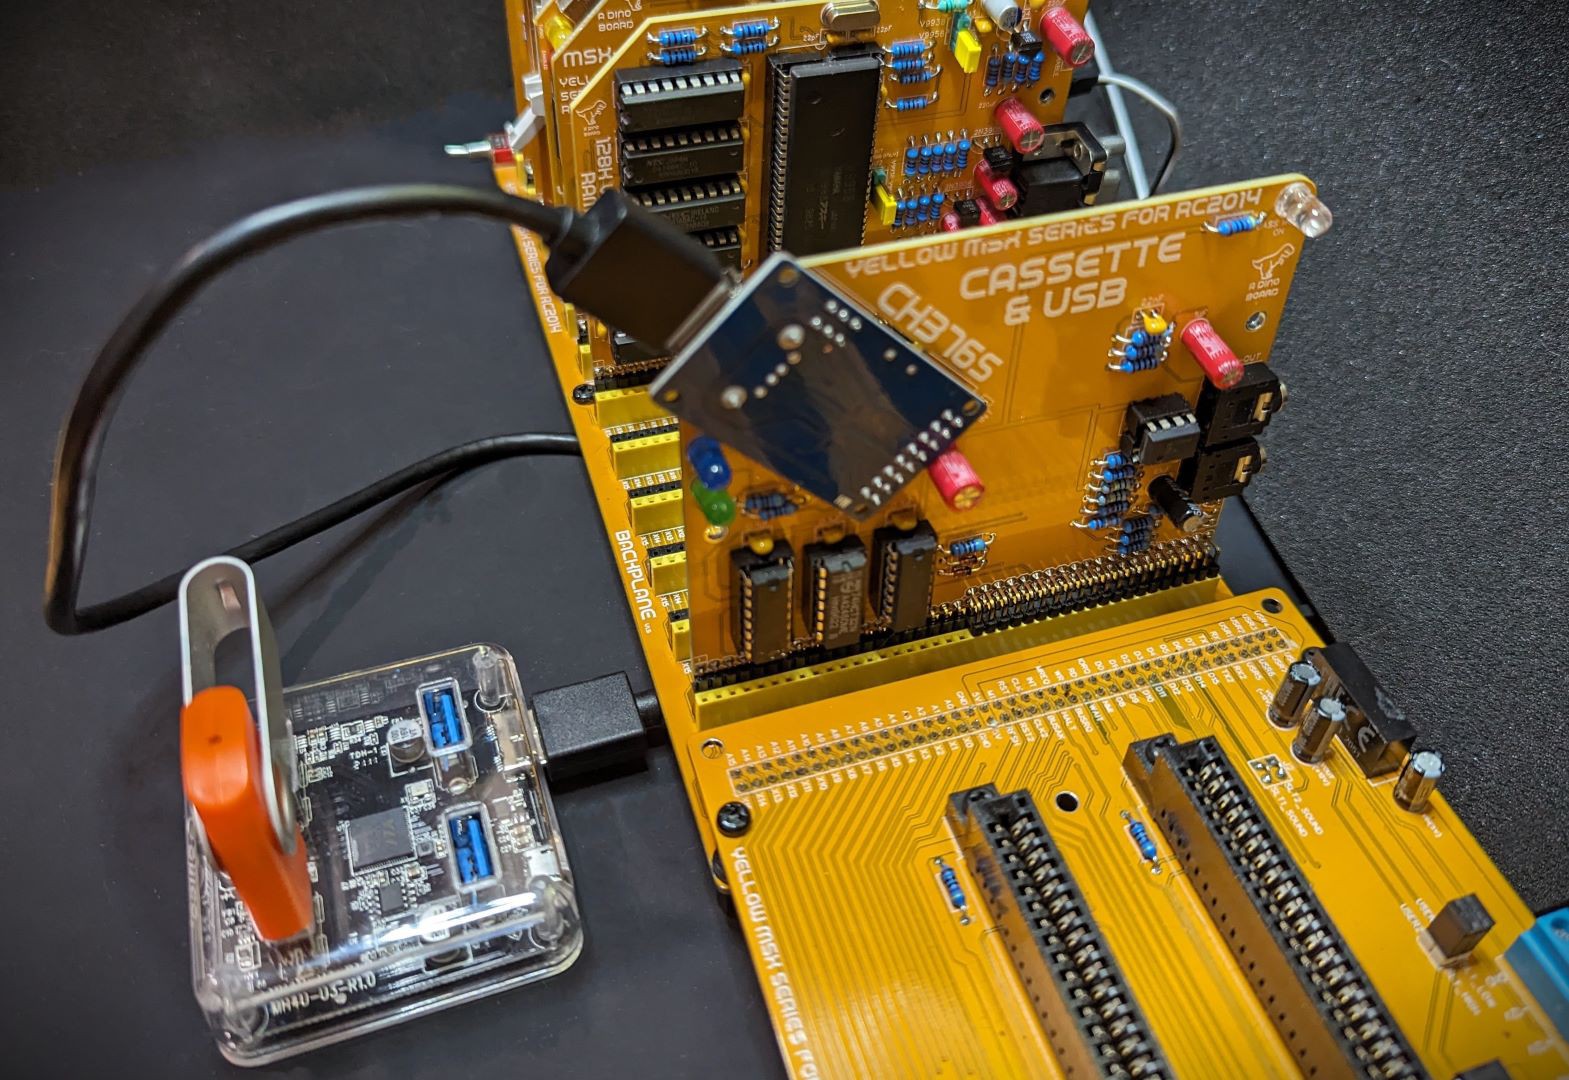
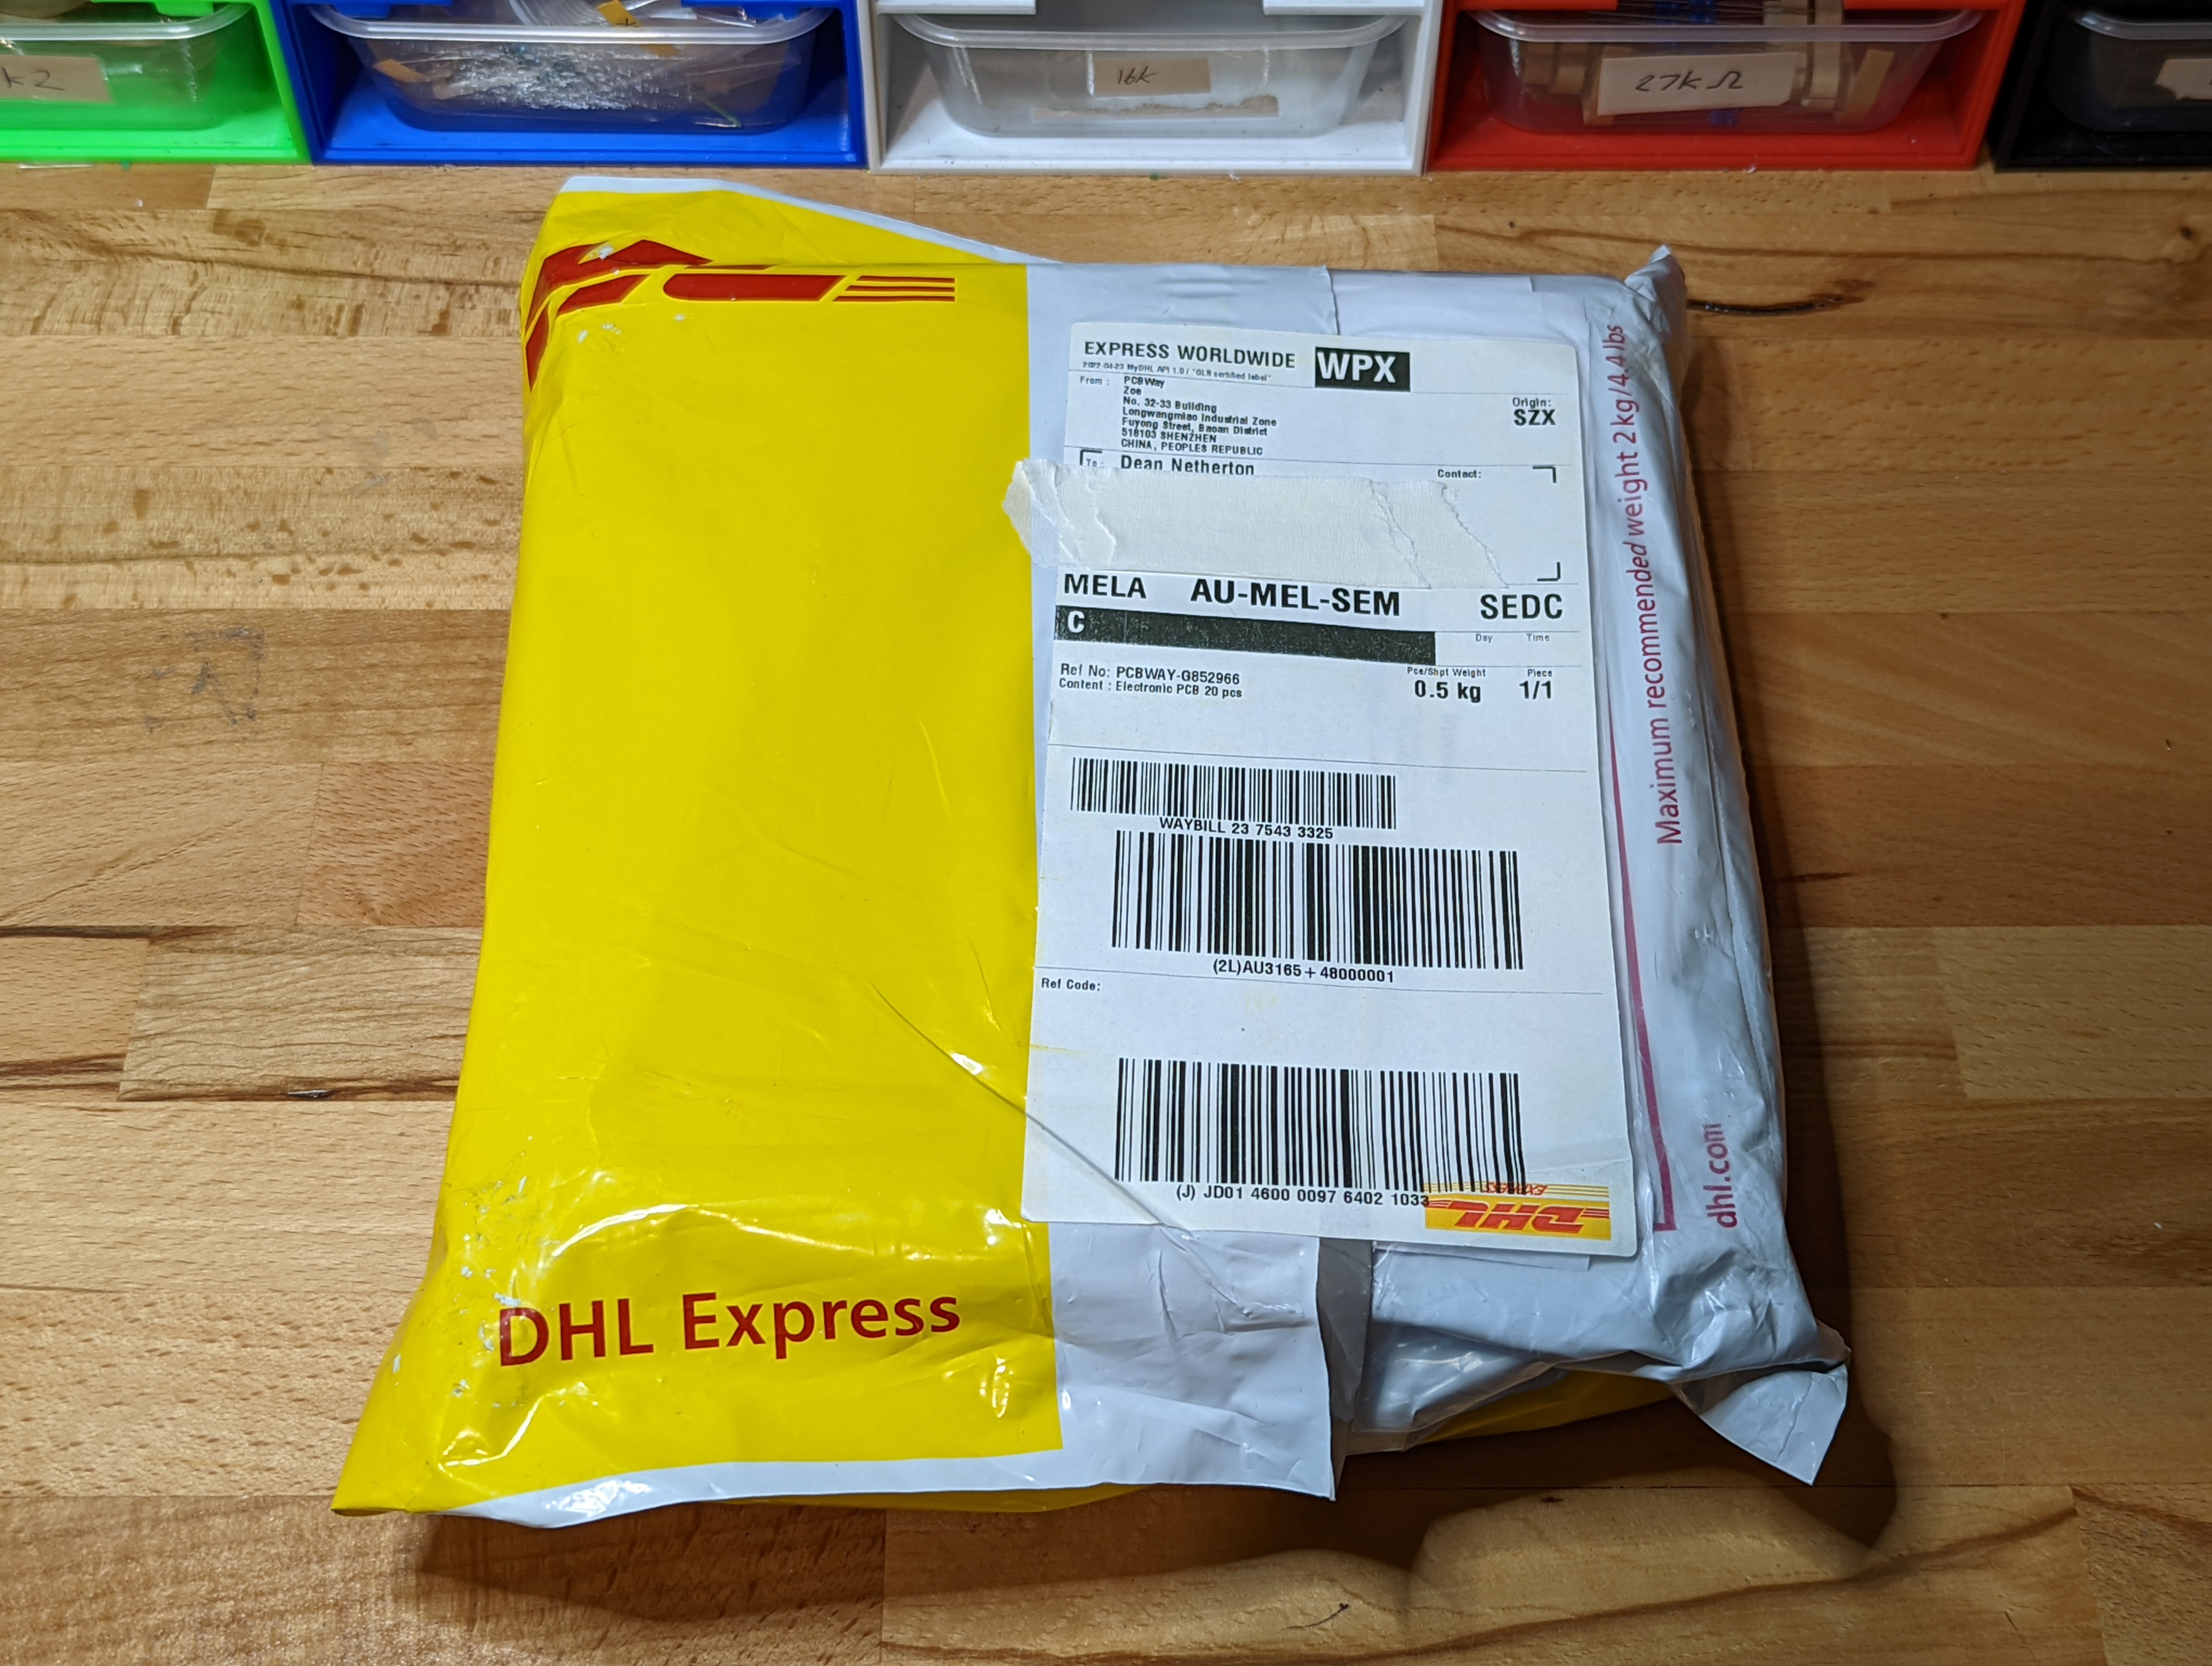
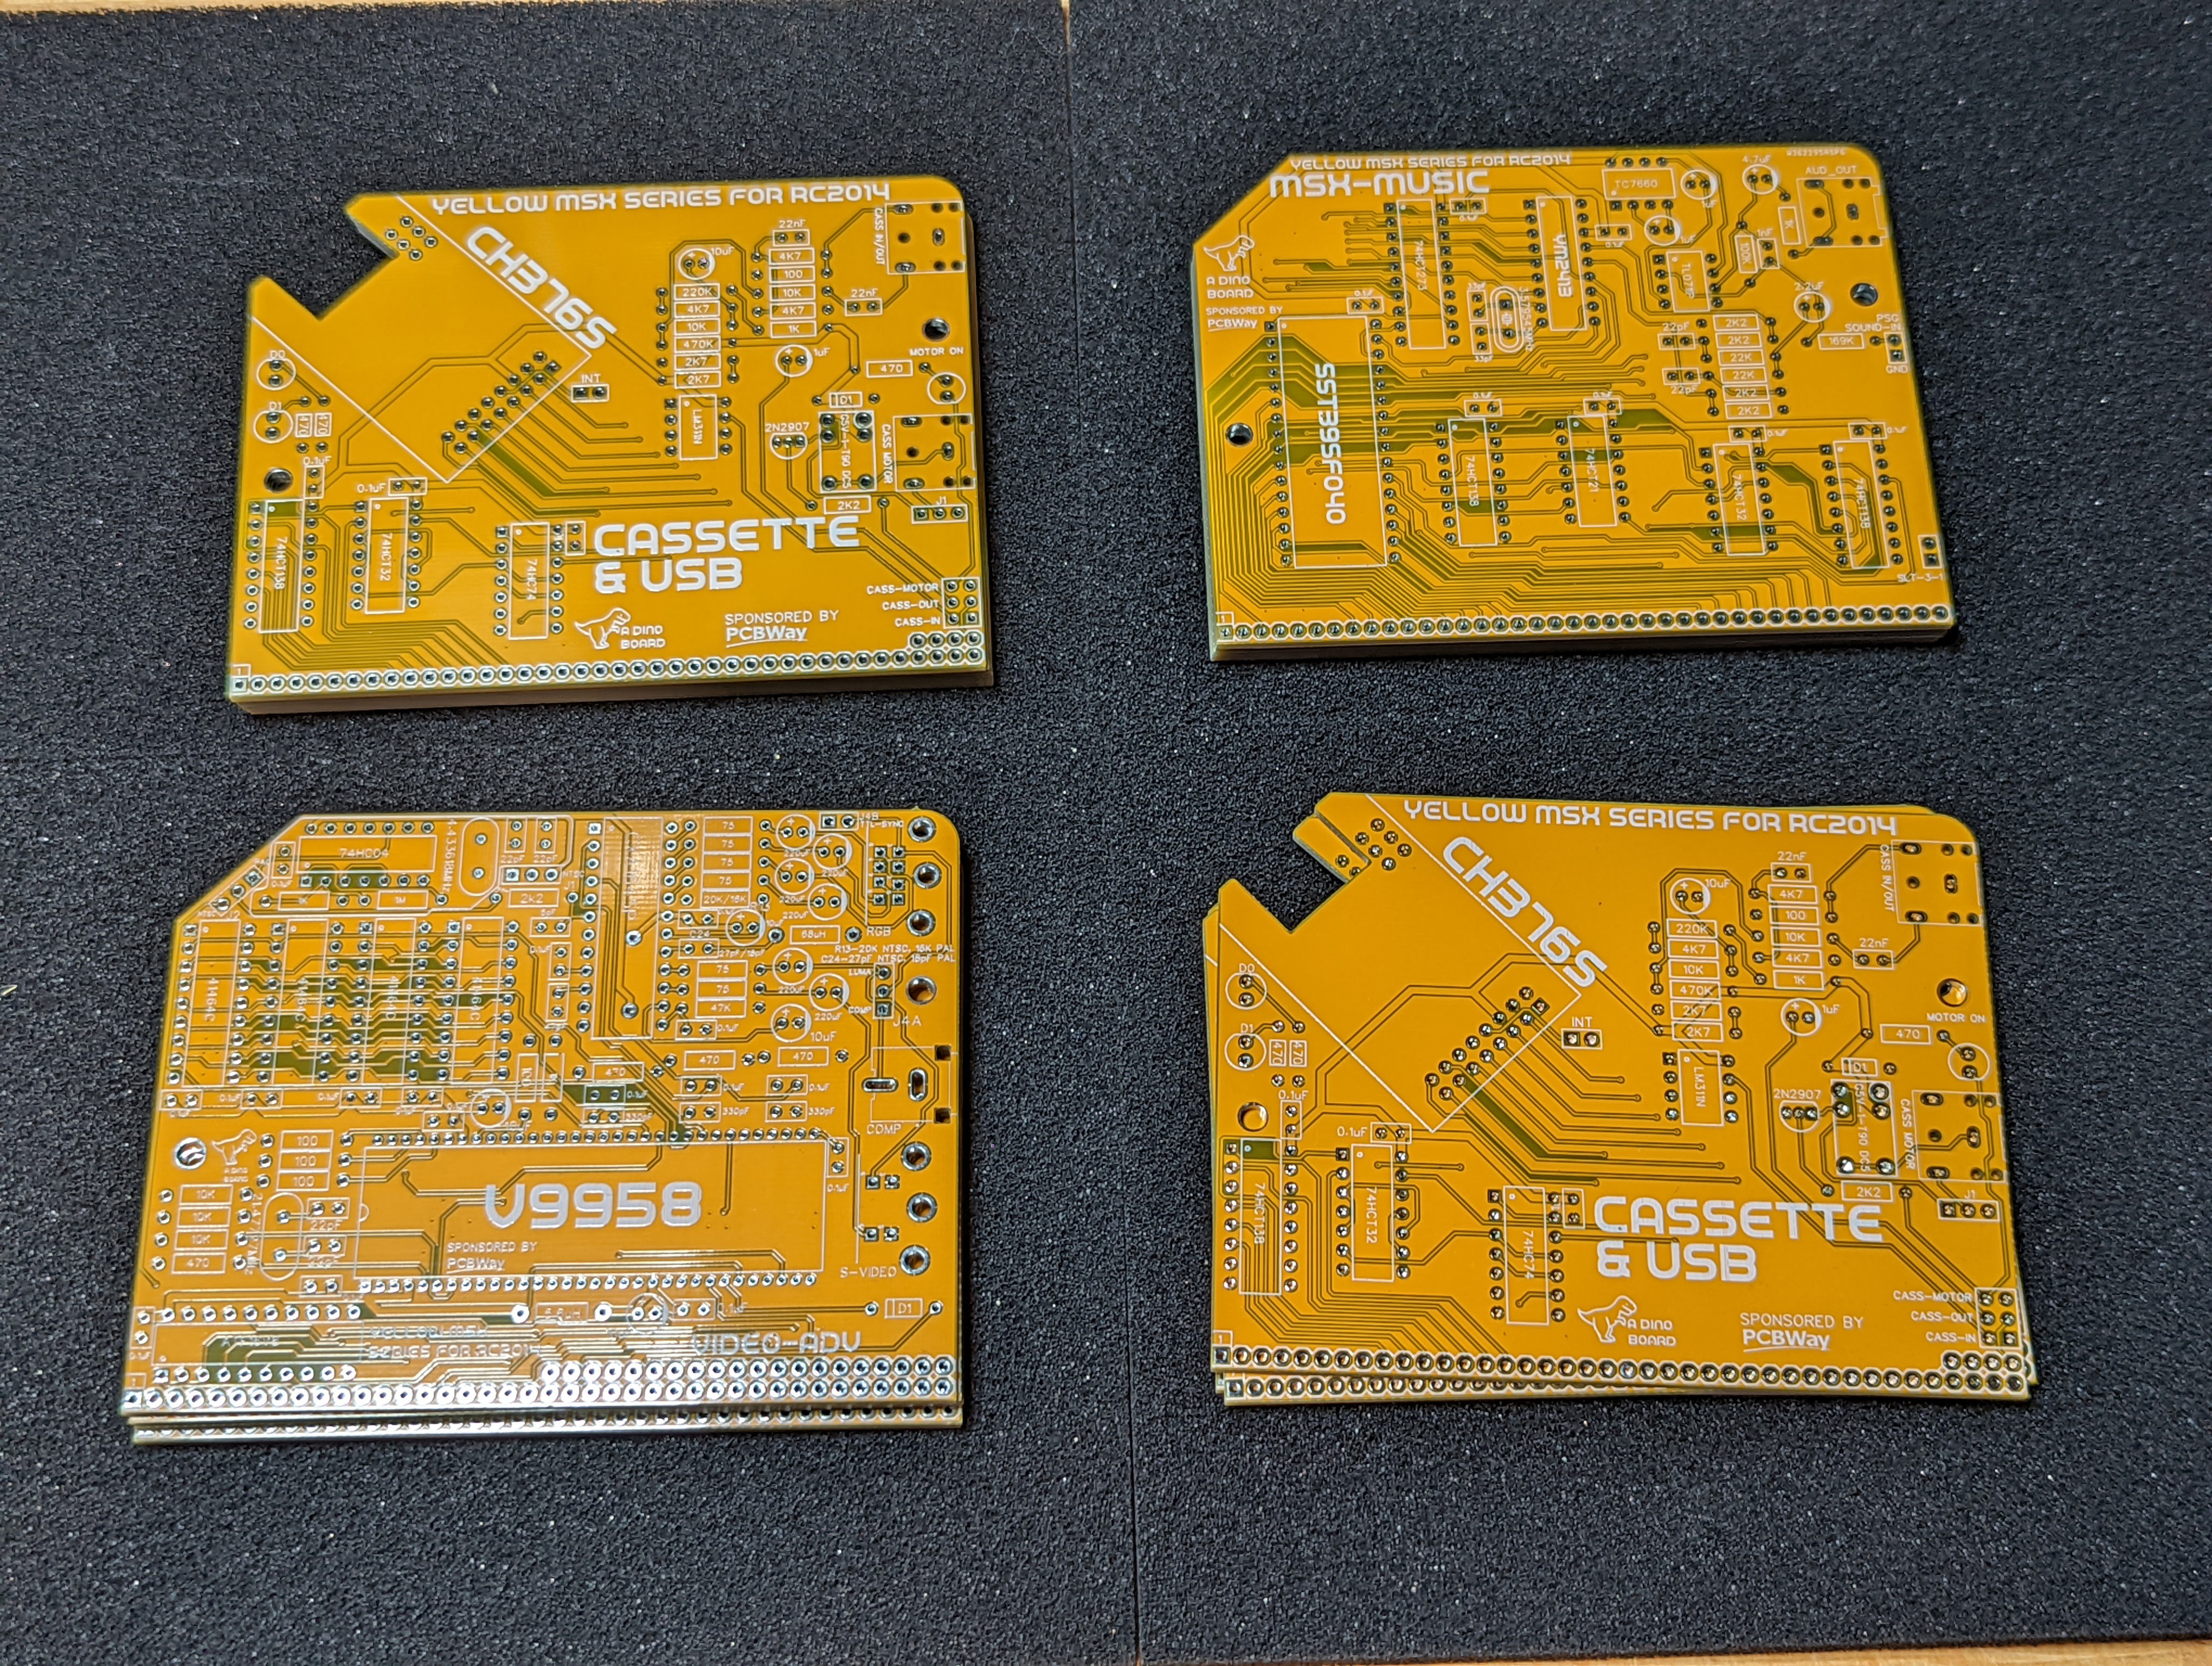
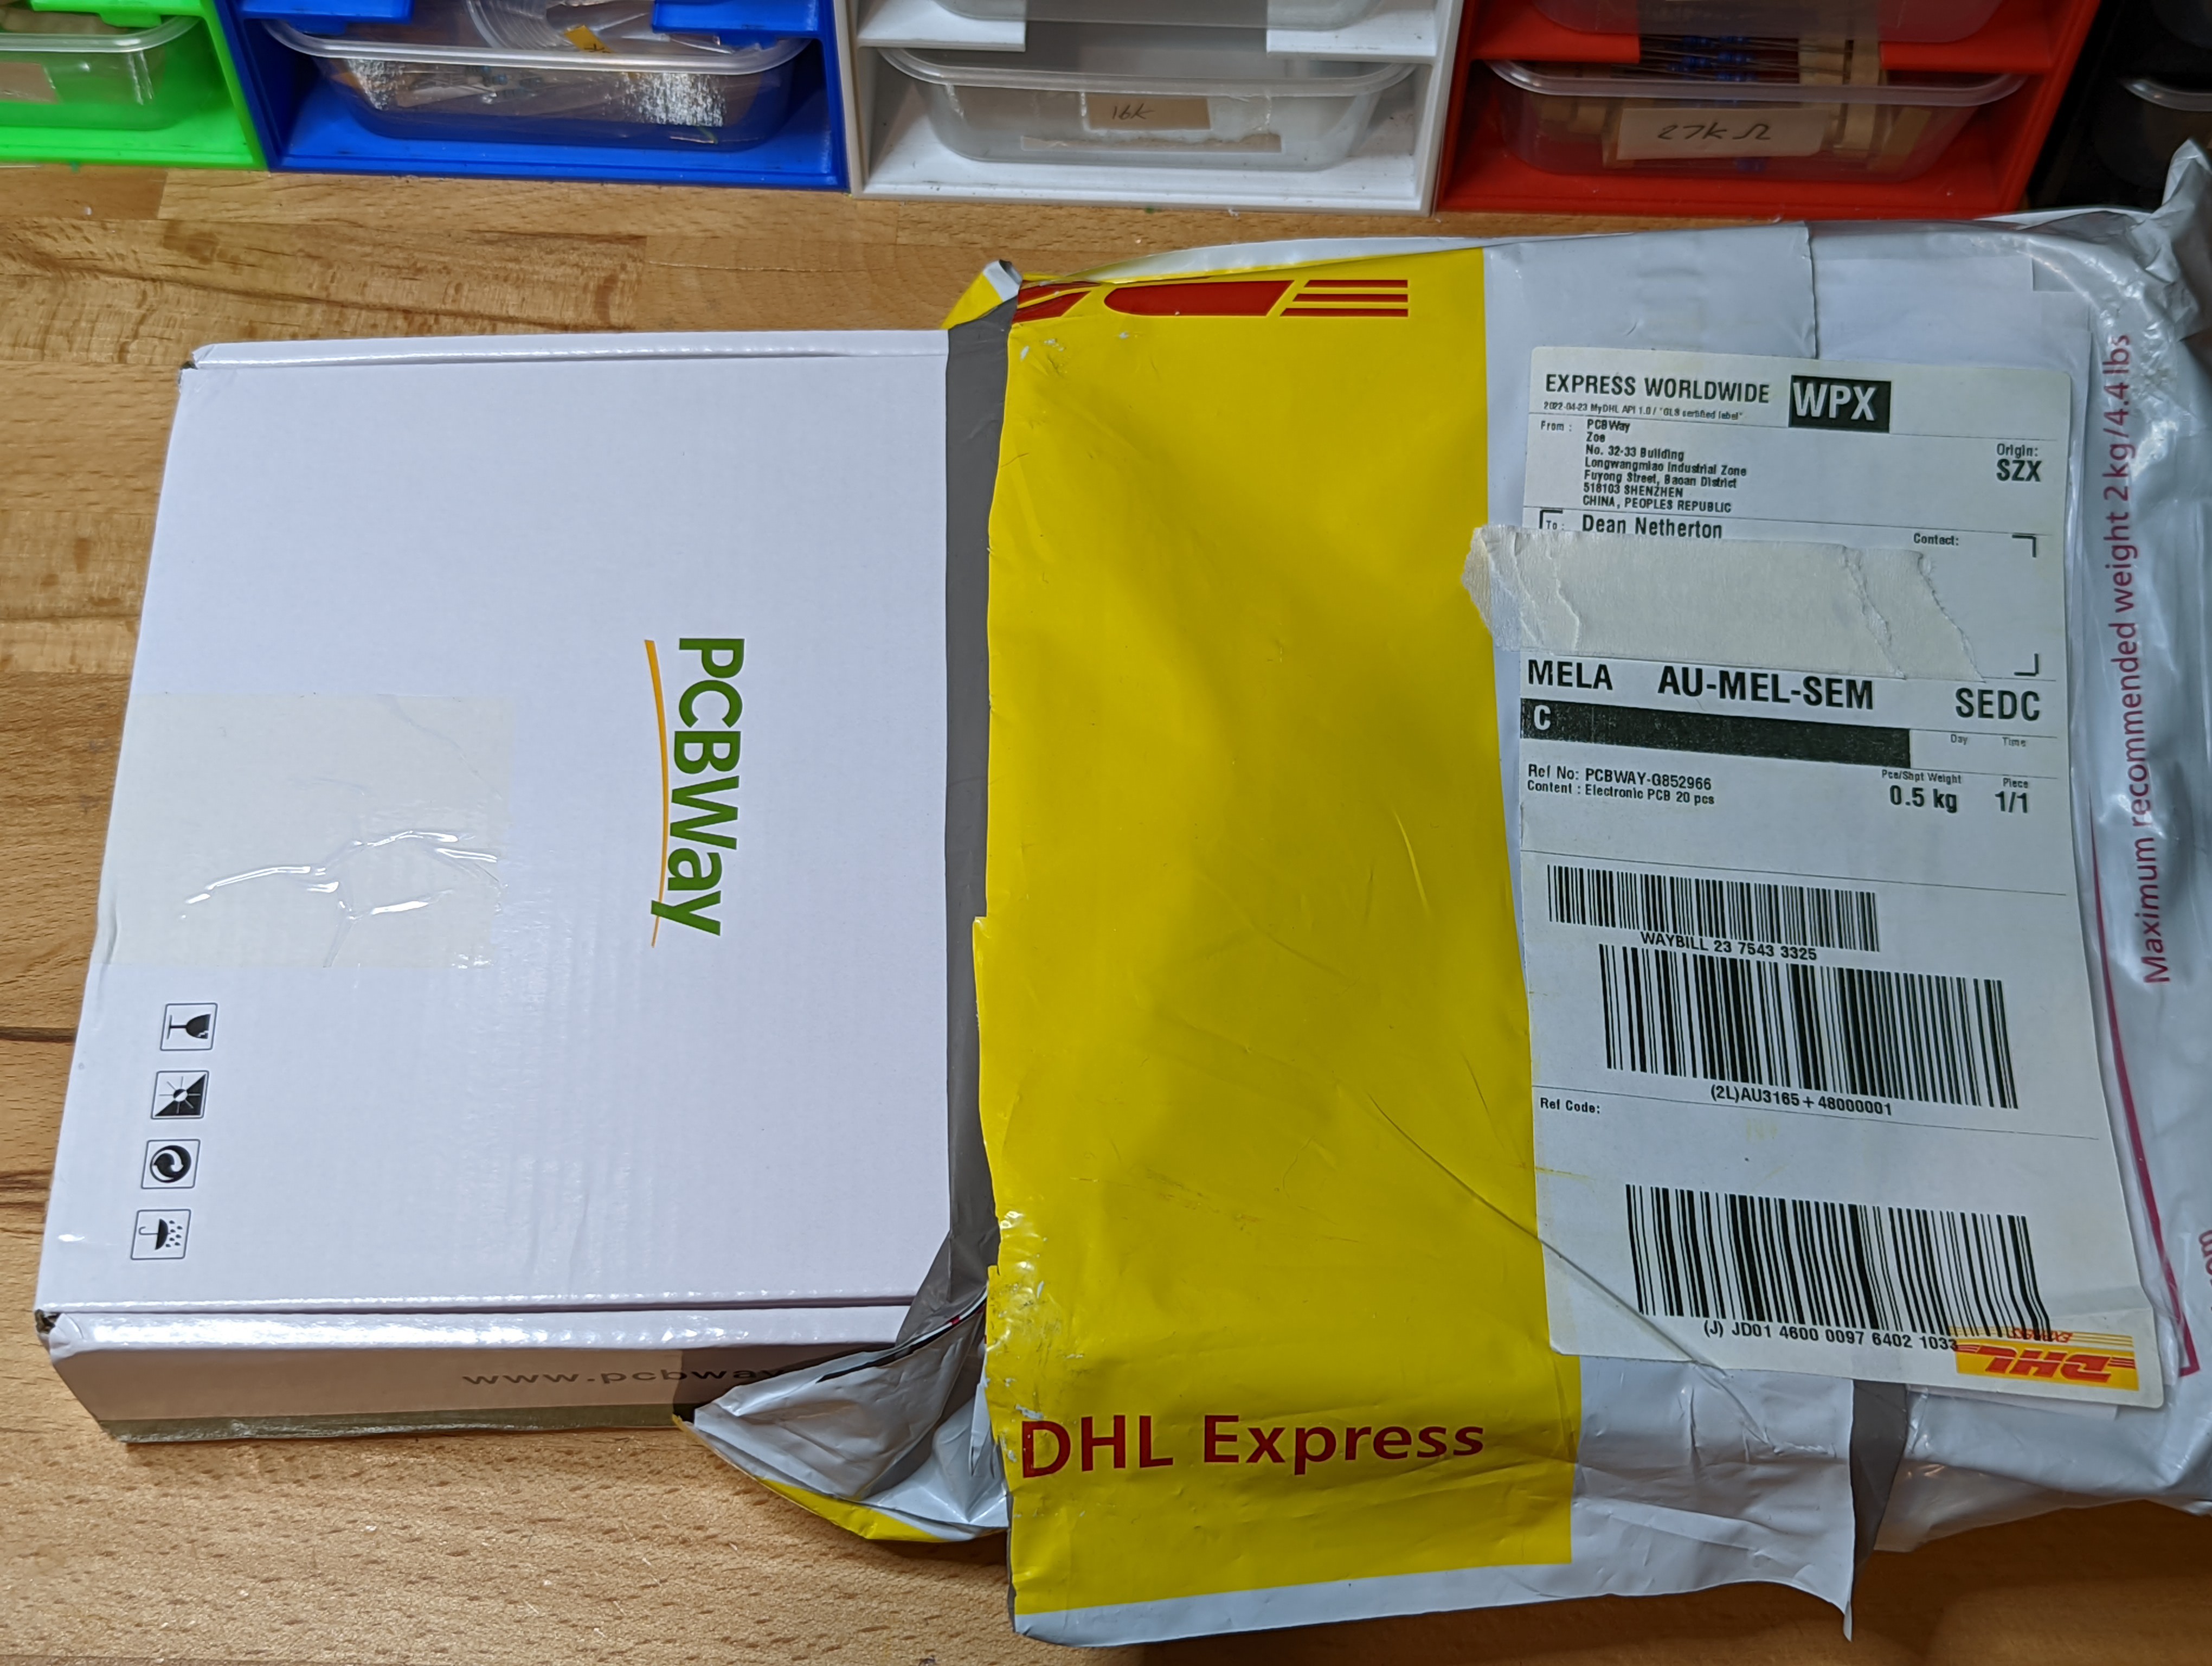 What's in the box?
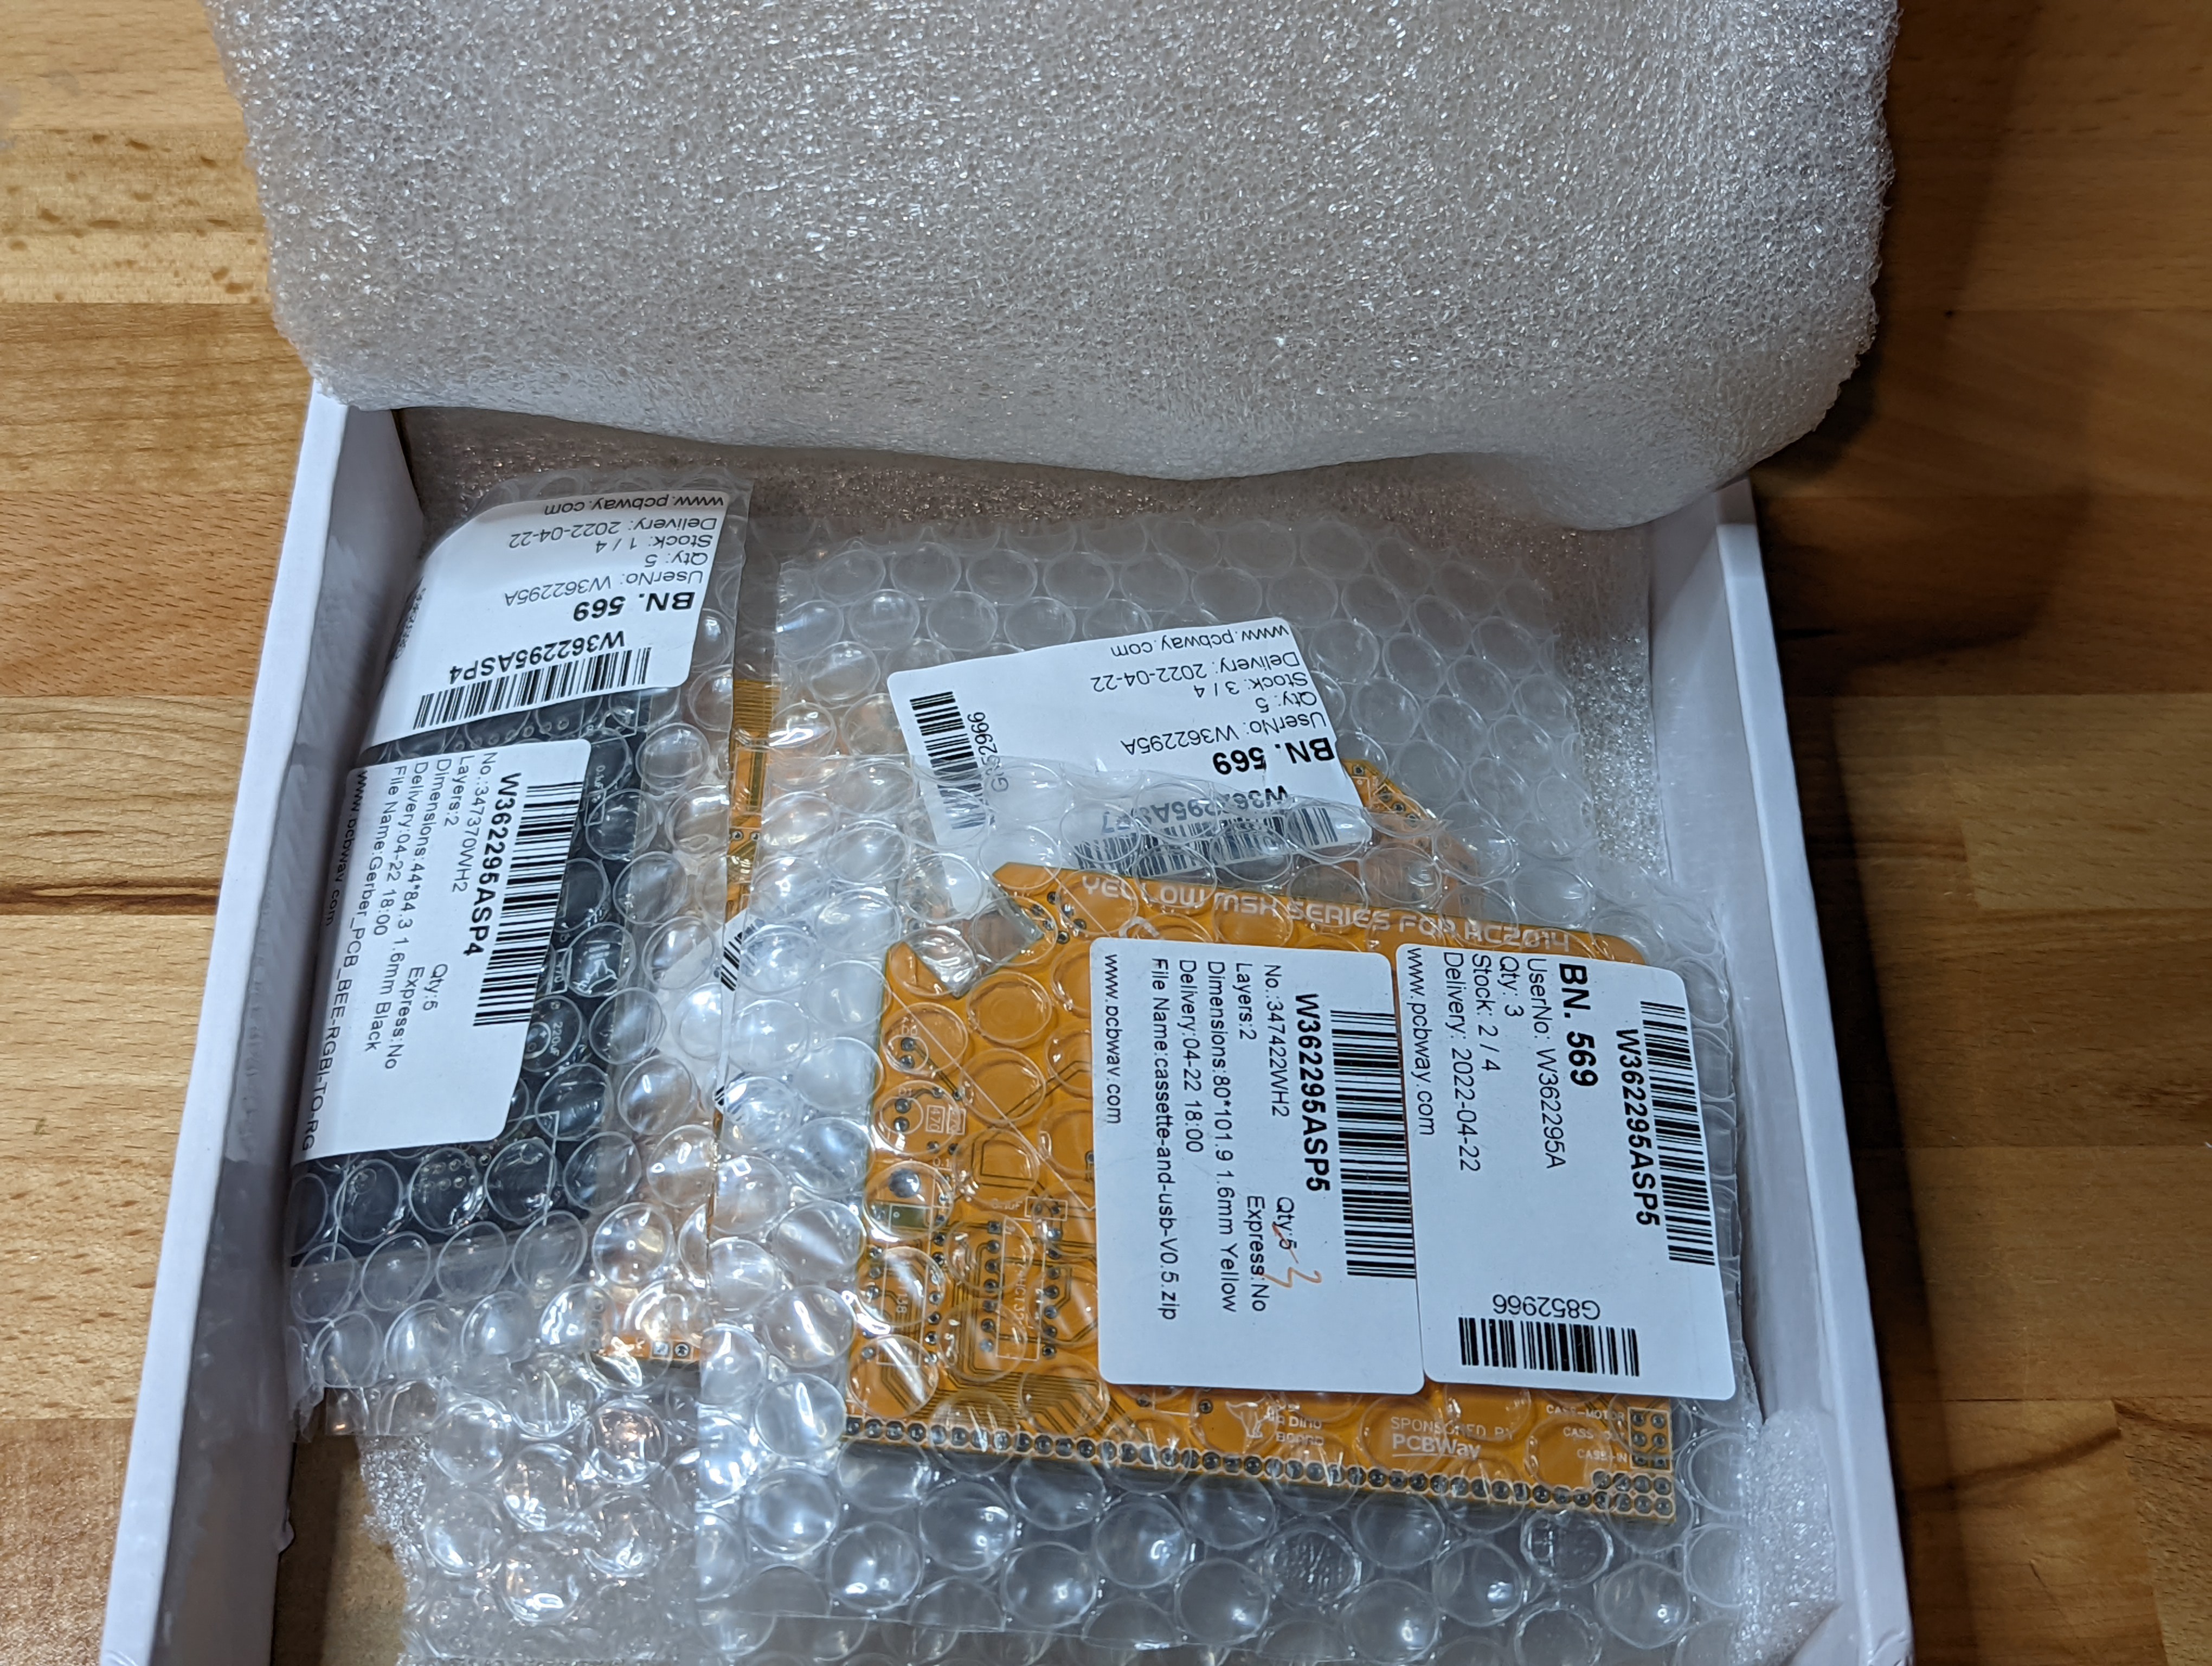


 J.B. Langston
 FloppidyDingo
 Anders Nielsen
You really need an index and overview. It's nigh on impossible to figure out what works and how from incomplete , out of date, and unserviced hackaday blogs. It all looks great , but it's very hard to follow.