 Vipin M
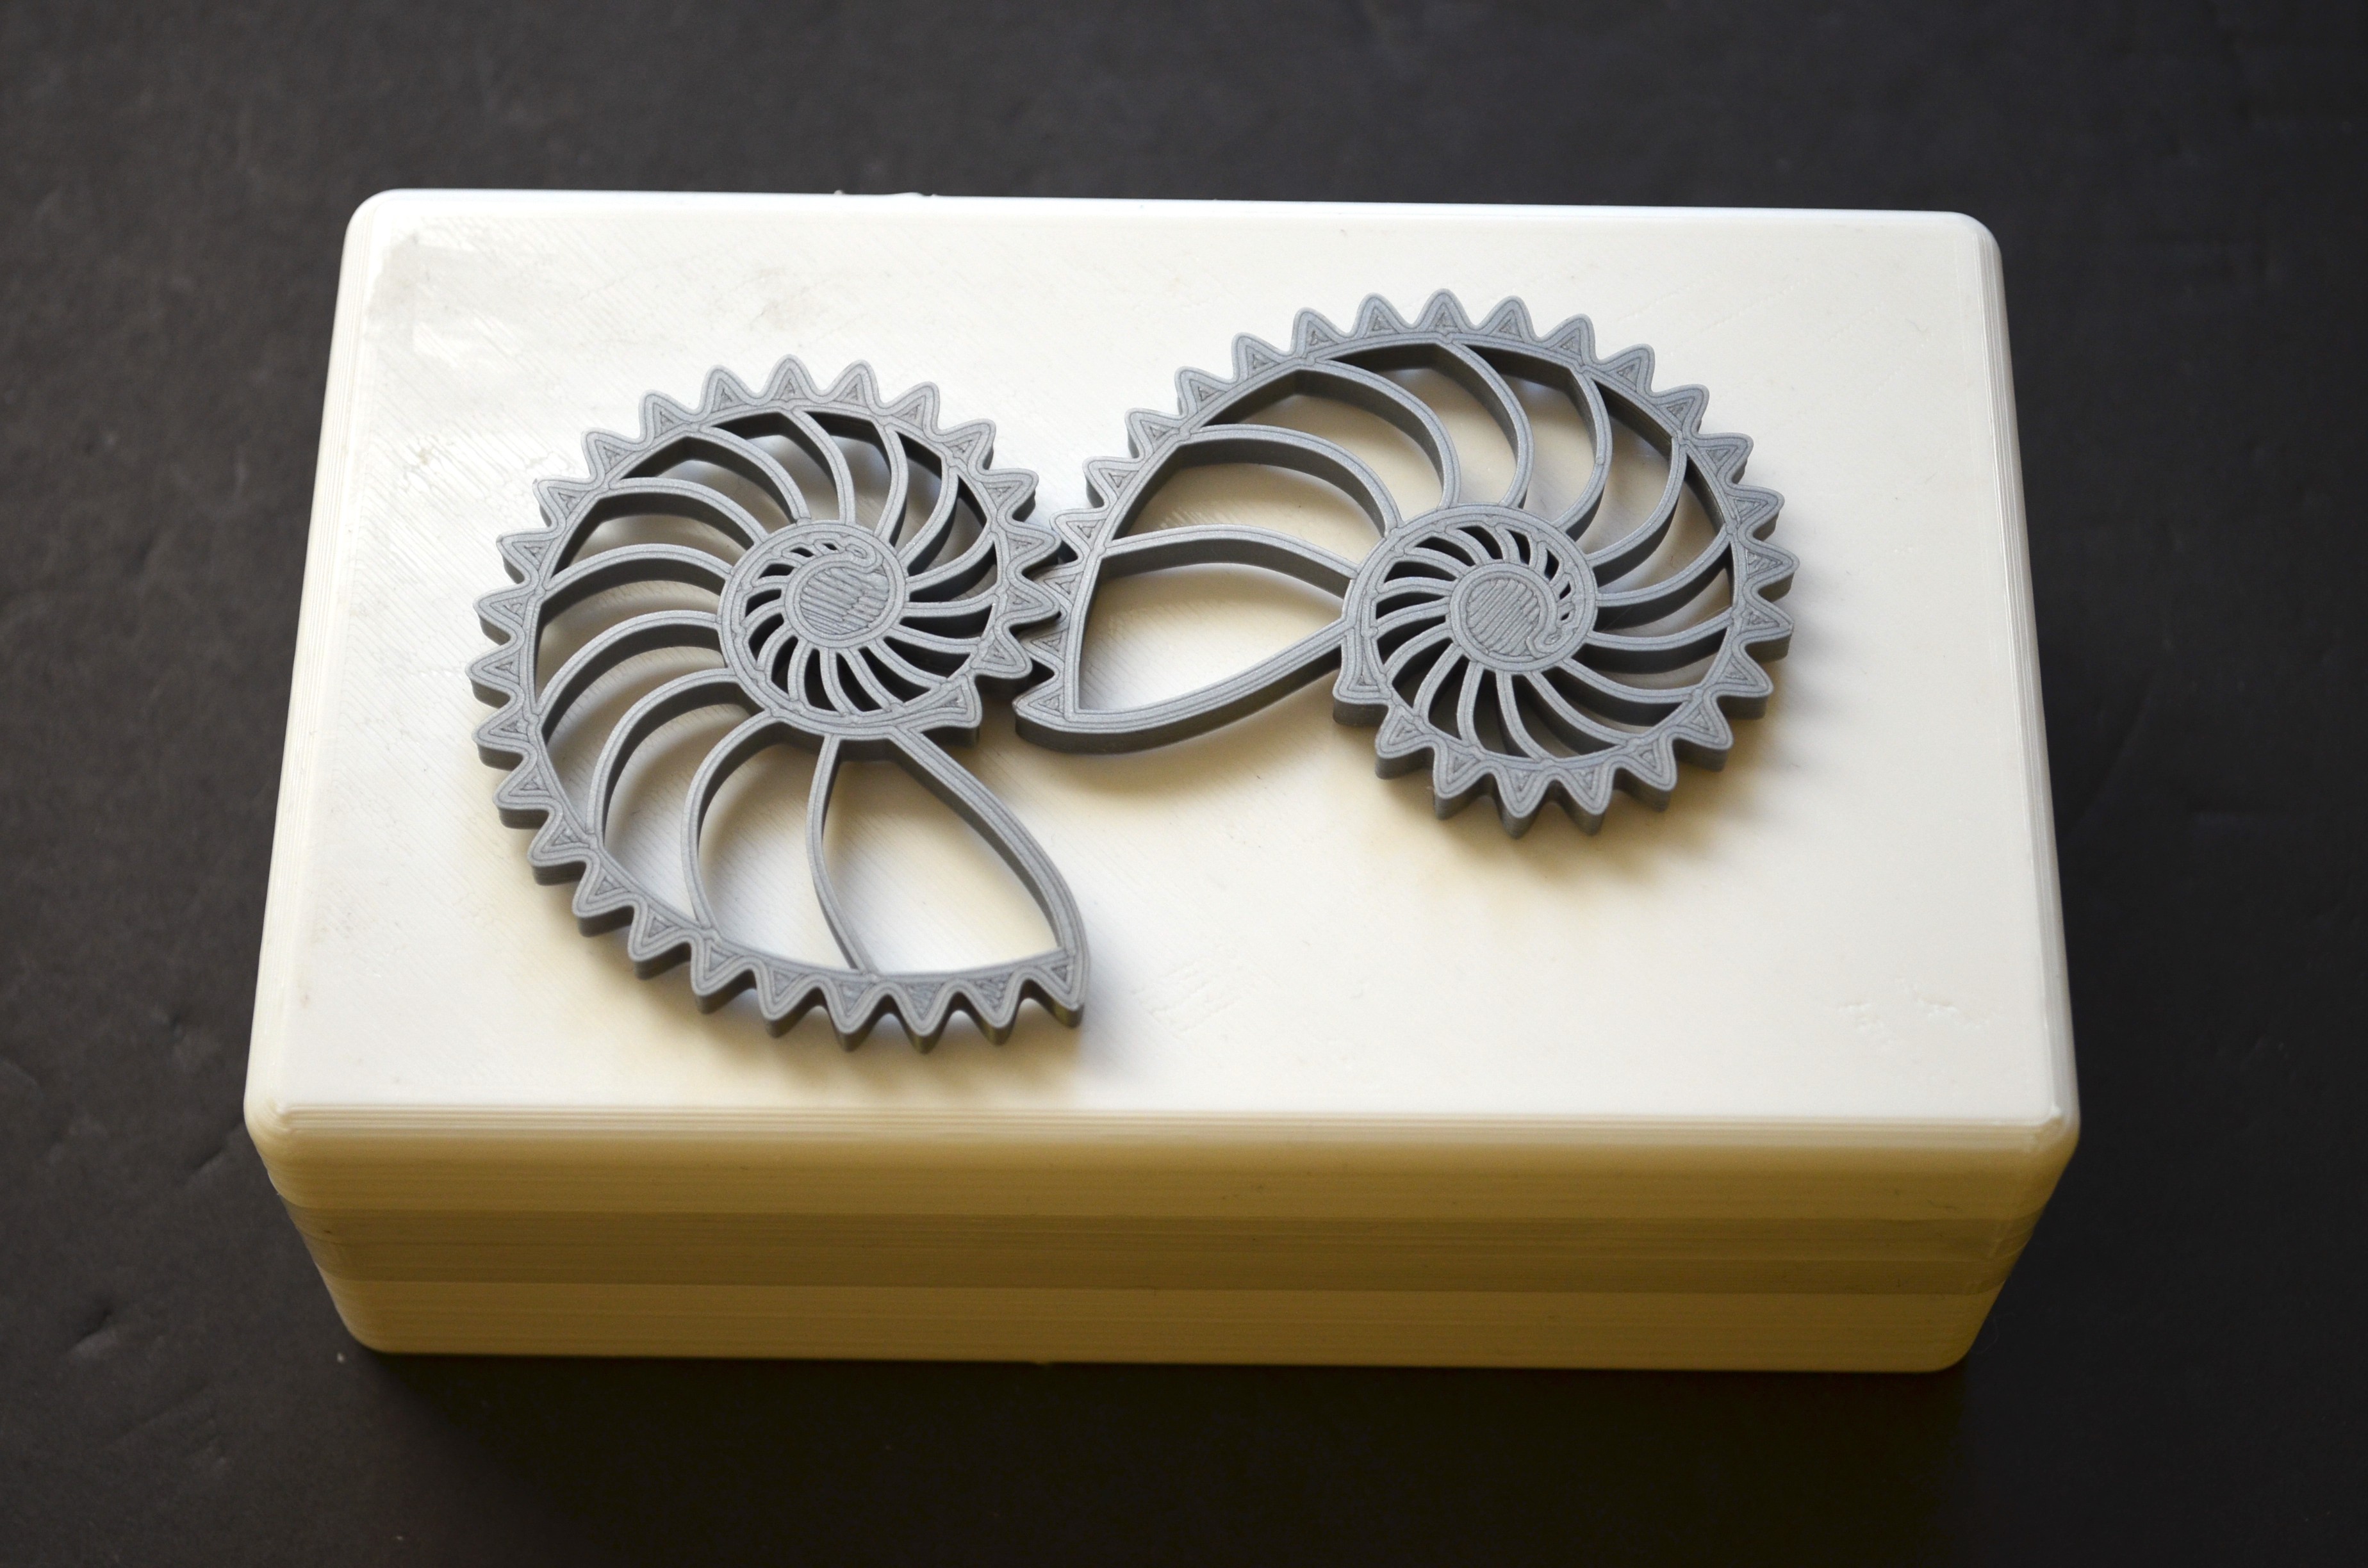
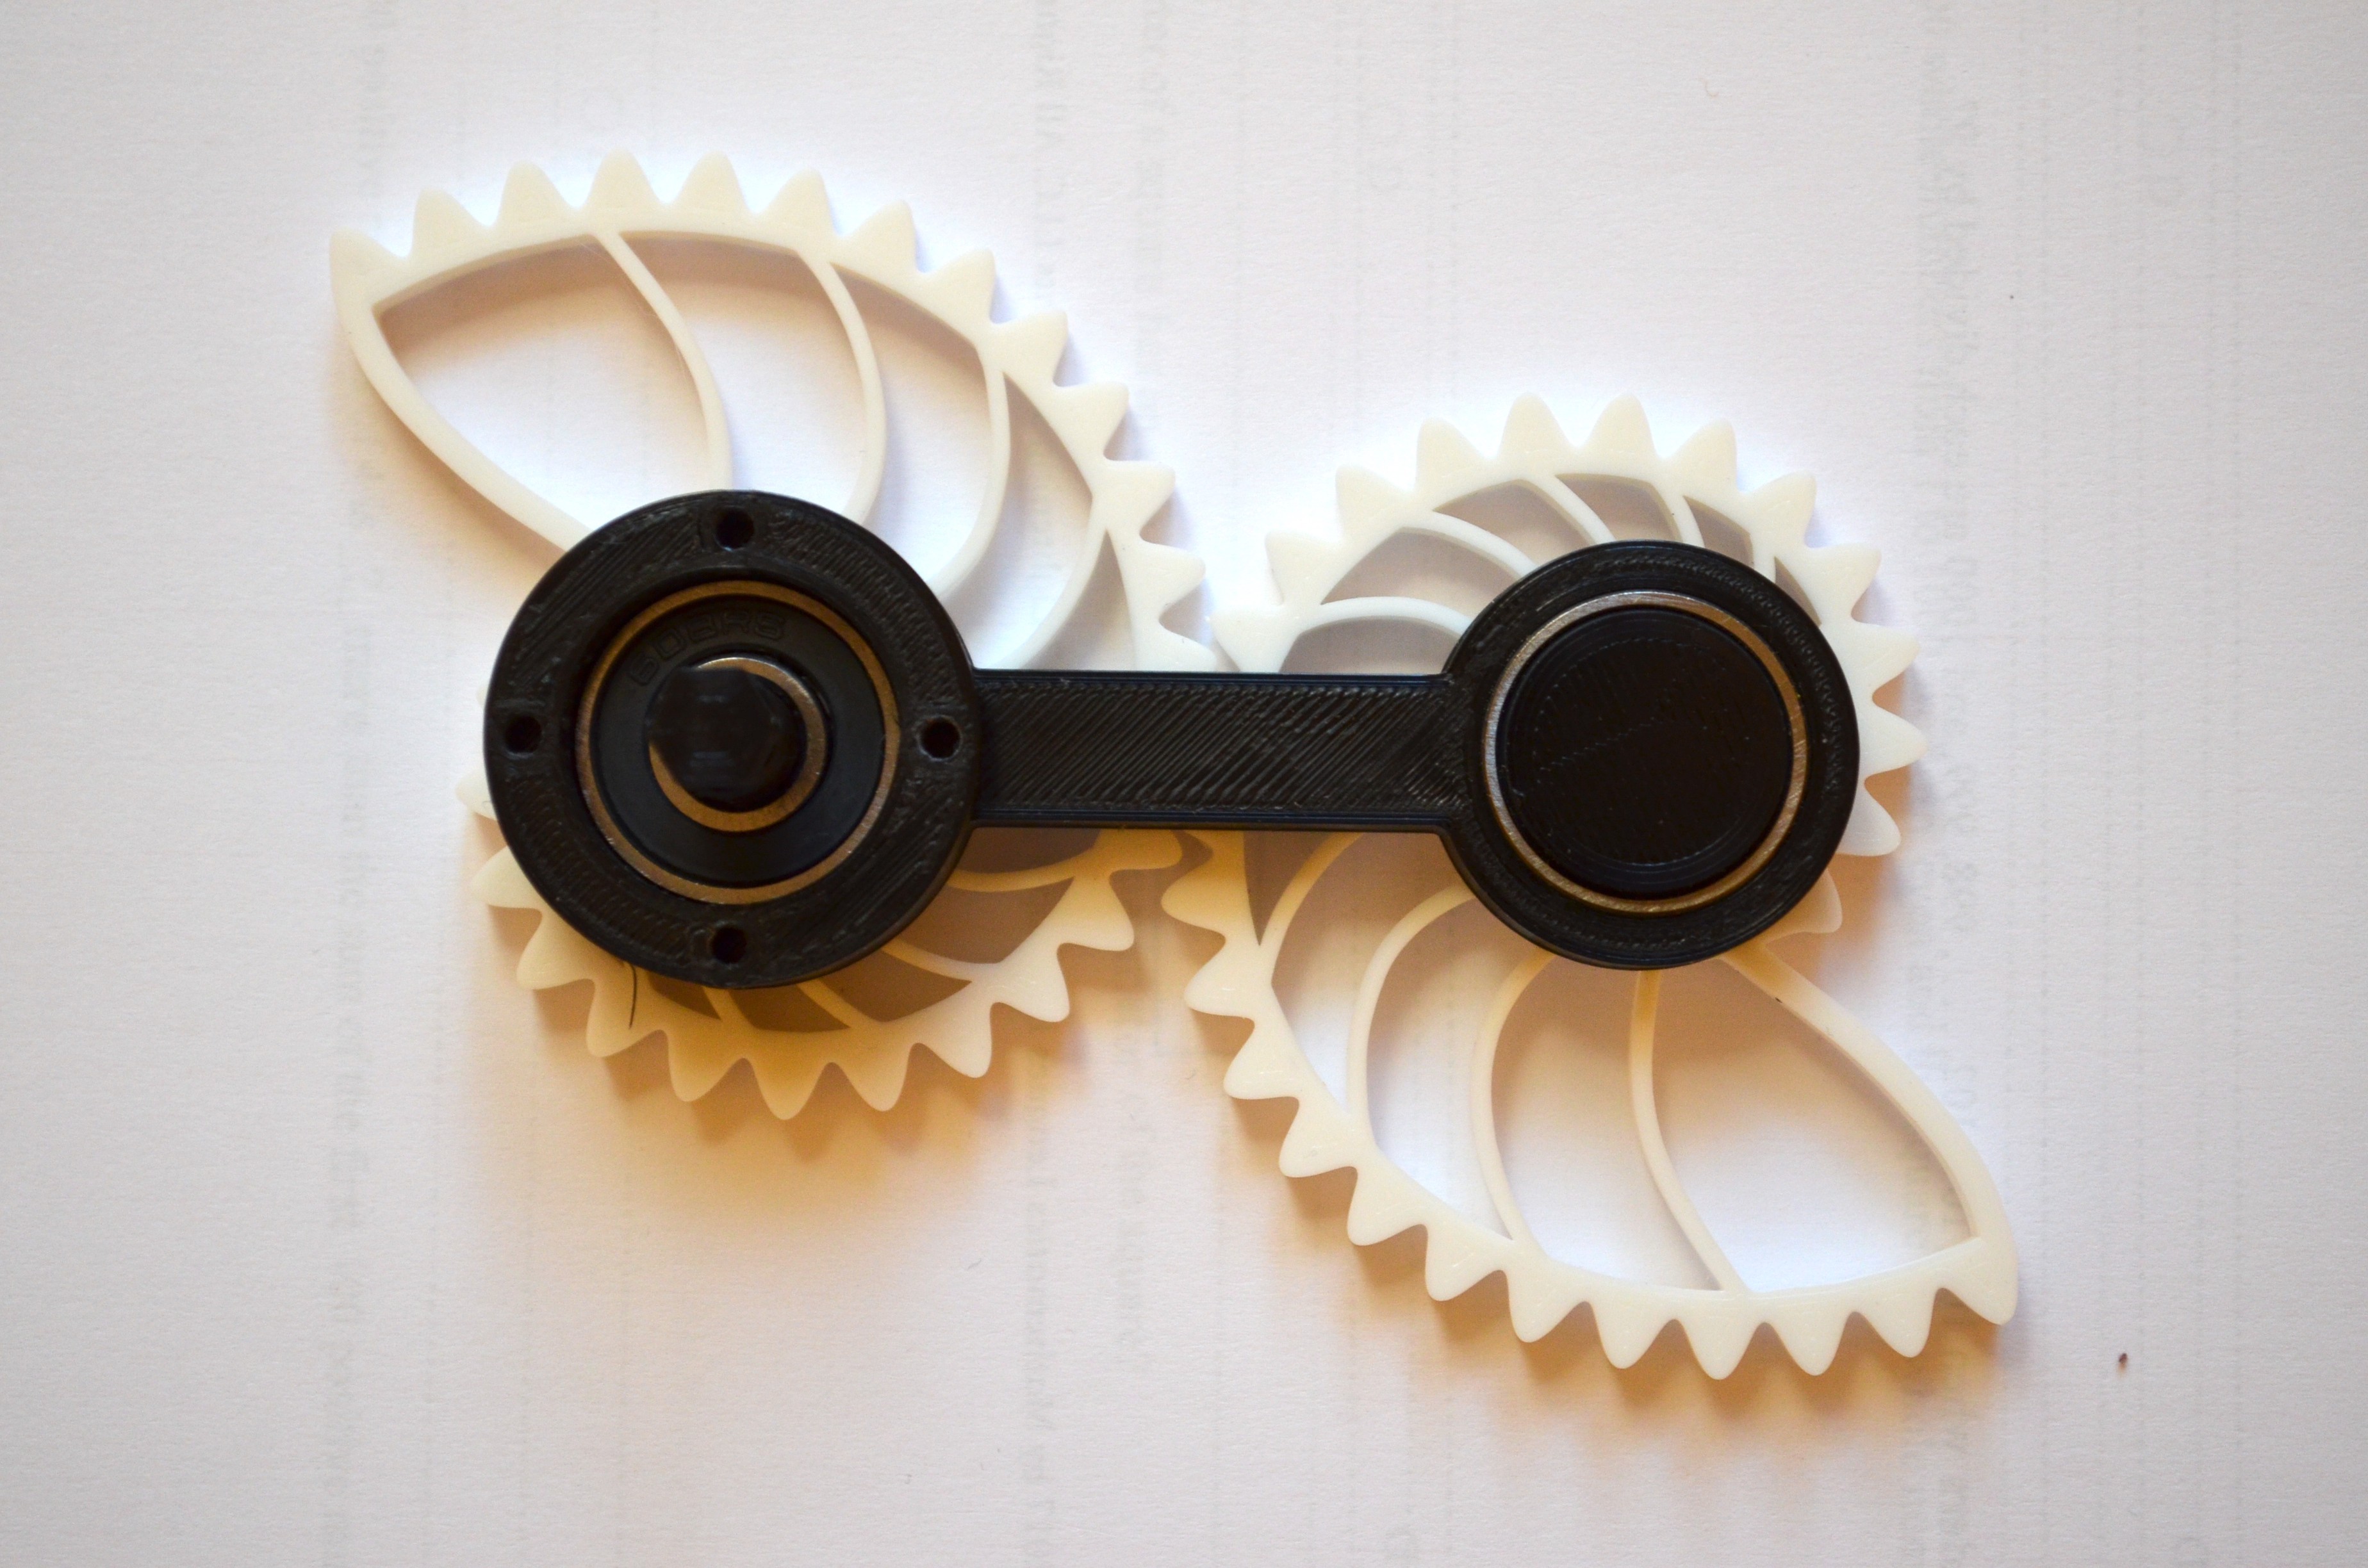
A logarithmic spiral is a curve whose distance from the origin grows exponentially with angle. The curve can be found in nature like the Nautilus shell. I recently came across a gear whose profile matches the above description and is called a Nautilus gear. The way two such gears mesh with each other is really mesmerizing. I printed one for myself to play with but was too lazy to keep turning it. So, I automated the motion and now use it as a desk toy.
The pattern can very simply be generated by some closed form equations and expressions that appeared longer than this project blog. For the mathematically inclined, here is a link to the page. I spent a couple of months solving the equations and came up with the coordinates that define the gear profile. Just kidding... I followed the path of least resistance and simply picked up the CAD file from Thingiverse and altered it to suit my requirements. Shout-out to Misha T for the upload.
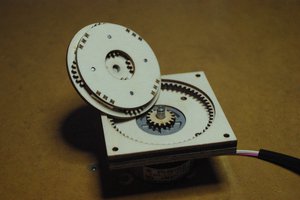
The next goal was to figure out a mechanism to turn the gears. Motor of course... but then there were 2 issues:
- How do I hold the nautilus gears in place while turning?
- How do I drive the gears with a motor at a sane pace?
The answer to the first question was rather simple. Design a frame to hold the gears. The answer to the second question is also quite straight forward in retrospect but it was not immediately clear to me when I started. I knew gears can be used to reduce the speed and increase the torque but did not have much idea beyond that. I wish I had paid attention in my engineering classes. Oh well... I can always attend classes at the Youtube university and that's exactly what I did. I prefer to watch simpler videos that are a good match for my intellectual capabilities and the videos are short compared to those 45 min to 1 hour sleep inducing lectures in college :)
I eventually ended up designing more than one contraption.
- Nautilus Twins (desktop version)
- Nautilus Windmill (handheld version)
- Nautilus Mania (wall art version)
The list of parts to be 3D printed and hardware components are all listed in the assembly instructions. For instant gratification, refer to the video but for anyone interested in the gory details, here is a huge wall of text for you. You have been warned!!!
Nautilus Twins
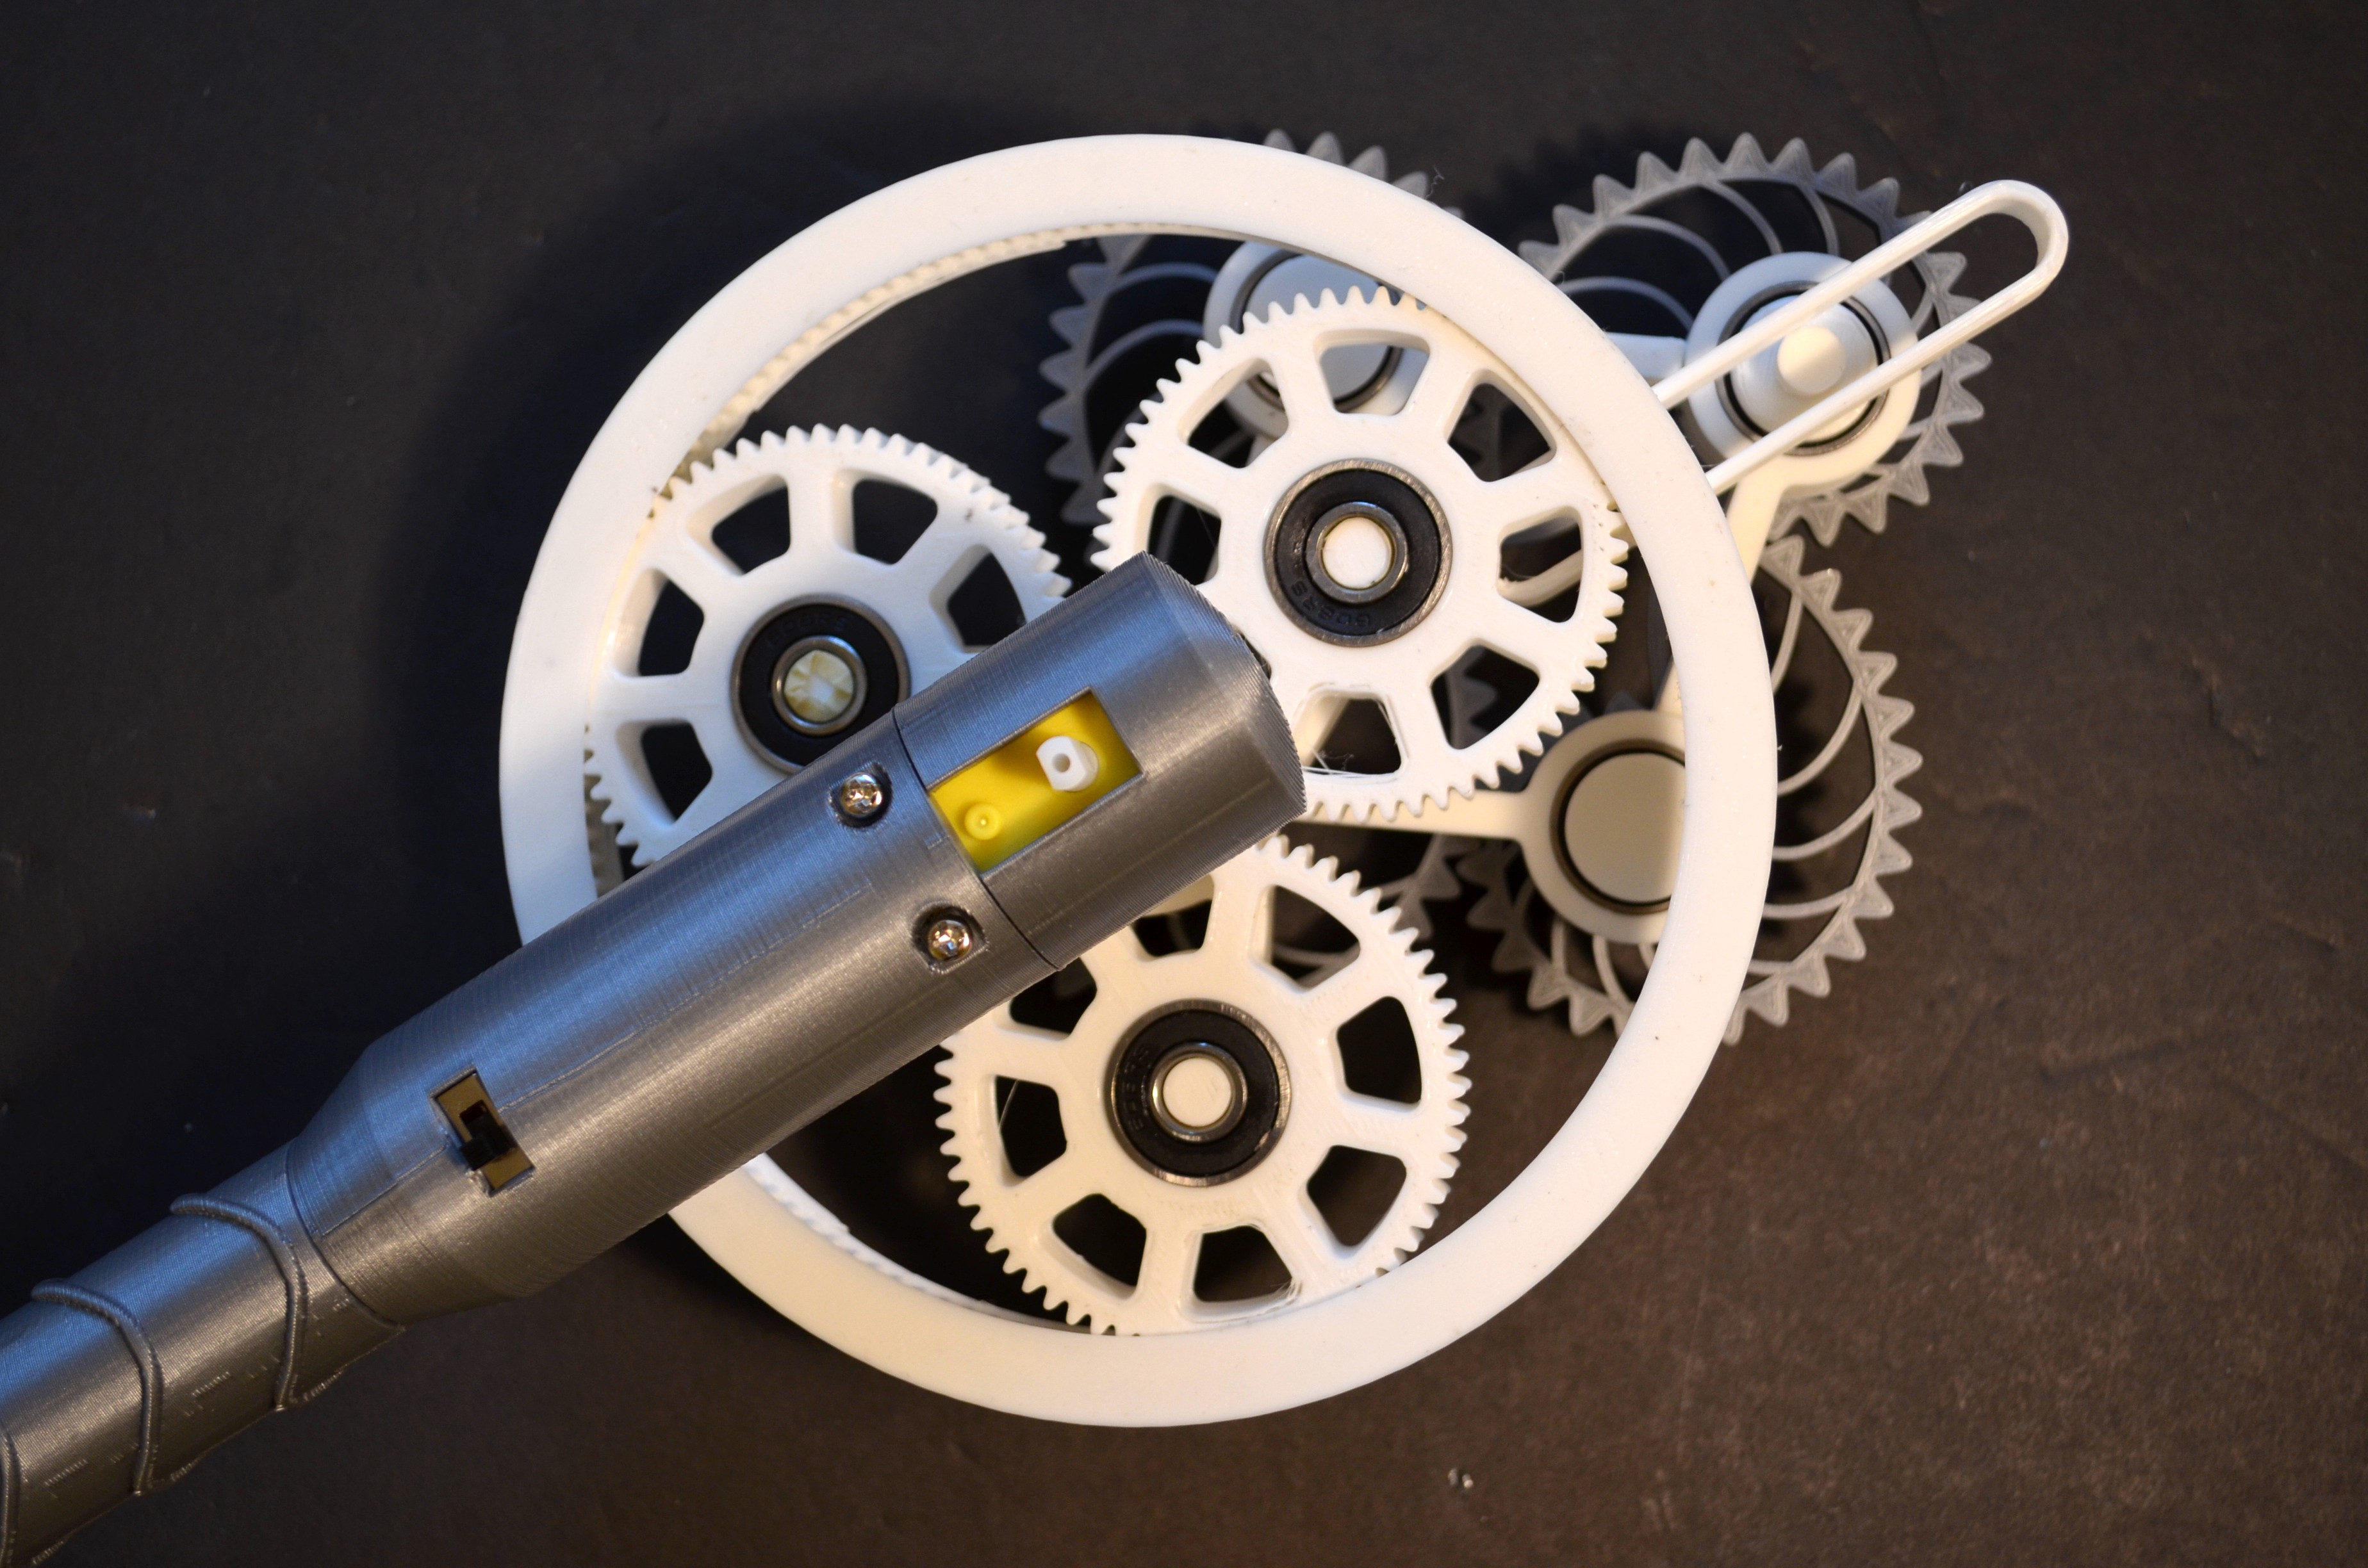
I started with figuring out the gear ratio that I need. A reduction by a factor of 10 appeared reasonable given the motor I had. Doing the reduction a single stage would require a monster sized spur gear. So, I decided to do it in 2 stages each with factor of 3 reduction in each stage. I then modeled the two stages in Fusion 360 which is another skill I have picked up from the Youtube school of engineering. 608 skateboard bearings were used to reduce friction in gears and eliminate the wobble.
I did not feel any need for making any aspect programmable. So, did not have to worry about the microcontroller or coding. One could use an H-bridge to change the direction of rotation or change the turning speed or accessorize it with some lights, etc. and all that wirelessly.
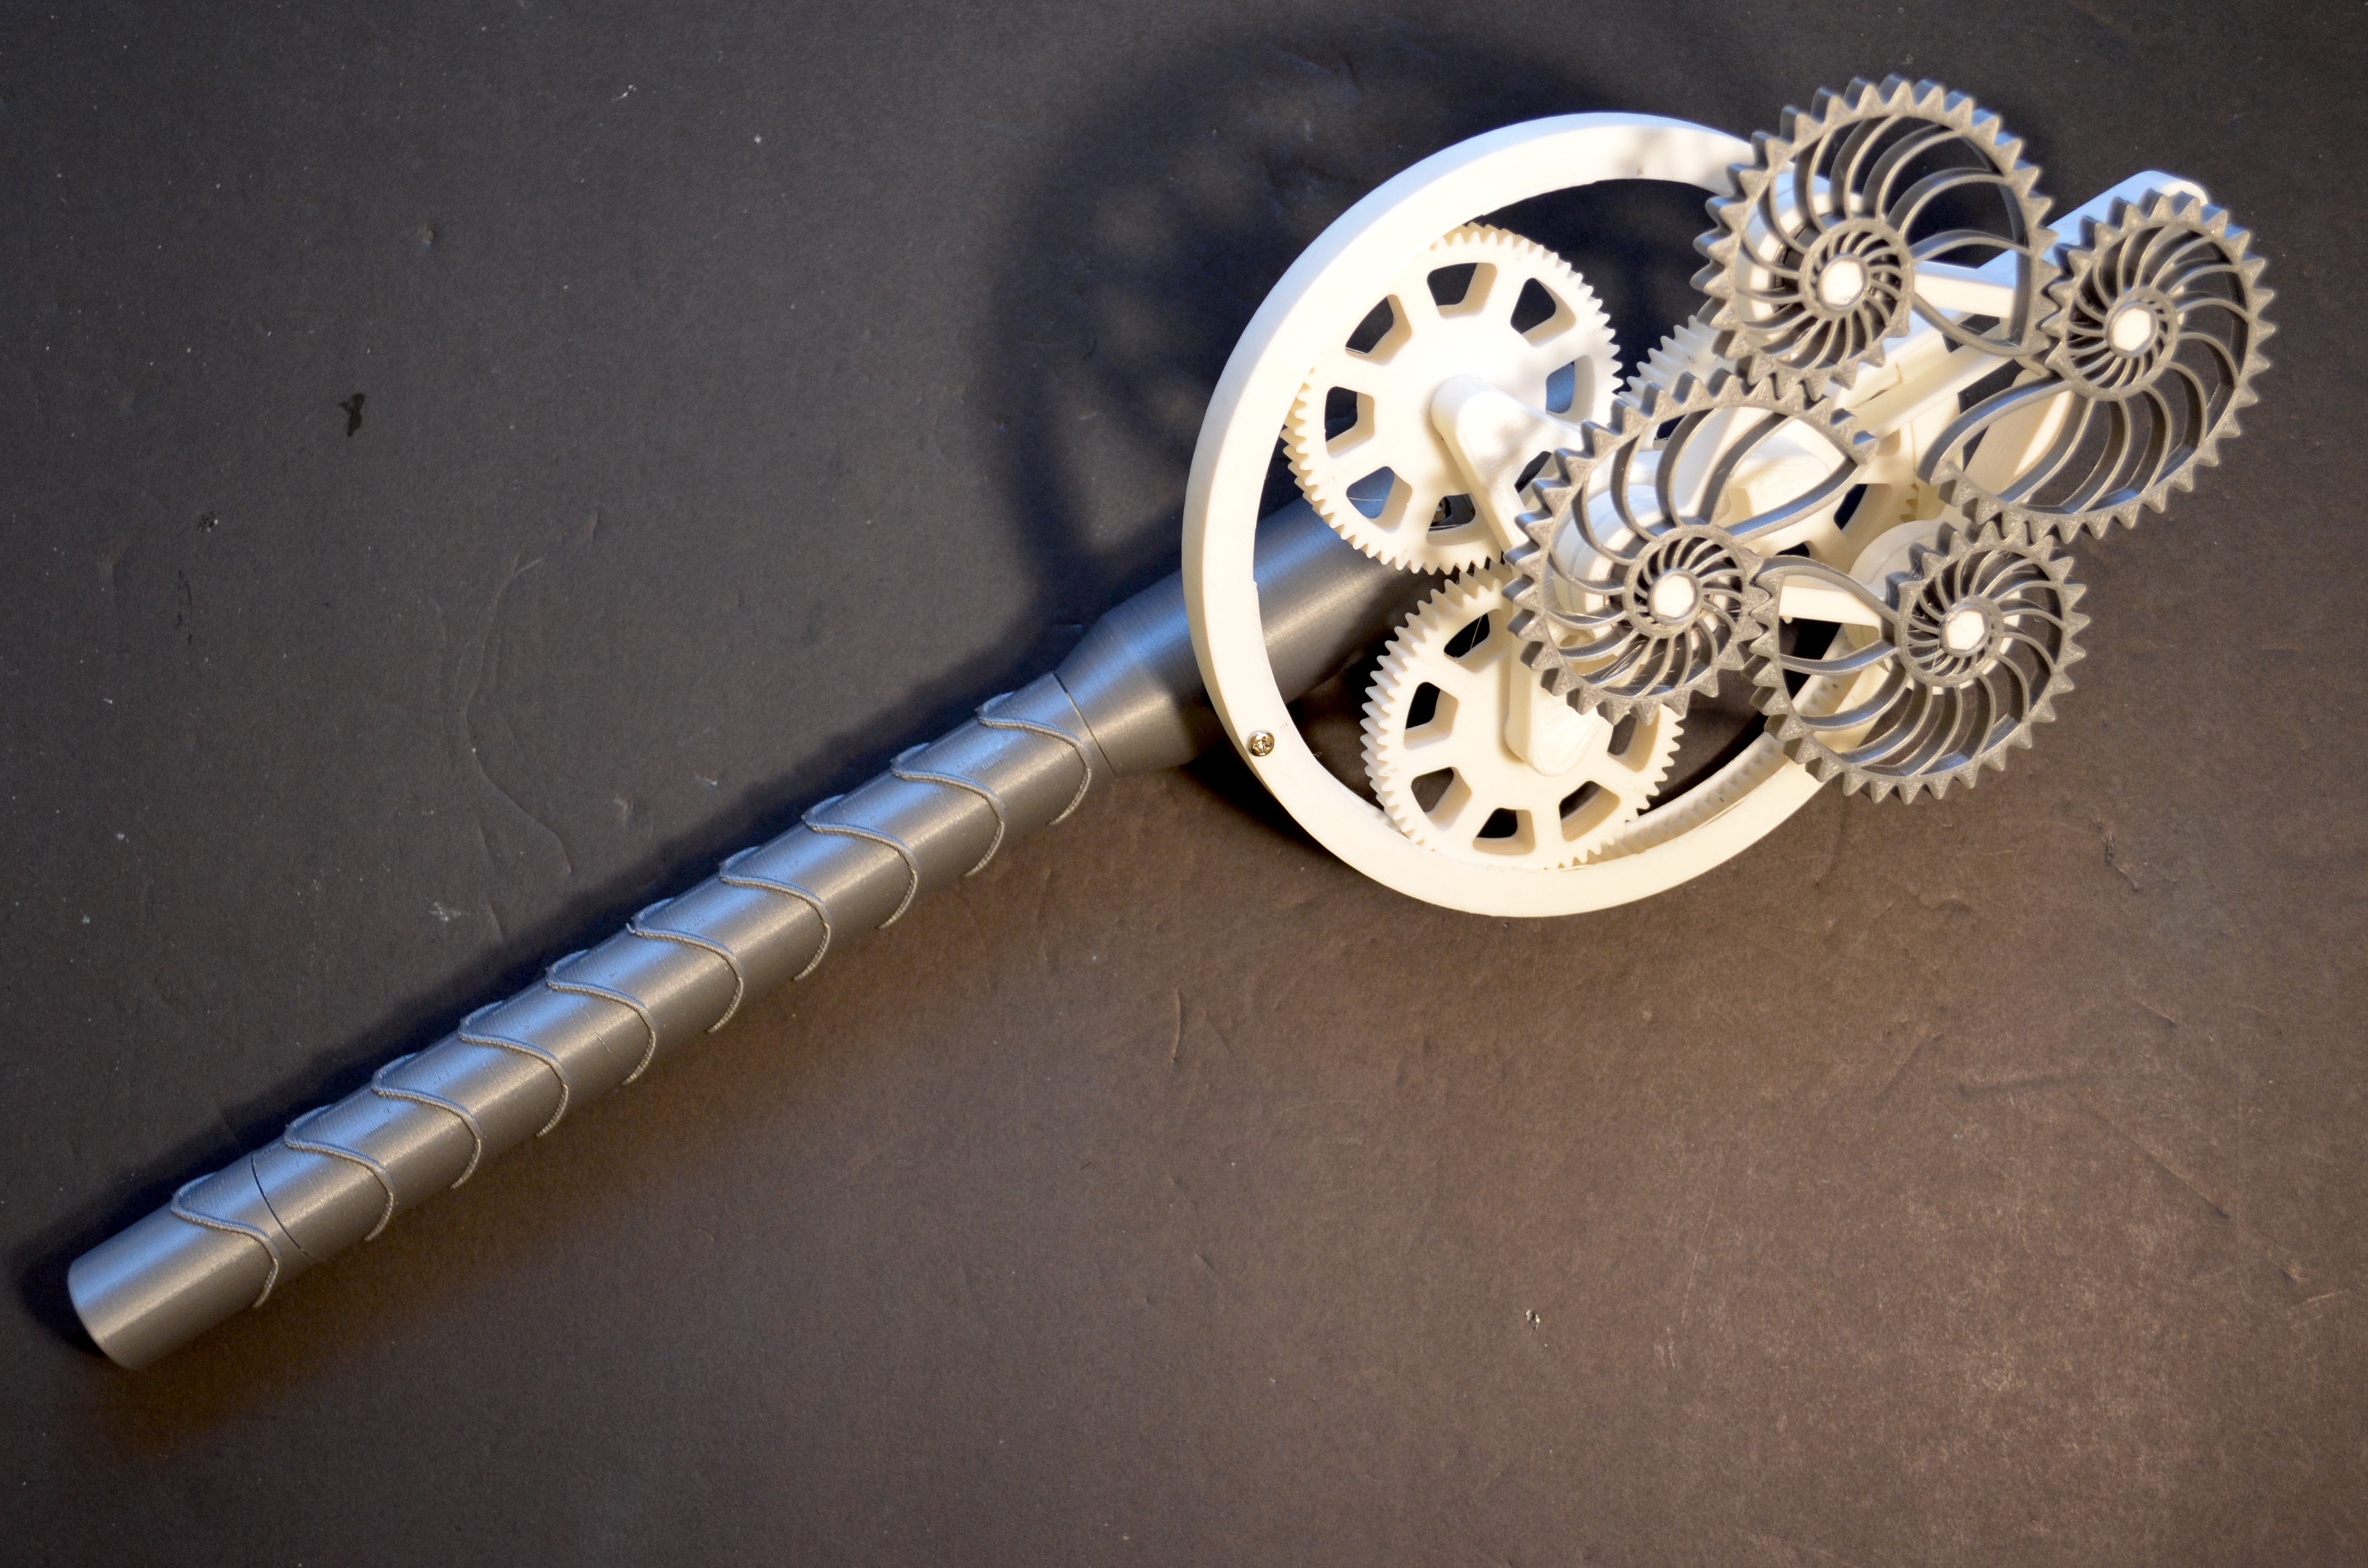
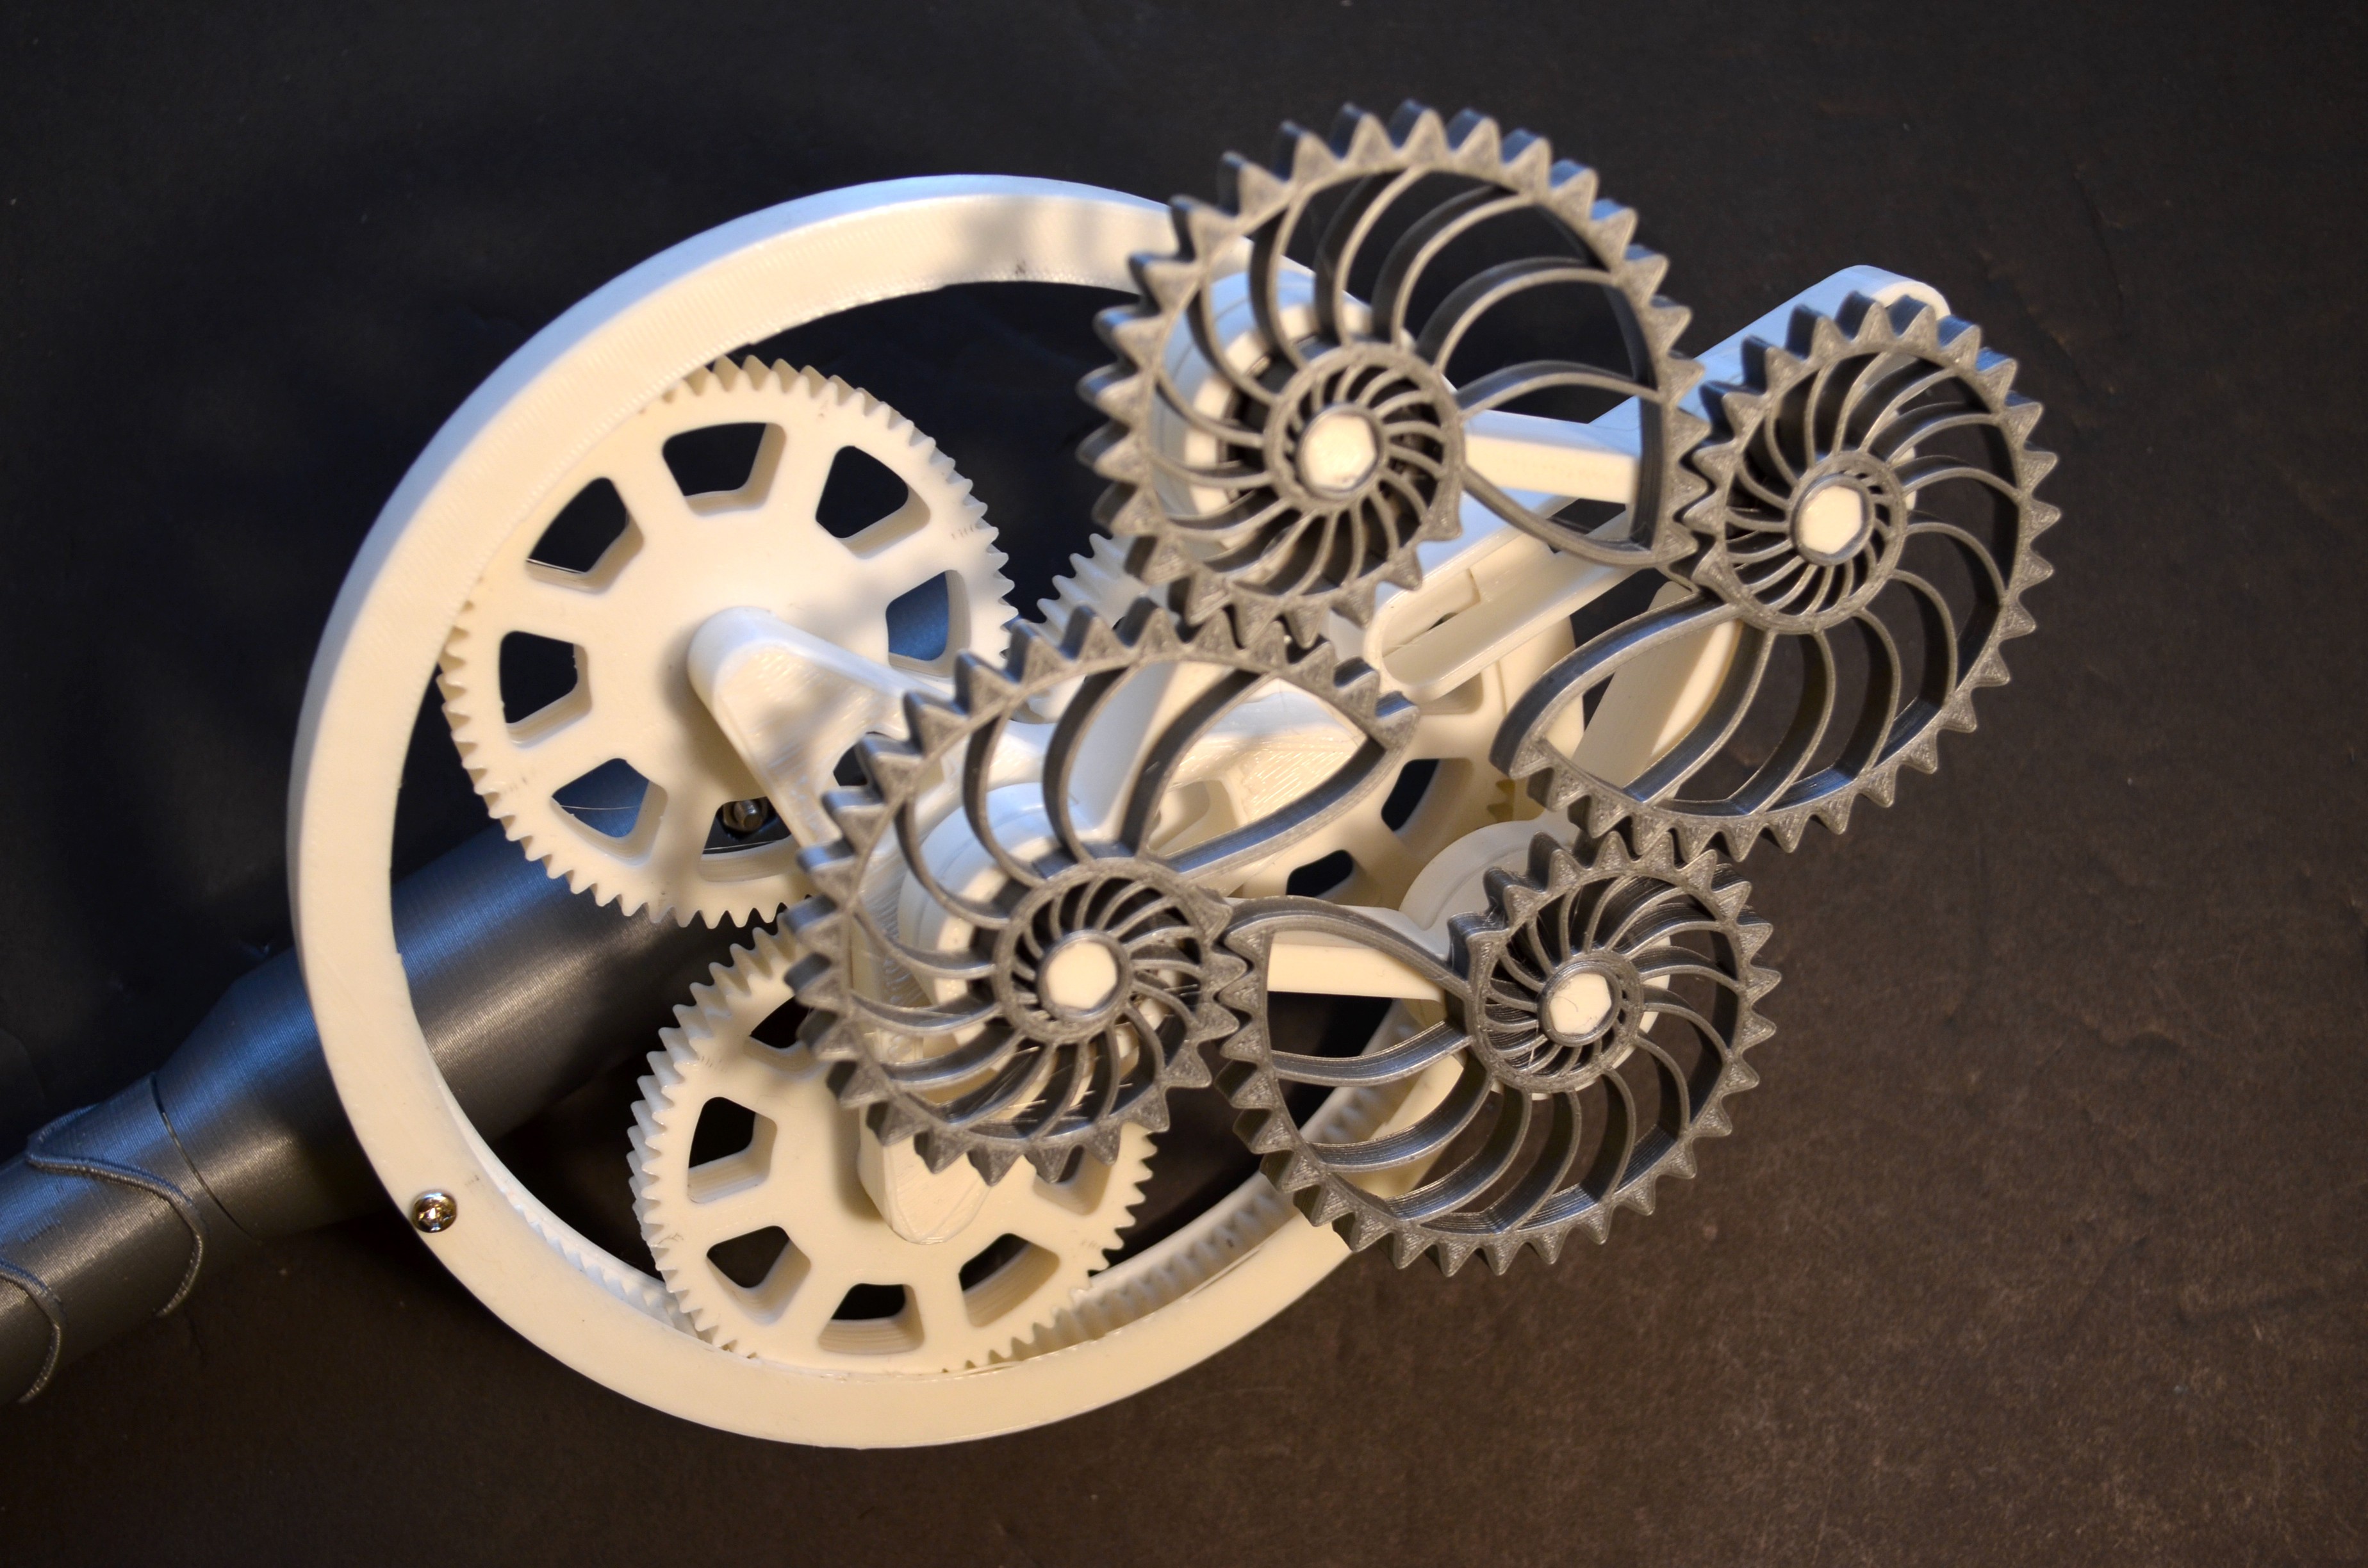
Nautilus Windmill
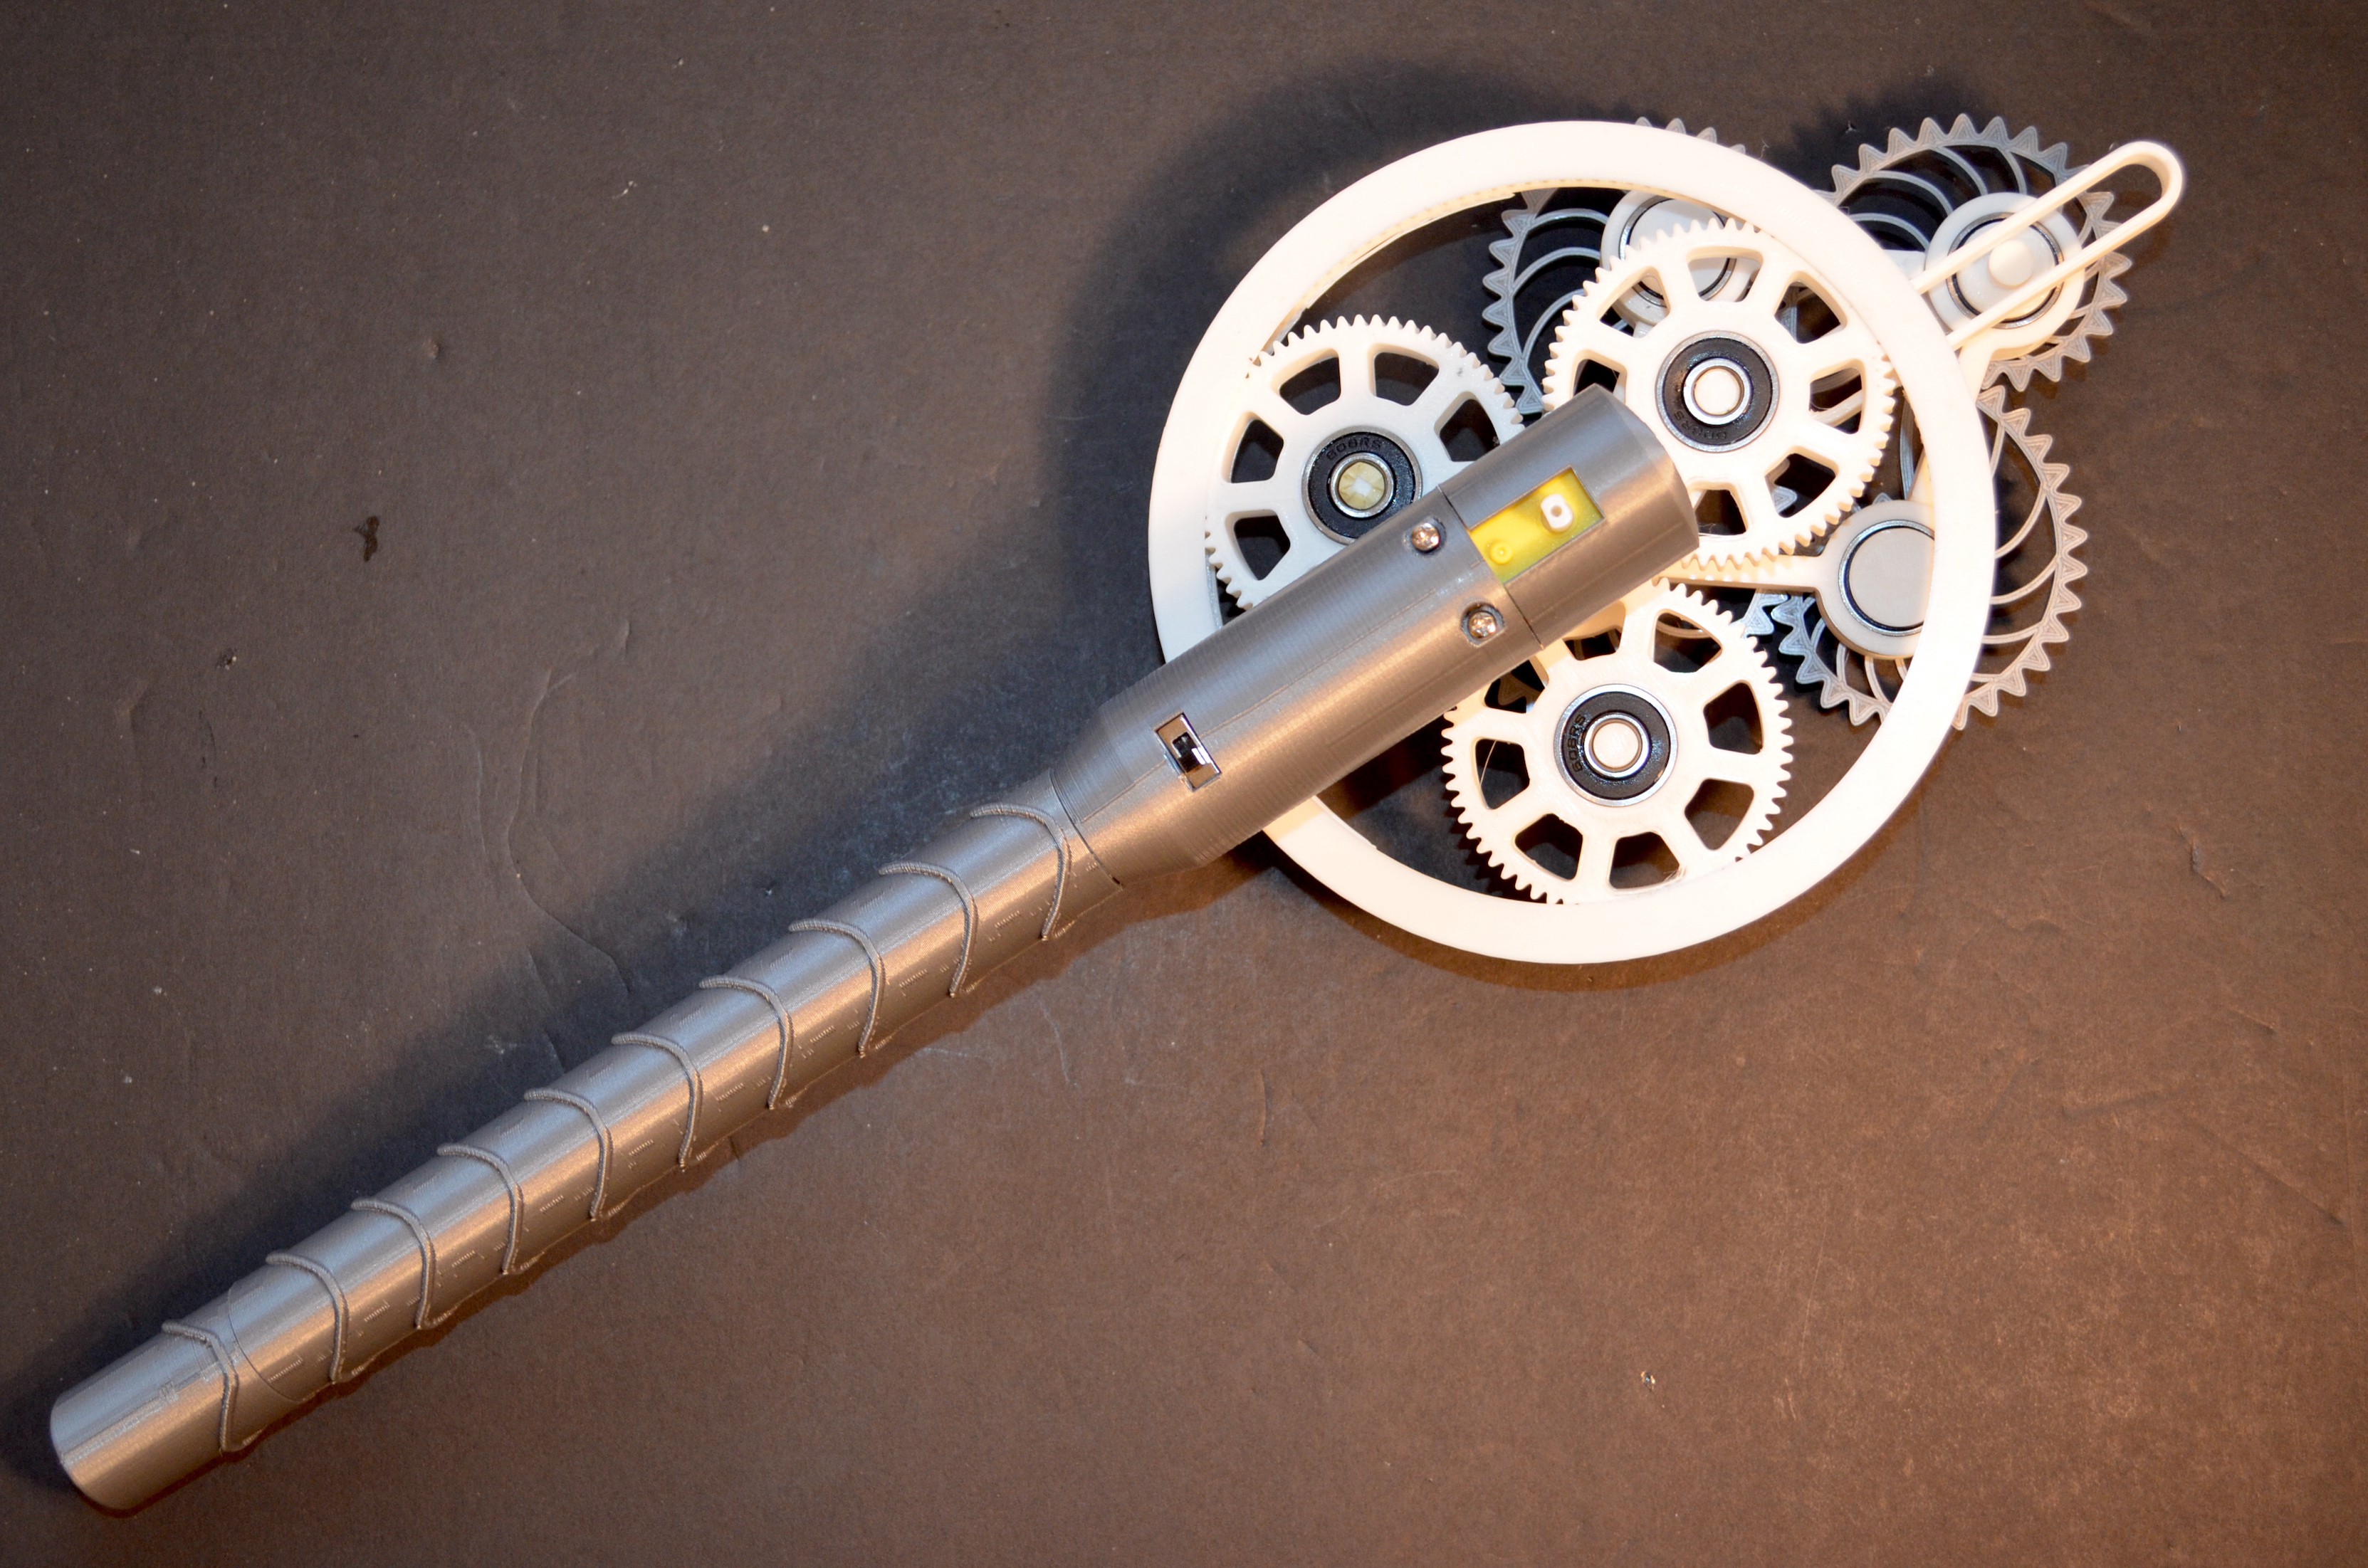
I then experimented with 4 of these Nautilus gears together and came up with a slightly more interesting movement. I decided to mount it on an epicyclic gear train (planetary gear set) as it rendered a more industrial looking background. I paired it up with the handle of the Thor hammer that I had made earlier as part of another project.
The initial version had the bottom most gear swaying sideways rather unpredictably. So, I introduced a guide to have it gracefully ride up and down vertically. This made a huge difference in its stability.
Nautilus Mania
After building the handheld version, I got a bit greedy and decided to experiment with more number of gears. The above actuation and mounting scheme did not appear very scalable. So, I got back to the drawing board for a way to make things modular and therefore easy to scale. Here is what I came up with:
- A...


 Florian Festi
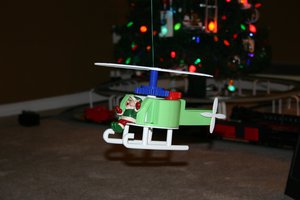
 Mike Rigsby
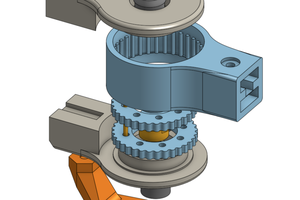
 Tim Wilkinson
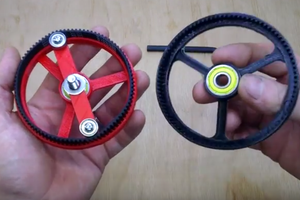
 Simon Merrett
I've been thinking (for people like me who as yet don't own a 3d printer) Would anyone sell me all the parts so I can just assemble them?
Please let me know if that works, and I'll be purchasing a number of them...