 Open Technology
Virtual Pi Pico Simulator - 7 segments display and a switch project
Story
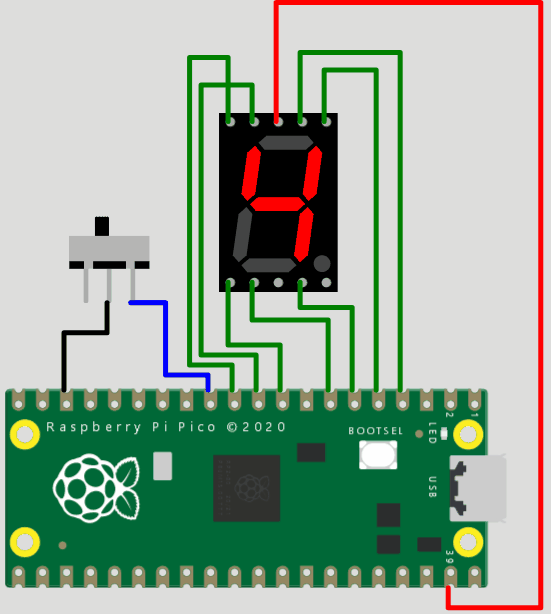
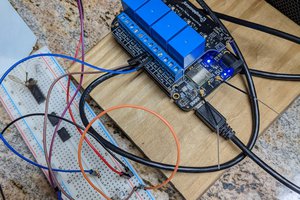
In this project, the Pi Pico simulator increments or decrements the value on the 7 segment display. the count goes either like 1,2,3.....9,1,2,3... or 9,8,7....2,1,0,9,8 depending on the condition of the switch. No hardware is necessary to learn Pi pico programming. Let us get started.
Live project link
https://wokwi.com/arduino/projects/298014884249993738
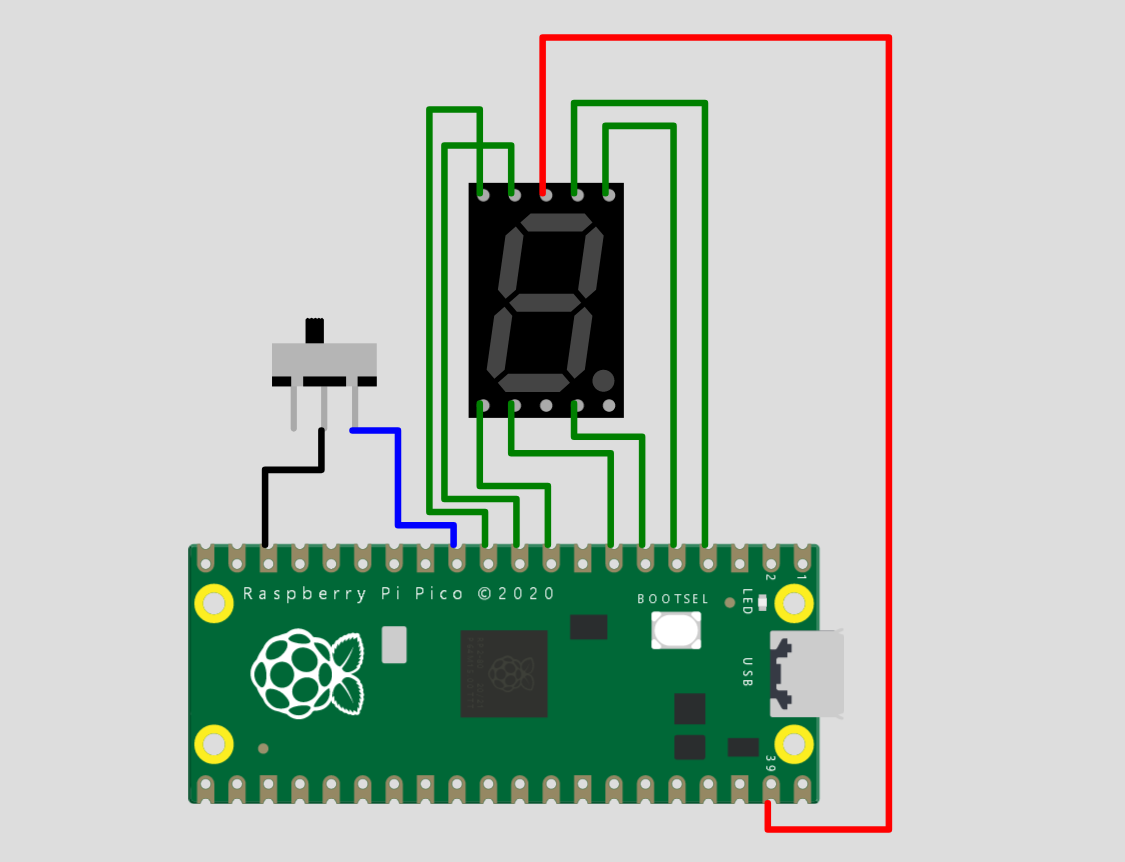
Schematics connection diagram
Code
/**
 * Copyright (c) 2020 Raspberry Pi (Trading) Ltd.
 *
 * SPDX-License-Identifier: BSD-3-Clause
 */

#include <stdio.h>
#include "pico/stdlib.h"
#include "hardware/gpio.h"

/*
  Our 7 Segment display has pins as follows:
  --A--
  F   B
  --G--
  E   C
  --D--
  By default we are allocating GPIO 2 to A, 3 to B etc.
  So, connect GOIP 2 to pin A on the 7 segment LED display etc. Don't forget
  the appropriate resistors, best to use one for each segment!
  Connect button so that pressing the switch connects the GPIO 9 (default) to
  ground (pull down)
*/

#define FIRST_GPIO 2
#define BUTTON_GPIO (FIRST_GPIO+7)

// This array converts a number 0-9 to a bit pattern to send to the GPIO's
int bits[10] = {
        0x3f,  // 0
        0x06,  // 1
        0x5b,  // 2
        0x4f,  // 3
        0x66,  // 4
        0x6d,  // 5
        0x7d,  // 6
        0x07,  // 7
        0x7f,  // 8
        0x67   // 9
};

/// \tag::hello_gpio[]
void setup() {
    Serial1.begin(115200);
    Serial1.println("Hello, 7segment - press button to count down!");

    // We could use gpio_set_dir_out_masked() here
    for (int gpio = FIRST_GPIO; gpio < FIRST_GPIO + 7; gpio++) {
        gpio_init(gpio);
        gpio_set_dir(gpio, GPIO_OUT);
        // Our bitmap above has a bit set where we need an LED on, BUT, we are pulling low to light
        // so invert our output
        gpio_set_outover(gpio, GPIO_OVERRIDE_INVERT);
    }

    gpio_init(BUTTON_GPIO);
    gpio_set_dir(BUTTON_GPIO, GPIO_IN);
    // We are using the button to pull down to 0v when pressed, so ensure that when
    // unpressed, it uses internal pull ups. Otherwise when unpressed, the input will
    // be floating.
    gpio_pull_up(BUTTON_GPIO);

    int val = 0;
    while (true) {
        // Count upwards or downwards depending on button input
        // We are pulling down on switch active, so invert the get to make
        // a press count downwards
        if (!gpio_get(BUTTON_GPIO)) {
            if (val == 9) {
                val = 0;
            } else {
                val++;
            }
        } else if (val == 0) {
            val = 9;
        } else {
            val--;
        }

        // We are starting with GPIO 2, our bitmap starts at bit 0 so shift to start at 2.
        int32_t mask = bits[val] << FIRST_GPIO;

        // Set all our GPIO's in one go!
        // If something else is using GPIO, we might want to use gpio_put_masked()
        gpio_set_mask(mask);
        sleep_ms(250);
        gpio_clr_mask(mask);
    }
}
/// \end::hello_gpio[]

void loop() {}
Project animation
Support/ comments / Suggestions
Please hop on to https://wokwi.com/discord for quick help and also you will get to meet a great community over there. you can also leave comments here. If you find the information helpful, please give us a like. This is like fuel for us to create, share and learn more together :)
 Yann Guidon / YGDES
 silver2row
 jlbrian7