 bigbat
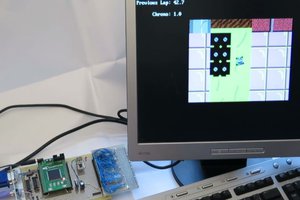
The software is read from an SD card at startup. So it is easy to change it. Here you see a few video's.
0%
0%
The Moncky project
Creating a complete working retro 16-bit computer from scratch in the style of the C64, CPC 464 and alike using an FPGA
Become a Hackaday.io member
Already have an account? Log in.
Just one more thing
To make the experience fit your profile, pick a username and tell us what interests you.
Pick an awesome username
hackaday.io/
Your profile's URL: hackaday.io/username. Max 25 alphanumeric characters.
Pick a few interests
Projects that share your interests
People that share your interests


 f4hdk
f4hdk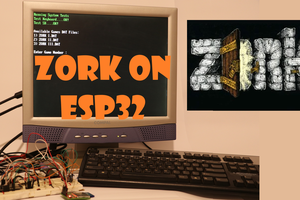
 talofer99
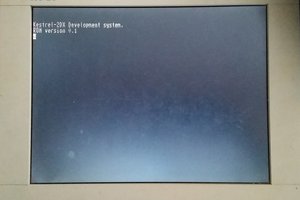
 Samuel A. Falvo II
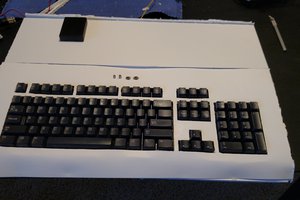
 Alex Bowen
@bigbat Great project. I like it. Quite similar to my old project AZ2 Computer : https://hackaday.io/project/18206