To make the experience fit your profile, pick a username and tell us what interests you.
We found and based on your interests.
WP_20170219_13_39_33_small_2.jpgSmall picture of the projectJPEG Image - 75.15 kB - 02/19/2017 at 15:48 |
|
|
bottom_case.fpdBottom enclosure file of the clock, frontpanel designer filefront-panel - 811.00 bytes - 02/19/2017 at 15:36 |
|
|
top_case.fpdTop enclosure file of the clock, frontpanel designer filefront-panel - 862.00 bytes - 02/19/2017 at 15:36 |
|
|
8MhznumiV1.0.dfudfu - 19.79 kB - 01/22/2017 at 22:13 |
|
|
BoM.odsspreadsheet - 14.13 kB - 01/22/2017 at 22:03 |
|
|
As I grew more and more fond of this clock I decided a nice looking enclosure is in order. Unlike quite some numiton and nixie projects I decided to go with a more modern looking enclosure, simply made from 2 pieces of aluminium.
I designed the enclosure using frontpanel designer from Schaeffer. A small note, there are 2 versions, the one from Schaeffer AG and the one from front panel express. They are identical but when you want to order the front panel the Schaeffer one can be used to order them in Europe and the Front panel express one can only be used for US orders.
I ordered a set of top and bottom parts for the enclosure and a week later I received them, looking absolutely perfect as always.
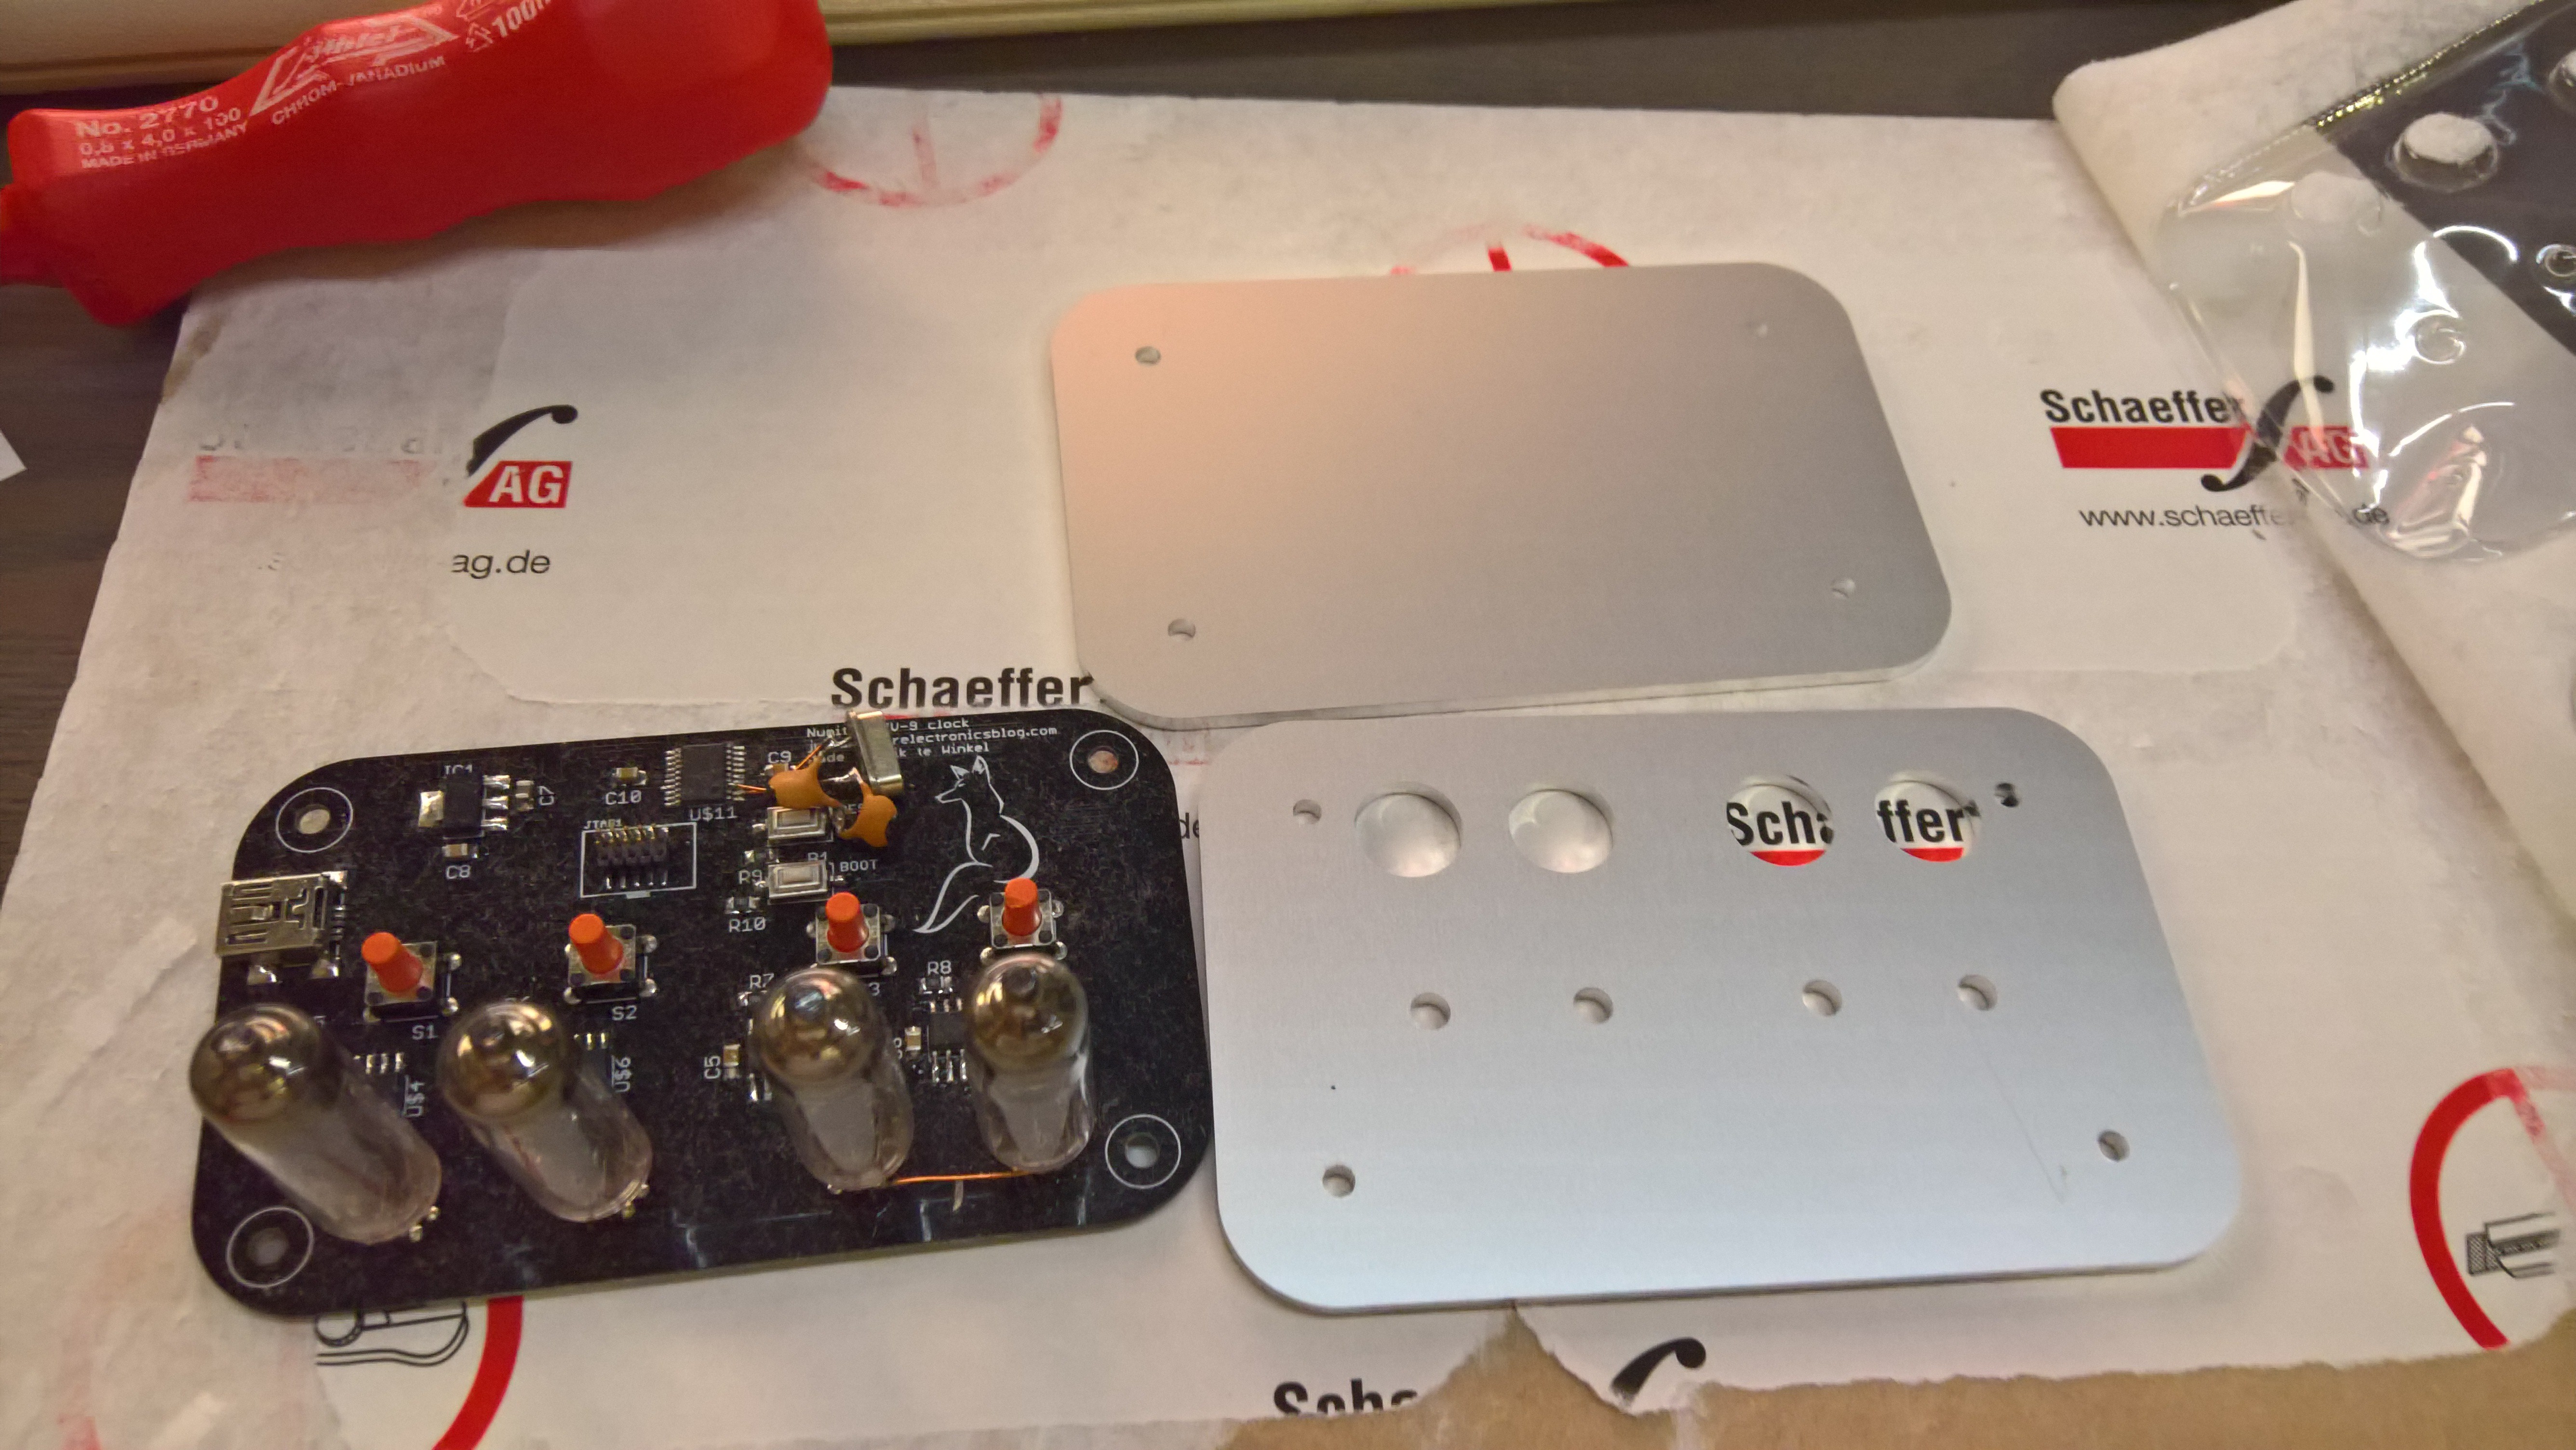
Some assembling later and we arrived at this:
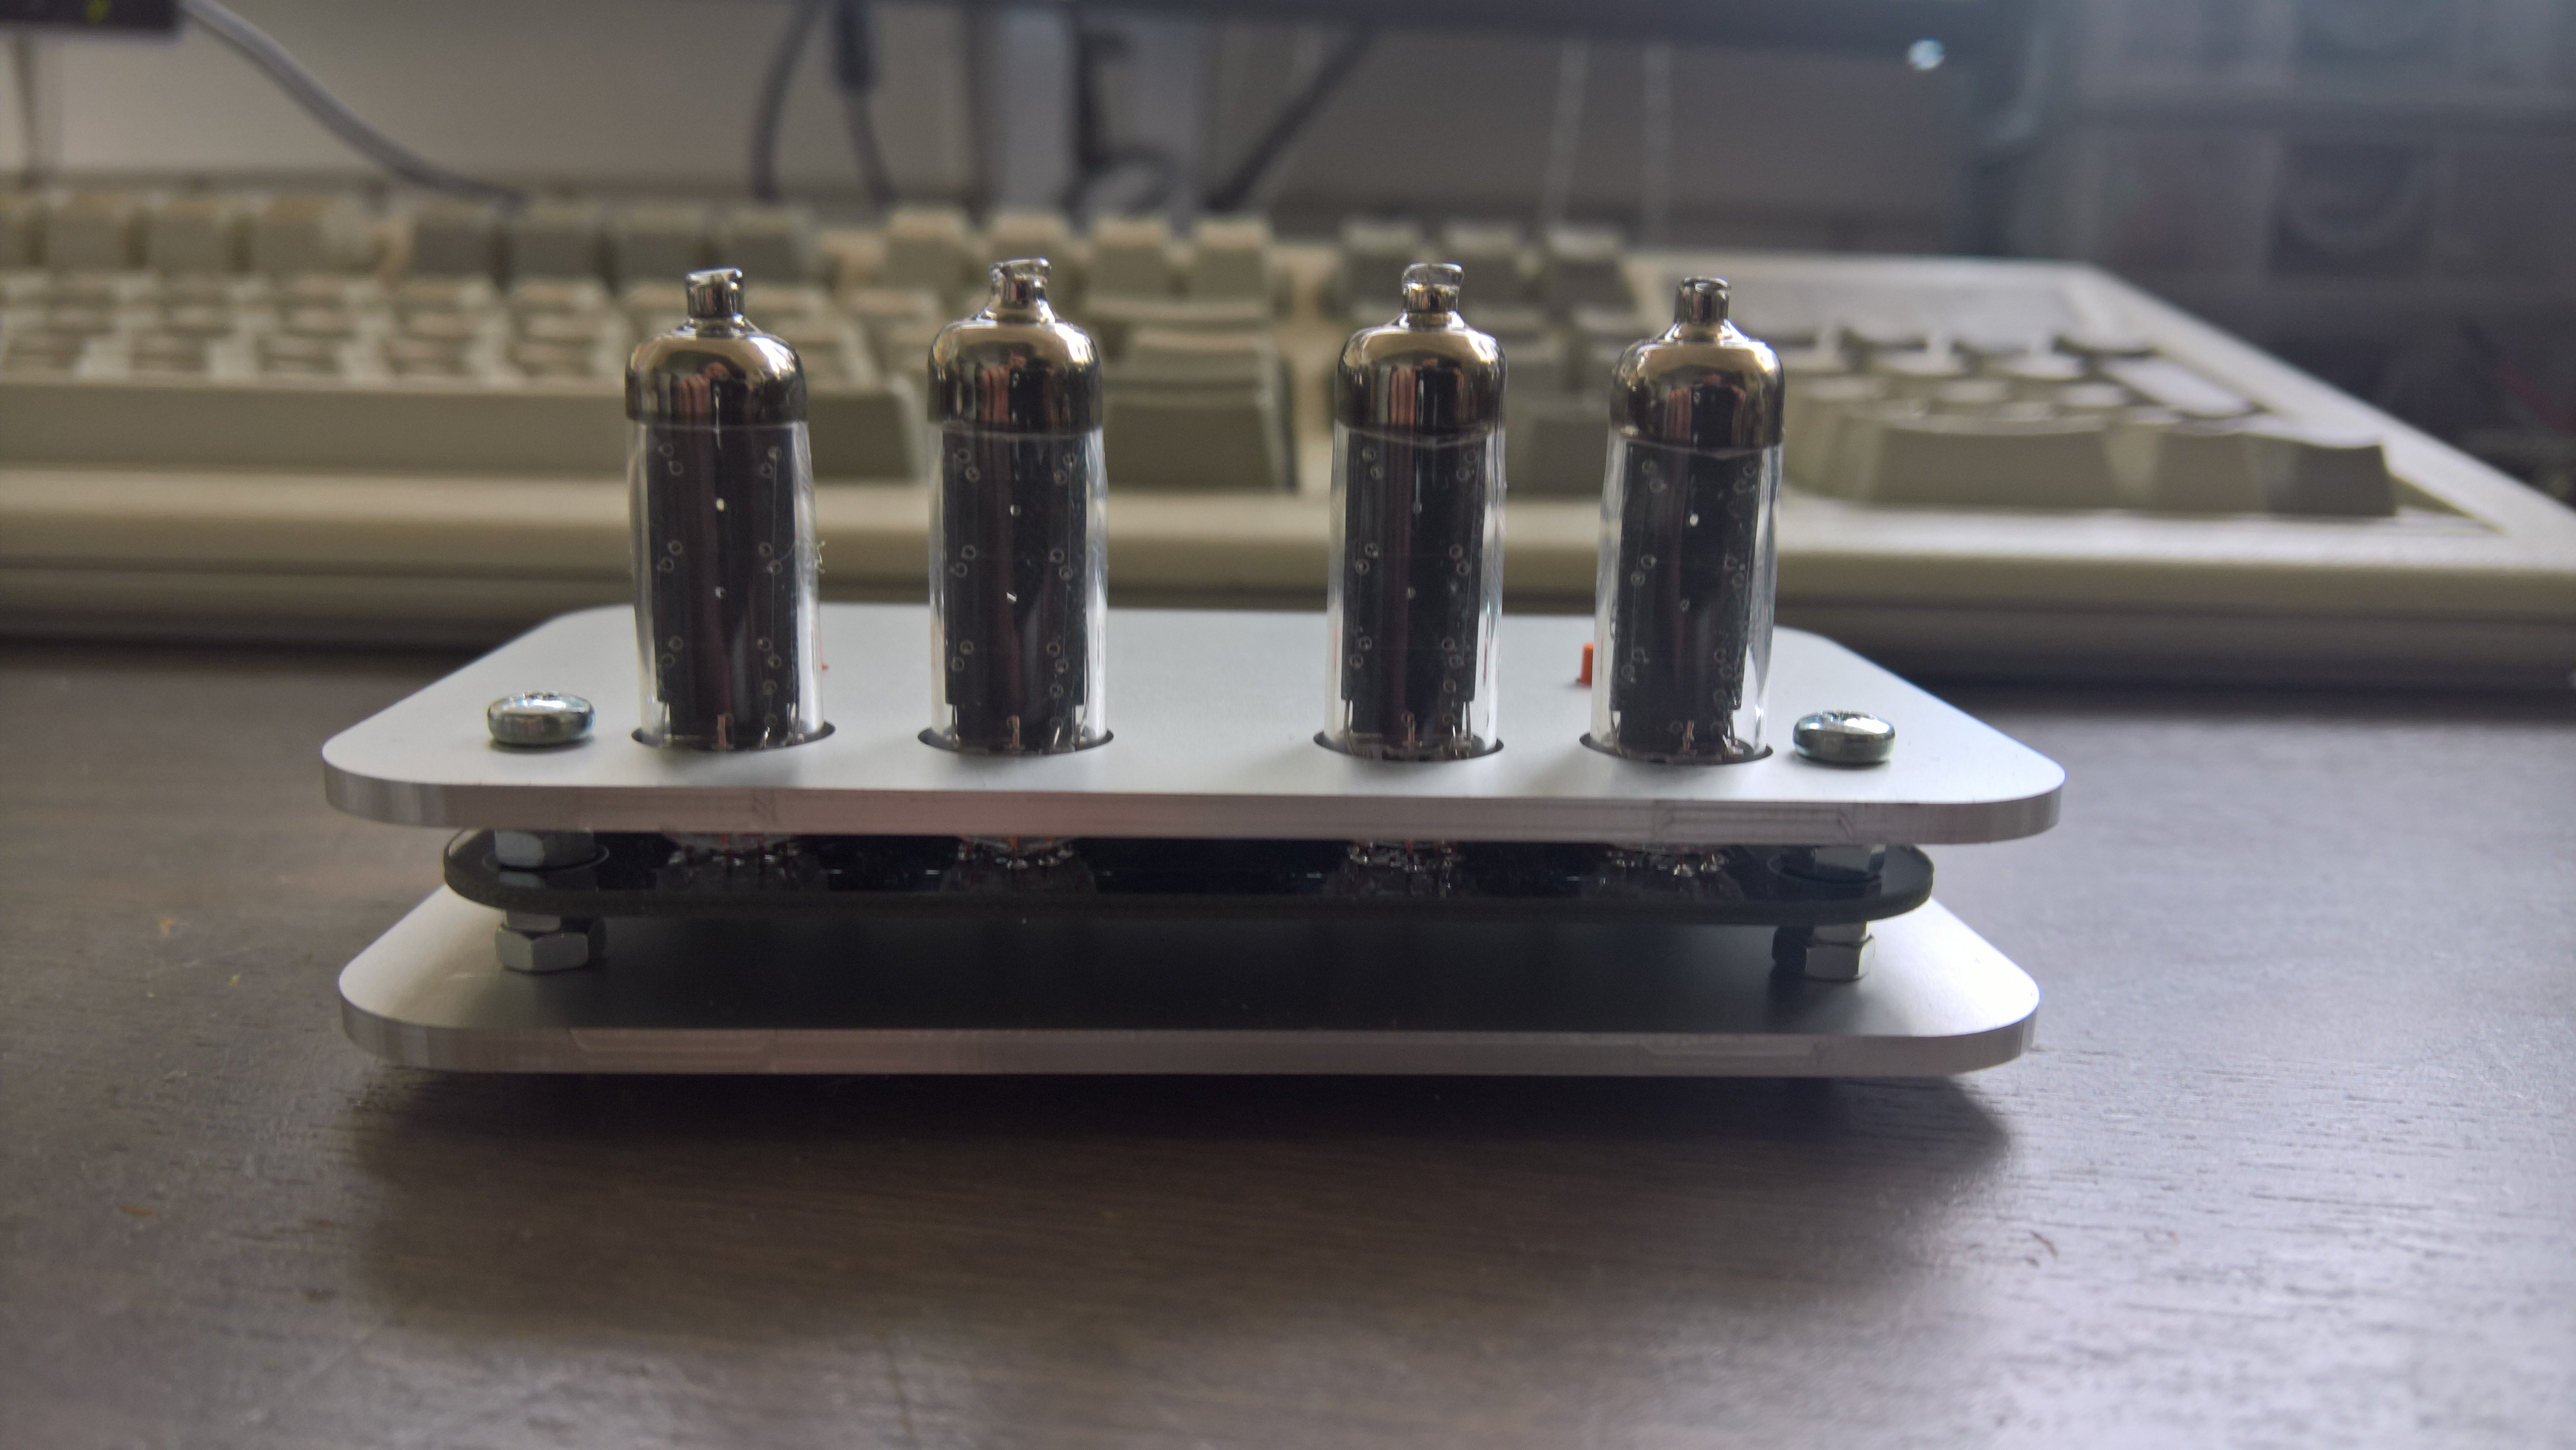
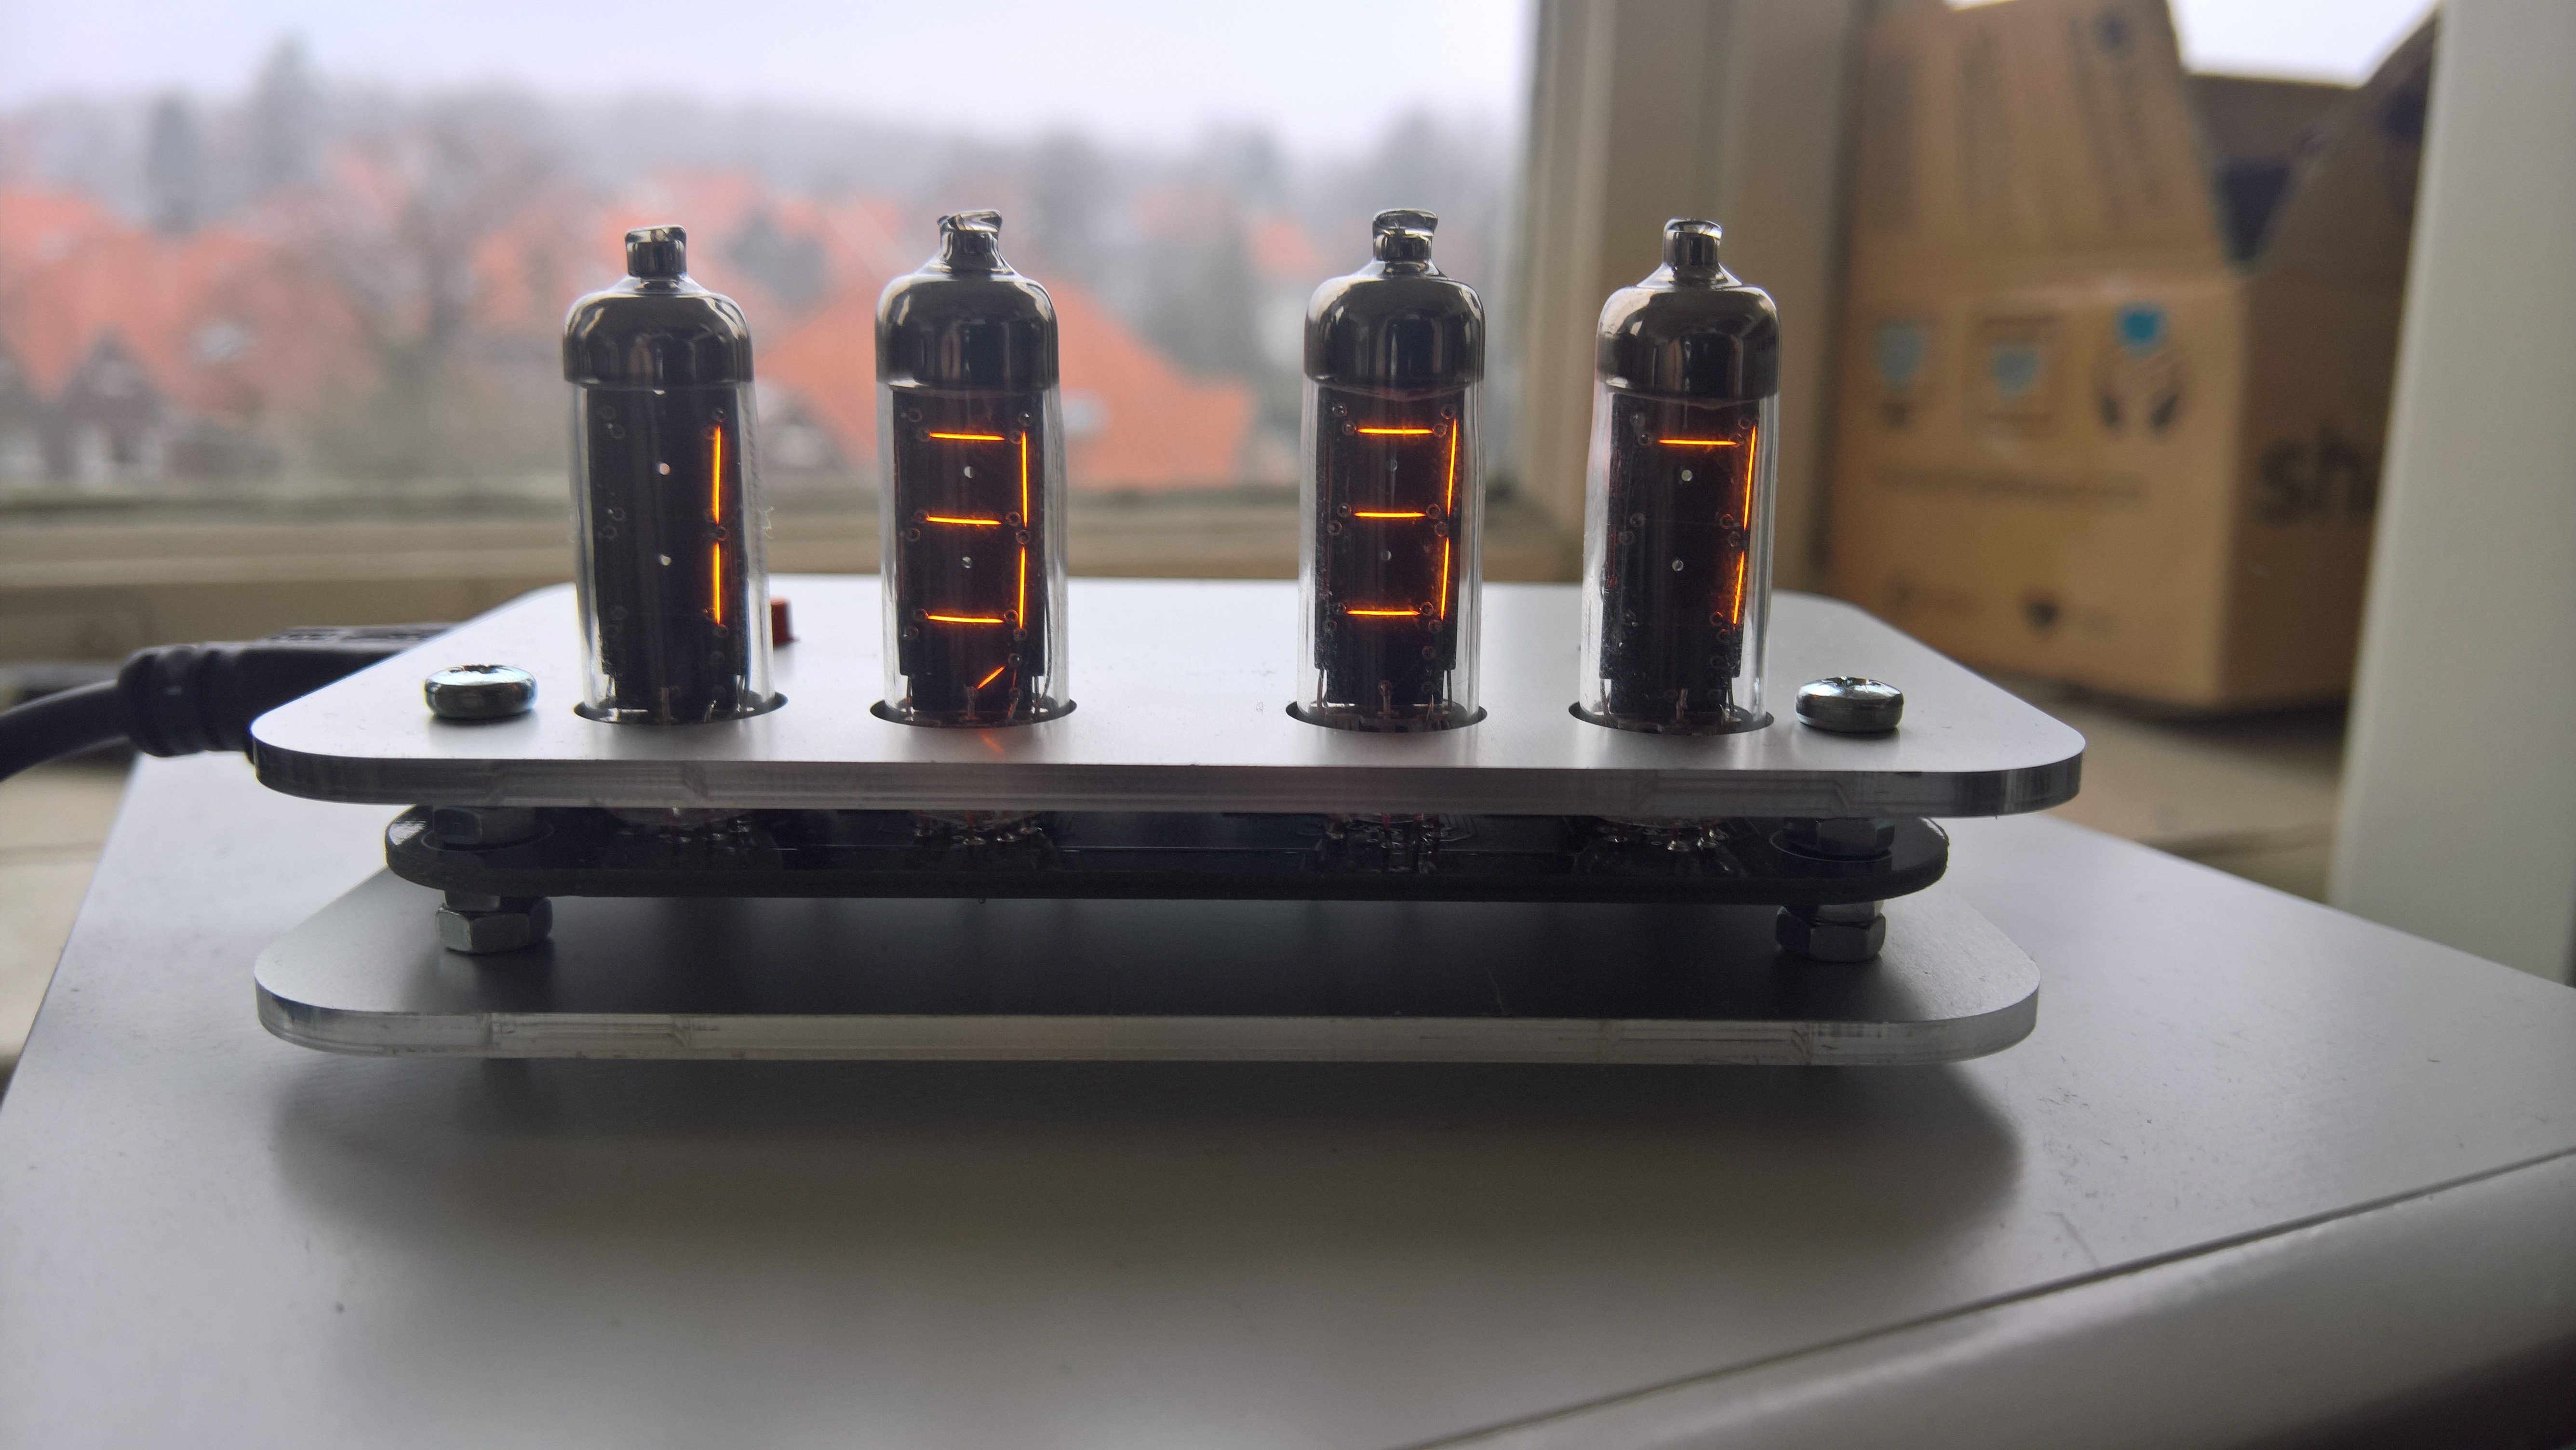
I would say that makes a fine looking clock, some more pictures will be uploaded in the galley. The design files for the enclosure will also be made available. The downside is that the enclosure made of aluminium is not the cheapest option. Just a single enclosure is around 35 euro's including shipping, while a similar made enclosure made from Plexiglas would be less then half the price.
The design files should also be usable for laser cutting services as front panel designer can also export DXF and SVG files.
With this project finished and looking quite nicely I was wondering if there would be interest in selling kits of this project on Tindie, I'd love to hear some thoughs about that :)
The MBED libraries for the stm32f042 use an 8Mhz external crystal or the internal 8Mhz cristal. As the internal one was not good enough at all for timekeeping I added an external crystal in revision 0.2. For that I used the common 3.2*2.5mm crystal.
Only to find out those are only available in 12Mhz or higher...
So I made a revision 0.3 with a 3.2*5mm crystal footprint, in case someone wants to build one themselves. I have not ordered these as I hacked on the 5*3.2mm crystal and I can live with that. All the other issues have been fixed in revision 0.2 and the clock has been working wonderfully the last few weeks.
I will add instructions how to build one and a binary for the clock very soon :)
Time to end the year with a new clock.
I listed a few issues in the previous log of the project, the biggest issue was the accuracy of the clock. To solve this and the other problems a new hardware revision was needed. In revision 0.2 an external crystal has been added, as the 20 pins package of the STm32F042 does not have pins for an 32Khz RTC crystal a normal 8Mhz crystal was added. The RTC in the STM can also use the high speed crystal as input. The slight difference in distance between the numitrons and the annoying pin twist have also been fixed.
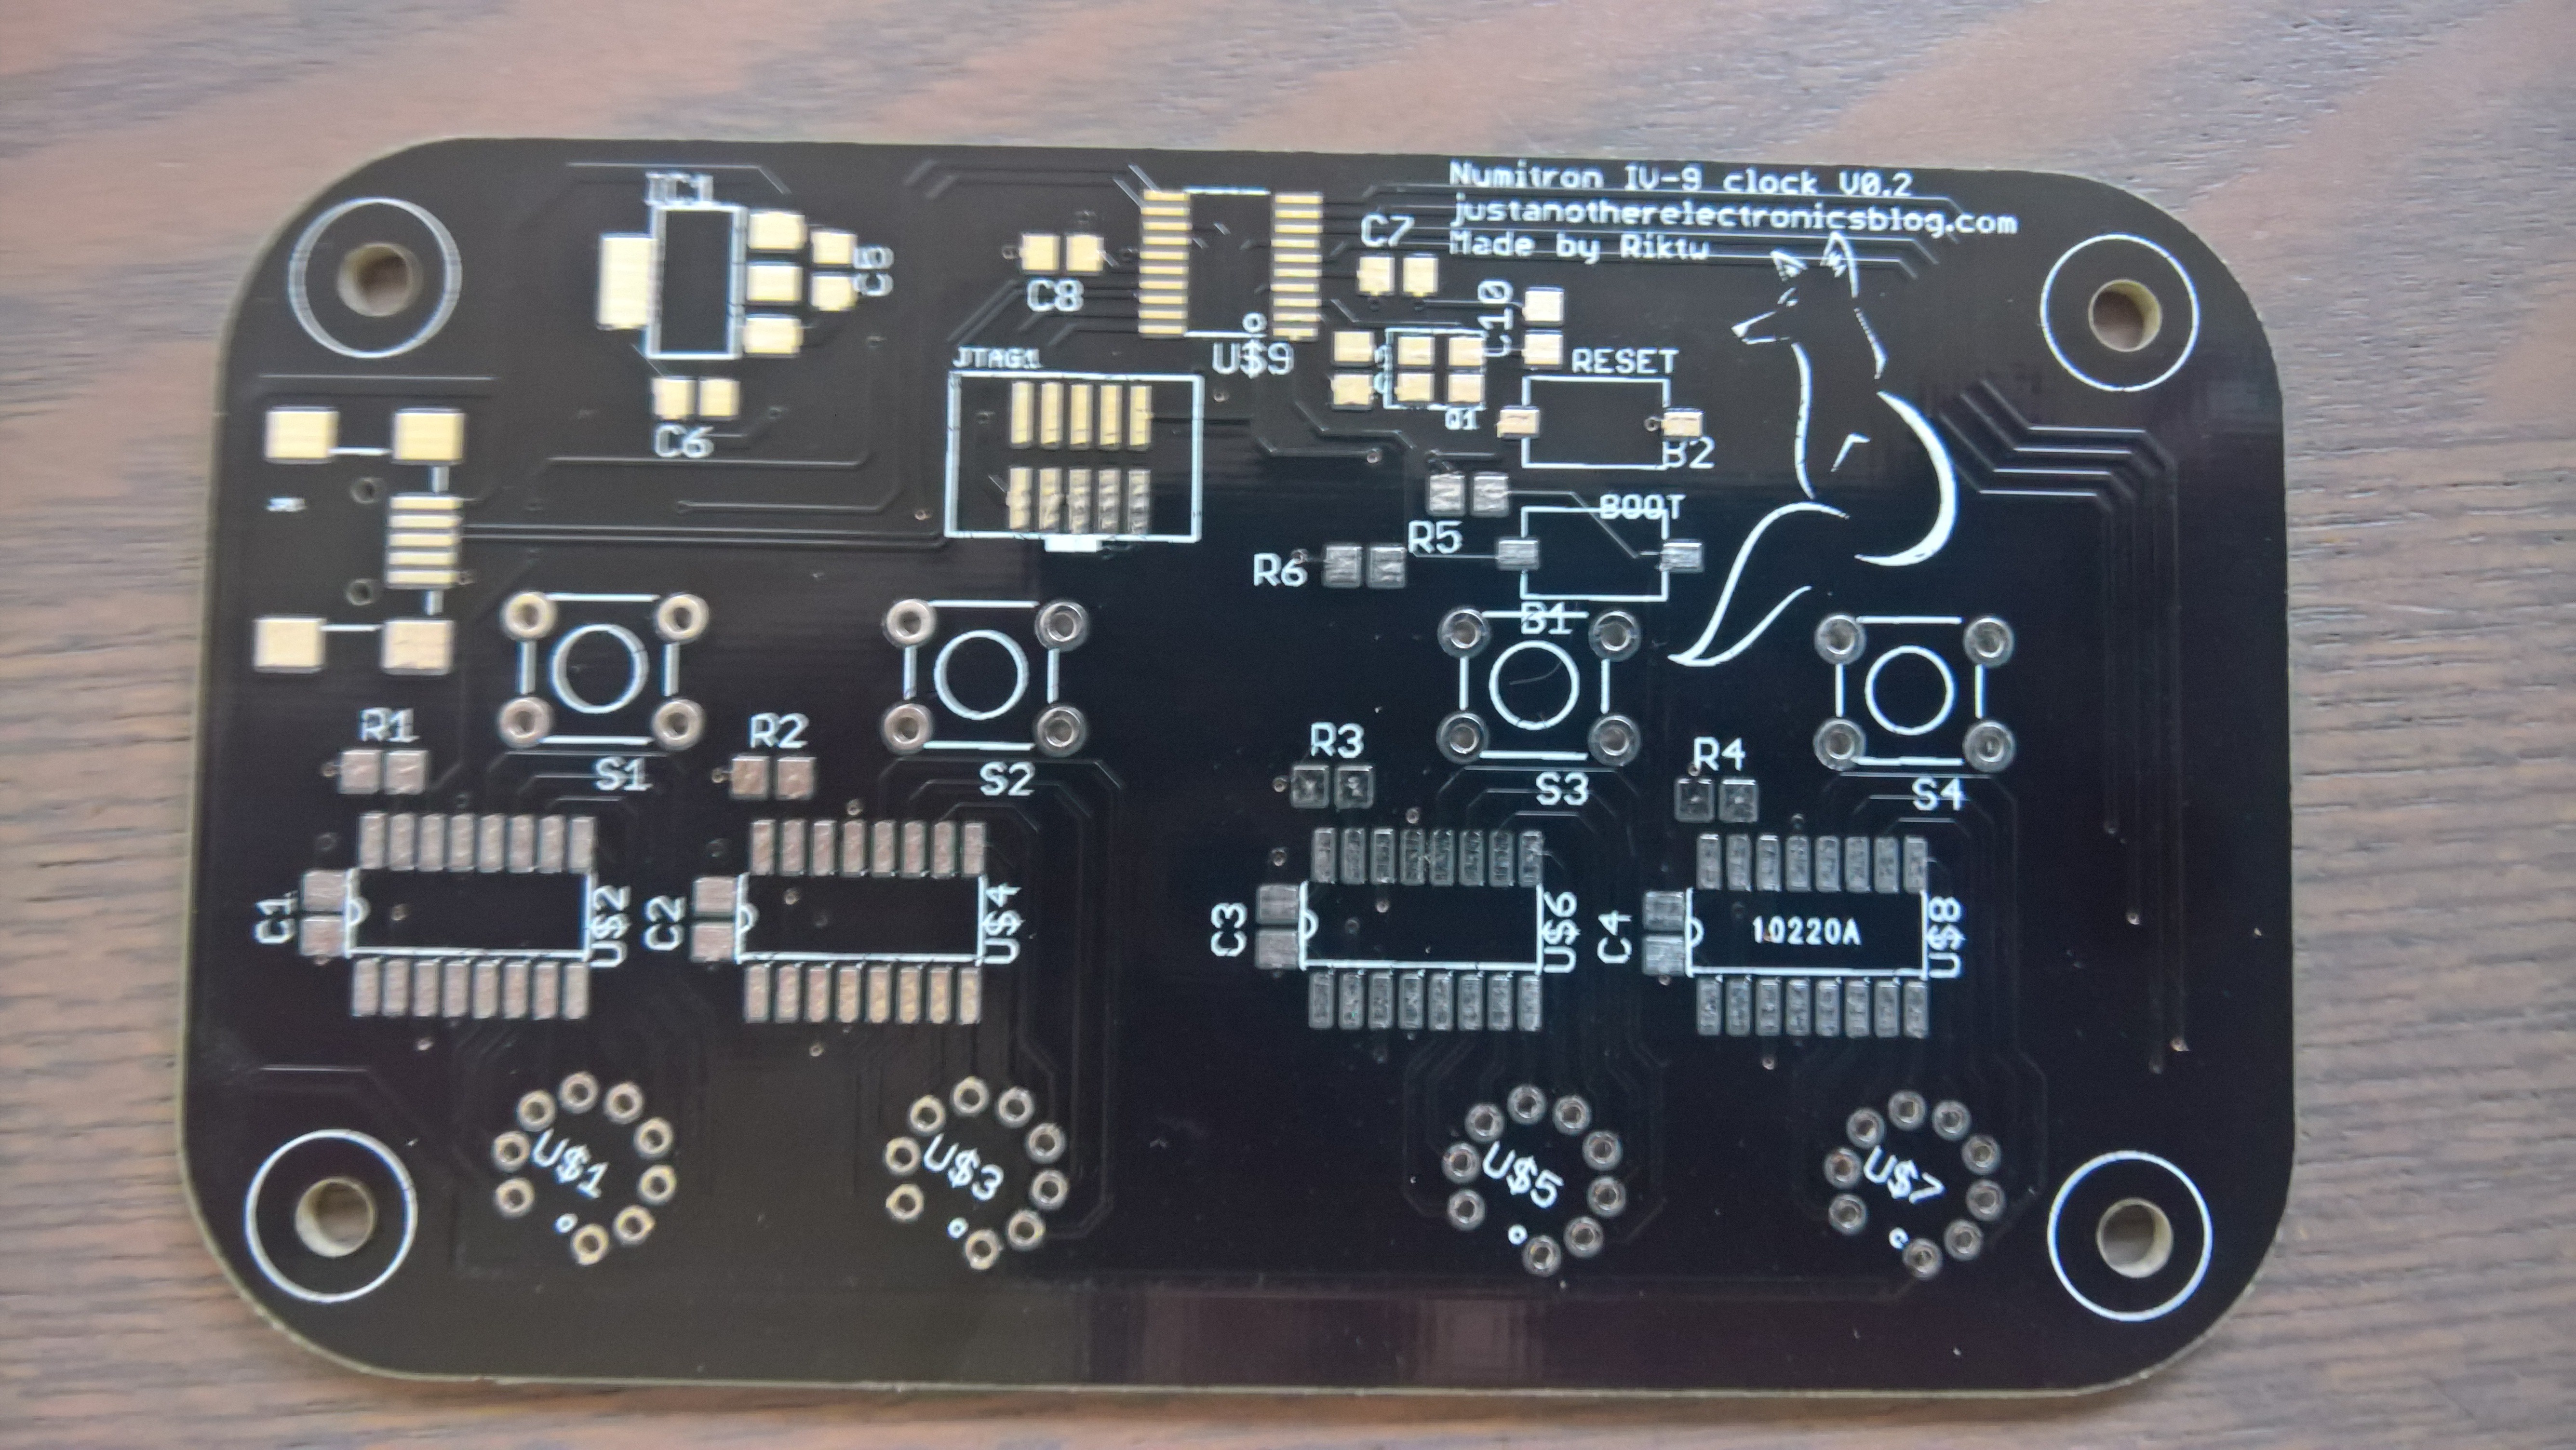
The new PCB.
This also means some changes in the software, and here the downside of using the MBED environment shows, changing something low level as the clock settings for the RTC is near impossible. In the end I had to add the MBED-dev source instead of using the precompiled libraries and in the file "targets/TARGET_STM/TARGET_STM32F0/rtc_api.c" change the RTC settings.
The clock has been running for about a week now and is still accurate, a big improvement over the few minutes a day in drift it had with the internal crystal.
This project functions mostly at the time of typing. A few problems have been found which I will try to address in the next version.
The software is MBED based and can be found here: https://developer.mbed.org/users/riktw/code/Numitron_clock/
The main file can be found here: https://developer.mbed.org/users/riktw/code/Numitron_clock/file/d1558f6f88bf/main.cpp
The clock has to do several things. First of all, it's a clock, it should keep track of the time. This is done using the STD time library to make things easy. Second, the displays have to be updated from time to time so the current time is displayed, else it's a bit of a useless clock. And third, the time has to be adjustable, so the button input has to be processed.
The code does this all in the following way:
1. keeping track of time
As mentioned, the std time library is used, MBED uses the RTC somewhere deep in the code to do this but this is all done automaticly. Just set the time with the set_time command and done. How lovely
2. displaying time.
The TLC5916's I used can be chained together. If using only one, the normal way of using it is sending 1 byte of data to it using SPI and then toggling the LE pin to latch the send data to the output of the TLC5916. When using more then one, just send more then one byte of data. Byte one will first arrive at the first TLC5916. The second byte "pushes" this byte out to the next TLC5916. The second byte will now be in the first TLC5916 and the first byte in the second TLC5916. This can be upscaled to as many TLC5916's as you want.
To display the time, every second the current time is converted to a few bytes that are then send to the TLC5916's, which then make sure the numitrons are on correctly. It also makes the dot of the second left numitron blink for a nice effect.
3. Processing buttons
There are 4 buttons, one per numitron. Pressing it will raise it with one. This gives a quick way to set the current time.
The buttons are read in using the BusIn object. This way they can be read in in a single command, which returns a number between 0 and 15 depending on the buttons pressed. The buttons are checked twice with a small 50ms delay in between to negate button bounce.
The current time is then retrieved, adjusted and set as the new current time. At the end the display is updated directly to reflect the change in time.
Because of the use of the MBED libraries the code is relatively small and easy to understand and adjust if needed.
The clock is based on an STM32F042 microcontroller for several reasons:
The second major component is the numitron driver, and 4 of them to be precise. I picked the TLC5916. (or TLC5917 if that one is easier to get) This has several reasons:
4 buttons are used to set the time of the clock. These are nice and orange to match the tube glow.
The rest of the components are basic jellybean things; An LM1117 3.3V regulator to power the microcontroller, several 100nF decoupling caps, several 1K pullup resistors, a 1K resistor per TLC5916 to set the current to 20mA for the numitrons and 2 buttons to reset the uC and set it in bootloader mode.
Order PCB's and parts. elecrow/seeedstudio/dirtyPCB's can all make these boards and other manufactures should also have no issues with them. Parts can be bought from Farnell. The BoM file lists the Farnell numbers. A few parts like the numitrons can be bought on Ebay.
Solder the parts on the PCB, SMD first, trough hole next.
Program the binary file to the microcontroller. To do this, hold the boot button, then plug the USB in, then release the boot button. Now the board is in bootloader mode and the binary, the .dfu file, can be programmed using the ST tools on Windows ( http://www.st.com/en/development-tools/stsw-stm32080.html ) or the dfu-util on Linux ( http://dfu-util.sourceforge.net )
Create an account to leave a comment. Already have an account? Log In.
Become a member to follow this project and never miss any updates
 mircemk
 danjovic
 K.C. Lee
 Gigawatts
Those numitron tubes make a lovely display. Fantastic build and good documentation.