


 K.C. Lee
-
Counterfeit STM8S003
01/17/2024 at 15:11 • 0 commentsI ordered some counterfeit STM8S003 recently as the parts dried up and the prices were getting higher. I didn't think much at the time as the seller had been around for a few years and had good reviews.
Aliexpress dispute initially rejected my claim and I had to dig much deeper for additional proof.
I also did some extra digging and found out that STM8 is also a trademark, so leaving it in the description is sufficient enough to associate the part from ST Micro. Aliexpress into real trouble if "STM8" result from their search engine shows a counterfeit part and they refused a refund sheltering guilty parties.
They have finally gave and started the refund process.
![]()
The seller photo edit out the company logo as it is a trademark and even left their company name in the picture.
I found another (counterfeit?) part that has the company logo intact. The part look innocent enough except for markings on the third line.![]()
Same part with similar pin1 dimple and "e4" logo. ![]()
Order page vs actual shipped parts The actually shipped parts are actual a different batch of counterfeit that don't even look like the picture! The ST logo is replace with a thinner version that looks more like 5T and the "E4" uses a different font as the top part of '4' is now closed. The pin 1 dimple is now gone meaning that they now use a different part as the the base for the counterfeit.
Here is another look under the microscope. The real ST part marking are engraved with a Laser while the counterfeit part is printed on. Laser are cheap enough, that isn't the sure fire way of telling these days.
![]()
Left side is the real part that I have Right Side is the counterfeit parts from the order ![]()
Part marking from STM8S003 datasheet STM8S003 marking: PHL = Philippines, Year = 4, Week = 06 and Revision = Y
The counterfeit part uses a slightly different format. CHN = China. The date code could be 03, 6 or 0, 36.I have wired the part onto a protoboard. My preliminary test probing the parasitic ESD protection diodes indicate that the counterfeit base part has same Power/Ground location and likely it is also a microcontroller of some kind. However unlike other simpler counterfeit parts, one can't exactly program it without knowing what it actually is.
The VCAP pin has no voltage output. There are no active I/O pins, so likely there is no bootstrap loader.
There are a few other microcontrollers that shares a similar pinout and package. e.g. Nuvoton N76E003AT20 (8051), HK32F003M (ARM M0) and possibly more.
![]()
I don't have a Nu-Link to try out, so there isn't much I can do.
-
STM8 V-USB
08/17/2020 at 03:10 • 0 commentsI found a working version of STM8 V-USB for a HID keypad. I have refactored and modified the stack to support Vendor Request packets. The limitation is that (3) other GPIO pins on the same port are only available as inputs. I got a work around for - just turn them into PWM and you can force them individually H or L. :)
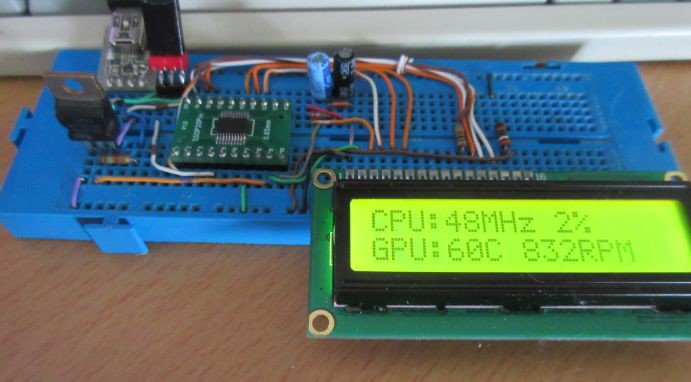
Here is a porototype for a STM8 version of LCD2USB that I used for debugging the V-USB stack. LCD Smarties can be used to control it under Windows.
![]()
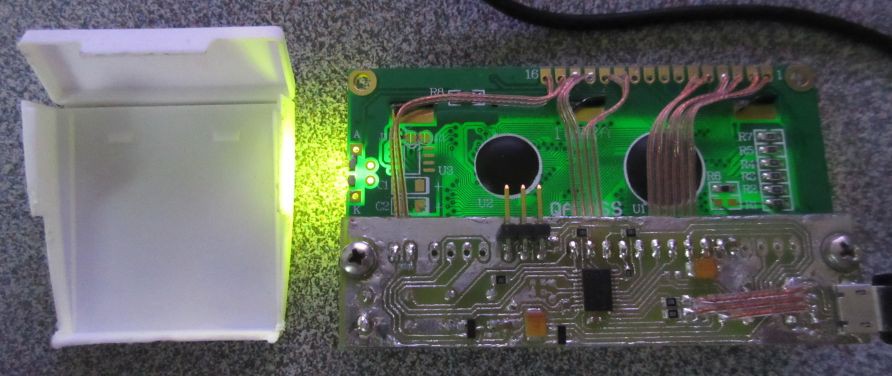
It is working good enough this morning, so I went ahead and made a toner transfer PCB.
![]()
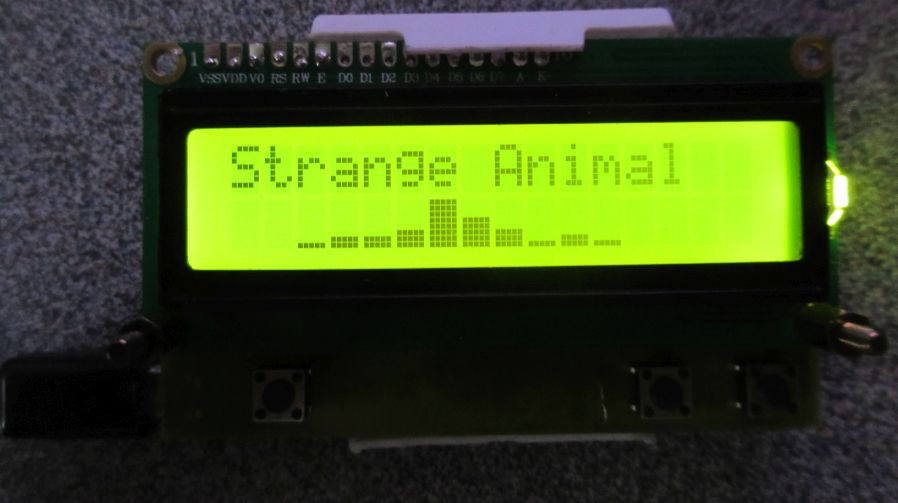
It works first time. :)
![]()
I have broken out headers for serial port, I2C as the PCB might be useful for my other projects. I also have pads for a tiny crystal for projects e.g. LCD clock.
-
Winner Winner Chicken Dinner
06/24/2020 at 22:01 • 0 commentsHere is another simple recipe with minimum ingredients and work.
DIY bake chicken coating:
1 teaspoon bread crumb, 1/3 teaspoon of Chilli powder, 1/5 teaspoon salt (optional)I used it to coat a couple of drum sticks.
I made the bread crumbs from the bread ends or stale bread. More details here.According to wiki, Chilli powder is chili peppers and blended with other spices including cumin, onion, garlic powder, and sometimes salt.
Salad dressing mix (dry) are good alternative spice mix to try.
![]()
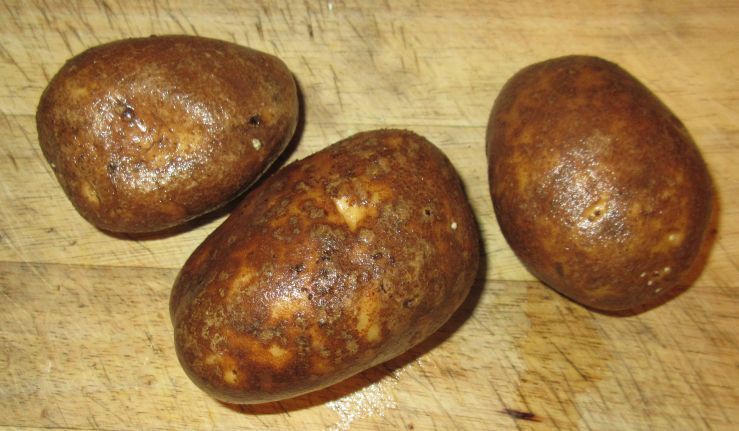
DIY Fries:
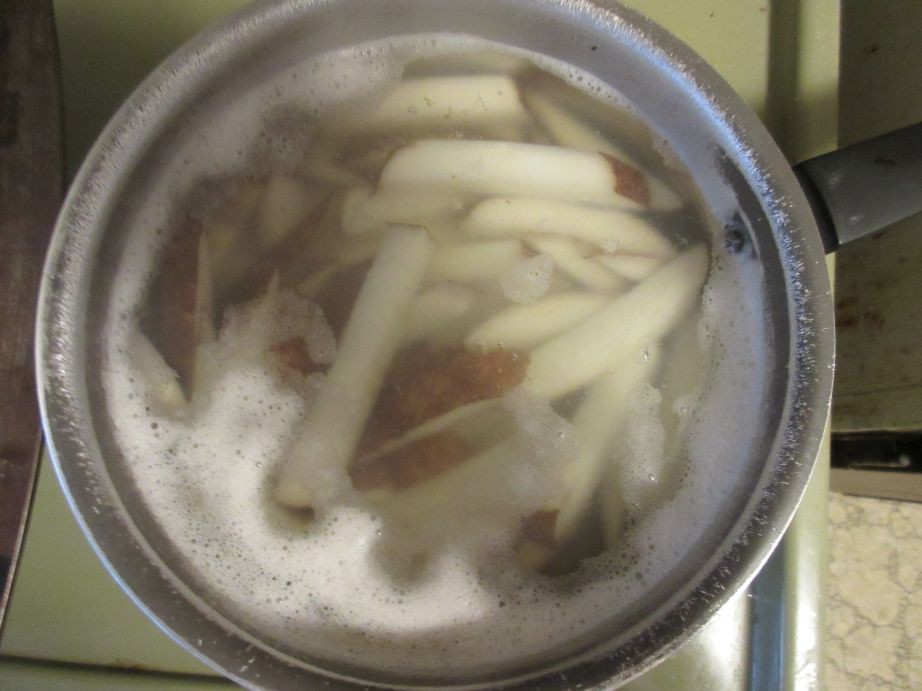
I washed a few potatoes, and use a kitchen gadget to cut them up into fries.
![]()
I cook them in a pot of boiling water for 8 minutes. Meanwhile I pre-heat the oven at 400F (200C).
![]()
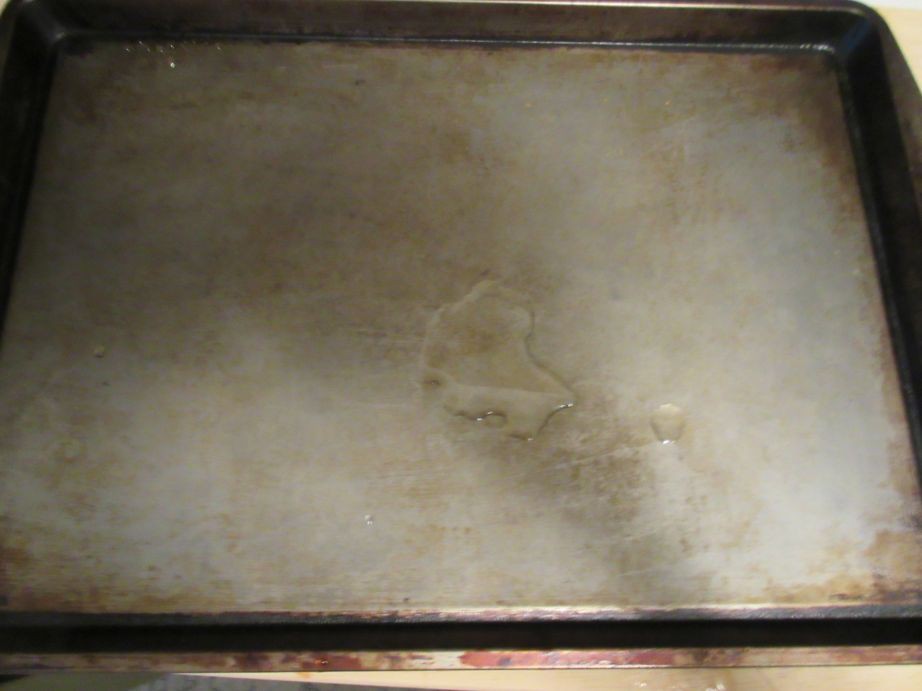
and coated a cookie pan I bought from a dollar store with 1 teaspoon of oil.
![]()
When the potatoes are cooked, rinse them in cold water and drain the pot. I use one piece to brush the surface with oil. I spread the fries on the pan and sprinkle a bit of Italian herbs on top.
![]()
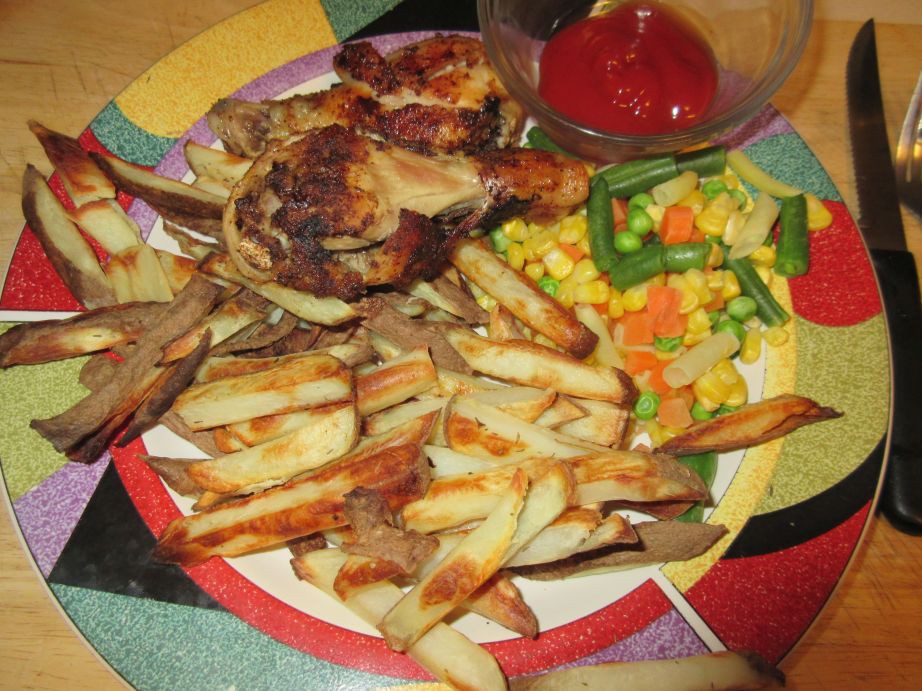
Put both the chicken and the fries in the oven for 20 minutes. Flip the chicken and fries and bake for another 15 minutes. The chicken should be done. Serve with vegetables, bread etc.
If the fries are not yet crunchy, they might need another 5 minutes.
![]()
![]()
My Pages


Things I've Built
Z8 Nixie Display
Power supply and Z8 processor replacement replacement project for Cherry Nixie display.
TDR
TDR (Time Domain Reflectometer) is an attachment to a scope for locating changes in the impedance of a cable to locate faults such as short or open circuits.
USB2ISA Eprom Programmer
The card at the bottom is my USB2ISA board. There is a onboard 5V regulator from a Dollar Store 12V charger and the Atmega8A uC and interfaced to the ISA EPROM programmer (that I had previously reverse engineered.) The uC runs the programming algorithm and communicate to a Window x64 GUI via VUSB vendor specific commands.
SSTC
Small Solid State Tesla Coil built from recycled HP plotter paper rolls. There is a fan located at the base that provide cooling to the driver and coil so that it can operate continuously.
LC Meter
LC meter: Based on https://sites.google.com/site/vk3bhr/home/lcm1 I have added a boost converter so that it can operate from a rechargable AA cell instead of expensive 9V batteries.
8051 Single board computer
Projects I Like & Follow
 Lucy Fauth
 Julien
 Capt. Flatus O'Flaherty ☠
 bobricius
 Patrick Hood-Daniel
 will.stevens
 Bud Bennett
 Vladislav Mlejnecký
 vlk
vlk Dave's Dev Lab
 Bruce Land
 RoGeorge
Share this profile
ShareBits
KC, thanks for liking my project https://hackaday.io/project/158057-ts50-true-sine-inverter
Hi KC, thank you for liking my active battery balancer project :)

Thanks for the follow and skull on Cardware, I'm sorry it took me a while. Been kinda busy :-)


Hi, K.C, thanks for the skull to #VGA Blinking Lights and to #AT26-Chuck !


Thanks for the tip on those STM kits, do you happen to know something small, like an M0, that doesn't require me to buy a programmer?

Those STM32F chips comes with boot loaders ROM. Pull the BOOT0 pin high and it'll download code externally from TTL serial. You'll need a 3.3V signal from a dongle or something and not directly from the +/- 12V serial port from a PC.
http://www.scienceprog.com/flashing-programs-to-stm32-embedded-bootloader/
There are cheap STLink II clones from China around $3US too if you want full hardware debugger.

Thank you very much for the skull.
Regards from France,
Michel

Good luck with the Hackaday Prize!
Hey KC, thanks for liking TS350 https://hackaday.io/project/159575-ts350-true-sine-inverter