0%
0%
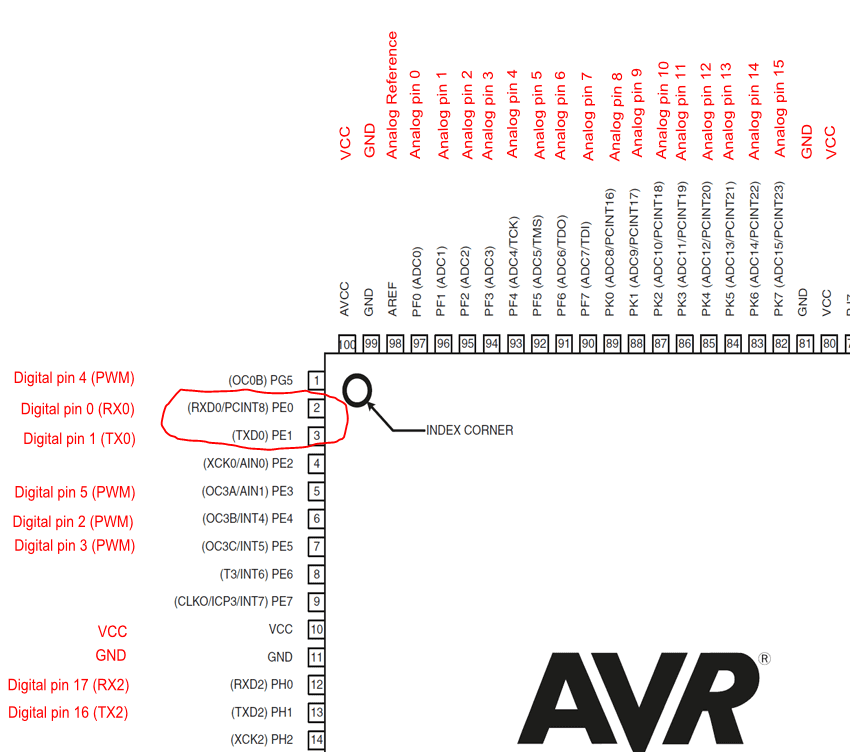
Klipper 3D Printer Firmware on Malyan M180 Install
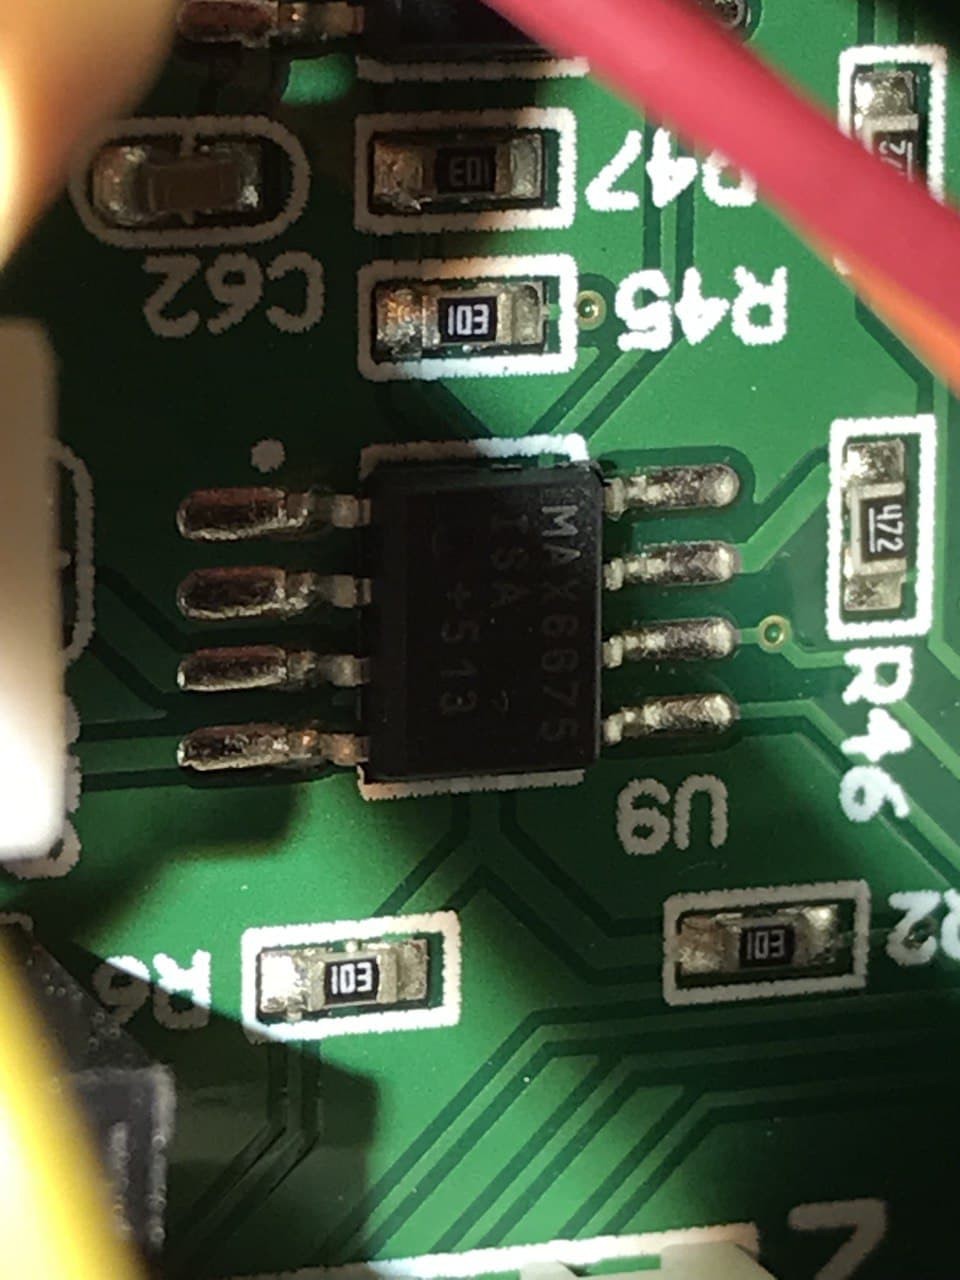
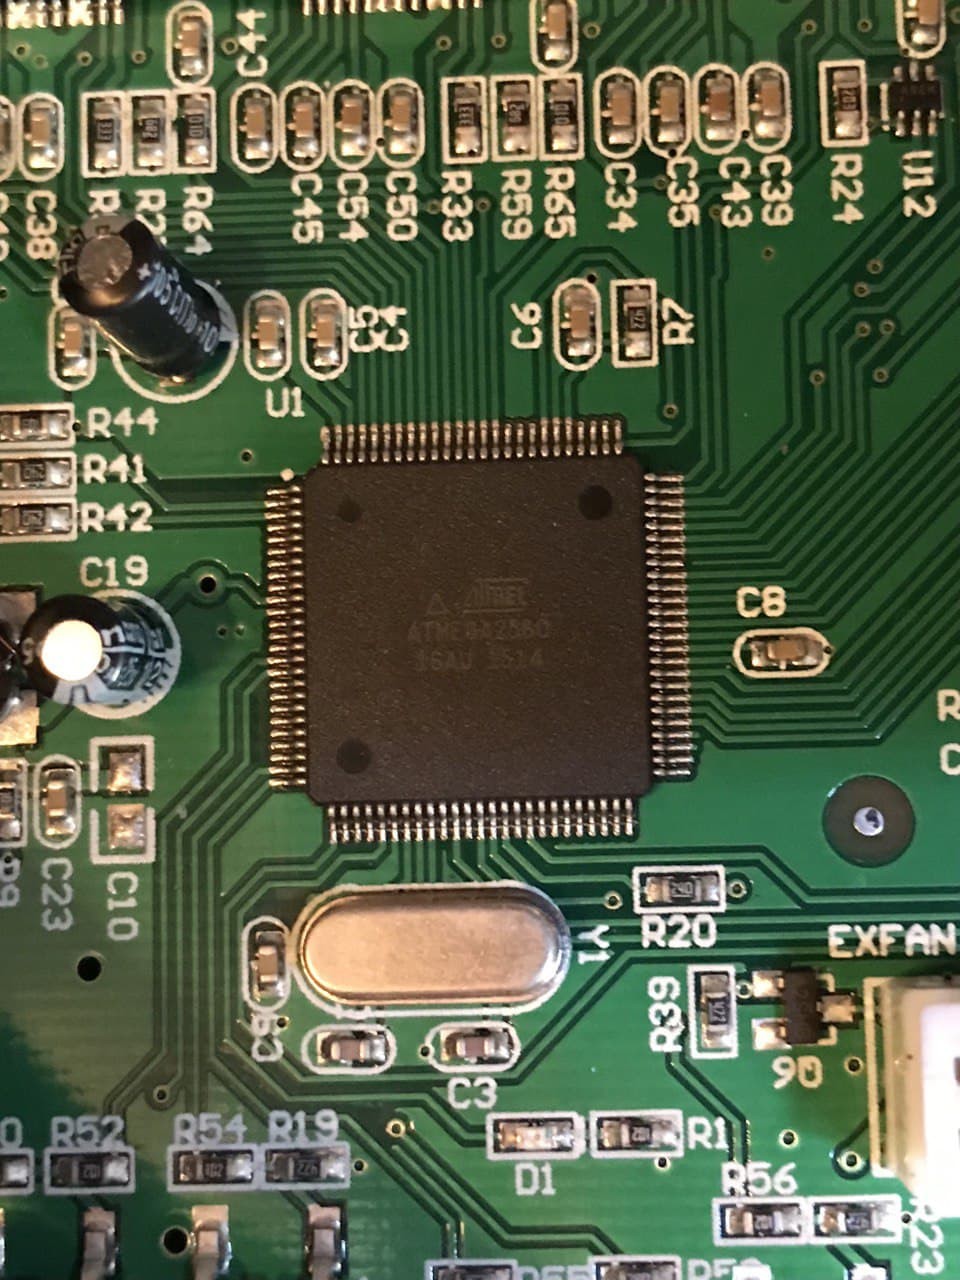
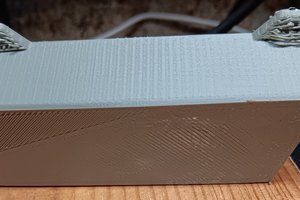
I'm trying to install Klipper on my modified Malyan M180 3D Printer. Currently, Marlin is installed but it has loads of performance issues.
 Timo Birnschein
Become a Hackaday.io member
Already have an account? Log in.
Just one more thing
To make the experience fit your profile, pick a username and tell us what interests you.
Pick an awesome username
hackaday.io/
Your profile's URL: hackaday.io/username. Max 25 alphanumeric characters.
Pick a few interests
Projects that share your interests
People that share your interests


 silver2row
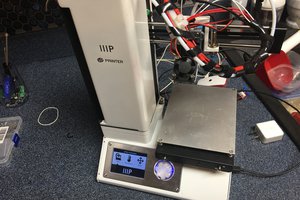
 J.C. Nelson
 jaromir.sukuba
 clearchris