 Alpenglow Industries
-
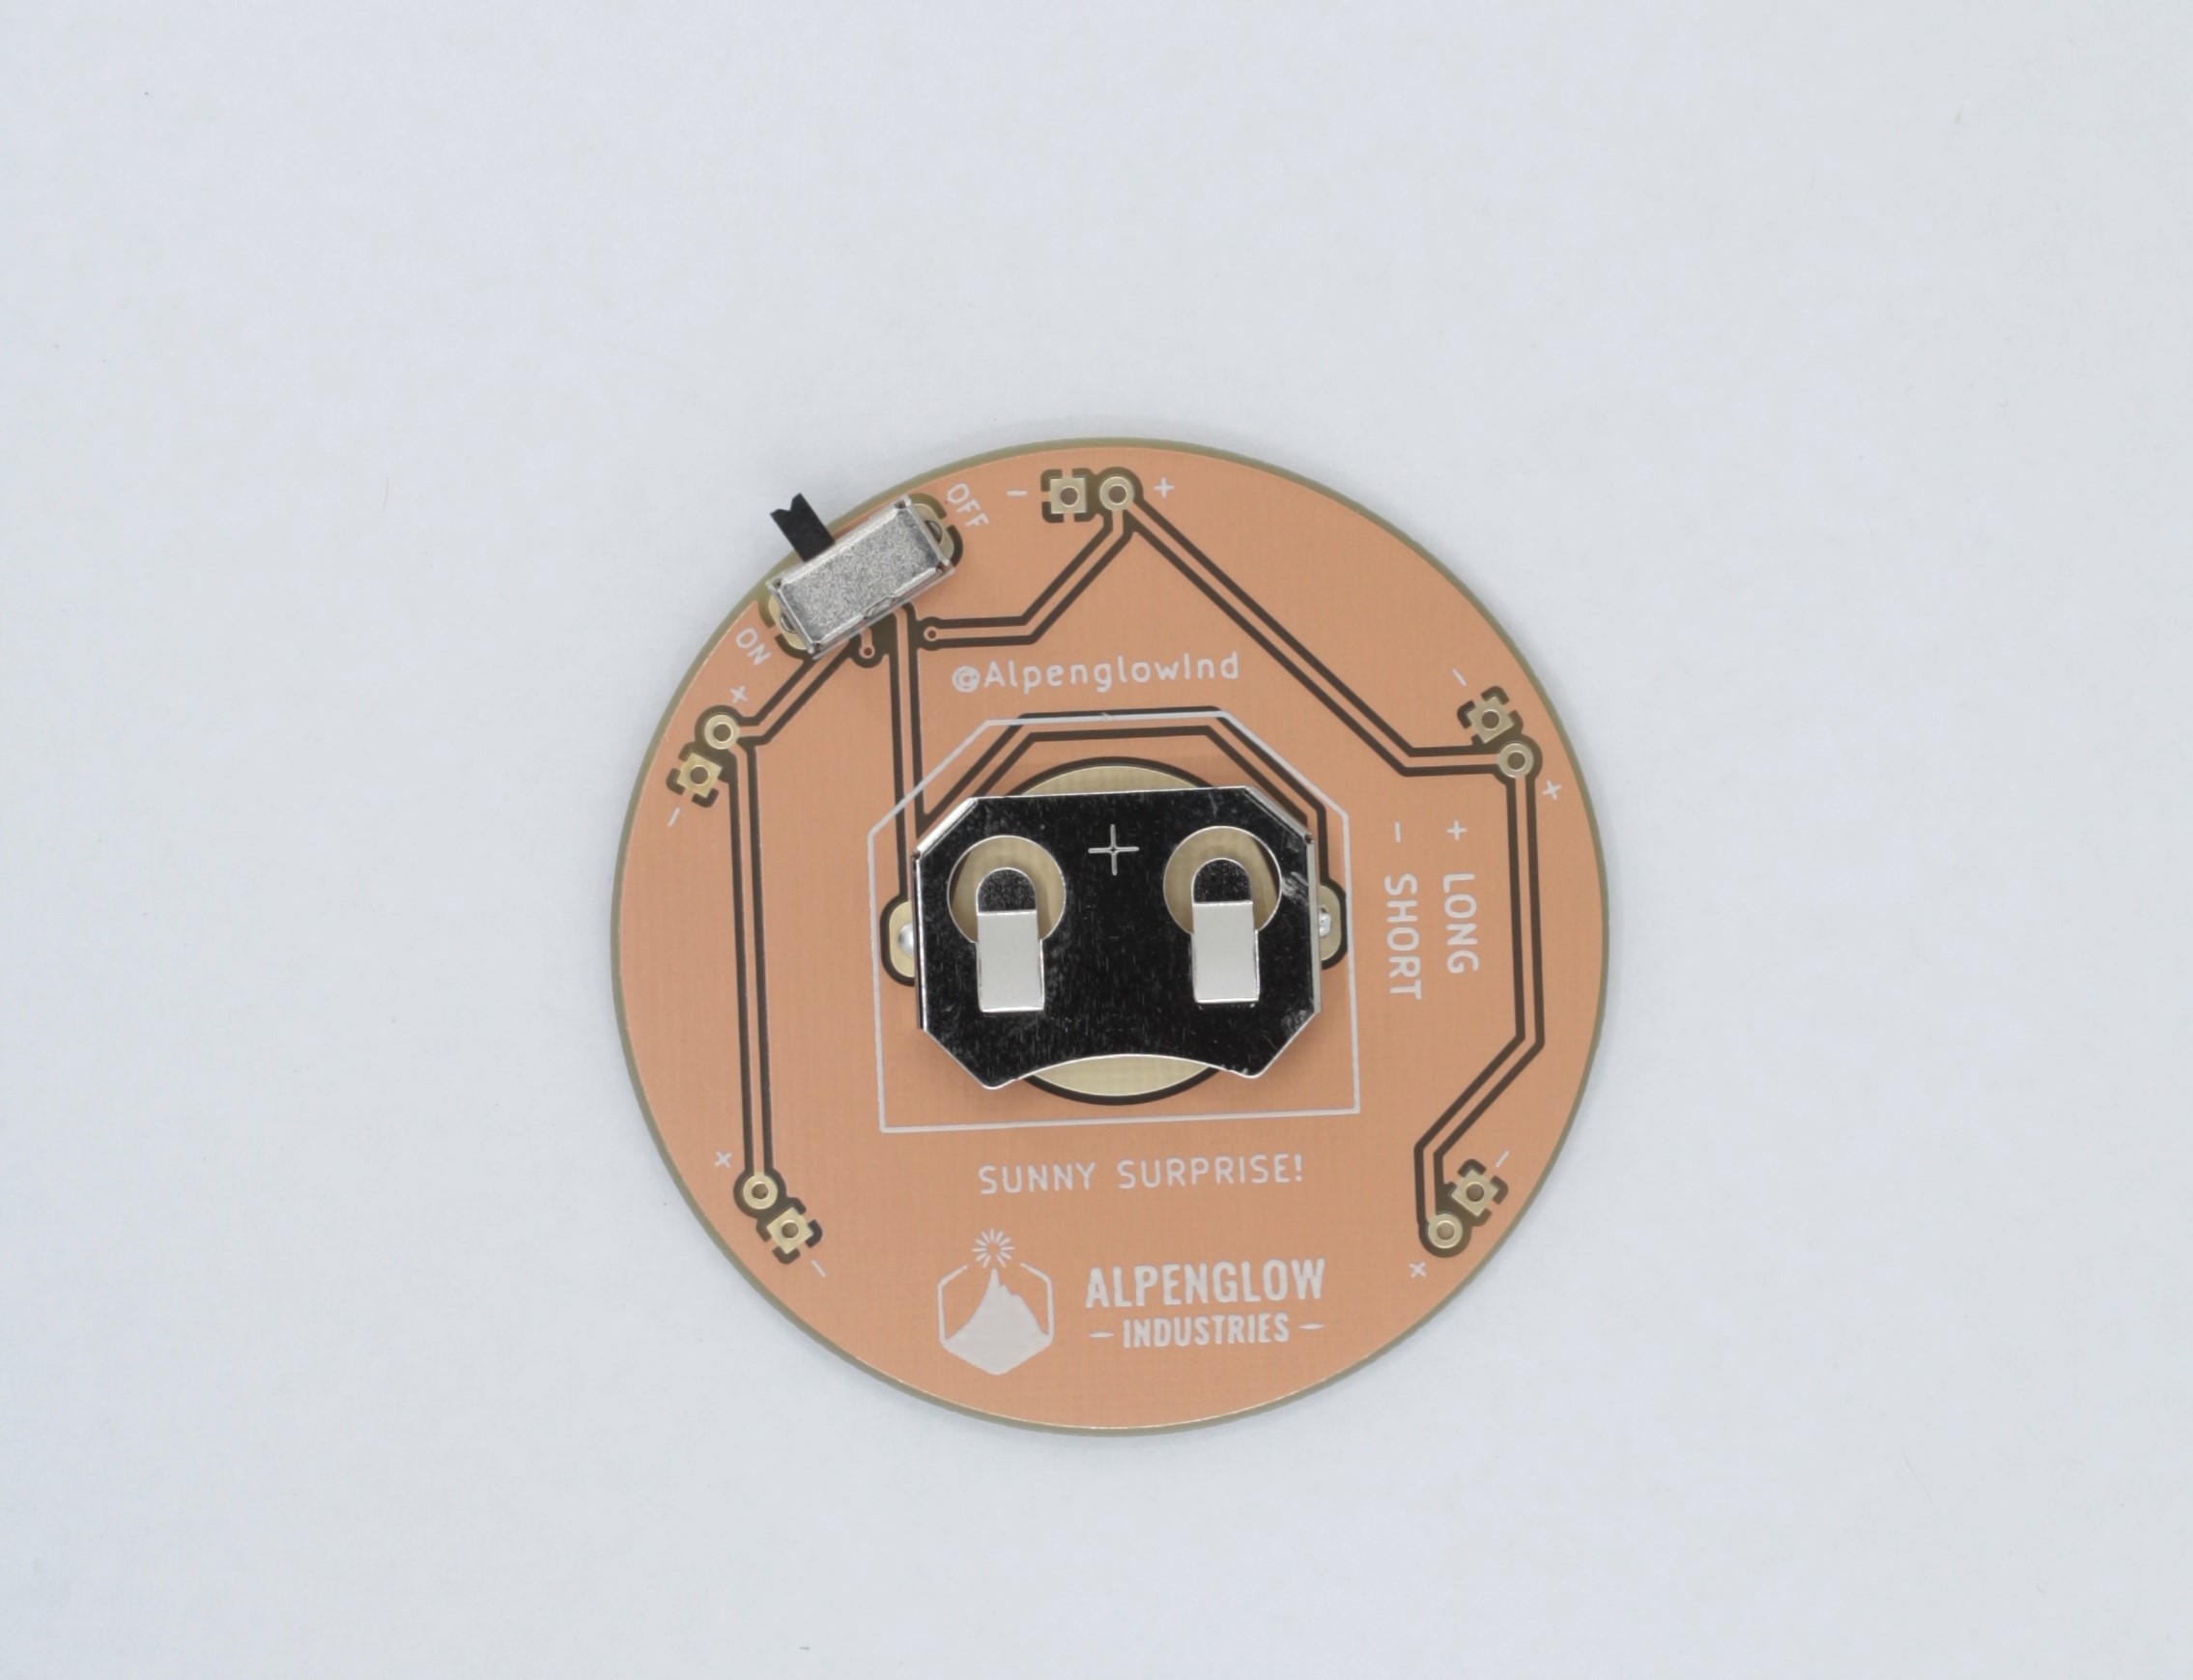
1Step 1: Solder the Switch and the Battery Holder
The design on this board is super simple so you can solder the components on in any order. Personally, I like to start with the switch and battery holder. I made the holes for the battery holder snug so with a little pressure it should snap into place for easy soldering!
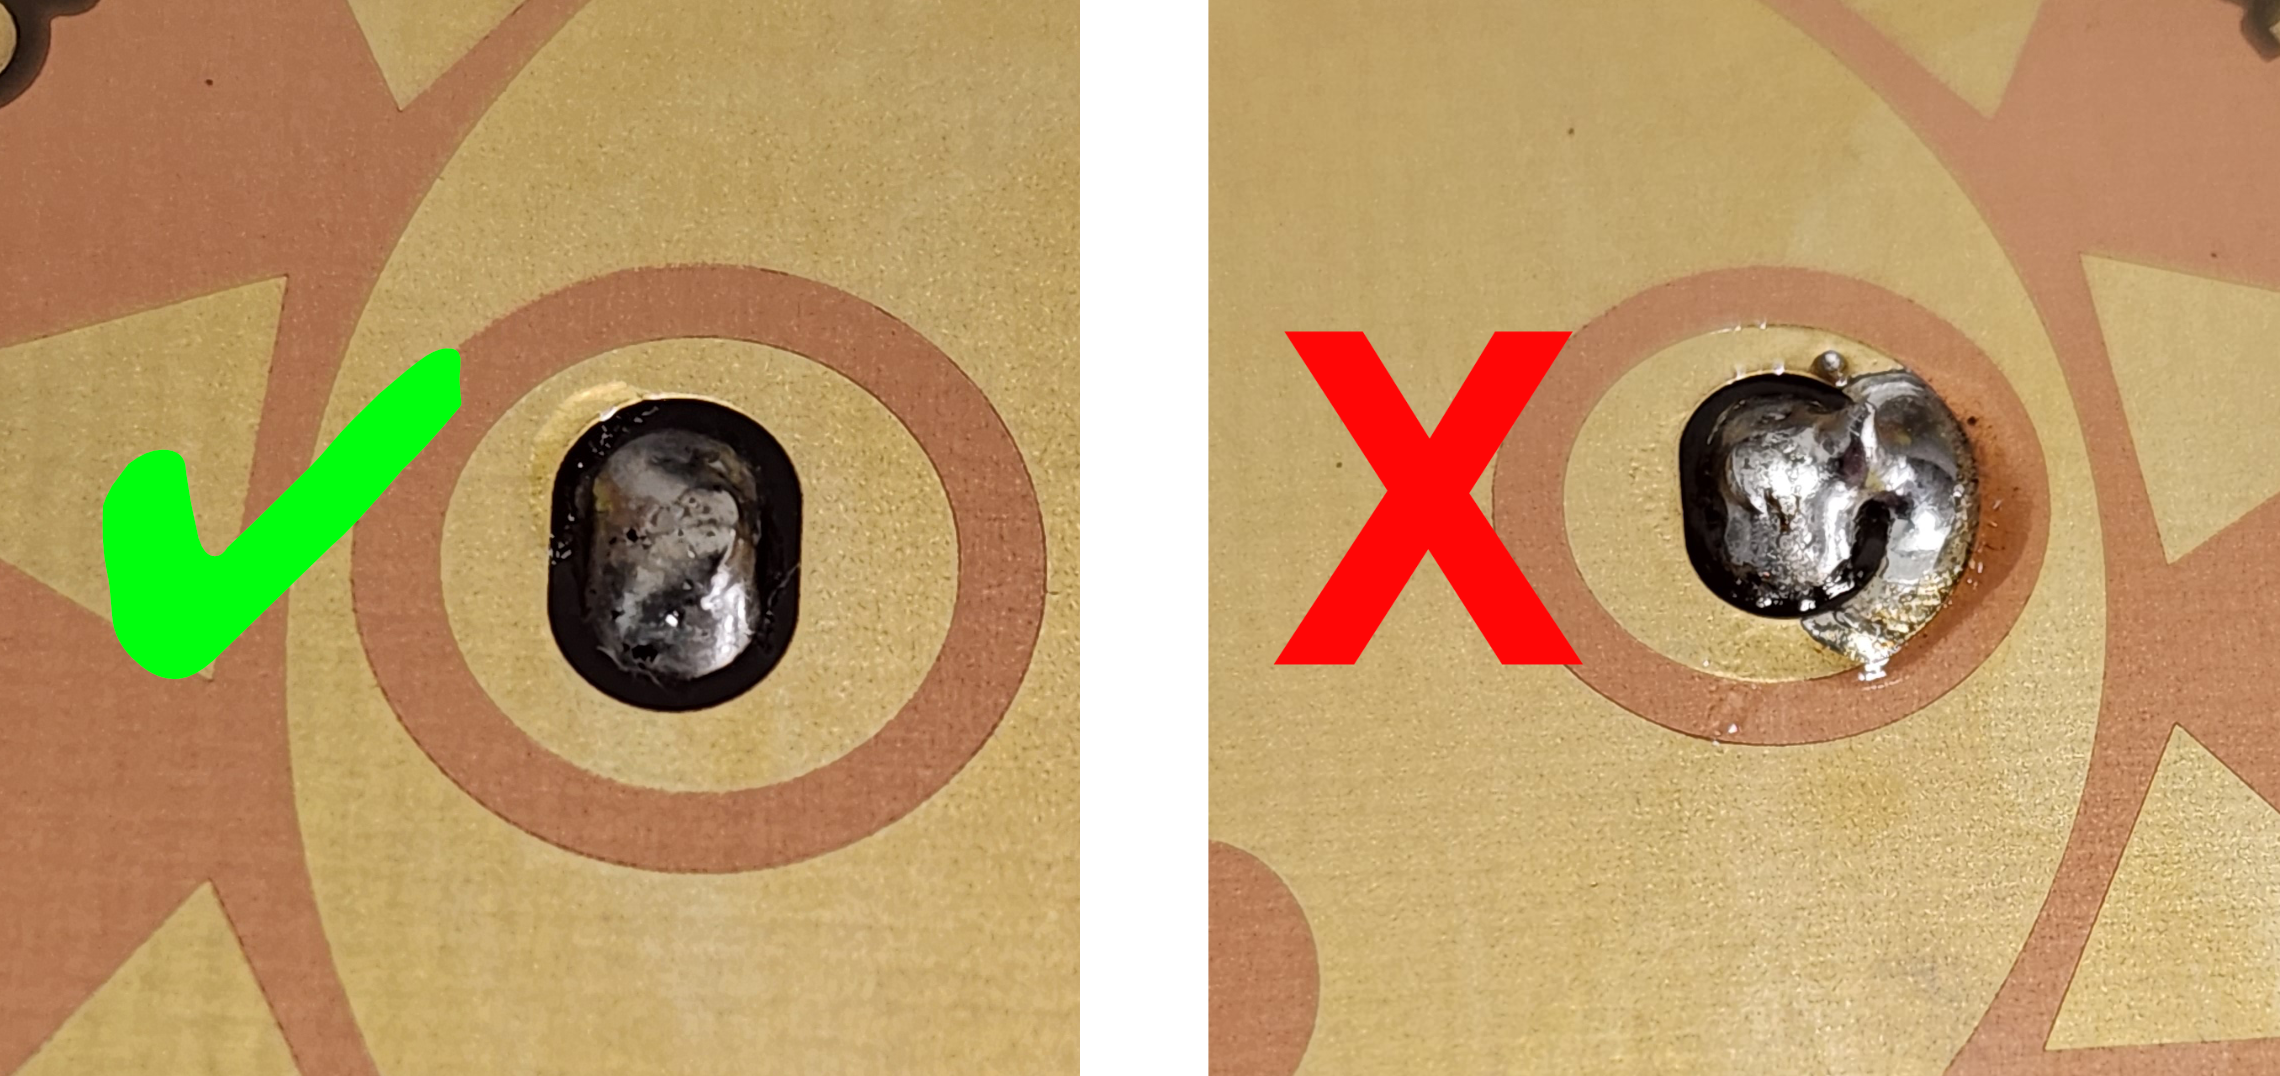
*Note: When soldering the battery holder be carful not to get solder outside of the pad or the board will short!
![]()
If you're having trouble keeping the board from moving when soldering you can use a piece of tape to hold the board down. Just be sure not to have the tape too close to where you are soldering your joint!
*Note: The battery holder and switch are made of metal so they get hot when soldering. Be careful touching them during and directly after soldering!
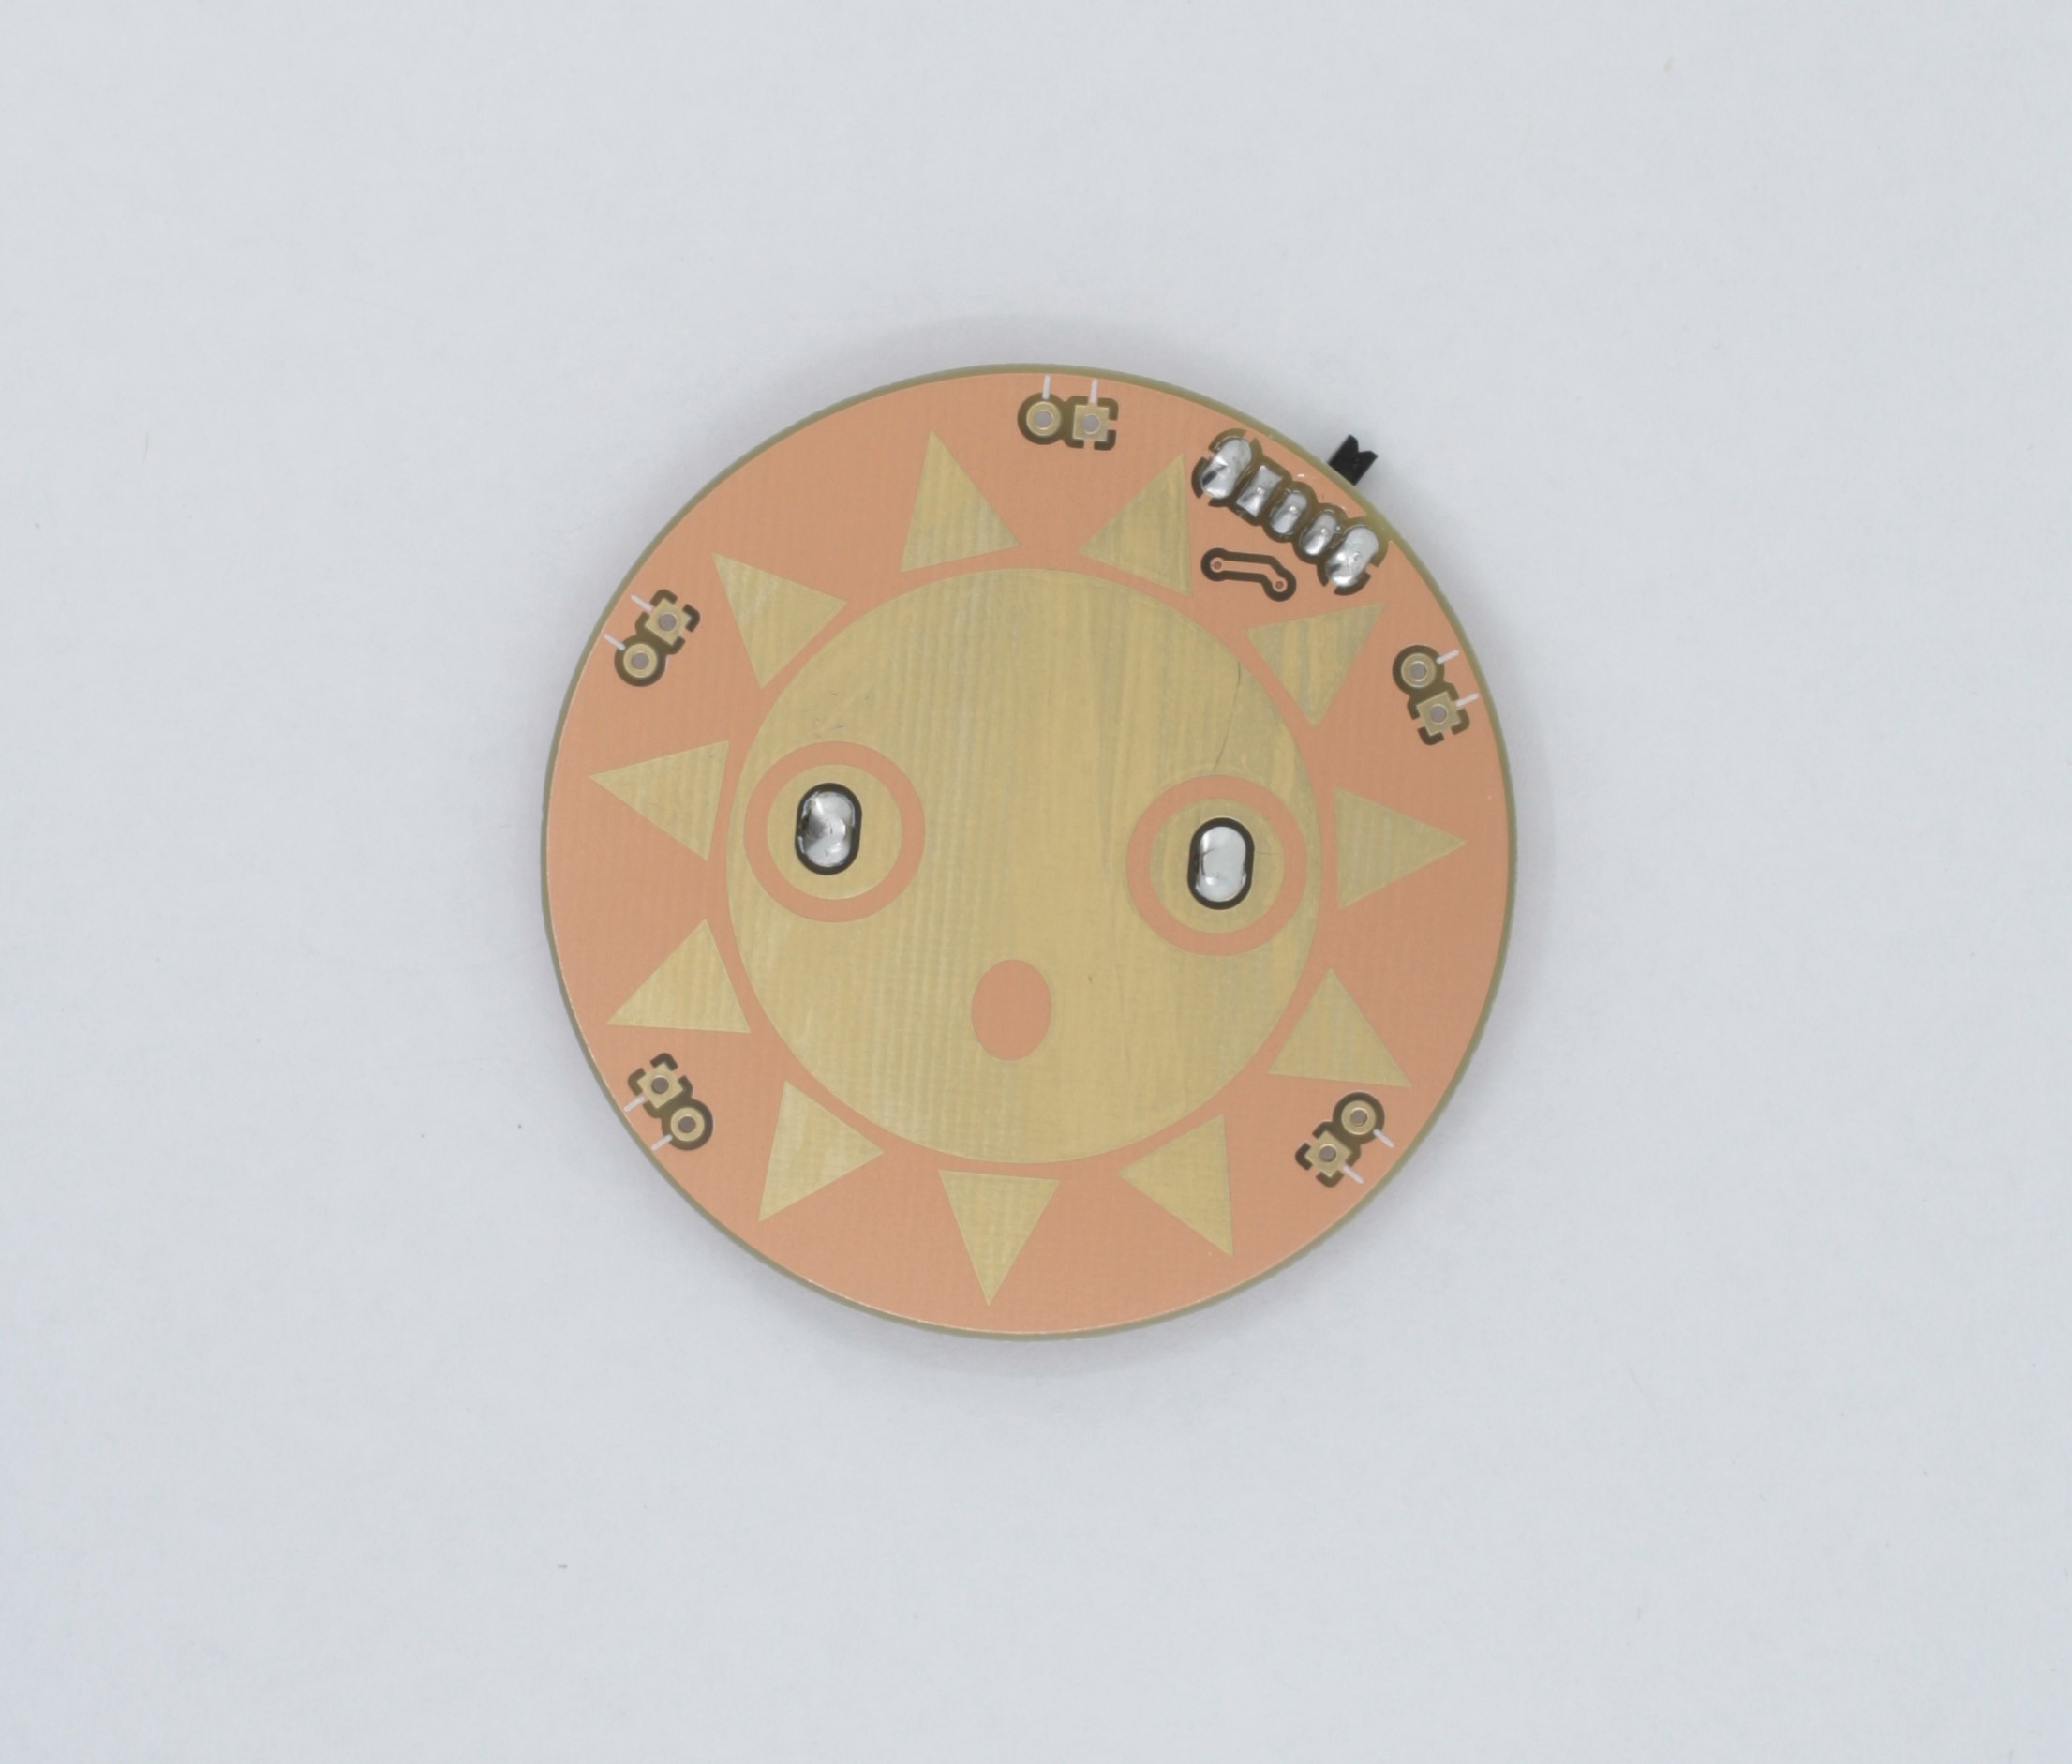
*I like to add a bit of extra solder so the clouds eyes look nice and smooth.
![]()
![]()
-
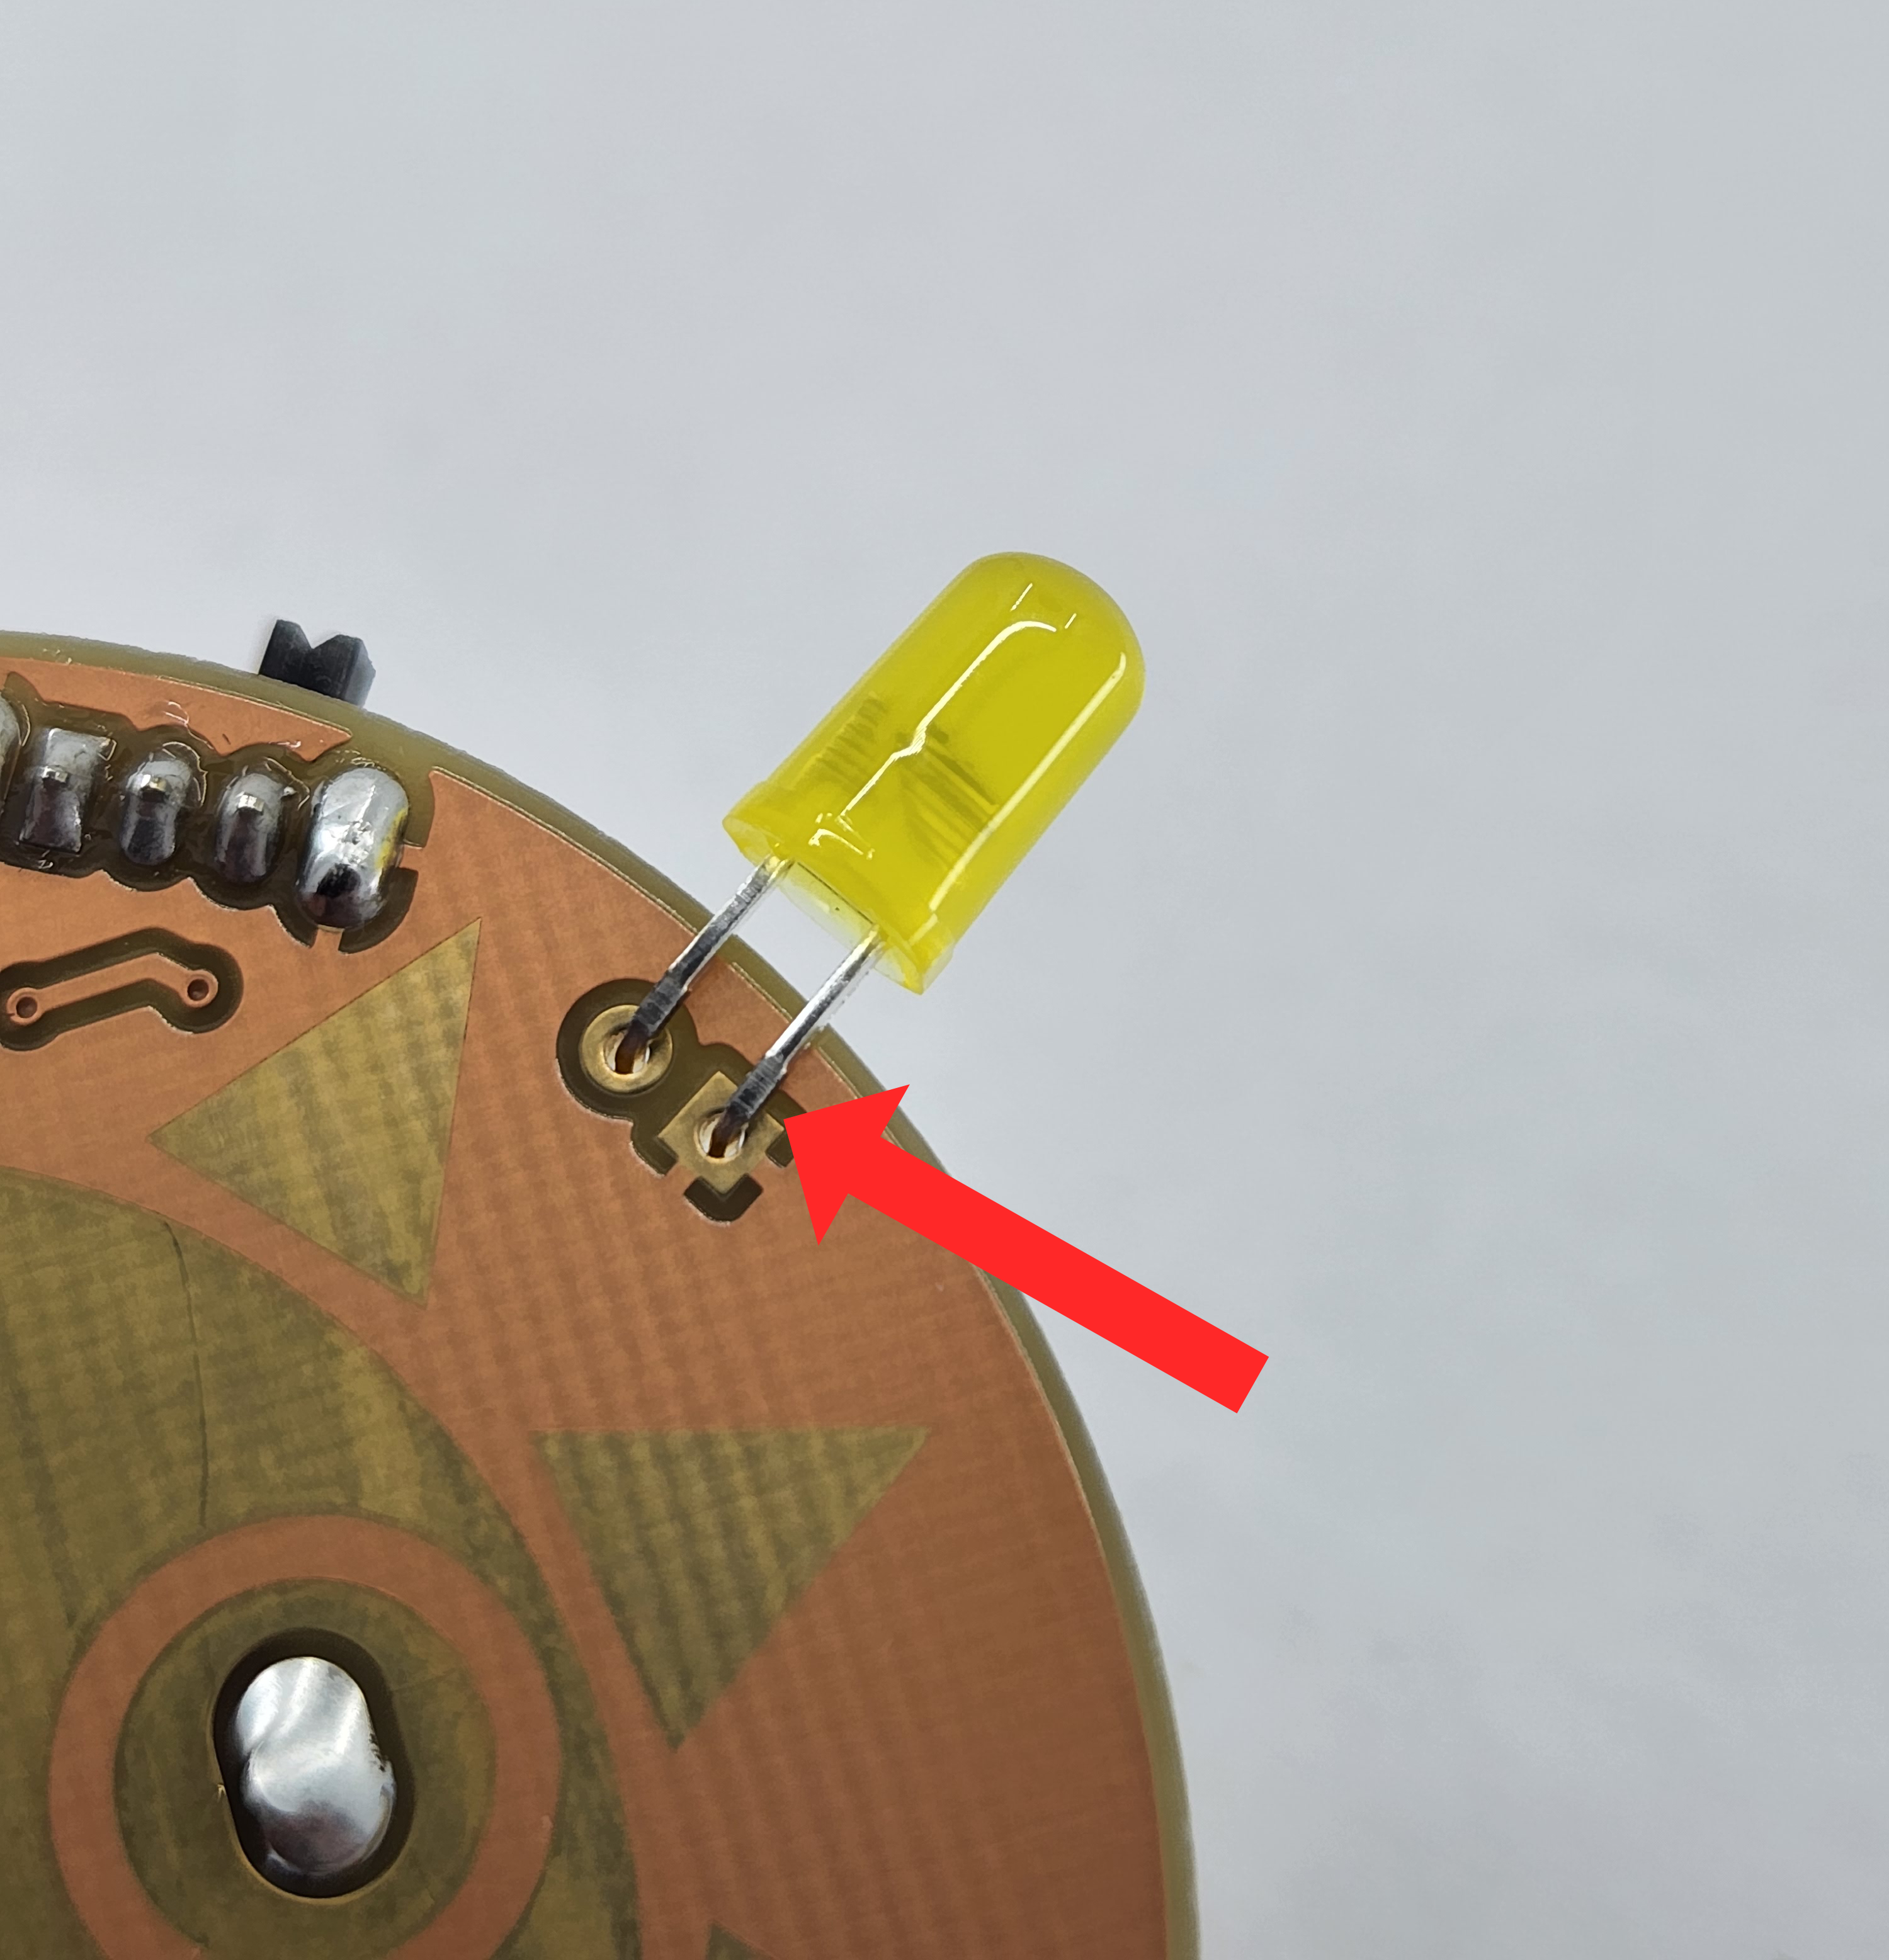
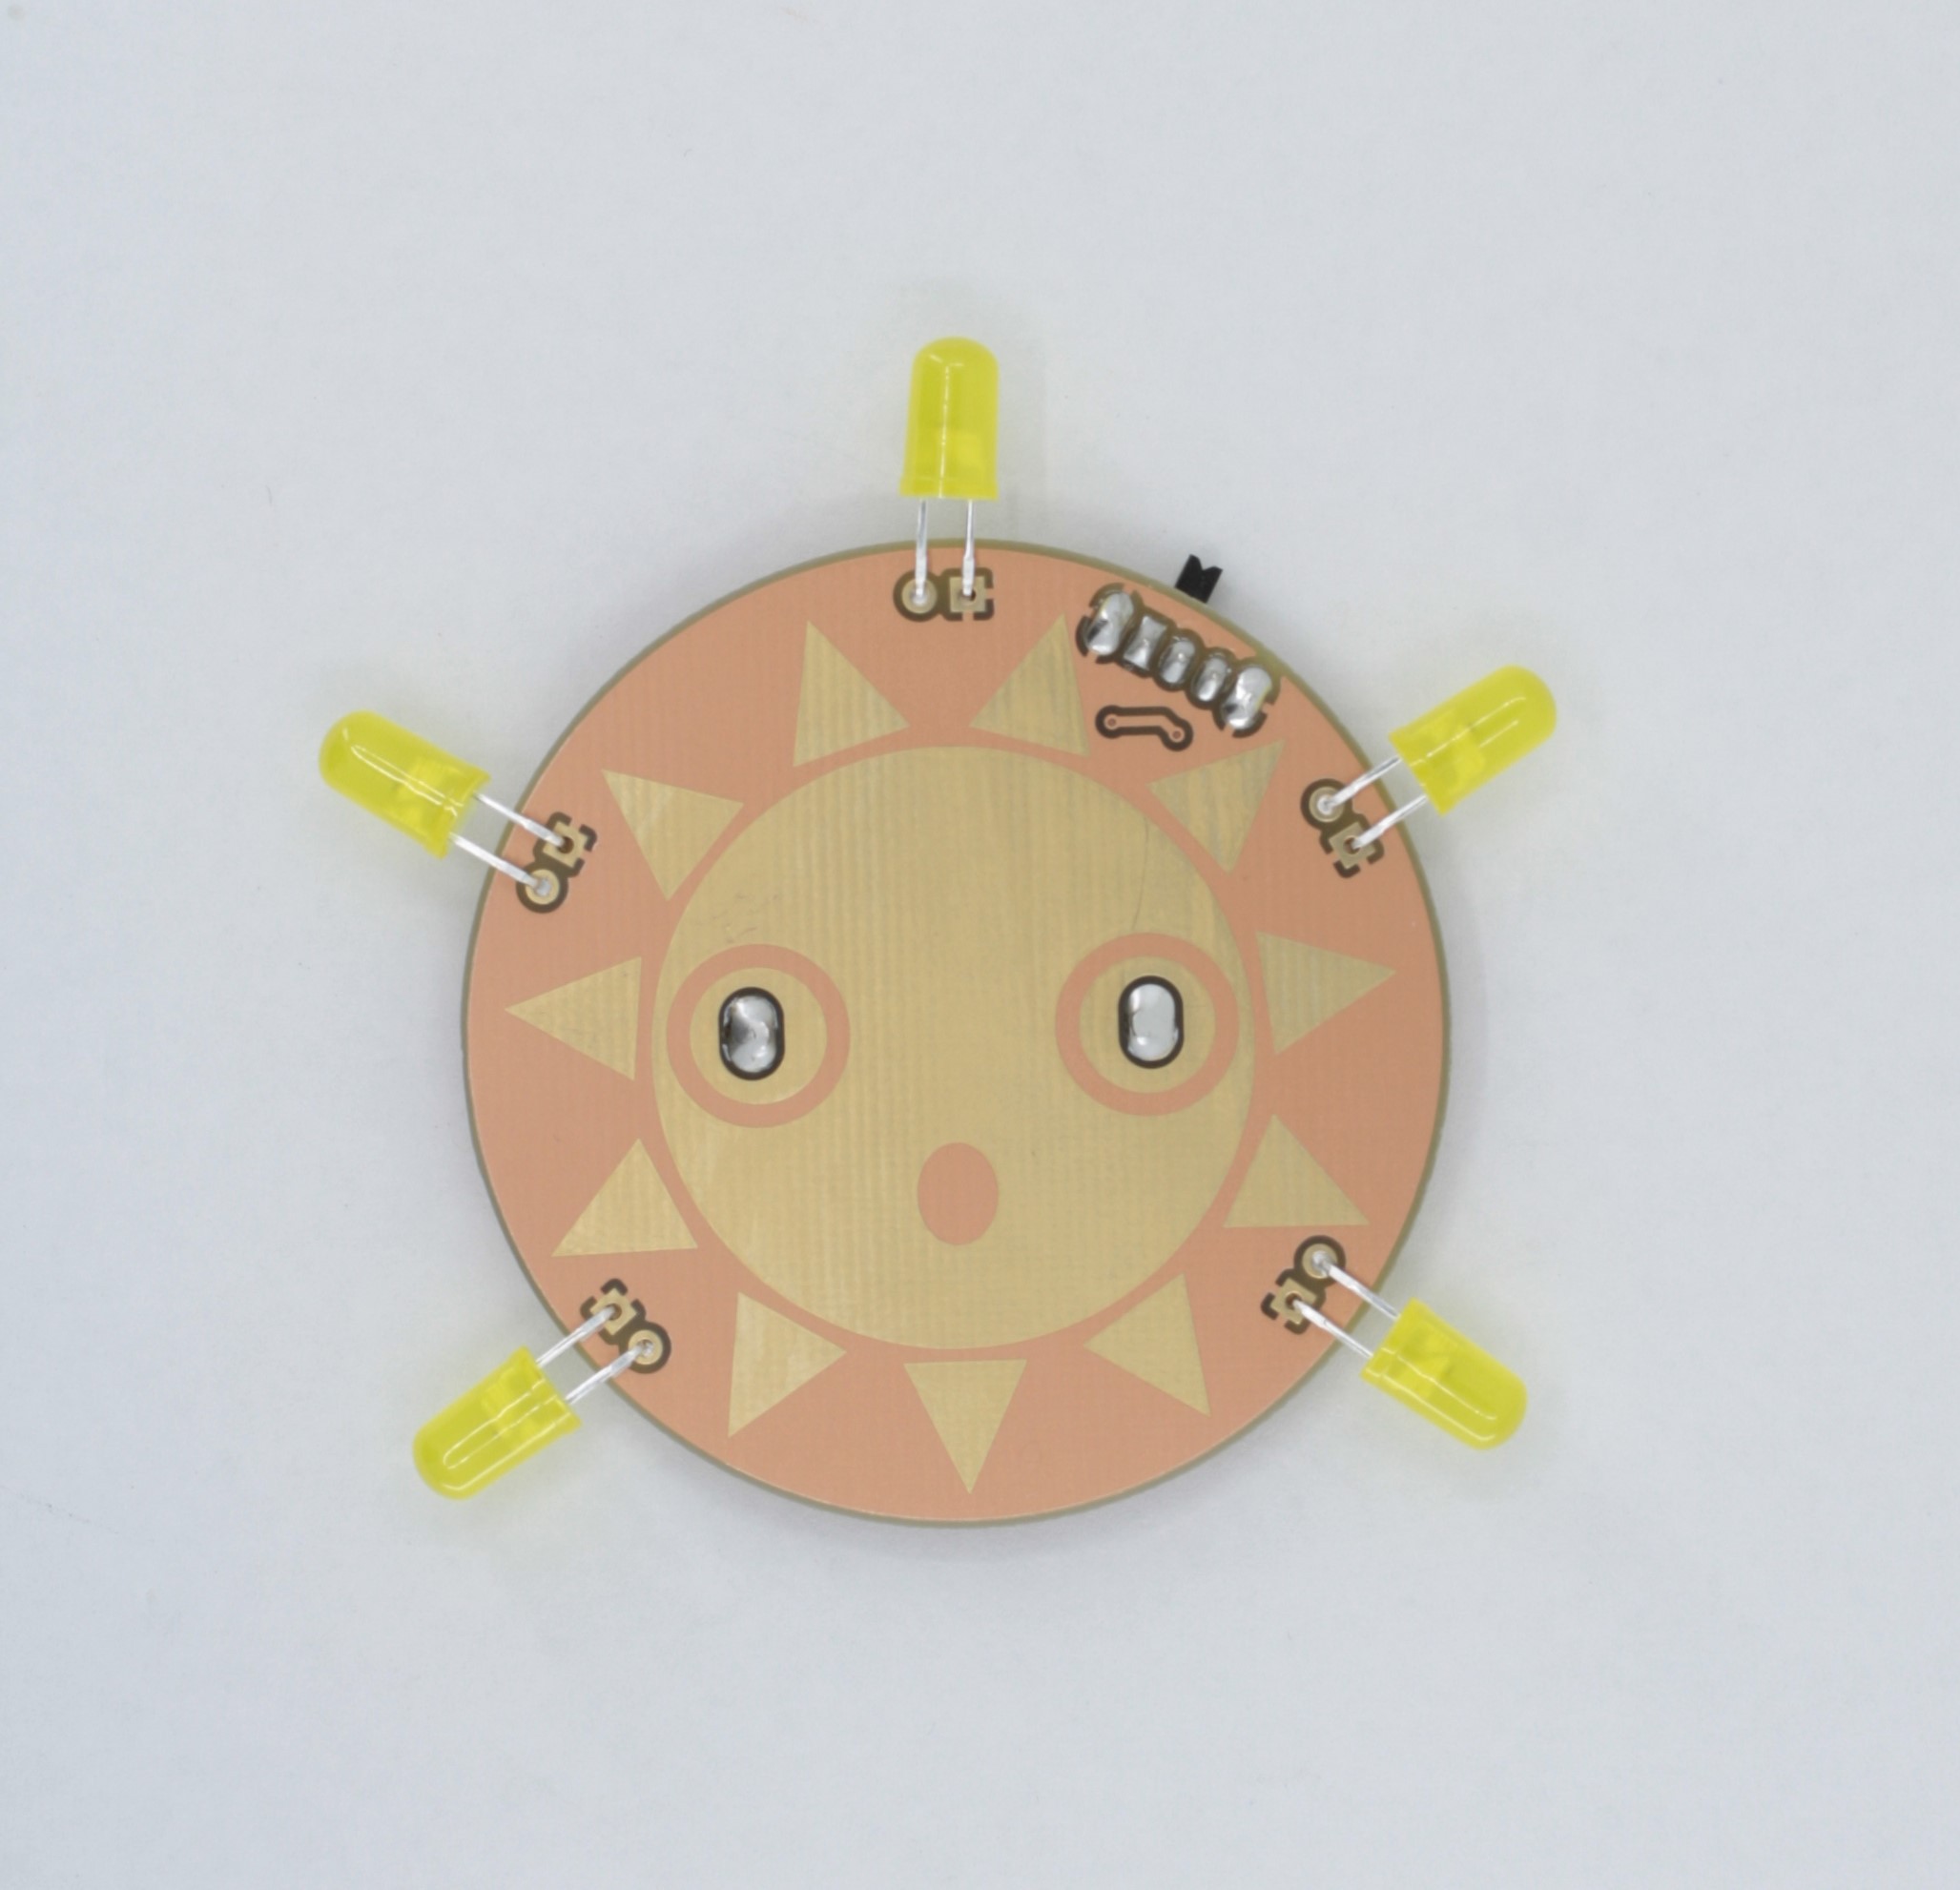
2Step 2: Solder the LEDs
Insert LEDs up to the little notches then bend into a right angle. Repeat this step for all the LEDs then solder into place
![]()
![]()
-
3Step 4: Insert Battery and Enjoy!
Your Sunny Surprise is complete!
![]()
![]()
Sunny Surprise
A fun learn-to-solder kit, comes with a cheerful idsposition

Discussions
Become a Hackaday.io Member
Create an account to leave a comment. Already have an account? Log In.