 Neil Lambeth
-
1Updated instructions for assembling the X-PC 2.
Here are the updated instructions for new X-PC 2. Starting with generating the files for laser cutting using FreeCAD , then asembling the parts to make an X-PC.
The original instructions can be found here:
-
2Take measurements.
Start by taking measurements from your donor laptop. I’m assuming you have already taken it apart, if not there are plenty of guides on YouTube, You should be able to find one for your laptop model.
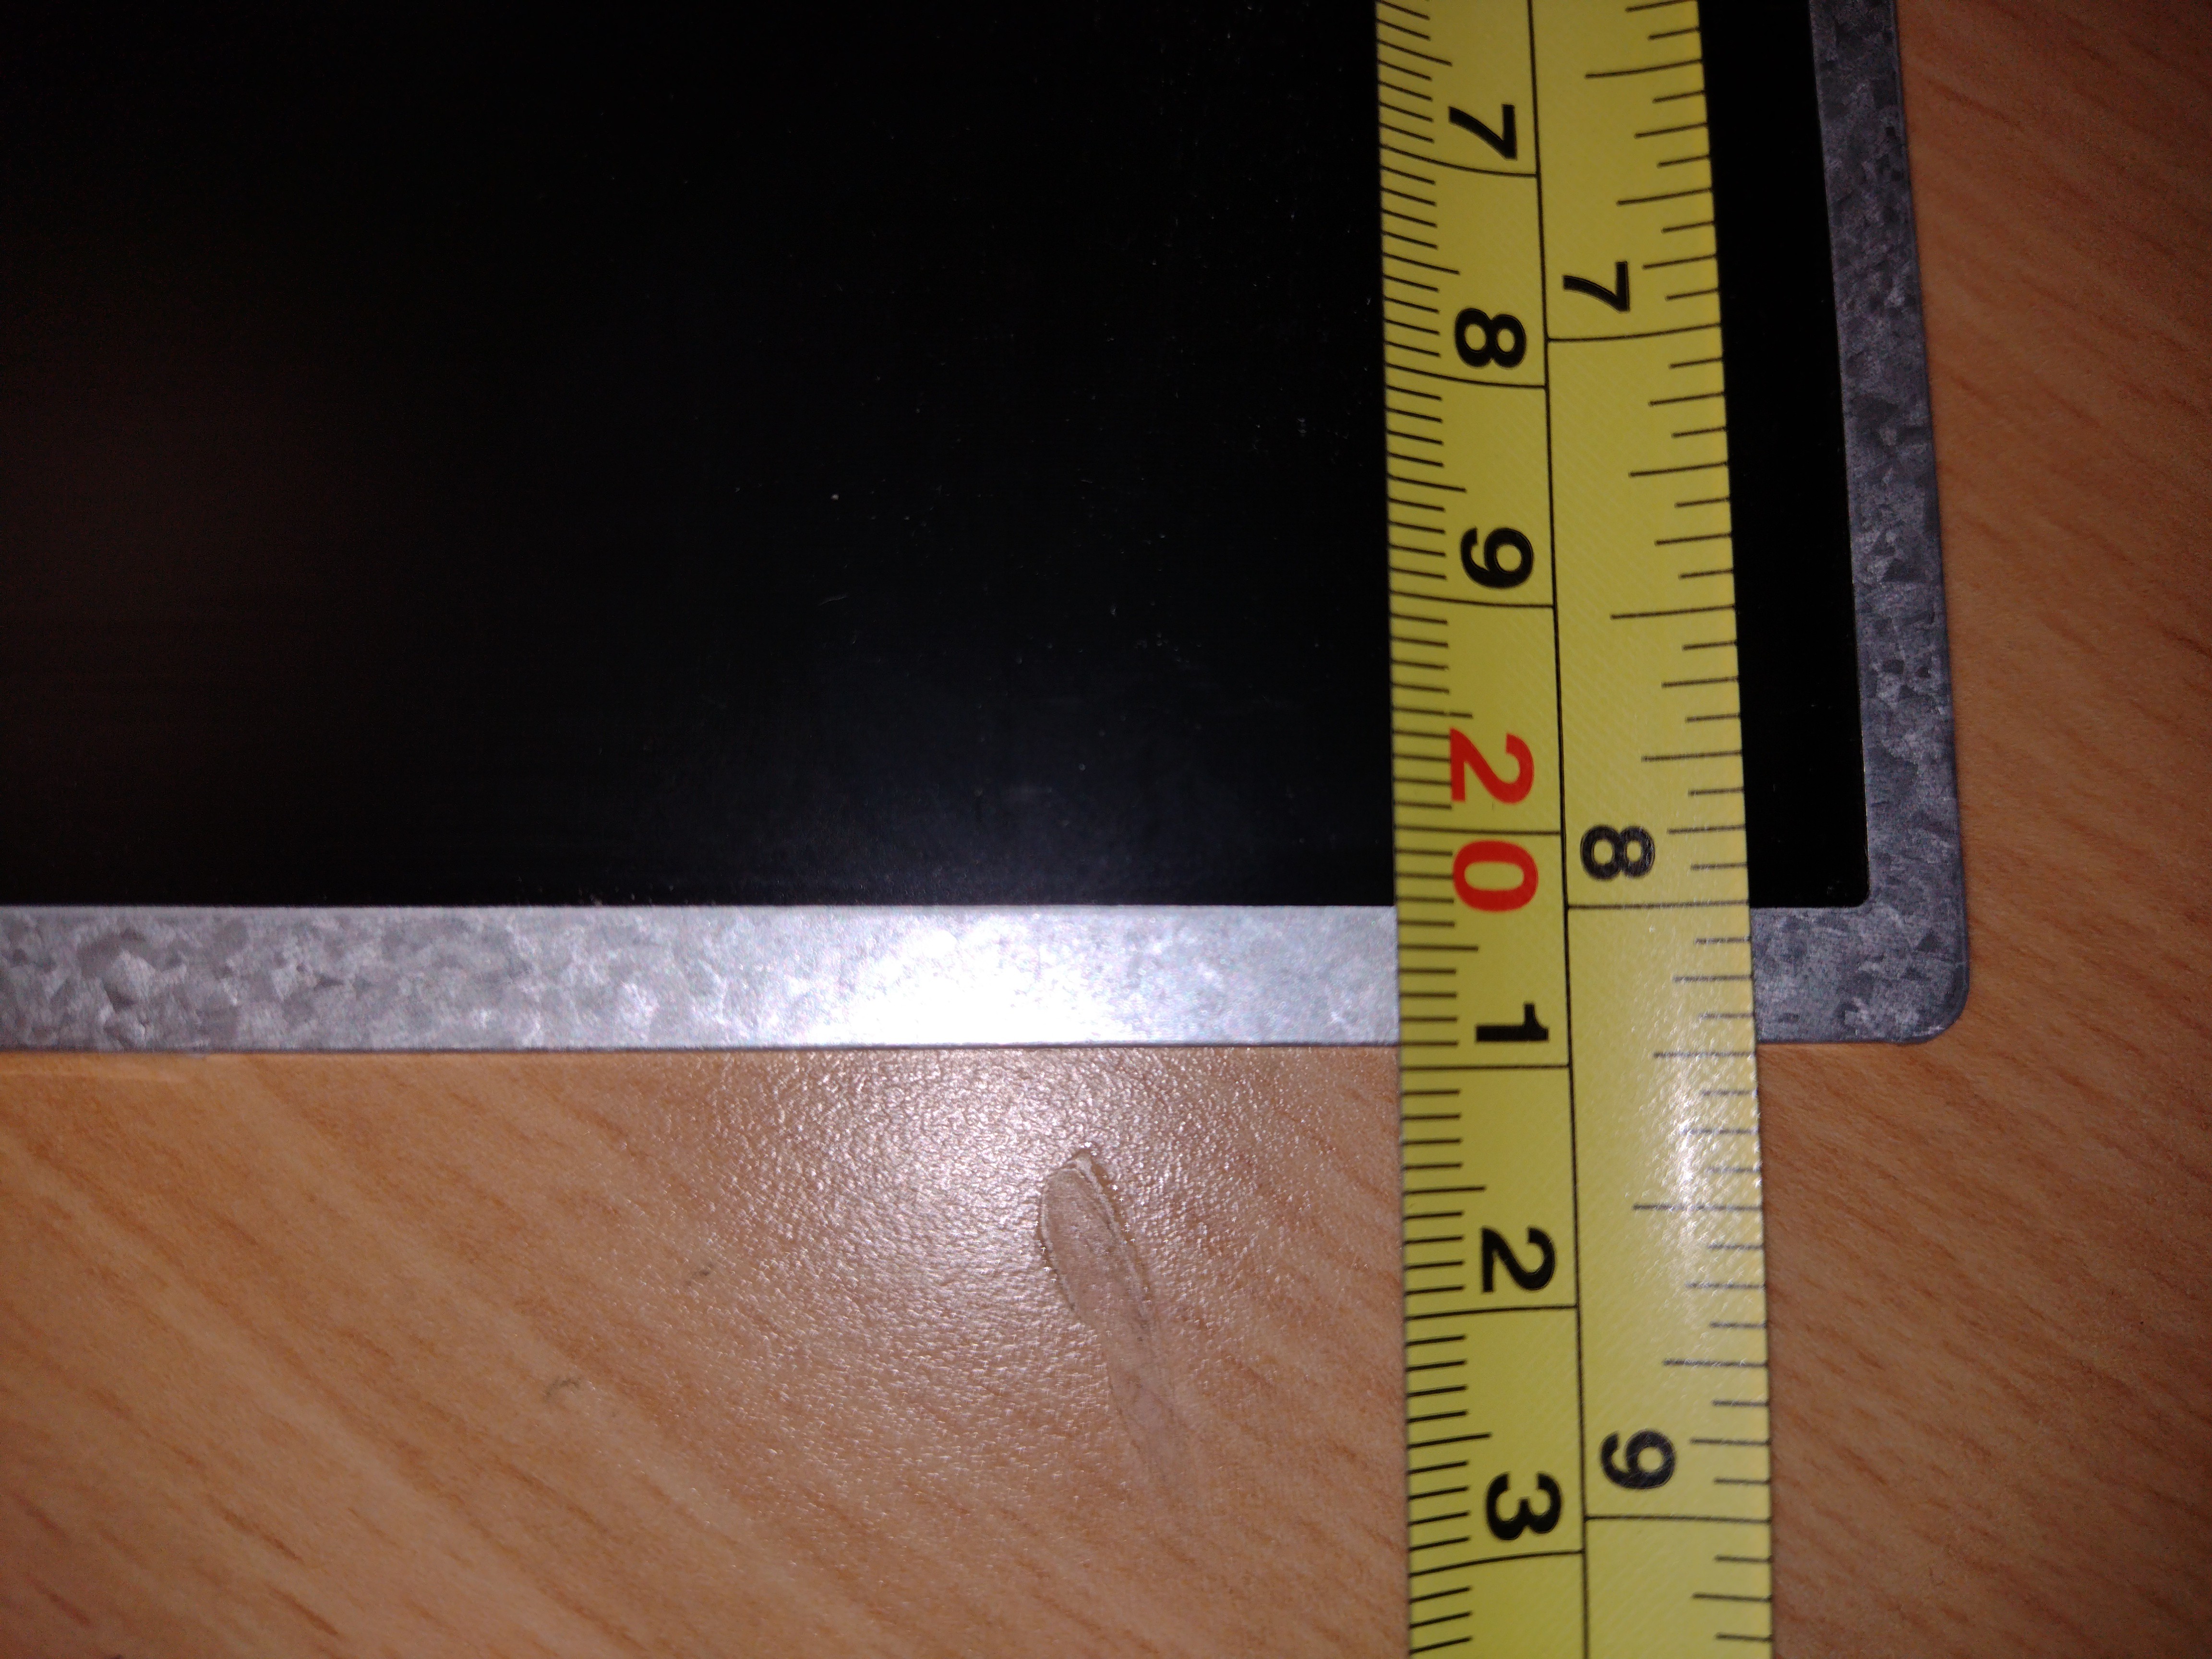
You’ll need to measure the height and width of the screen, round the measurements up and add 1 millimetre.
![]()
![]()
I’ve got 210mm for the height and 360mm for the width.
-
3Step 3
You’ll also need the width of the bezel on each edge of the screen. I’ve got 5mm for the sides, 3mm for the bottom and 5mm for the top.
![]()
-
4Step 4
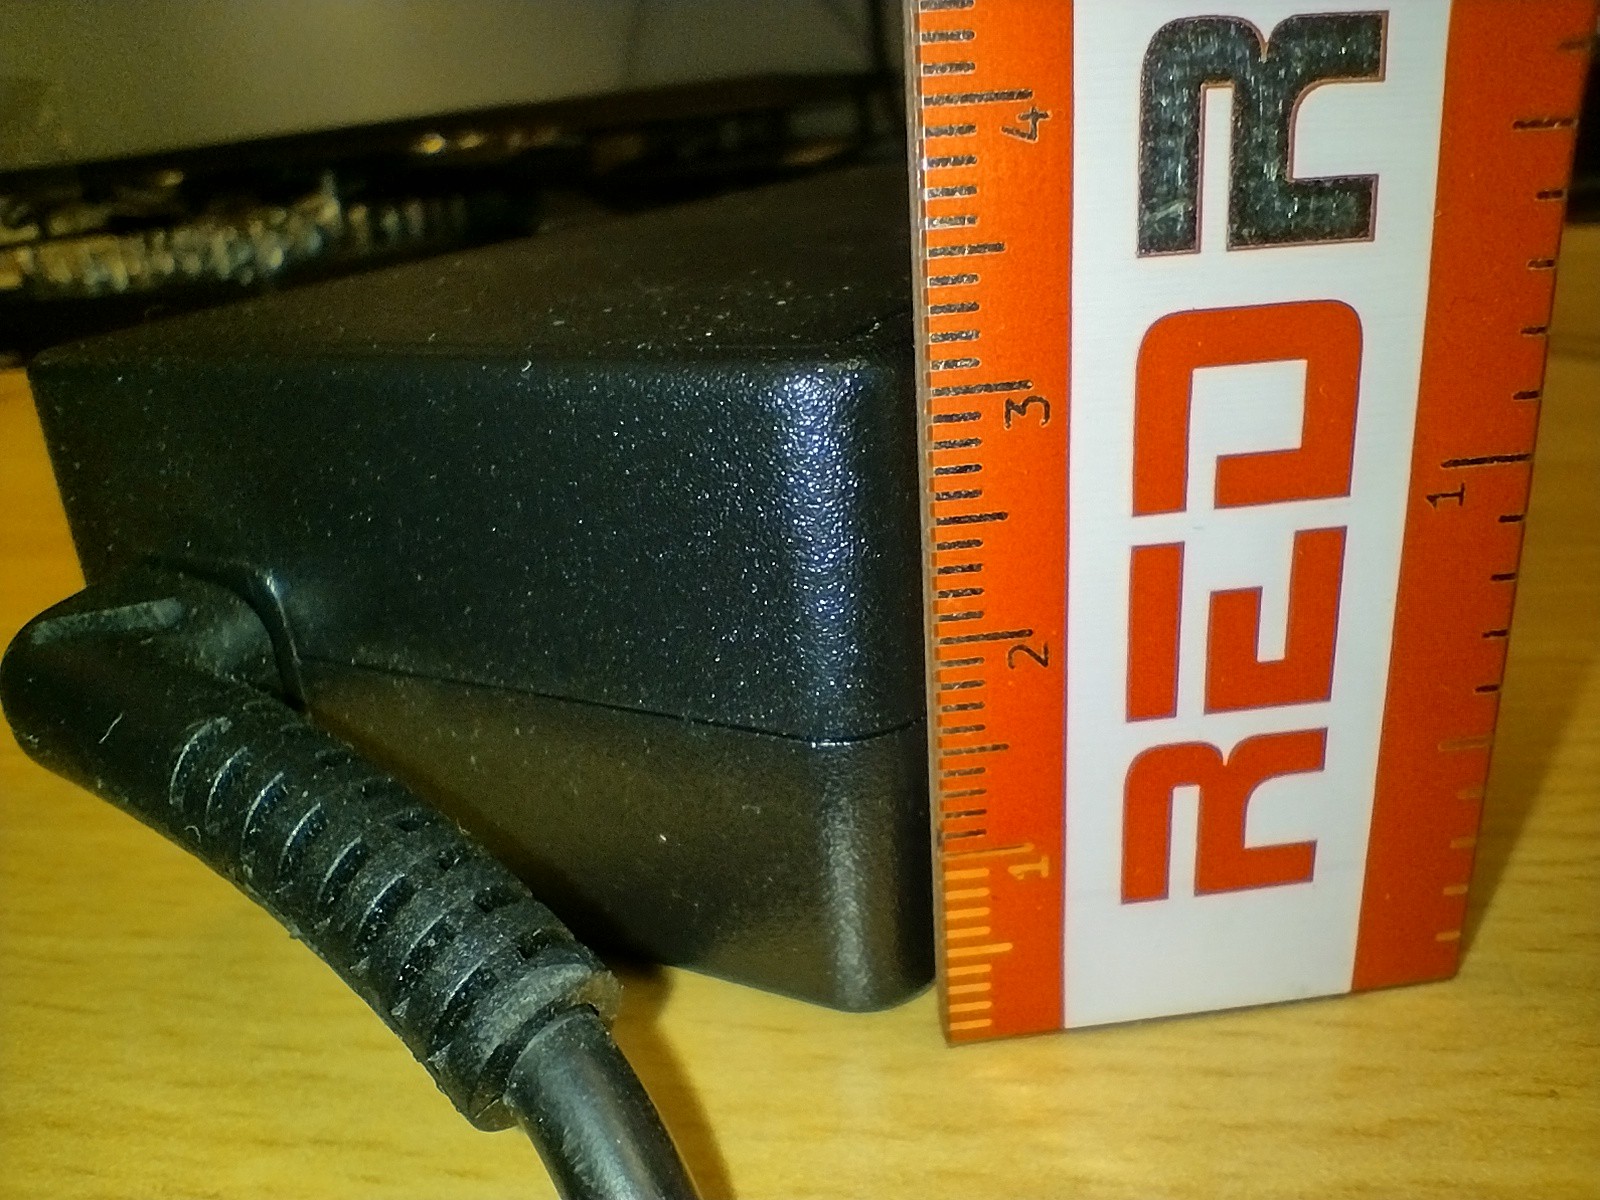
Next, you’ll need to measure the power supply. You’ll need the height, width and length including the plug. The minimum height is 32mm (to make sure there’s enough room for the chassis mount USB socket). Again, round the measurements up to the nearest mm.
I've measured 32mm for the height.
![]()
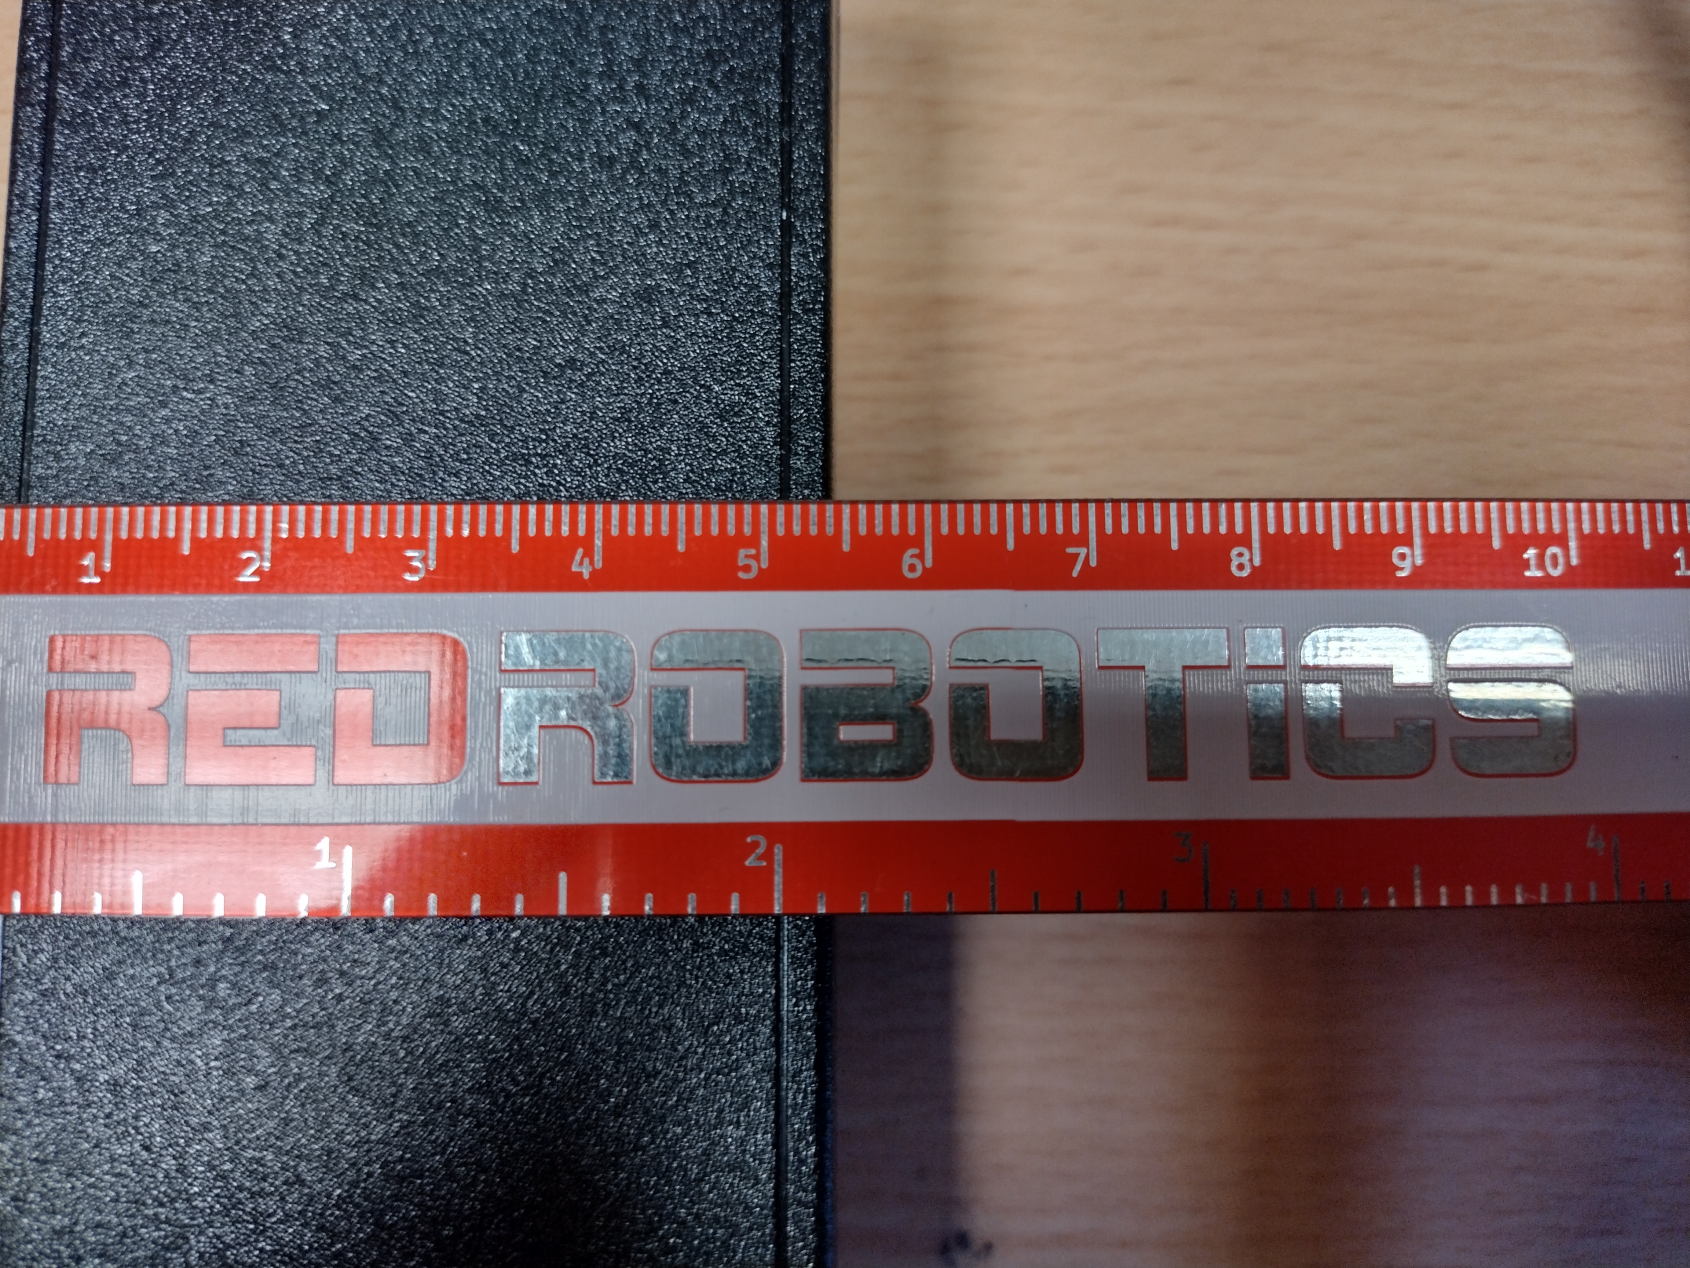
55mm for the width.![]()
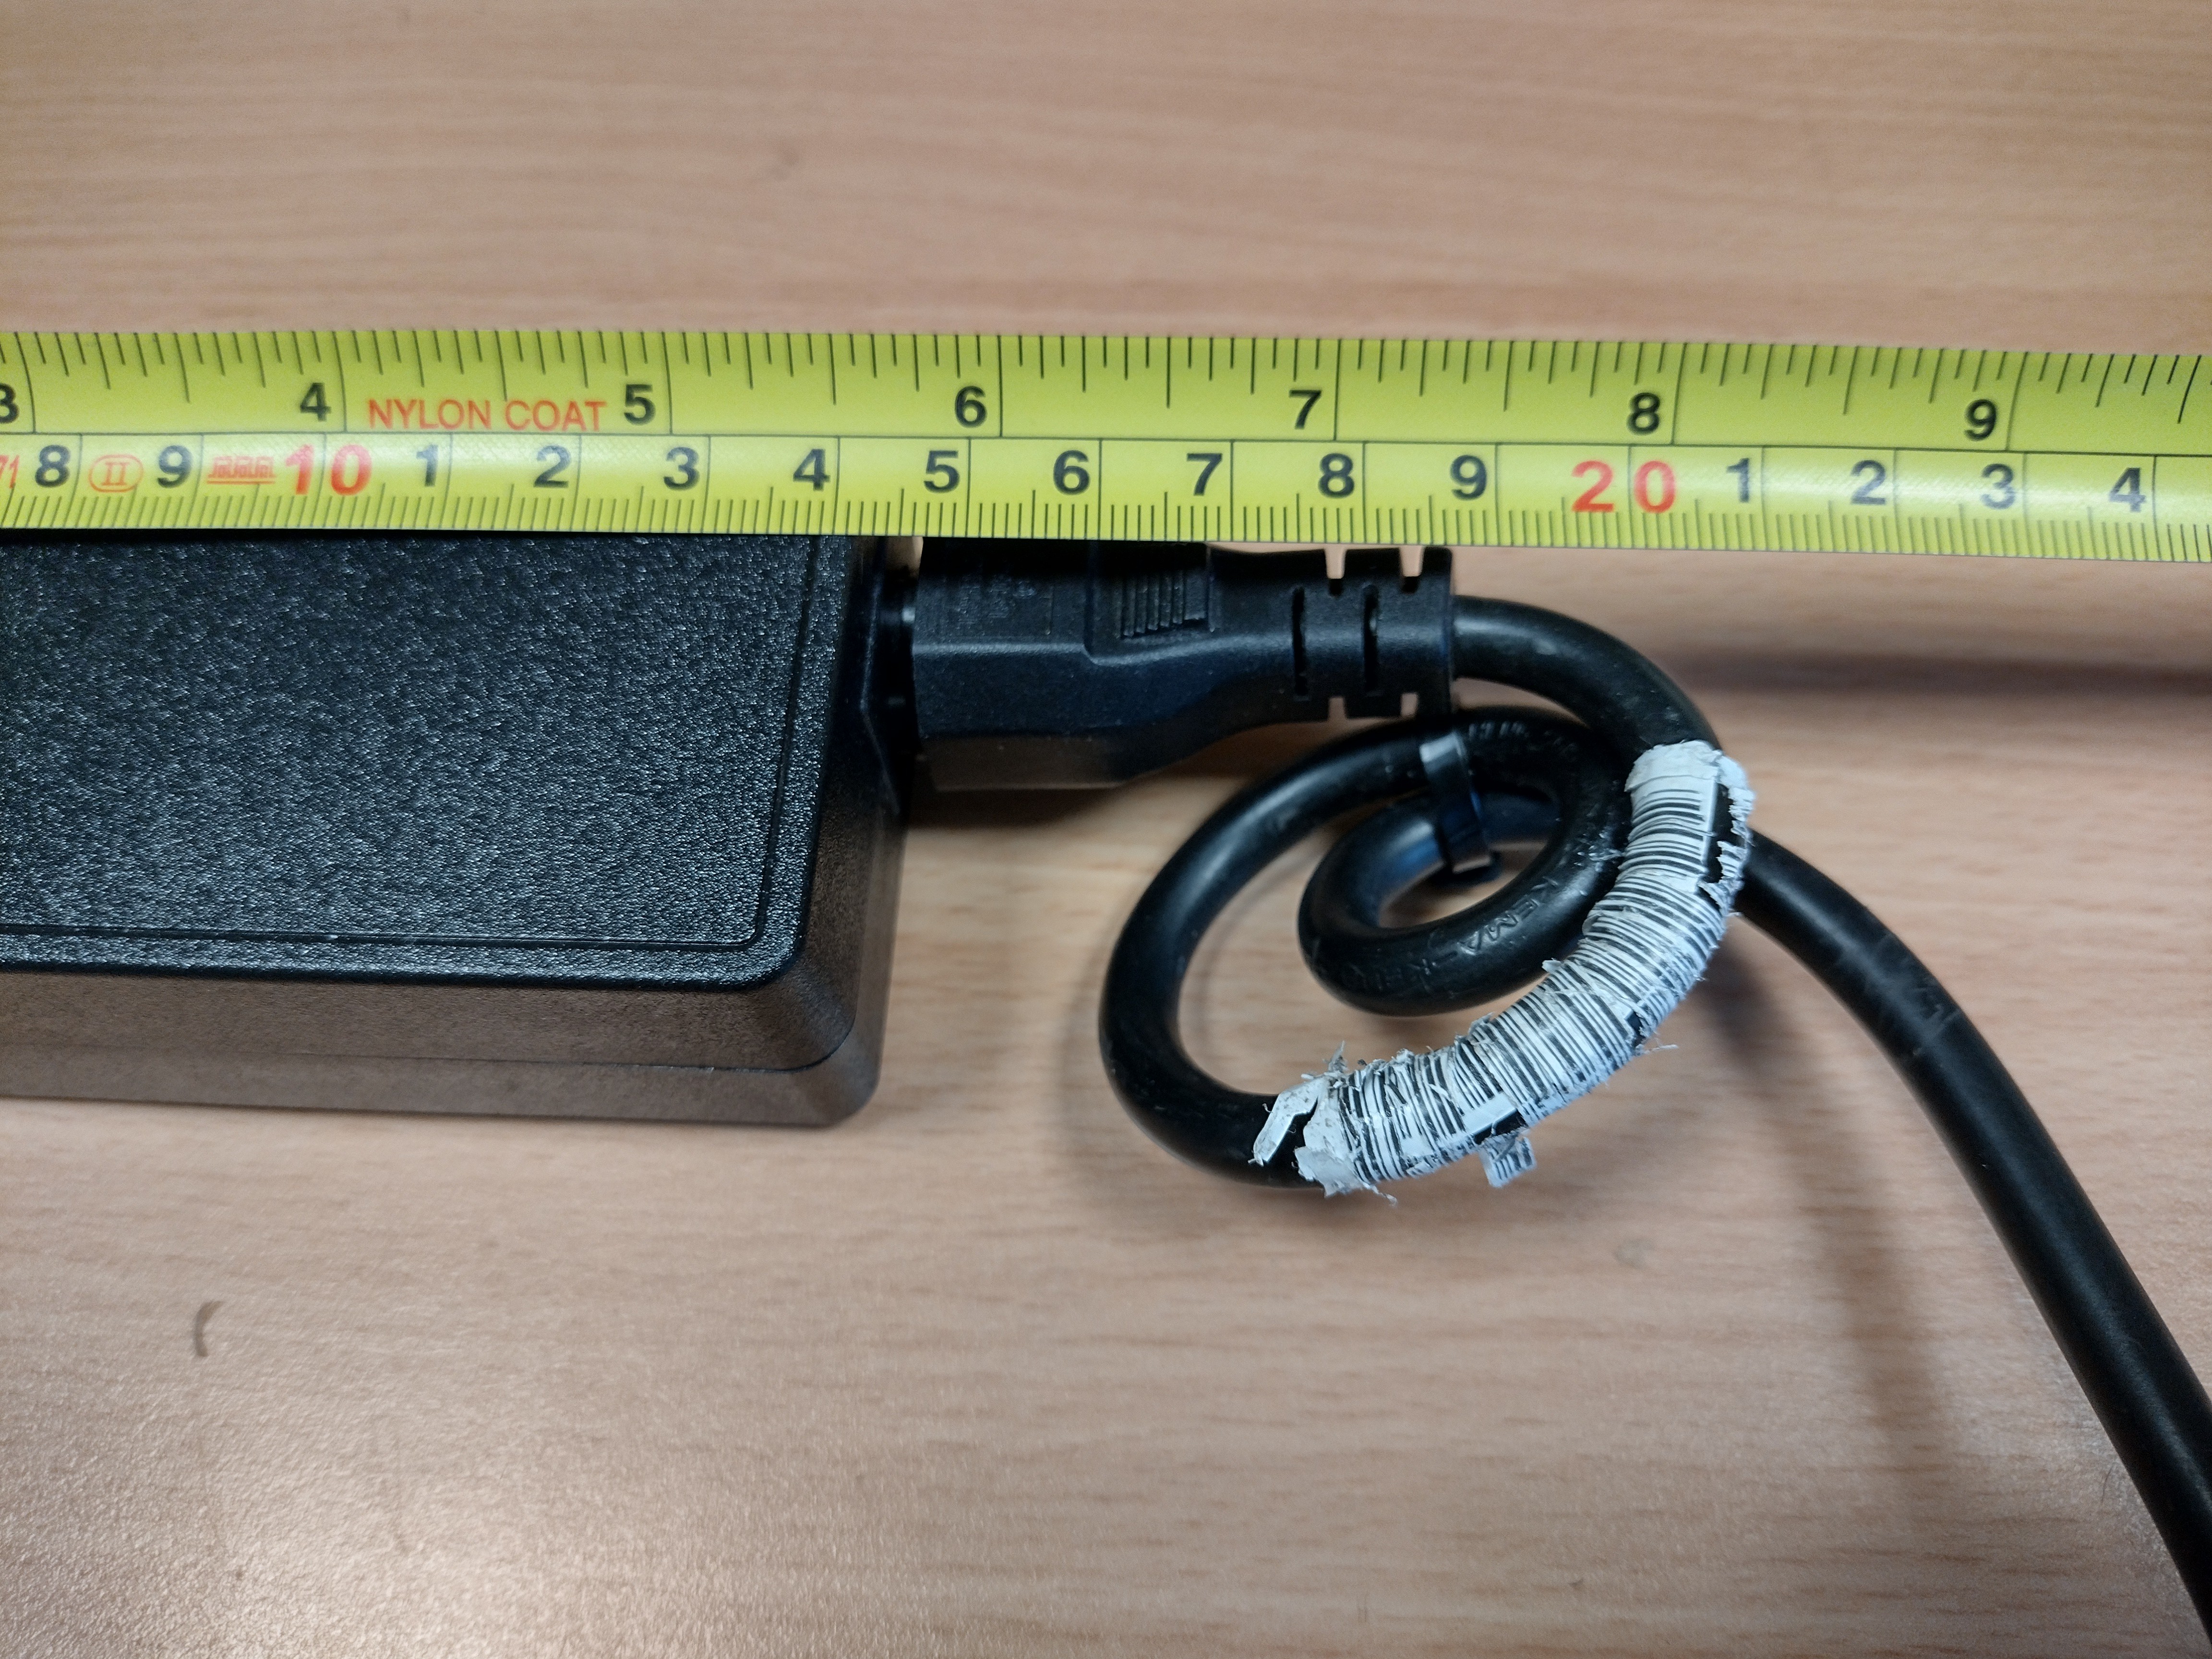
For the length I've measured the PSU plus the plug and a bit extra to make a loop in the cord. This is to make a strain relief.
So my total length is 210mm.
![]()
-
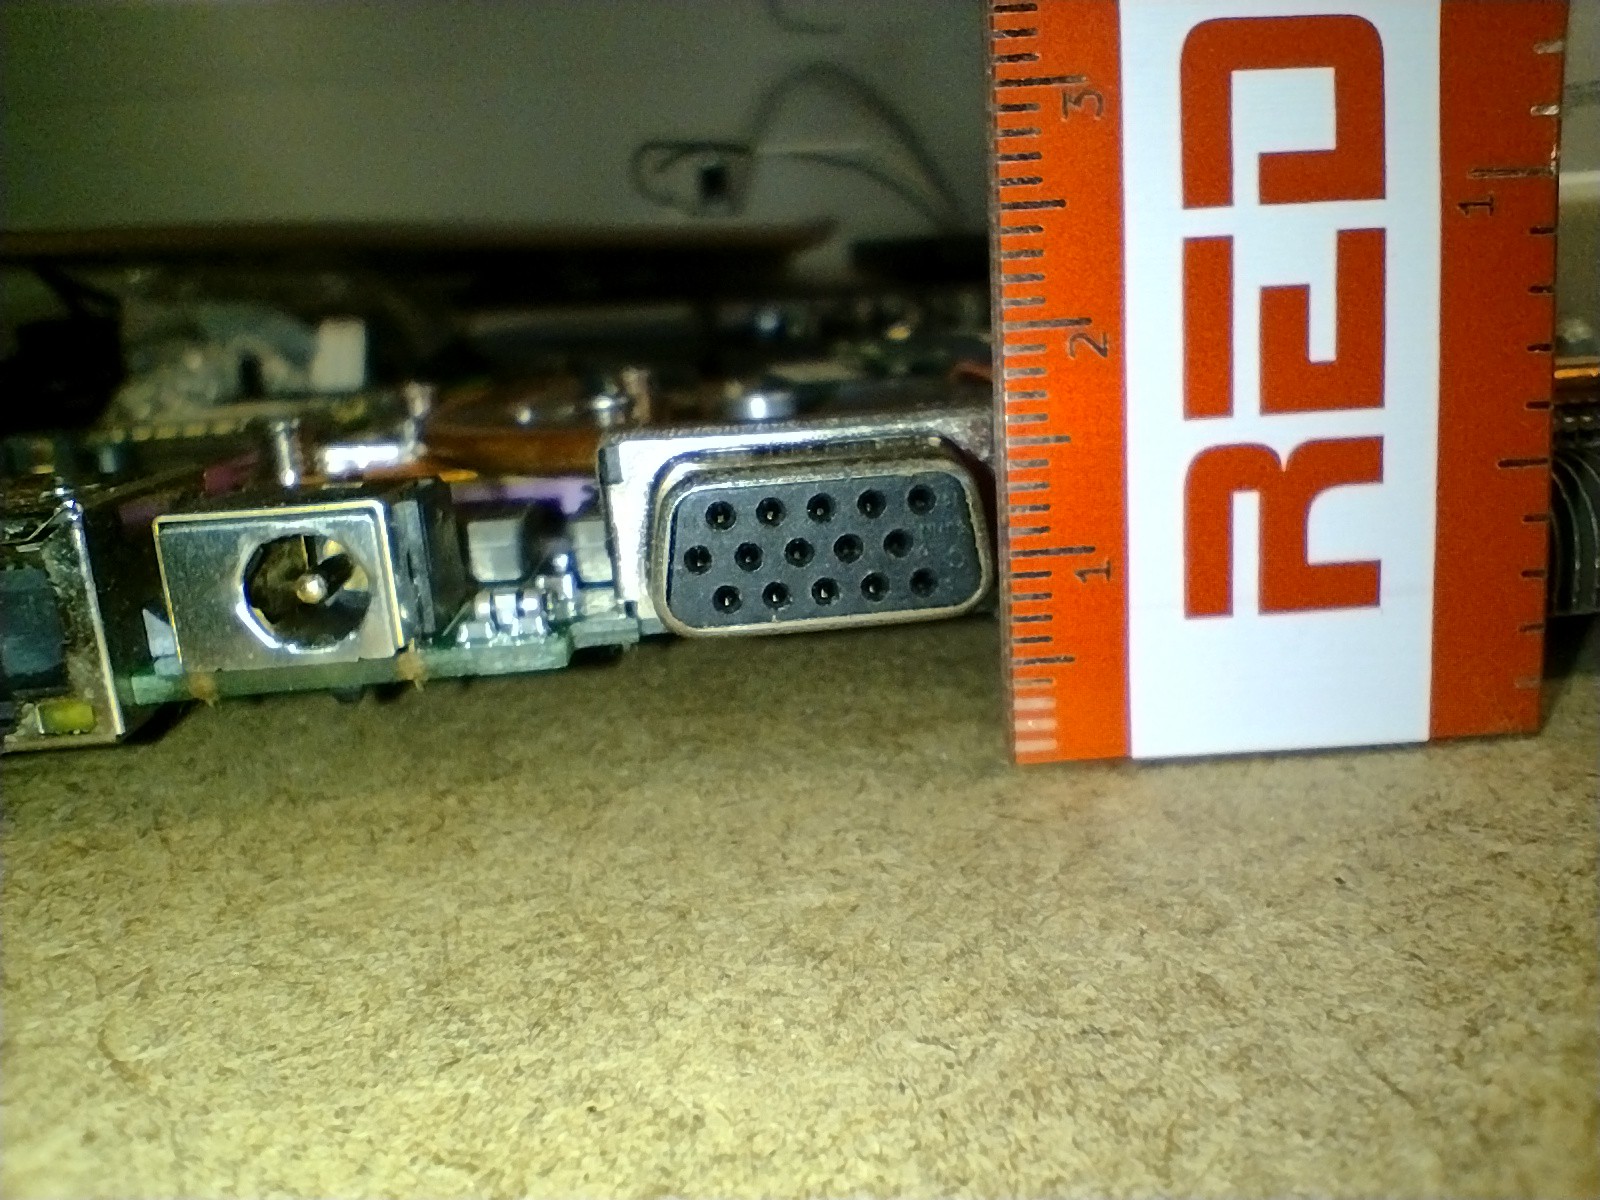
5Step 5
You’ll now need the height of the motherboard. Lay the motherboard down on a flat surface and measure the height of the highest point, round this up and add a millimetre. This will determine the length of the standoffs you will need. 18mm is a good starting point but you might need longer ones for older laptops. This value goes in the Depth parameter in the FreeCAD model.
![]()
-
6Install FreeCAD
If you haven’t already installed FreeCAD Link Branch, now is the time to do so.
The parametric model won’t work with normal FreeCAD, you must use the Stable Link Branch.
Download it from here:
https://github.com/realthunder/FreeCAD/releases
![]()
Pick the one for your operating system. I've tried it successfully on Linux and Windows.
-
7Install the LaserCut Interlocking Workbench.
Once you have FreeCAD Link Branch up and running, you’ll need to install the Lasercut Interlocking Workbench. Go to the Tools menu, then Addon Manager. Select LCInterlocking from the list on the left, then click install. You’ll have to restart FreeCAD for the changes to take effect.
![]()
-
8Load the FreeCAD parametric model.
Now load up the X-PC2.FCstd file. The file is in the Downloads section (coming soon!).
-
9FreeCAD Video.
Next, watch the video on how to make changes to the parametric model and how to generate the living hinge.
-
10Enter Your Parameters
Enter the measurements from your laptop into the parameters properties box. Then follow the instructions in the video to generate the living hinge.
There are a few more parameters you can change like the screen angle but I’ve found -25° works well.
Minimum angle is -20 and max is -60.
Minimum screen height is about 150mm and max is 450mm
Minimum screen width is about 210mm and max is 1000mm
Save your work whenever you have made a change. Sometimes the model breaks, if this happens I've found the best thing to do is just close the file - without saving - then just reload it and start again. Then try changing the parameters in smaller steps. For instance, rather than changing the screen angle from -25 straight to -55, go up in steps of 5.
The X-PC. Hackaday Prize 2022 Entry
Old laptops reconfigured into new computers for schools.


Discussions
Become a Hackaday.io Member
Create an account to leave a comment. Already have an account? Log In.