 Yohan Lasorsa
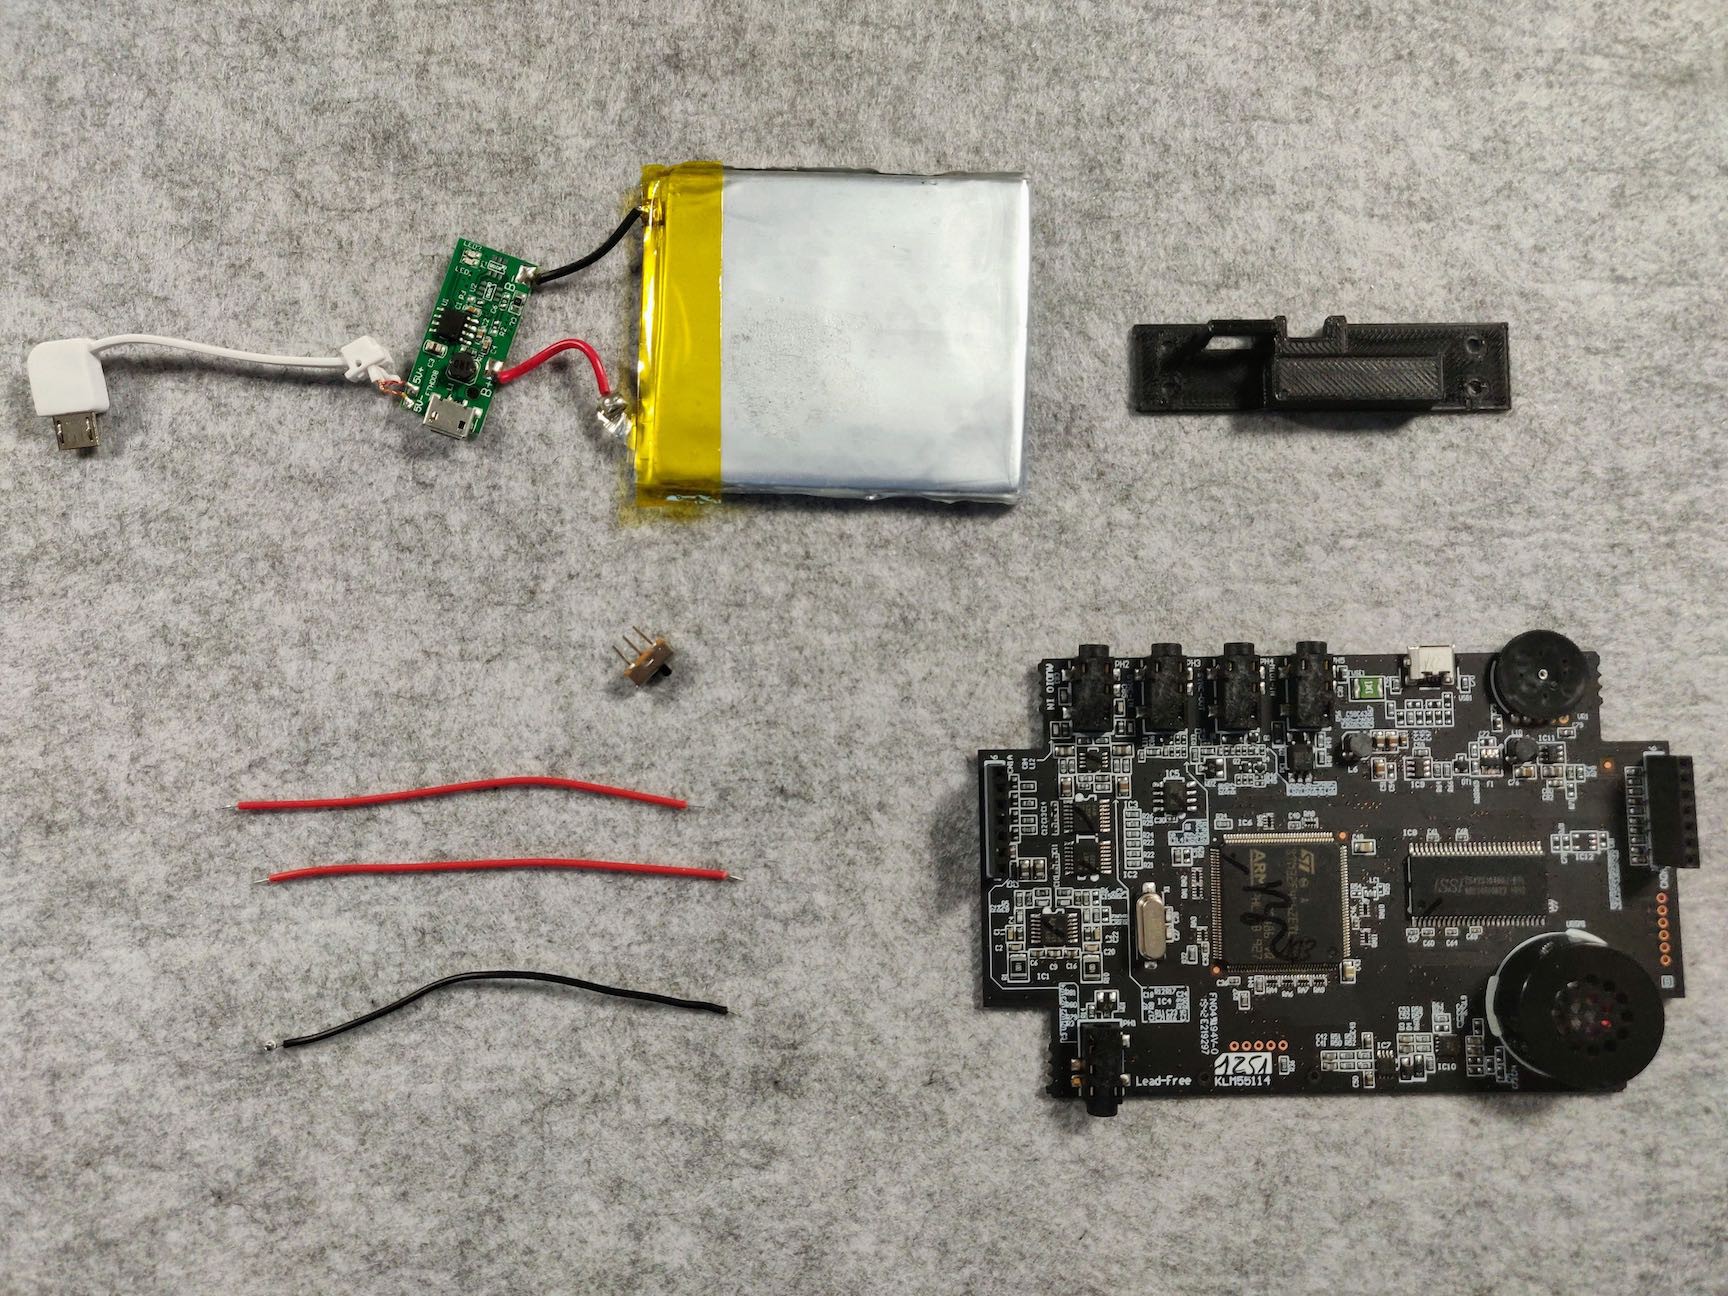
If you have the required tools, this mod should cost you about 10$ of materials (excluding the Korg NTS-1 itself of course).
You'll need to print the replacement side planel using a 3D printer. If you don't have a 3D printer, you can ask a friend who have one or find a fab lab near your home.
With this mod, I usually get about 4h of battery life (I used an old battery, so your mileage might be better). The battery can be charged with a separate micro-USB port, and the battery power can be switched on/off. Just make sure you don't leave battery power on while providing power with the regular micro-USB port at the same time!
0%
0%
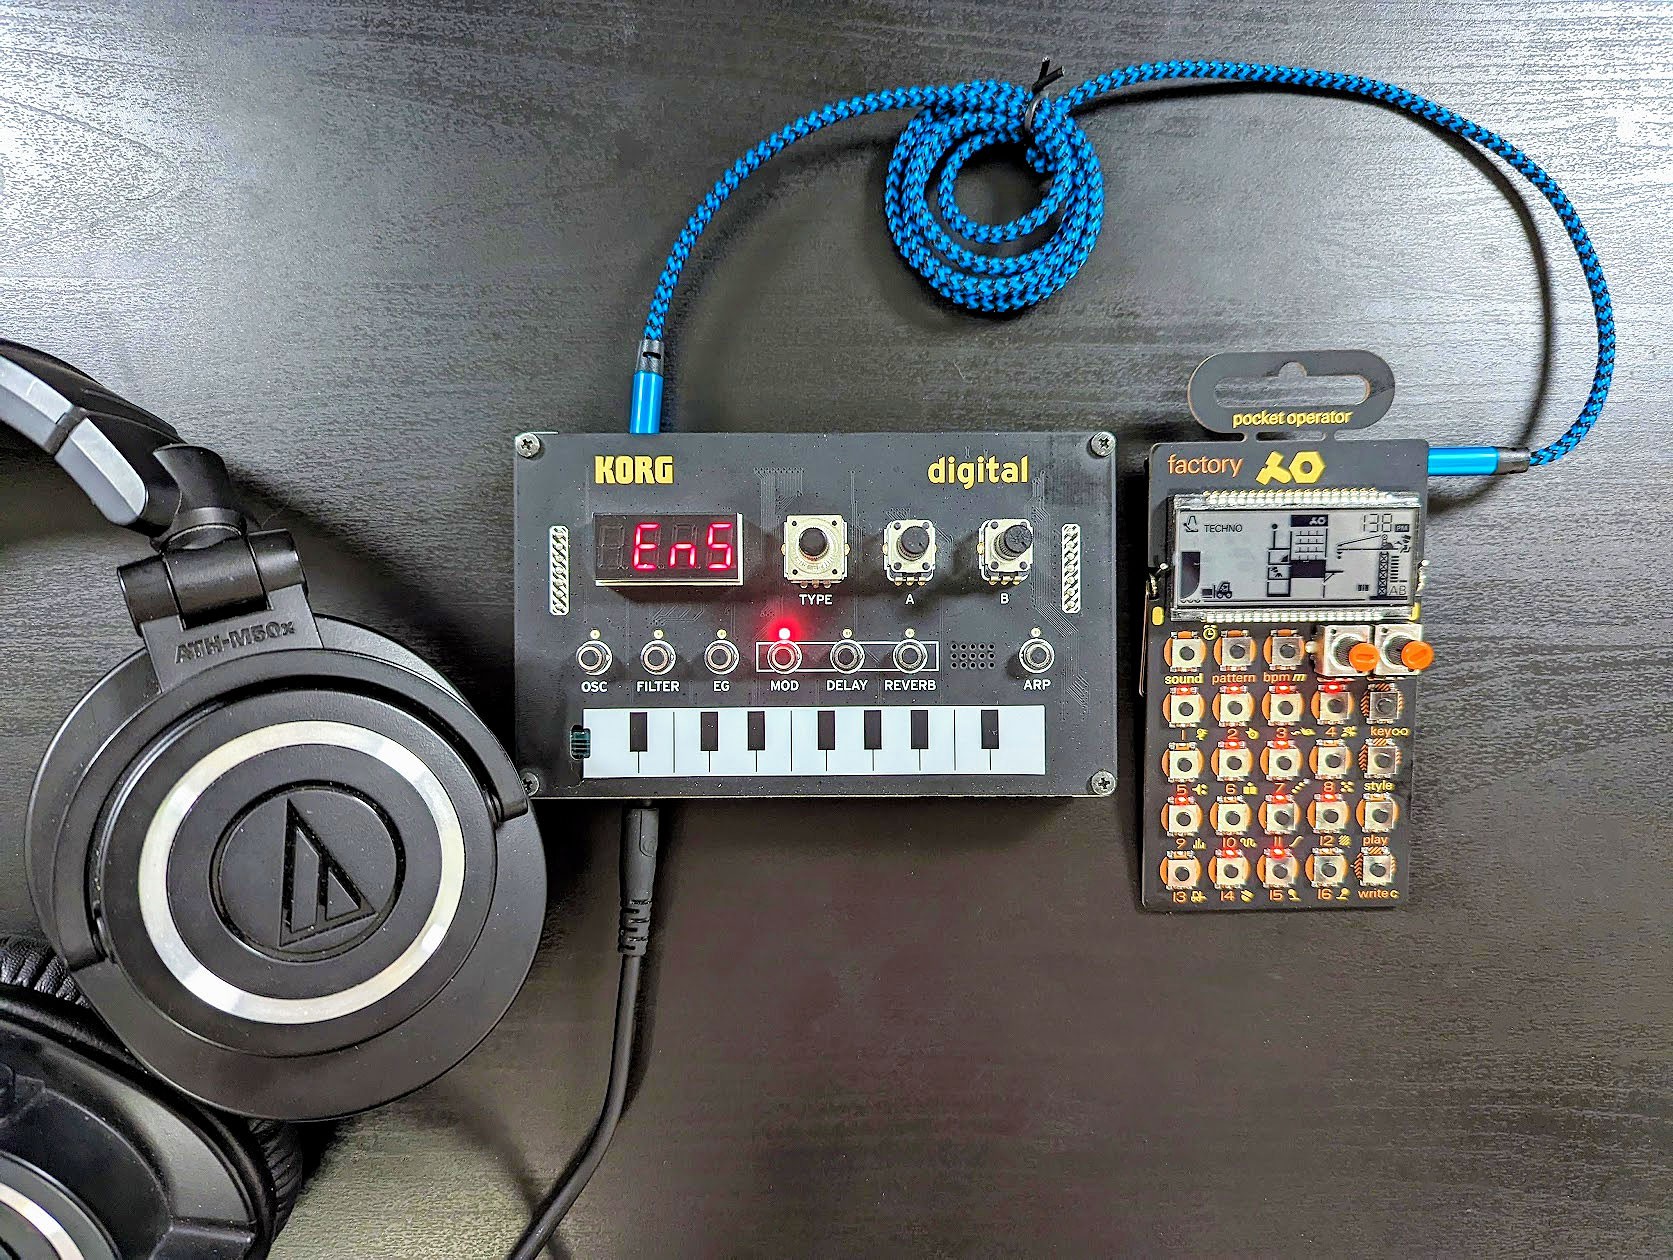
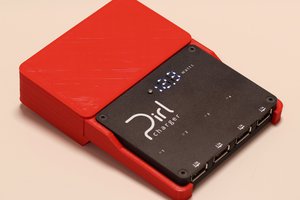
Internal Battery Mod for Korg NTS-1 Synth
Integrate an internal battery in your Korg NTS-1 to make it the perfect portable synth
Become a Hackaday.io member
Already have an account? Log in.
Just one more thing
To make the experience fit your profile, pick a username and tell us what interests you.
Pick an awesome username
hackaday.io/
Your profile's URL: hackaday.io/username. Max 25 alphanumeric characters.
Pick a few interests
Projects that share your interests
People that share your interests
 Meta Unknown
 Benchoff
 bobricius
 Diego V