 Lithium ION
You may know that Raspberry pi has released the new version of the pi Pico which is named as raspberry pi Pico w(Wi-Fi). A new variant of same microcontroller but with Wi-Fi capabilities. The price is very less only $3 for Pico and $4 for WIFI Pico. At this price pi Pico and WIFI Pico can compete with most popular Atmega328(UNO) and ESP8266(32-bit MCU) respectively. This project is brought to you by PCBWAY, get the best PCB prototypes with exclusive engineering service in just $5 for 5PCBs.
Why Raspberry now:
Arduino is known for its open-source network and due to the big programming society. But raspberry pi Pico is now compatible with Arduino IDE. we can directly plug our Pico board to PC and program it using Arduino IDE. You can find different programs to test in example section. Interesting things of Pico are:
New ARM Cotex M0+ dual core MCU.
It is 32bit MCU – way faster than Arduino(8-bit).
Base clock of 133Mhz overclocked up to 300Mhz.
Onboard temperature sensor.
Can be programmed using micro python and C+.
Wi-fi compatible (only pi Pico w version).
Similar form factor to Arduino.
Setting Up Arduino IDE:
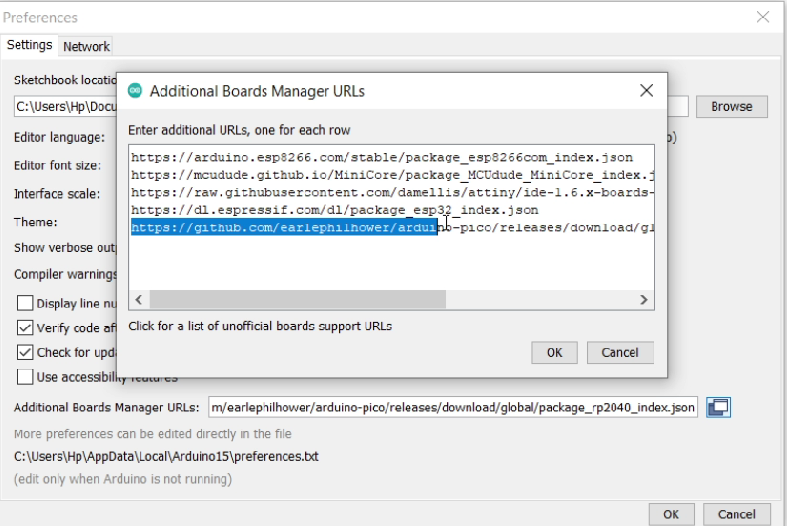
Open the Arduino IDE and put this code in the preferences section under file menu this is the link to the GitHub page of the maker: https://github.com/earlephilhower/arduino-pico/releases/download/global/package_rp2040_index.json
Then go to the board manager section under the tool’s menu and Download/install the PICO boards.
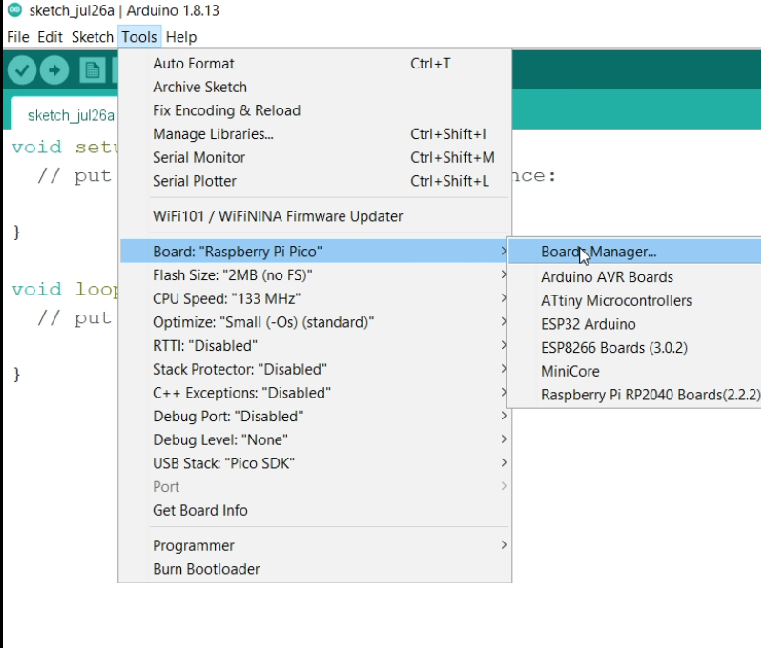
This will automatically download all the required files, examples and compatible libraries (total size of download is > 300MB).

How to initialize:
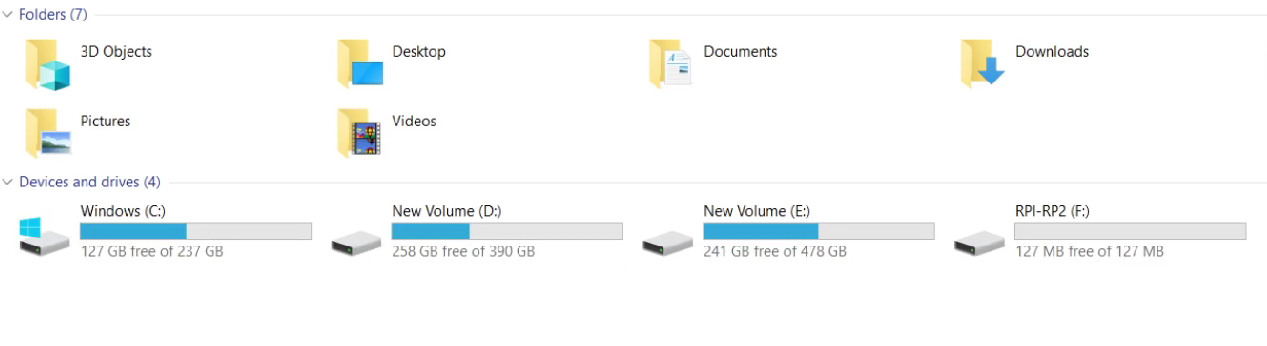
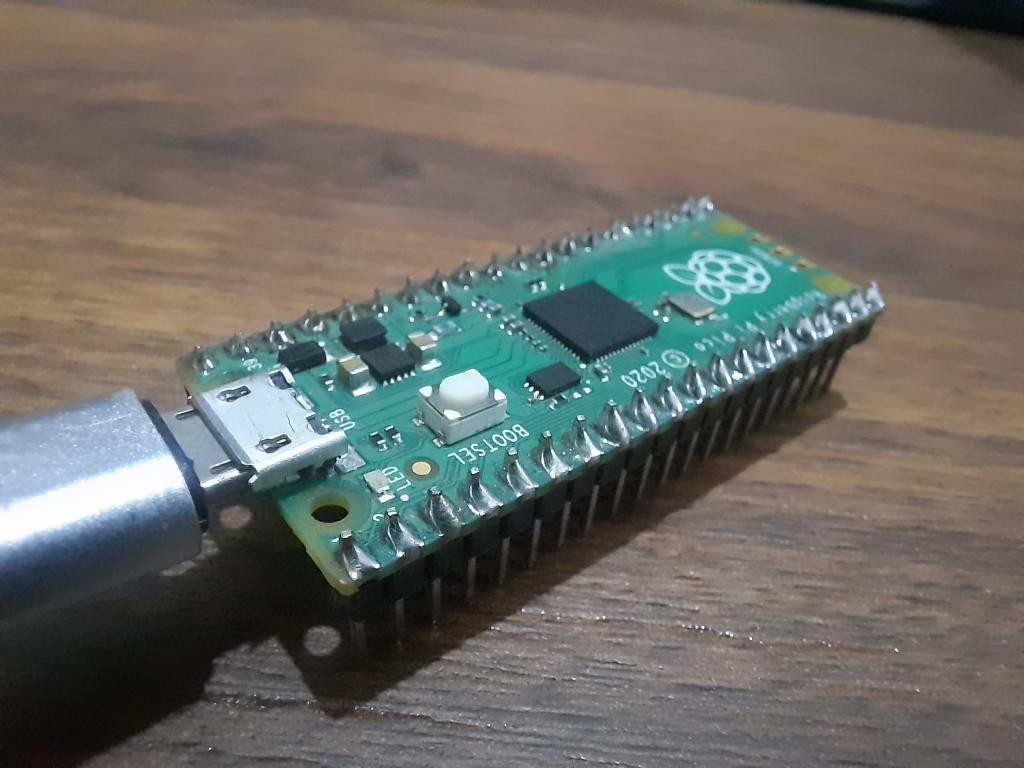
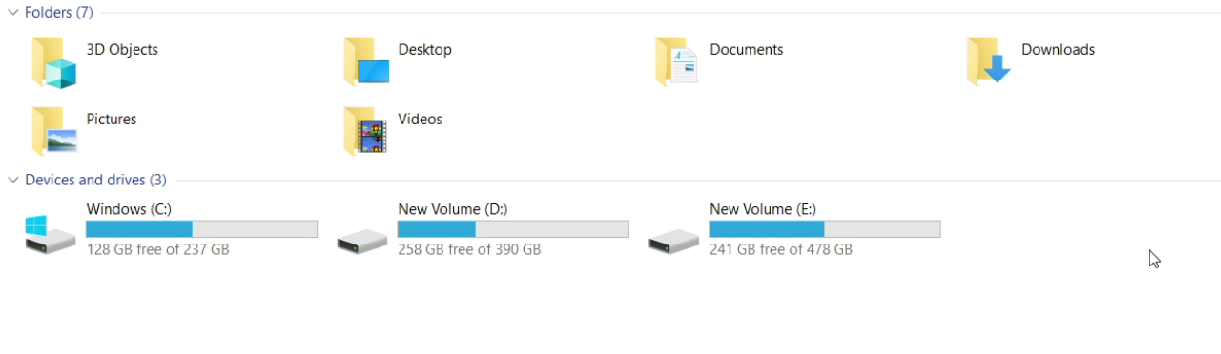
First of all, press BOOTSEL button and then plug the USB to your PC. Raspberry pi Pico will appear as mass storage device. You can store any program in the flash memory directly burning with UF2 file.

Programming using Arduino IDE:
From the example section upload any sketch to PI Pico, I am using Blink sketch here for demonstration purpose.
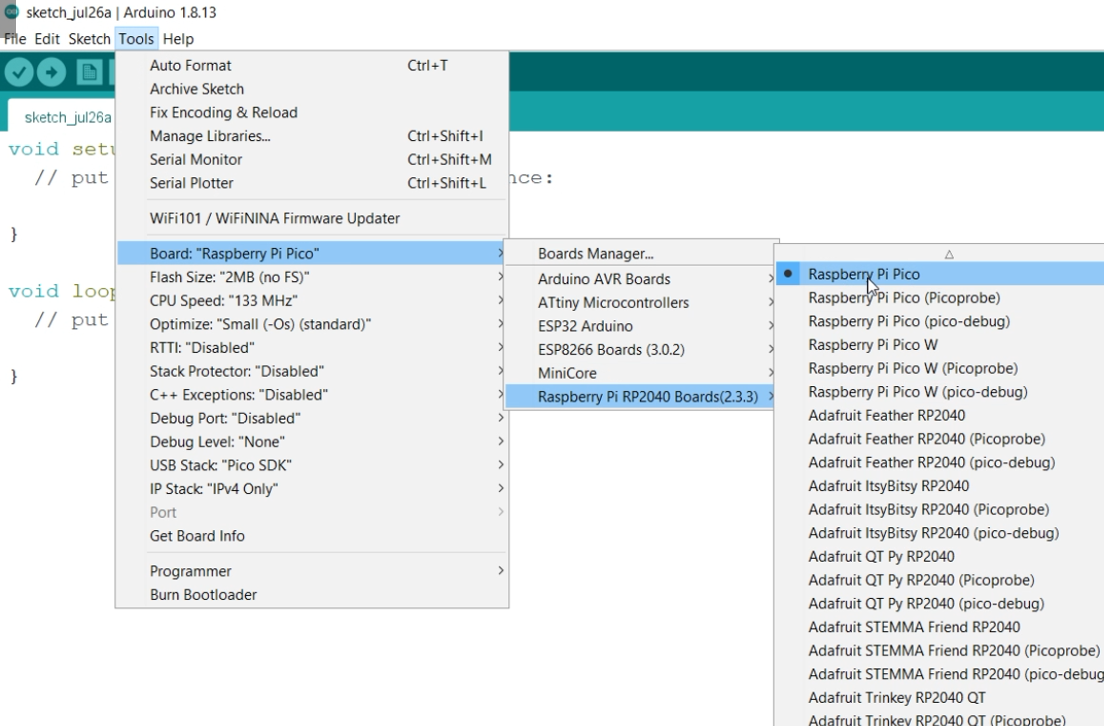
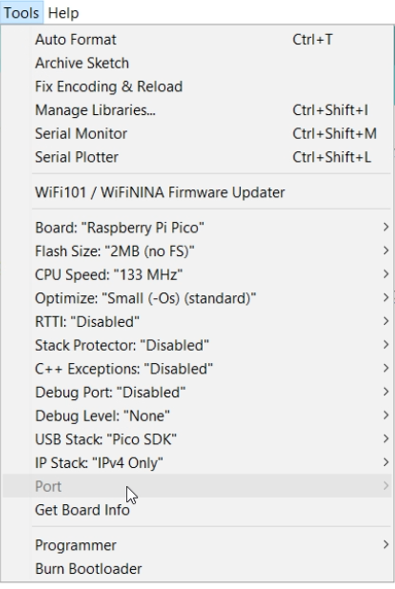
In the tools section, choose board as Raspberry pi Pico, but here port is not available for the first time. Don’t panic just click to upload the sketch.
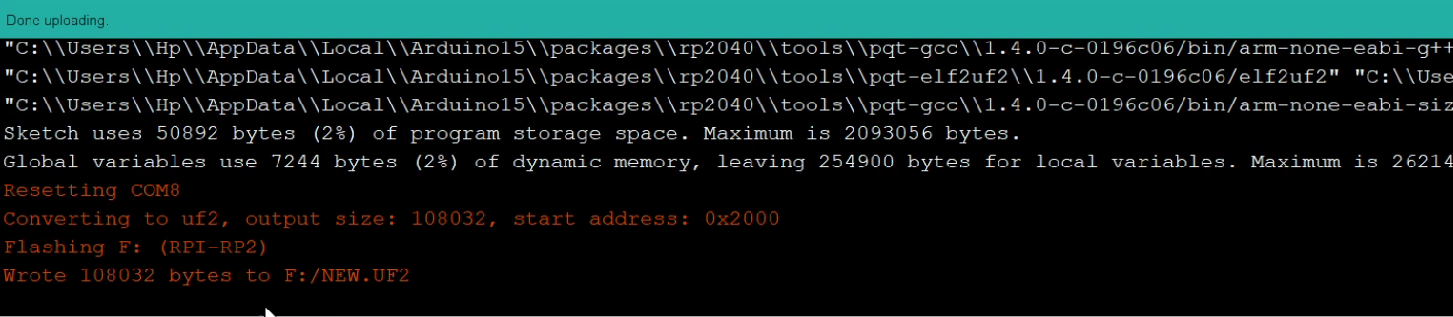
Sketch will take quite a longer time to upload than Arduino board, due to its premature drivers. But after some time, you can see the action in the compiler below.
After that you can plug raspberry pi directly to your pc without pressing BOOTSEL button and allows to program with proper COM port.
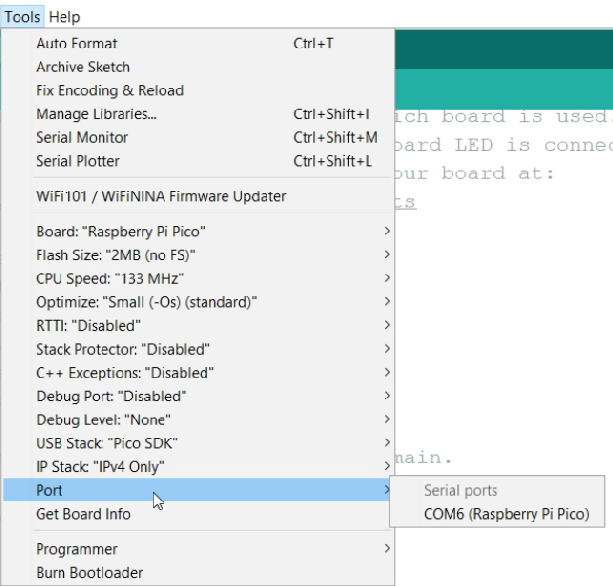
It will not appear again as mass storage unit and the COM port is now available.
Try to upload the different sketch with you Pico compatible Arduino IDE.

OUR MCU:
The new microcontrollers are in the market, I want to build one with minimal requirements. Check OUR own made Arduino NANO board.
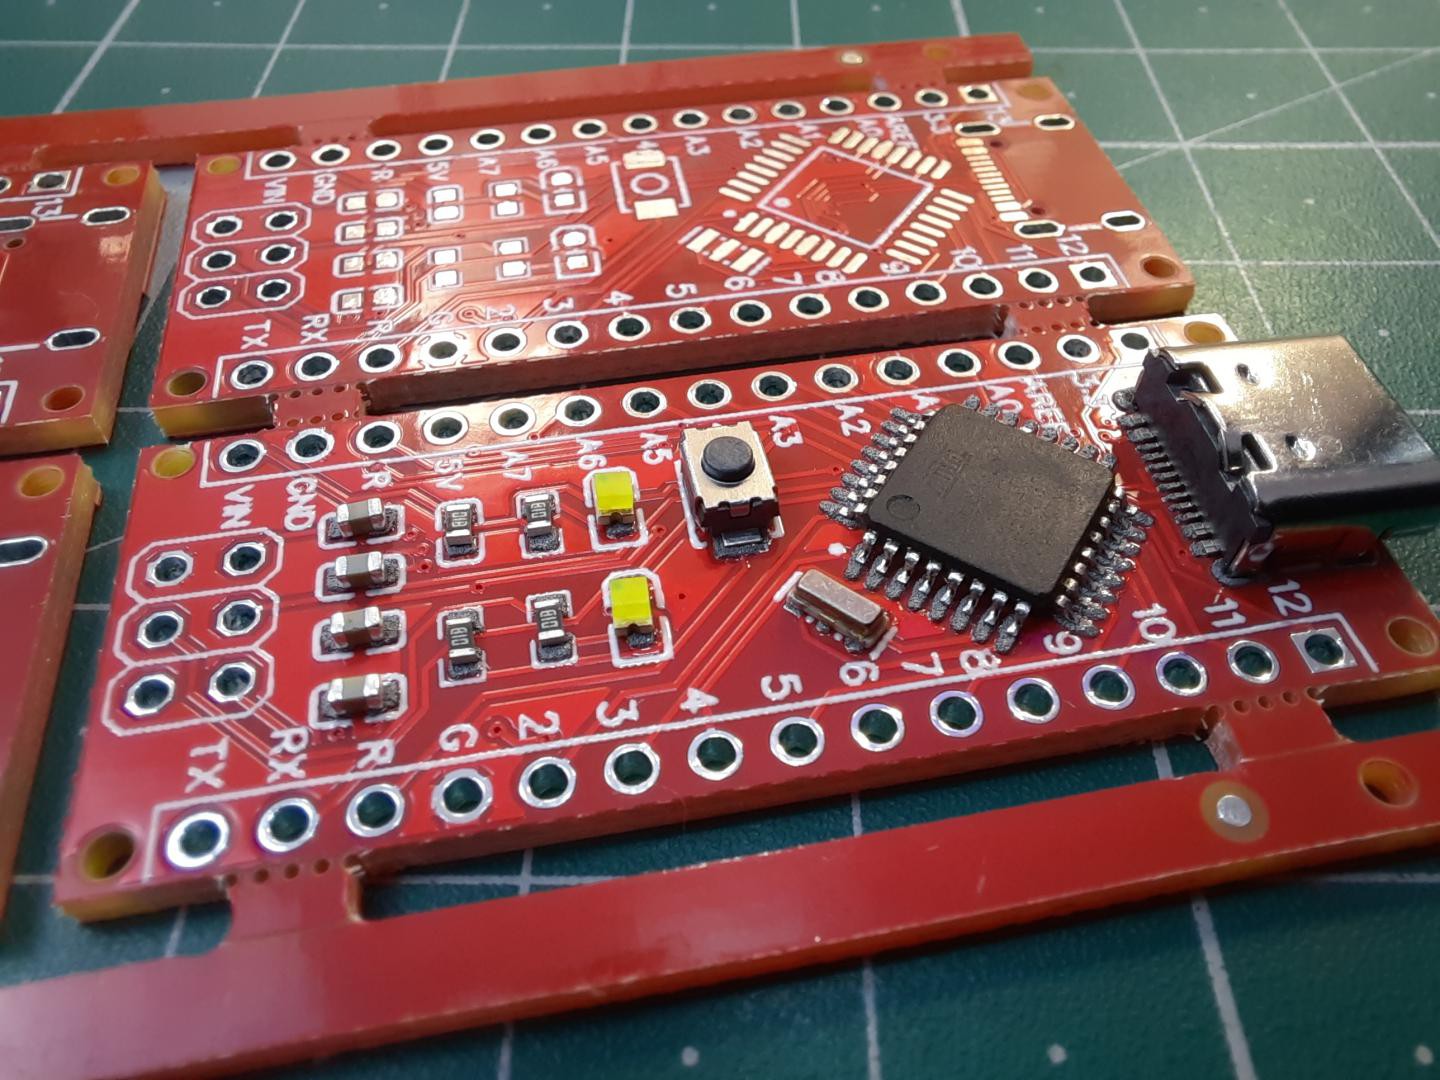
Since I am working with Arduino, I designed my own microcontrollers in a better way. So that development boards are easy to use and program. You can see this article, how I made my own microcontroller development boards.
I ordered these PCB from PCBWAY, because the service and quality is best. You will get 5pcs of 2layer PCB in just $5 and if you sign-up to PCBWAY using this link you will get new user coupons to place the first order.
 Bikash Narayan Panda
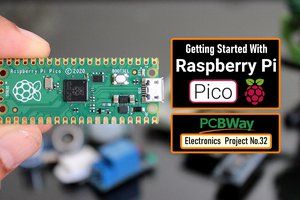
 Hulk
Hulk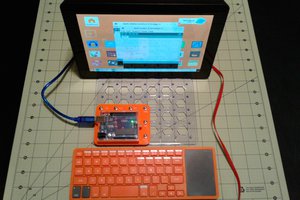
 Steve Schuler
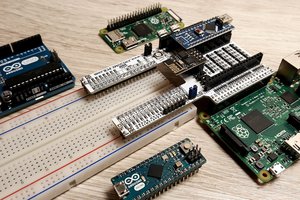
 Simon
Simon