 Jan Neumann
What does it do?
It is an approach to measure the water (fluid) level of cisterns or groundwater levels. The special thing about this approach is the simple installation and the benefit of not needing extra access or lines to the medium.
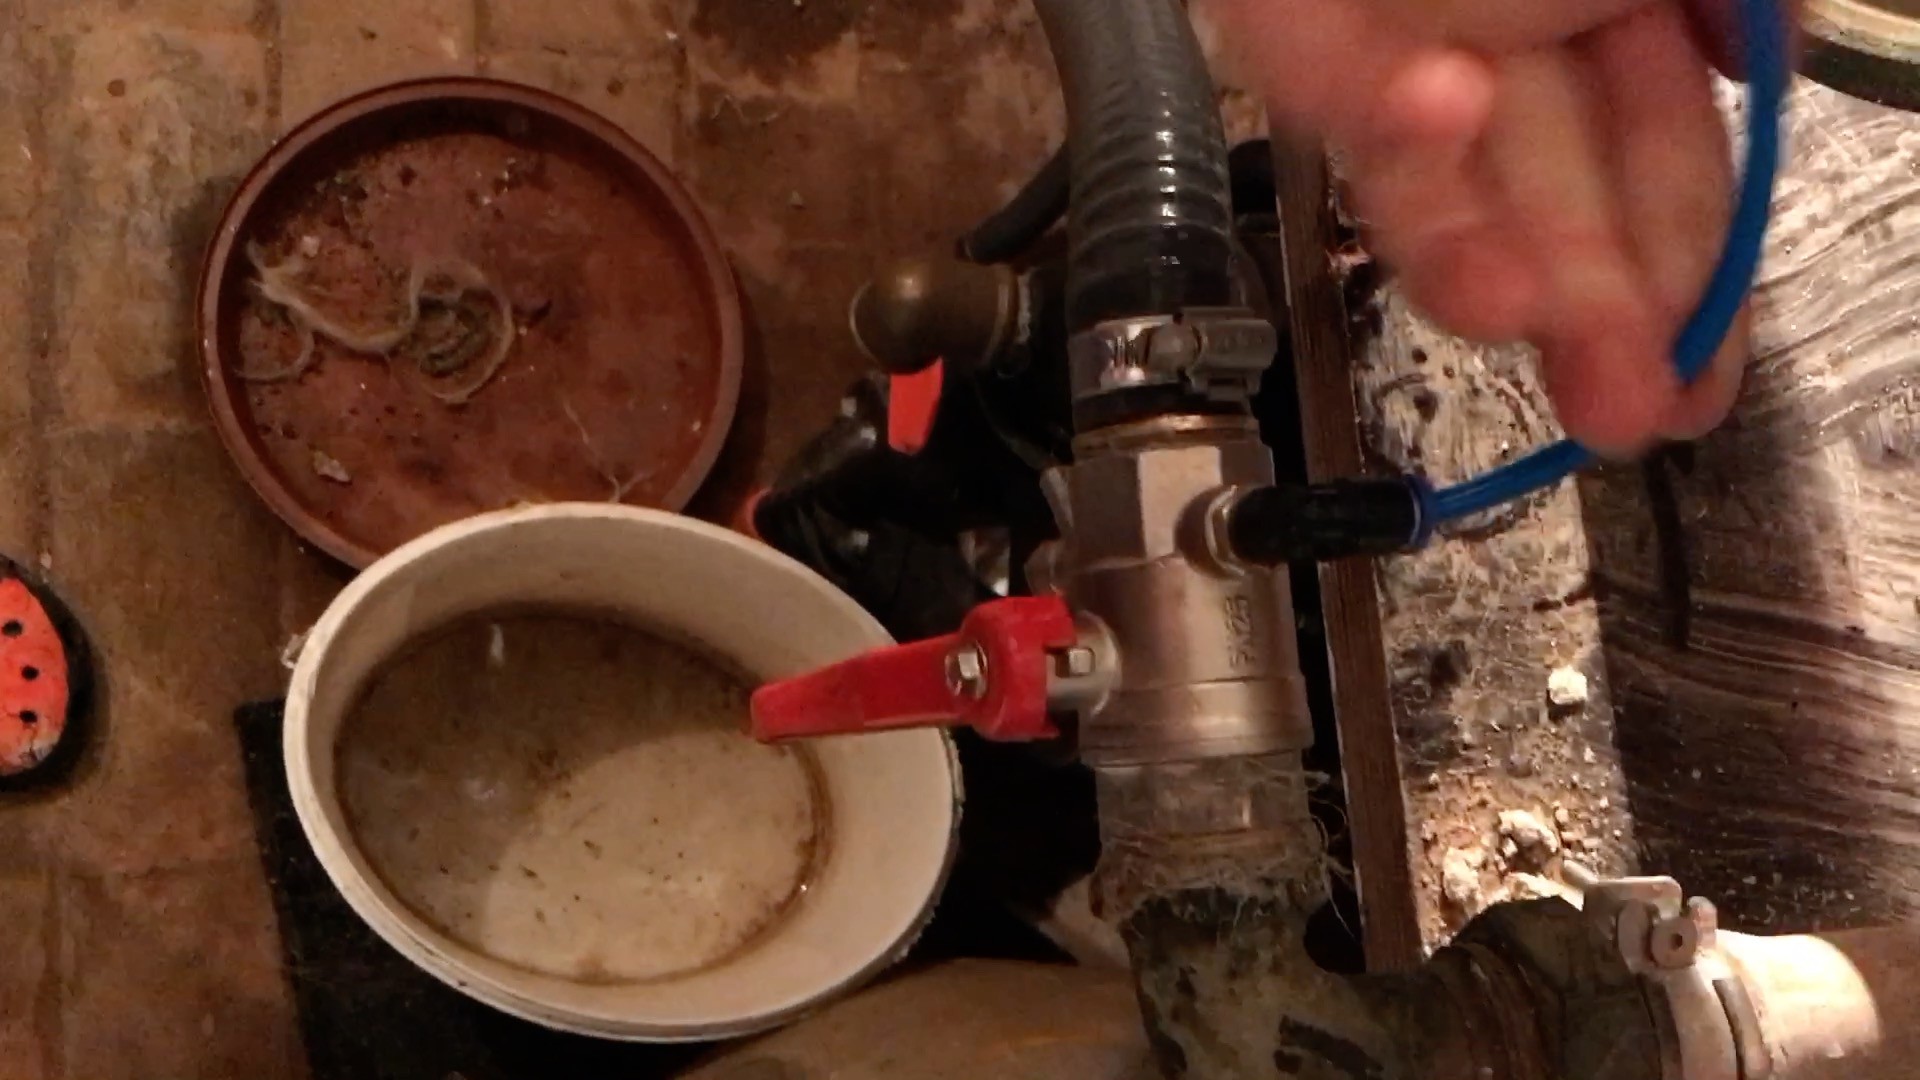
The only connection to the medium is the suction pipe that is already there to withdraw water from the reservoir.
Why is it unusual?
Normal approaches to measuring water levels usually take ultrasonic distance measurements to read the water level. Or underwater pressure transducers to measure the water table above the sensor. Or floats, or other sensors that have to be inside the reservoir. All of these approaches have in common that they need direct access to the cistern or reservoir.
The approach I show is minimally invasive and only uses hardware that is already installed without the need to access the reservoir itself.
How does it work?
By measuring the pressure/suction at the withdrawal pipe, we have a way to read the height of the water table below the sensor. The approach is not new or innovative, but pretty uncommon as far as I understand. In our case, it is the only way to measure the water level, as we don't have access through a manhole or similar to the cistern. On top, this is a cheap and easy-to-implement approach, and the sensor is located inside the house in a dry and accessible location.
How to build a water level sensor using Arduino?
Using an Arduino and a low-cost vacuum sensor, we can build a water level sensor without accessing the cistern or groundwater level directly.
The sensor can be directly installed at the water pump. This is beneficial, as we already have power available, a dry place to mount the electronics, and a good place to read measurements. The sensor has to be installed before a potential check valve, to avoid false readings.
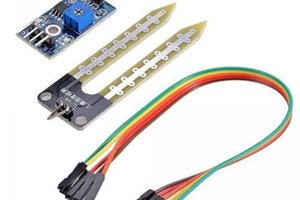
The sensor I used is an XGZP6847 Aliexpress Link. It can measure pressures from -100 to 0kPa. This is enough to measure depths up to 10m and isn’t destroyed by small pressure peaks in the suction line.
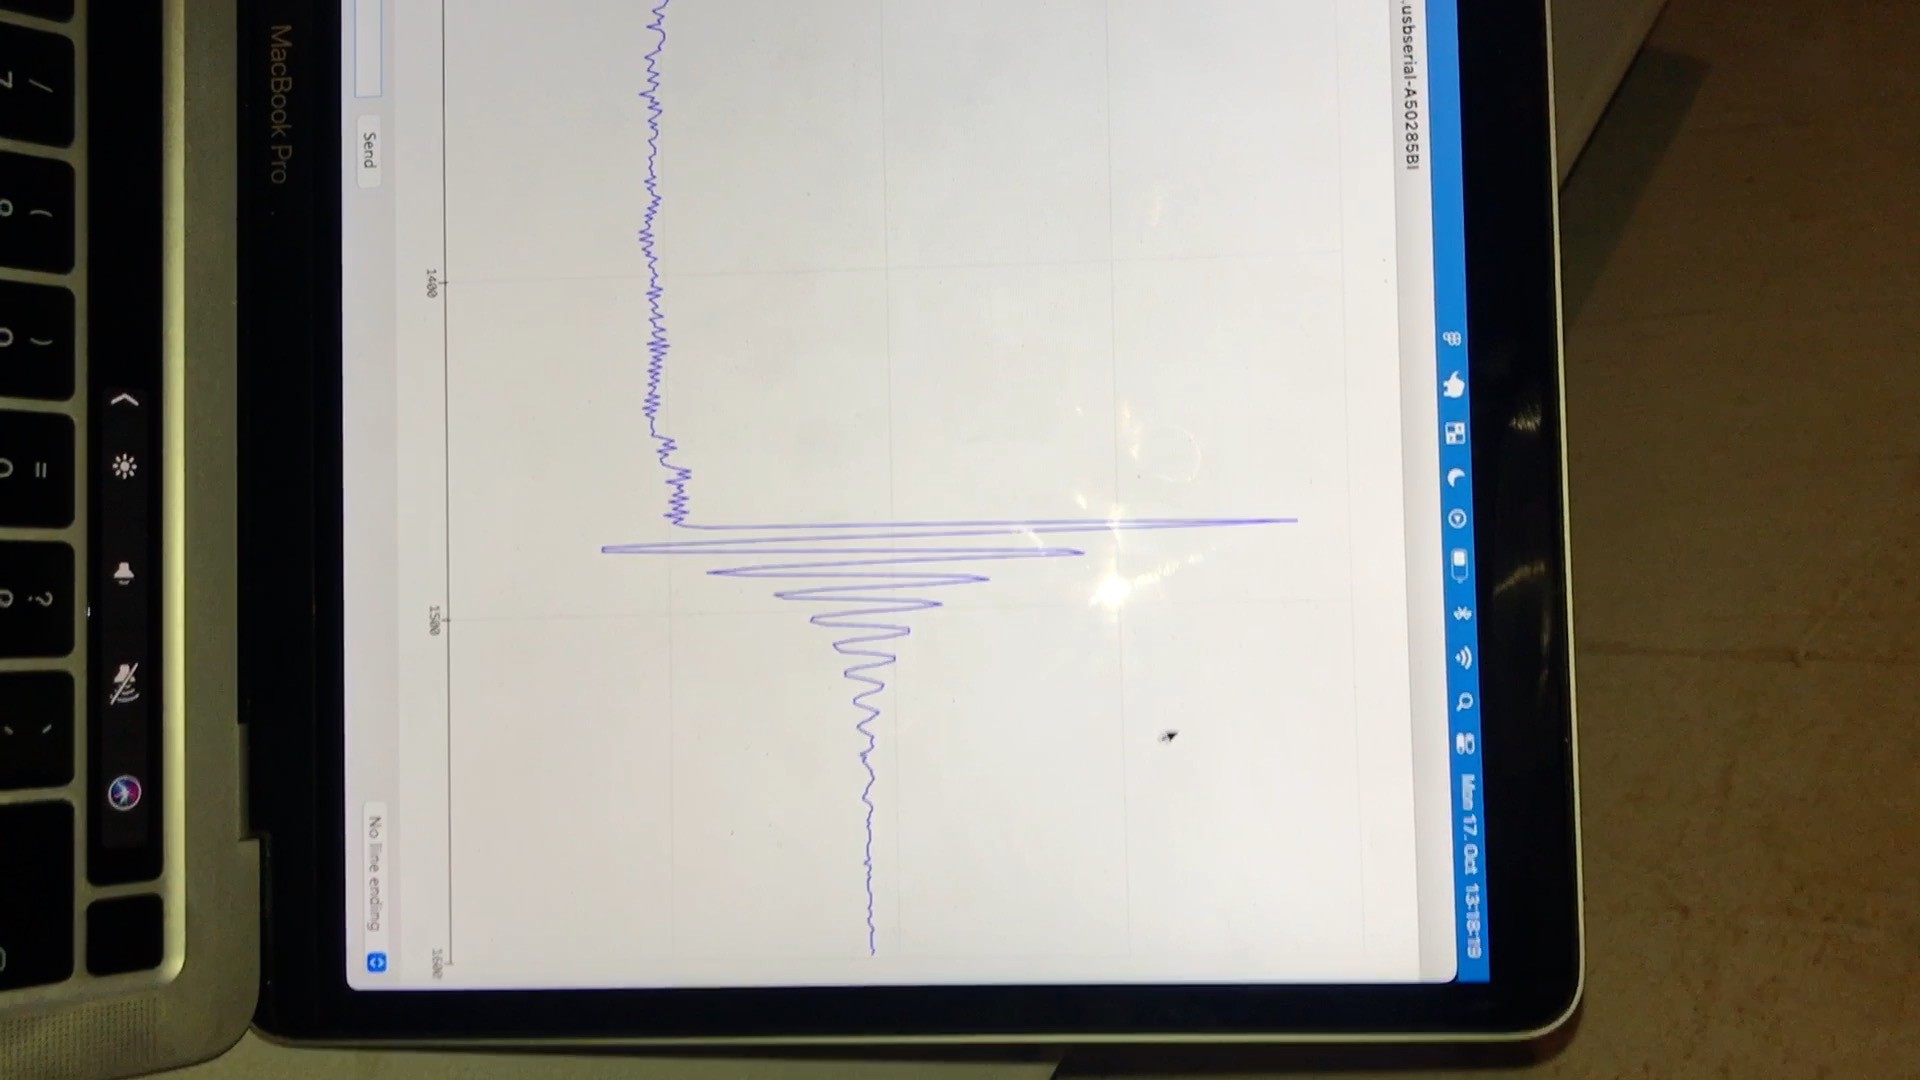
Reading the sensor is easy. The output is just an analog voltage between 0,5 and 4,5V and in linear relation to the measured pressure. The analog voltage can be read directly by an analog pin on the Arduino and plotted on the serial monitor.
Every 1m the pressure drops by 10kPa. Calibration for each tank by volume can also be done pretty easily.

float sensorValue = 0.0;
float oldValue = 0.0;
void setup()
{
  Serial.begin(9600);
}

void loop()
{
  sensorValue = getValue();
  if (sensorValue != oldValue) {
    Serial.println(sensorValue);
    oldValue = sensorValue;
  }
  delay(200);
}

float getValue() {
  int rawValue = analogRead(A0);
  float percentValue = map(rawValue, 200, 900, 0.0, 100.0);
  percentValue = constrain(percentValue, 0.0, 100.0);

  return percentValue;
}


 akanzler007
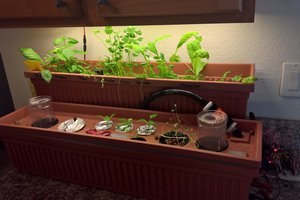
 Jared Sanson
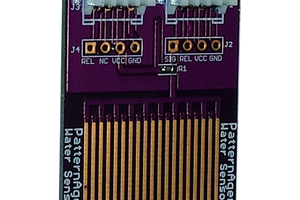
 Pattern Agents
 hIOTron
What should I think of this comment?