 AmorphousEngineer
Features:
- Line tracking
- IR remote communication.
- Tiny footprint and price.
- Use of Common ATMEGA 328p-32pin (Arduino compatible)
Completed:
- Build DIP prototype (abbreviated)
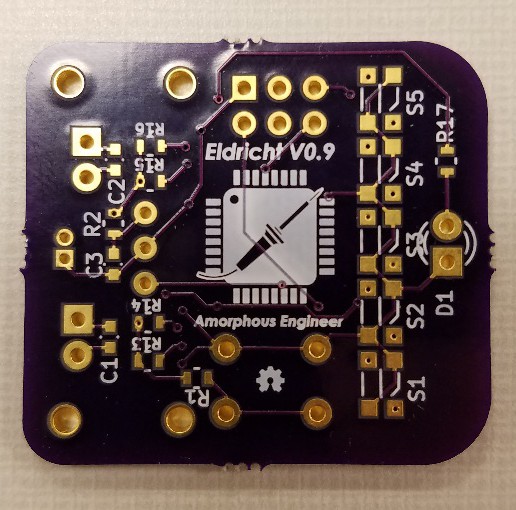
- Draw schematic.
- Design PCB
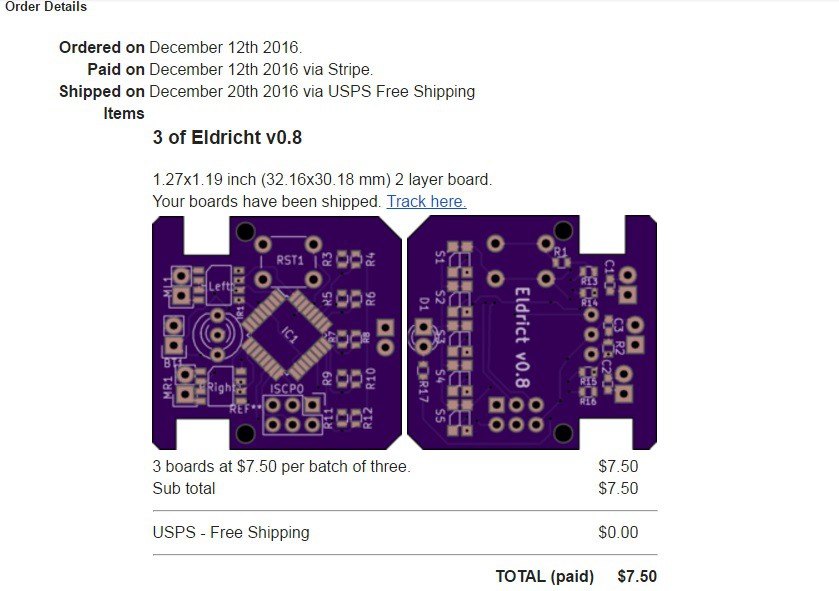
- Send to PCB fab (OSH Park)
- Solder Components.
- Add bodge wires.
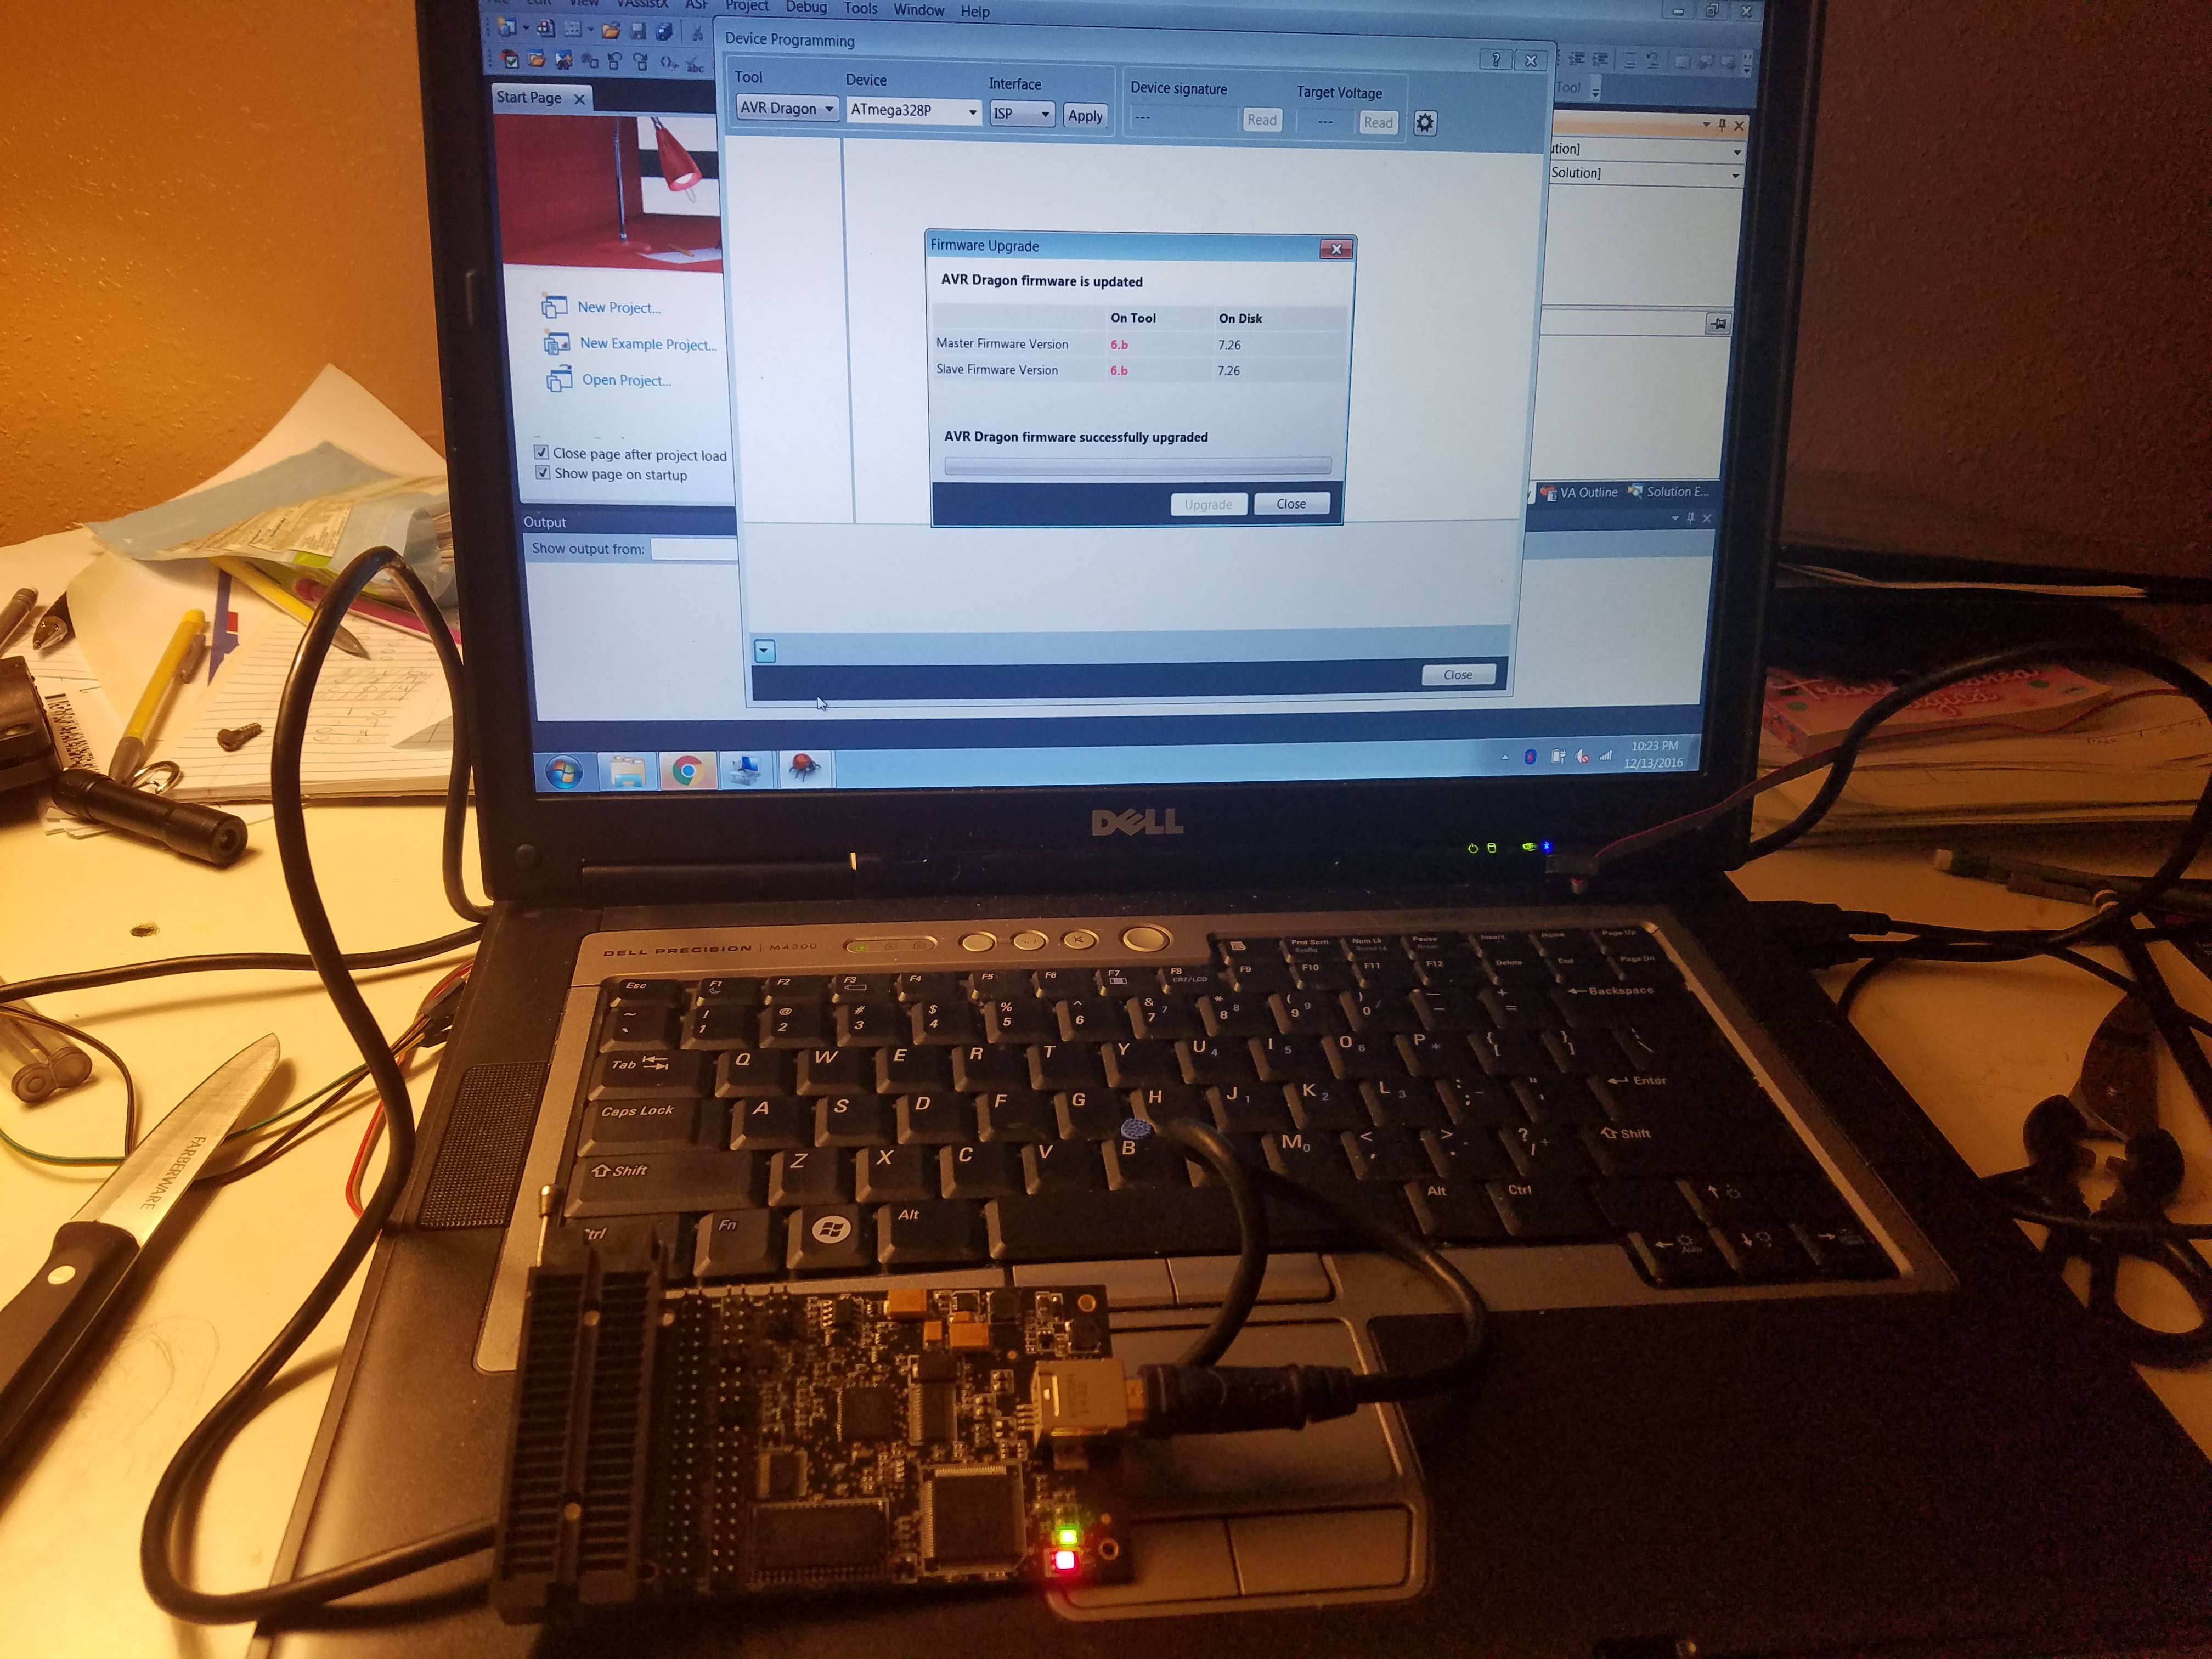
- Upload test code.
To Do:
- Select Battery and Charging system.
- Test for fabrication issues.
- Begin programming control system.
 In other news I selected the motors for the project. The 60 rpm 2.4-6.0v reduced motor supplied by
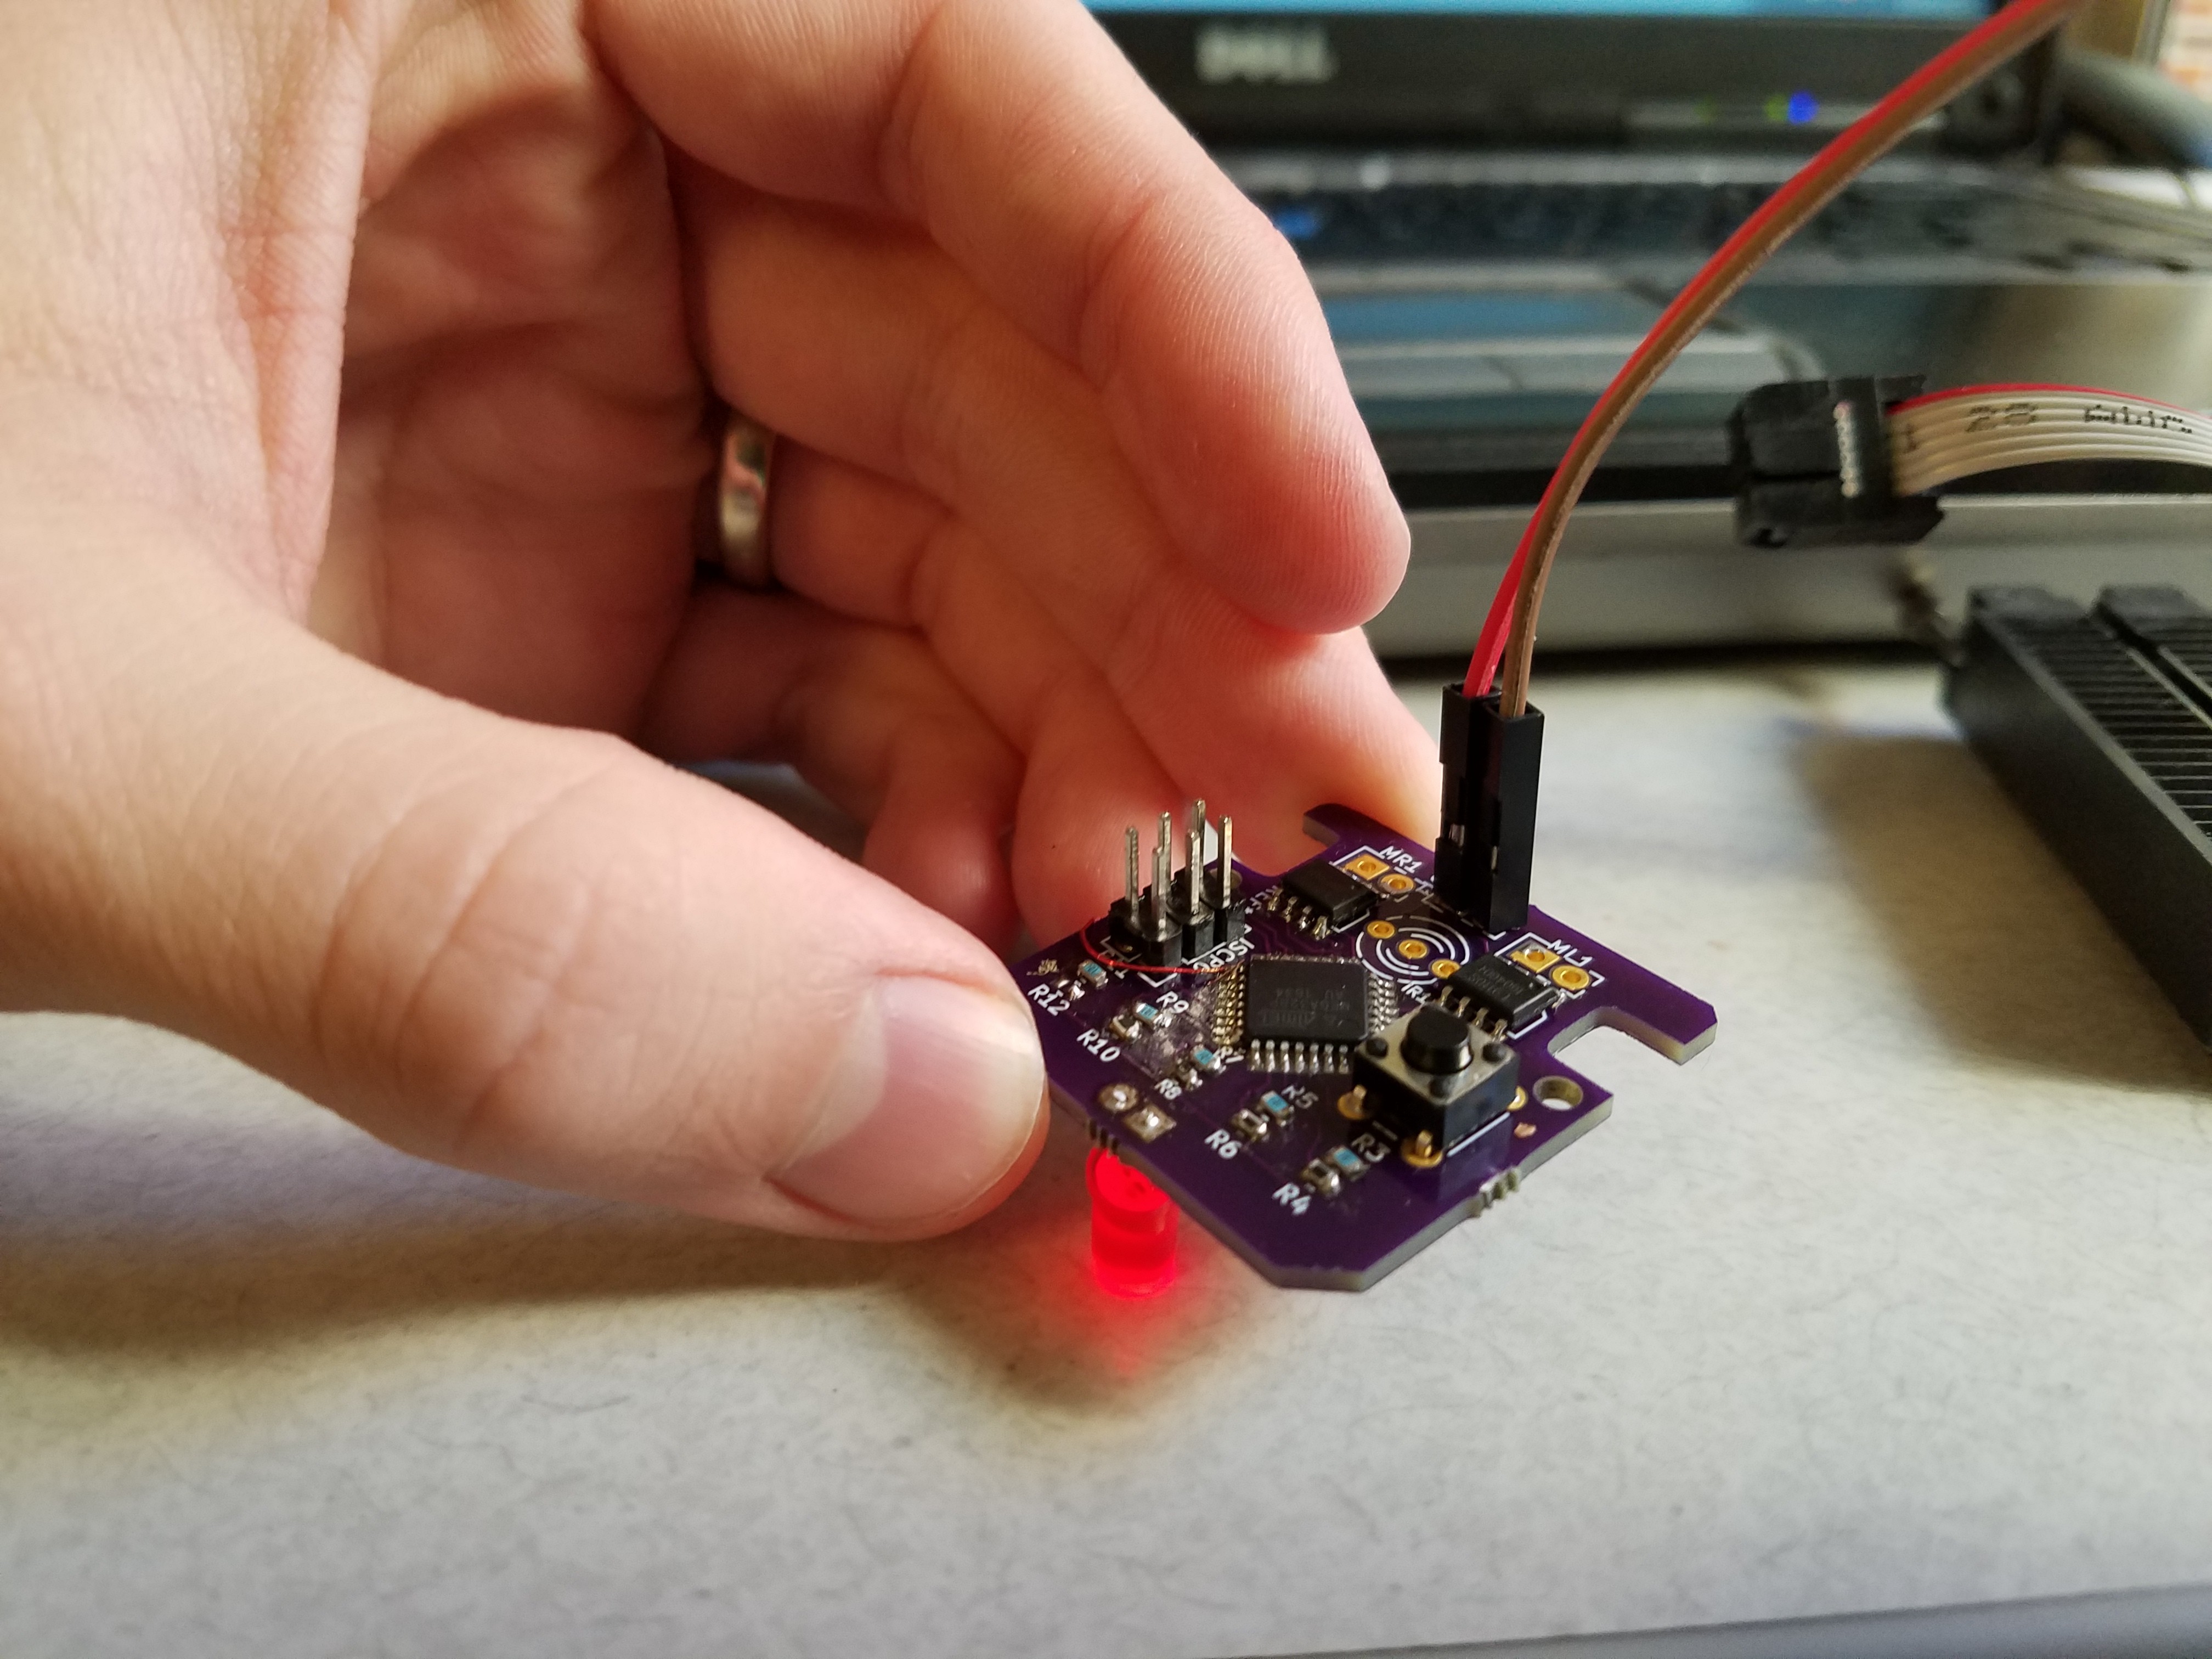

 Carl Bugeja
 Enki
Enki
 deʃhipu
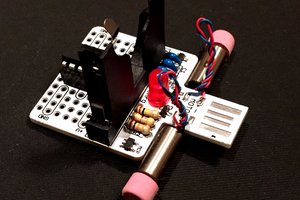
 Eric
Eric