Backflow starship incense burner
A starship model with real smoke exhaust
A starship model with real smoke exhaust
To make the experience fit your profile, pick a username and tell us what interests you.
We found and based on your interests.
There is a trend in commercial incense burners of having the cone fully exposed instead of trying to make a wind break. The original reason for the rocket was to use it as a wind break but any wind break seems to make a problematic updraft. It could still be useful as an exhaust duct. The latest idea is to chop off the nose & use the cone as the nose. Then make a cylinder all the way up to the nose fins. The hot section would be fully enclosed in the cylinder & go down to the tail fins. This eliminates any room to taper the cylinder into a cone. The cylinder could be removed from above the tail fins for cleaning.
Playing with an aluminum tray some more, it might be good enough with the current amount of holes & just clay securing the hot section & aligning the nose cone. It just needs a PETG nose cone.
A brand new PETG model achieved the desired smoke, but still got too soft. A system of holes right around the cone seems to give the best results. This cone was manually drilled out.
It gets hottest in the corners right above the cone & it seems to depend on the air currents.
Applied some loctite metal to the trouble spots. This still got too hot to touch, but it managed to keep the PETG from deforming. It remanes to be seen how many cycles it survives & if it stays stuck to PETG. This led to a 1st timelapse of a complete burn.
So basically, the best backflow starship incense burner lions could make ended up being a non functional nose cone on top of an engine section which outgasses like a real engine section. The backflow functionality doesn't serve any purpose other than visual appeal. Maybe it could provide some vicarious audience participation during a starship launch.
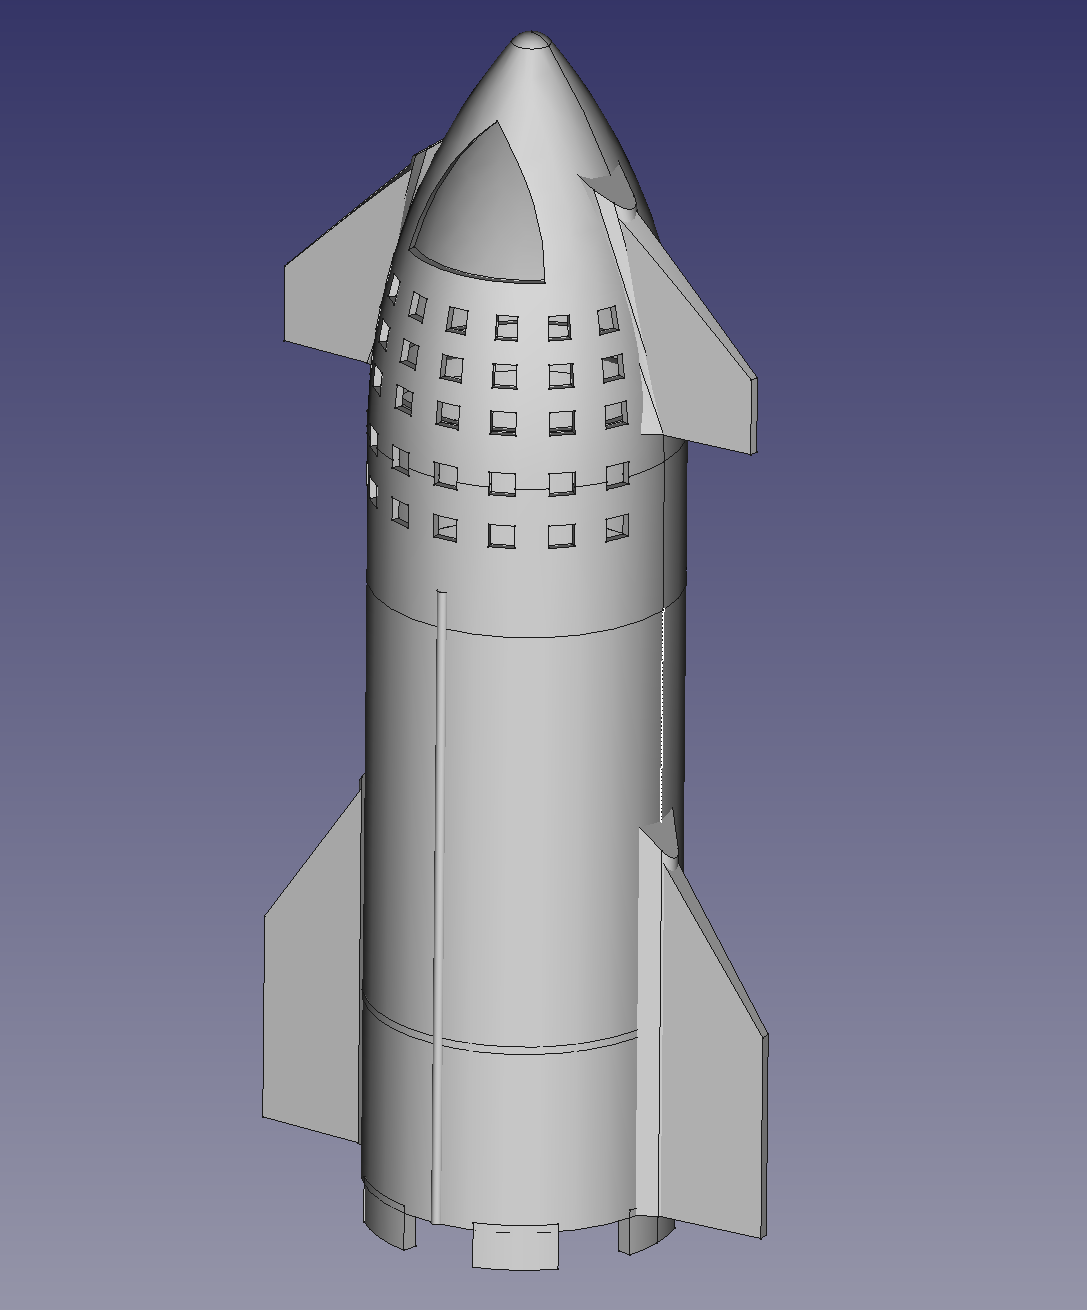
A 1st go at a fully enclosed design was a failure.
The hot section with a PETG base successfully backflowed, despite having a lot of holes.
It didn't backflow with a PLA nose cone. Any updraft still caused it all to go up before it ever went into the hot section.
The PLA nose cone also melted. This part would have to be made of PETG or widened quite a bit. A PETG version would be welded.
Repositioning the inlets made no difference.
The next idea was to make a big old cutout like the stick burner. At minimum, an HLS elevator port might reduce the updraft.
This might have gotten slightly more backflow going, but it still melted.
Then tried completely plugging all the air holes in the base with clay.
This got it to just start looking like a liftoff plume. 1 problem is the diameter of the rocket obstructing most of it, but past experiments showed it could form a much larger plume when it's working. Another problem is the backflow still getting defeated by the updraft. The ideal solution is to eliminate the updraft.
Fumes tend to pool inside the base but get taken up by the updraft when they hit the edge. Given the air tight base not being very easy to achieve & not solving the biggest problem, it was pretty obvious that the hot section should stand on its own & have a single piece rocket slip over it, with an enclosed PETG base just for alignment.
All that can be done for heat resistance is to make it bigger & out of PETG.
There could be some kind of forced air which directs all the fumes out the bottom, whether it's backflow incense or not. A fan in the nose could just blow down. It could just defeat the updraft. 1 original idea was to make the entire cylinder a mesh of air holes.
Backflow cones are no longer sold anywhere locally so it's another snail mail order to do any more on this project. There are ways to make inferior backflow cones out of normal cones.
Reviewing the 1 reddit post, backflow incense has never been very popular.
The quest for a better incense stand to reduce the rocket diameter led to some common household products. A common glass bottle cap would make a good bowl. This would be crimped on to the downcomer. A toilet roll tube would be the right size for the downcomer.
This plastic pipe idea leaked at the interface.
Then the pipe melted.
https://www.amazon.com/Louis-Crafts-Gauge-Aluminum-Inches/dp/B0042SSQMU/
There was once a heavier duty aluminum foil in the apartment that was soft enough to shape but rigid enough for structures. It since disappeared. It seems to be 36 gauge aluminum foil & is now super expensive.
An aluminum pie pan might be formable into the required shapes.
A long search revealed no metal tubes or even toilet roll tubes of the right size locally. These are super expensive by snail mail. Years ago, such things were sold at the homeless despot & art stores. Now, they only have finished goods.
A few tries at rolling tubes out of aluminum sheet revealed some problems. The custom aluminum tube still required masking tape. A bowl out of common al foil does the business but the excess material takes a lot of space. It ends up requiring the same rocket diameter as the square stand. The durability of the al foil is questionable.
Of all the designs, the original square stand was looking favorable. It required less effort to manufacture than any other stand. Somehow, masking tape proved immune to the high temperatures & it's easier to work with than metal. The inner rocket diameter with the square stand is still bottoming out at 40mm.
This experience made lions wonder if there's a way to have a metal bowl supported just by a masking tape diaphragm that bisects the rocket. The trick is making the adhesive face up. The other problem is keeping the hot oil away from the PLA.
Attaching the hot section to PLA with masking tape instead of clay is still a worthwhile goal. Air dried clay has had problems cracking inside the rocket tube when it dries & shrinks. A tall enough stand might be cool enough to directly farsten to PLA. The masking tape might be taking out fog.
--------------------------------------------------------------------------------------------------------------------------------------
In the modeling department, the speaker stand of 2021 left behind some scripts for creating hex tubes. The easiest method is seen as adding tile meshes instead of subtracting grooves with a boolean.
Experiments with a flue showed the incense burns in an updraft but there's no backflow. The trick is getting rid of the updraft in the section where the backflow is needed. Making more holes in the flue still doesn't get it to backflow. As long as there's a hole in the base, there's an updraft.
Encasing the stand gets somewhat of a pool to form at the base but the updraft returns as soon as this is enclosed in a cylinder, no matter how many holes are in it. The rocket would have to be 2 parts made of metal & the hot part would have to be integrated in the base. The backflow area needs an air seal from the updraft area.
It goes back to integrating the hot part in a plastic model of the base. Maybe a big old block of clay could be stuffed between the bottom of the metal stand & the rocket's cylinder to form a heat resistant air seal. The stand needs be tall enough to not transfer too much heat to the clay, which transfers heat to the PLA. The only reason for using clay is it transfers heat more slowly than metal. Of course a tall enough, 4 sided metal stand might be safe to attach directly to PLA through farsteners.
This thing evolved.
It made a pretty convincing rocket exhaust pool when placed over a dark surface. It should be in a tub to make a deeper pool.
At this point, the metal part could be held down just by gravity so it could be taken off easily. The PLA should rise above the clay for attaching the nose cone/wind break. The clay is stiff enough to shape without any top or bottom forms. The clay should be as low as possible to make it bottom heavy. The rocket needs a 44mm diameter to clear the square metal stand. A round stand might get away with 30mm.
Masking tape seemed to be good enough to work around the limited metal fabrication.
https://www.amazon.com/Backflow-Incense-Holder-Fragrance-Accessories/dp/B0B2HTRZ8S
There are super expensive metal funnels which could to the job. They might burn the clay. Another idea is to JB weld a metal pipe to a metal bowl but JB weld can't withstand the heat. What a lion would do for a TIG welder.
An off the shelf system just has the backflow part & a pool enclosed. It has a large thermal mass holding the cone but still has a glass window. While it could have a starship go over the cone & the smoke appearing to exit, it would melt the PLA & there would still be a large black piece between the rocket & the exhaust.
Fully enclosing the exhaust part of the lion design would create a big division between the exhaust part & the rocket part. It would be a transparent pedestal the rocket sat on.
Made a vijeo of backflow incense. It seems the clay doesn't dry at all unless it's taken out of the mold. The mold needs to have flanges to grab on to. It needs panels which don't require a sheering force to take off. The holes should be formed from metal rods.
https://www.susiebenes.com/blogs/airdryclayart
There's some rare info about air dried clay. The deal breaker is it burns. It'll eventually erode & die. There's also epoxy & polymer clay, for a price. Considering that the design has evolved to a self contained stand inside a starship enclosure, an old fashioned metal plate creation is a better match than all this new fangled 3D printed molding.
-------------------------------------------------------------------------------------------------
The real problem is the starship base has to be real wide if it isn't to melt. That makes it really tall & full of empty space, not a very functional model. Maybe some animals enjoy just having non functional starship models. A cardboard spacer for the base seems essential.
Some bits of metal came along.
Aluminum could be pressed into a bowl with some PLA forms & pliers. The forms had to be exaggerated.
That worked nicely. The legs dissipate most of the heat. There could be a clay base for the metal & rocket to plug into. It should be heat resistant enough to withstand the oil & the legs but it wouldn't be washable. The mane problem is the incense goes out if it's enclosed. It doesn't react well to an updraft.
Could imagine a rod locking the legs into a base since the metal won't be separating from the base. PETG might be good enough.
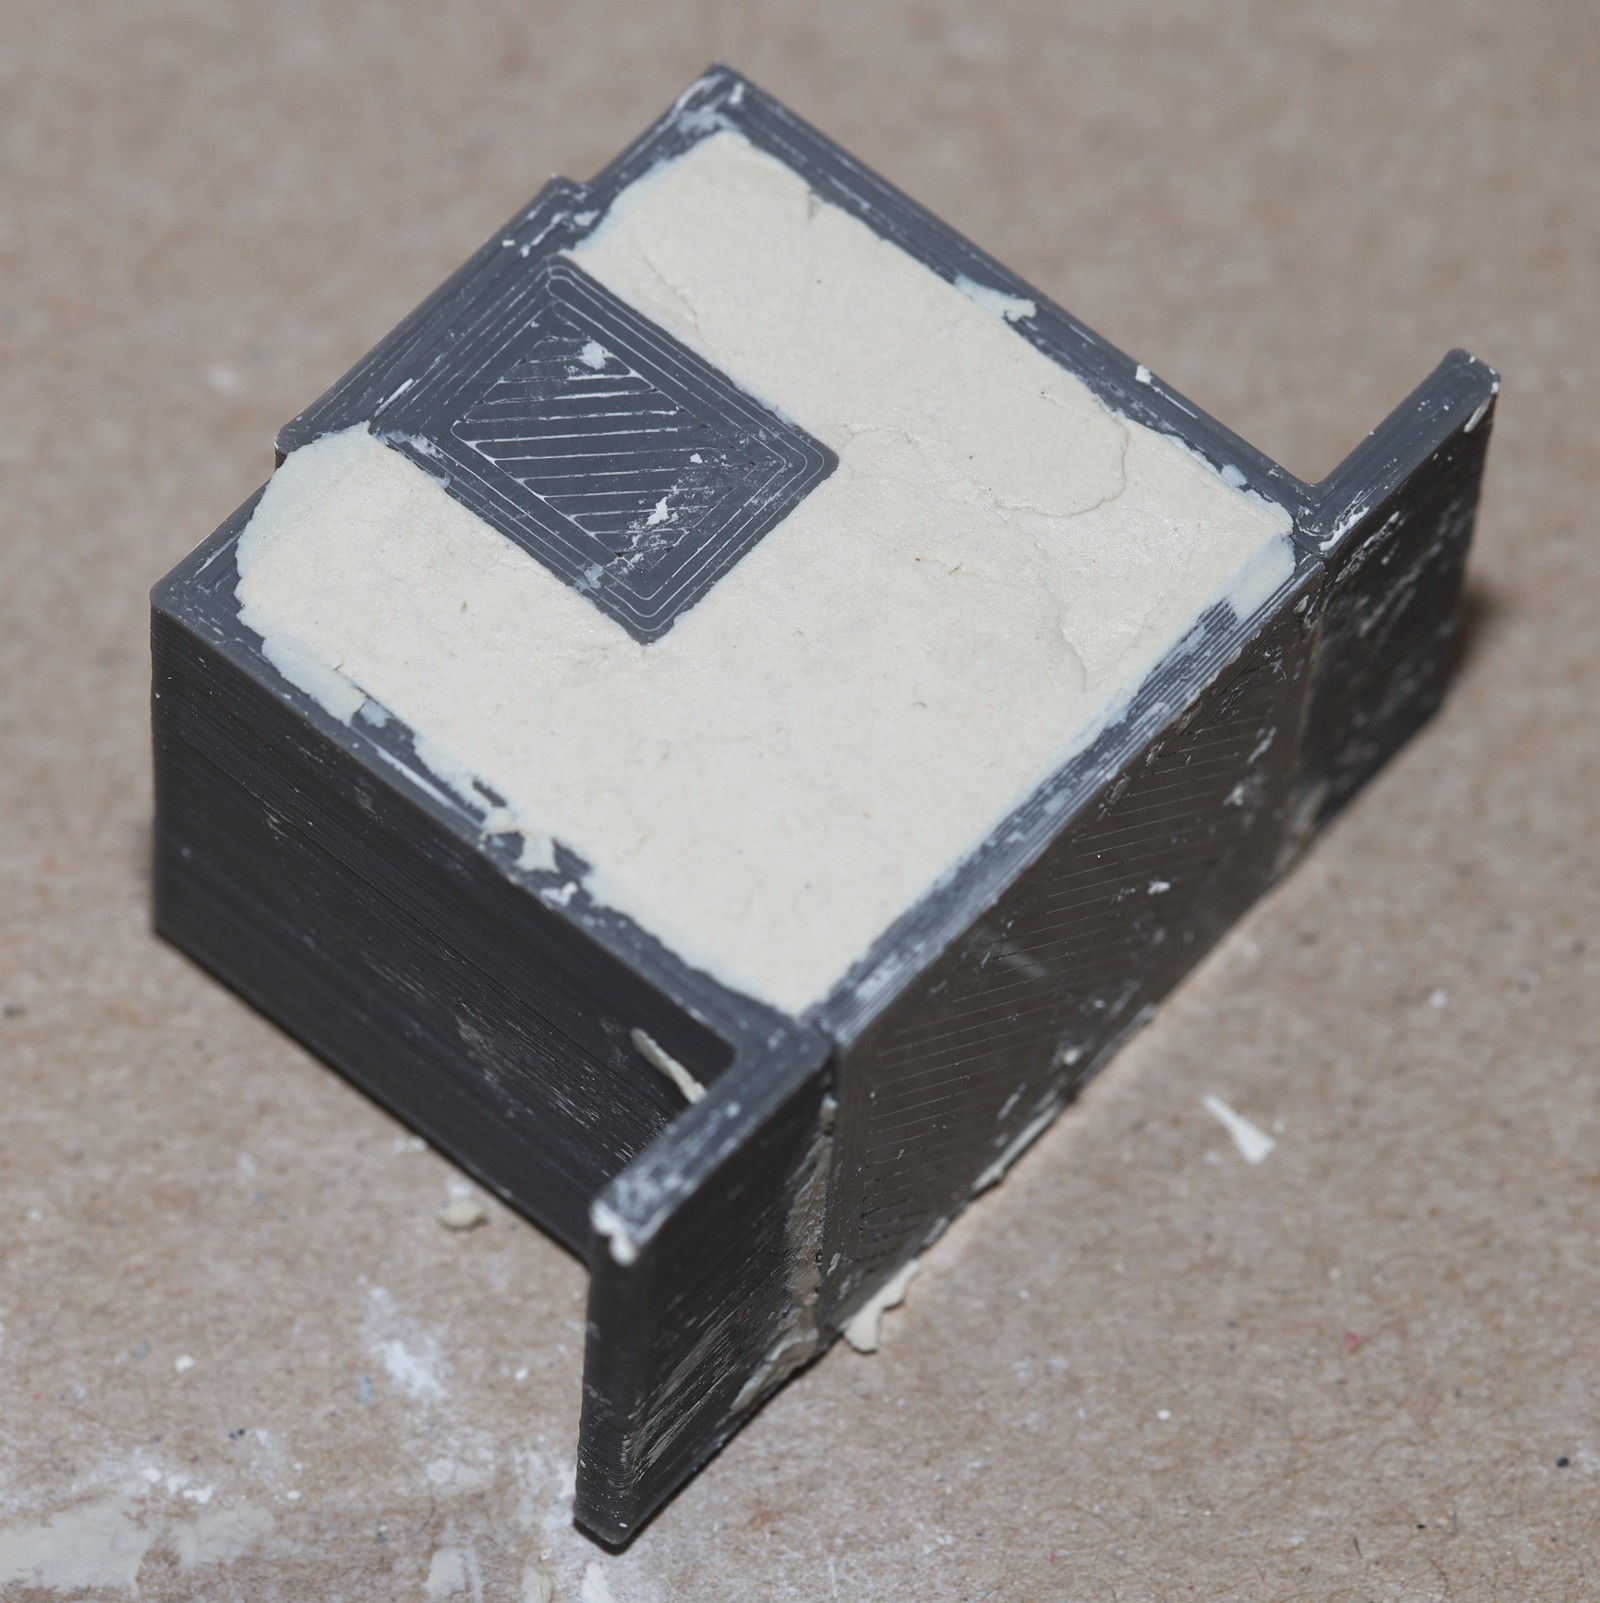
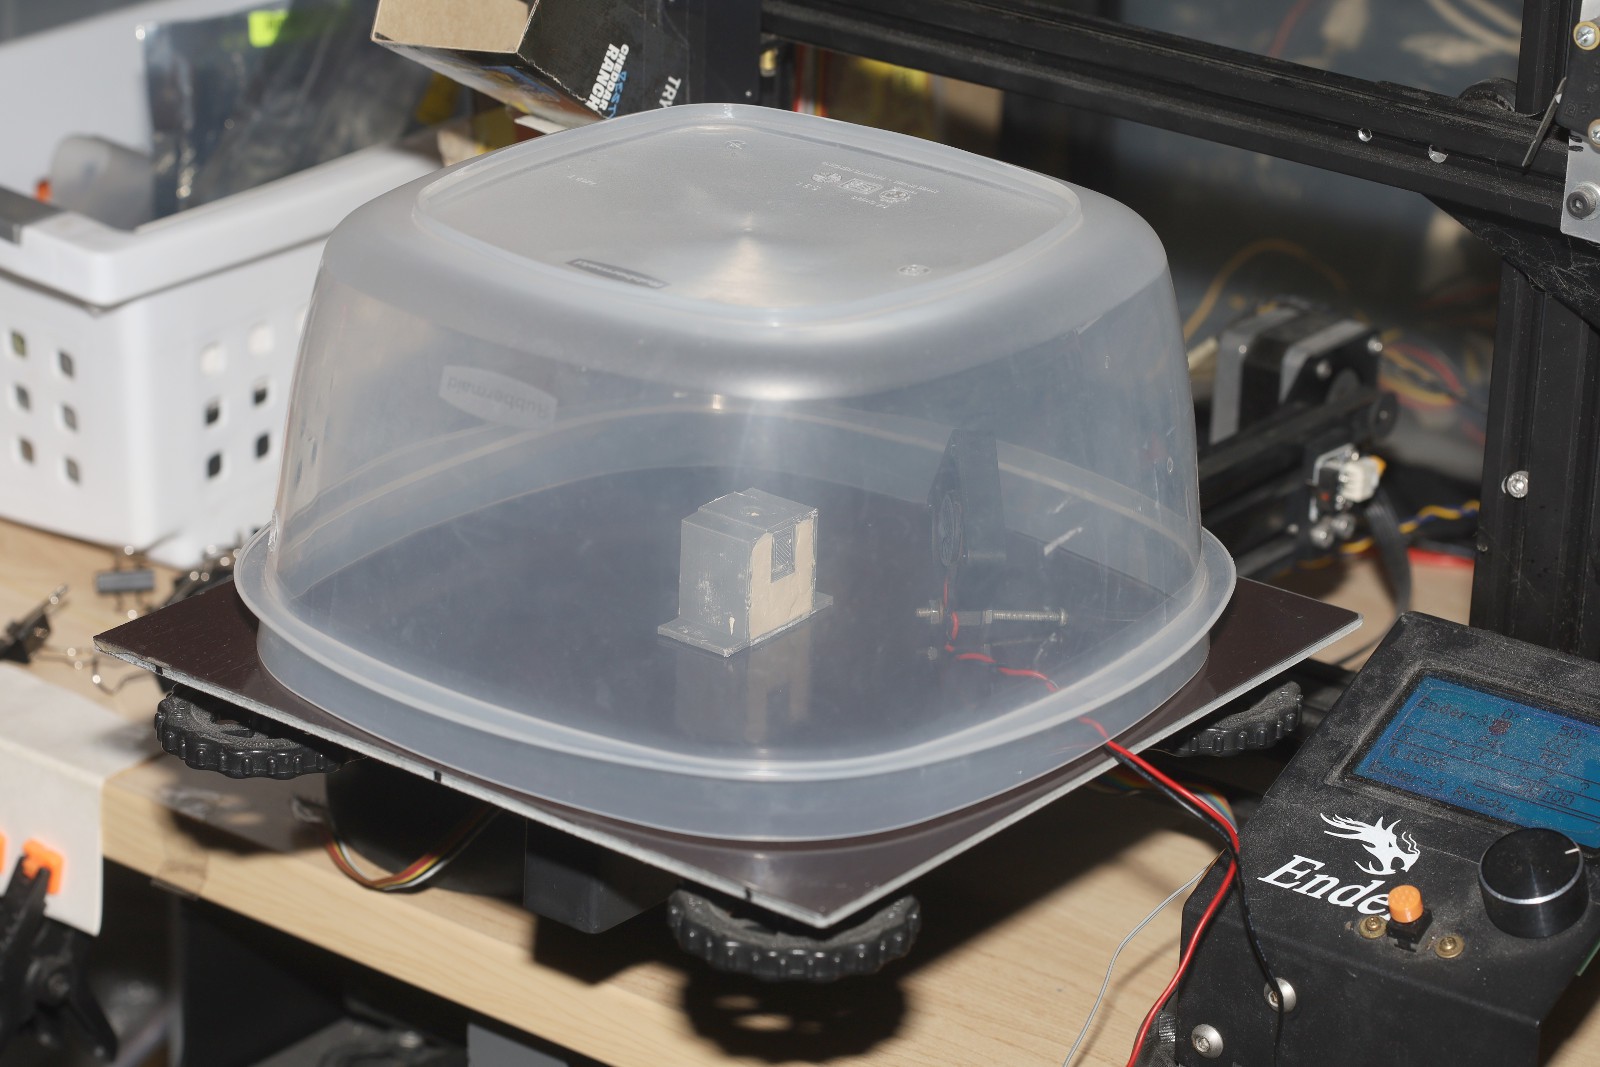

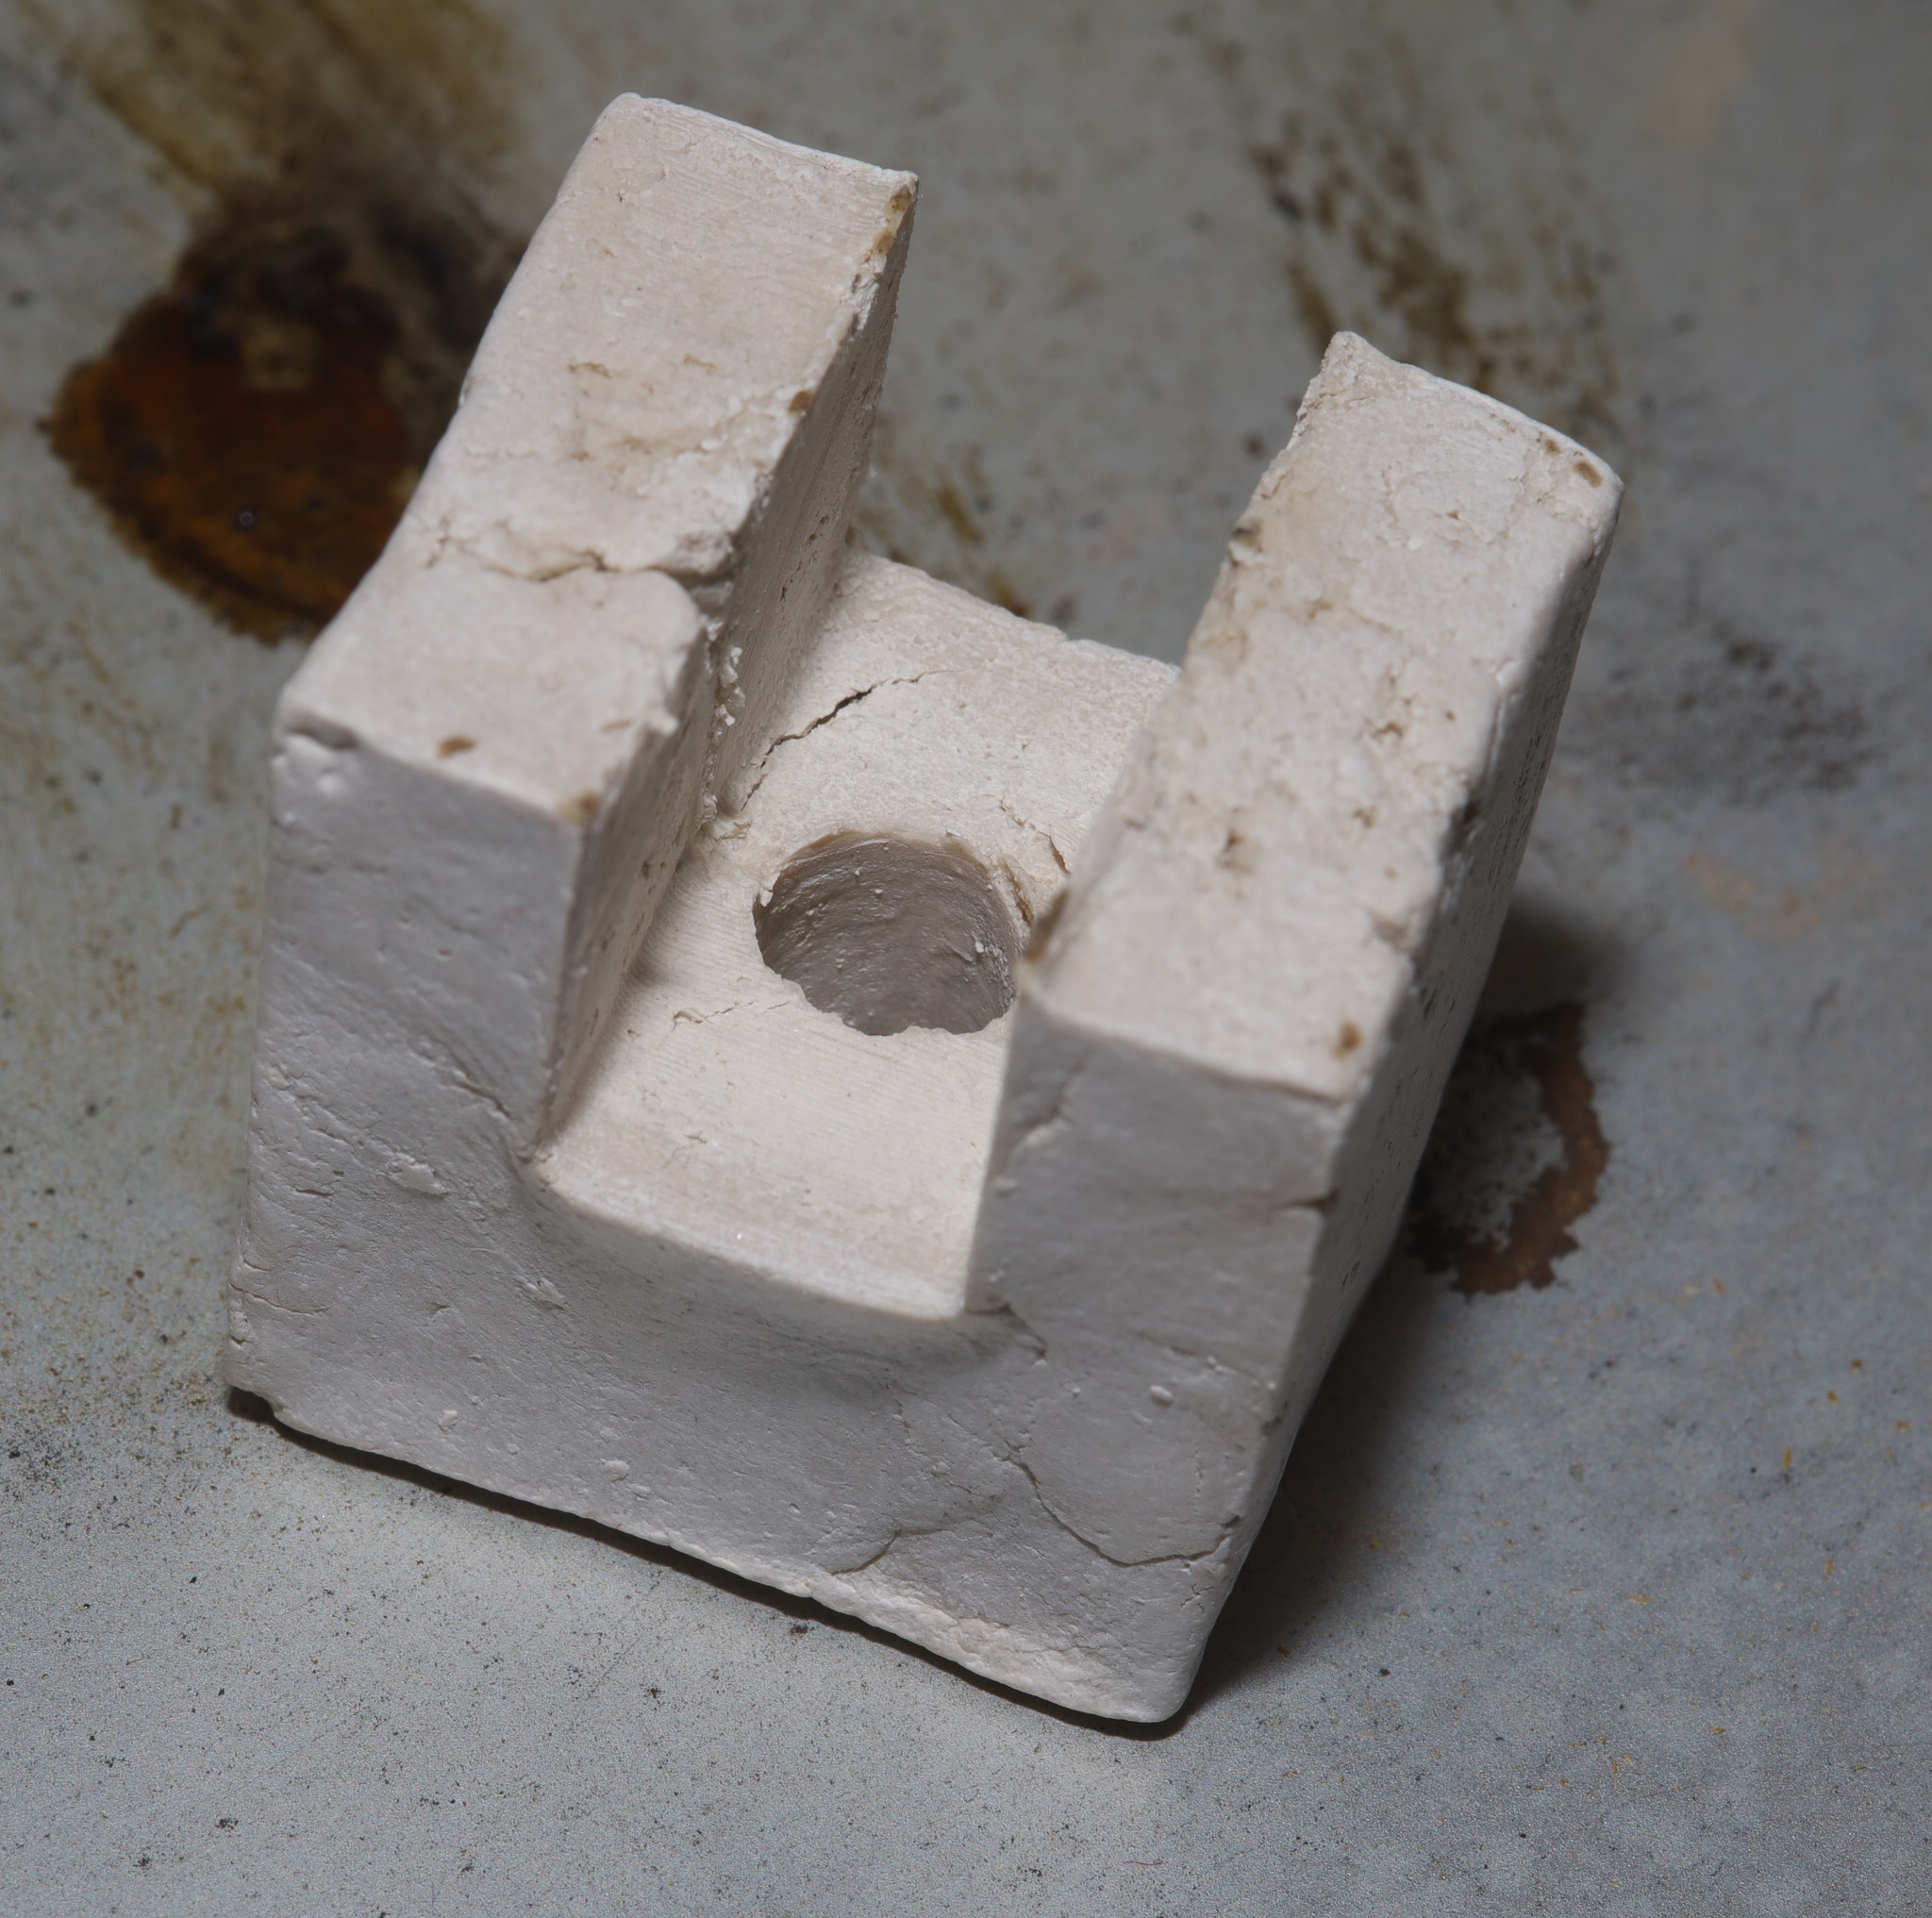
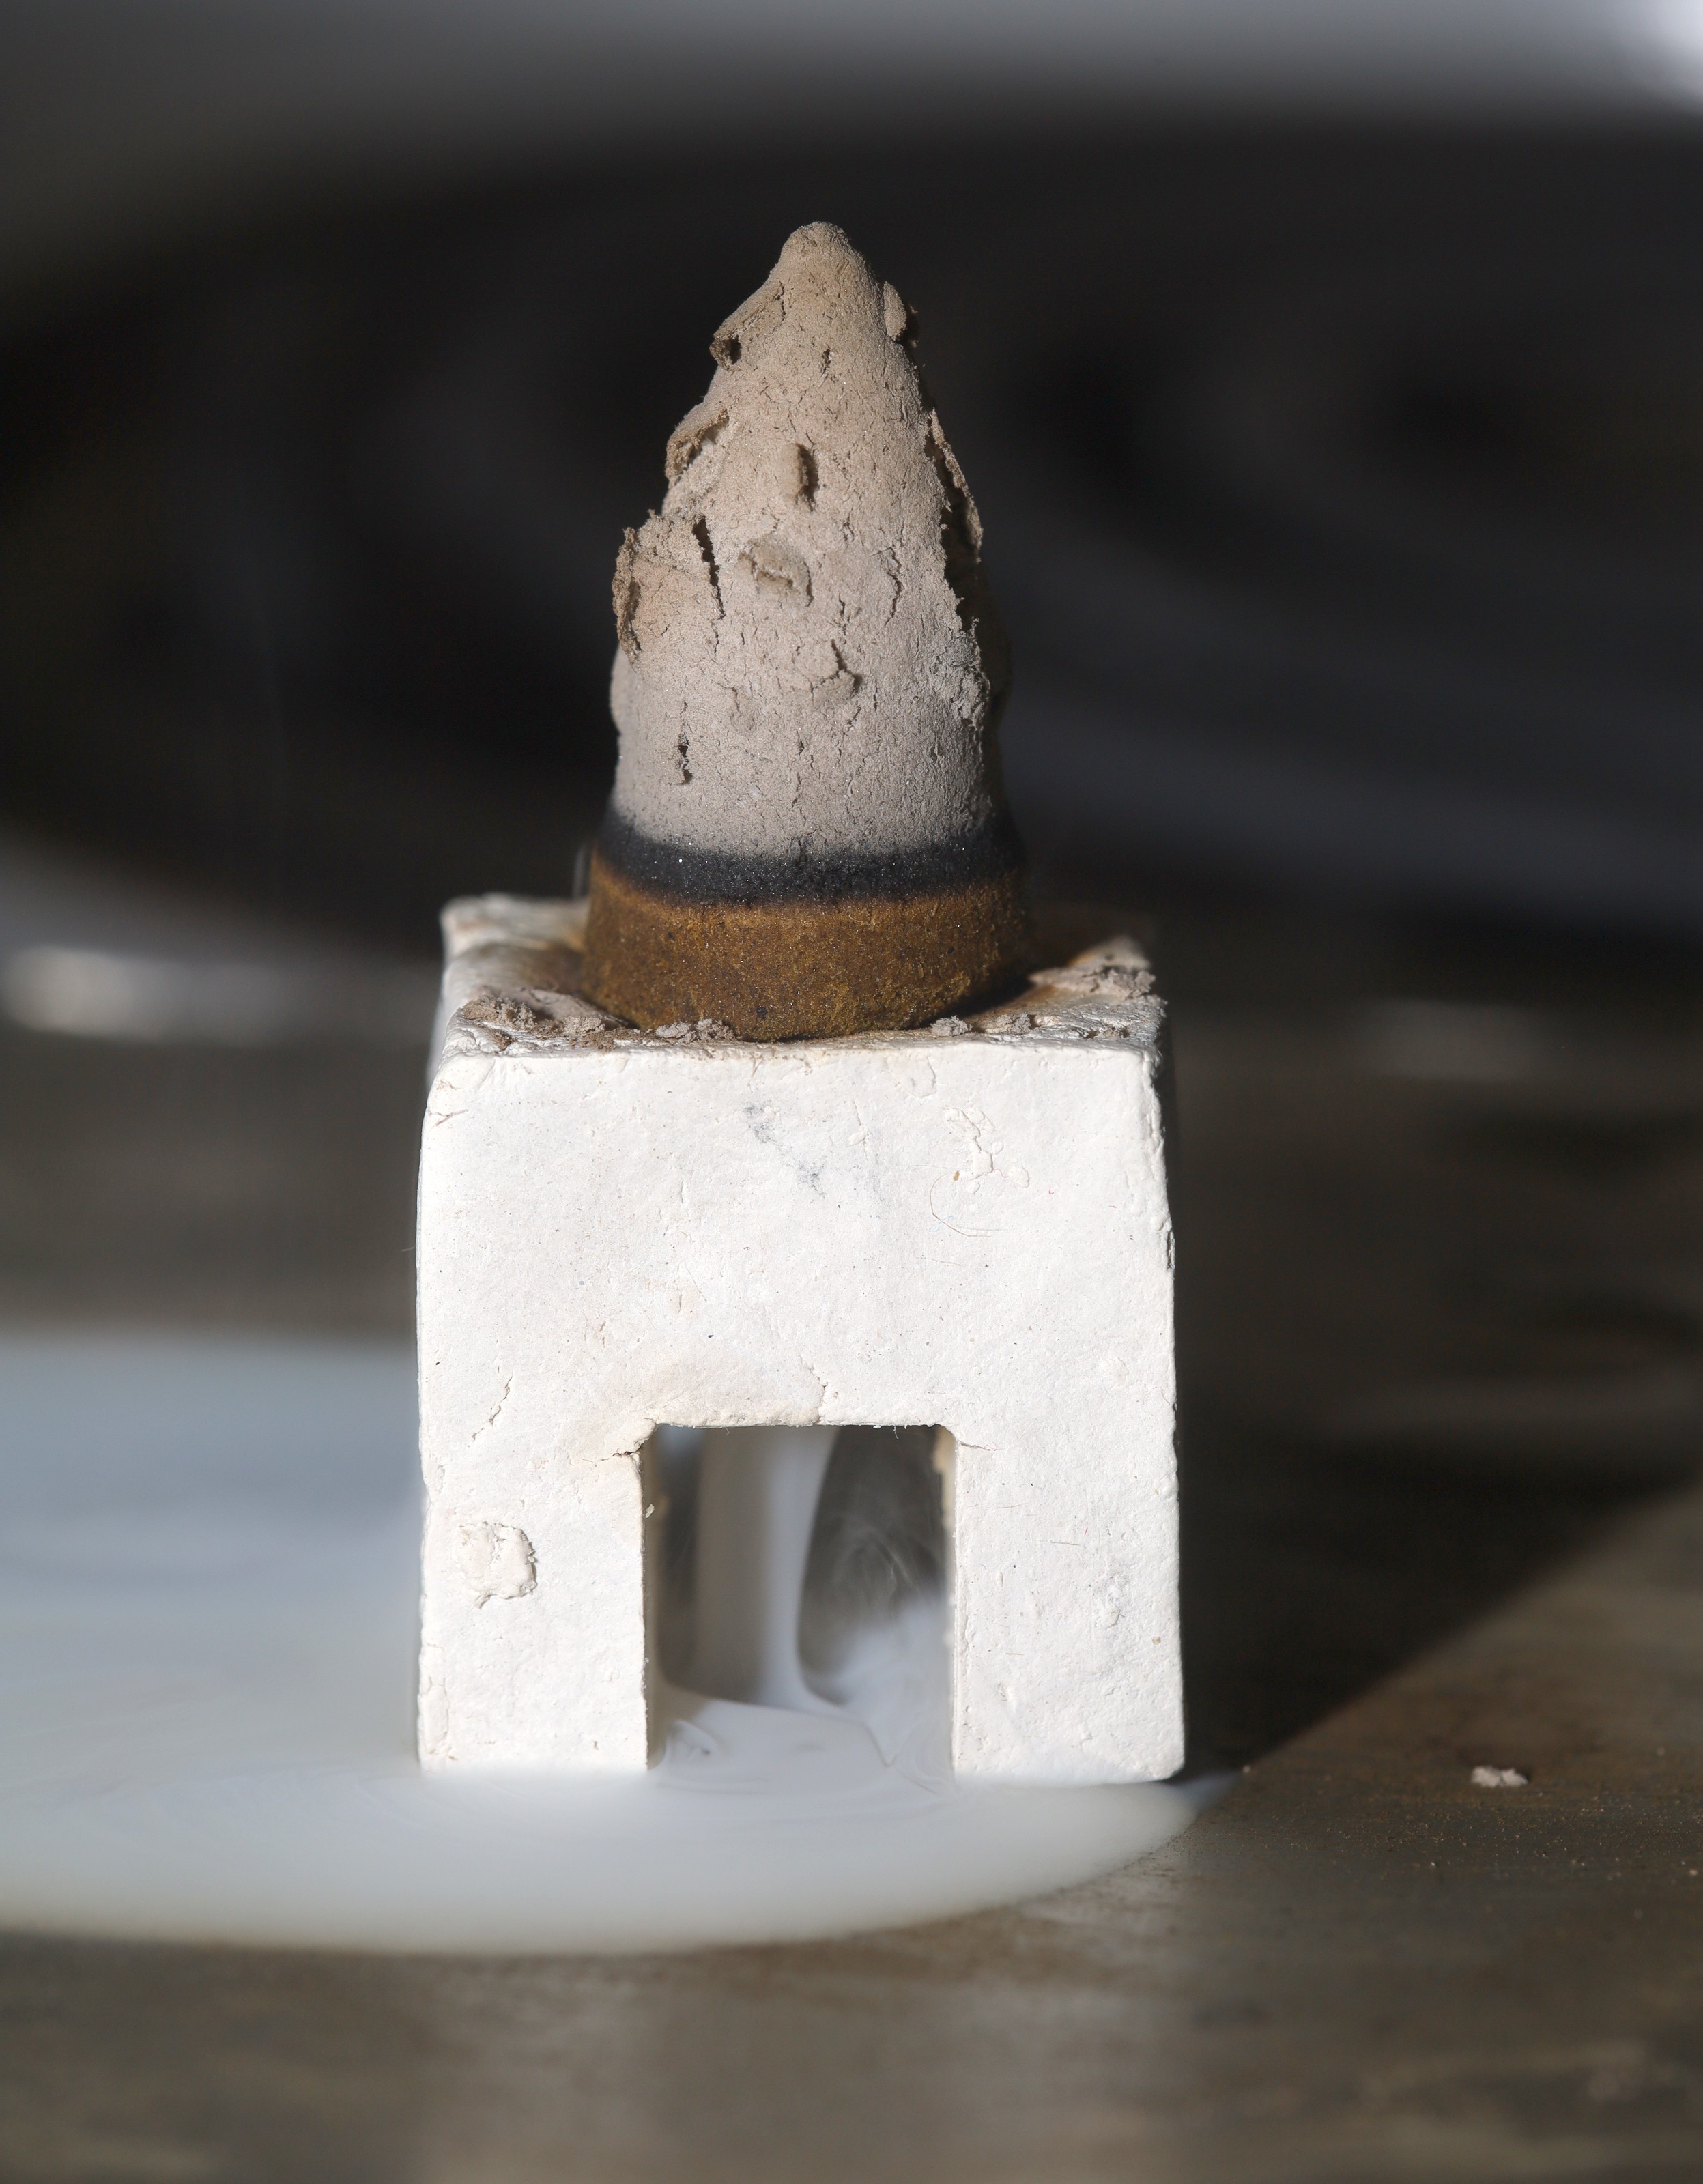
An attempt was made at a multi part PLA mold for a stool. The clay actually holds the mold together so it doesn't need a lot of PLA. After failing to dry at all on the print bed, the decision was made to sacrifice the PLA in the oven. The clay shrank when it dried & locked into the PLA. The PLA had to be melted anyways to get it off. Noted modelers freeze the clay to harden it in the mold & then take the mold off with it frozen. Then the released clay dries outside the mold over 24 hours.
Lions find the blistered appearance of backflow incense cones to be unsettling. Presumably, this happens because of the way the backflow hole was created. 1 theory is the hole compresses the incense, which creates tension on the outer surface. The stool could be slightly taller, with an arch replacing the right angles in the legs.
Continued experiments with air drying clay showed it crumbles in the paw. It's not suitable for anything but a puck. The internet might be using something more expensive than Crayola brand to get away with pots & sculptures. It might be stronger if it dries at room temperature over many days.
There's nothing at all about making air dried clay strong or designing molds. The absence of information is odd for something which was around 4000 years ago.
The lion kingdom has desperately wanted a likeness of thermal tiles, but SpaceX has managed to charge $175 for a very boring butane torch with no details of any kind. Modeling the thermal tiles would be very labor intensive. The cylindrical sections could be scripted but the nose would require manually placing every tile. No matter what, the printer can't print every real tile. It has to be a likeness. Some ideas are just modeling the cylindrical section, procedurally modelling the nose section, manually placing every nose tile. The journey begins by just determining the dimensions of the 3D printed tile.

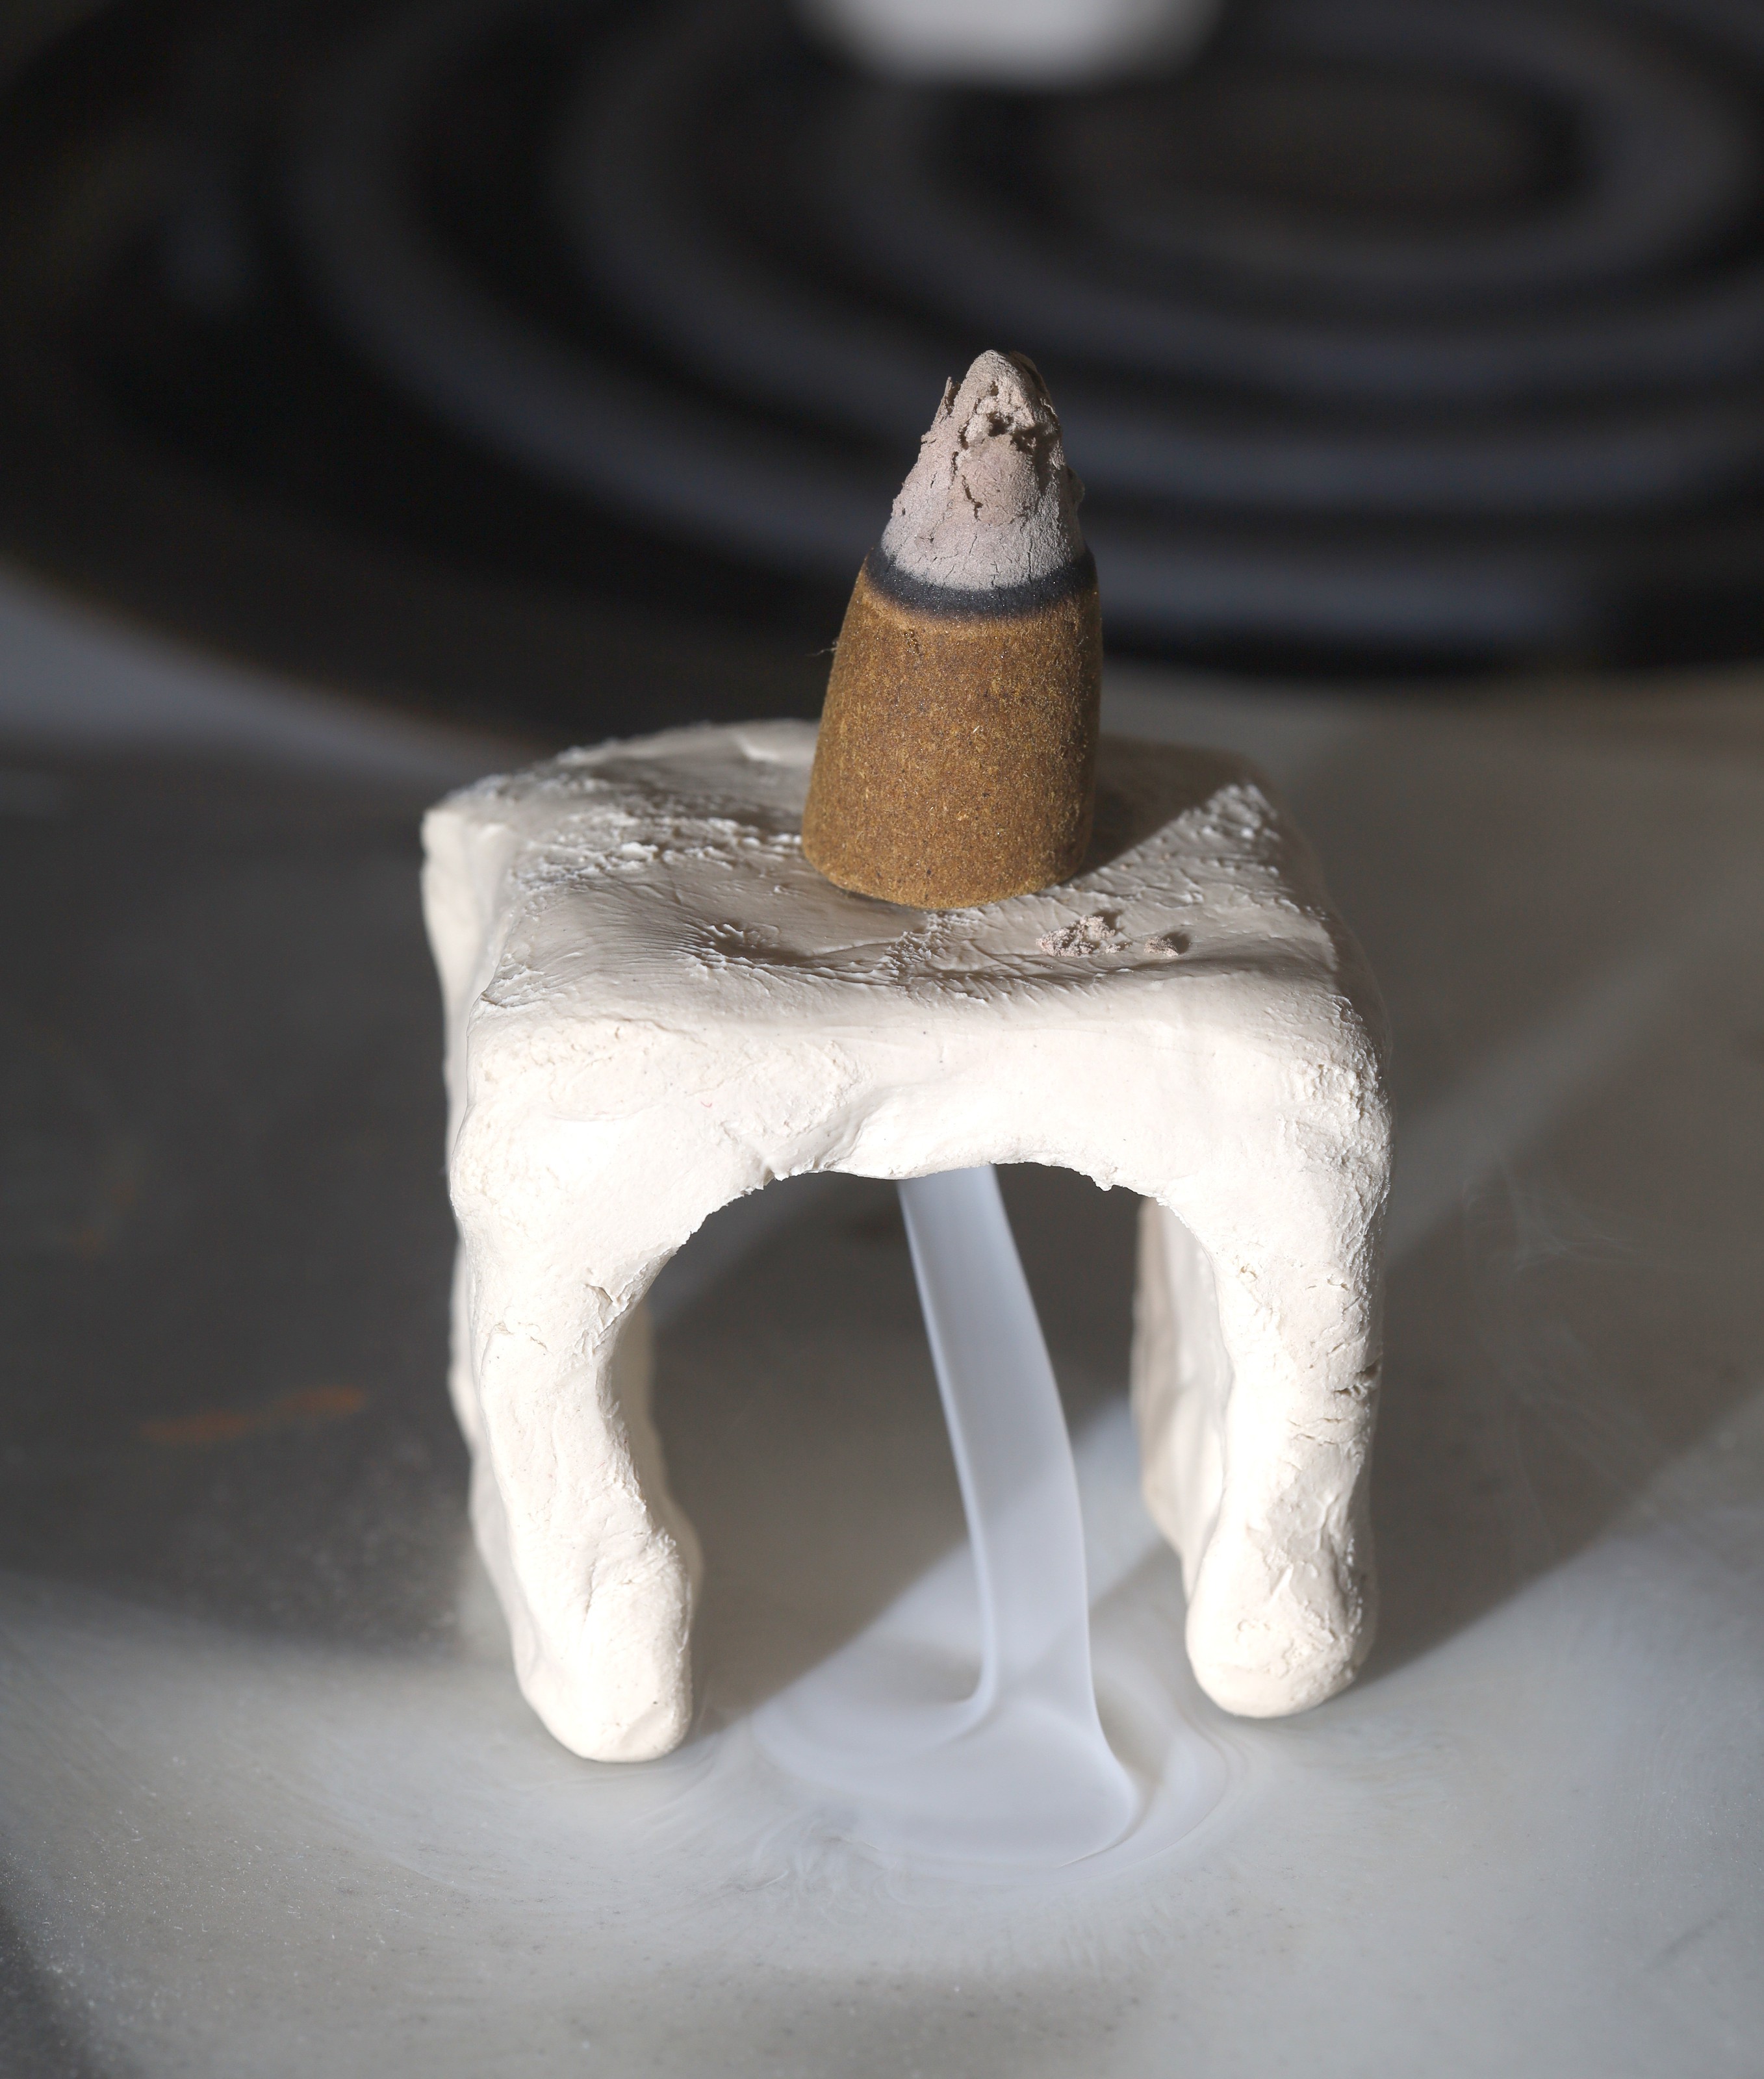
The simplest practical heat resistant holder is a simple toilet seat with the cone taking a dump on metal. The clay doesn't need to be completely dry but hard enough to do the job. The toilet seat could be made quite small with some molds. Its only purpose is to allow the fog to be extracted & free up space for the oil to go.
Then a starship model could be placed around the toilet seat for purposes of wind resistance. The purpose would be the wind resistance all backflow incense needs, instead of the clear glass cylinder the other burners use. The very bottom would be open to allow an updraft & fog to come out.
A year after this began, from the ambiguous as mud department, there is a type of clay called air dried clay.
https://www.amazon.com/ACTIVA-Premier-Natural-Stone-ounce/dp/B002VR0C26
https://www.target.com/p/crayola-2-5lb-air-dry-clay-white/-/A-14151841
The marketing gives the impression that it behaves like ceramic without the need for a kiln. A ceramic insert is the only thing which can withstand the heat.
An hour in the oven at 200F got a specimen dry enough.
It definitely did better than bare PLA or metal. There was still some melting from oil runoff. The trick is going to be creating a shape which separates the oil from the PLA. It's going to be a study in 3D printing molds for clay. Another required part is a clay pan for the oil.
The mane problem is either from natural drying or heat, it gets brittle & erodes. It could have a metal insert to stop erosion.
The other application of air drying clay is a soldering iron stand. The last soldering iron stand had metal inserts.
Real ceramic would definitely not have any erosion. Epoxy might also do the business.
A more convex part kept the oil away from the PLA, but it still melted. The clay still gets too hot. It might slow down more heat because of its size but it doesn't insulate like a shuttle tile. A very large block of clay might have enough mass to absorb the heat. It could fill up the entire starship but it would eventually saturate. Another idea is submerging it in water. It gets complicated.
Wood might be a better insulator but it has a bigger erosion problem which would require a metal insert.
Lions don't see much point to this backflow incense idea, since most of the smoke goes out the top & the bottom doesn't form an engine exhaust in any way. Even the greatest effort couldn't make convincing engine exhaust.
Its only novelty is the fog formation at the base. It could be a novel piece of art to have a starship perched on top of a fog bank but the shape wouldn't serve any purpose.
In the worst case, a clay bench could be used to burn off the rest of the inventory without paying for a real incense burner.
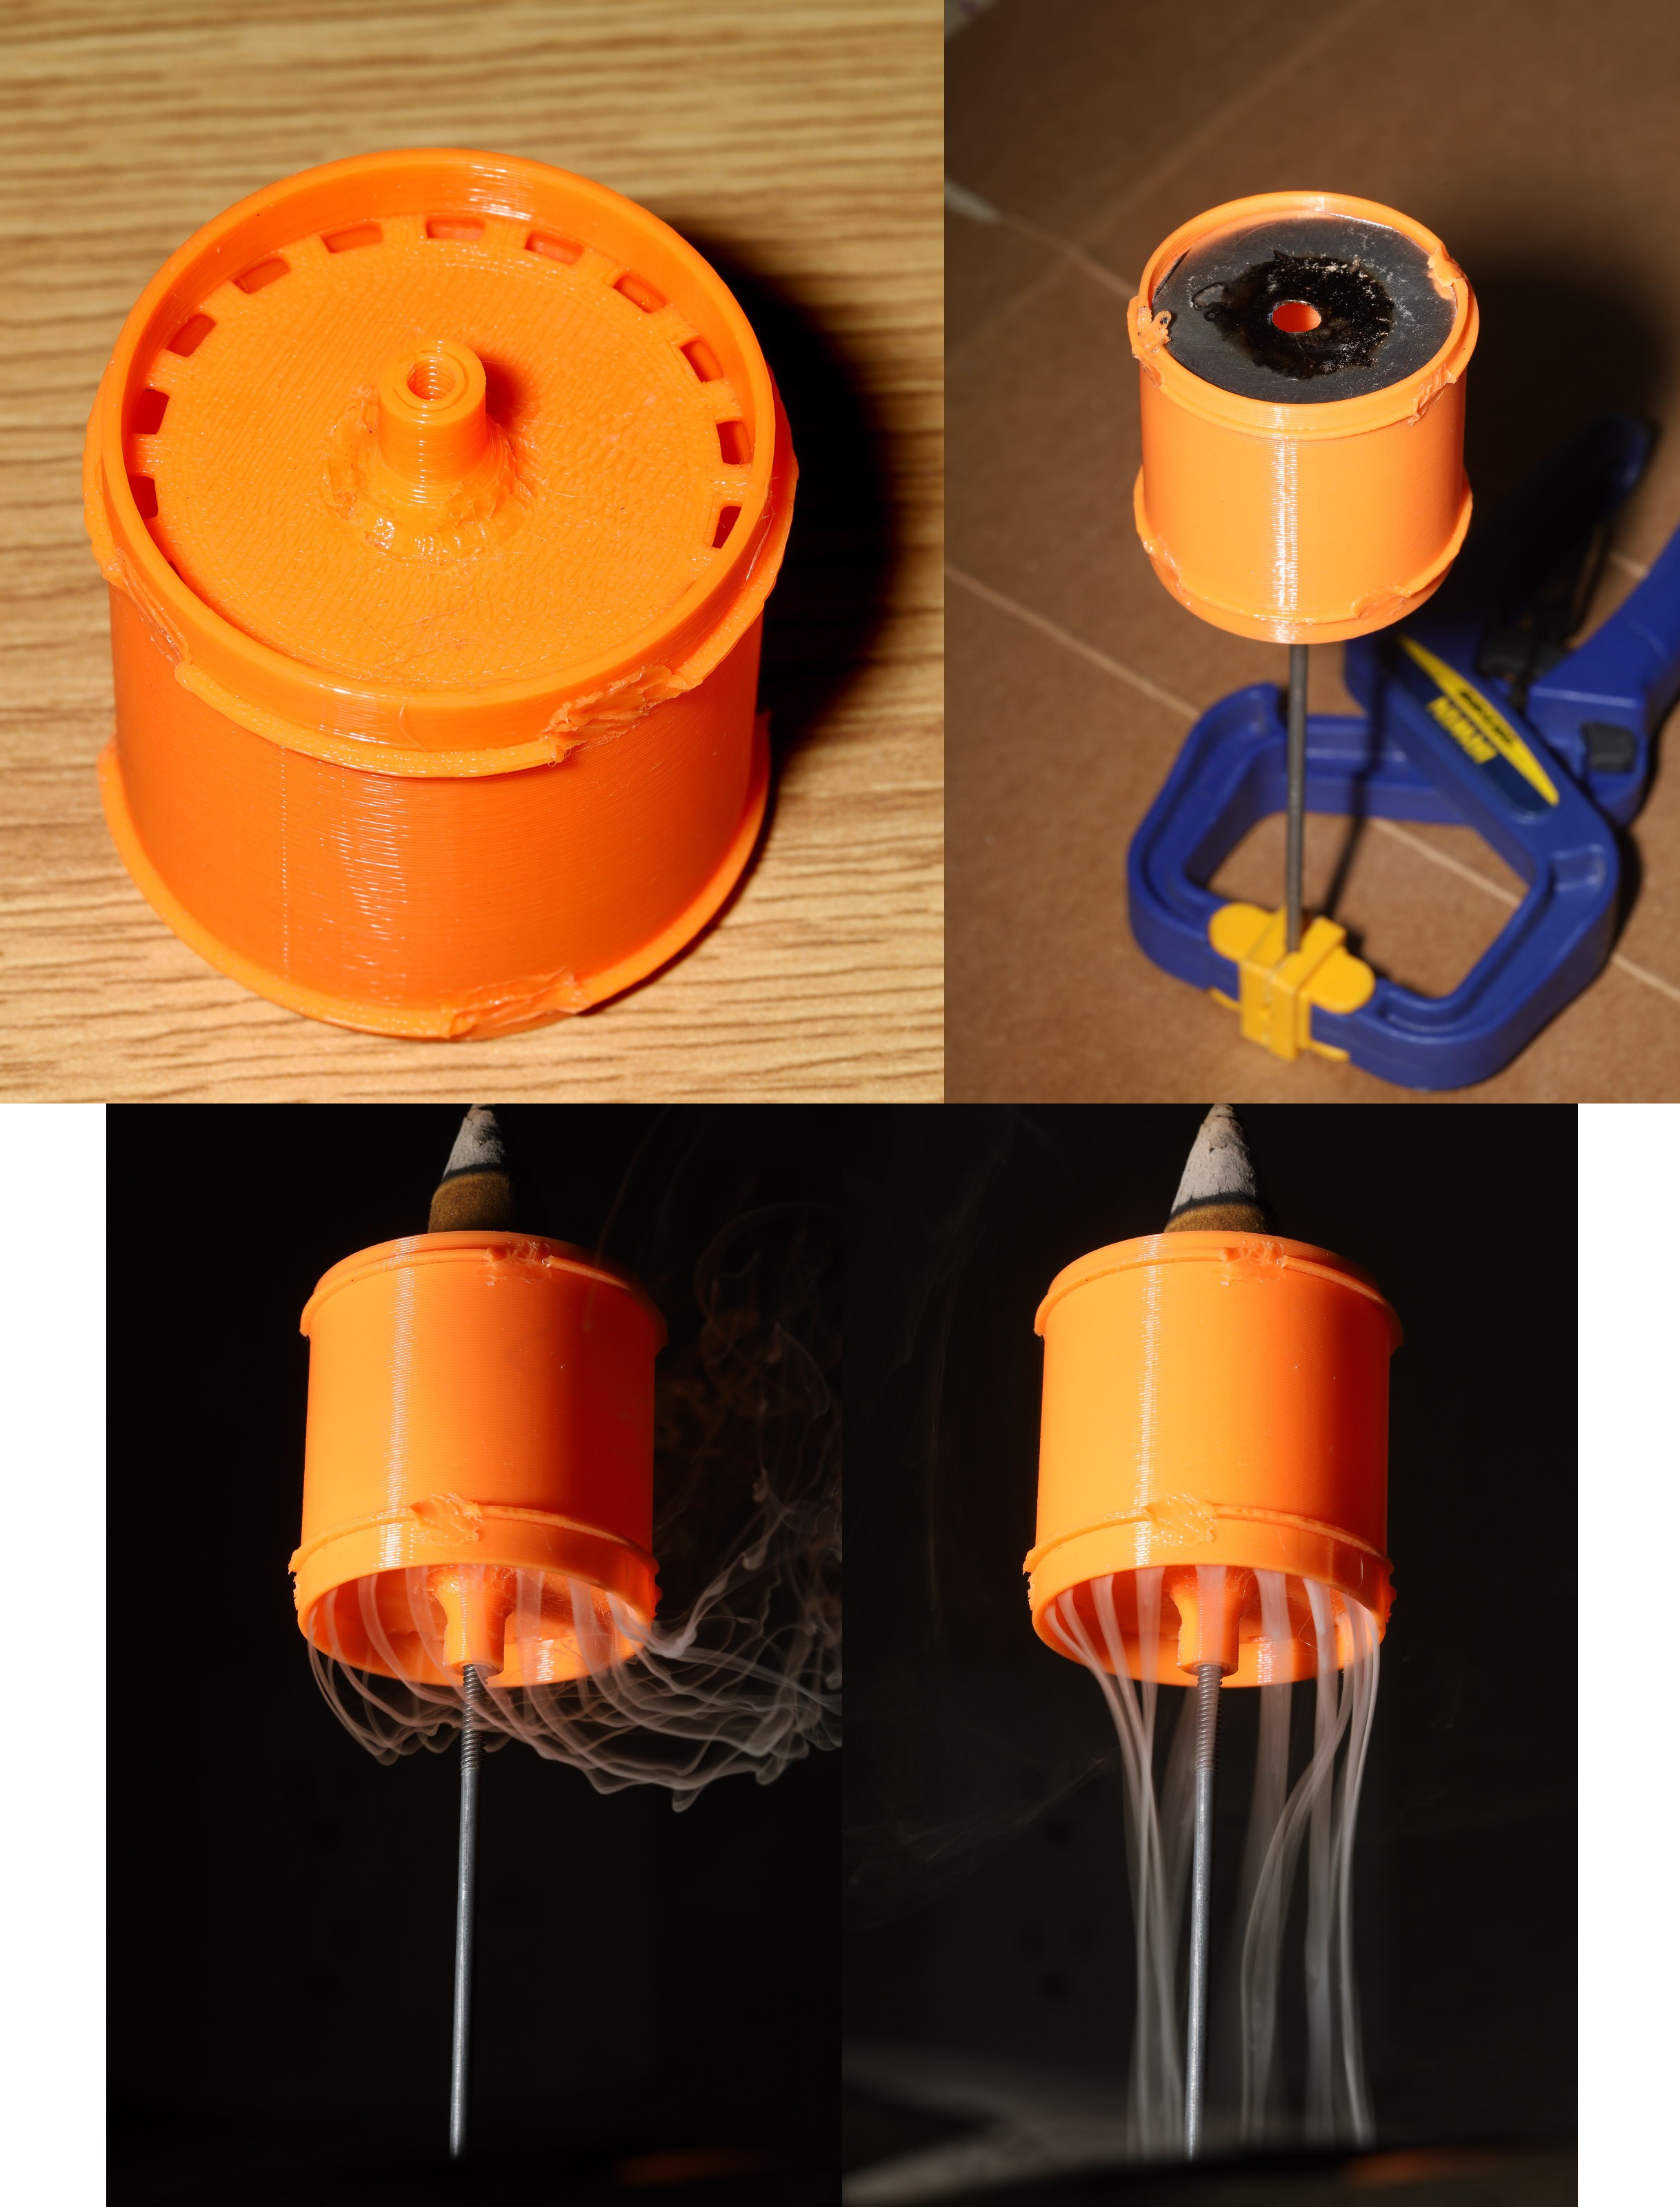
This one did the best of all of them. Depending on wind direction, but much less so, it managed the best spreading of smoke. There is always going to be a need to carefully level it & block wind. Longer cylinders might improve it. The mane problem is the metal gets super hot. It might have to be ceramic.
A longer, narrower exhaust pipe made it diffuse evenly in more wind, but it was still sensitive to leveling.
The 20mm diameter melted as expected, despite being made of PETG. Creating a ceramic hot plate is the great task.
A bigger diameter than 36mm could make it heat resistant.

This one was 3 stacked grids to try to spread the smoke out. A cone would then try to divert it into a cylinder.
It still converged on the downwind side, even during peak efflux. 1 big improvement was a lot more smoke going down instead of up, even when the ambient air was moving. The sealed stack of cylinders gave it a lot more downdraft.
Another problem is the smoke coming out of the outside diameter gets sucked towards the center. It probably needs an outer wall below the outlets to attract it to the outside.
Autopsy showed quite a bit of melting & burning on the top grid. It's probably falling oil. Having a longer gap might cool down the oil.
The cylinder's capability as a wind break showed promise. If it could shield enough wind to spread it into an even pool, it could reduce the problem to leveling. Leveling could be solved by the magnetic receptacle of the original starship incense burner. The mane problem with that is the chance of hot oil falling on a lion paw & the cone getting moved out of position. Another idea is a 3D printer style bed with a bubble to aid the process.
Create an account to leave a comment. Already have an account? Log In.
Become a member to follow this project and never miss any updates
By using our website and services, you expressly agree to the placement of our performance, functionality, and advertising cookies. Learn More
 lion mclionhead
 Carl Giles