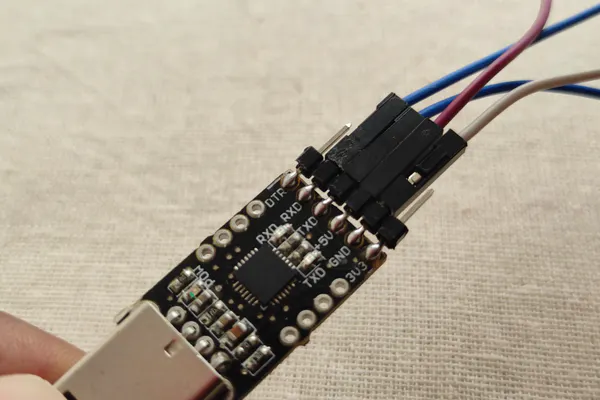
The ESP32-CAM is a very small camera module with the ESP32-S chip that costs approximately $10. Besides the OV2640 camera, and several GPIOs to connect peripherals, it also features a microSD card slot that can be useful to store images taken with the camera or to store files to serve to clients.
with the camera or to store files to serve to clients.
Supplies


Step 1: Introduction

Formatting MicroSD Card
The first thing we recommend doing is formatting your microSD card. You can use the Windows formatter tool or any other microSD formatter software.
1. Insert the microSD card in your computer. Go to My Computer and right click in the SD card. Select Format as shown in figure below.

2. A new window pops up. Select FAT32, press Start to initialize the formatting process and follow the onscreen instructions.

Note: according to the product specifications, the ESP32-CAM should only support 4 GB SD cards. However, we’ve tested with 16 GB SD card and it works well.

Revise parameters
Input "make menuconfig", configure WIFI and Camera parameters.


4. Open file app_main.c, revise CAMERA_FRAME_SIZE, MERA_FRAME_SIZE(picture size) macro define(default configure JPEG)
5. Input "make flash monitor" onto terminal, compile the project and burn.

6. Check the serial port information or module IP information. Input http://module ip address+"/jpg to get the image, and please make sure that your computer and module are in the same LAN.
For example, the address the module got is 192.168.40.148.
The predecessor of ESP32, the ESP8266 has a builtin processor. However due to multitasking involved in updating the WiFi stack, most of the applications use a separate micro-controller for data processing, interfacing sensors and digital Input Output. With the ESP32 you may not want to use an additional micro-controller. ESP32 has Xtensa® Dual-Core 32-bit LX6 microprocessors, which runs up to 600 DMIPS. The ESP32 will run on breakout boards and modules from 160Mhz upto 240MHz . That is very good speed for anything that requires a microcontroller with connectivity options.
The two cores are named Protocol CPU (PRO_CPU) and Application CPU (APP_CPU). That basically means the PRO_CPU processor handles the WiFi, Bluetooth and other internal peripherals like SPI, I2C, ADC etc. The APP_CPU is left out for the application code. This differentiation is done in the Espressif Internet Development Framework (ESP-IDF). ESP-IDF is the official software development framework for the chip. Arduino and other implementations for the development will be based on ESP-IDF.
ESP-IDF uses freeRTOS for switching between the processors and data exchange between them. We have done numerous tutorials on freeRTOS and with all the bare-metal programming tutorials for ESP32 we will try and cover this aspect in detail. Although the feature set is great at the price at which the chip is being sold, the complexity is enormous.


Once downloaded and installed open to the command prompt. Now we have to install a few libraries. For that run the following commands below one after another until all the libraries are installed.
pip install numpy
pip install opencv-python
pip install mediapipe
pip install playsound==1.2.2
Once you have entered these commands in the command prompt then these libraries will be installed. Now create a new folder.
import mediapipe as mp
import cv2
import numpy as np
import time
from playsound import playsound
cap = cv2.VideoCapture(0)
cPos = 0
startT = 0
endT = 0
userSum = 0
dur = 0
isAlive = 1
isInit = False
cStart, cEnd = 0,0
isCinit = False
tempSum = 0
winner = 0
inFrame = 0
inFramecheck = False
thresh = 180
def calc_sum(landmarkList):
tsum = 0
for i in range(11, 33):
tsum += (landmarkList[i].x * 480)
return tsum
def calc_dist(landmarkList):
return (landmarkList[28].y*640 - landmarkList[24].y*640)
def isVisible(landmarkList):...
Read more »
 Nikos Katsaros
 zst123
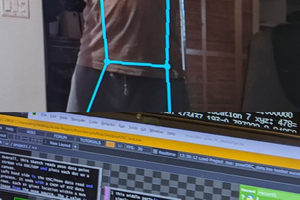
 Jerry Isdale