 Sam Baker
I have a website now and I'd really appreciate if you took a minute to check it out! Complete post on Sam's Workbench. Thanks!
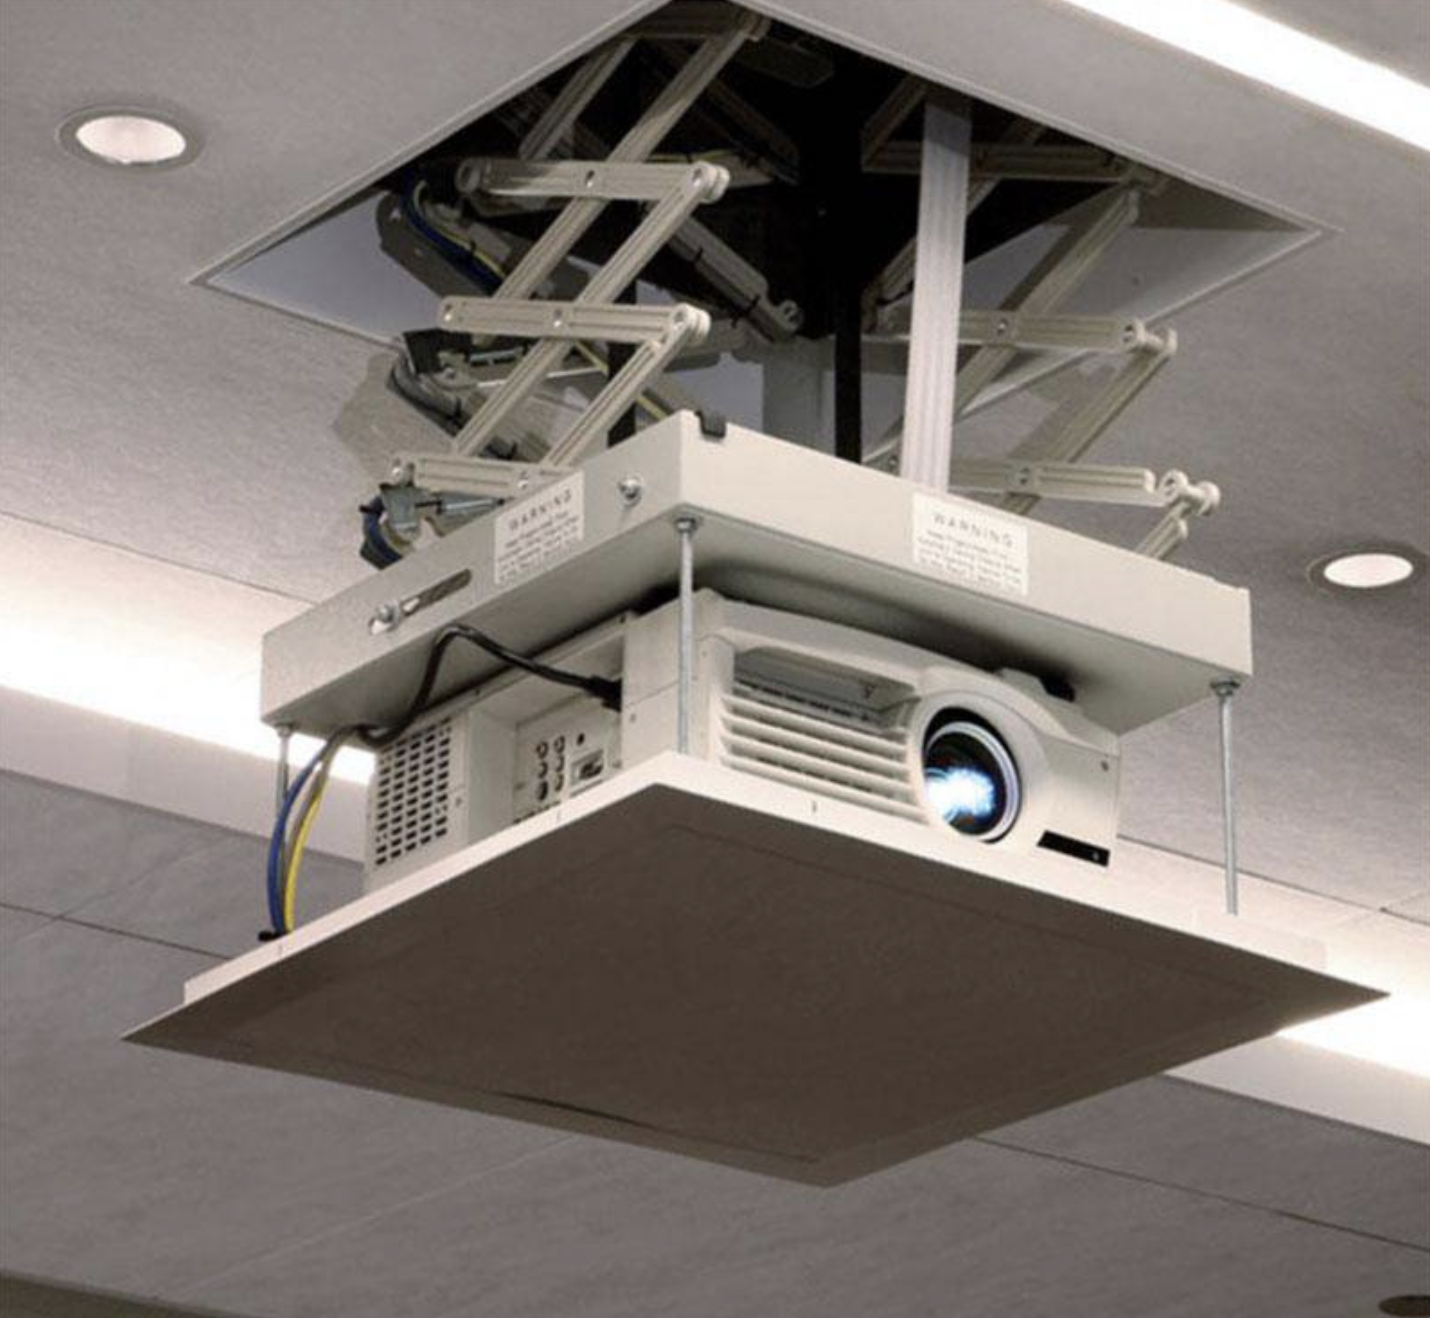
The Concept:
The idea is to base the design off of common commercial solutions that are used in classrooms and conference centers. Most of these feature a similar design that involves moving a mounting plate for the projector up and down via a cable system and motor. For rigidity these assemblies also include scissor style bracers on the sides to limit the sway of the projector while hanging. This allows for a compact size that can extend large distances.
Hardware:
There was a lot of trial and error that went into the design of each aspect of the final assembly to get a version that works. A lot of that probably could’ve been avoided by buying metal parts, but I was curious to see just how capable 3D printed parts could be in a machine application like this; so the entire mechanical assembly and housing are actually printed. I won’t go through every iteration and failed attempt but here’s a brief summary.
Scissor Lift:
The main challenge with the scissor lift was the design of connecting pins capable of withstanding the load without breaking and, preferably, be easy to assemble. This took a few iterations to get right. While I really liked how well this design worked at first, it unfortunately wasn’t robust enough to withstand the loading from the weight of the projector. The final design has held up great to daily use over months. Not only do the finished scissors work great for the lift, but they’ve also turned out to be a fun desk fidget.

Lead Screw:
I’m using a lead screws for a couple of reasons. For one they allow for the translation of the motor’s rotational motion to linear motion. Another major benefit is that the screw can drive the nut, but the nut can’t back-drive the screw due to the lead angle of the threads. That means I’m able to adjust the scissors to a specific height without worrying about the weight of the lift causing the lift to slowly lower.
Housing:
The housing is made up of three parts; the base which serves as the main mounting point of all the other pieces, and two side panels that act as the guides for the scissors. I haven’t talked about it yet but the base needs to support all of the electronic components as well. To accommodate those I’ve built in a number of features that allow me to both align and secure the components easily.

The Brains:
There’s no complicated computations required for this project so a basic microcontroller is all that is needed. That’s good news because size is also limited in this design so I’ve chosen to use an Arduino Nano Every which offers more than enough peripheral connection pins for the lift. This will connect to the motor controller, limit switches, and IR sensor.
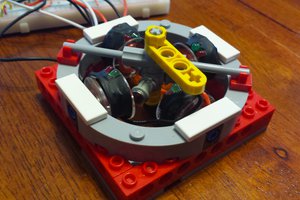
Motor:
Last but not least is the motor. You’ve probably already figured out from the photos above that I’m using a stepper motor here. A stepper motor is perfect for this because it allows me to define exactly how many revolutions I need in order to have the projector stop at the perfect height. This is dependent on the pitch of the threads on the lead screw and the travel of the scissor lift but can easily determined through some testing.
Assembly:
Now the fun part. With everything printed and electronics working, it’s time to put it all together.

I’m really happy with how well this thing works. It’s fun and easy to setup for a movie or show at anytime and makes our room really feel like a theater. After subjecting the lift to daily use for over 6 months, the parts have held up really well and the lift continues to function great.
One Last Thing:
I'm trying something new and have actually built my own website as a place to showcase my projects and build a portfolio! If you're looking for more information about this project, I'd really appreciate if you took the time to check it out here:
And if you're looking to build...
Read more »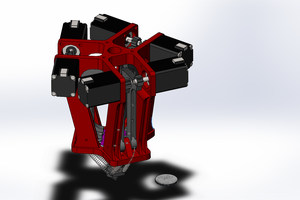
 David Brown
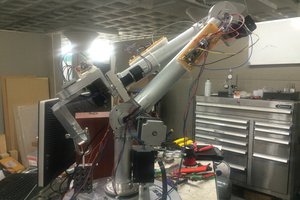
 Colin Kingsbury
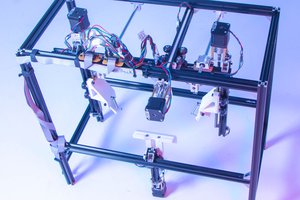
 Adam Smallcomb