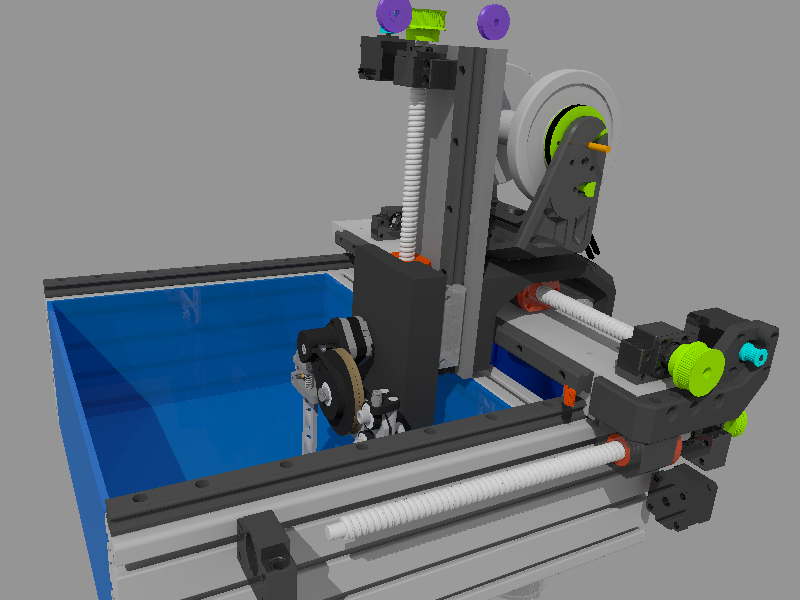
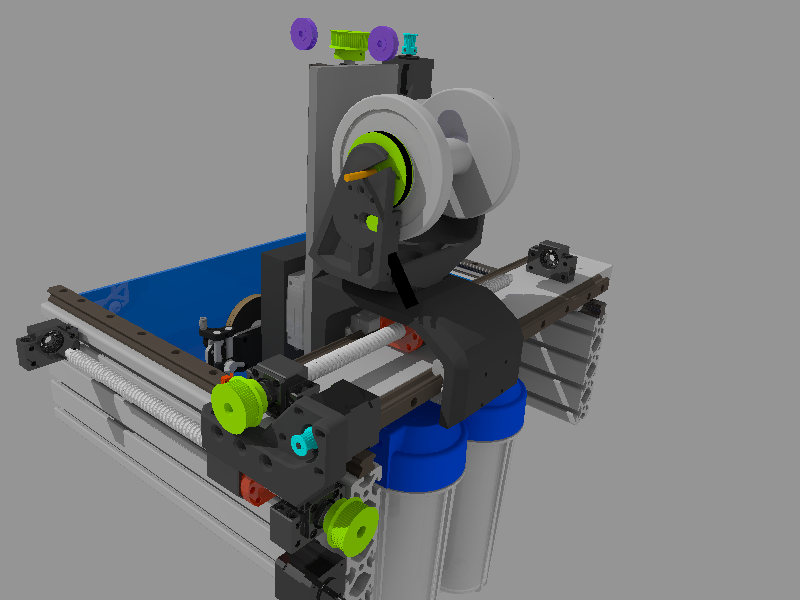
 gedm-dev
The G-EDM ( new video )
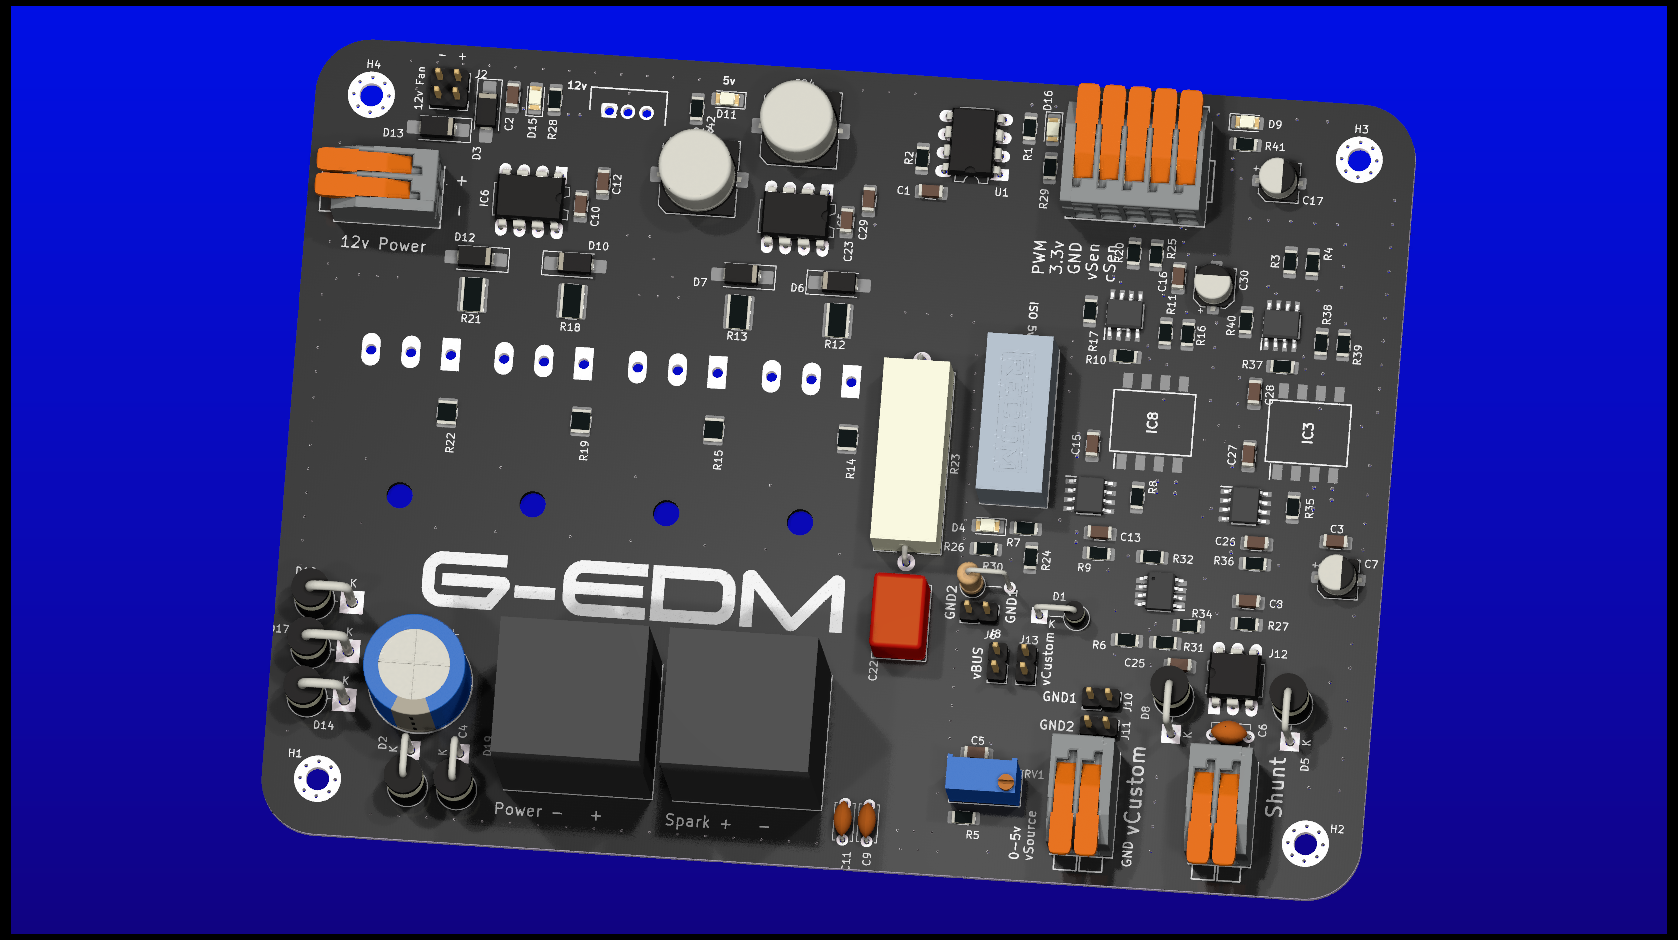
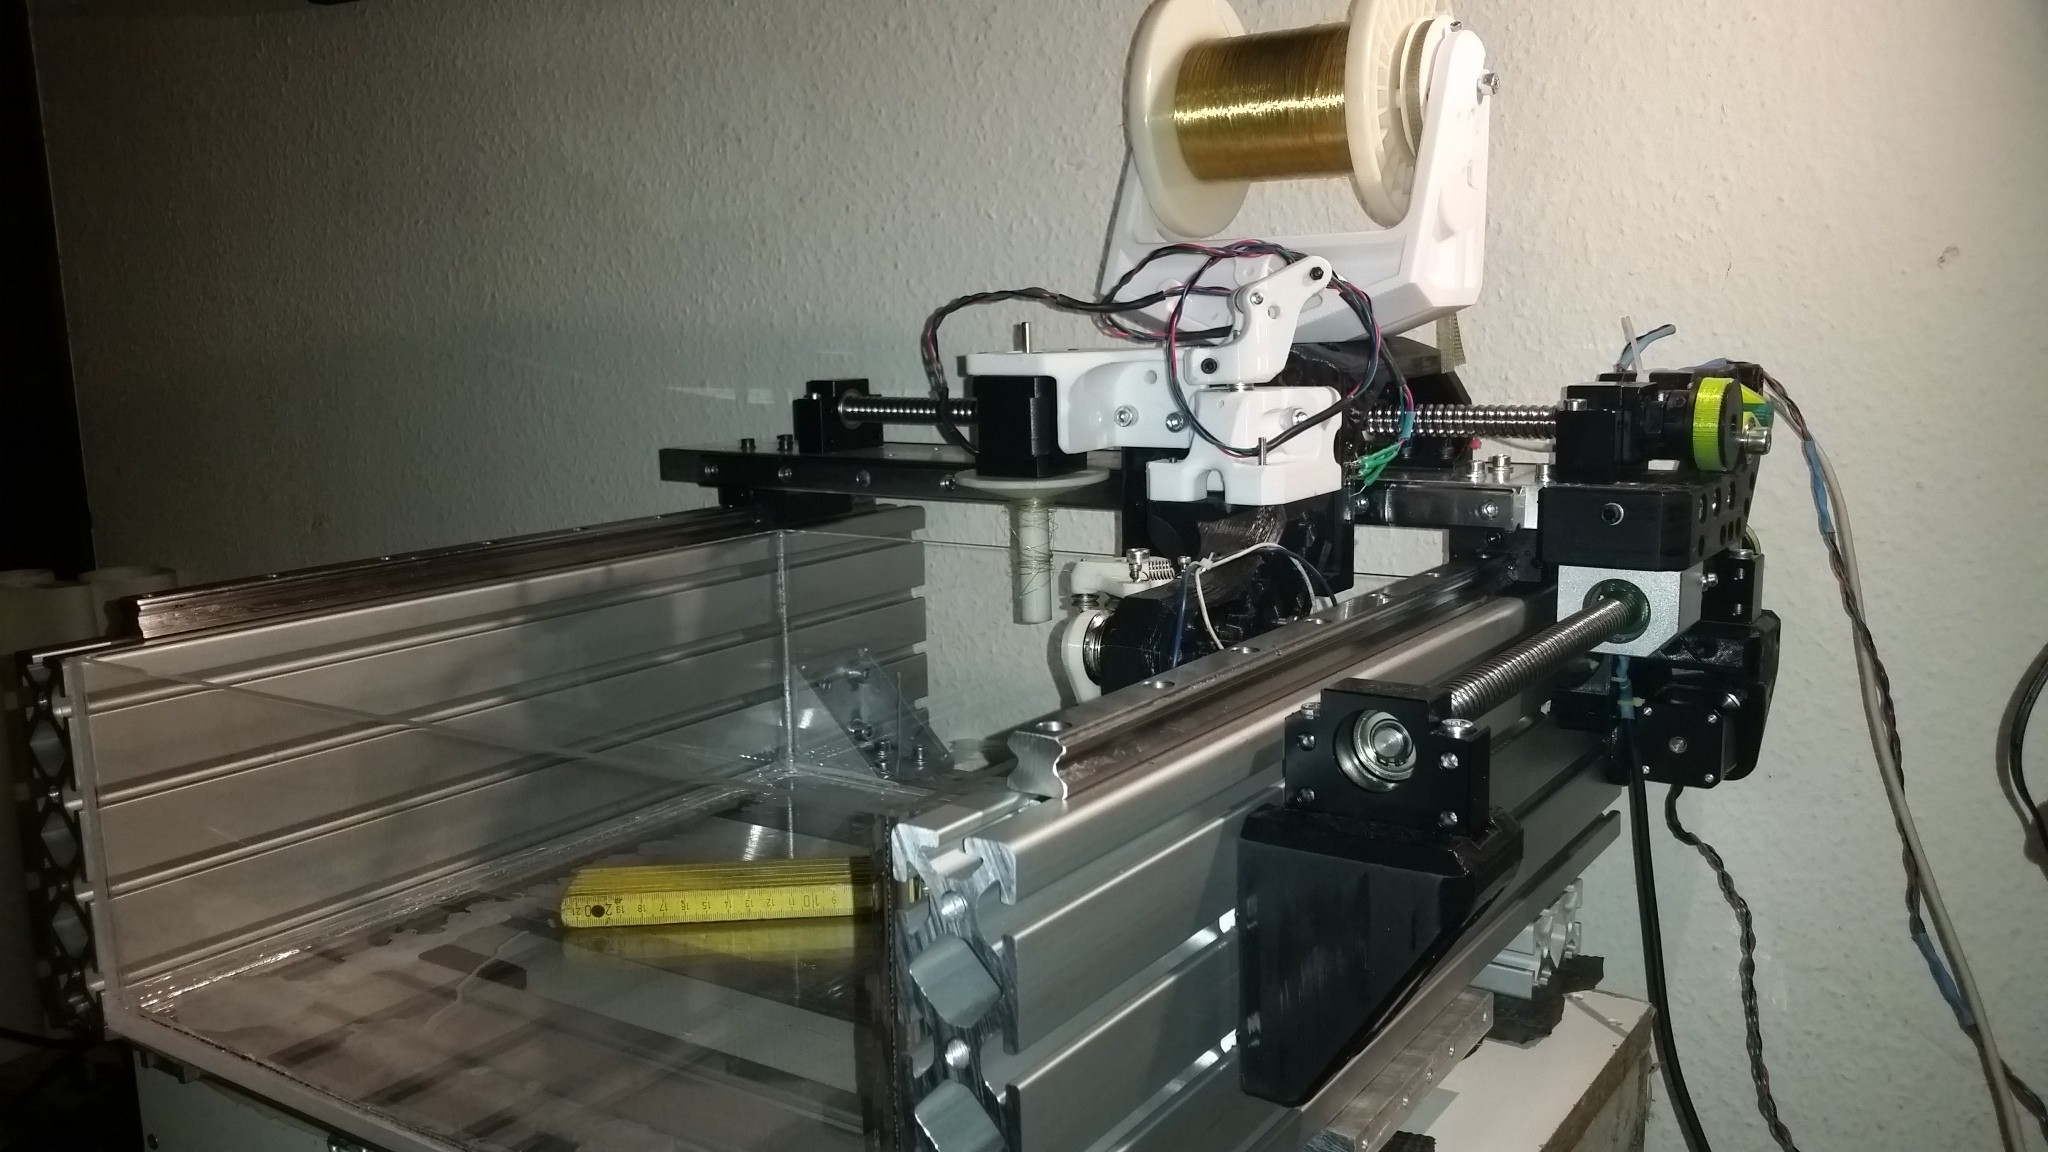
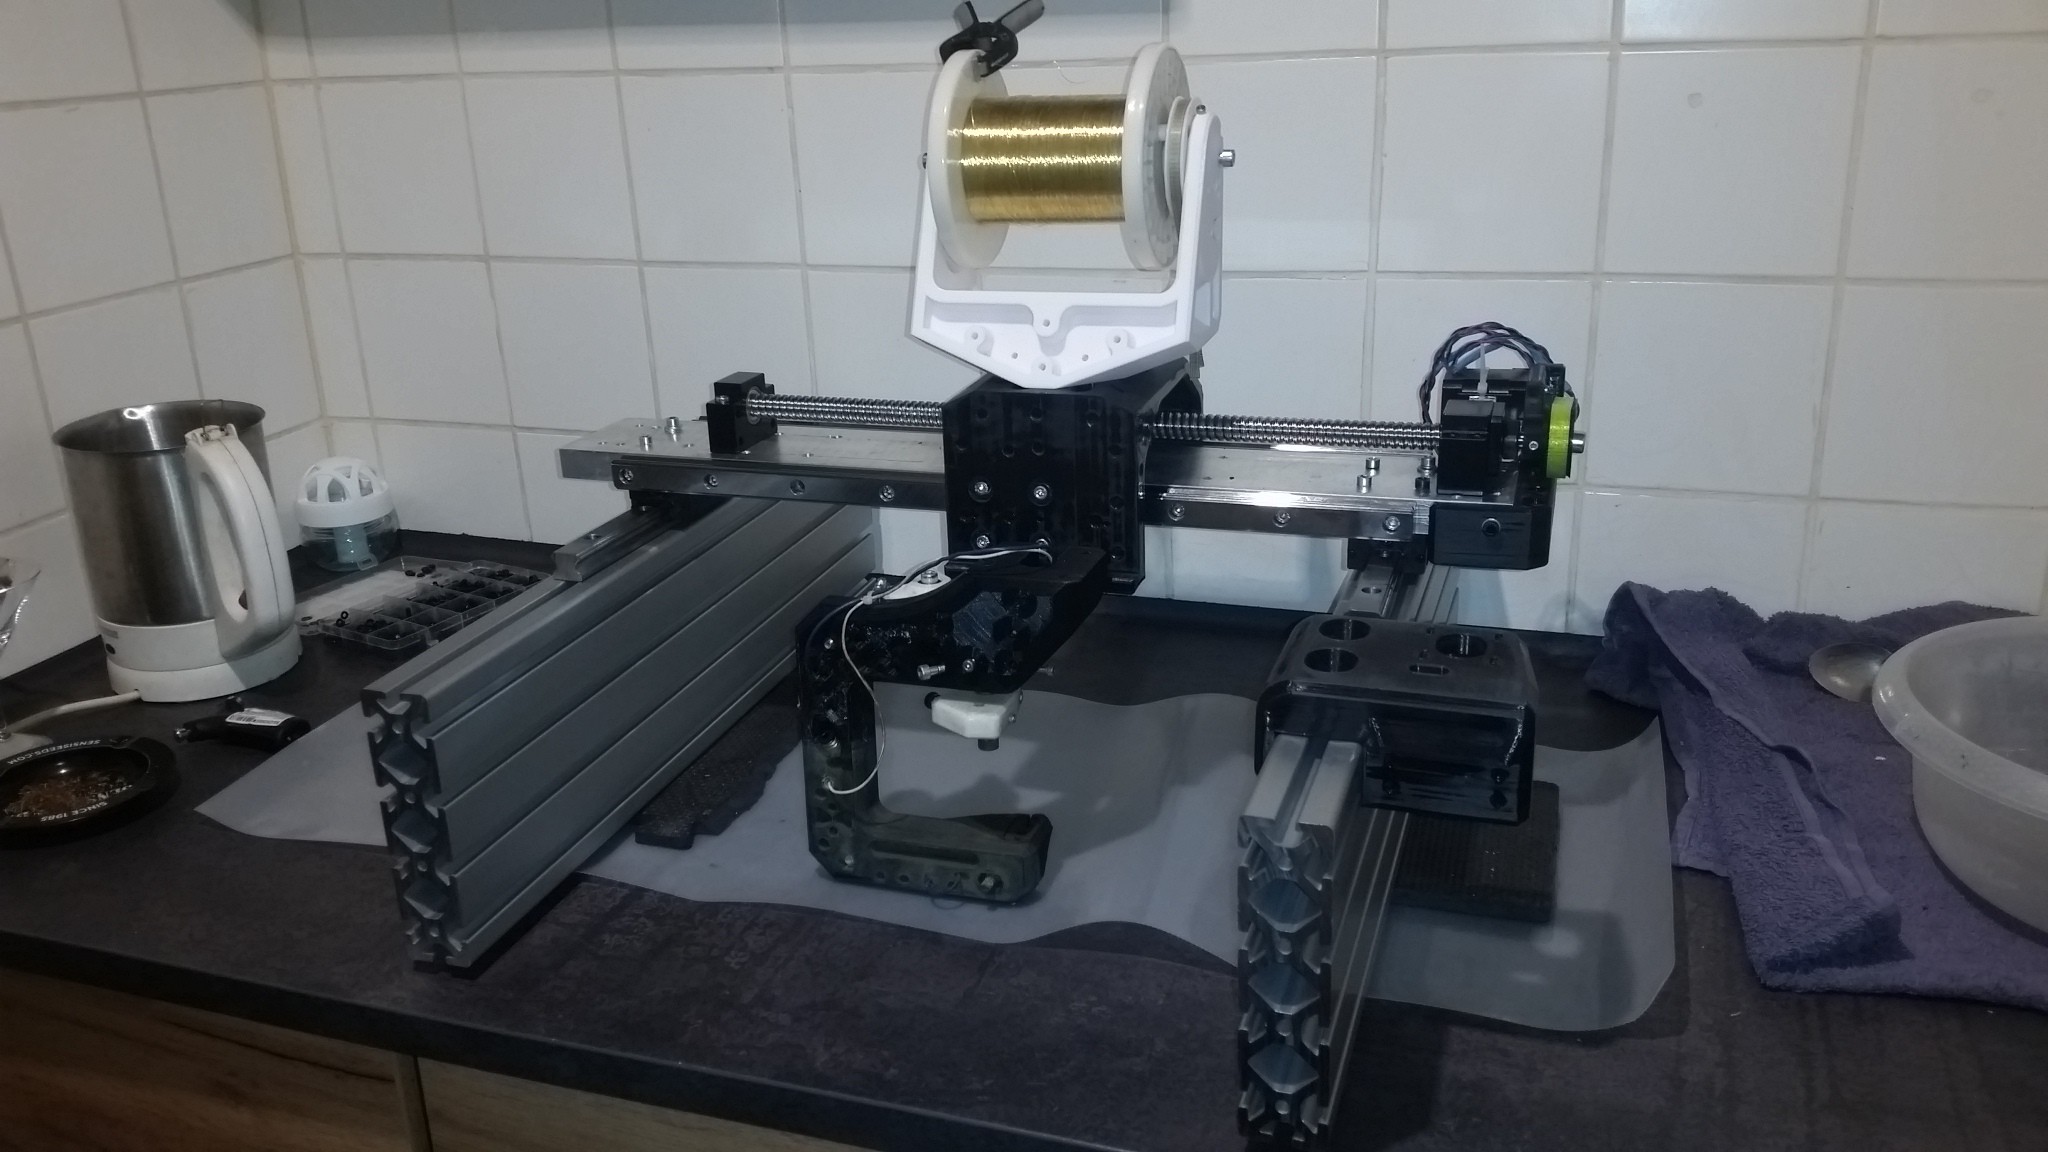
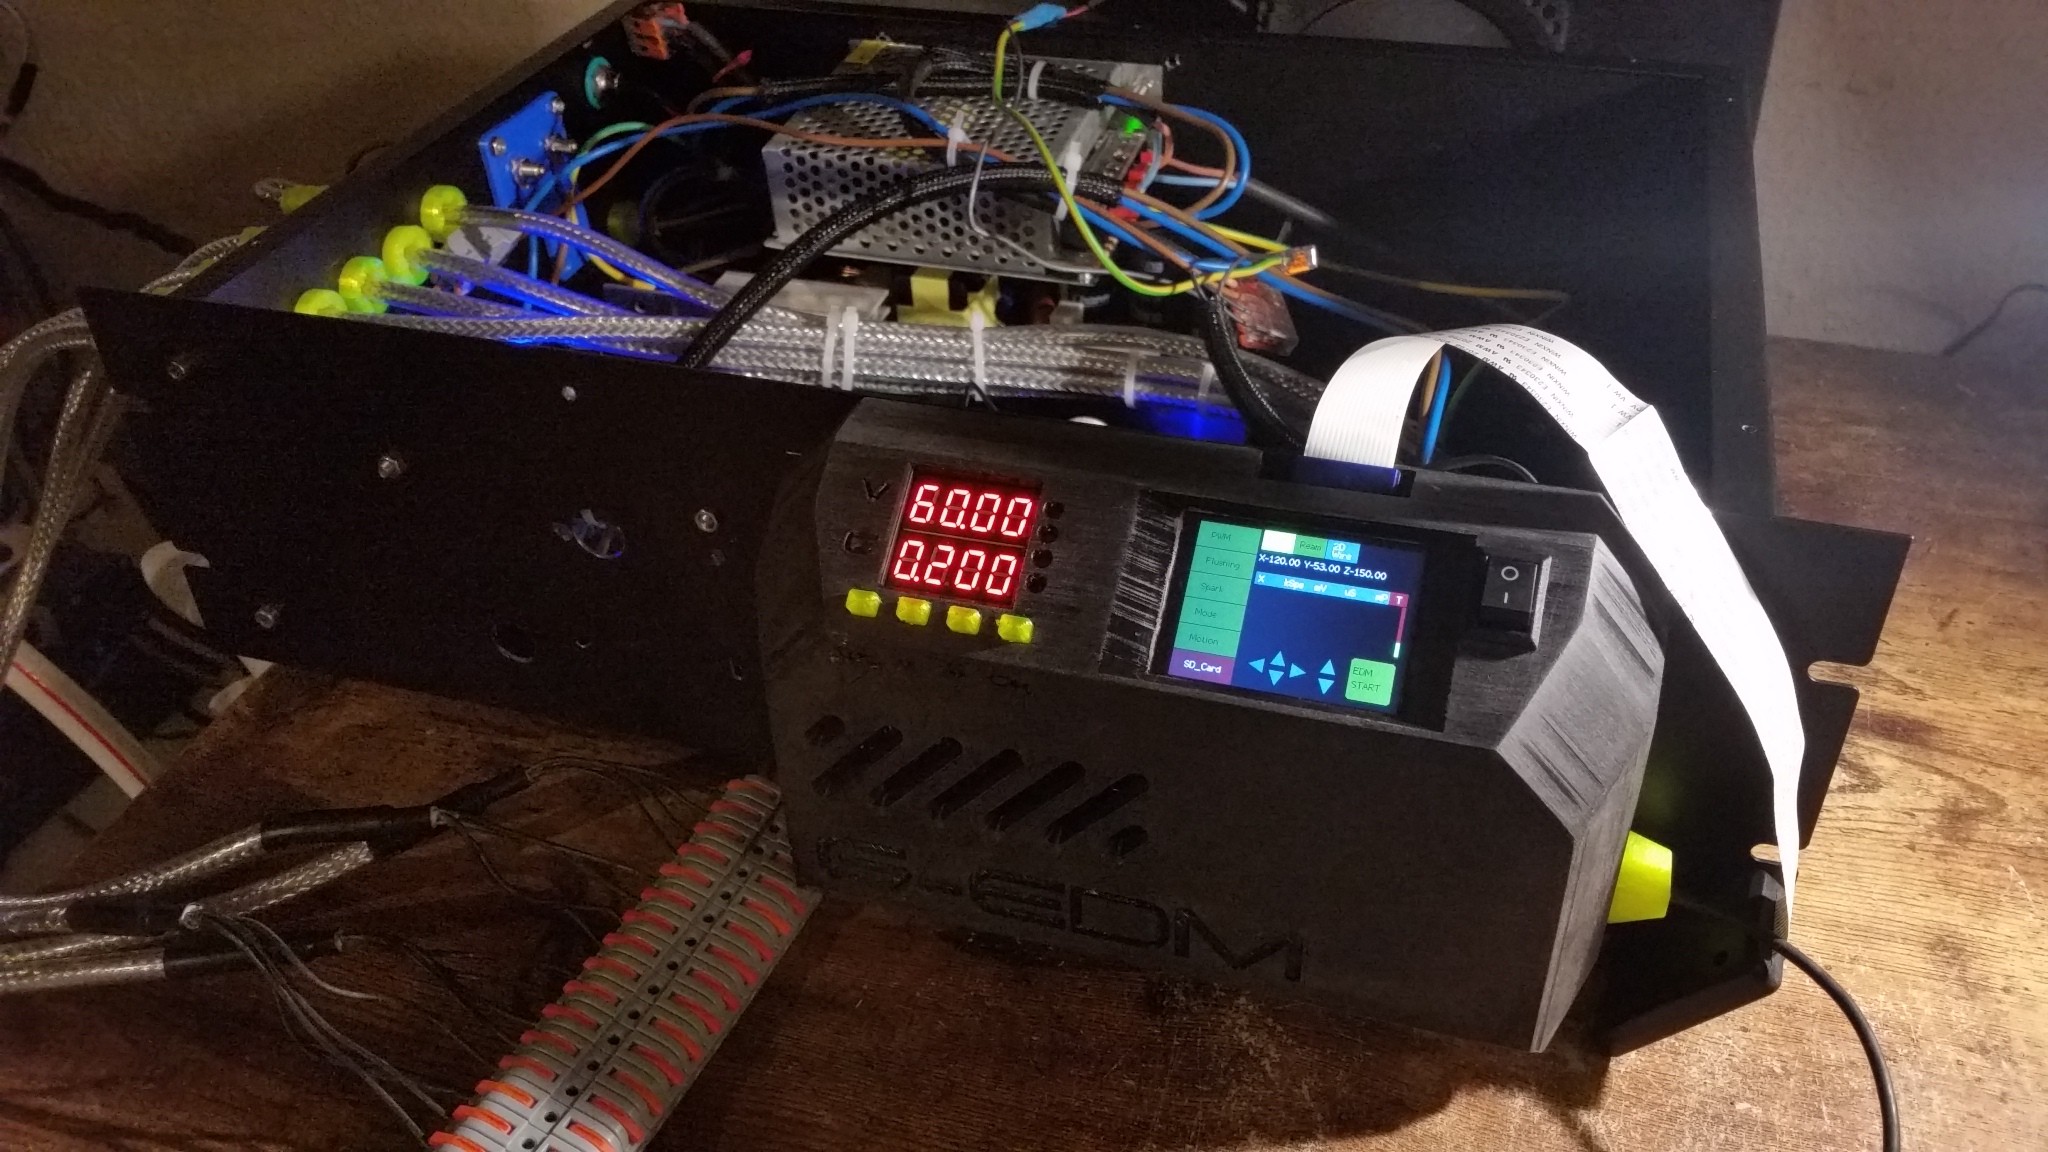
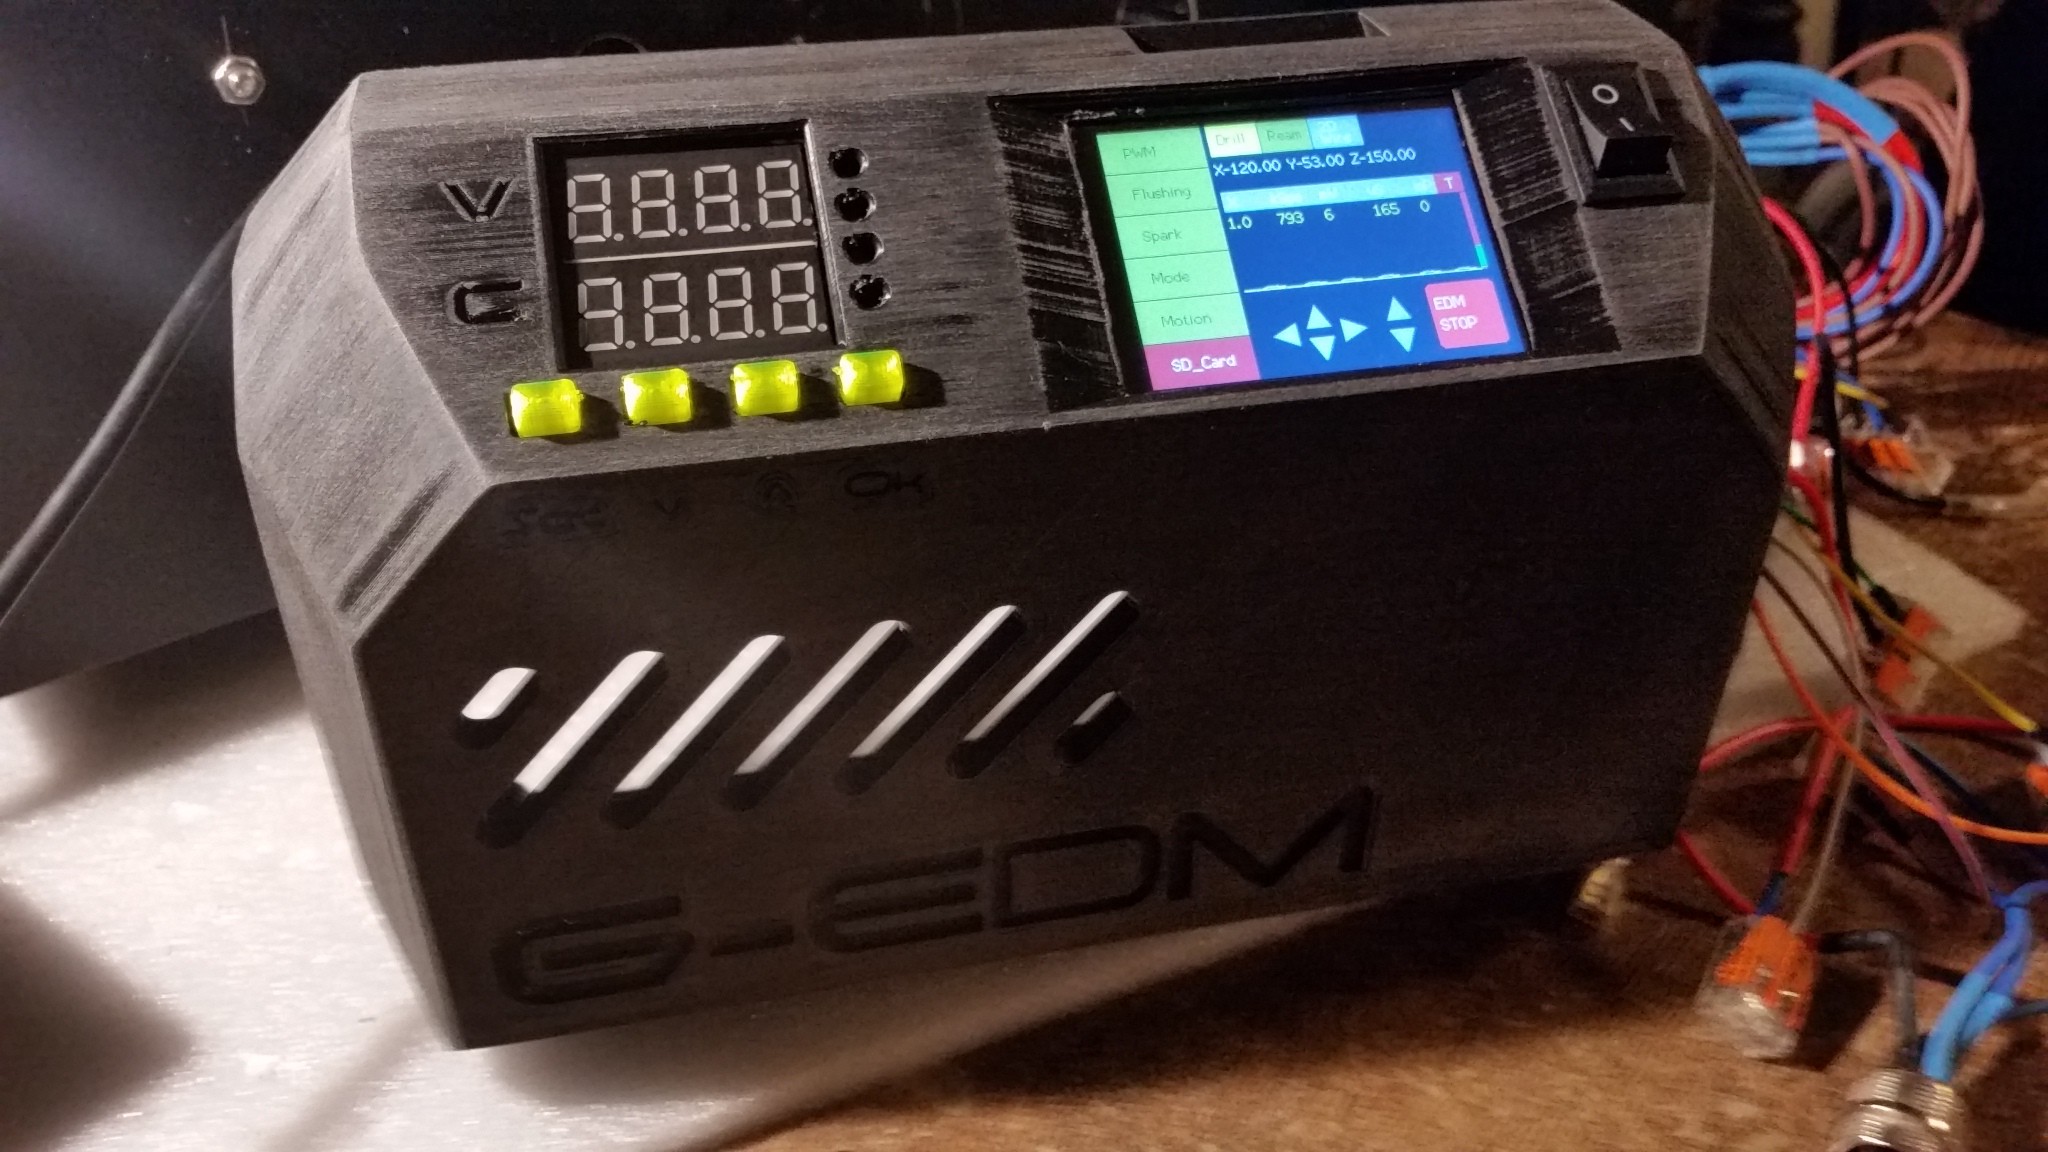
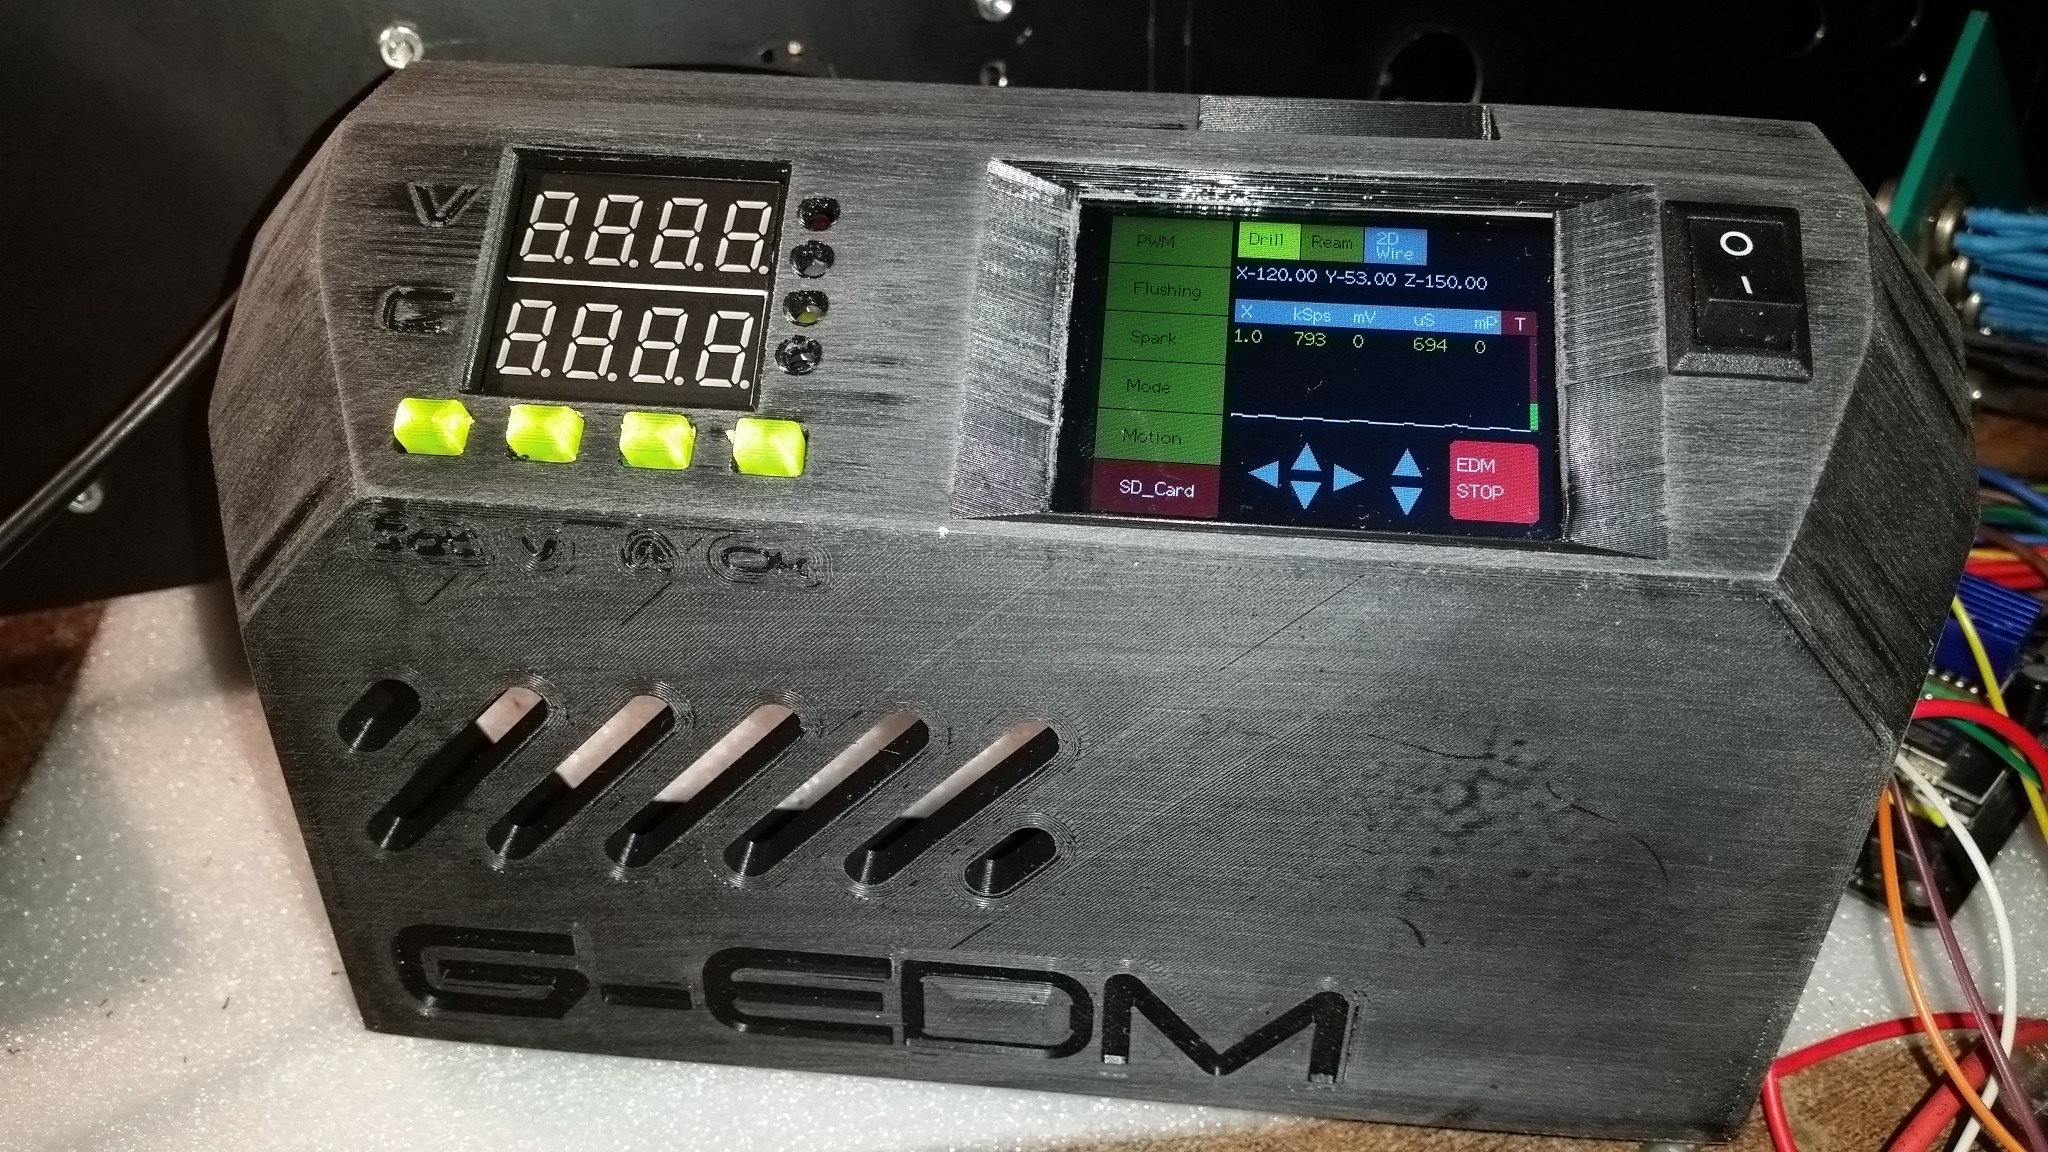
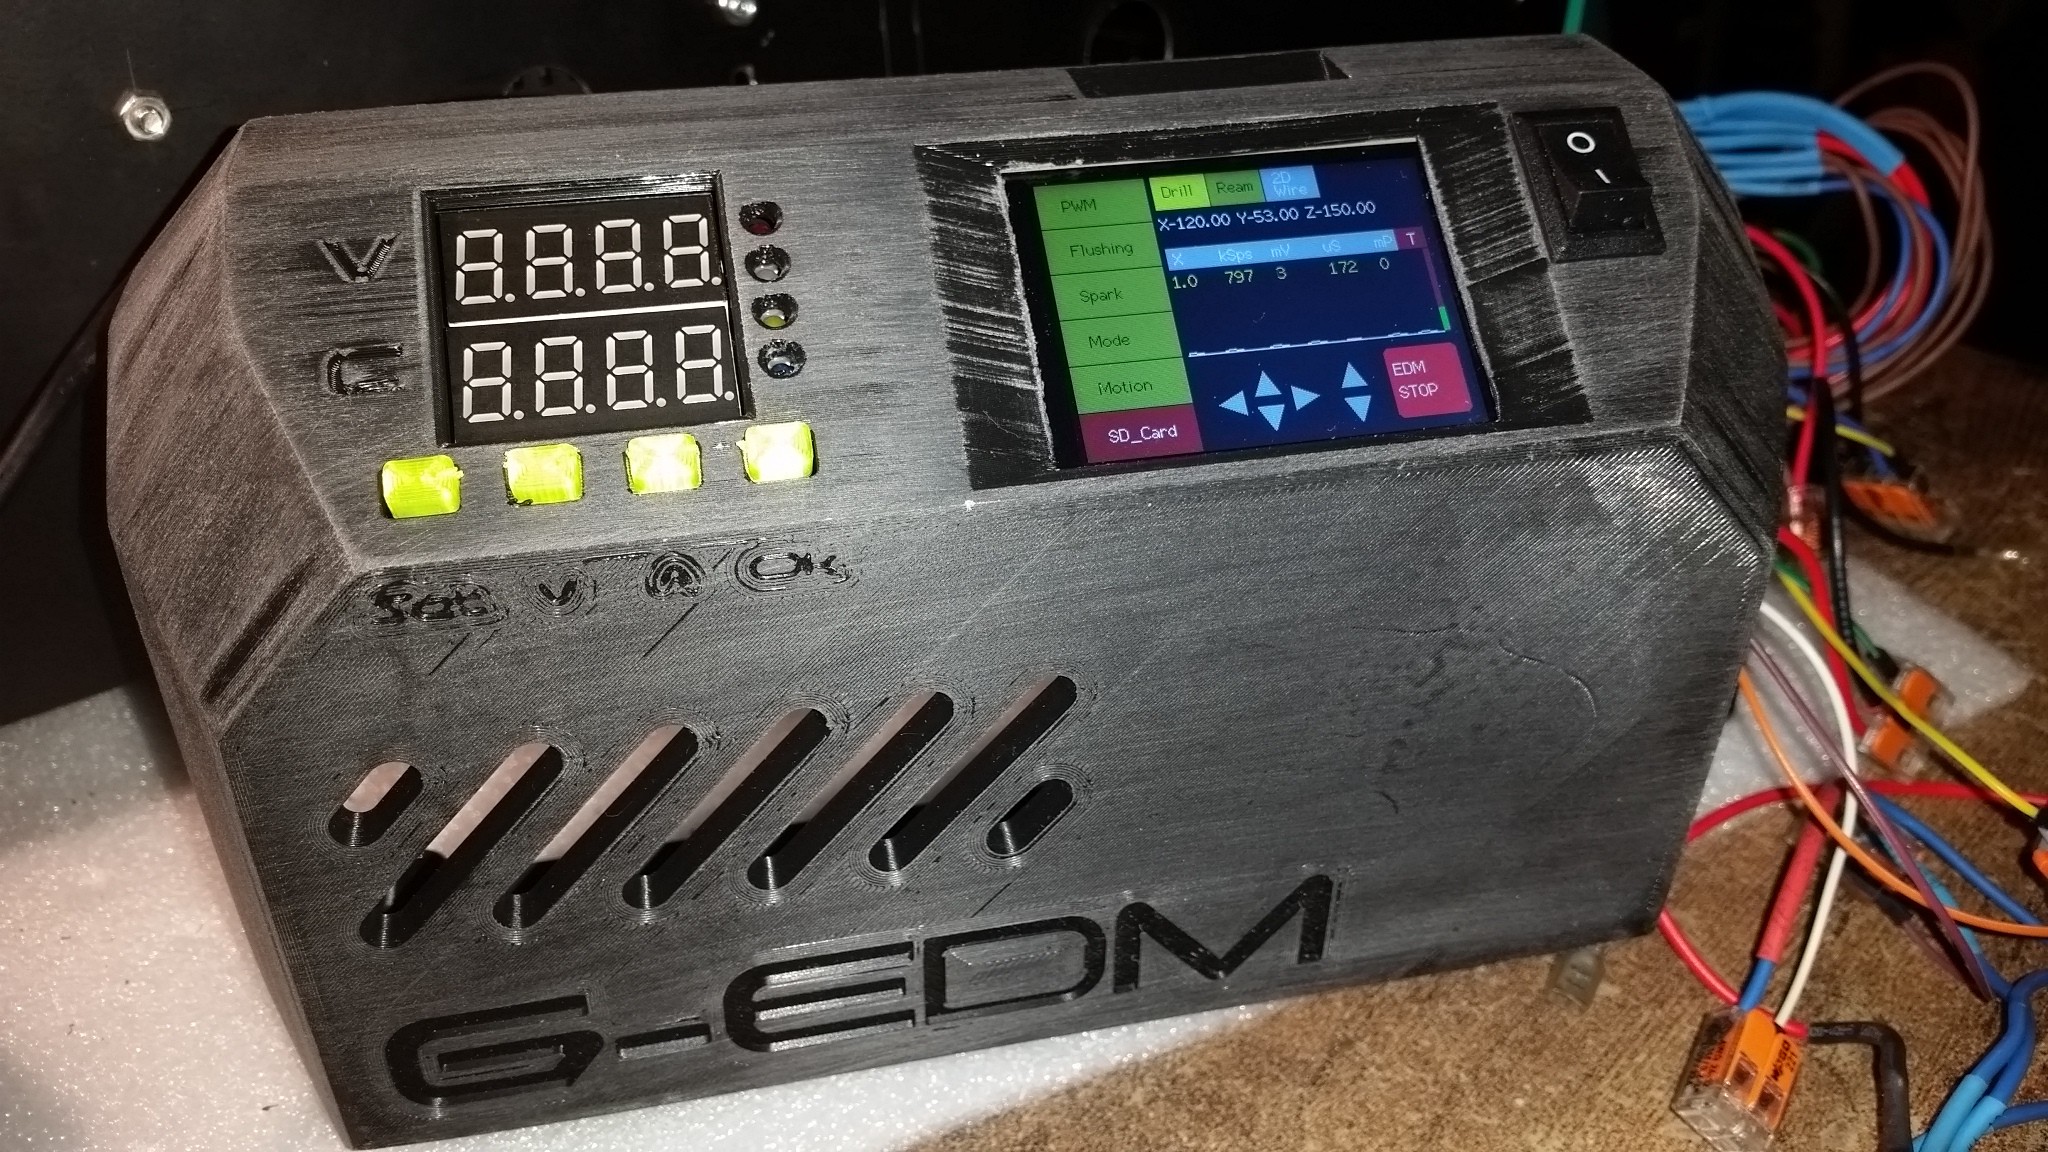
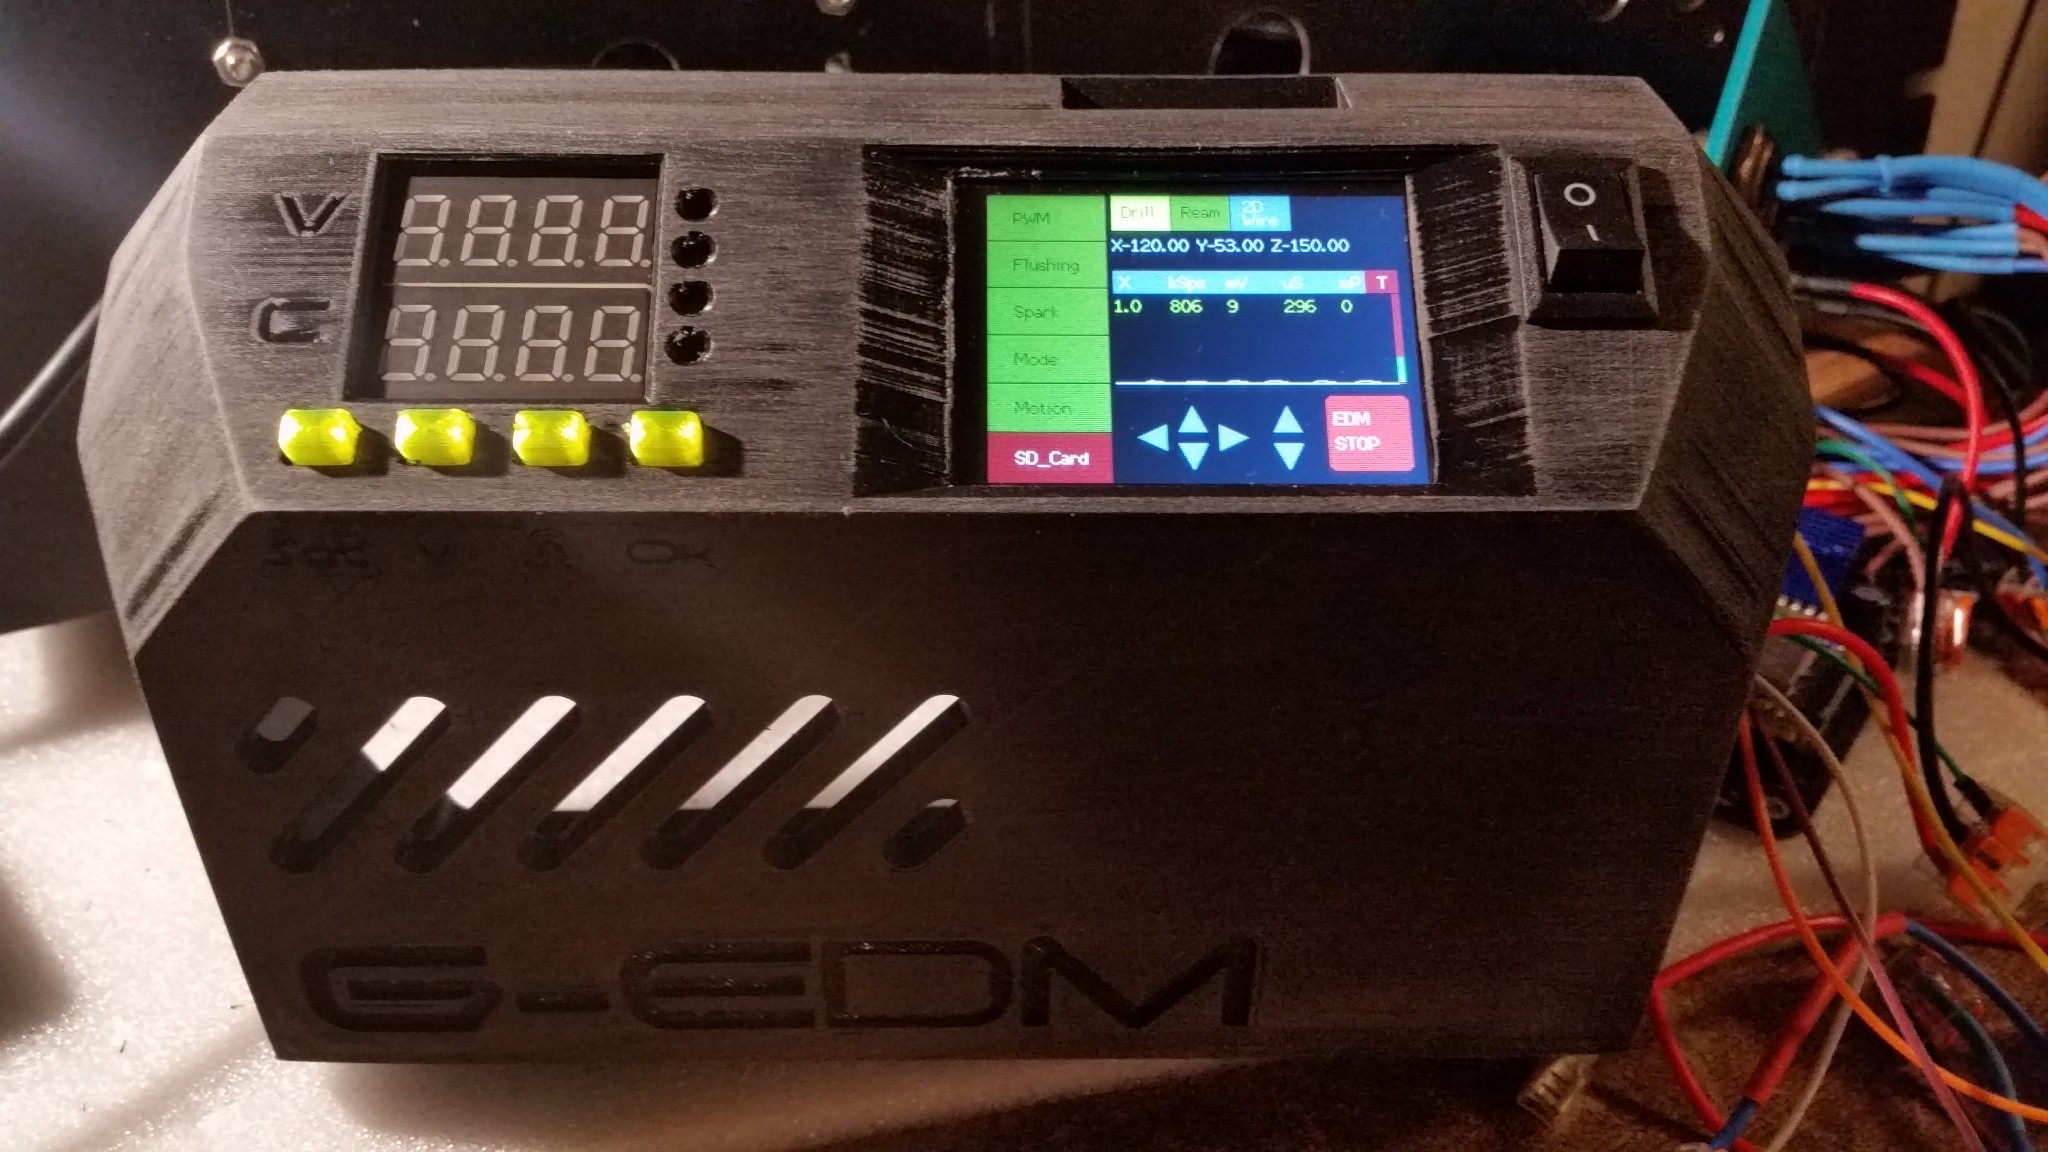
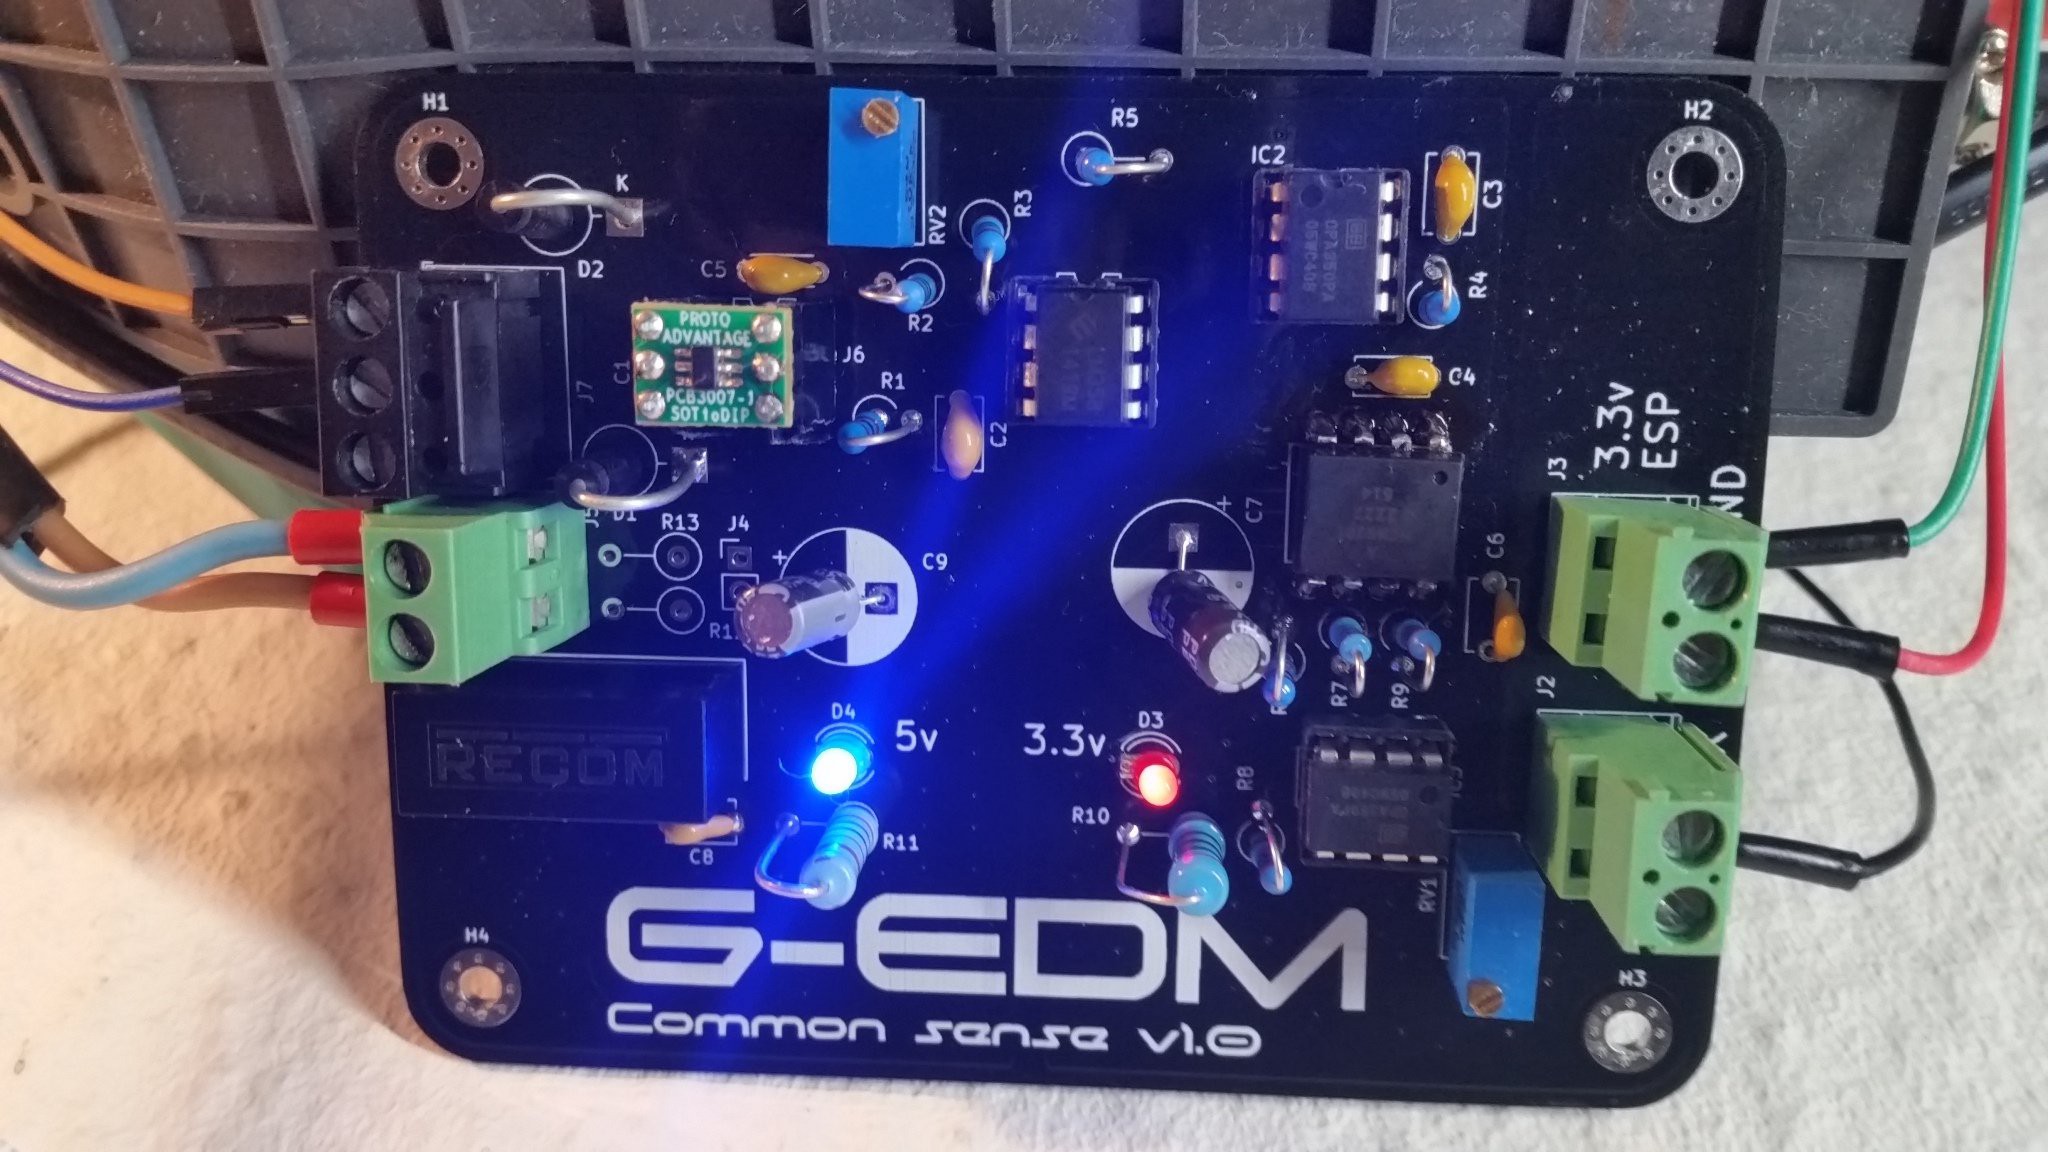
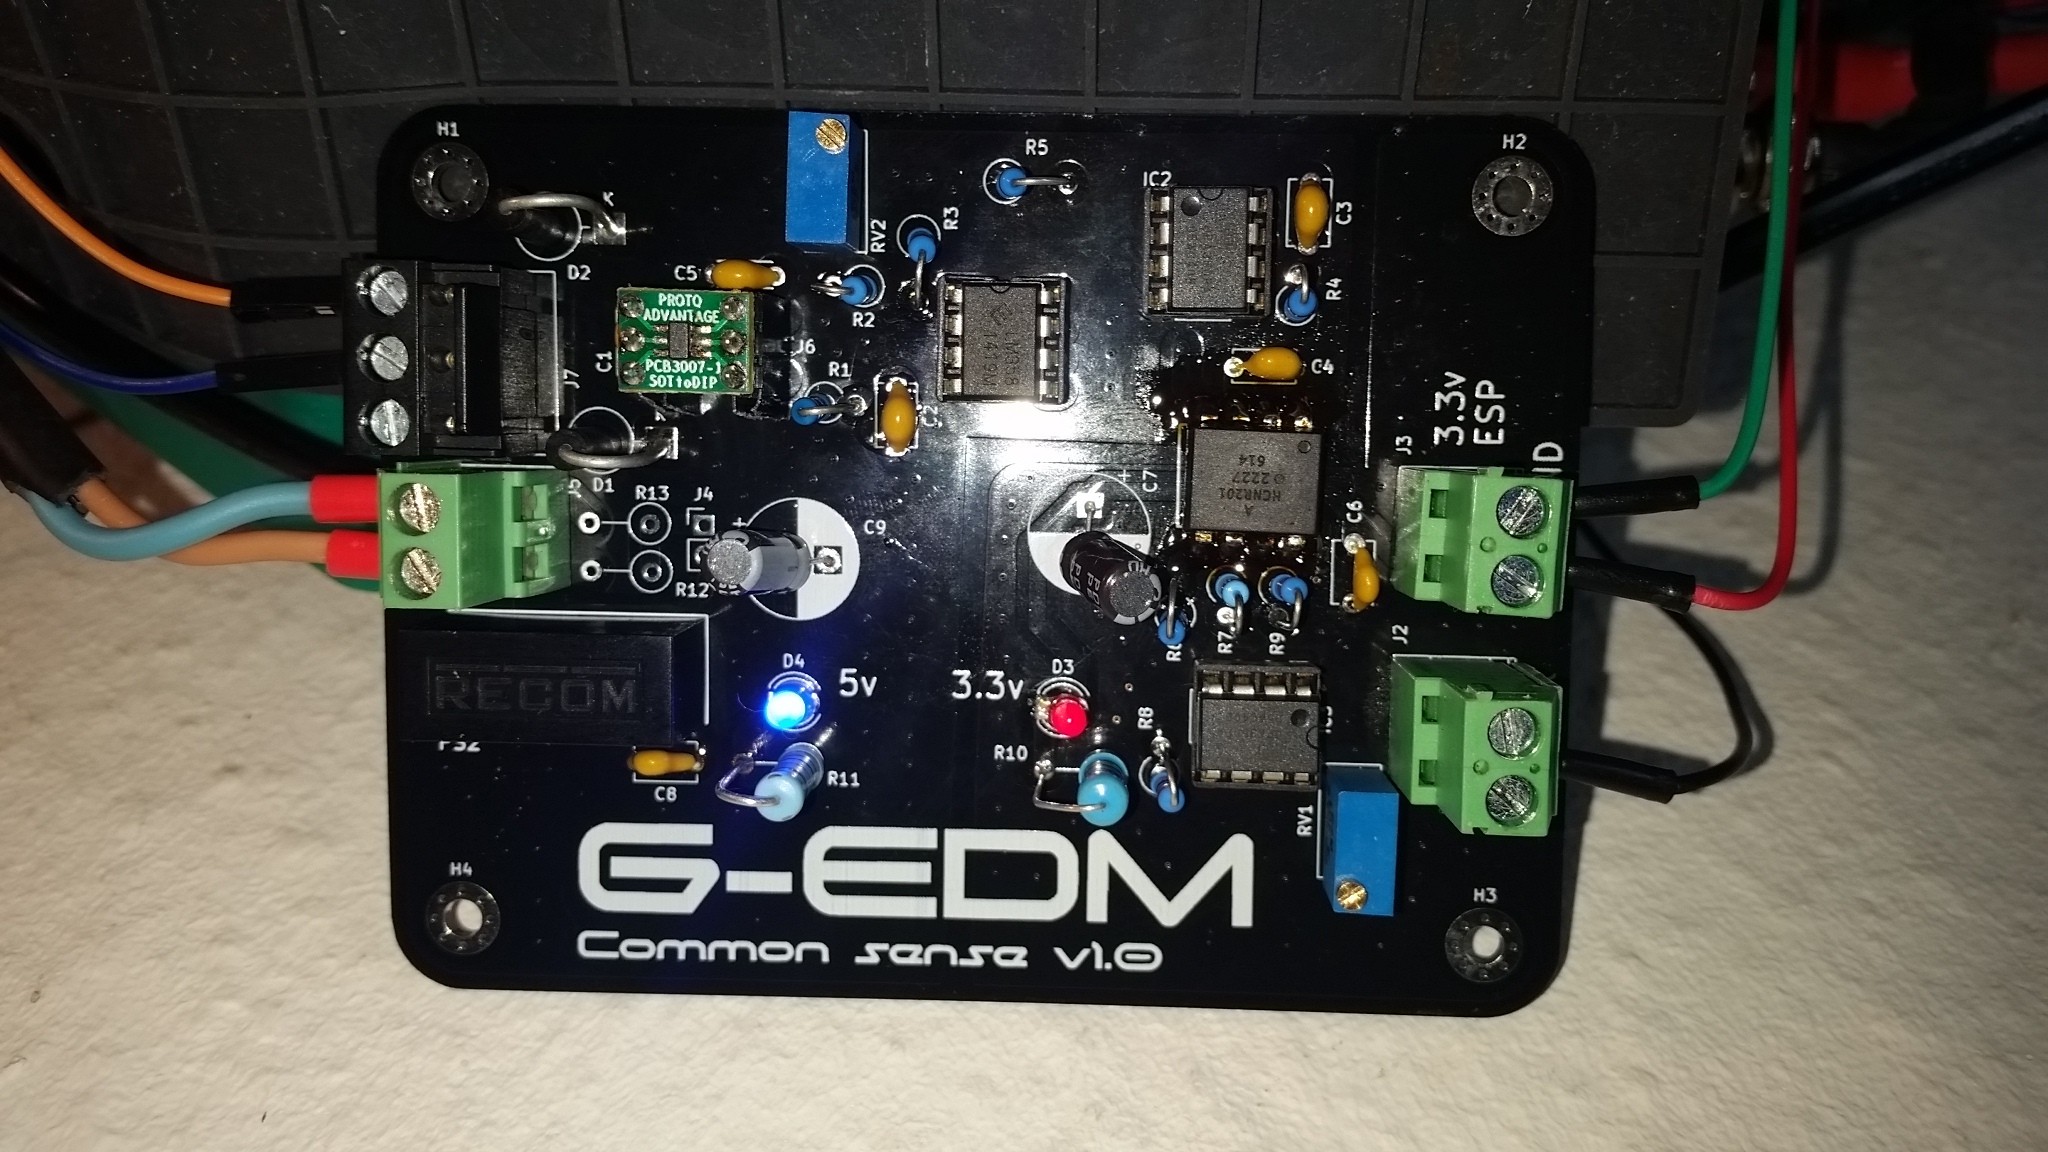
The final version of the control panel:
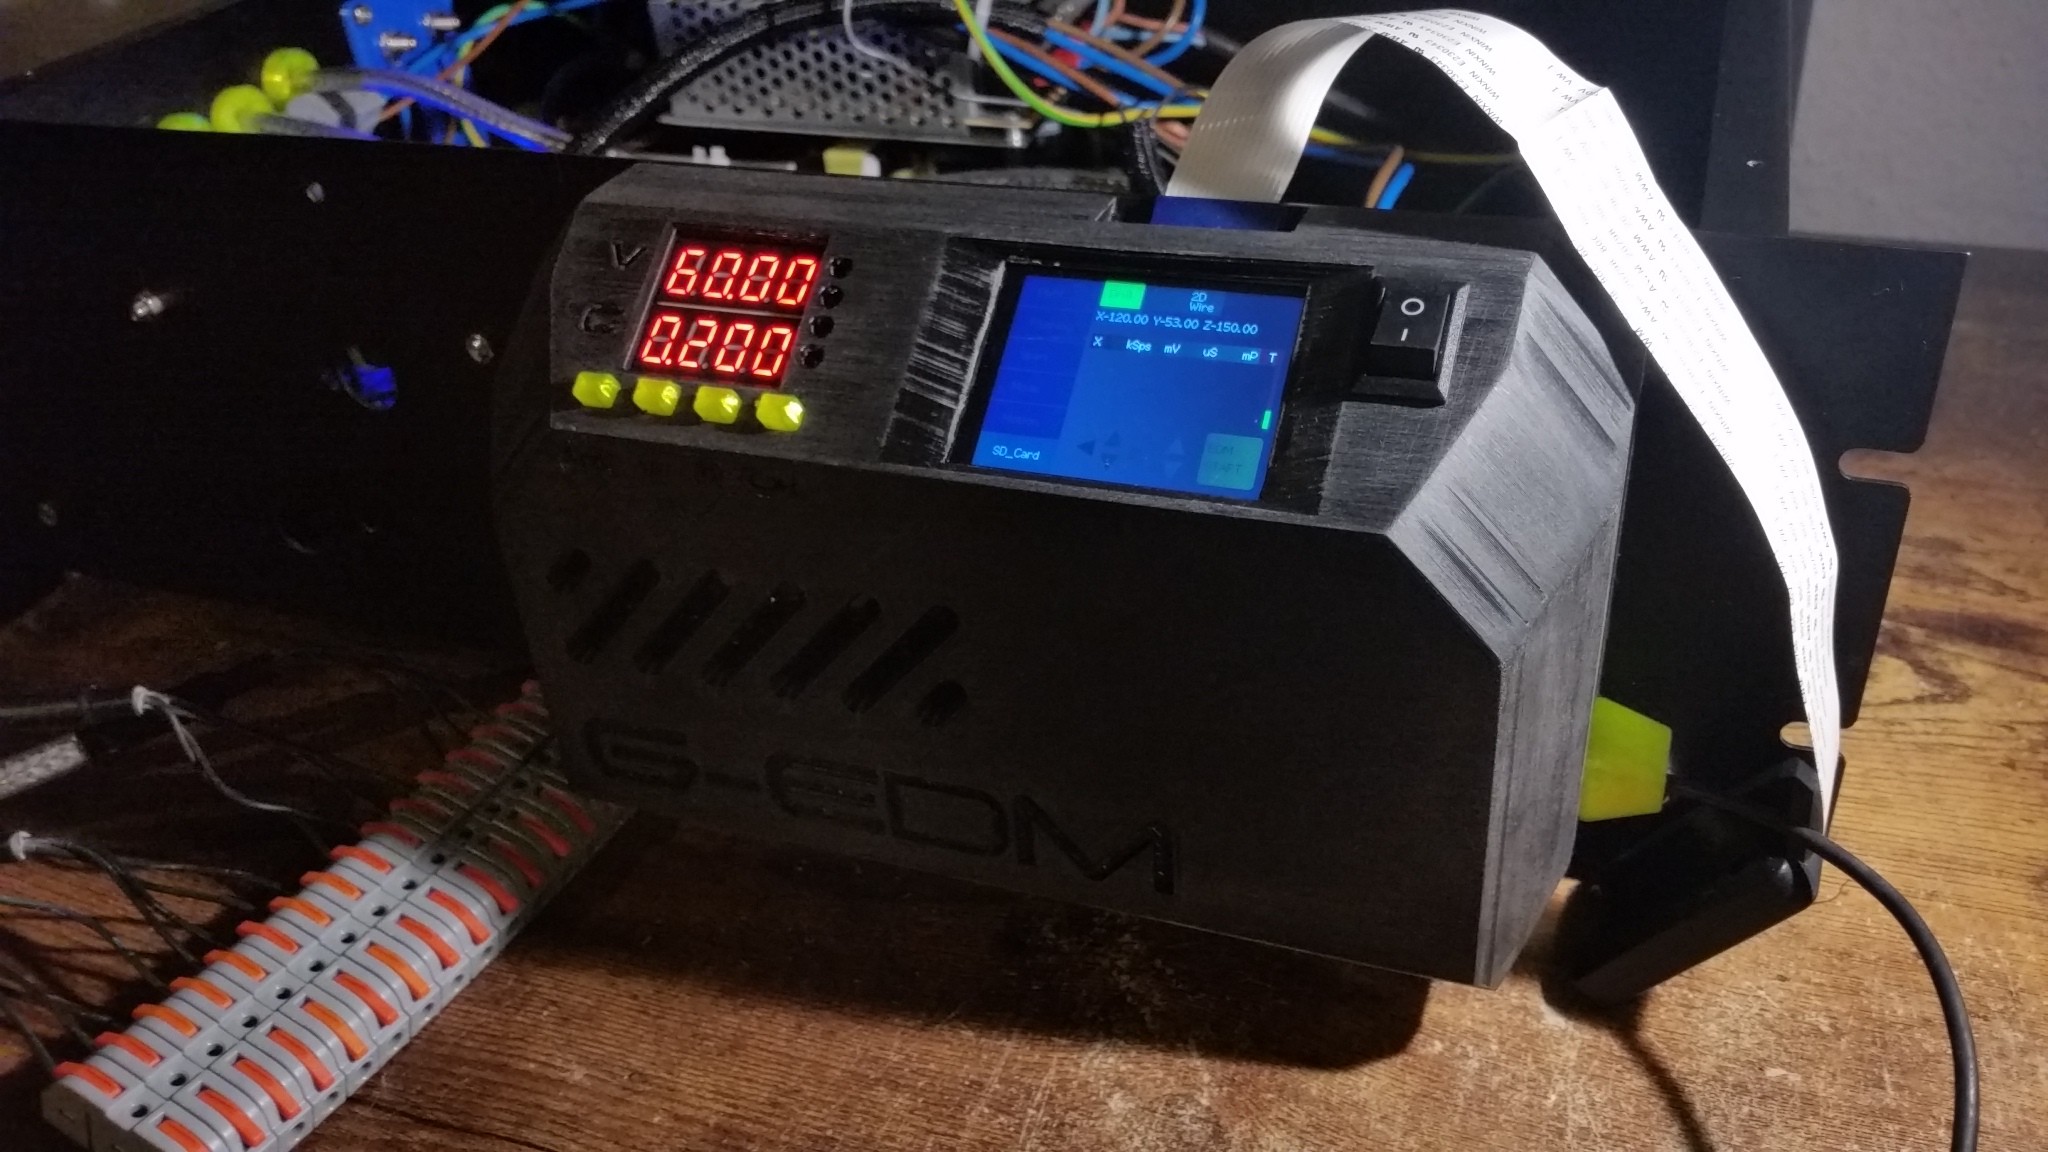
And more details:
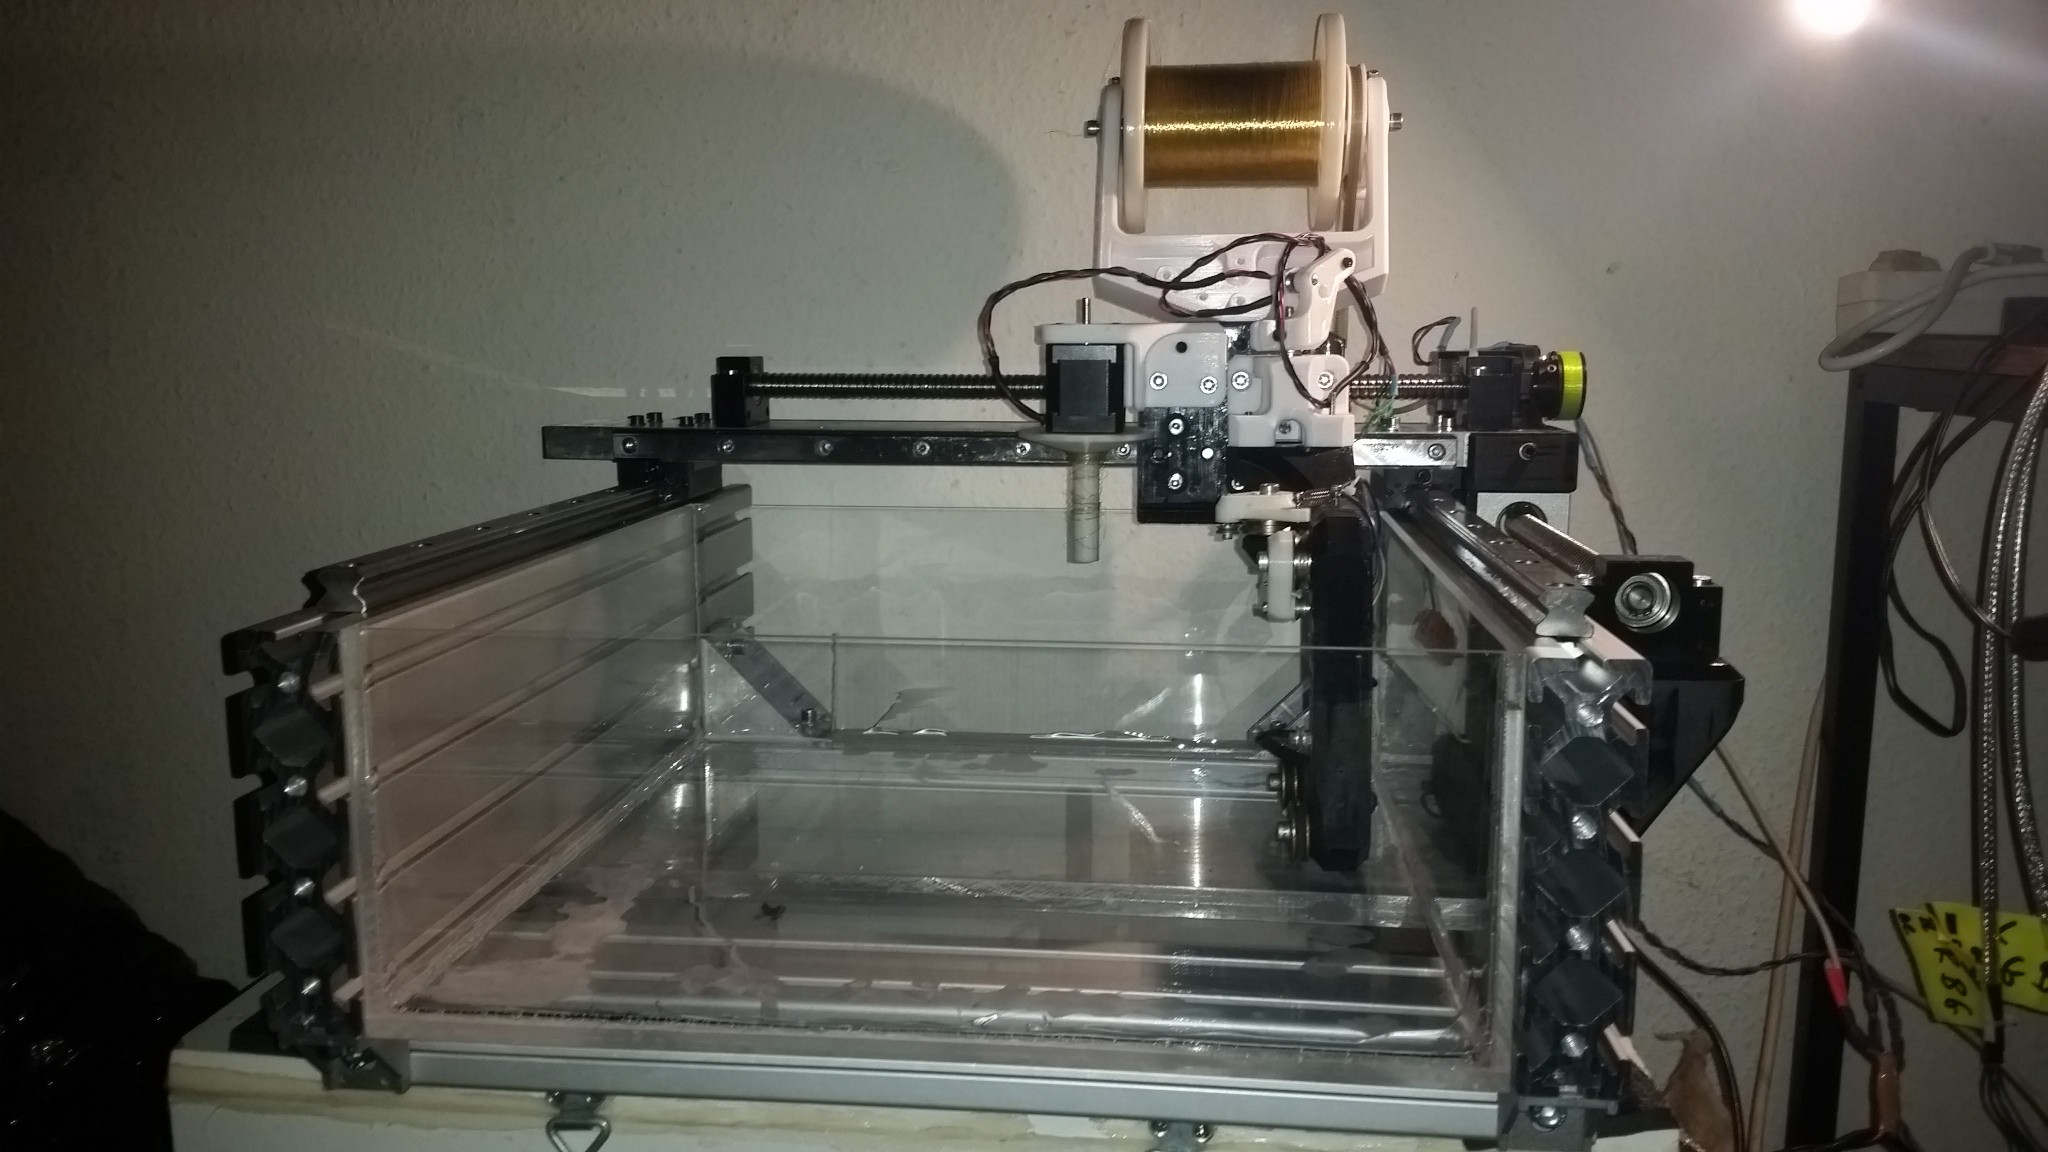
EDM can create a lot of EMI noise and therefore the spark generator needs to be in a shielded enclosure. But even the electrode and the spark itself create noise.
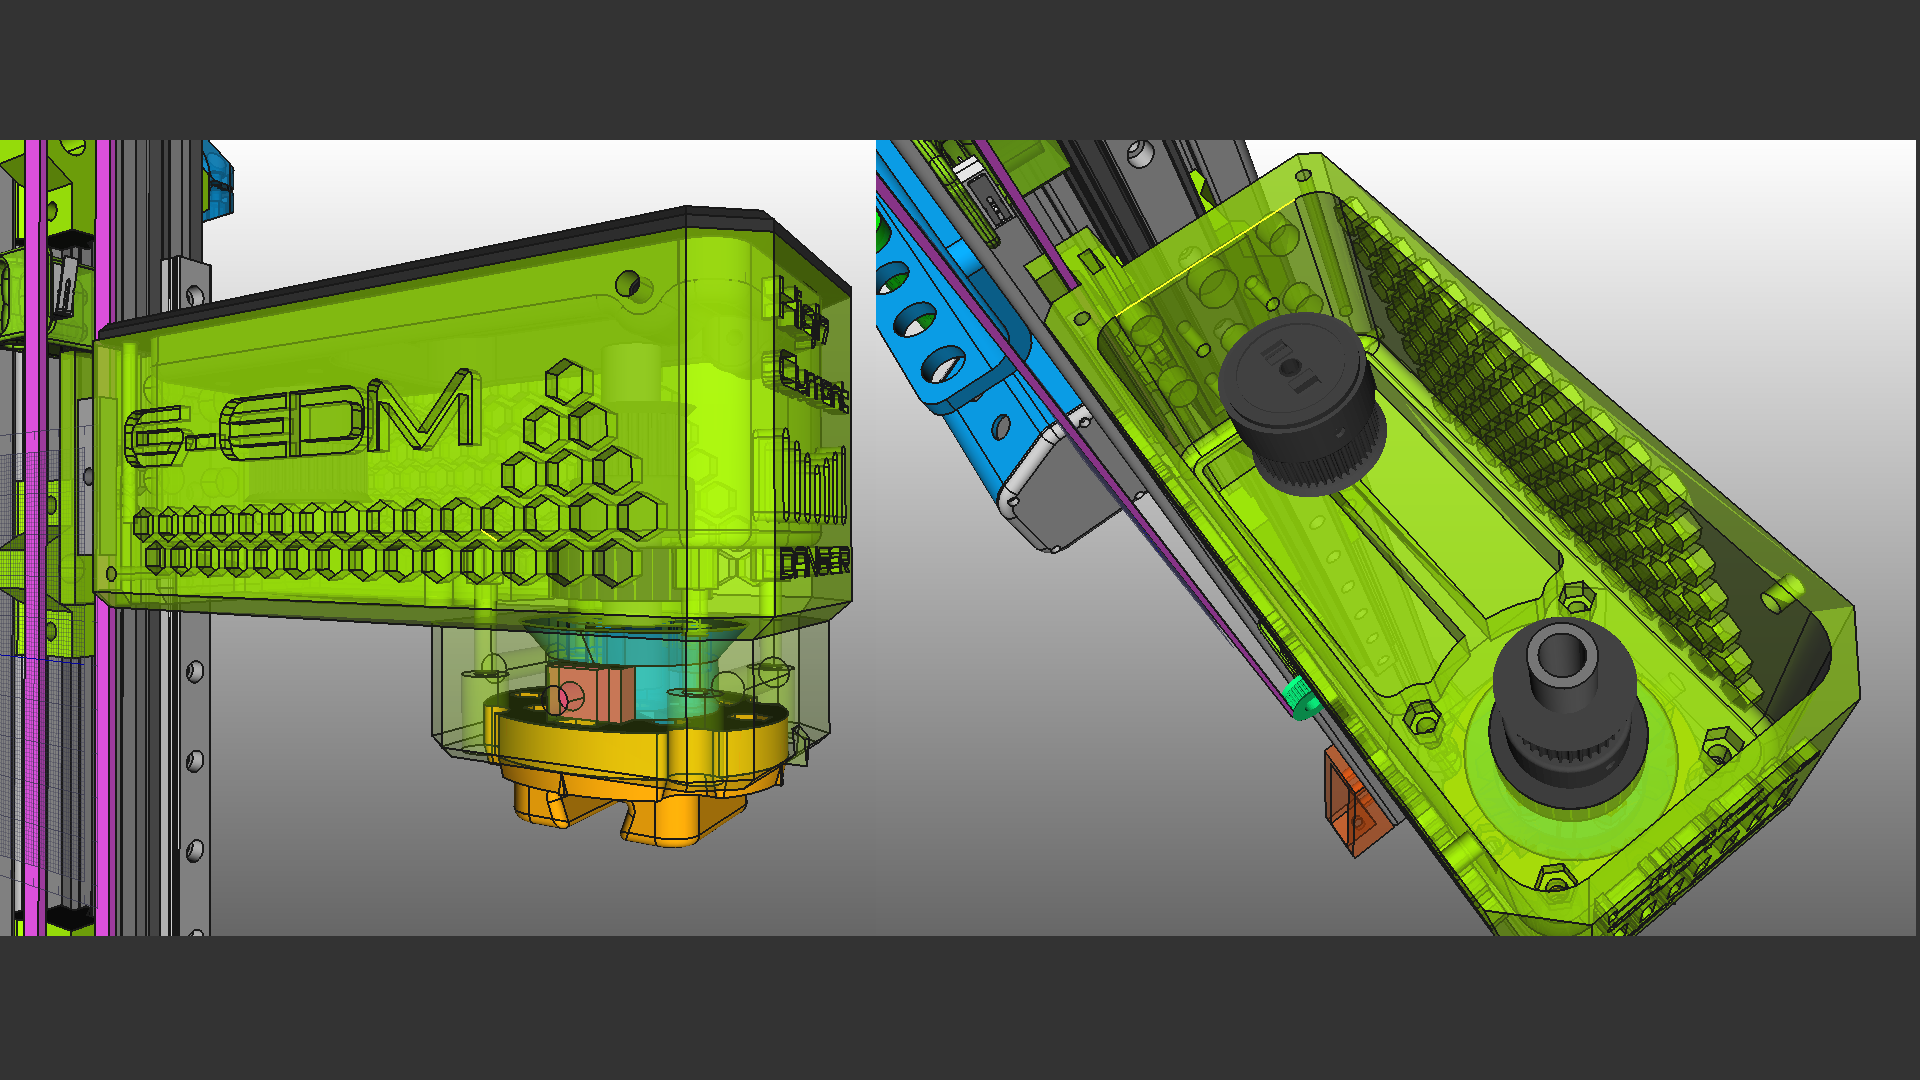
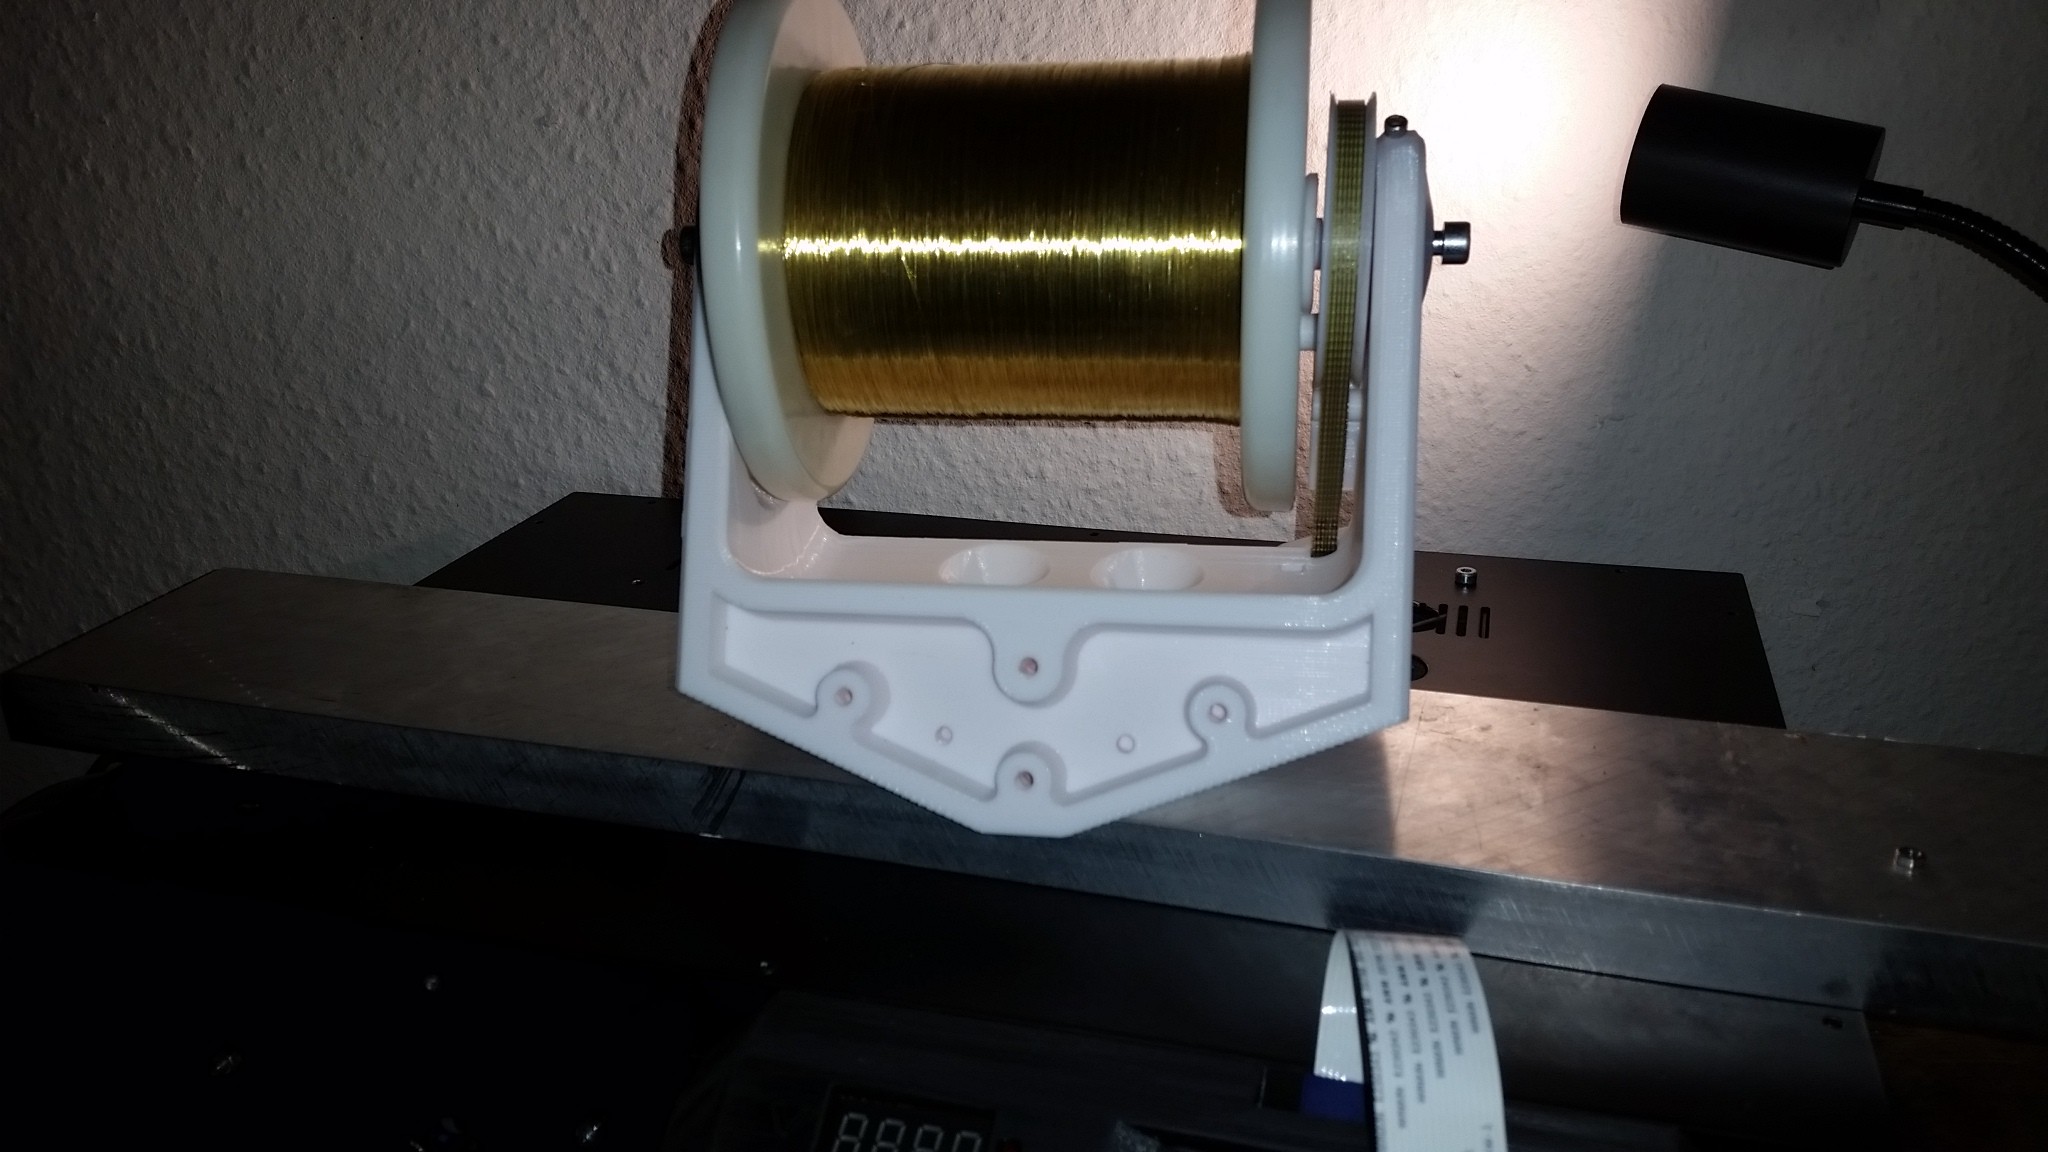
In the first builds the negative spark wire was mounted to the rotary drill chuck within the tool head. But this converted the electrode into a antenna with enough power to shut down the communication between the ESP and the display.
This highly depends on the Amps used, the duty cycle of the pulse and the length of the electrode but I decided to just connect the electrodes as close to the work piece as possible.
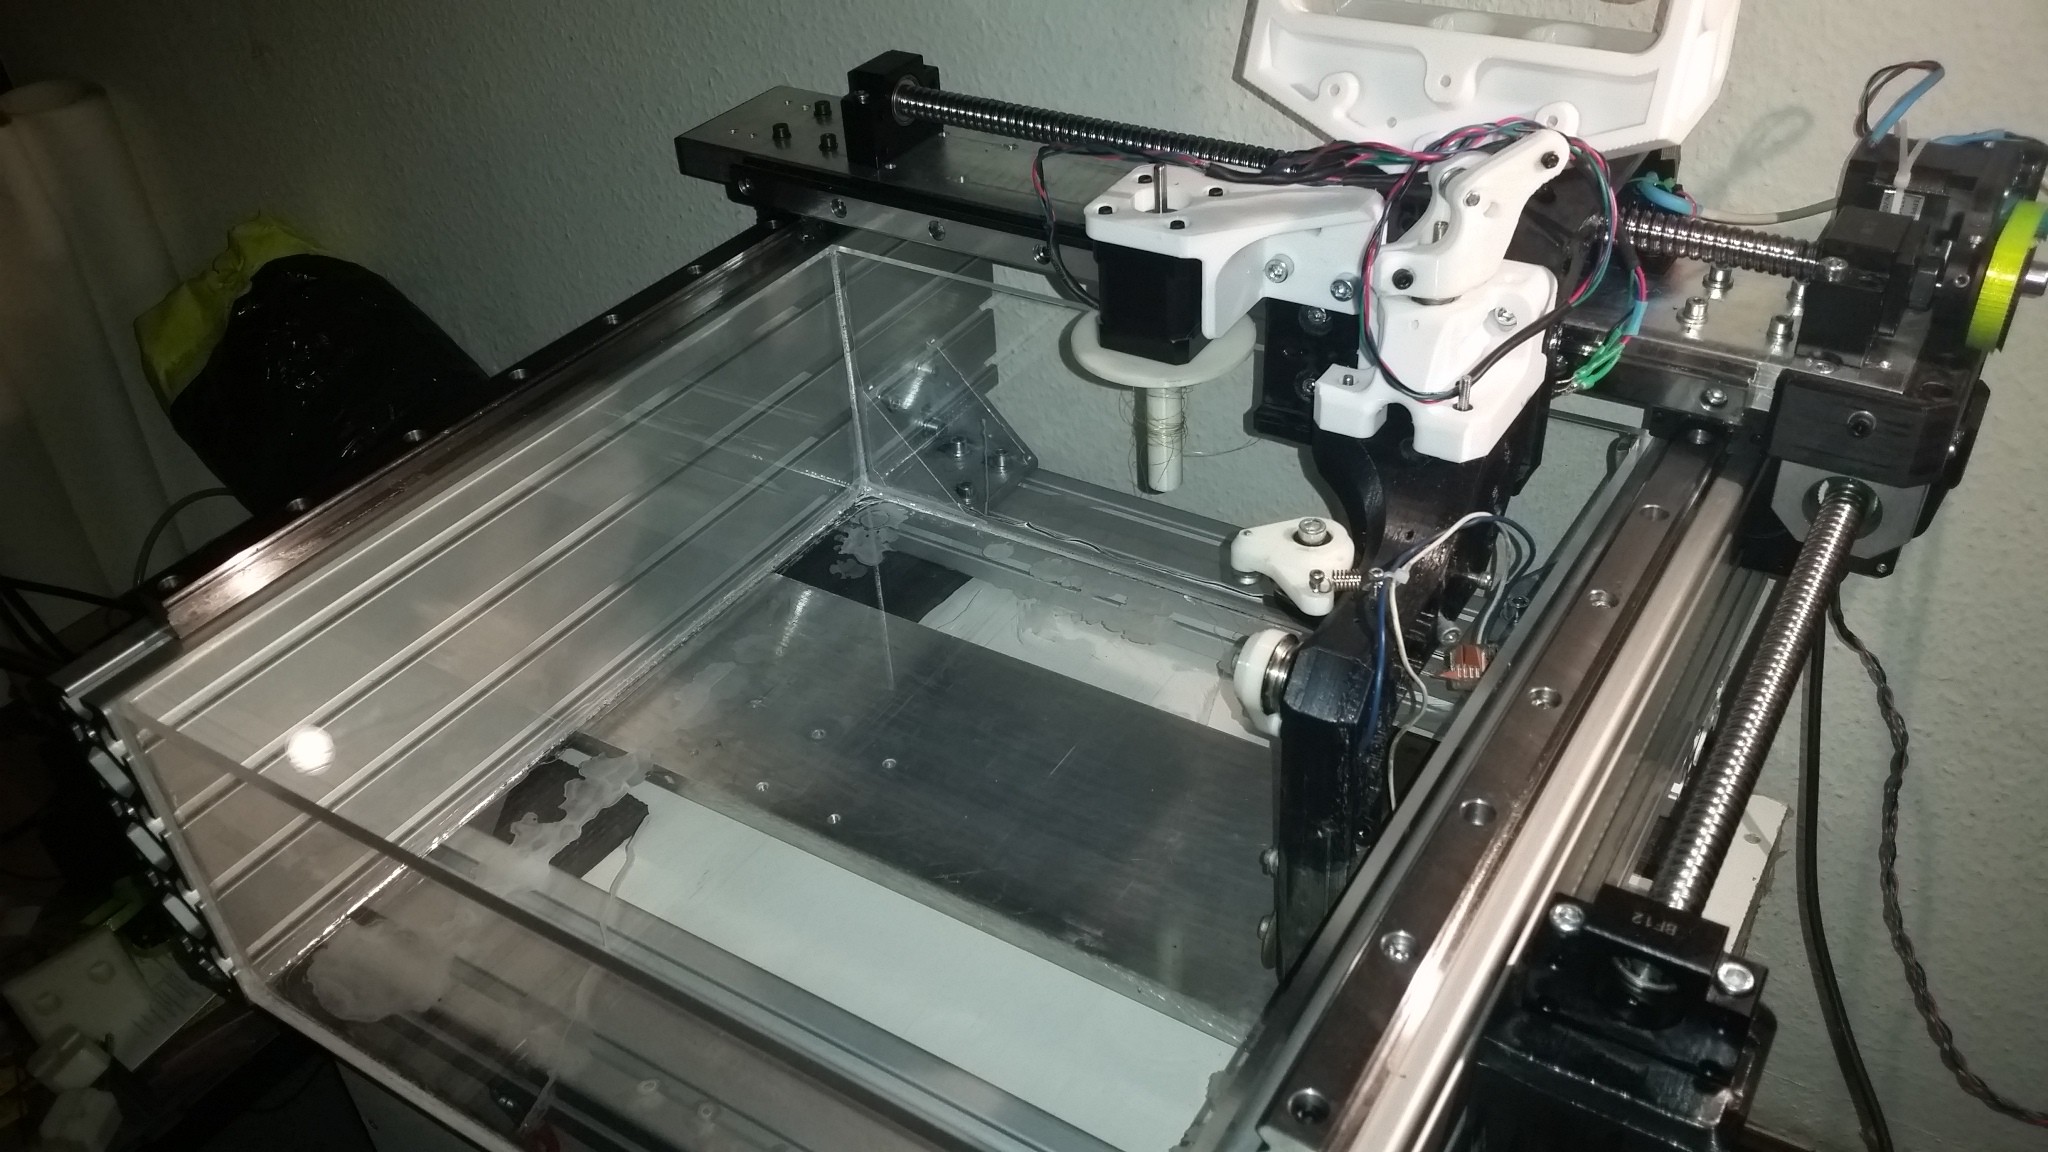
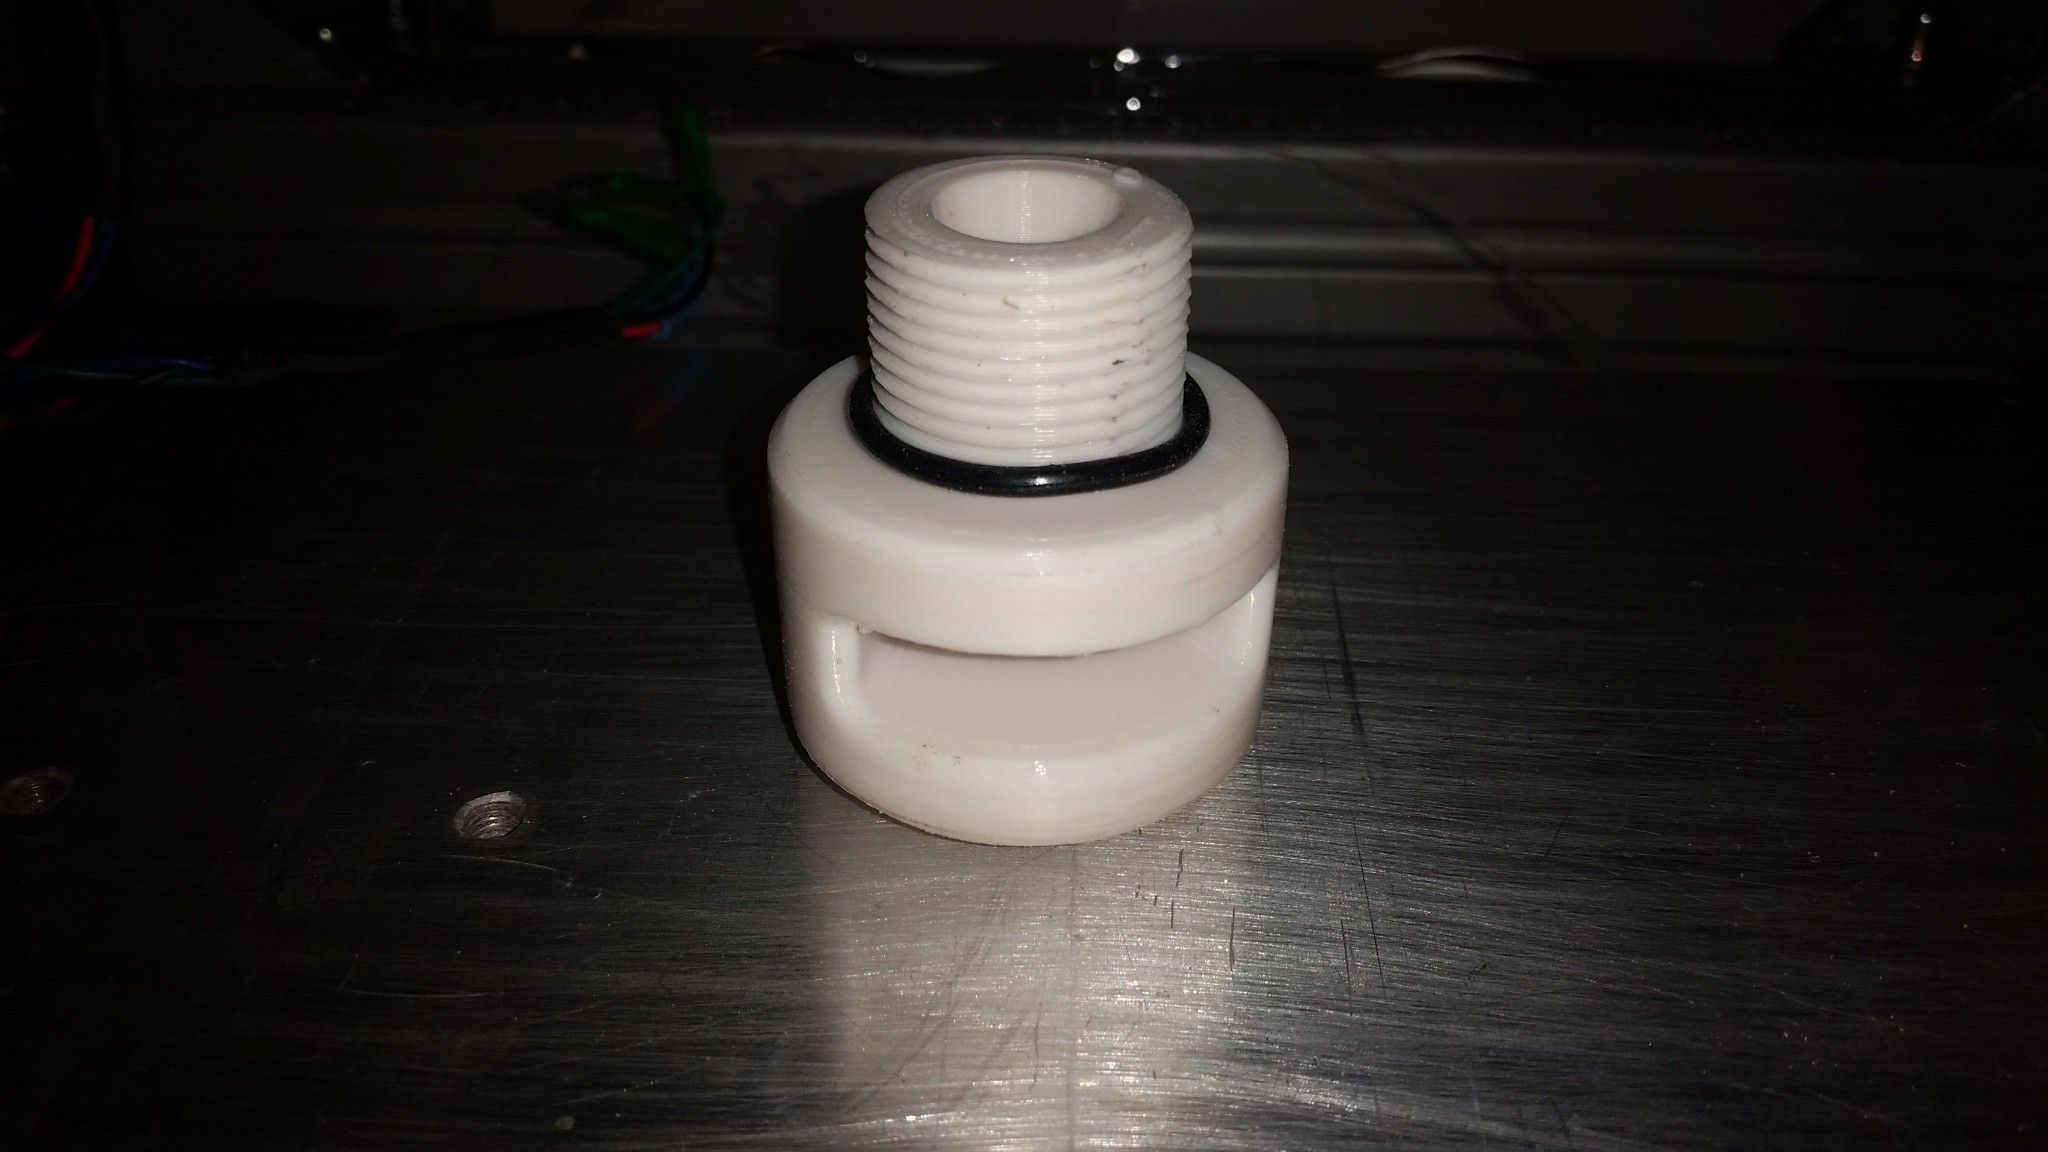
For round electrodes the blank wire is wrapped around them and for sheets alligator clips are good.
It doesn't look as good as the integrated contact but it reduces the noise a lot.
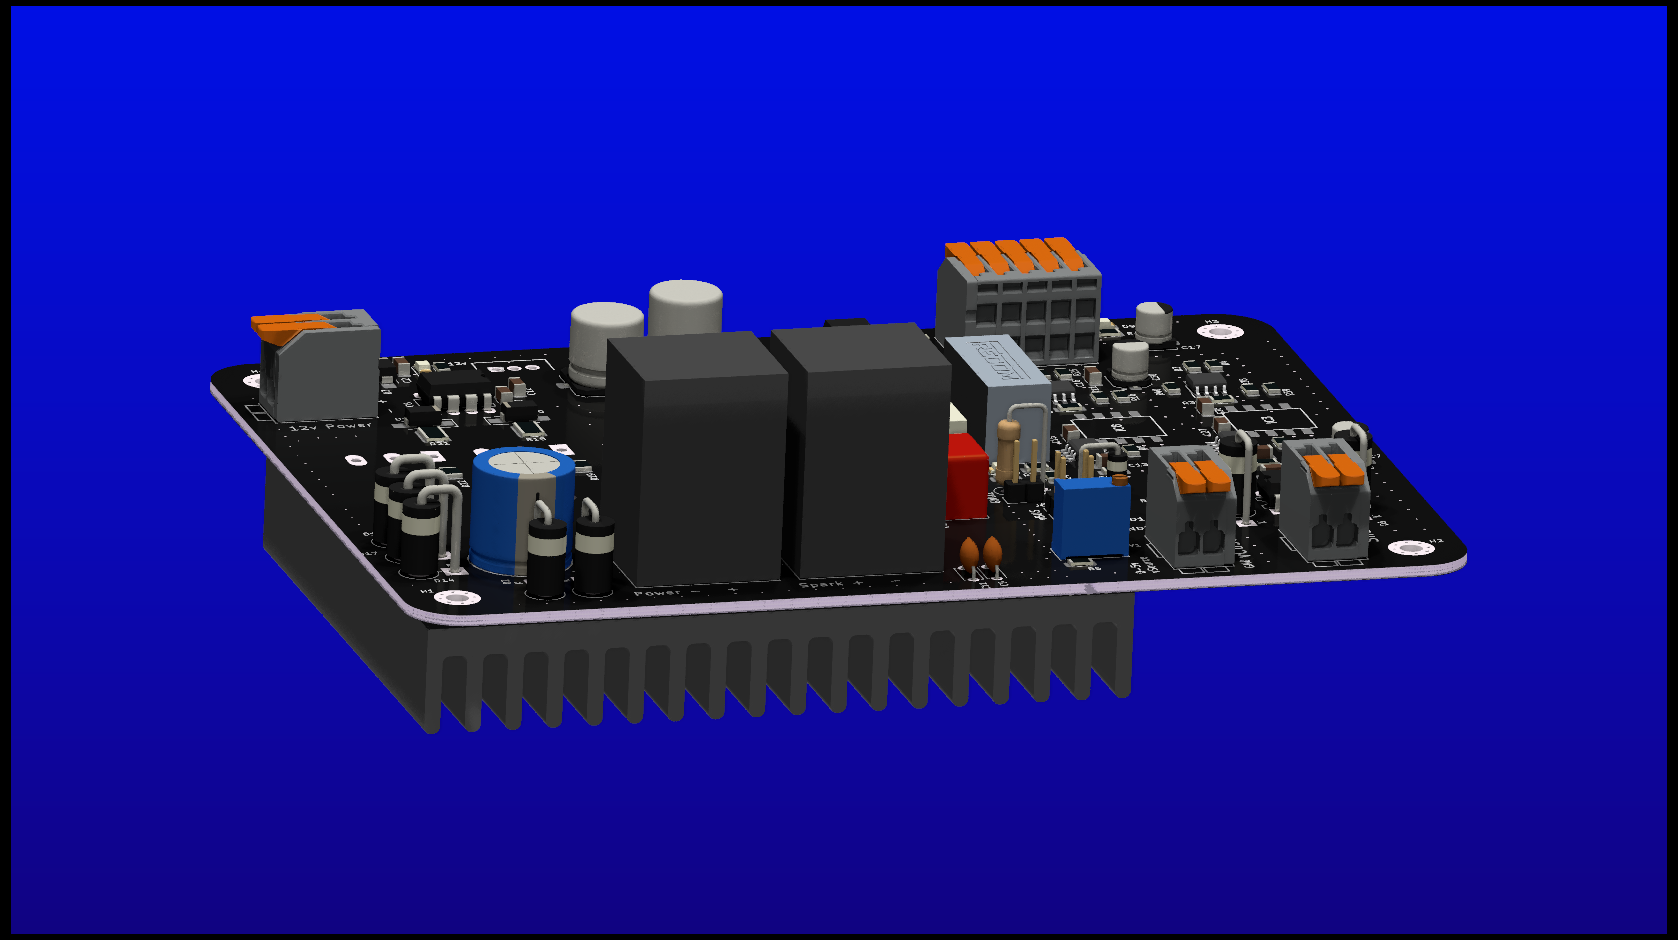
The pulse generator is a pretty basic and flexible concept that is easy to replicate. A 65v switching PSU is connected to a DPM8605 step down module that will provide 0-60v and 0-5A. The DPM converts the pulseboard into an inductor based pulse generator.
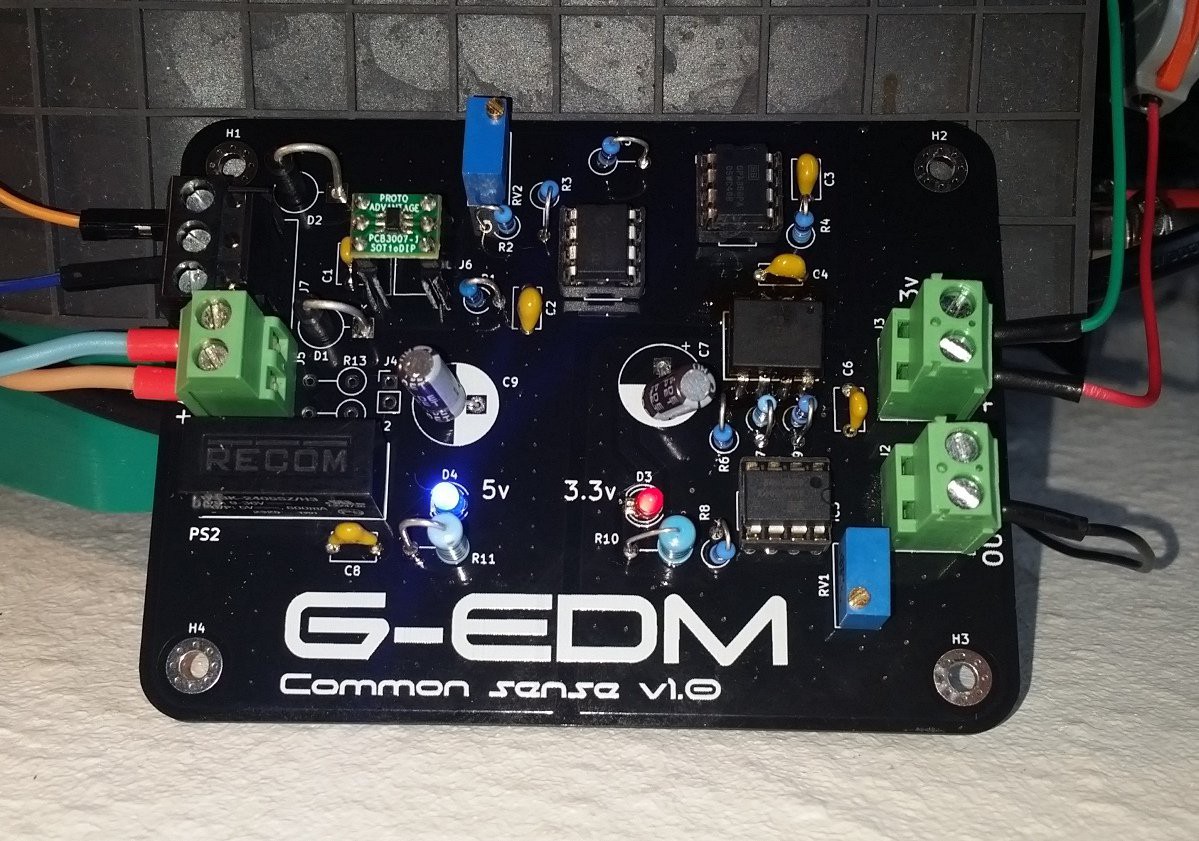
The output of the DPM8605 is then connected to the pulse generator PCB which is basically just a Mosfet gate driver, some capacitors and a voltage divider for the feedback signal.
This is the pulse generator PCB ( prototype ) wired up for some basic tests.
At the moment there are two working versions of the pulseboard that drives the sparks of the G-EDM.
A tiny board that uses an opto-isolated gate driver to switch external mosfets:
And a big board with up to 6 integrated Mosfets and a discrete gate driver circuit and two shiny indicator LEDs.


 Michael Graham
 Peter Wasilewski
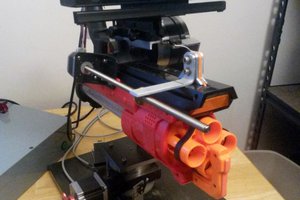
 Drew Pilcher
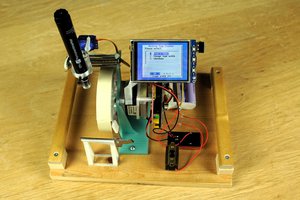
Amazing work. I am waiting for the PCB files to build and test one myself. I had made an edm machine in the past but my spark wasnt strong enough. Hopefully this board works in my machine.