Introduction:
I am a ham radio operator. I like building antennas, experimenting with digital modes, and operating SDRs. Like many no-code operators, after being on the air for a while, I developed an interest and appreciation for Morse Code. I started to learn CW by using http://LCWO.net. I purchased a cheap paddle, but I found the clicking noise a little bit annoying. At this moment, I decided that I wanted to create a noise-free way to send Morse Code.
While I was able to find a few touch paddles (without moving parts) that I could purchase, I ultimately decided to make my own. I saw this project as an opportunity to do some hacking and to learn something new along the way.
While researching capacitive touch online, I came across this Arduino playground post: http://playground.arduino.cc/Code/CapacitiveSensor. To get my project underway I modified the code to implement the paddle logic and loaded it into an Arduino. The code reads two input pins. If touch is detected by the micro-controller, the Arduino outputs two signals to toggle the transistors, which simulates a closed circuit, similar to that of a mechanical paddle. The closed circuit enables the radio to create the DIT and DAH tones. The under 1kB binary code worked well and without error. This made me wonder how small I could make this code. After optimizing the code, I managed to shrink it to under 512 bytes.
The project:
The goal of this project was to create a single PCB with an ATTiny4 AVR, a battery, transistors and a 3.5mm connector jack. The paddle is designed to have exposed conductive material in order to read the capacitive touch.
I decided to use Upverter for the schematics and the PCB layout.
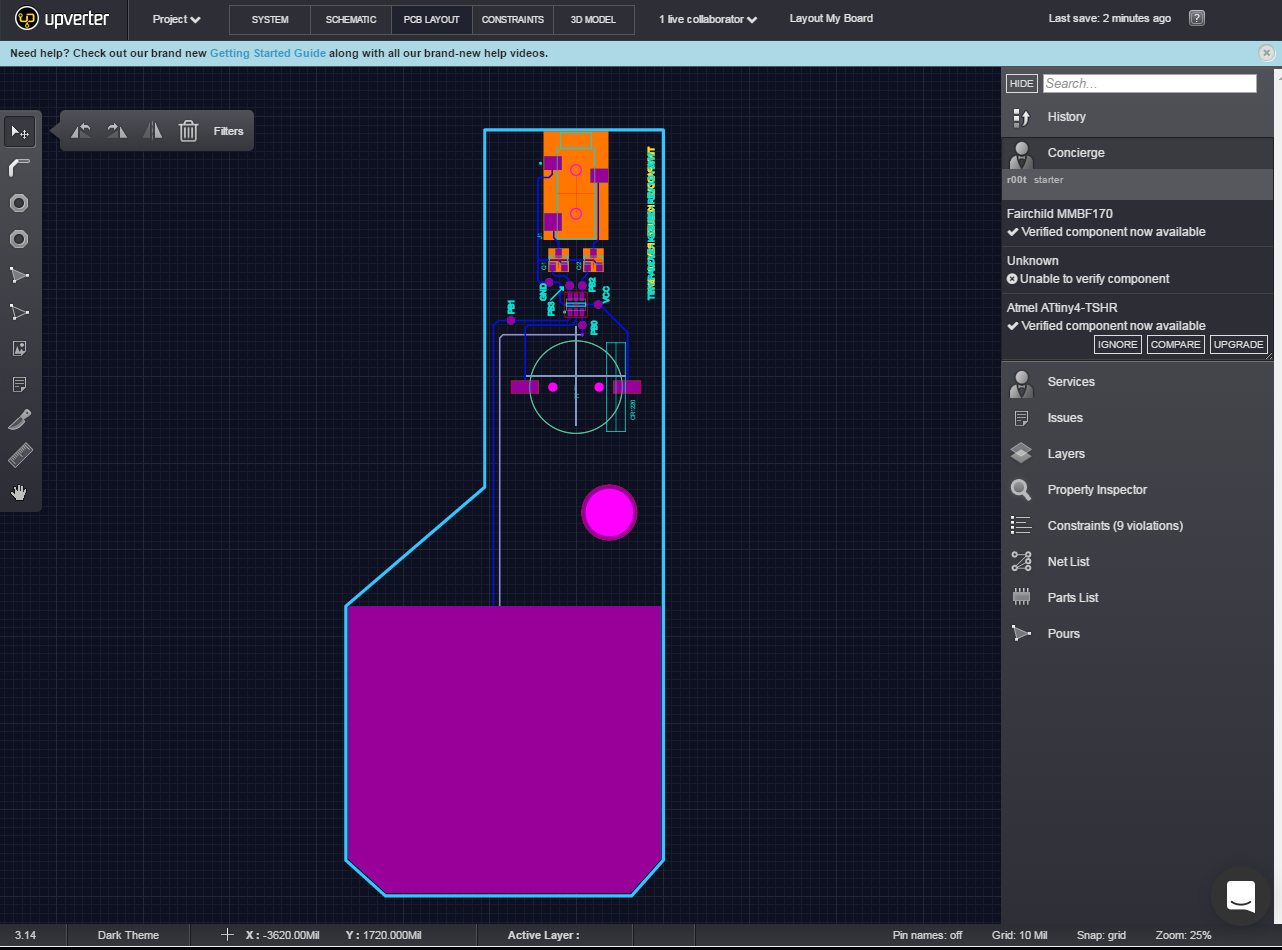
After finalizing the layout, I sent the files to OSHpark for fabrication. Three weeks later, I received the PCBs. They were larger than I anticipated, but I wanted at least 1" x 1" for the touch area.
The Gerber files used for manufacturing the PCBs are available on the Upverter Project page.
NOTE: Silk screen has a misprint. PB1 and PB0 are reversed.
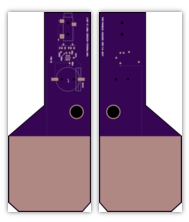
List of materials:
1 x BC501SM-ND
2 x MMBF170CT-ND
1 x CP-3523SJCT-ND
1 x ATTINY4-TSHRCT-ND
1 x CR1220 Battery
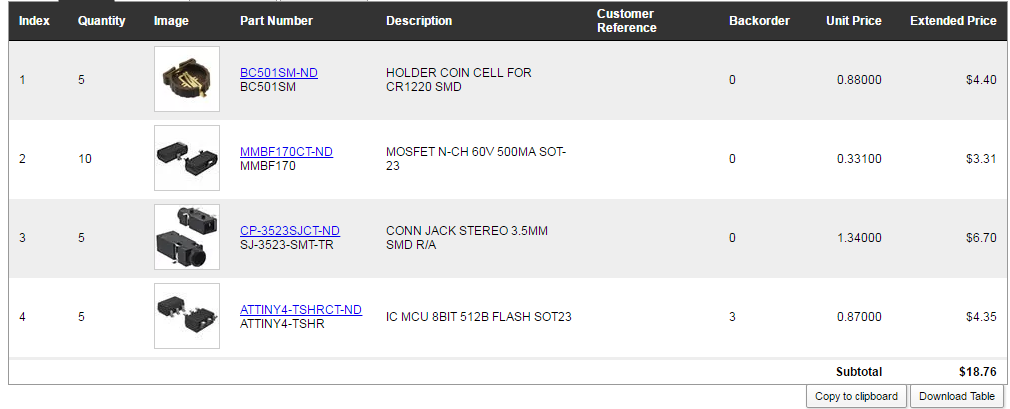
I purchased the components to make 5 paddles from Digi-Key, which totaled $18.76 (about $3.75 per board). I did not purchase the CR1220 batteries from Digi-Key because they cannot be shipped via USPS and required a more expensive shipping method. Fortunately, I was able to purchase them at my local RadioShack.
The code:
Initially, the DIT_IN and DAH_IN pins are configured as outputs and set to low. In order to read the signal, the pins are re-configured as inputs. After reconfiguration, the internal pull up resistor is enabled. The code measures the length of time it takes for the pin to switch from 0 to 1. A delay in the change from 0 to 1 reveals that the hands touching the paddle act as a human capacitor, increasing the amount of time it takes for the micro-controller to sense the signal variation. As a result, the code toggles the DIT_OUT or DAH_OUT pin(s), allowing the transistor to route the electrical current to the ground. This allows the radio to interpret the signal as a closed circuit and to generate the proper tone.
Before touch: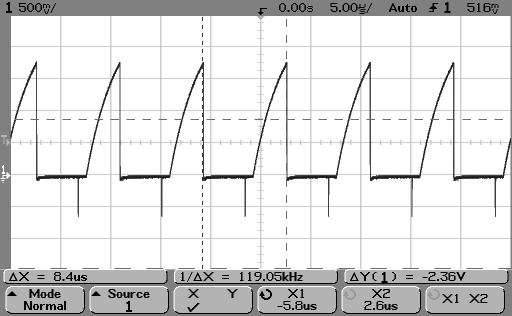
After touch: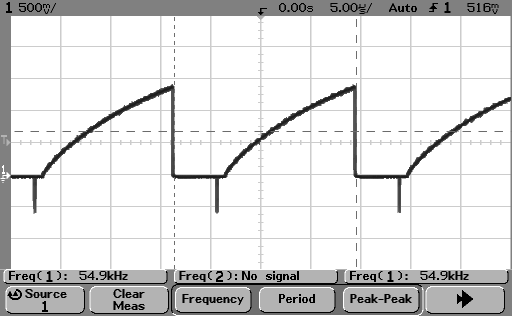
Source code:
#include <avr/io.h>

// Define port configuration
#define dit_out PINB2
#define dah_out PINB3
#define dit_in PINB0
#define dah_in PINB1

// Charge time per pin
uint8_t CT(uint8_t pin)
{
    uint8_t mask = (1 << pin);
    uint8_t i;
    DDRB &= ~mask;	// Set pin as input
    PORTB |= mask;	// Set pin to high
    PUEB |= mask;	// Enable Pull up resistor

    // See how long it takes to toggle from 0 to 1
    for (i = 0; i < 16; i++) {
     if (PINB & mask) break;
    }
    PORTB &= ~mask;	// Set pin to low
    DDRB |= mask;	// Set pin as output

    return i;		// Return how long it took
}

int main(void)
{
 // Set AVR speed to 8Mhz
 CCP = 0xD8;	            // 0xD8 = 8 Mhz
 CLKPSR = 0x00;             // Sets the clock div factor to 0

 // Set output
 DDRB |= (1 << dit_out);    //...
Read more »
 Edgar
Edgar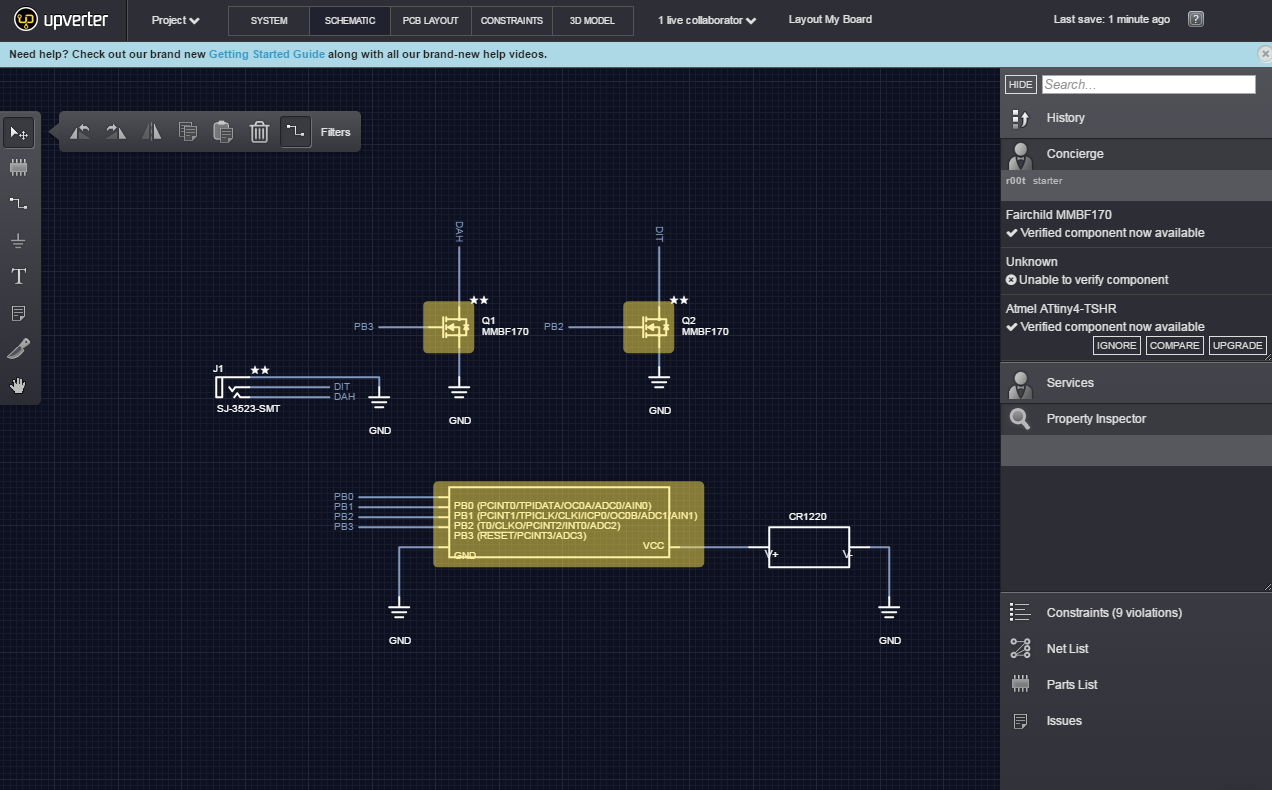

 Ken Yap
 Jean-François Poilpret
 Rud Merriam
 Carl Smith
Try JNA/YPA militiry TS-1