Simen Sollihøgda
Why do I need a bench power supply?
Engineers and scientists use bench power supplies when working with low-voltage DC electricity. Two features make a bench power supply very useful: adjustable voltage and current limits.
As a voltage source
Adjustable output voltage means a power supply can be used as a voltage source, which is part of almost all electronic circuits. It also means that you can use Ember instead of different kinds of batteries.
As a current source
The power supply is a current source when the current limit is applied. While less common than voltage sources, they are used in many electronic circuits. For instance, you need a current source when lighting up a LED.
Protection
Setting the current limit just above what you expect is common practice when testing new circuits. That way, the chance of something being damaged is reduced if something is wrong.
Why portable?
As the name suggests, traditional bench power supplies are designed to be stationary on your workbench. This is fine for most projects, but for some projects, you must take out an extension cord and a trolly to bring your power supply into the field. Blue Smoke Electronics has designed a portable version to make this process easier. You don't need an extension cord; the power supply fits in your pocket.
Outdoor projects
Need to repair something in your car? Are you not allowed to fly drones indoors? Homemade firework display? Some projects are not a good idea inside your home, and you can power your projects up outside with Ember.
Work from home?
Sometimes we have to work on weekends. Wouldn't using your prototype on your living room table be better than going to the lab to test the new firmware patch?
Around the house
Let's say you are setting up a servo that automatically opens a window. Then you can hide an Ember behind a curtain until you can get your permanent wiring done.
On the train
Do you have a long commute? Then Ember is perfect for your portable lab suitcase.
Store it in a drawer
Do you have your own space dedicated to electronics at home? Do your kids? If this is more of a hobby to you, choose a power supply that is easy to stove away when not in use.
Benefits of a battery
Not needing to be connected whit a cable all the time is one of many benefits of having a battery internally in Ember.
Energy buffer
The battery acts as a buffer. It stores energy over time and can deliver high-power bursts when necessary. A weak power source like a USB port can then be used to drive devices that sometimes have a high energy need. Servo-motors are great examples of components that need a lot of energy when moving and, otherwise, nothing. This allows the battery to charge back up when the motor isn't moving.
True isolation from the grid
For some RF-sensitive measurements, you want to be sure that no noise is coupled from the power grid into your electronics. Disconnecting completely is an excellent way to ensure no signal is coming from the grid. Physically being disconnected also eliminates the possibility of ground loops.
No risk of electrocution
The voltage levels in the device are, at most a few volts. This makes getting a dangerous electric shock impossible, even if you do something foolish like taking it with you for a swim. Don't use a power supply connected to 230V when testing RC boats in the bathtub.
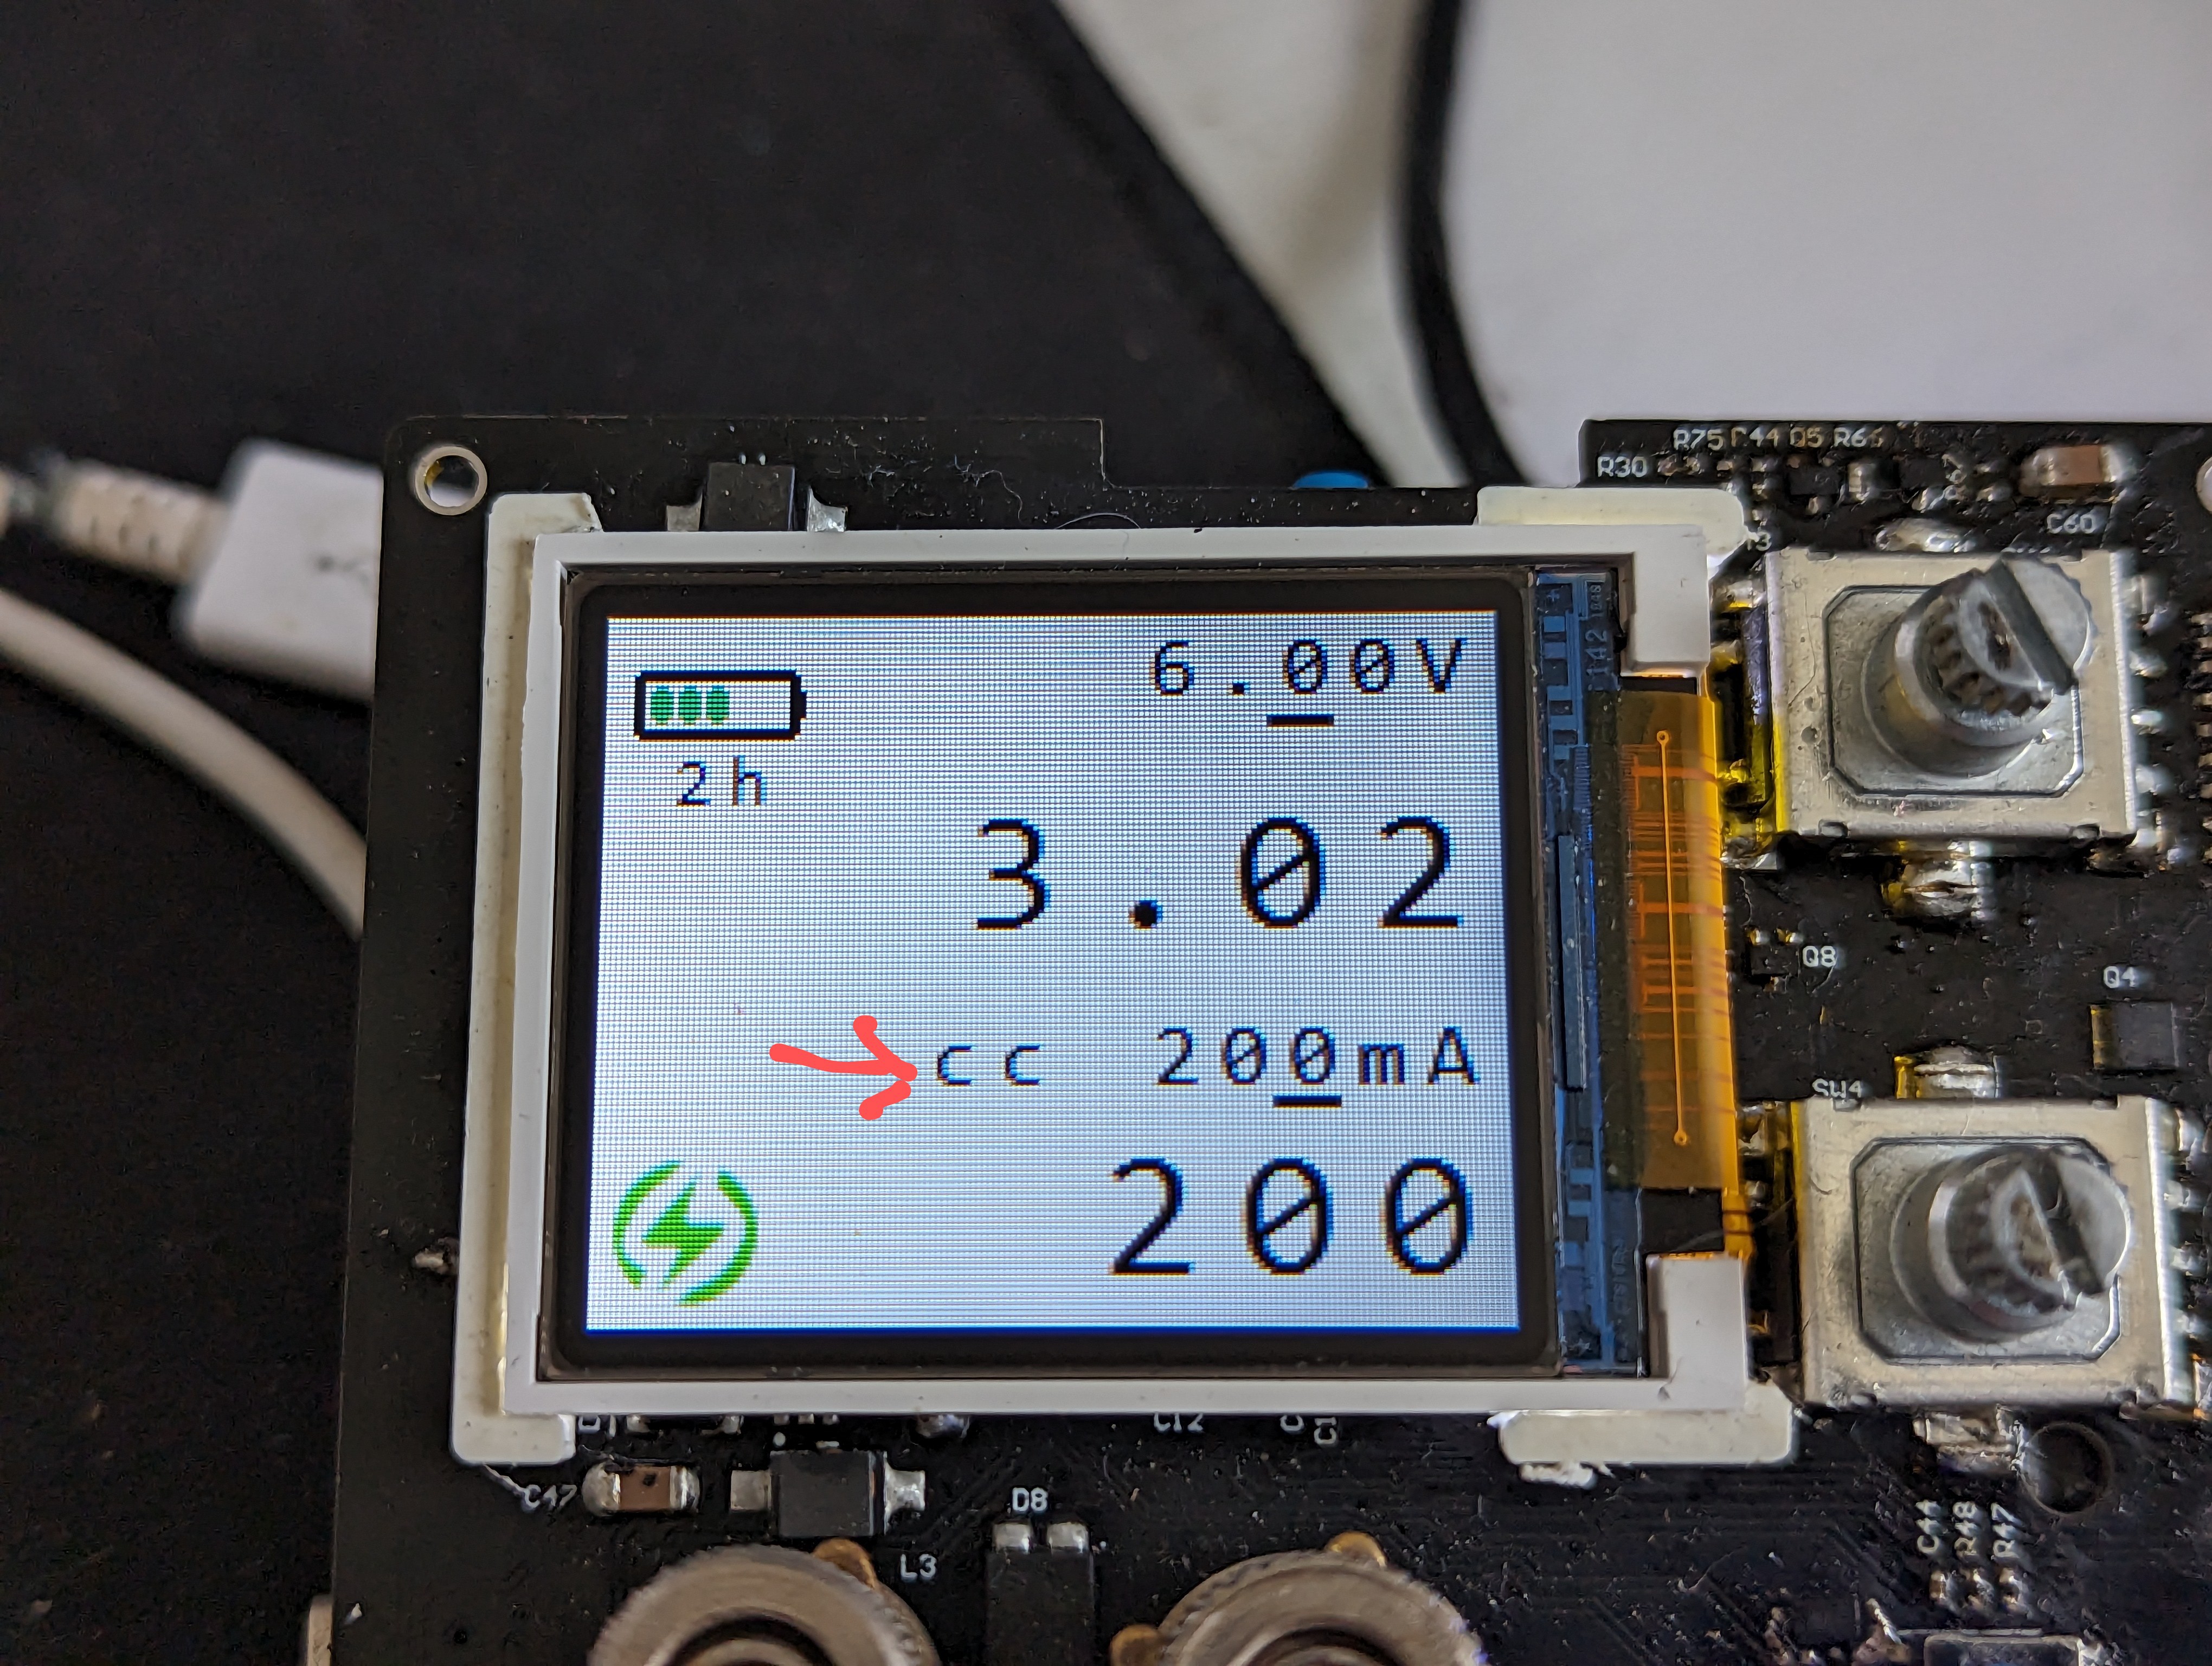
Specs
A complete list of specifications can be found here. The most important specs are:
- Voltage from 0-15V
- Current from 0-1A
- 7.0 Wh battery life
- Charging via USB-c
- Controllable via USB-serial interface
- Dimensions: 85x75x40mm
- Weight: 150g

 David Scholten
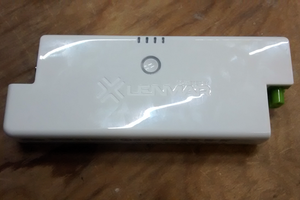
 Dan Julio