 Garra
GarraI do a lot of cybersecurity work, as well as general server ops/admin work, so having a Linux machine handy to run infosec tools on, that can double as a keyboard, mouse, and screen when I need to physically tinker with another machine was something I’d wanted for a long while. Whilst there ares pre-built options but I wanted to inject a bit of drama if I needed to use it in a presentation.
so, I set myself certain requirements/restrictions:
- No folding screen (too much like a laptop)
- No touchscreens (too much like a tablet)
- Must have a physical keyboard
- Must be portable
- Must be robust
- As few moving parts as possible
- Must be actually work
- Must have some kind of modular expansion to intergrate other infoSec gizmos I had around.
- Must be easily adapted to new parts
- Must be built with spare parts I already owed, could find second hand, or have cheaper off-brand alternatives.
I wanted this to look and feel like something serviceable that could have been fabricated in a back room, in a a cyberpunk novel.
I also wanted the case design to be easily adapatable to be able to sized up and down for future projects and be abel to fit other SBCs.
I had a good selection of parts laying around already (I’m a professional nerd and can rarely bring myself to throw away a cable or peripheral that could be conceivably still be useful).
I had a Raspberry Pi 4 that wasn’t getting much love, and a Vortex Core 40% keyboard kicking around that I’ve not really used since the start of the pandemic.
The main thing I was missing was a screen, but a few minutes on AliExpress fixed that. You can pick up a cheap 8.8inch 480x1920 screen on AliExpress or Ebay pretty cheap. They all generally use the same USB power and mini-HDMI connections, so they’re compact and just what I was looking for.
Add to that a cheap USB touchpad, that had been gathering dust, and a Raspberry Pi UPS battery pack, and we were good to get started on the case design.
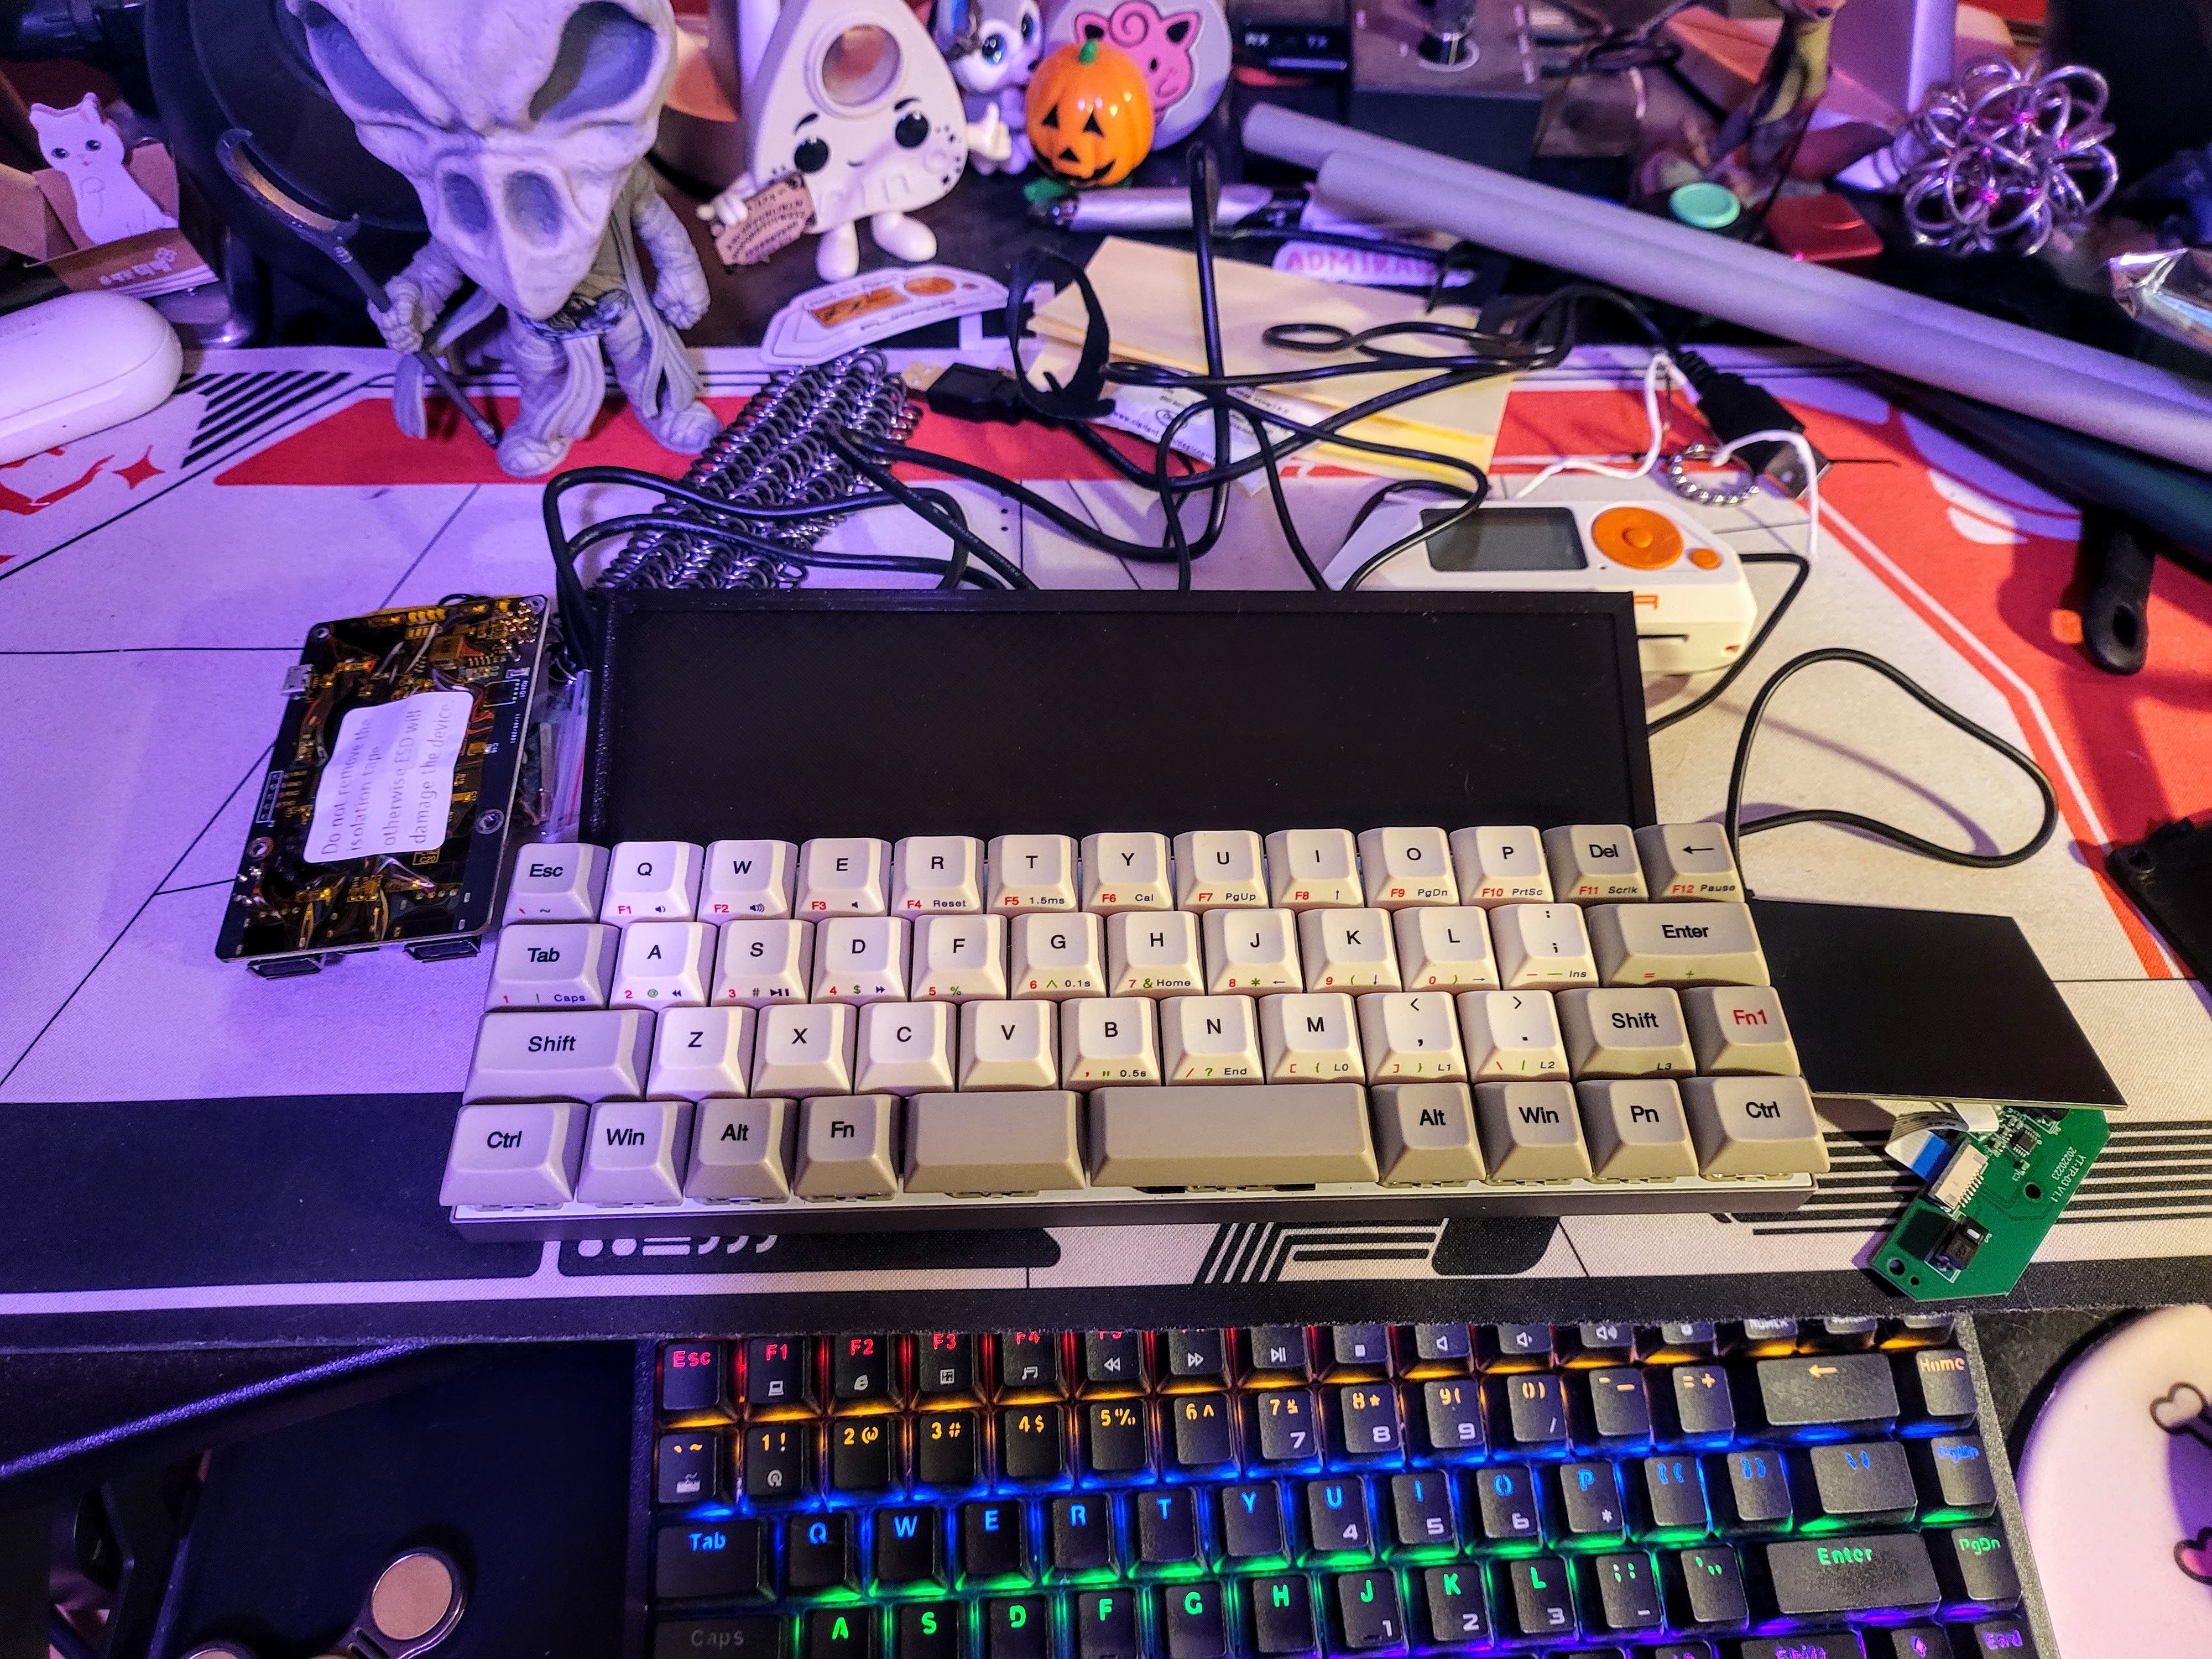
I knew I wanted the case to have an asymetric handle like the decks in Shadowrun and have that interestingly angled shape.
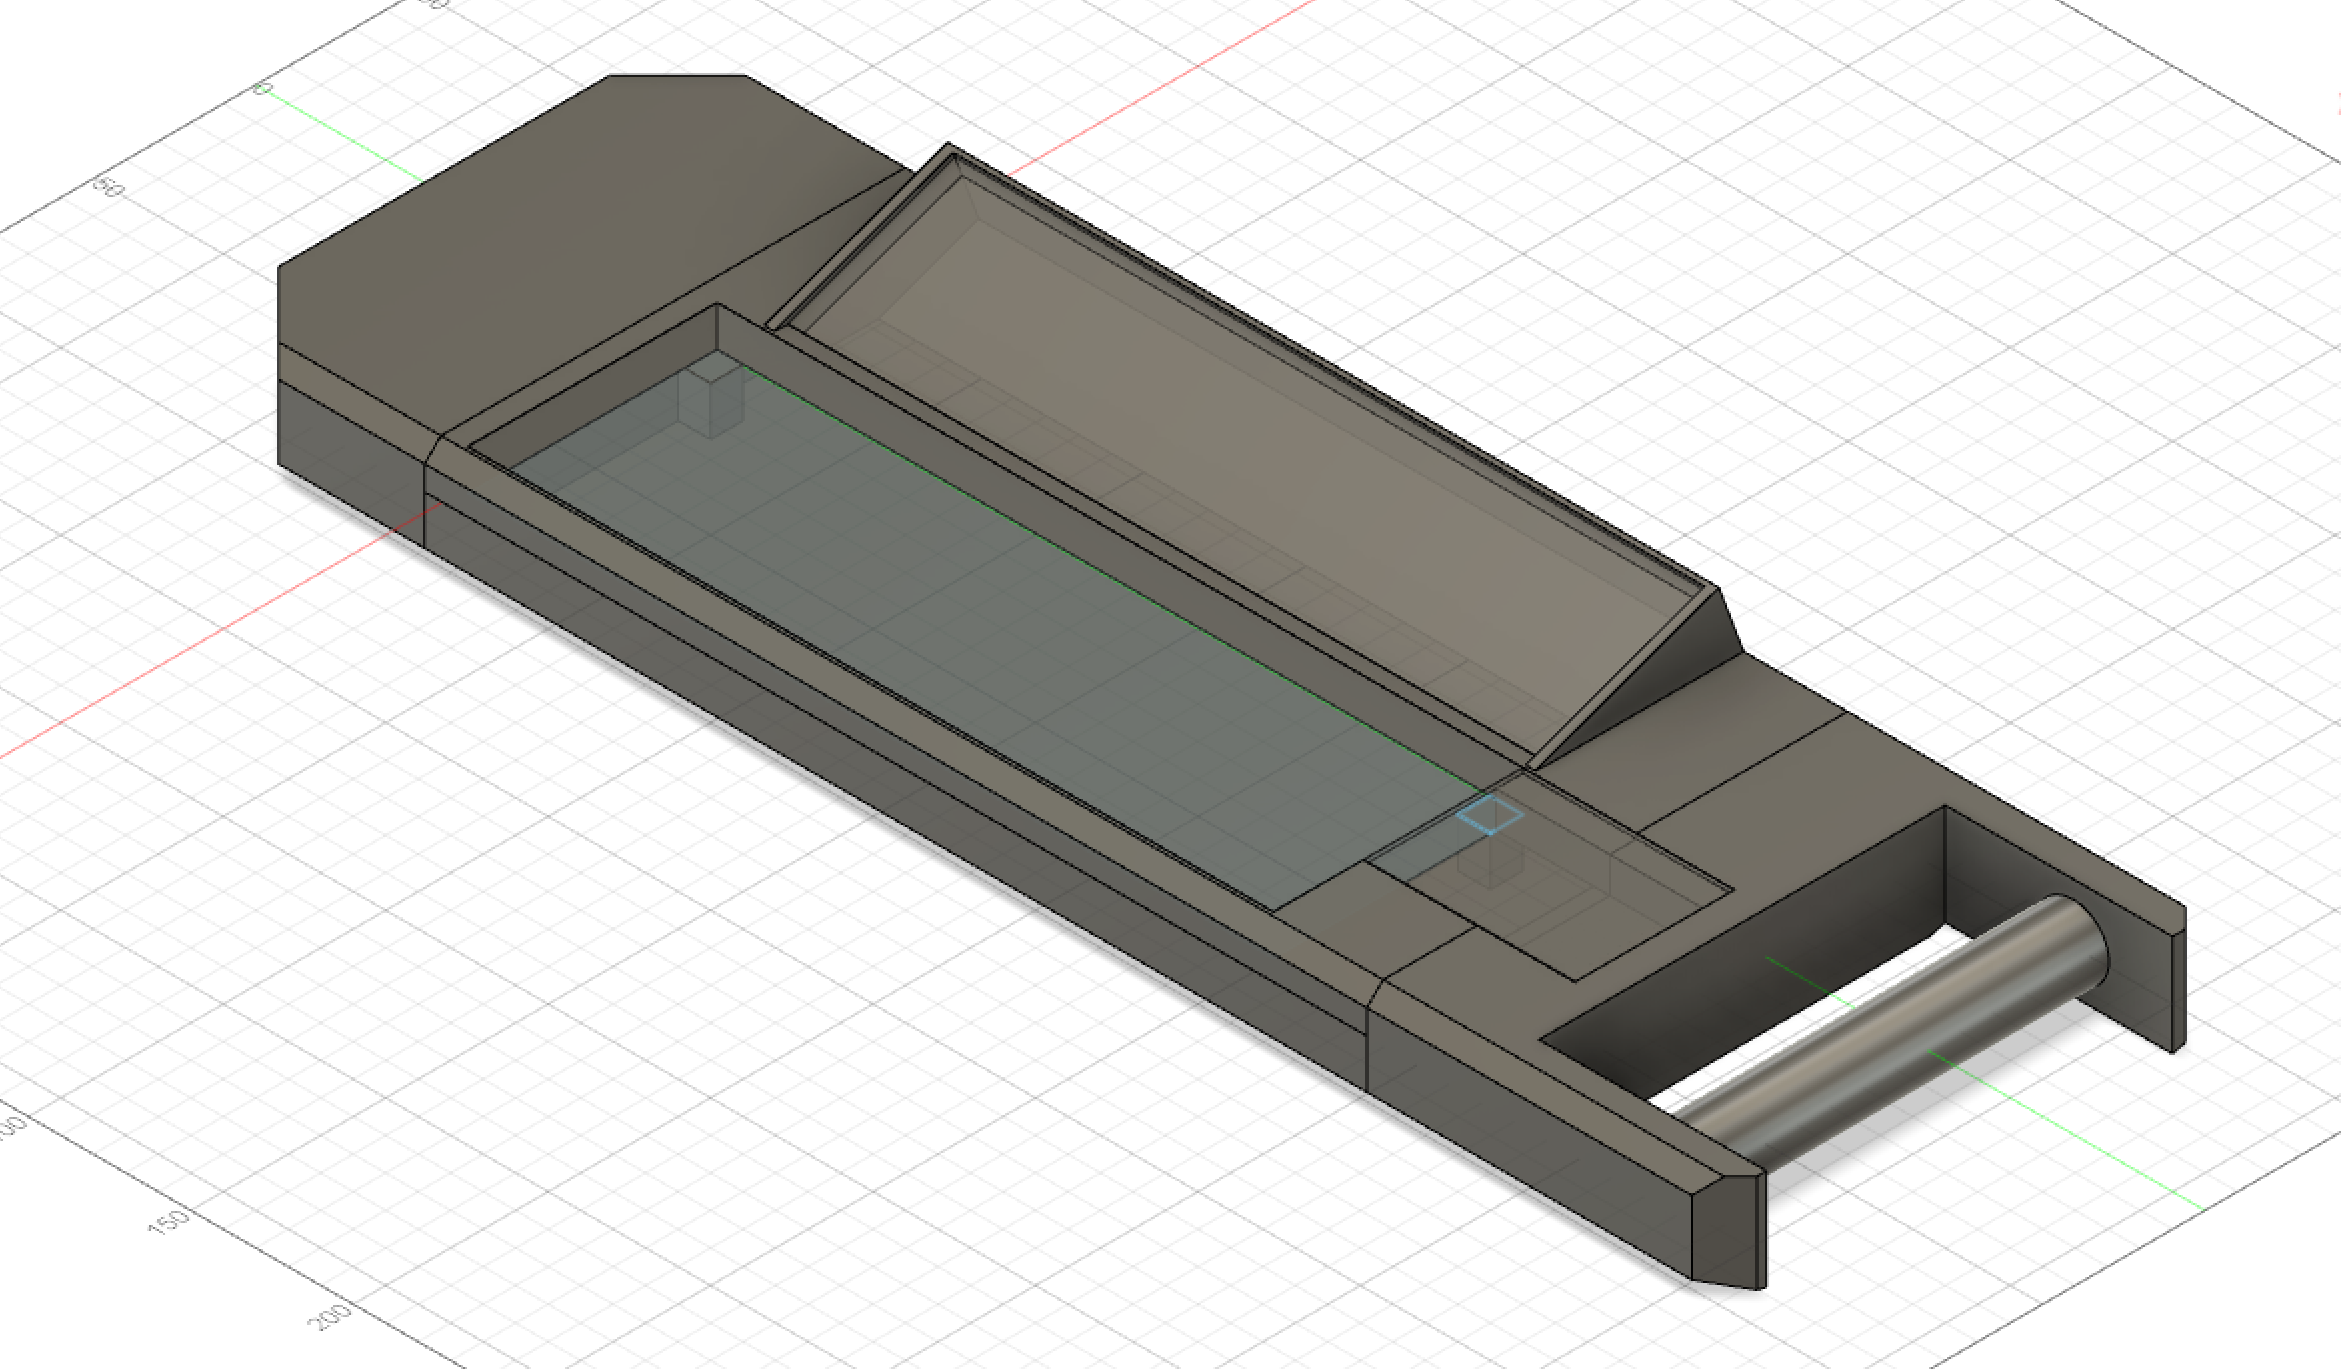
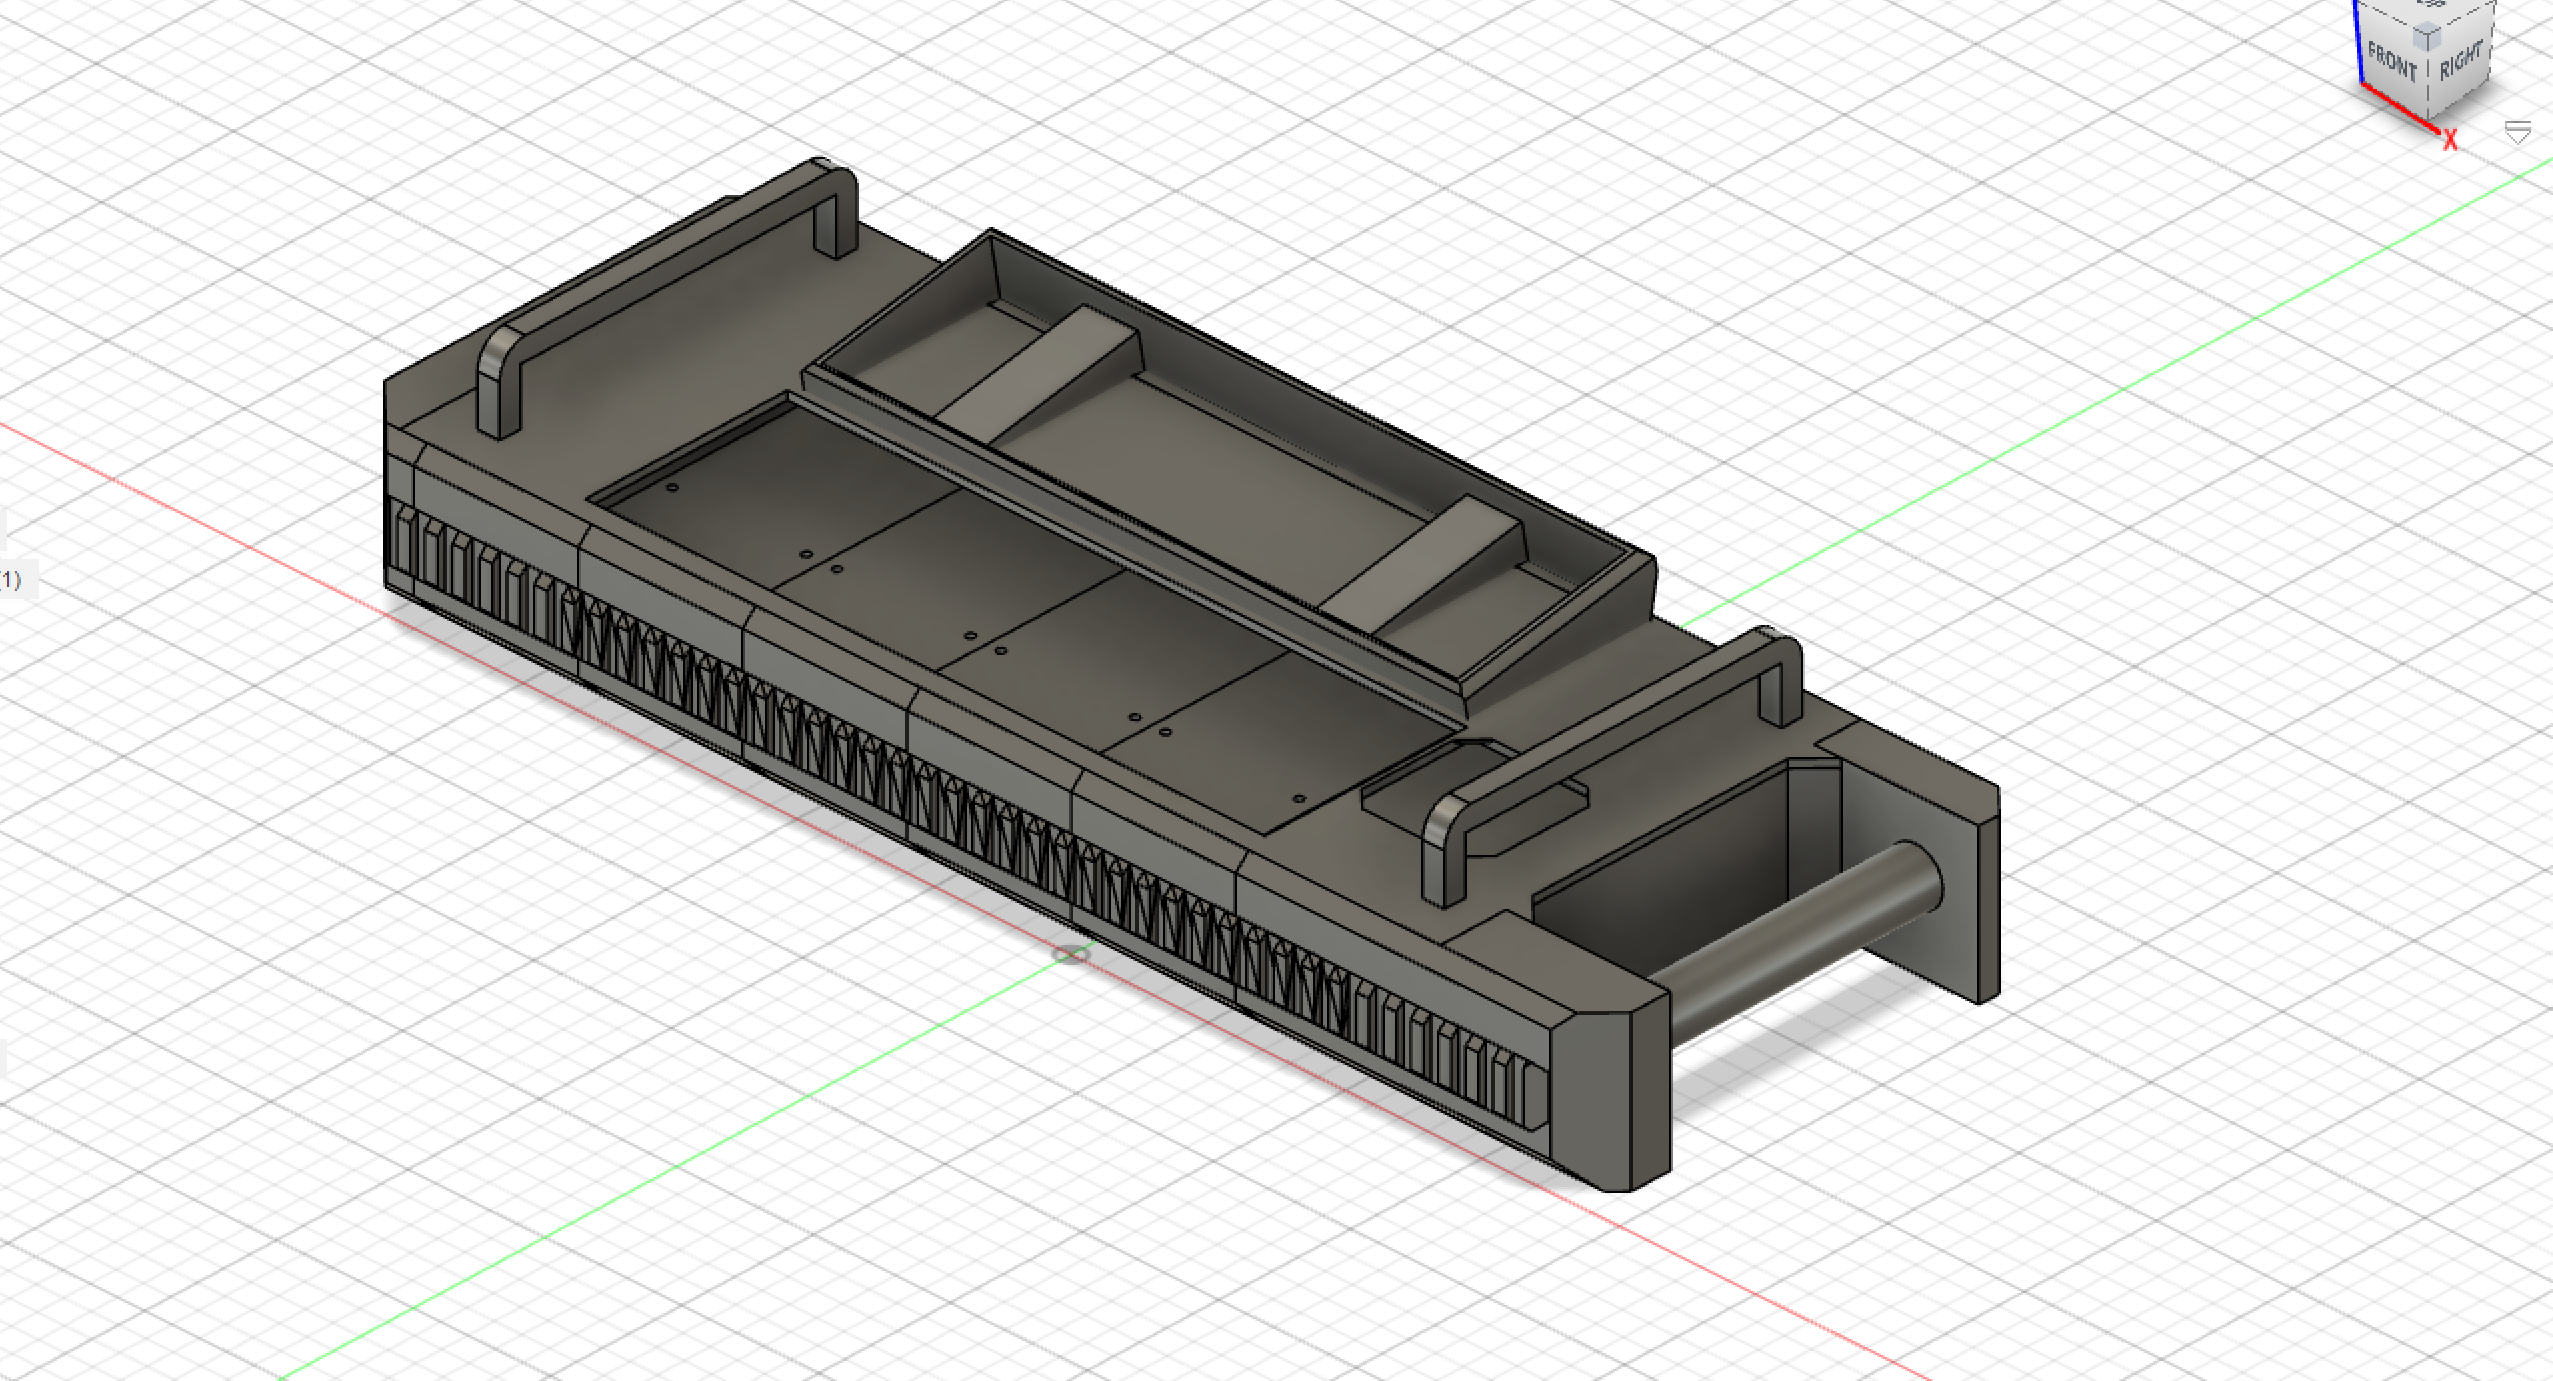
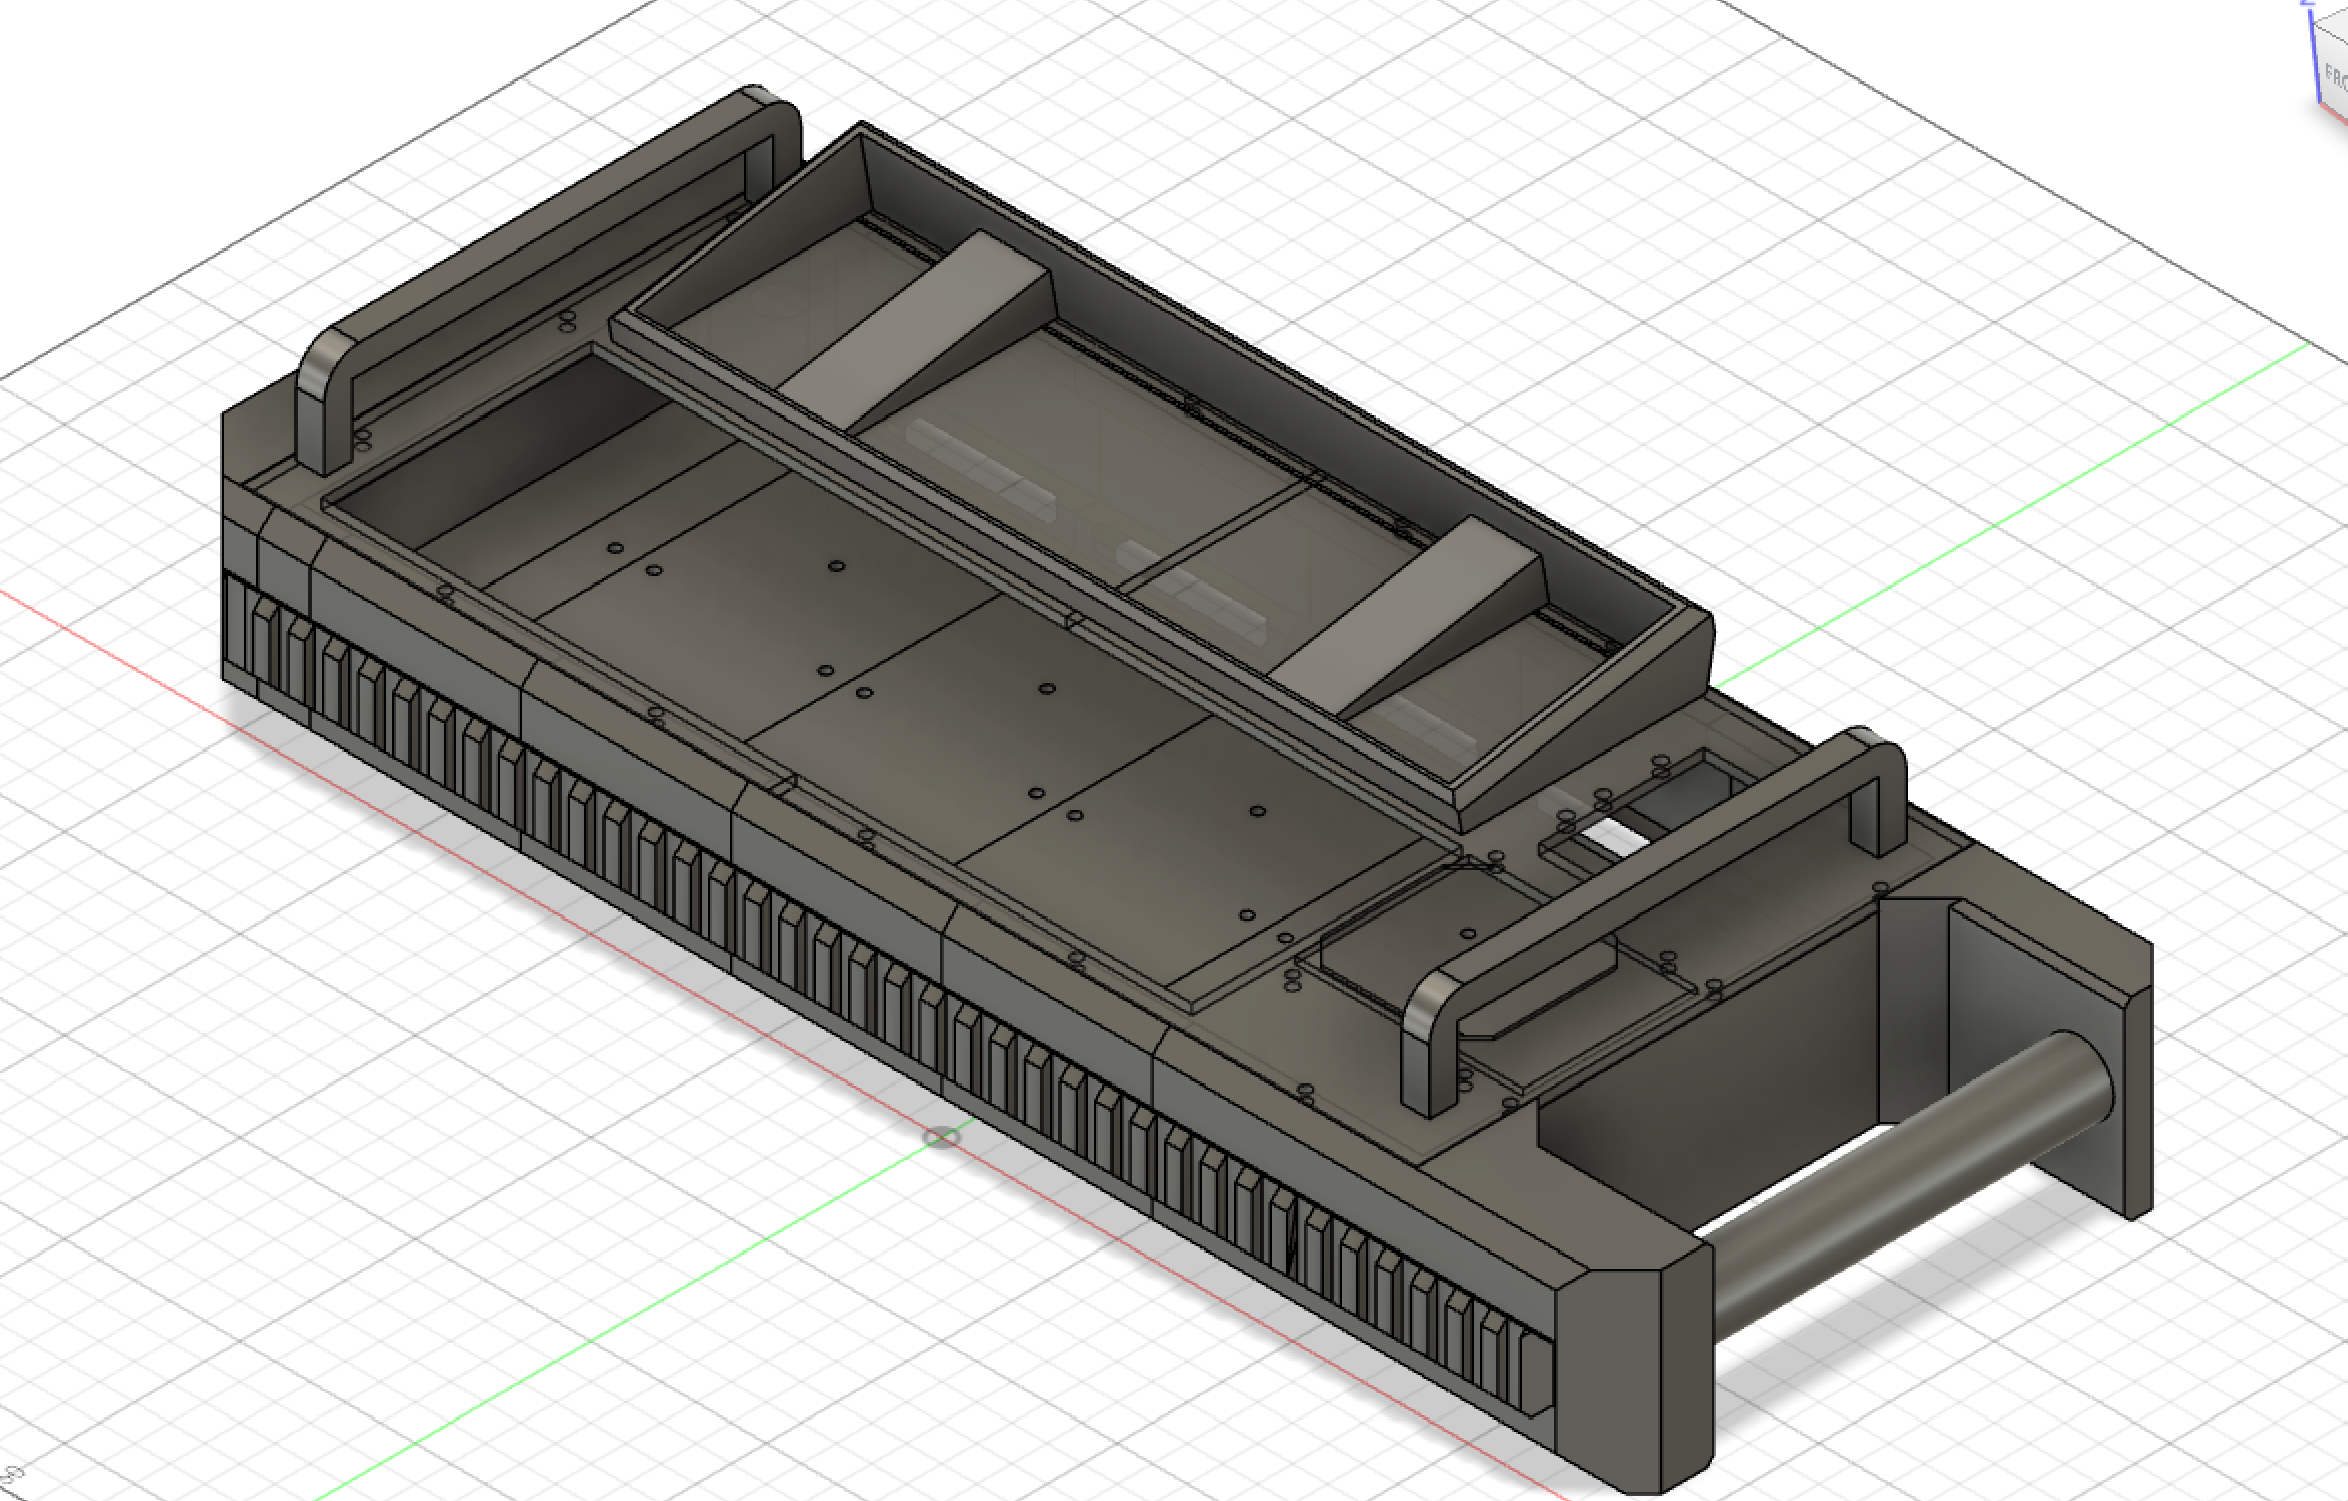
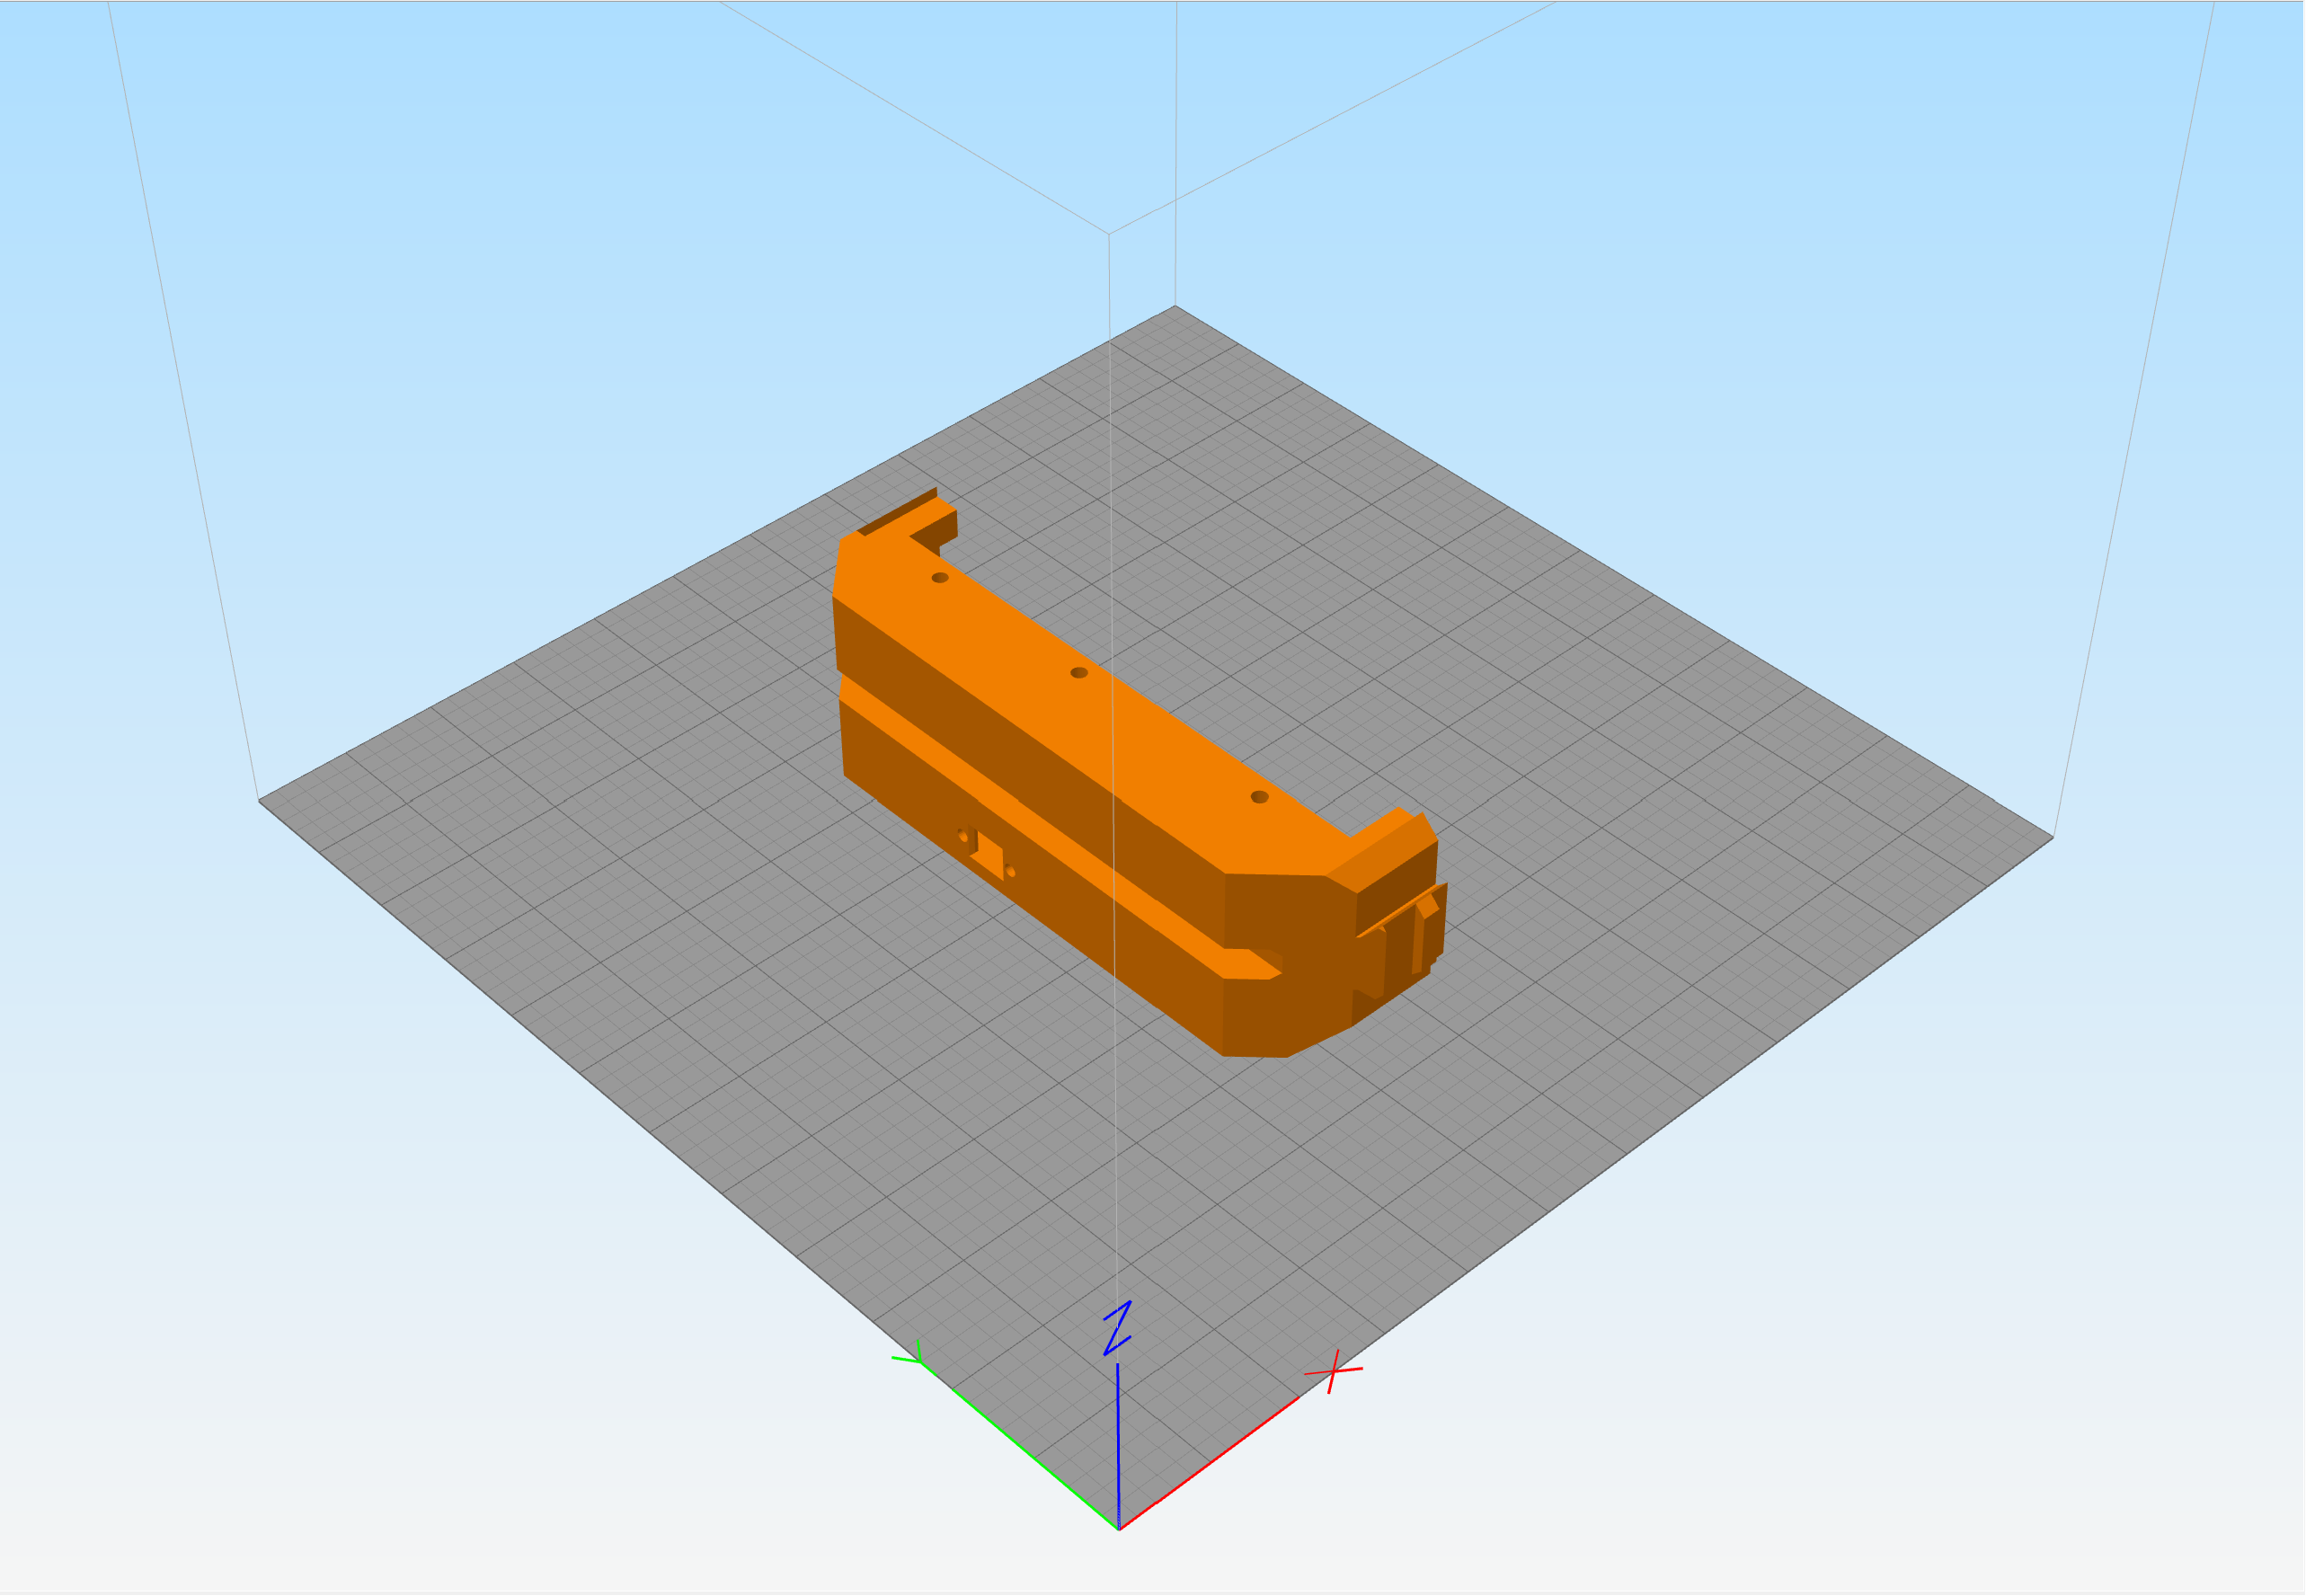
After a few prototypes I decided on taking a modular approach to the casing to ease of printing, strength, and quick iteration.
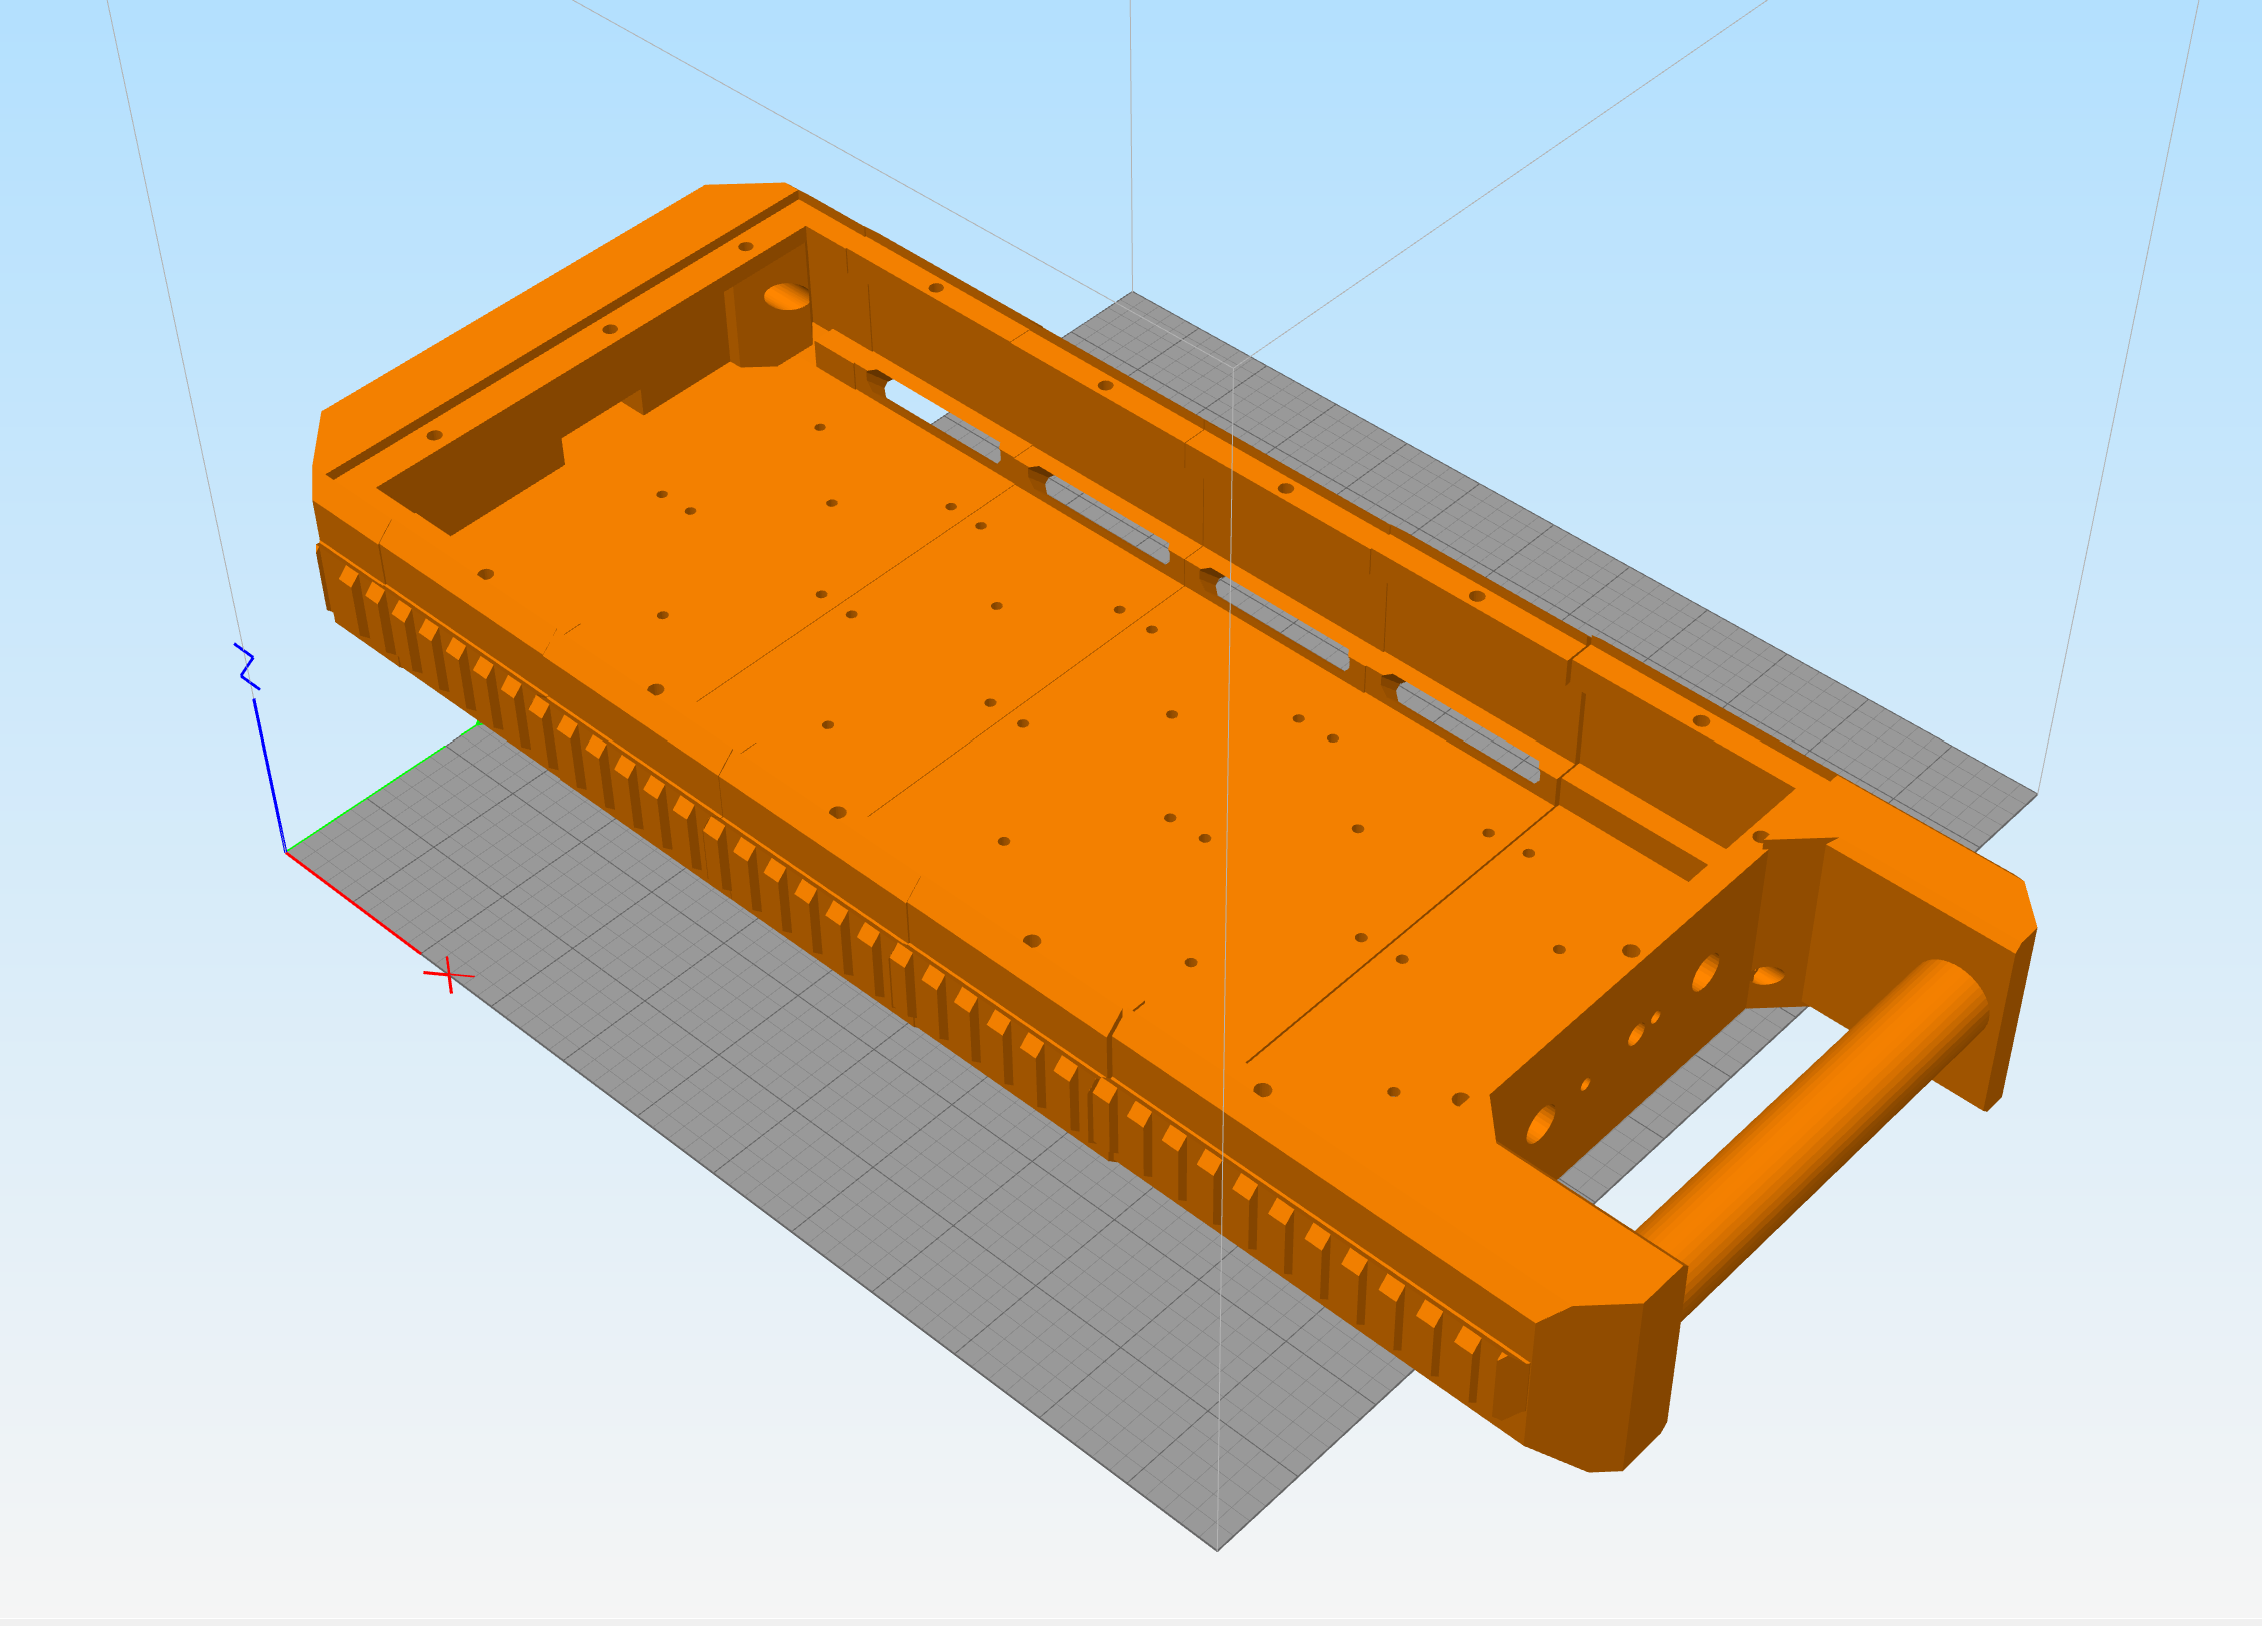
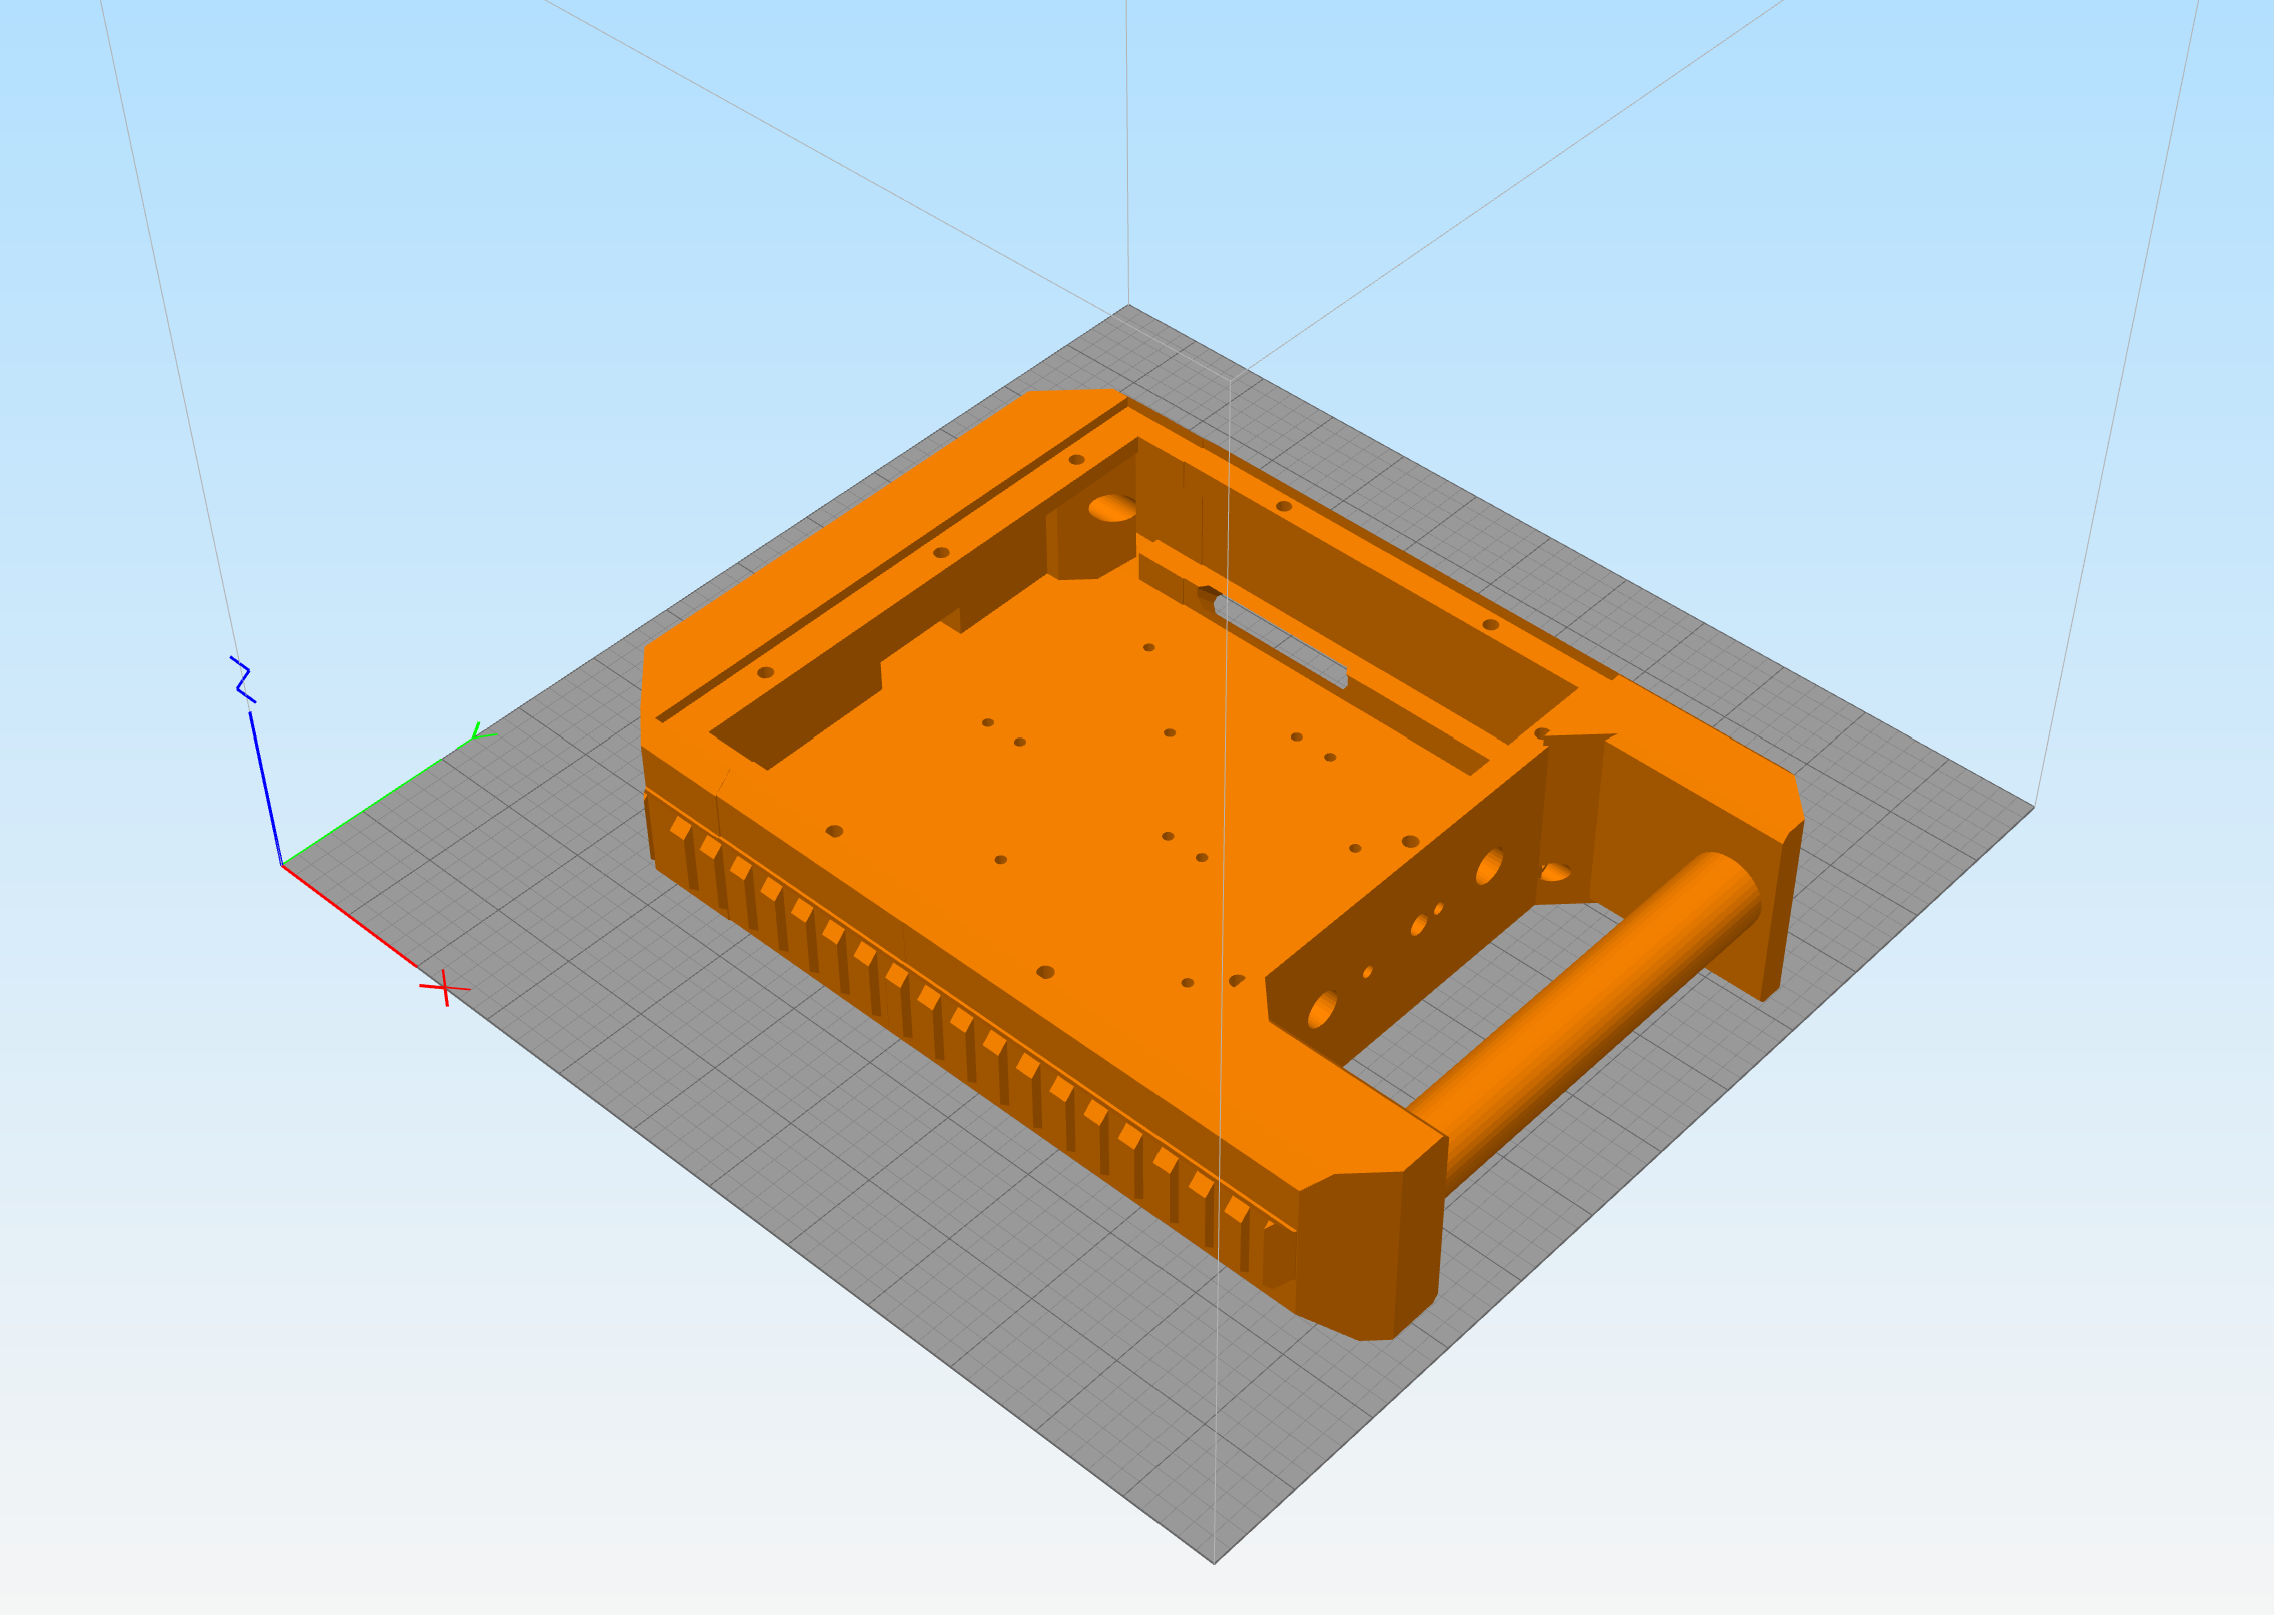
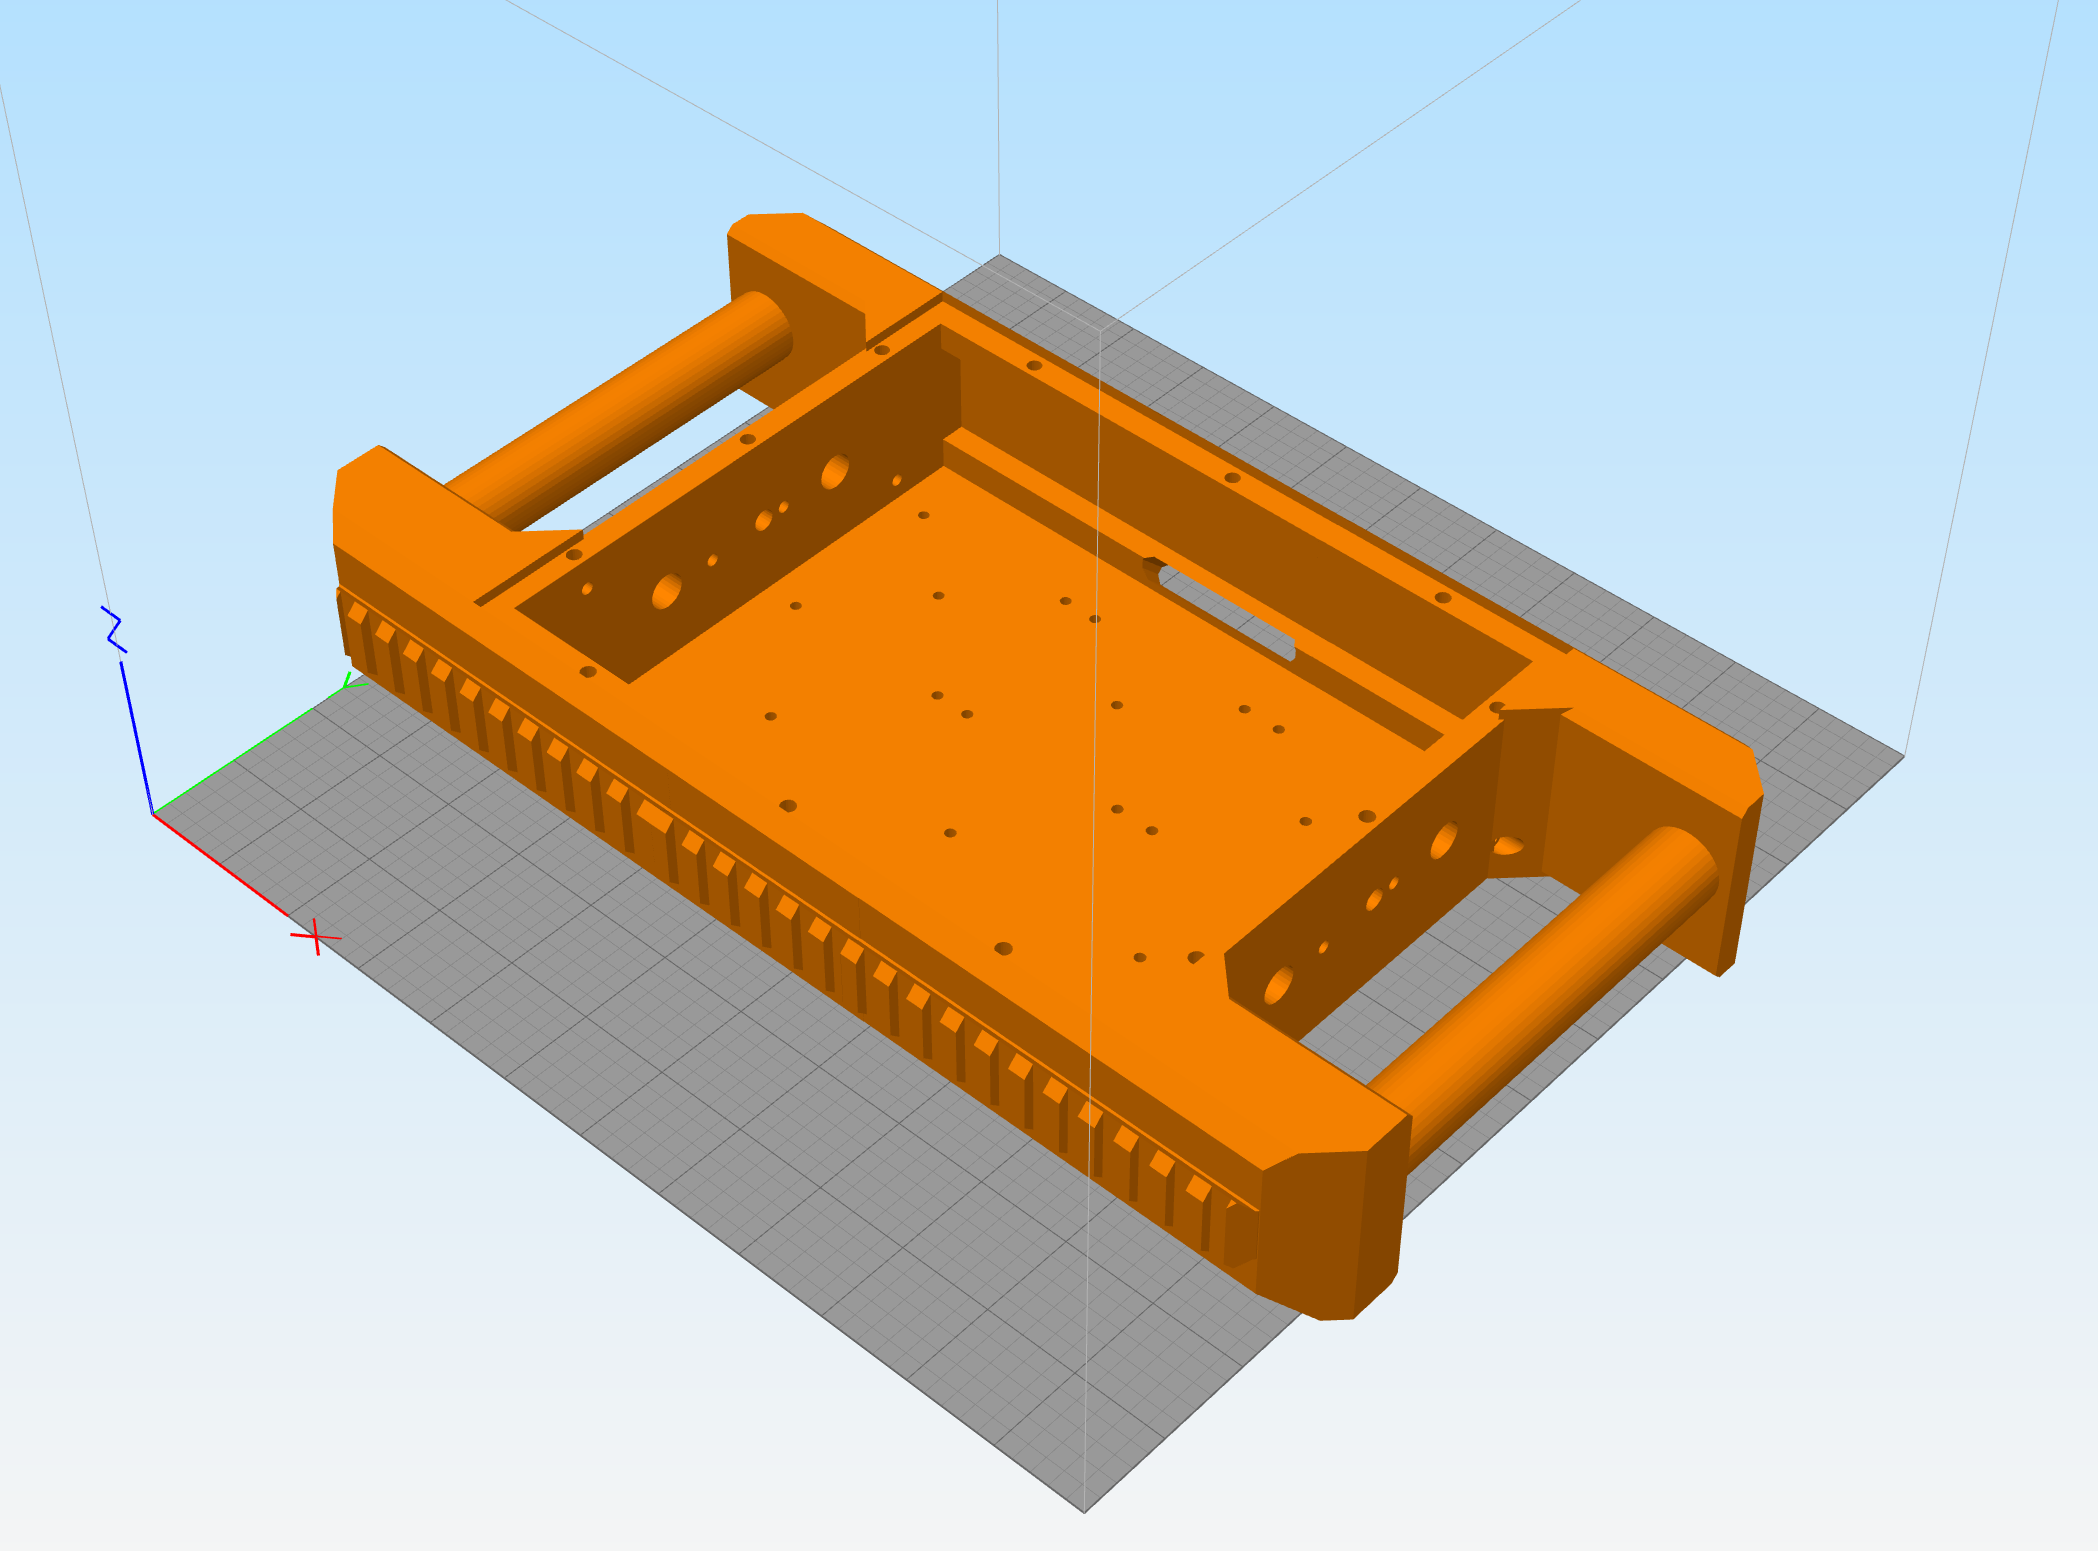
The idea became to have a sturdy lower case with vents and plenty of standard spaced screw holes, and a simple rectangle for a top panel that I could put holes in for the ports. So if I ever wanted to move the ports around or use the same case for something else I’d just need to print up an new top panel and screw it in place.
MUCH quicker and MUCH easier to print.
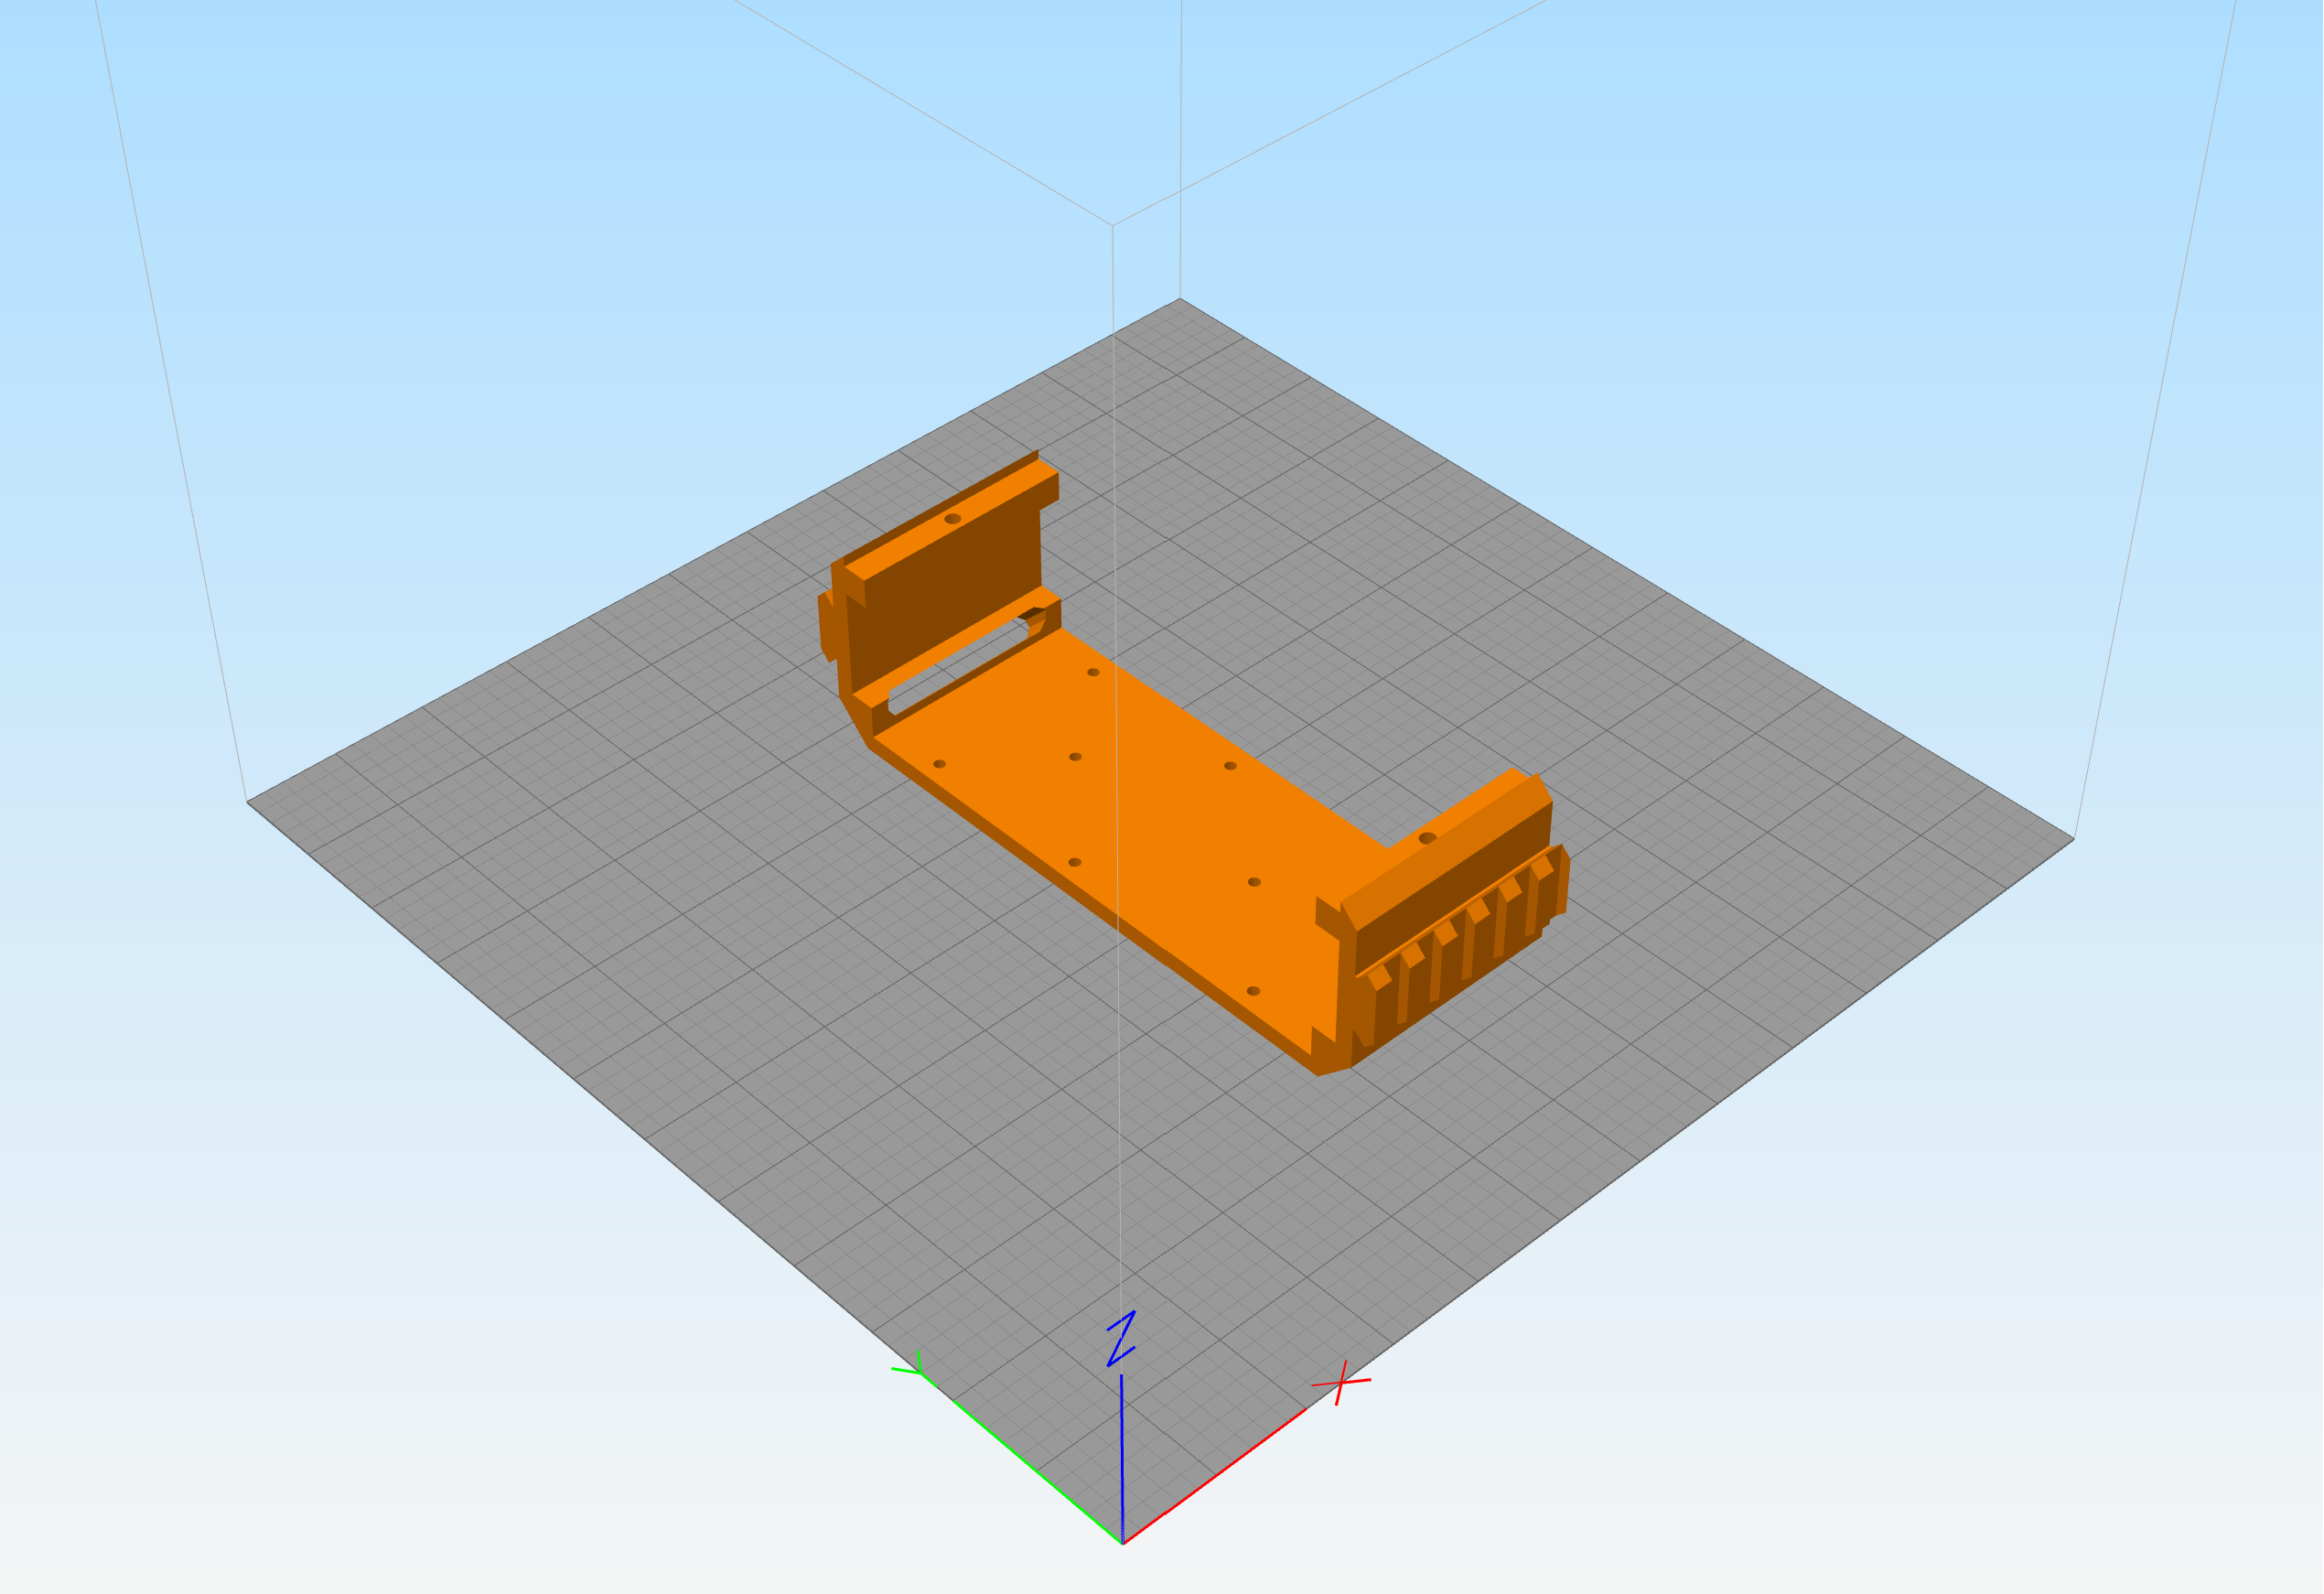
(An Early Prototype )
I also wanted to easily attach and remove a carry sling, and extra modules (Like a DStrike or Flipper Zero). Rather than integrating them into the main body of the deck, I opted to just add picatinny rails on both sides. The rails meant I could build standardised mounts for different modules and also use a whole world of existing off-the-shelf slings, stands, and grips.
I was little worried it would come across as “tacticool” but in Neuromancer the first cyberdecks were described as being made for the military, so that sort of thing would kinda be in keeping with the design ethos.
I added the D-bars on top, partly for the rack-mounted feel, and also to protect the screen and keyboard; the bars are the highest point on the deck (and can be adjusted), so you can stack thing on top of it if needed. They're also useful for tying on any extra cables I might need while working.
The bars themselves are just U-shaped cupboard handles.
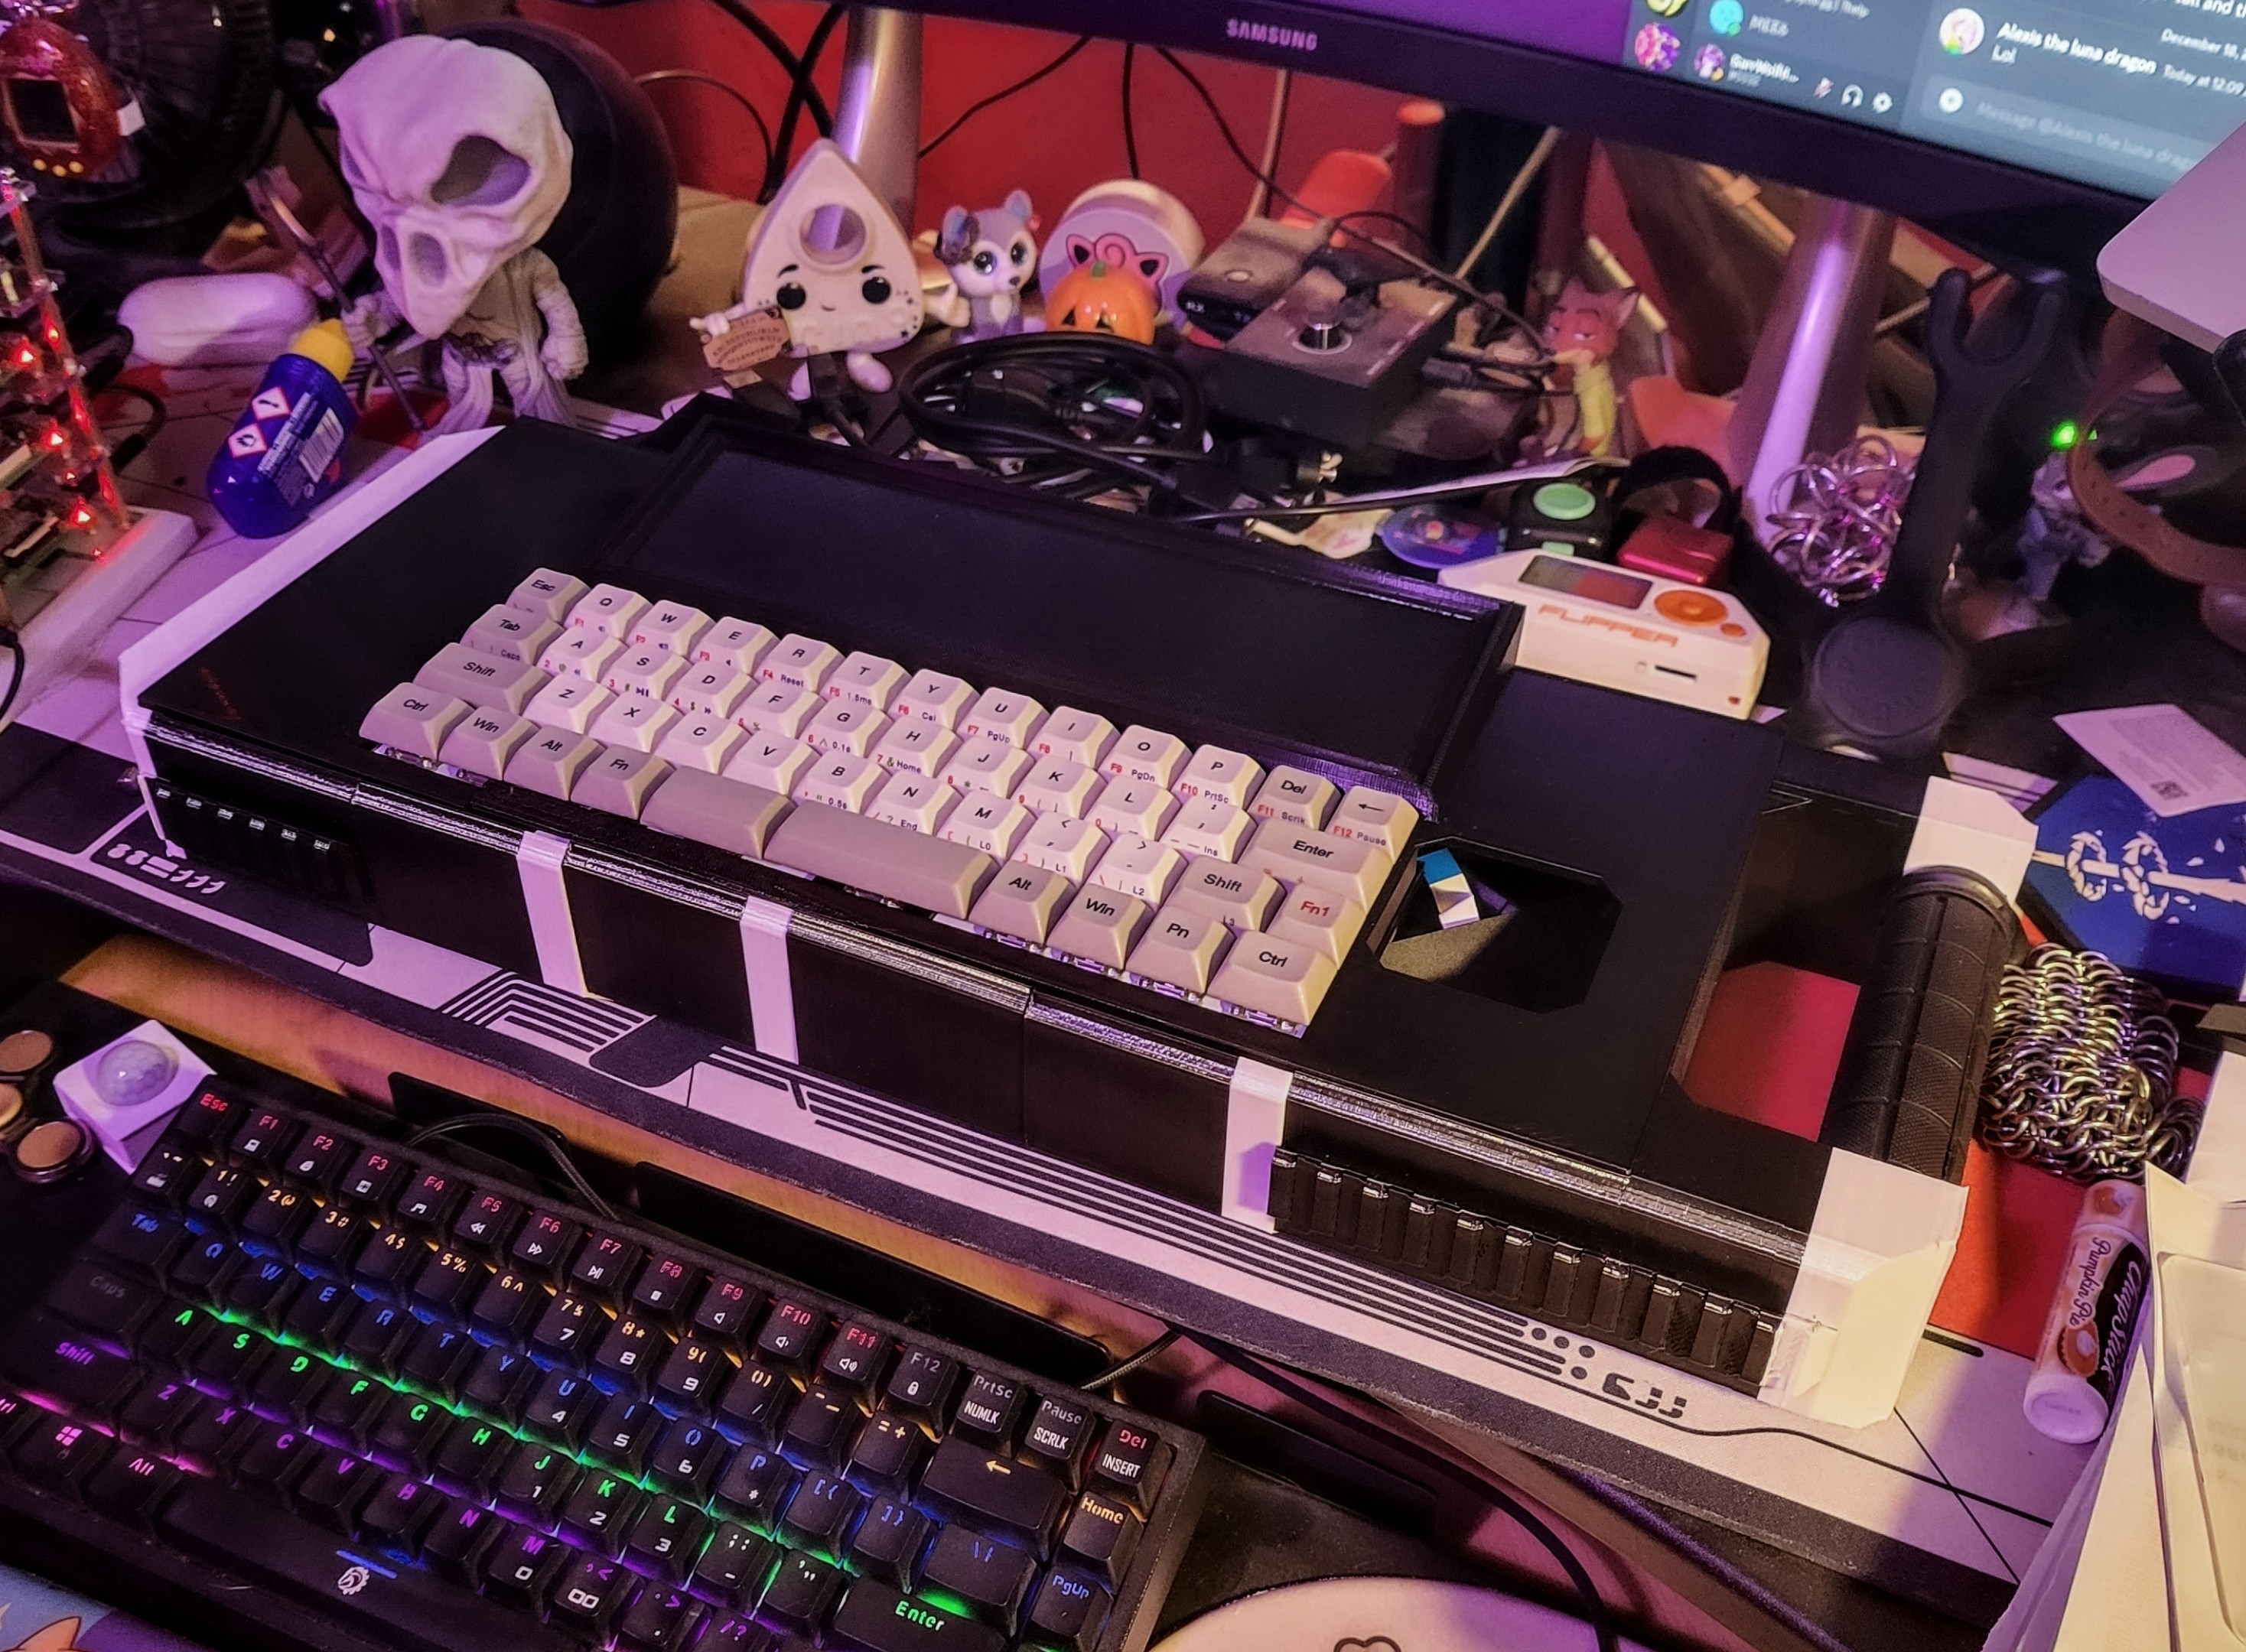
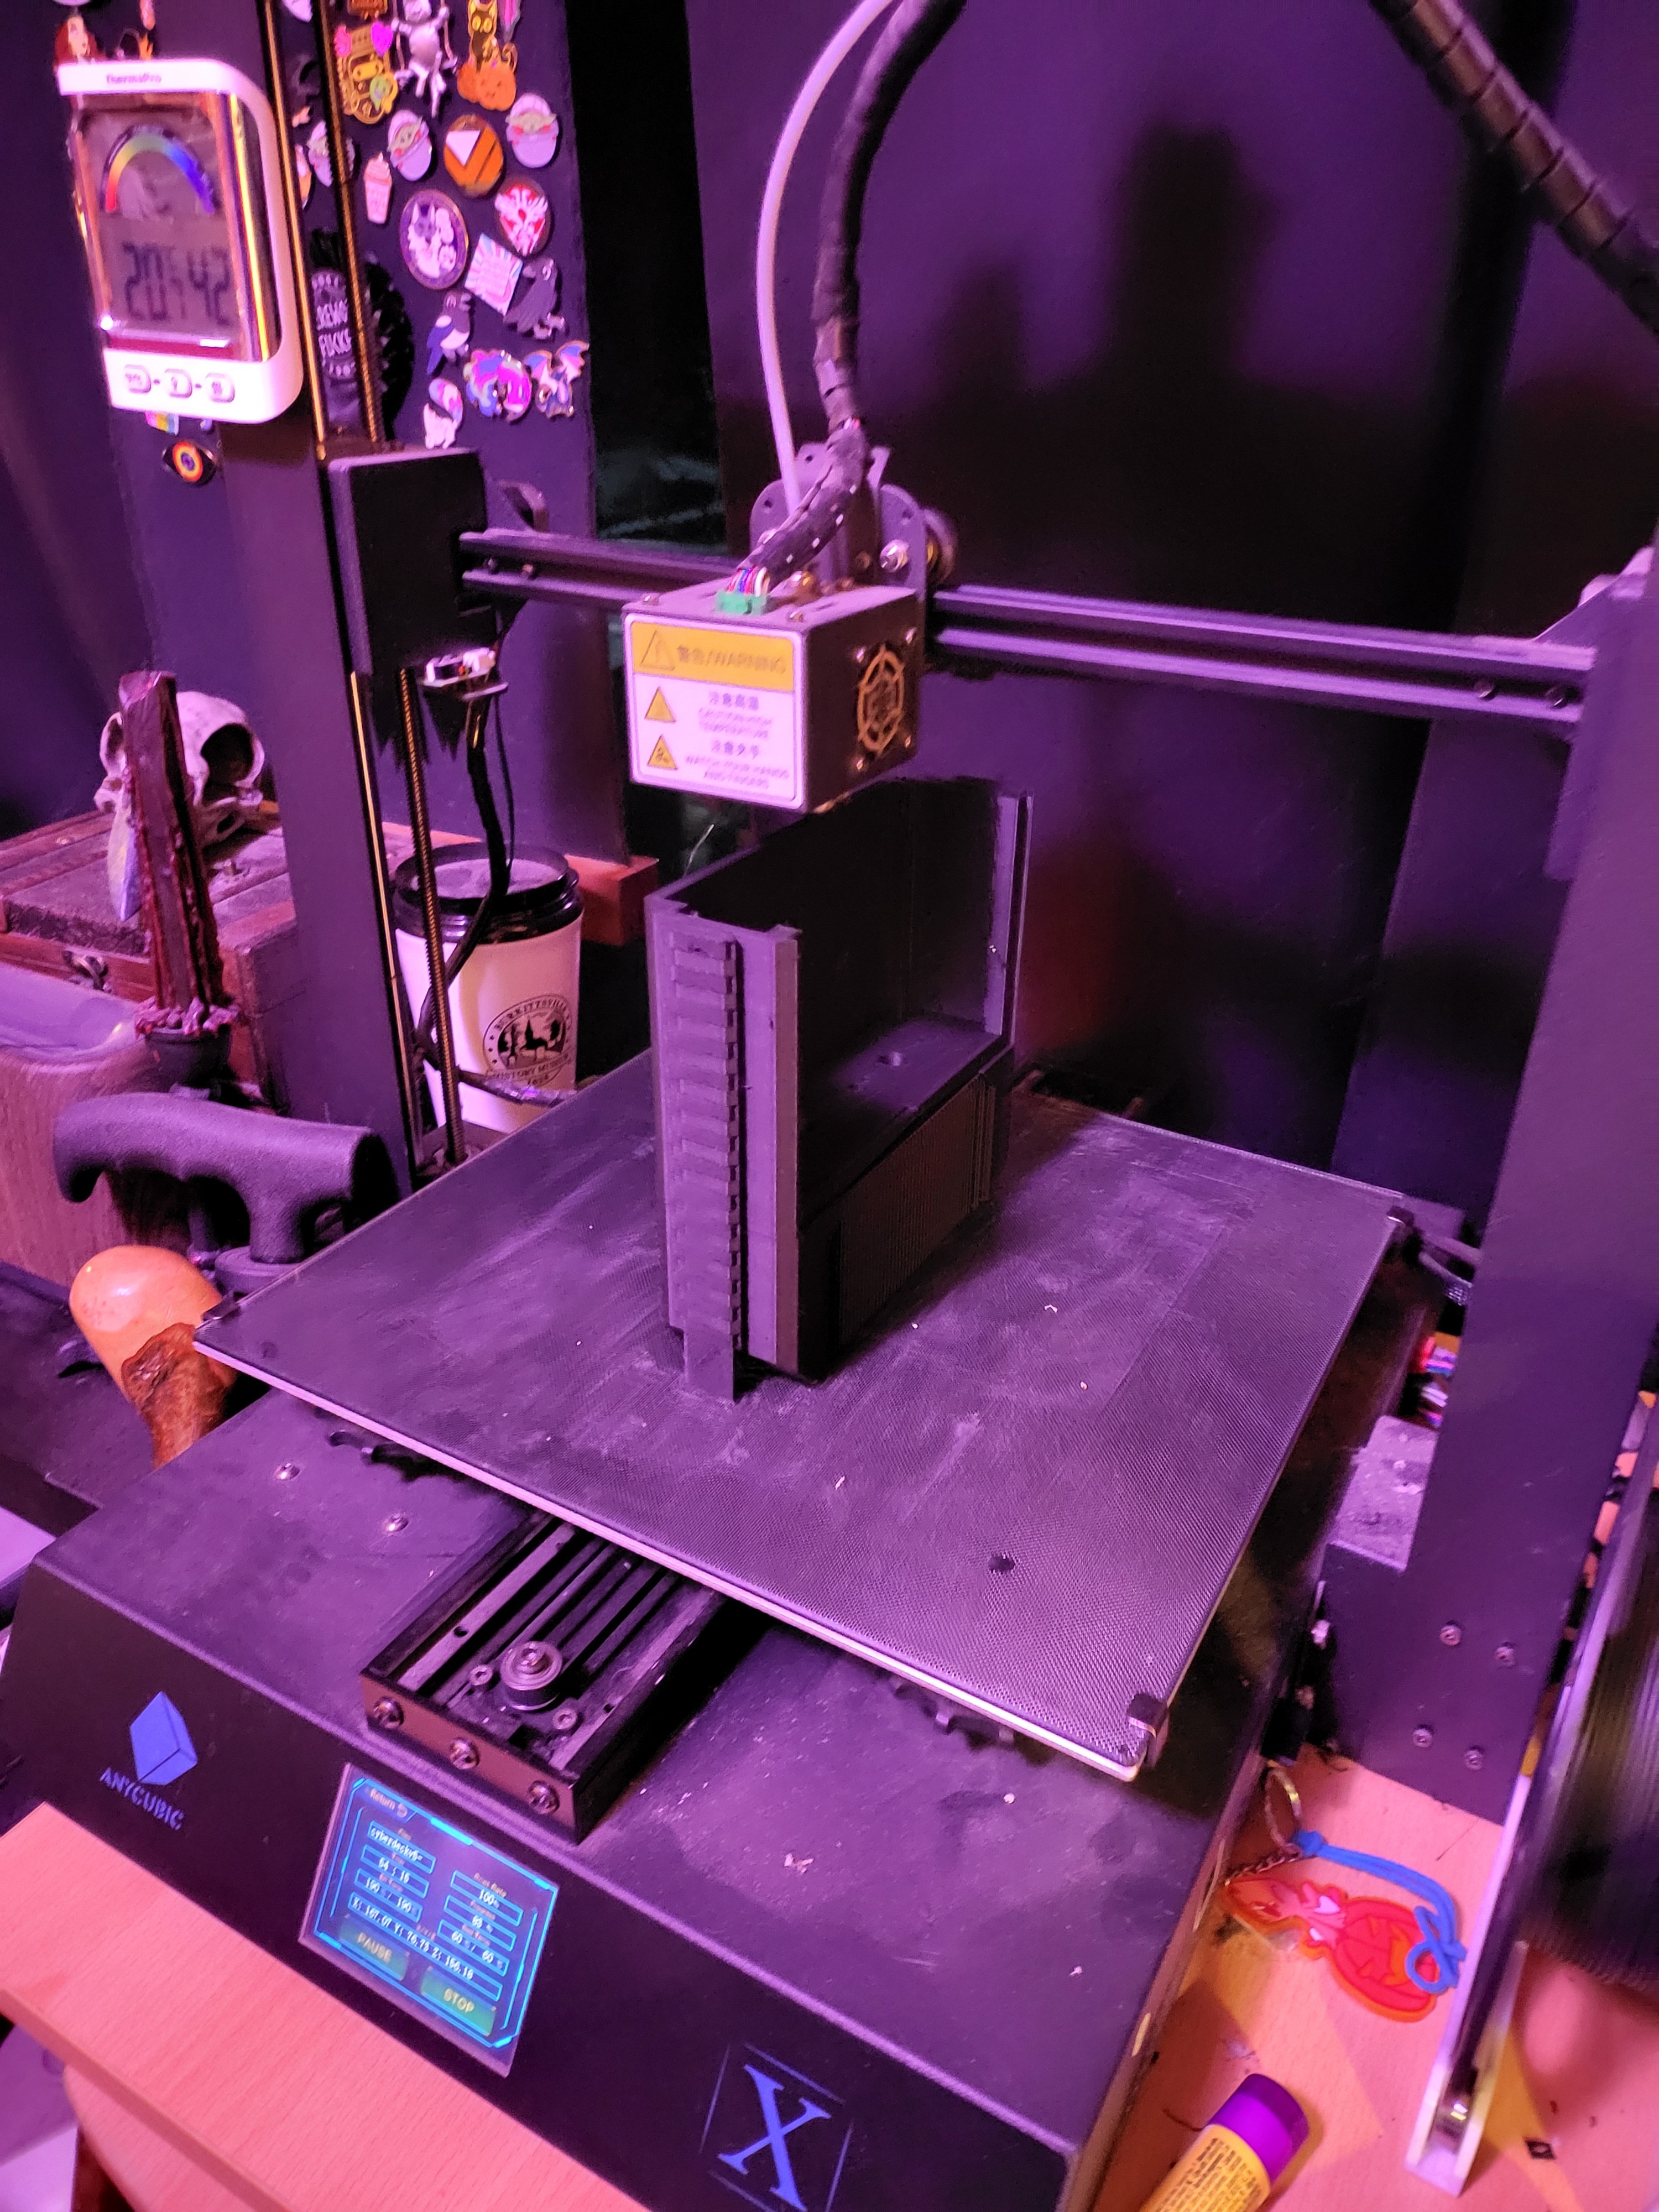
With a finalised design, it was time to print the ‘production’ case
After some testing I opted to go with a PiJuice module for power management and as big a Li-Ion battery as I could fit in the case. The battery was one part I bought new and brand-name for this project, because you absolutely DO NOT skimp on the part mostly likely to explode or catch fire!
I...
Read more »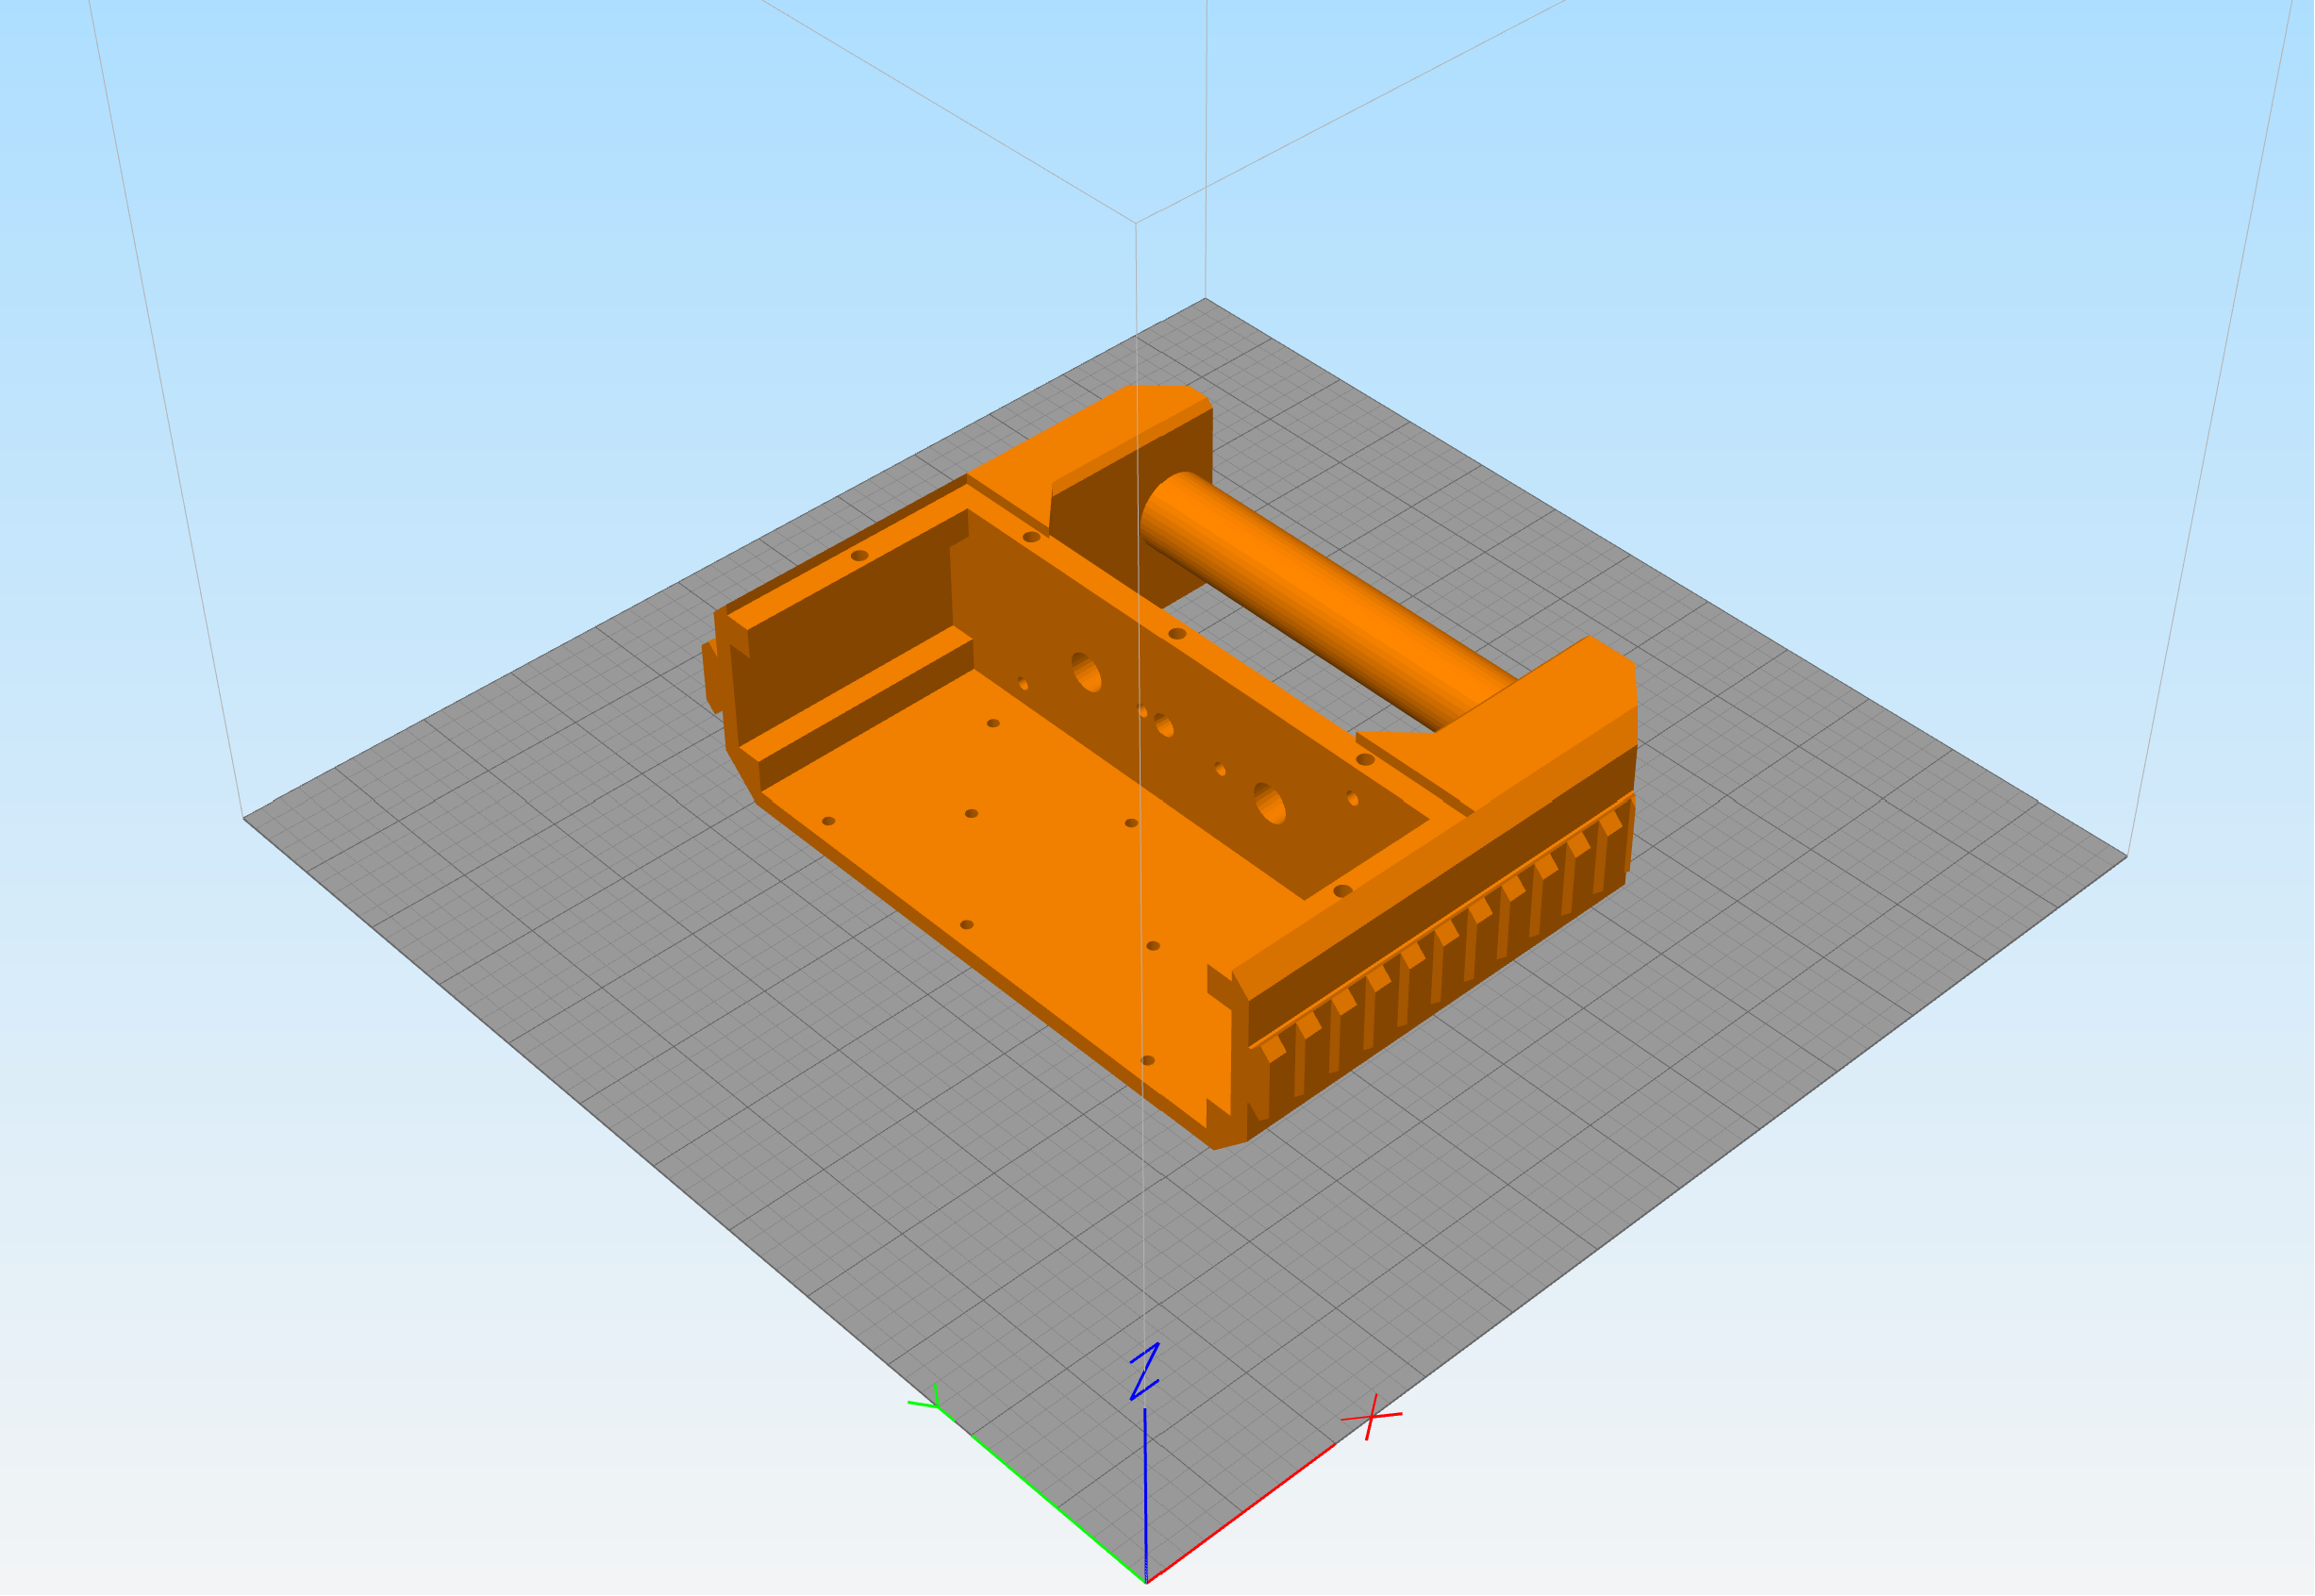


 Cees Meijer
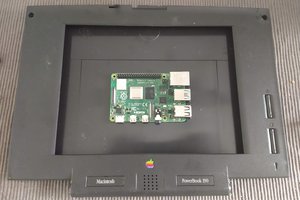
 Dan Jilek
 Magic Robots
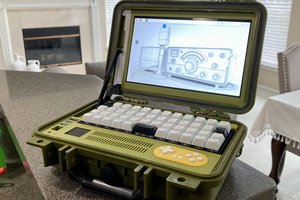
 Kaushlesh C. ( KD9VFU )
I have a question more related to crash carts in general: how this interface with the server in the datacenter?