 joey castillo
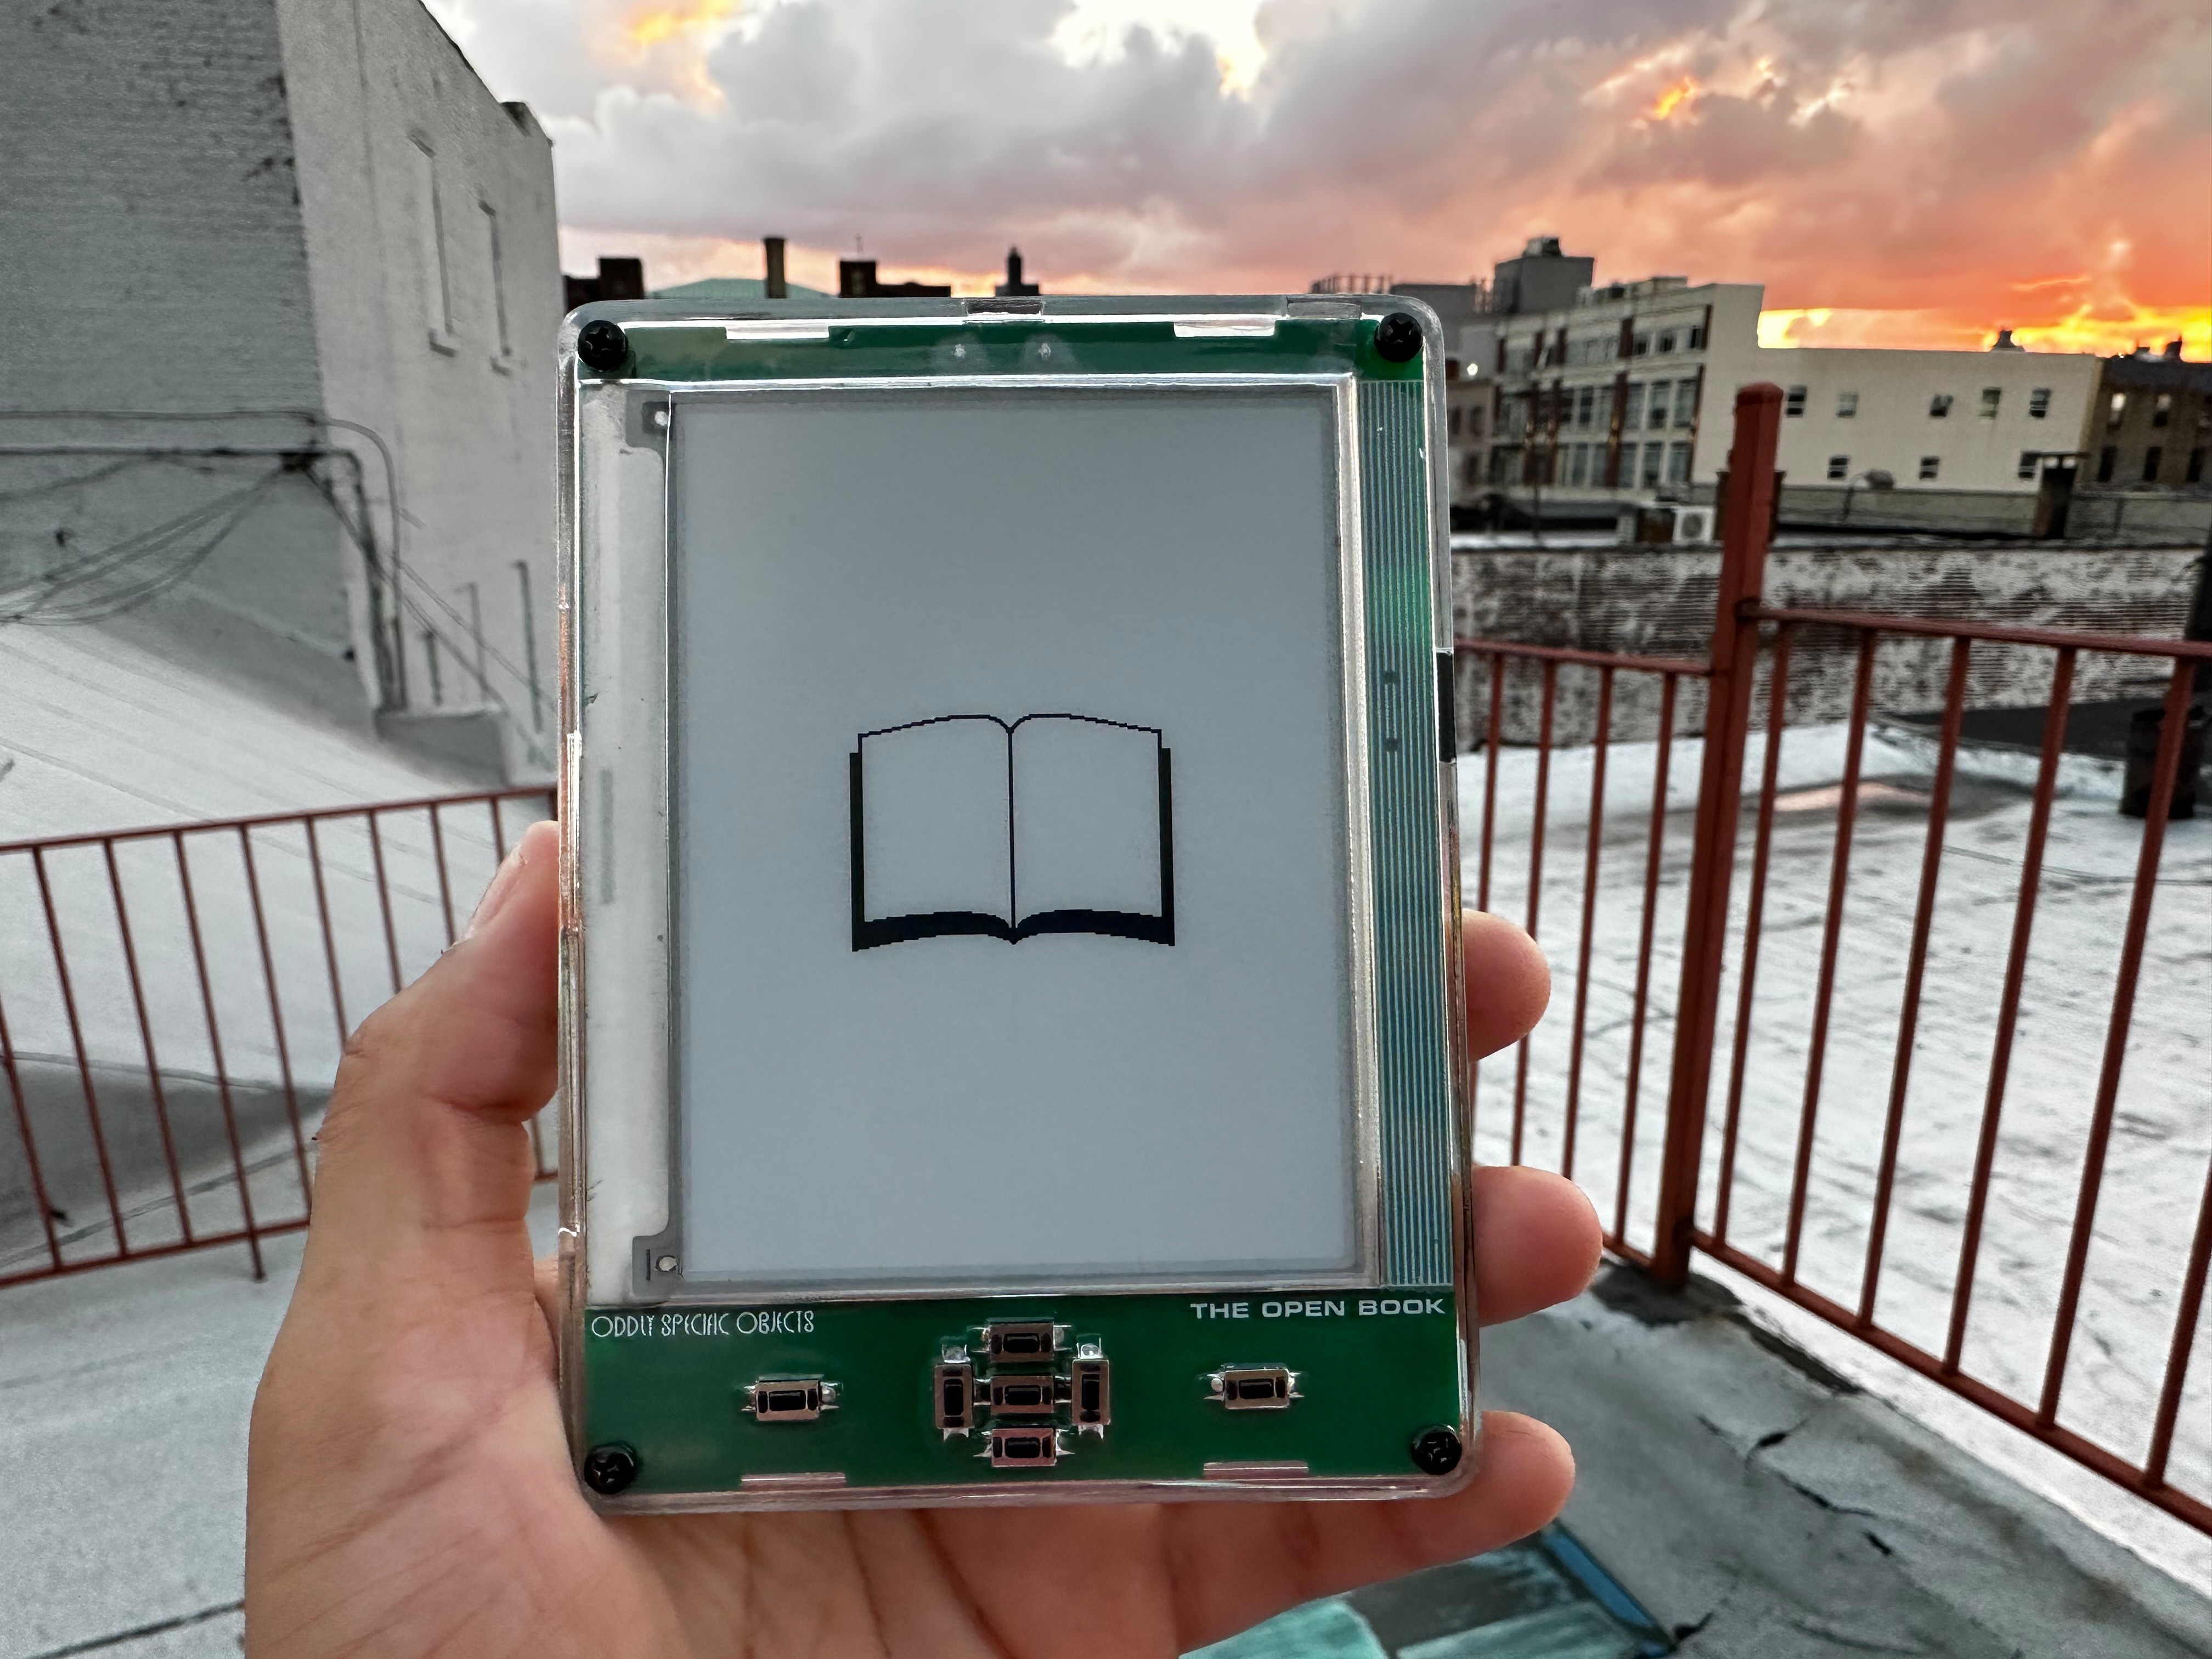
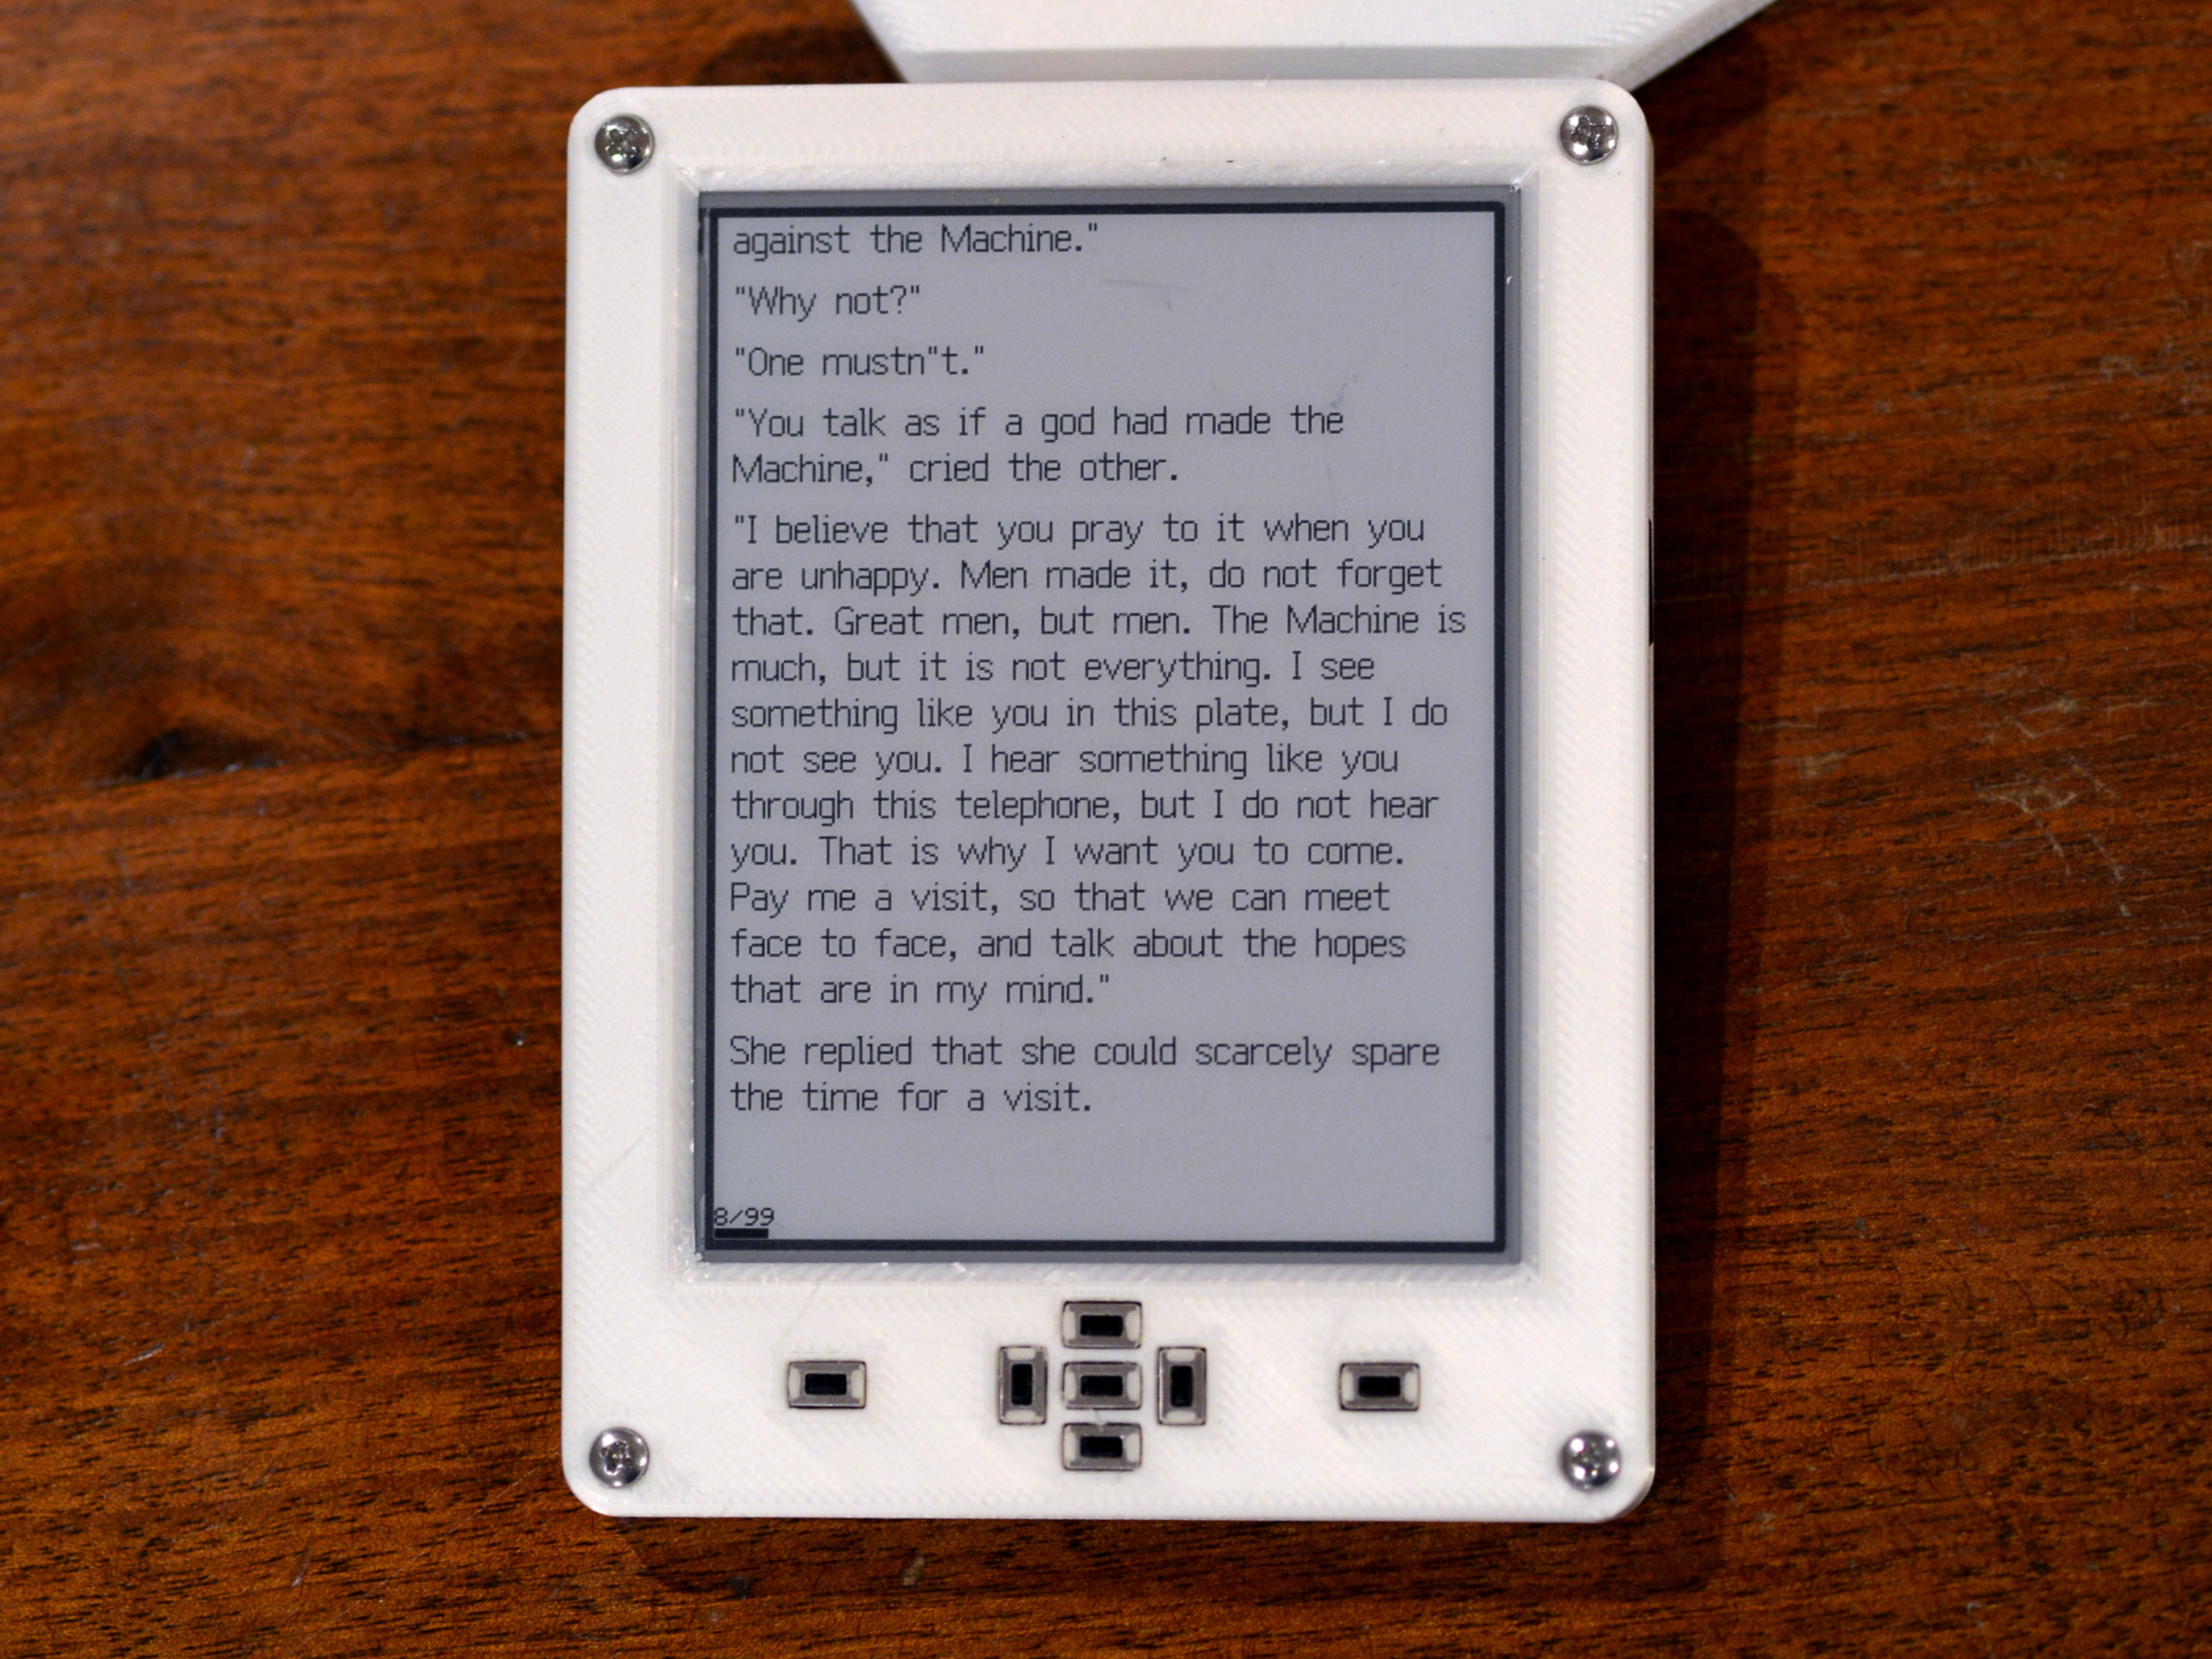
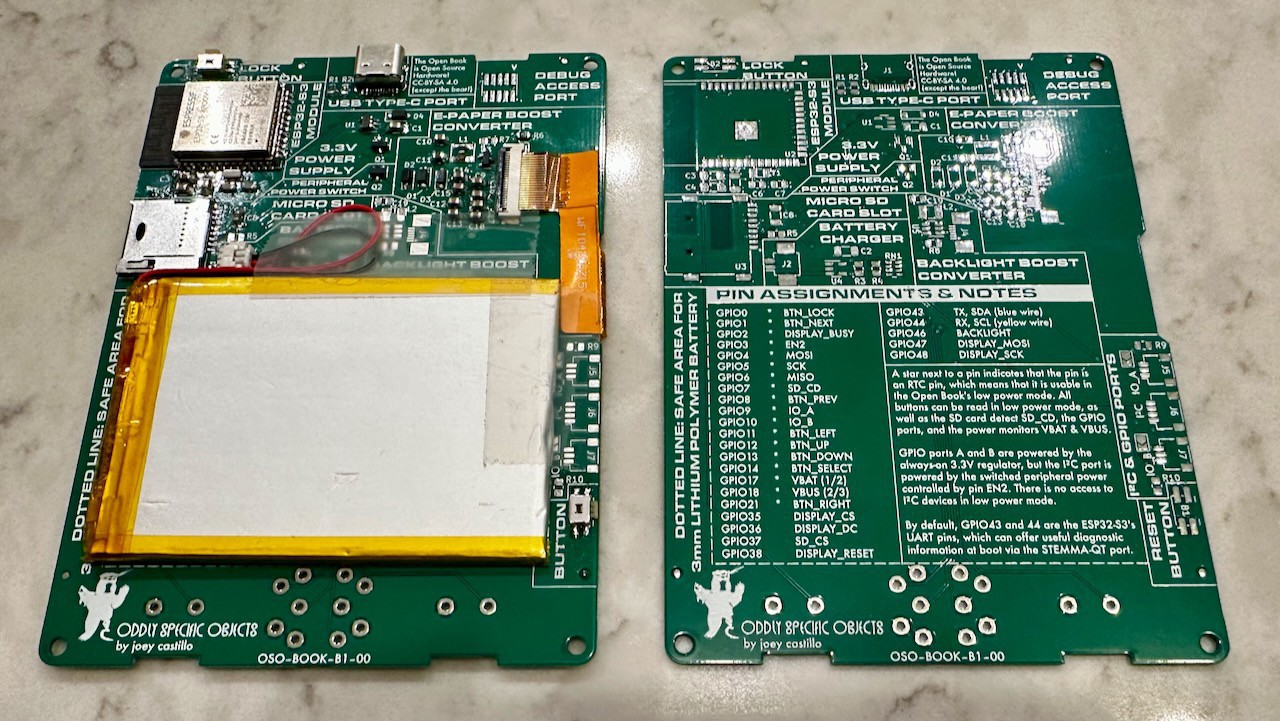
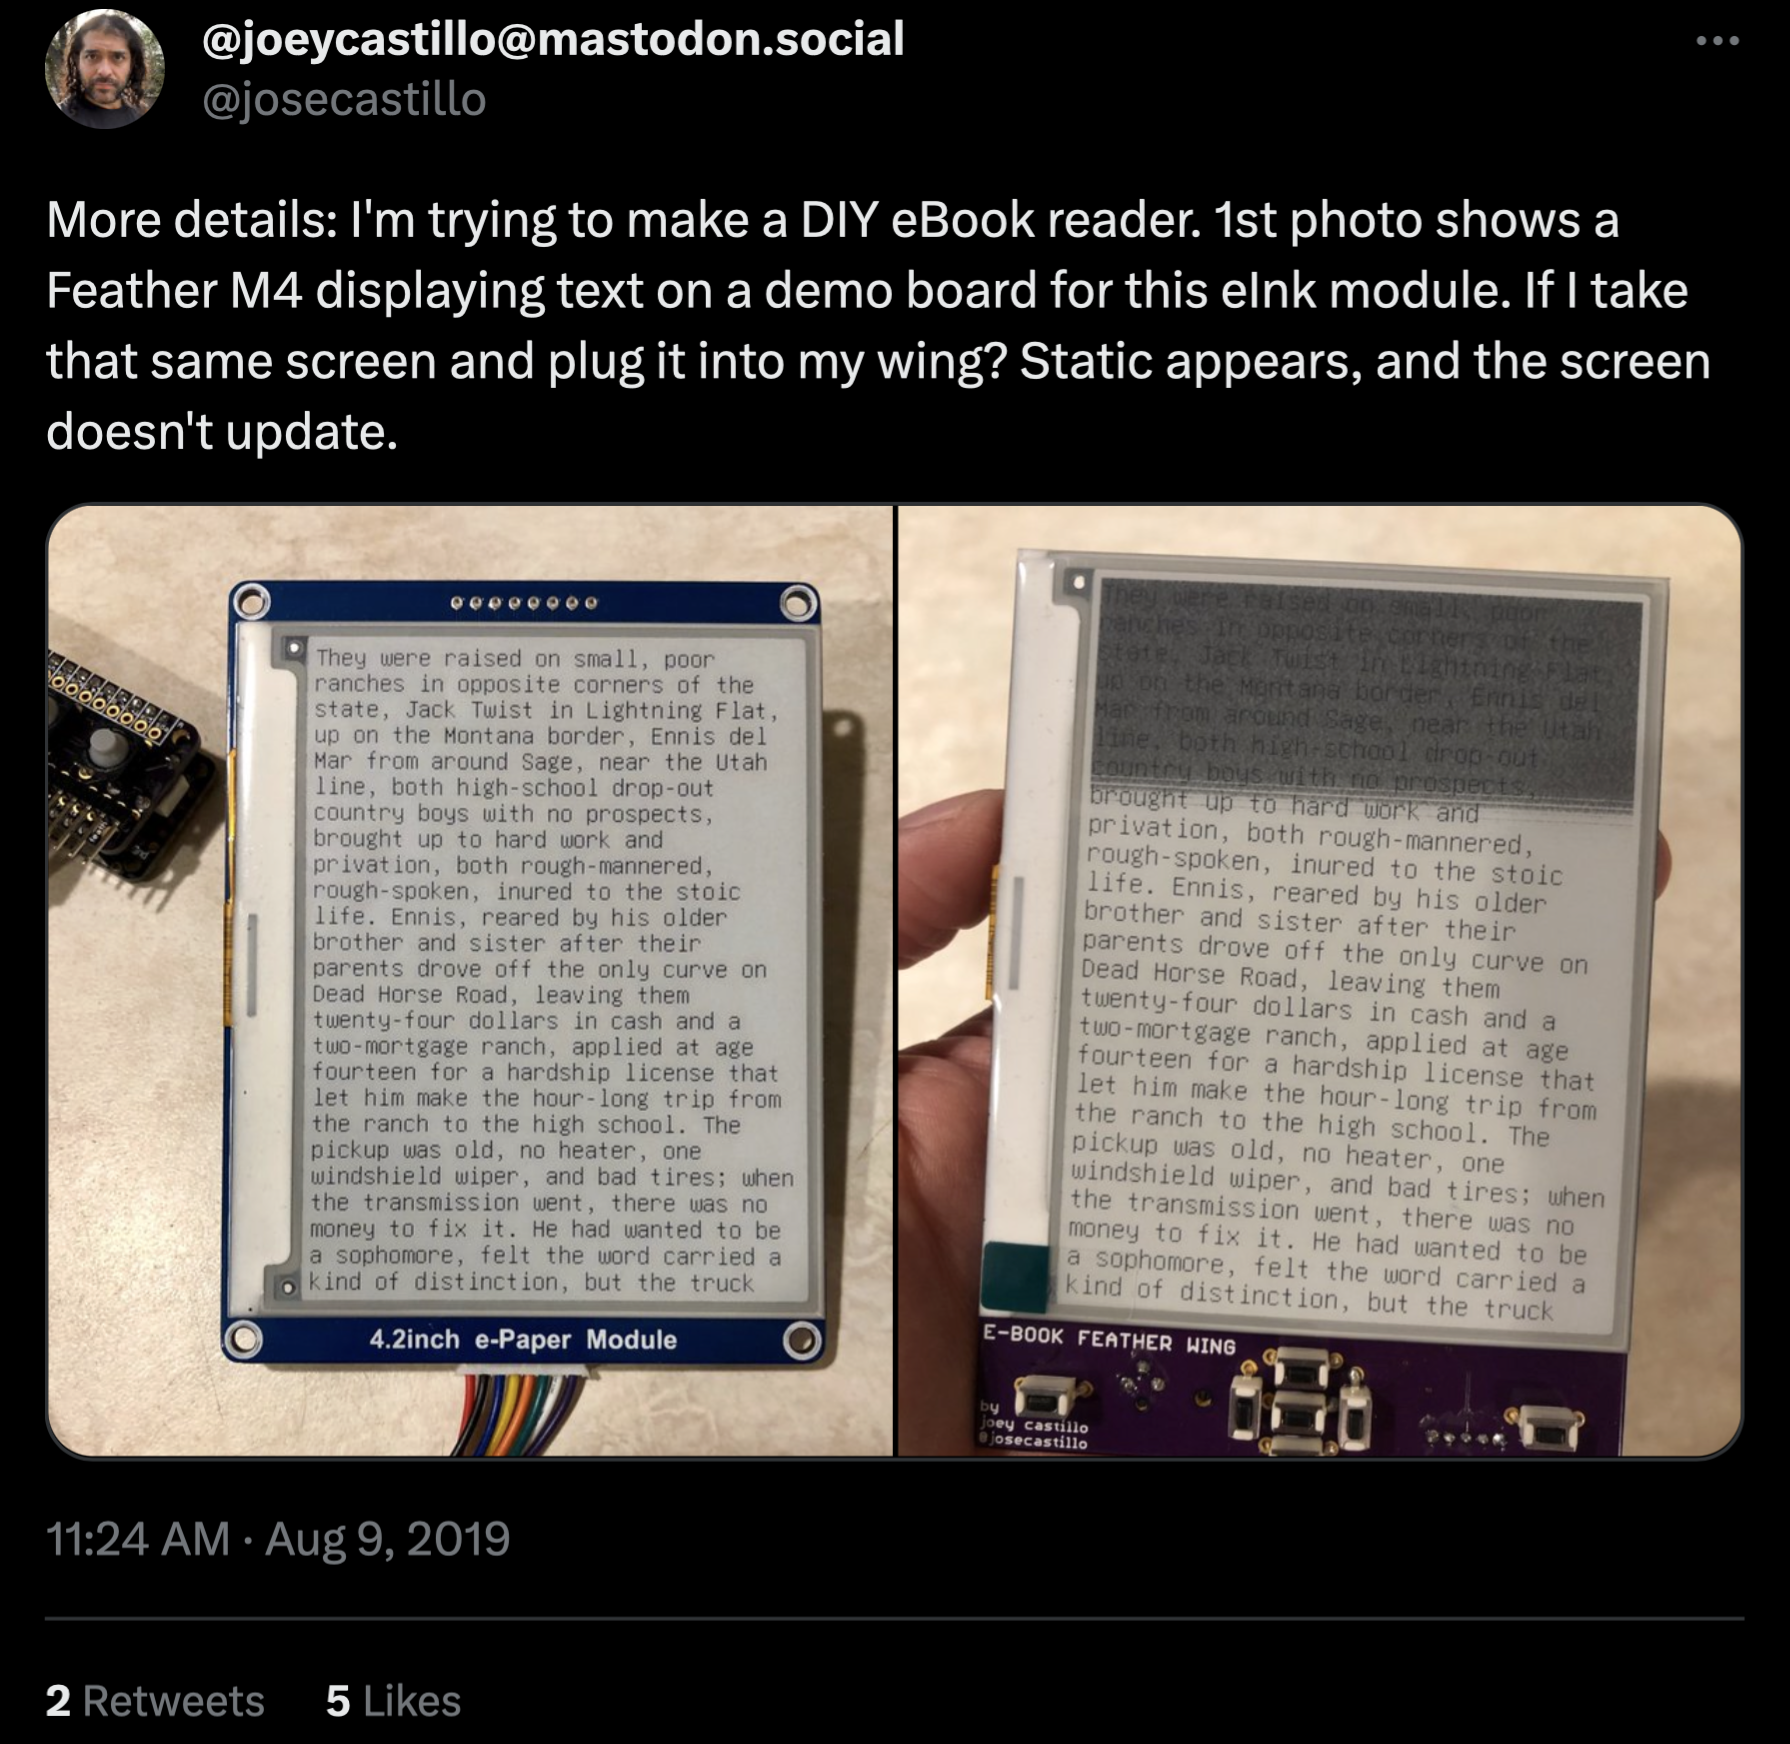
This is an open hardware e-book reader designed around the ESP32-S3. It grew out of an old design for a Feather-oriented board that I designed before the pandemic. With the benefit of four years learning the ins and outs of design, manufacturing and community development, I designed this new version over the summer specifically to submit for the Hackaday Prize.
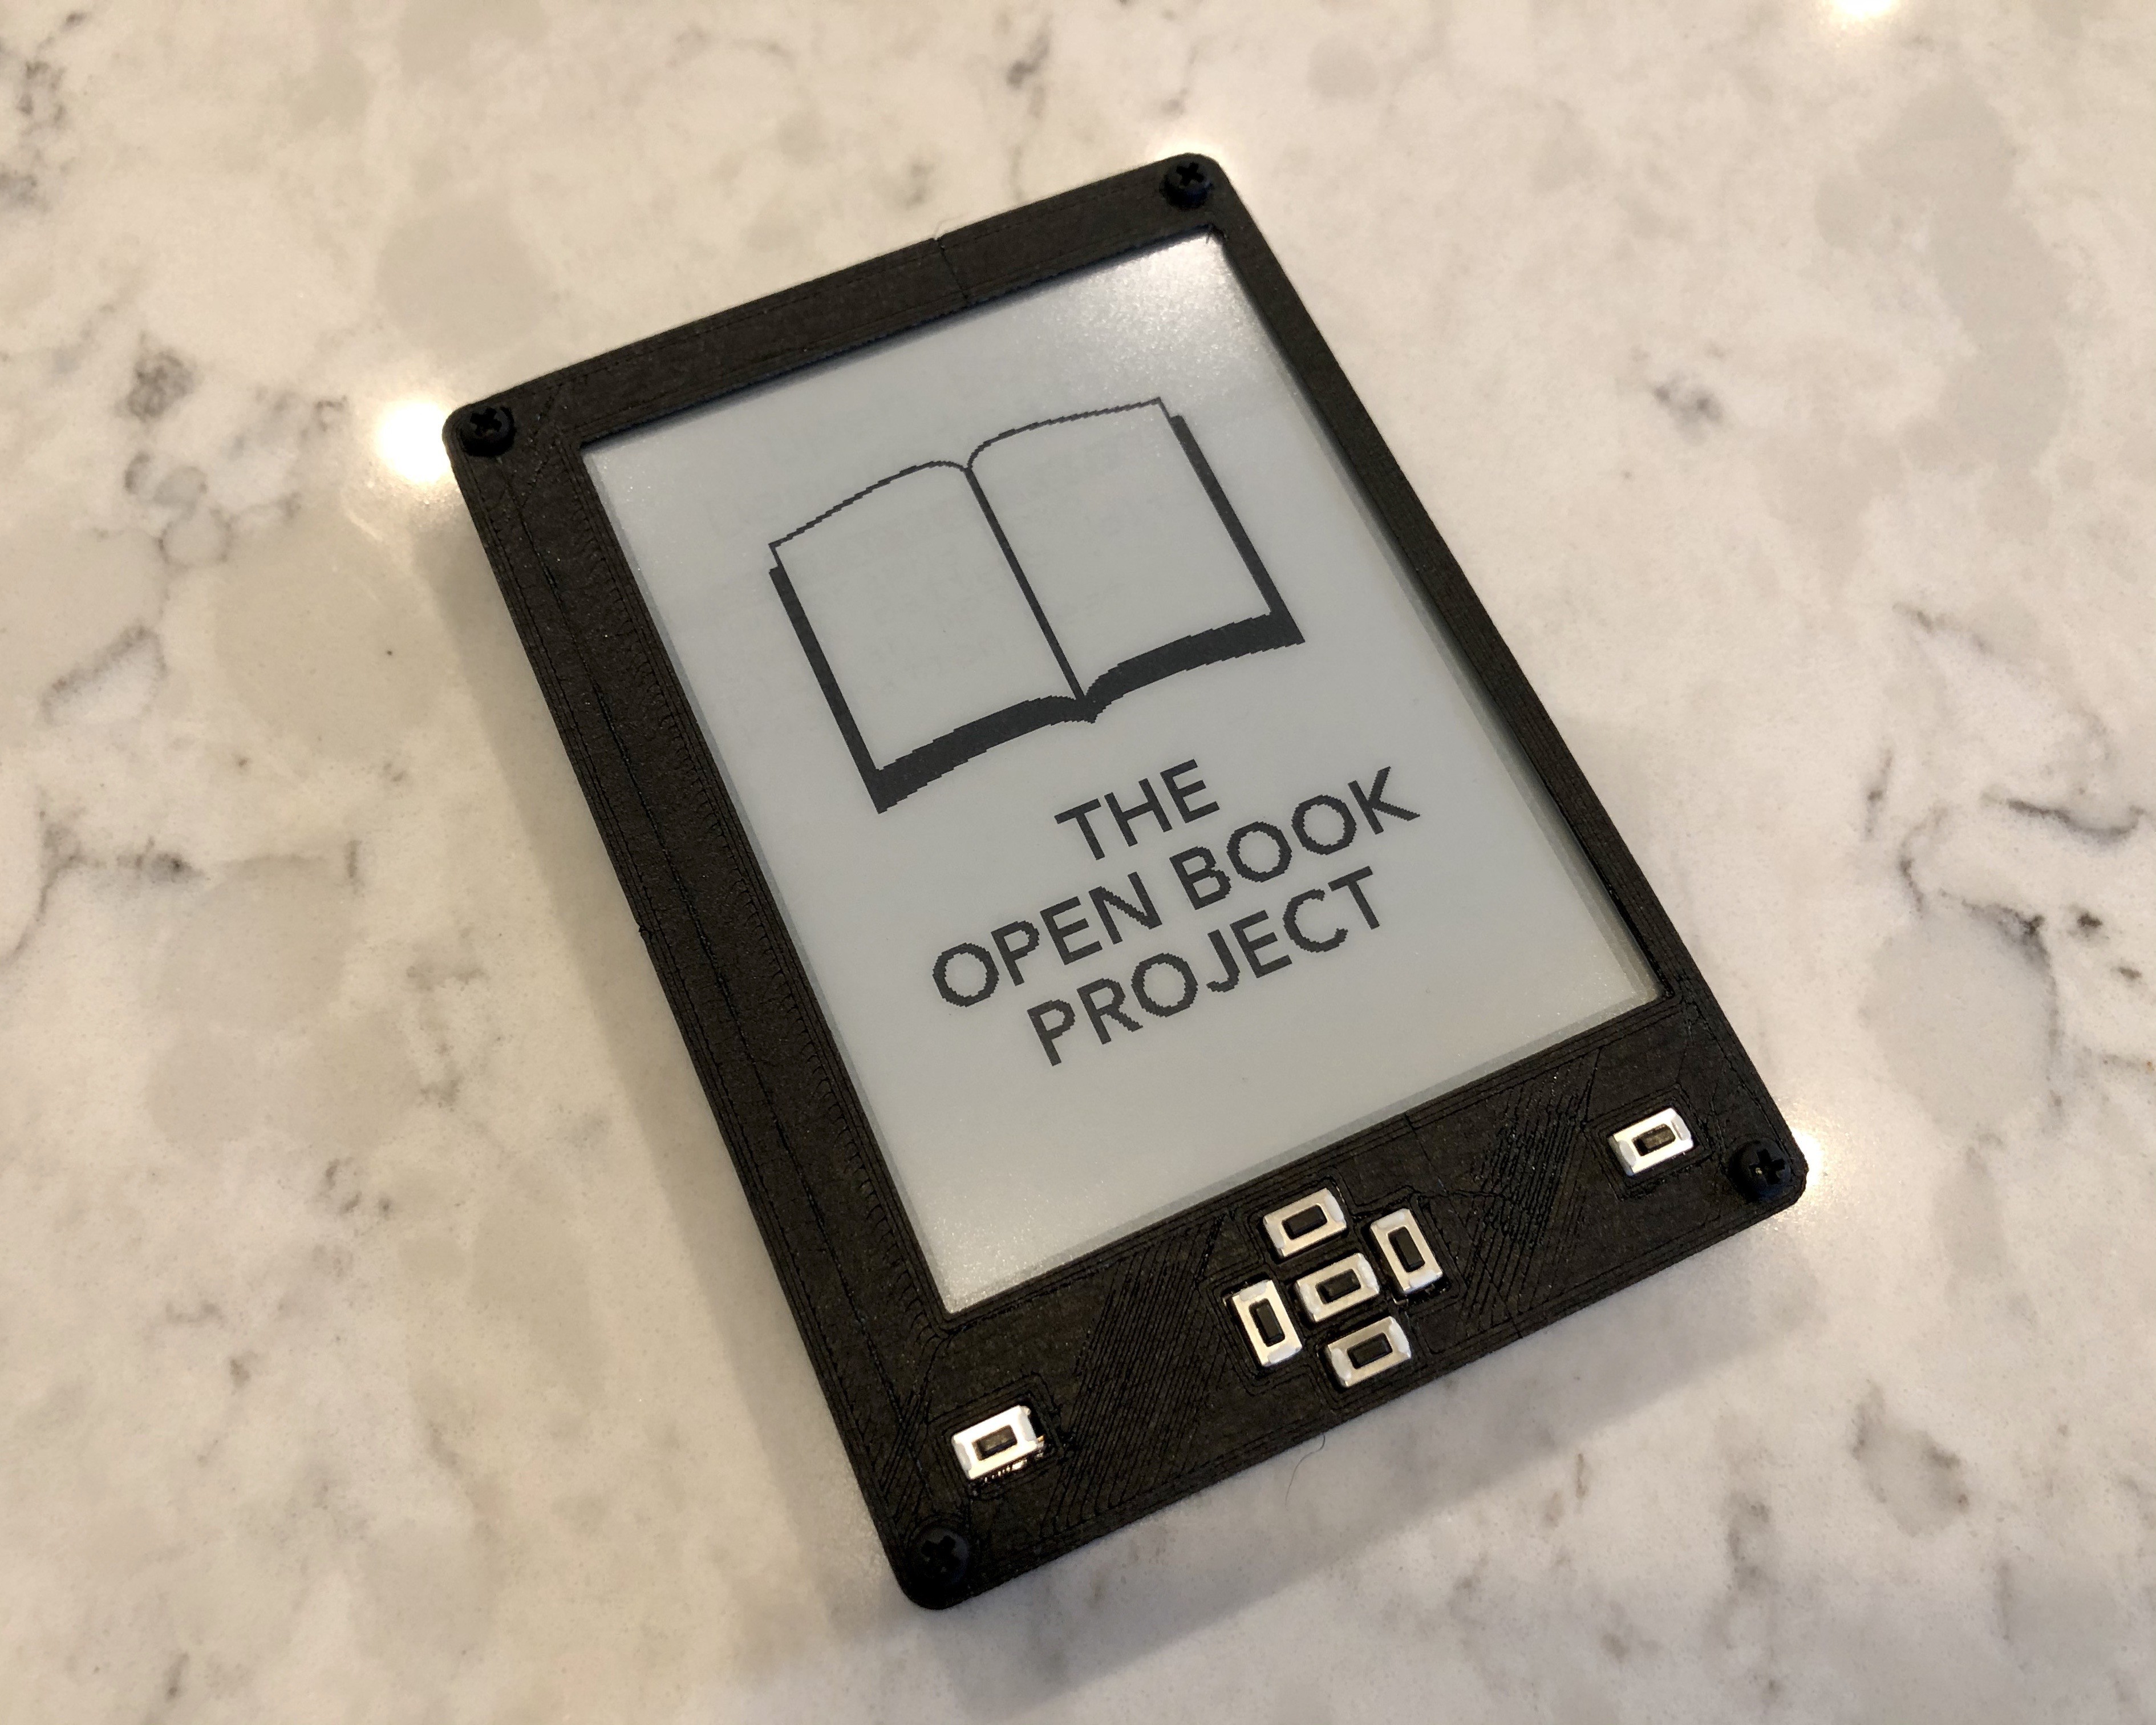
The Open Book stakes out an alternate vision for developing personal computing devices, using the humble e-book reader as its ideological canvas:
- It posits that technology should be understood by the user, not act like a black box.
- It posits that technology should serve the user, not the platform owner that created the technology.
- It posits that technology should be extensible, offering expansion points for accessibility features that make it work for differently abled users.
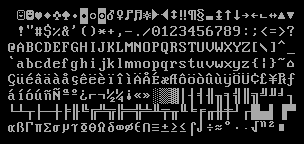
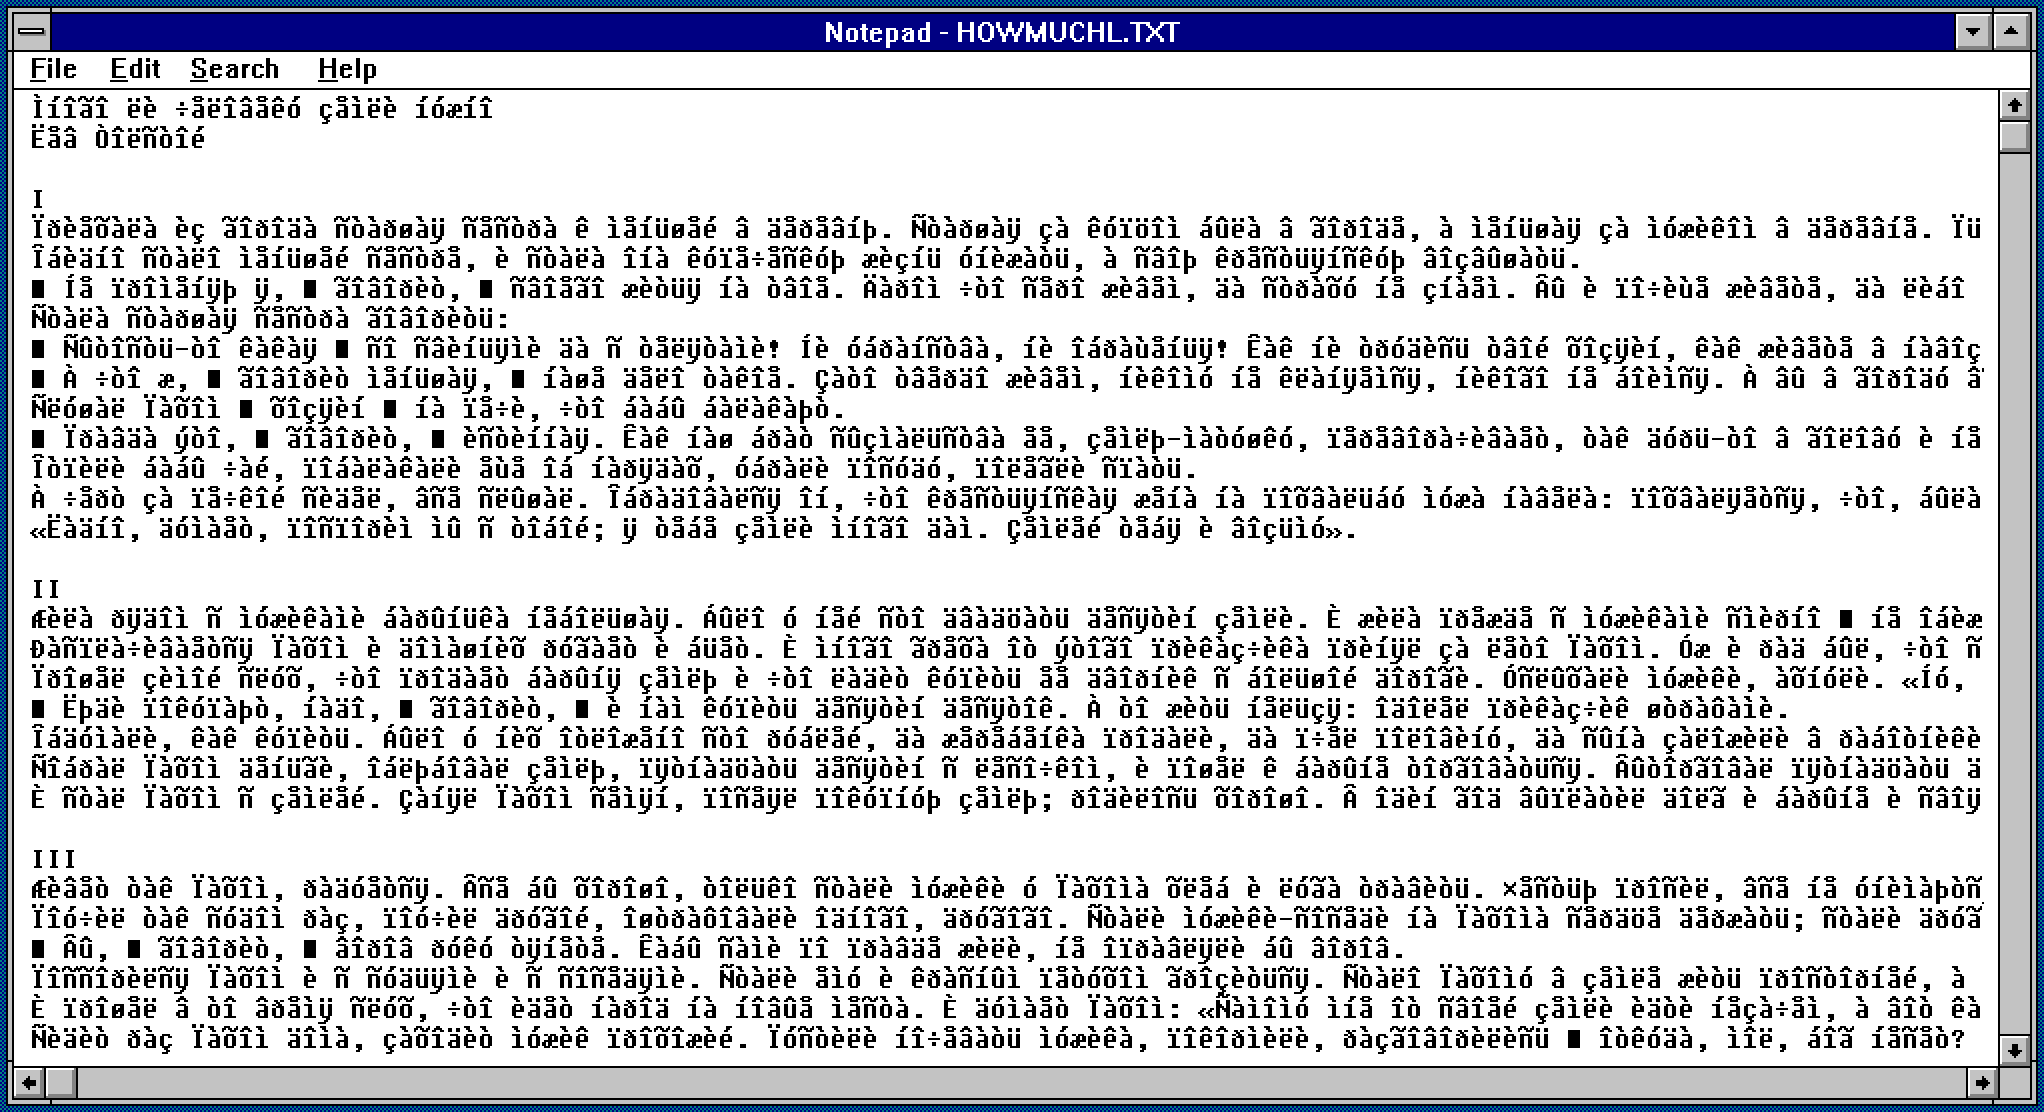
- It posits that technology should aim to support users around the globe as equals, supporting all the world’s languages by default instead of leaving some behind.
- Most of all, it posits technology as a thing that you make out in the open, not a thing that you buy that is closed.
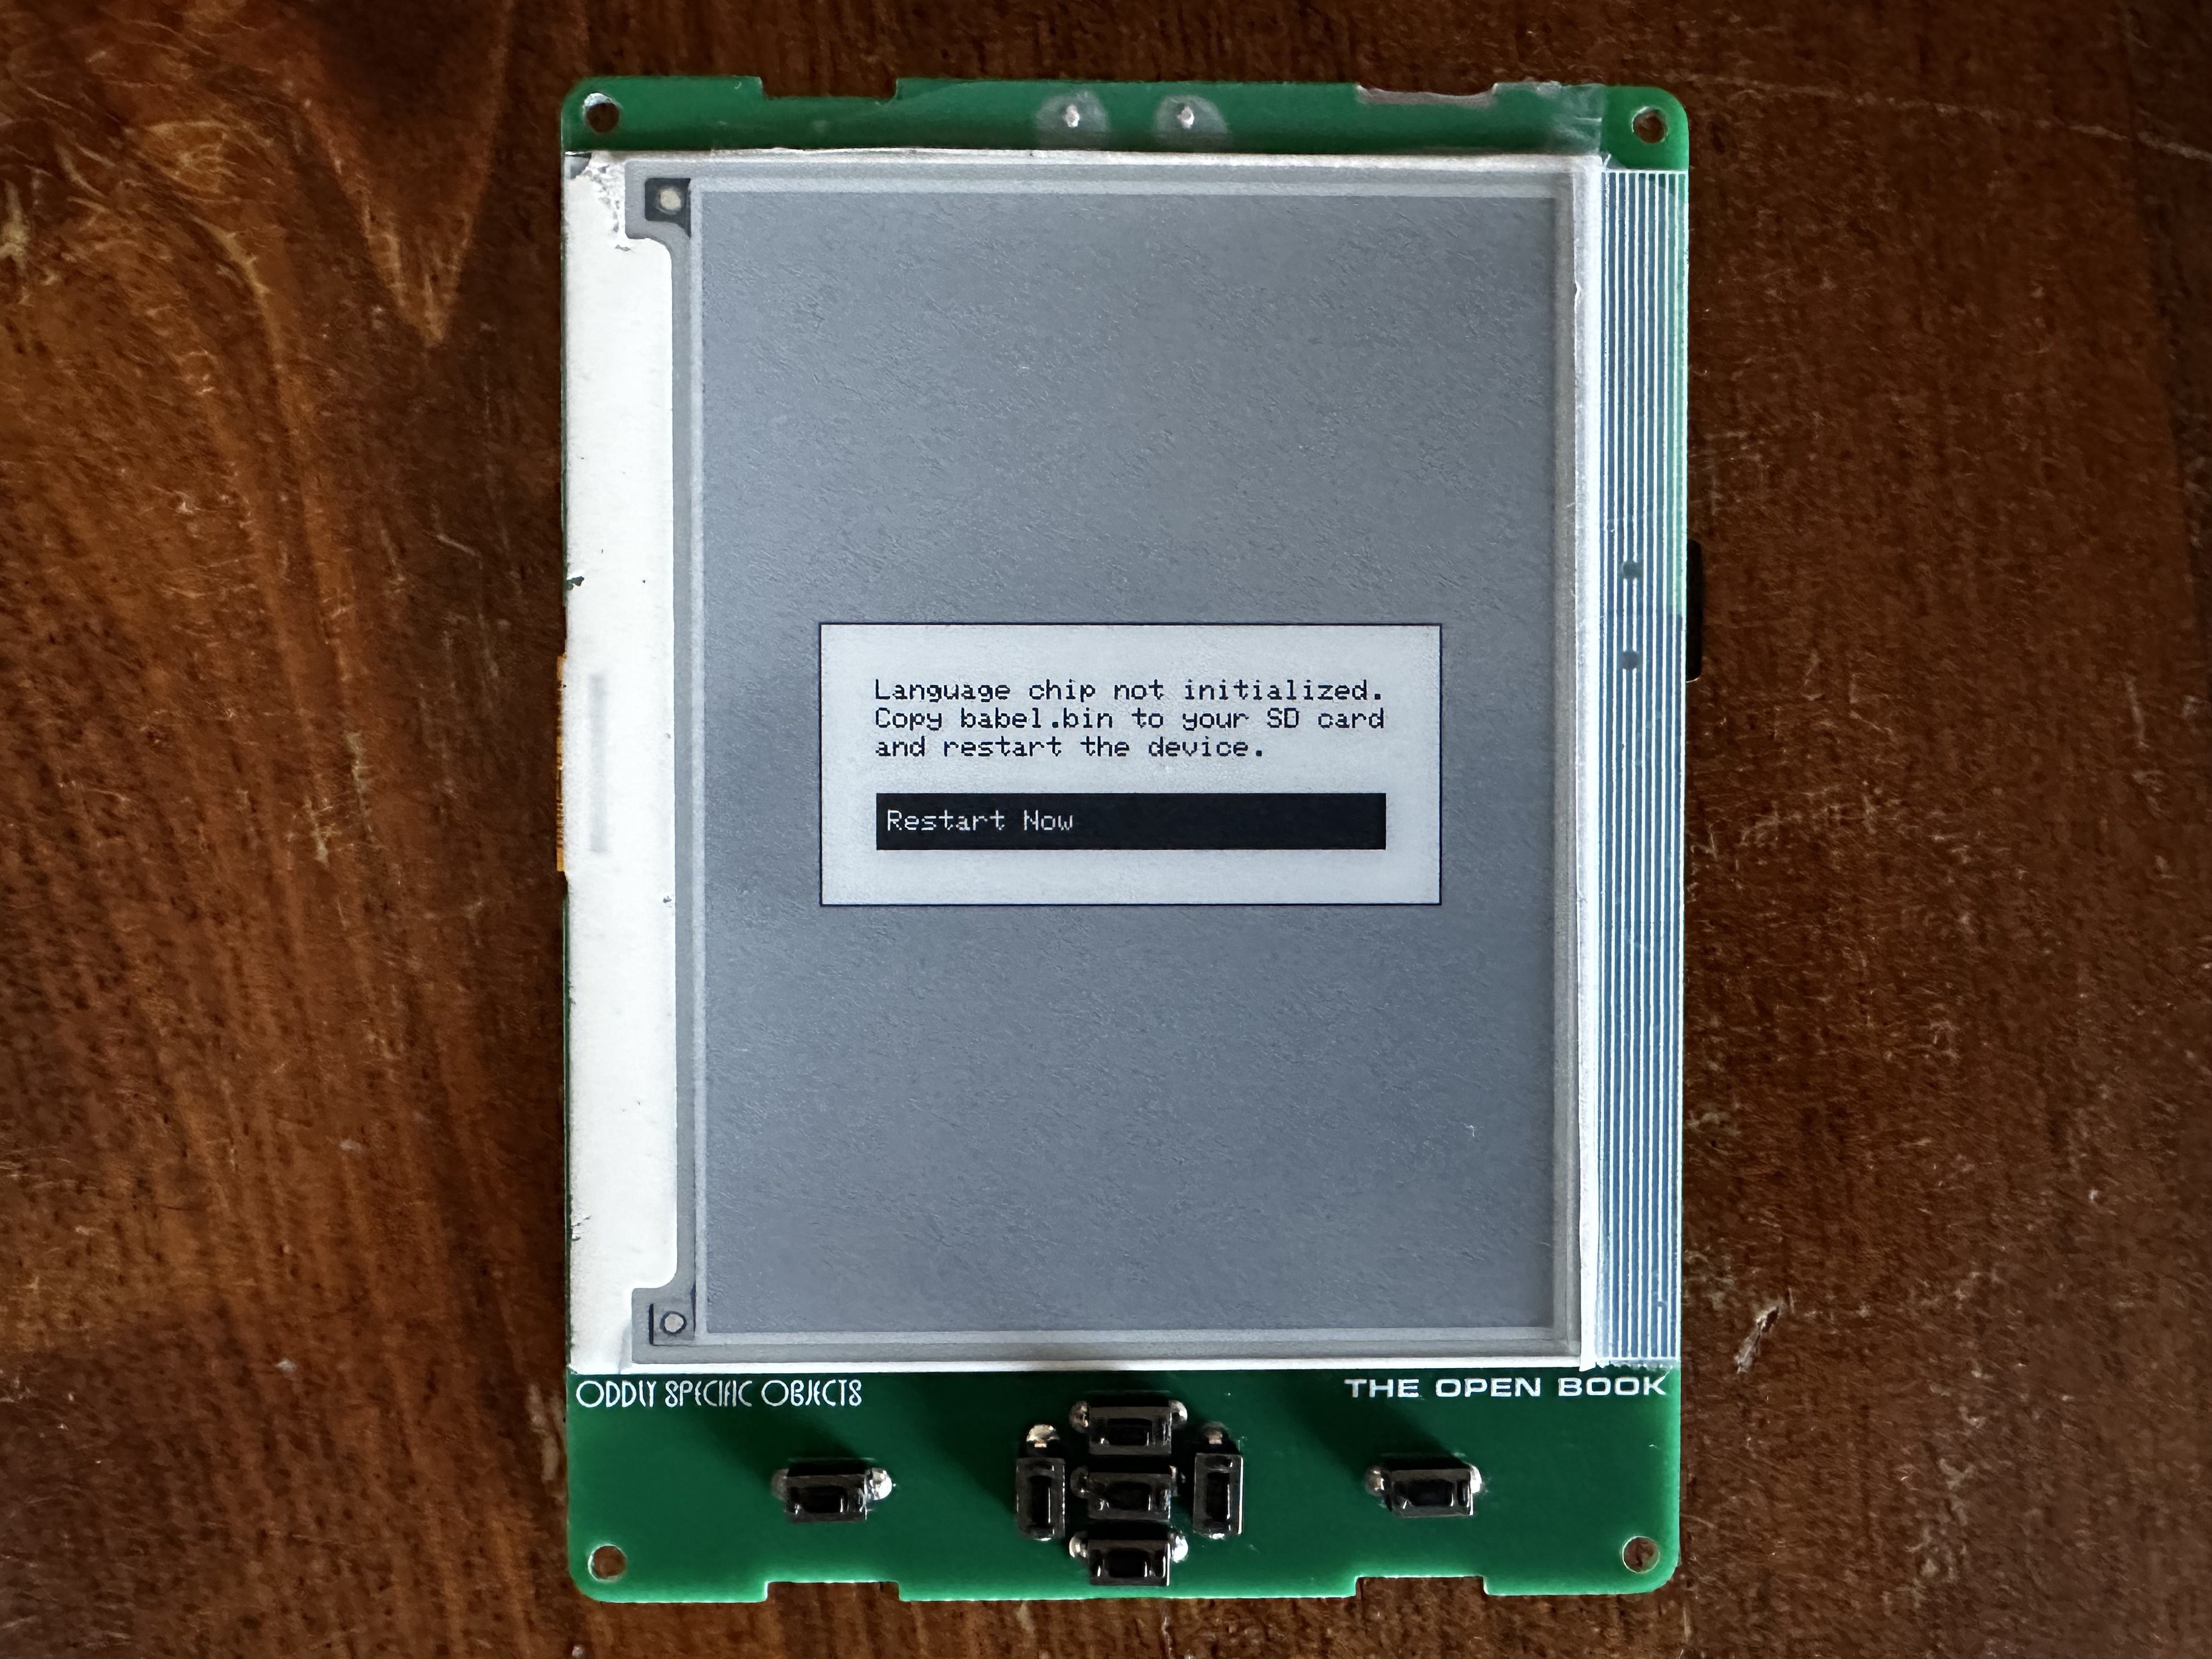
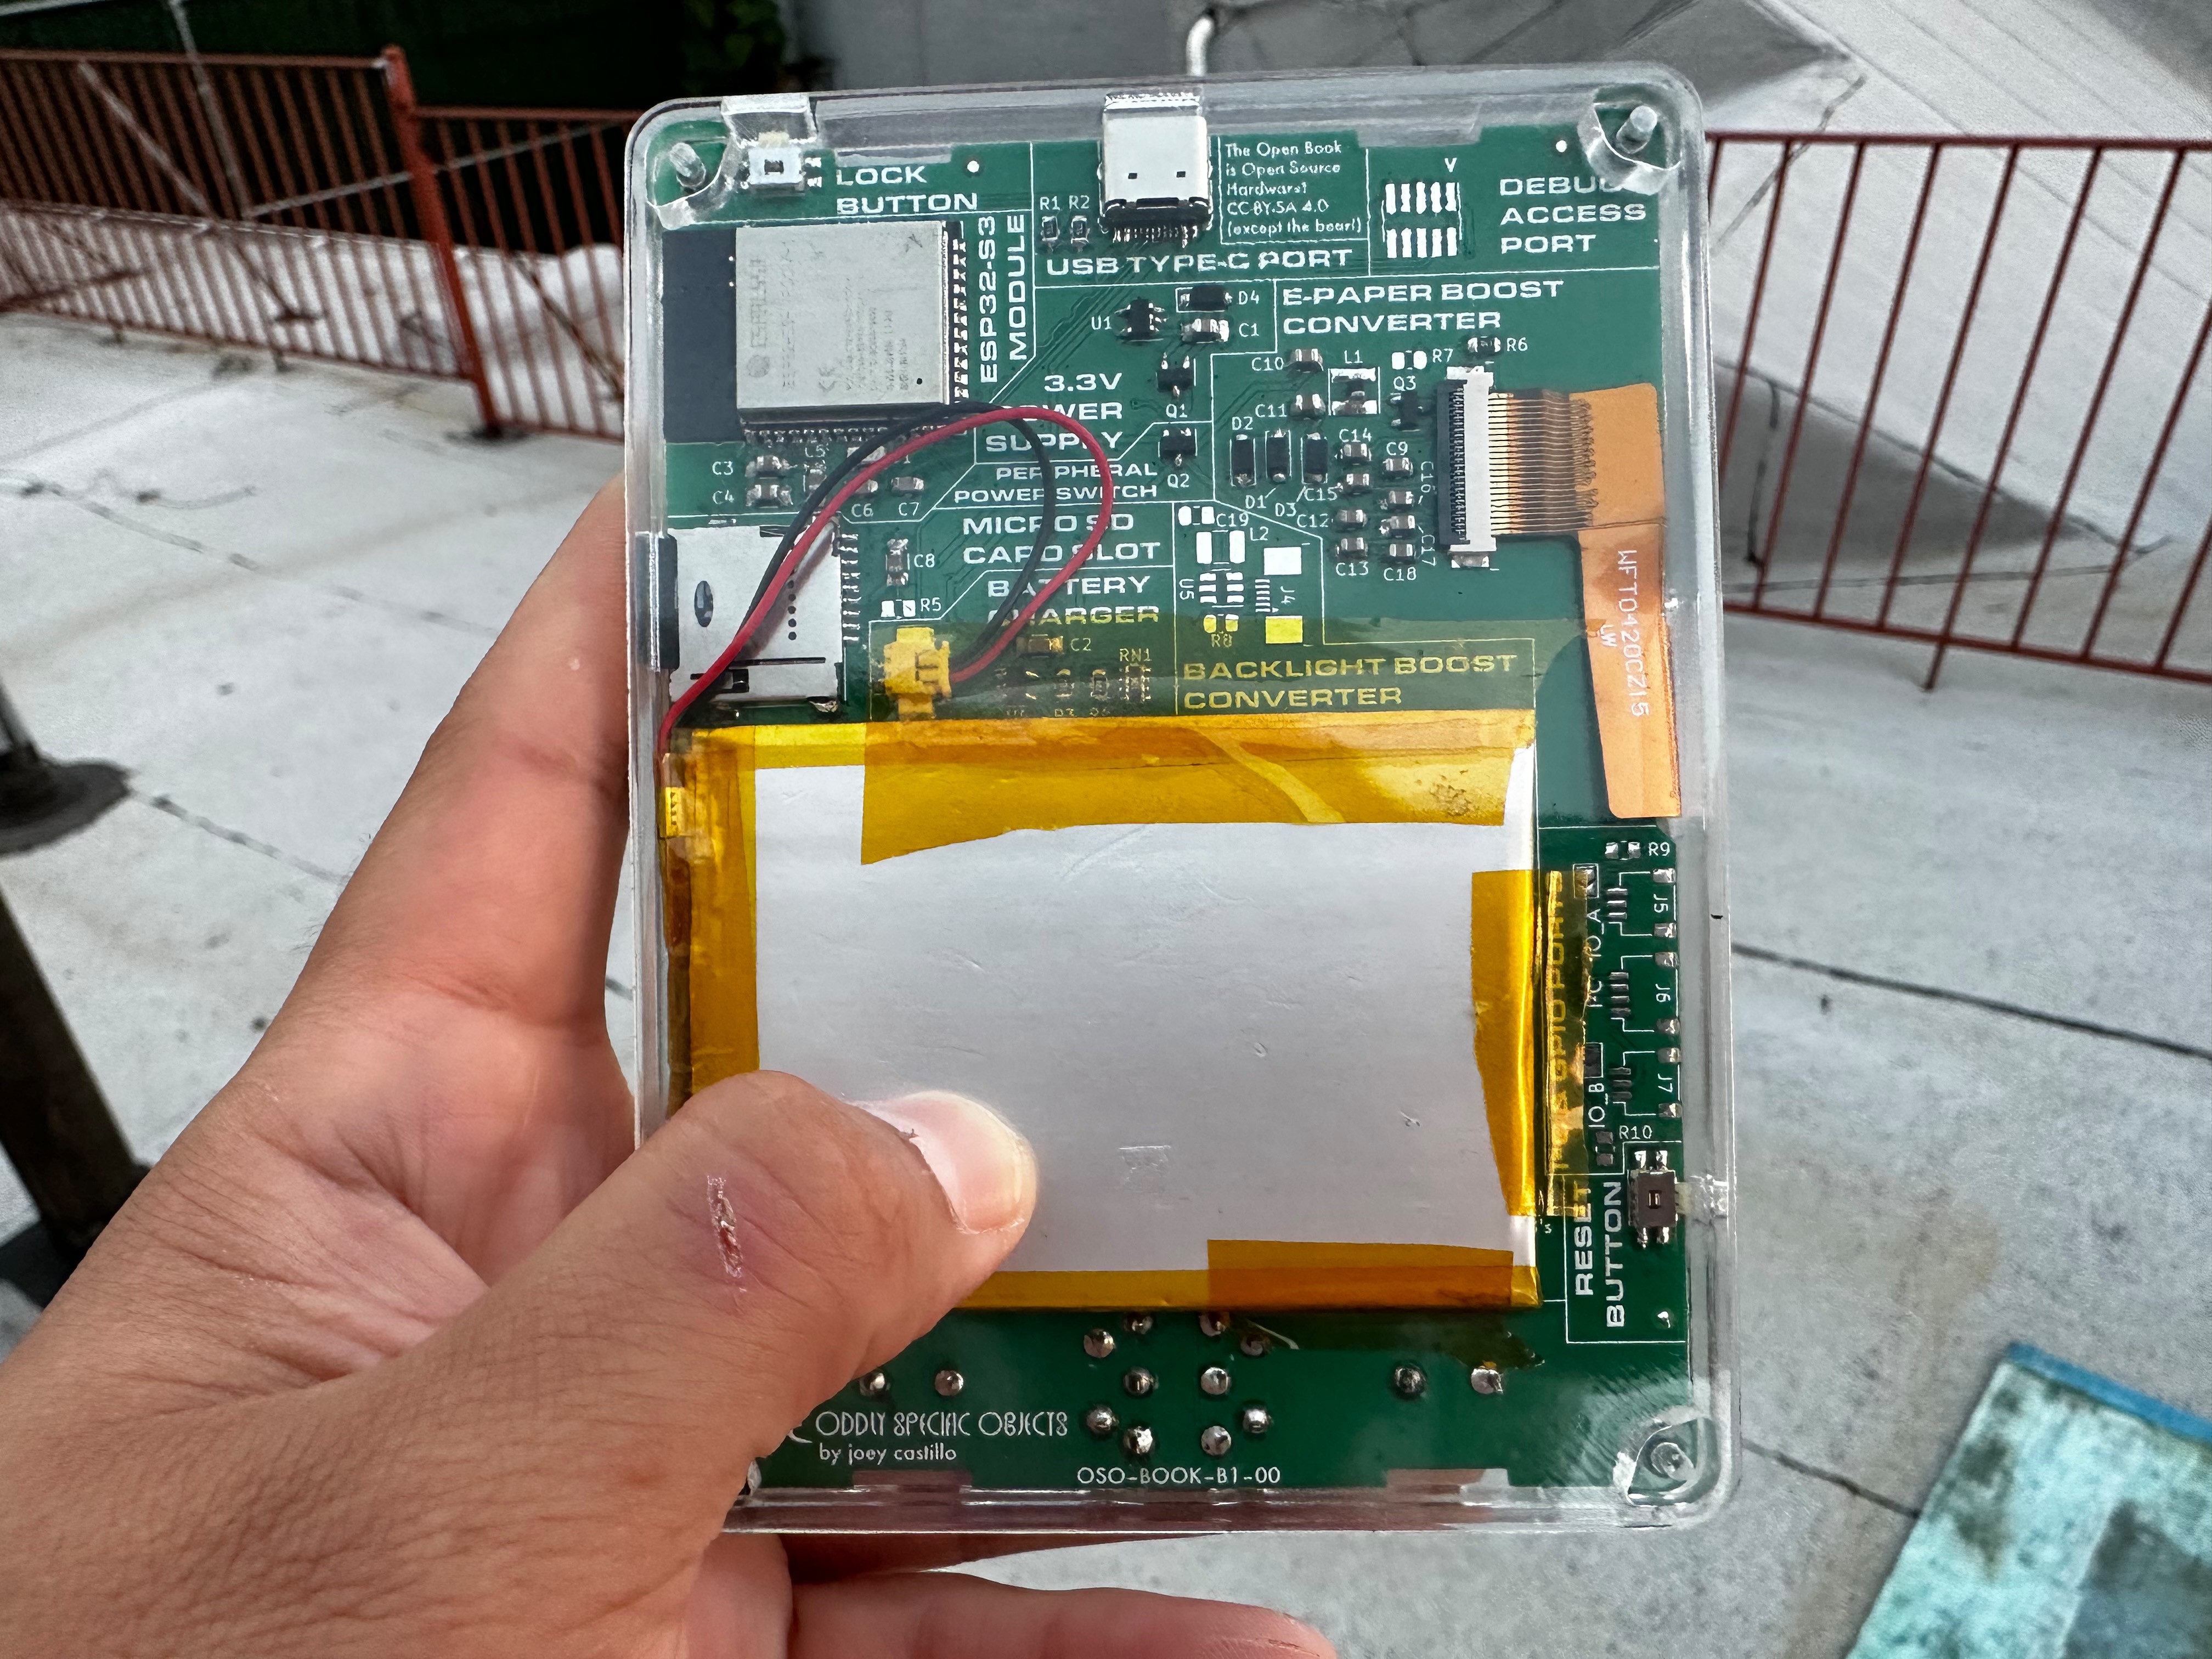
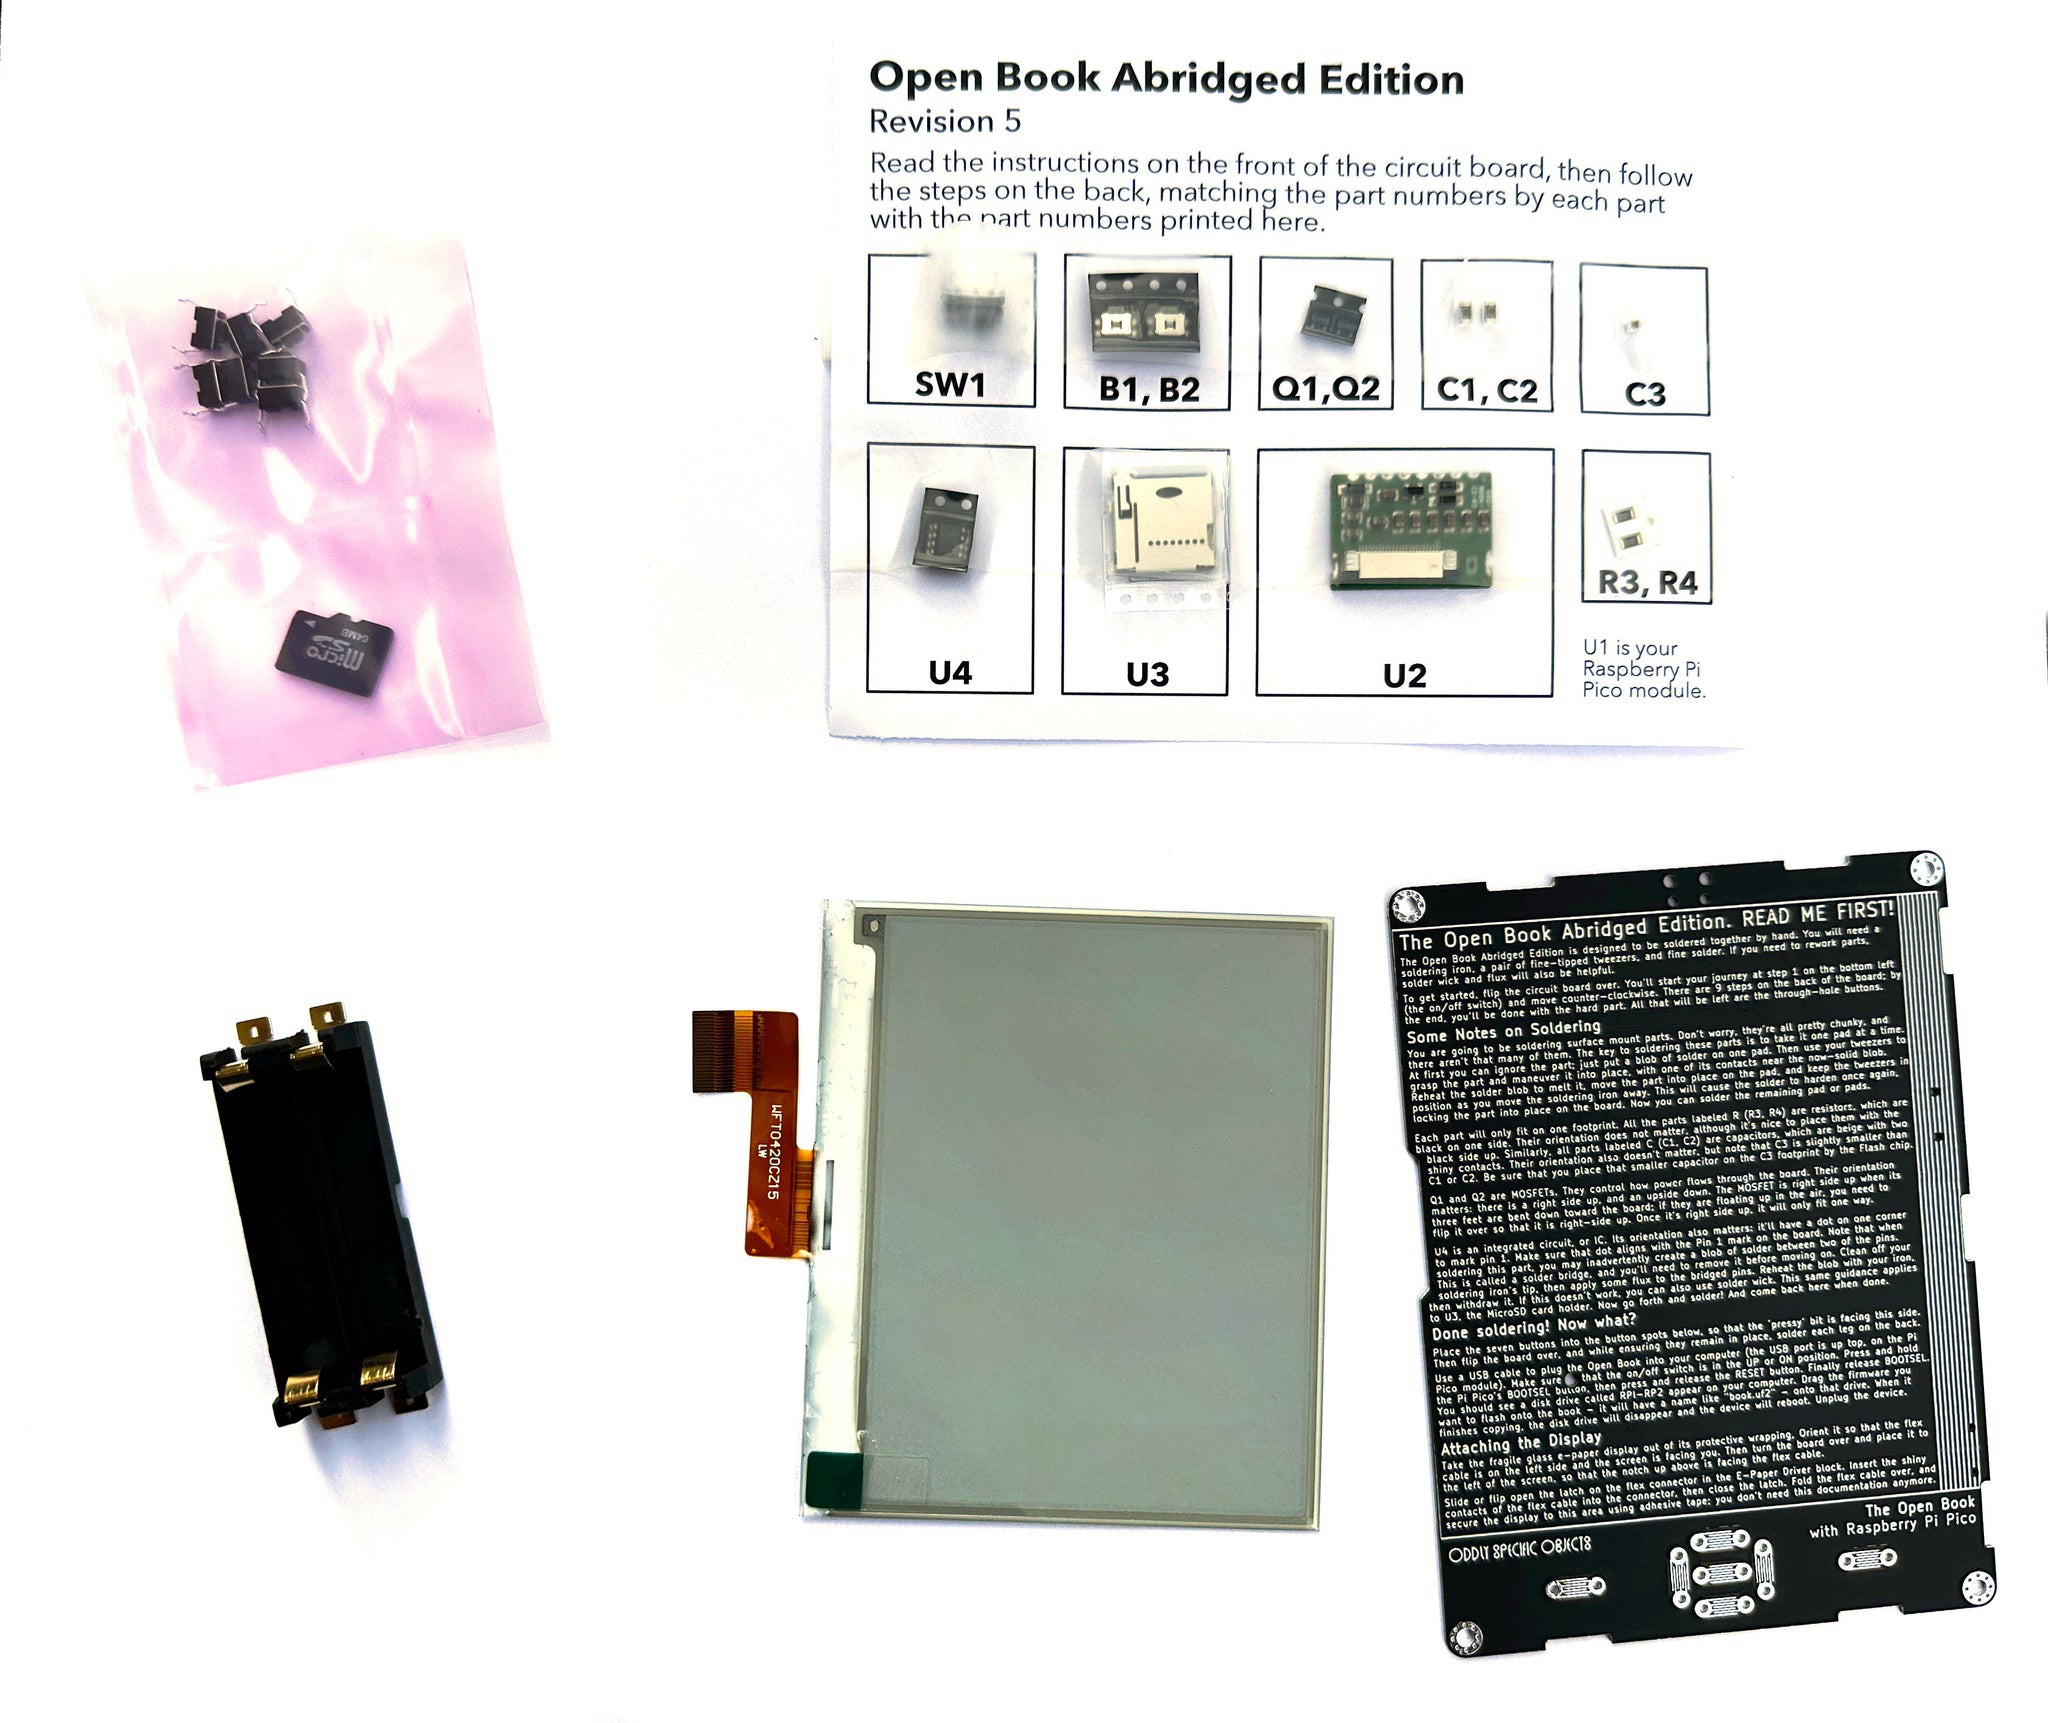
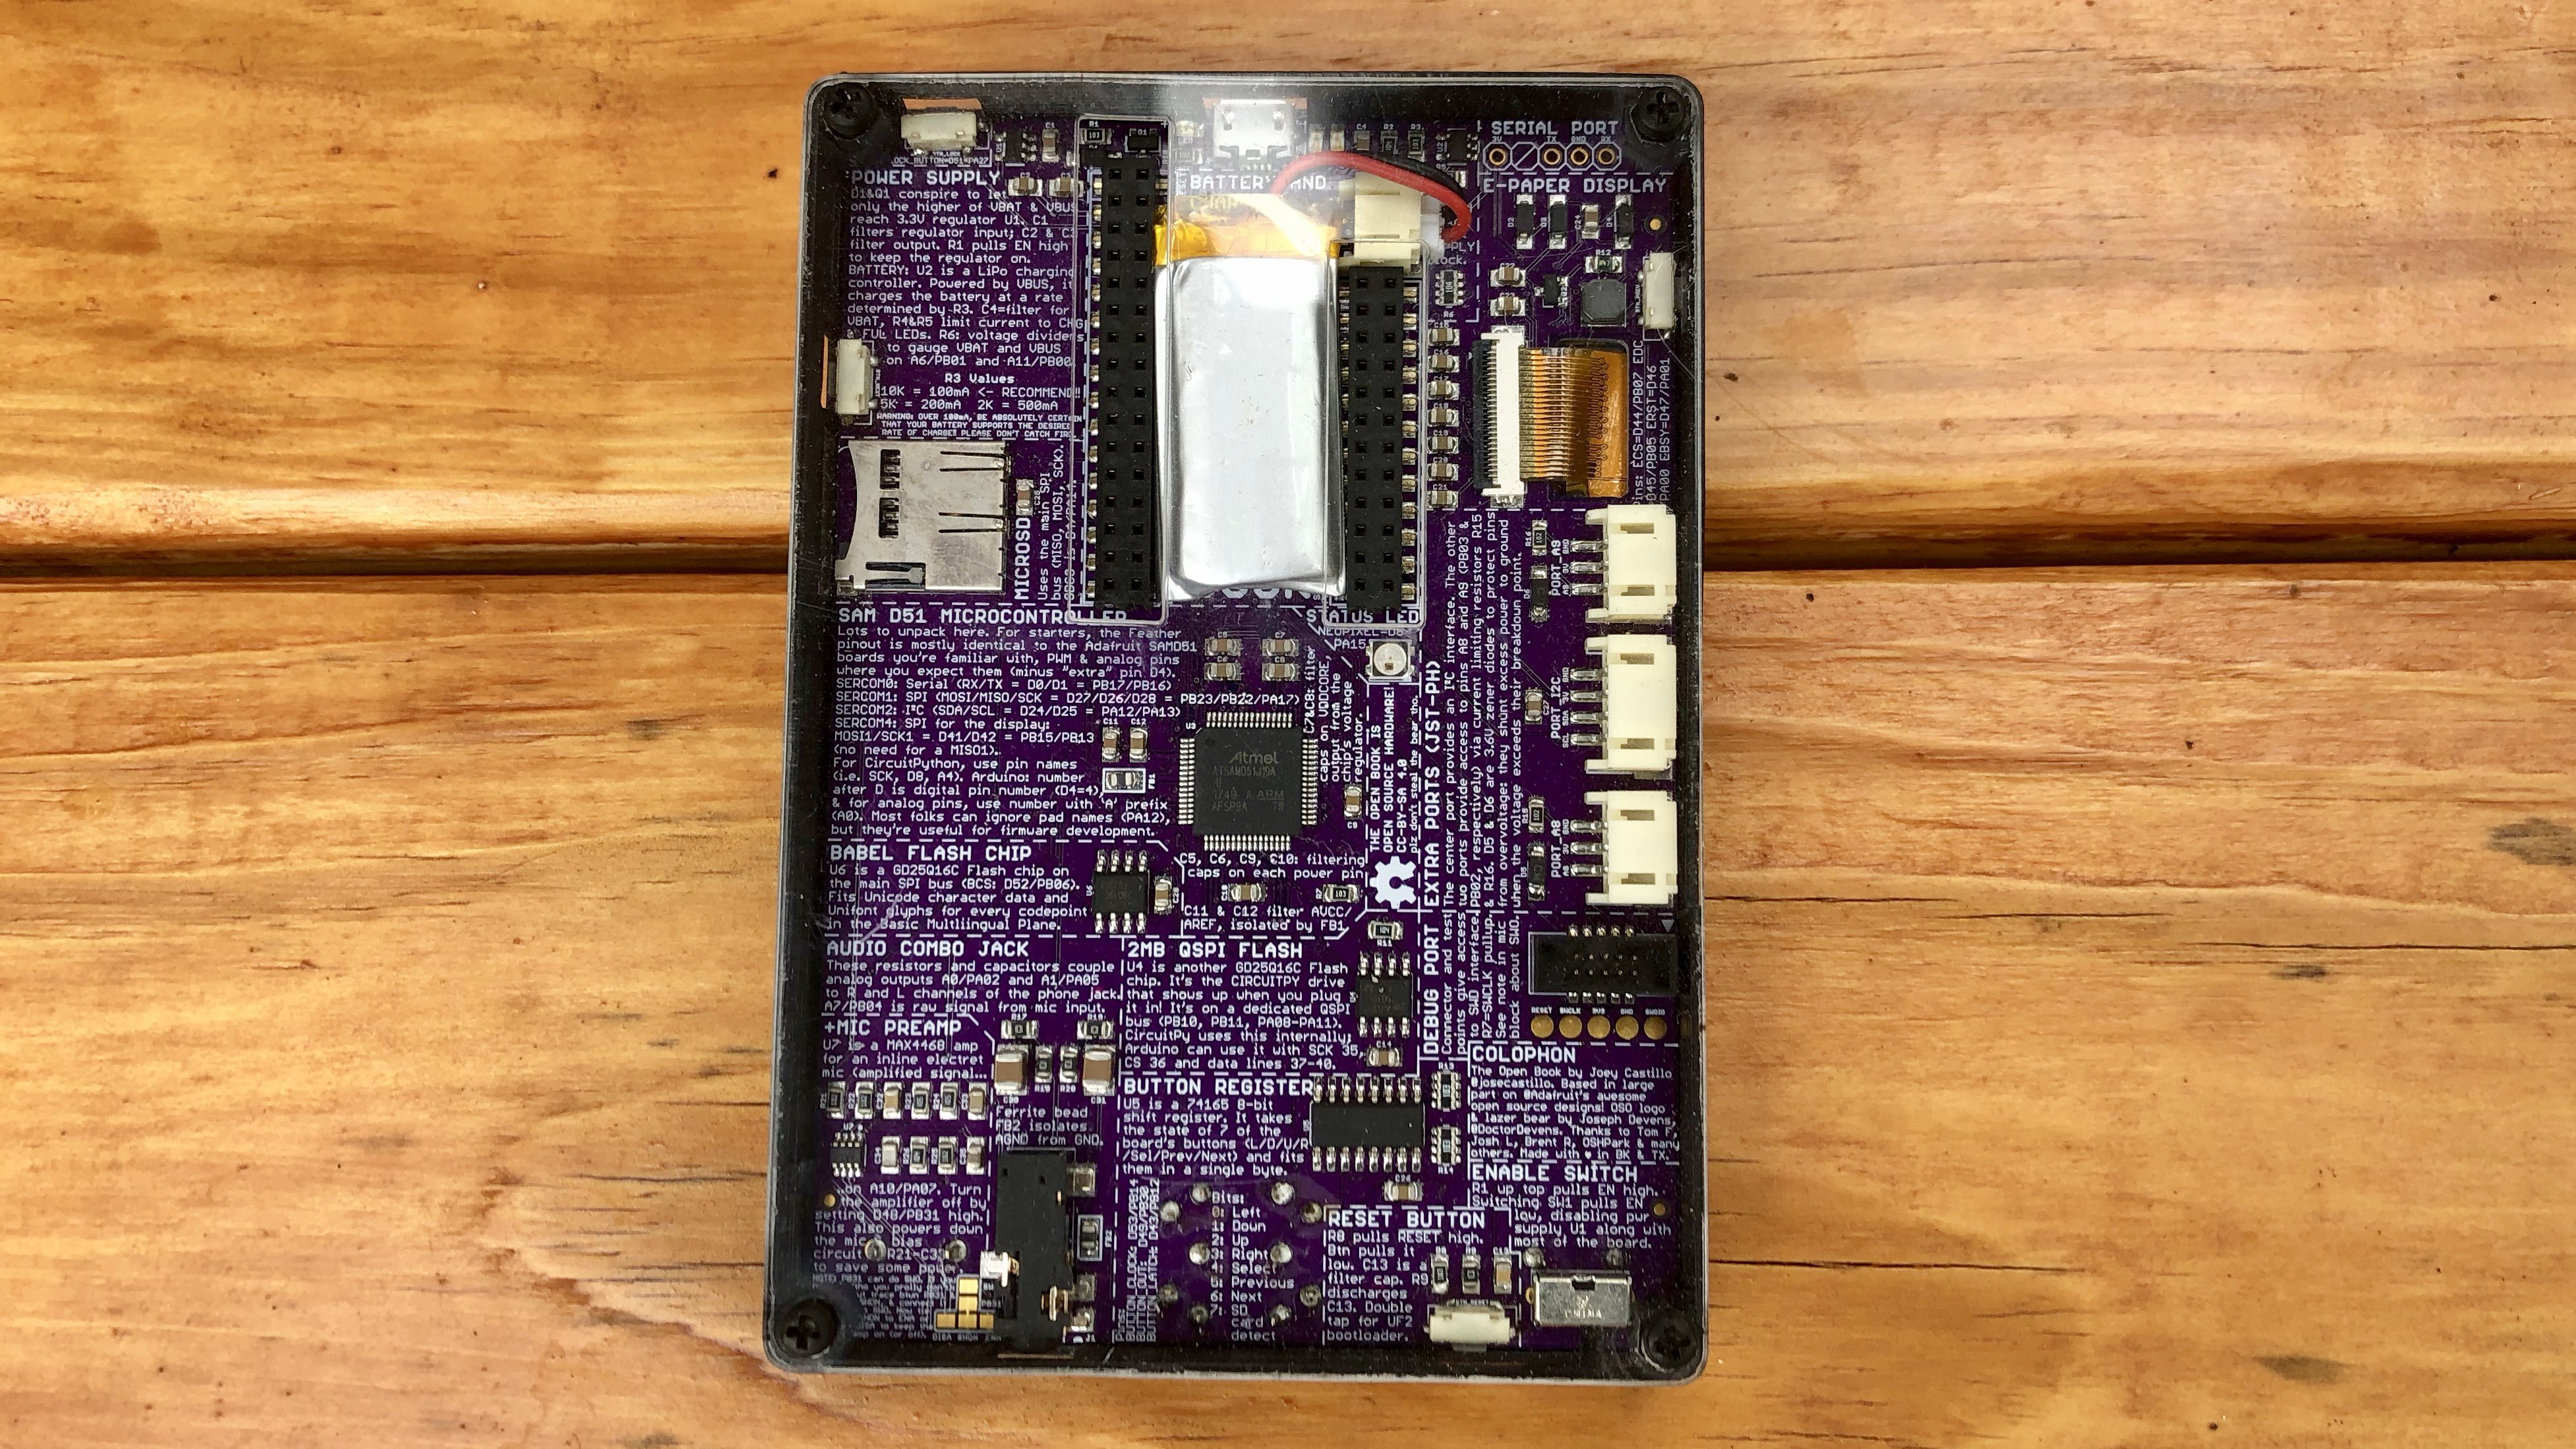
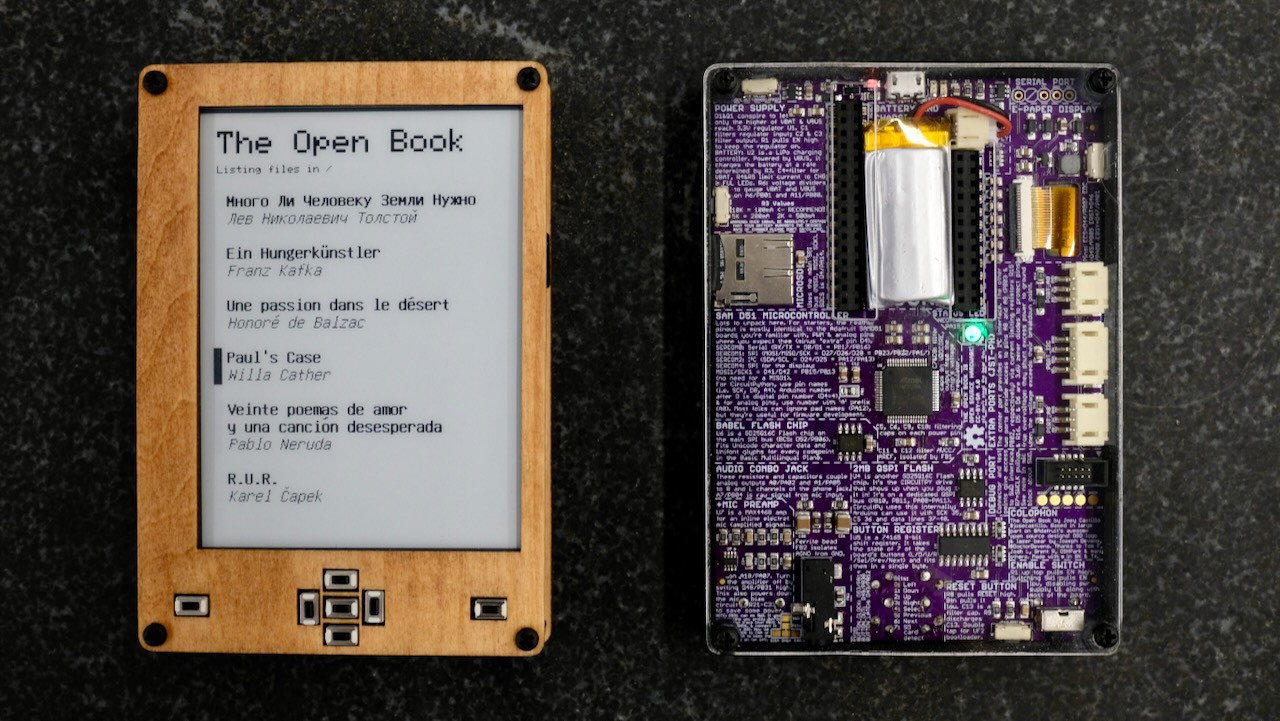
To that end, the Open Book embraces a radically open design, outlining the functional groups of parts on printed circuit board in the same way they're grouped on the schematic. It prints a list of pin functions on the board itself, opening the device up to being hacked on and extended. It offers two analog-capable GPIO pins and an I²C bus using common, standard connectors. And it supports the entire Unicode basic multilingual plane, ensuring that readers of books in all the world's languages will find a home in the Open Book.
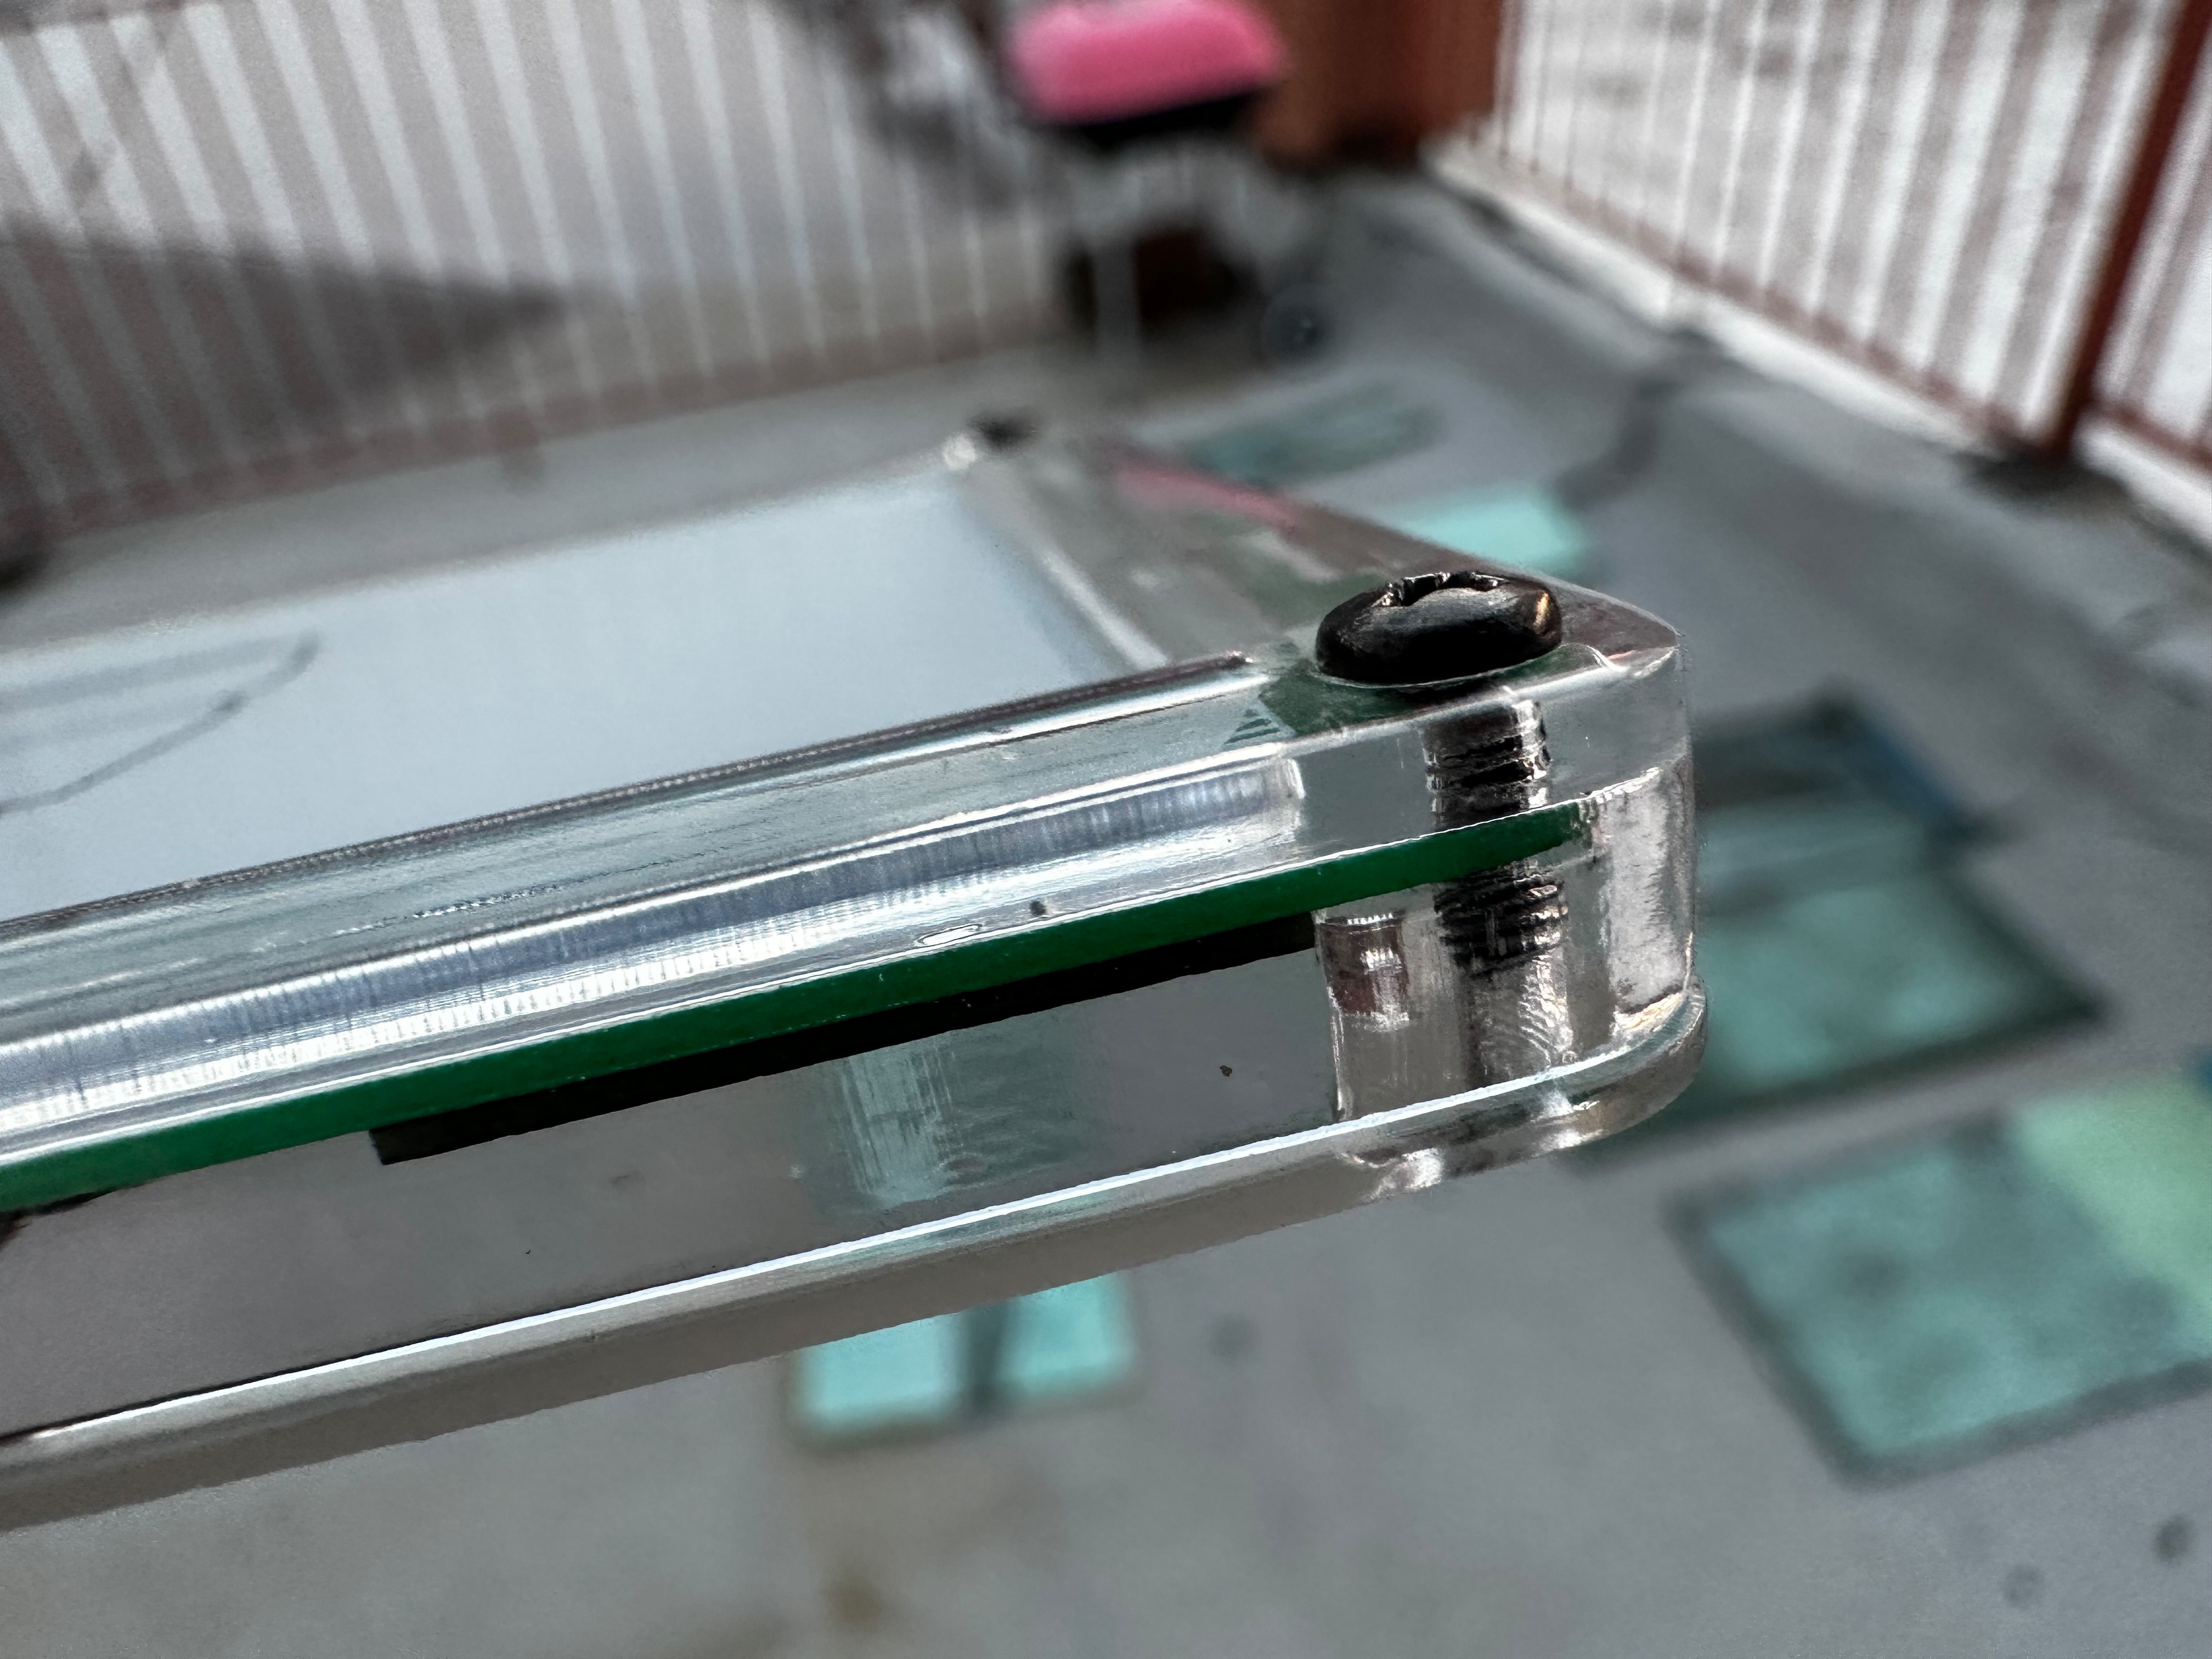
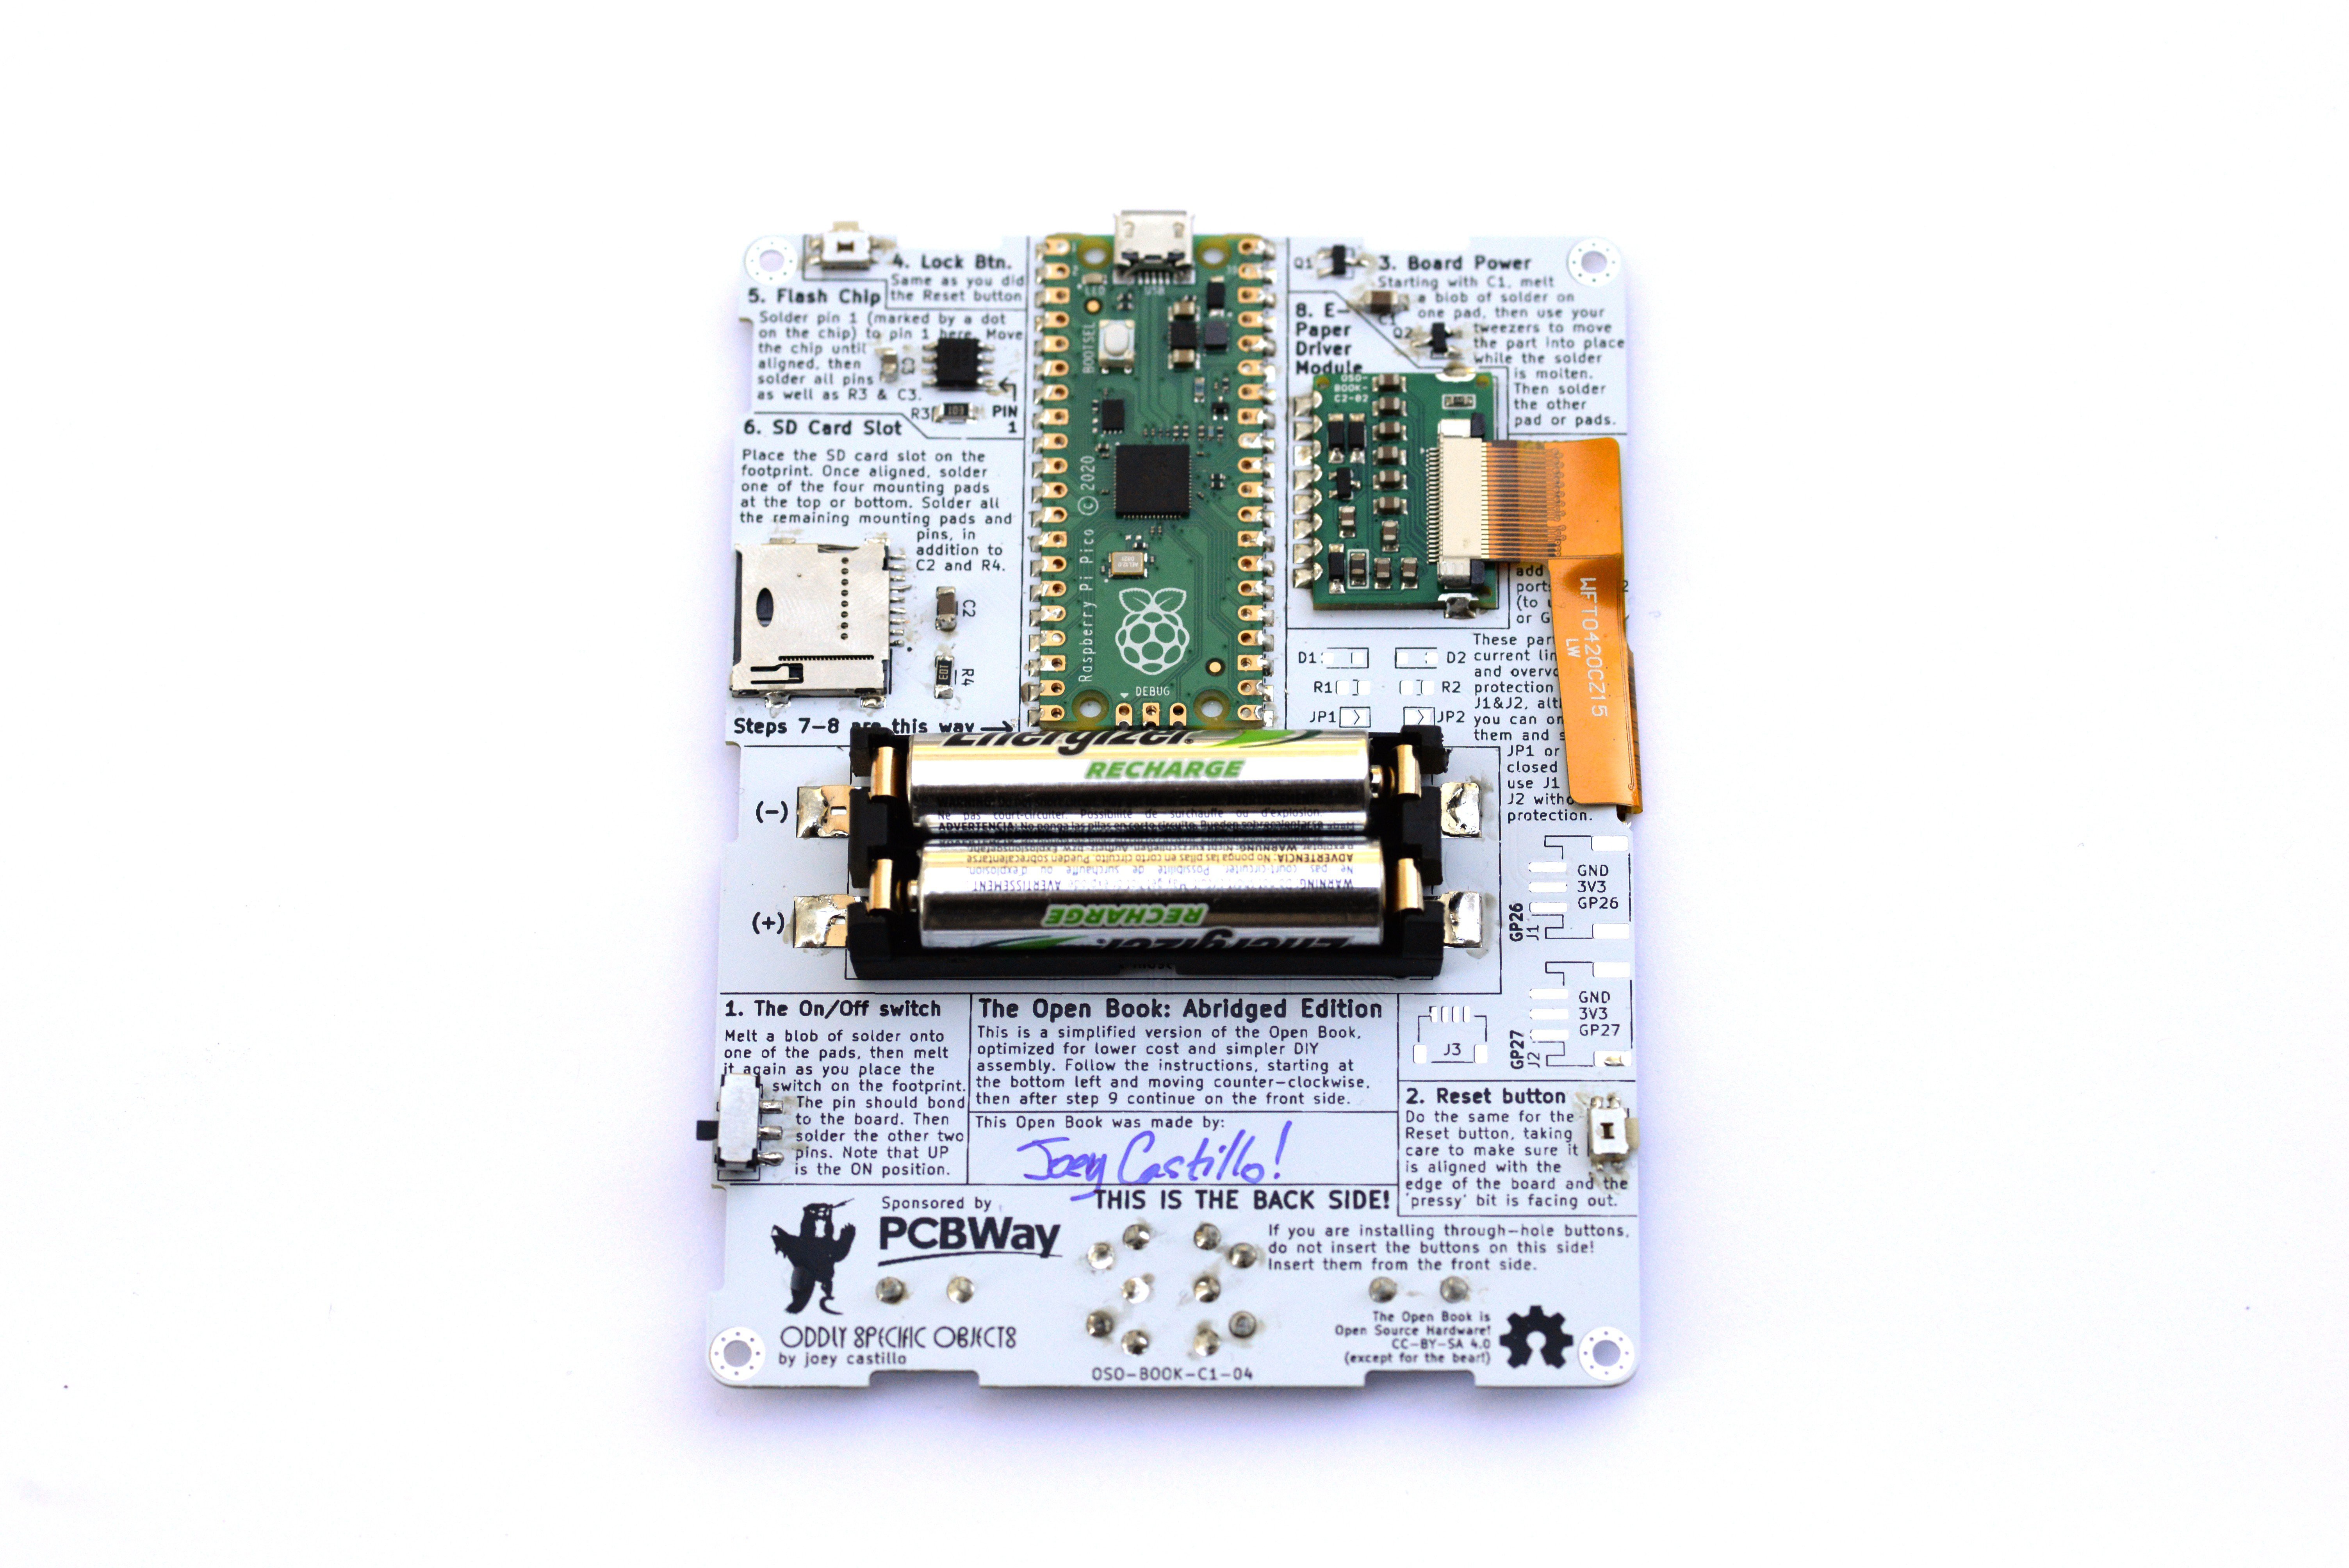
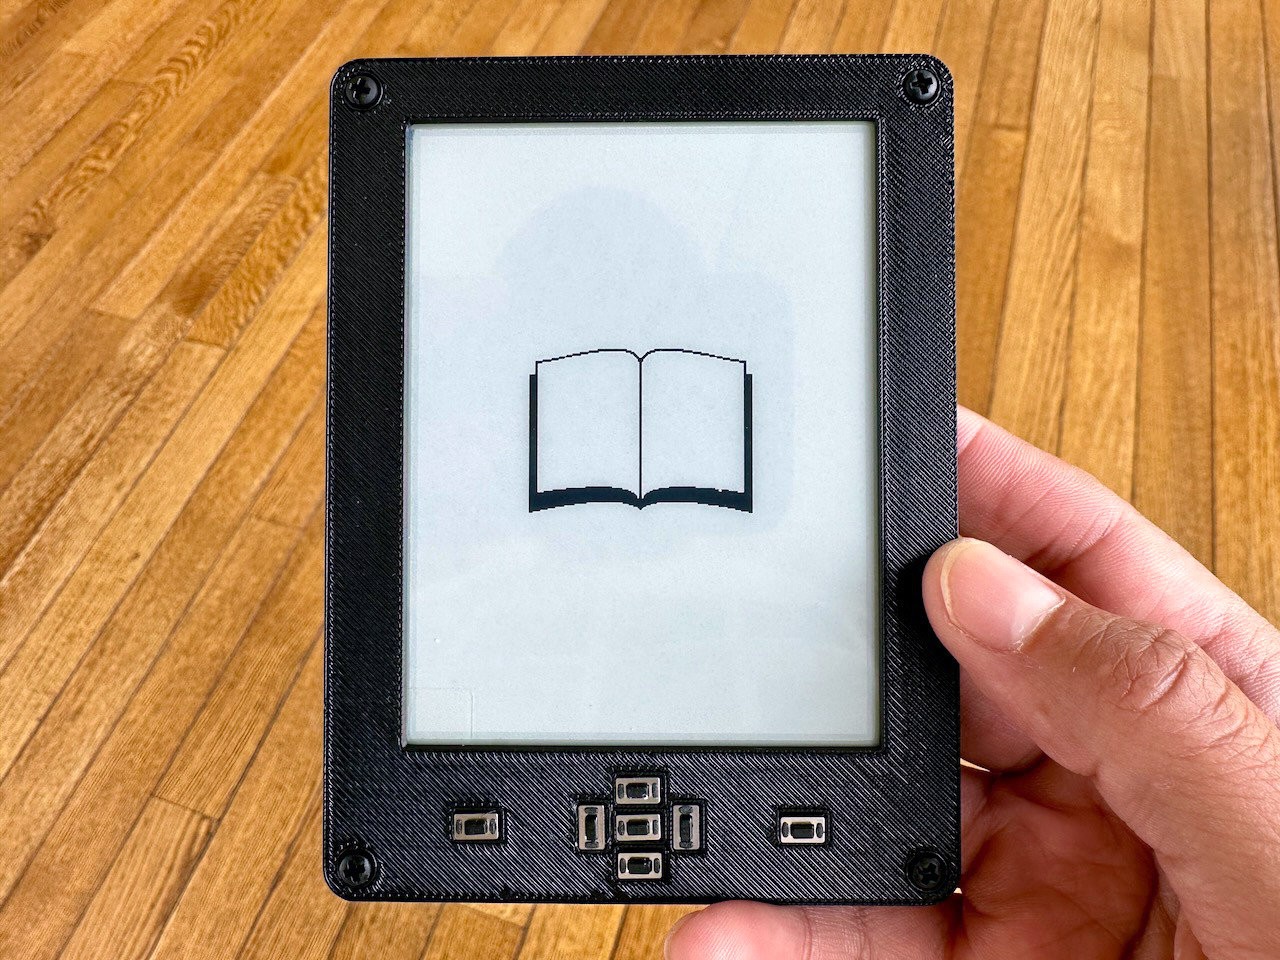
Moreover its focus on affordability and design for manufacturability make this a piece of hardware that could be built by anyone, either in a makerspace with basic soldering tools or in the context of a small manufacturing line. The open source enclosure is 3D printable on a basic FDM printer; the open source board design can be fabricated by just about any PCB house, and the parts are large enough to be pick and placeable by hand or with an open source pick and place machine.
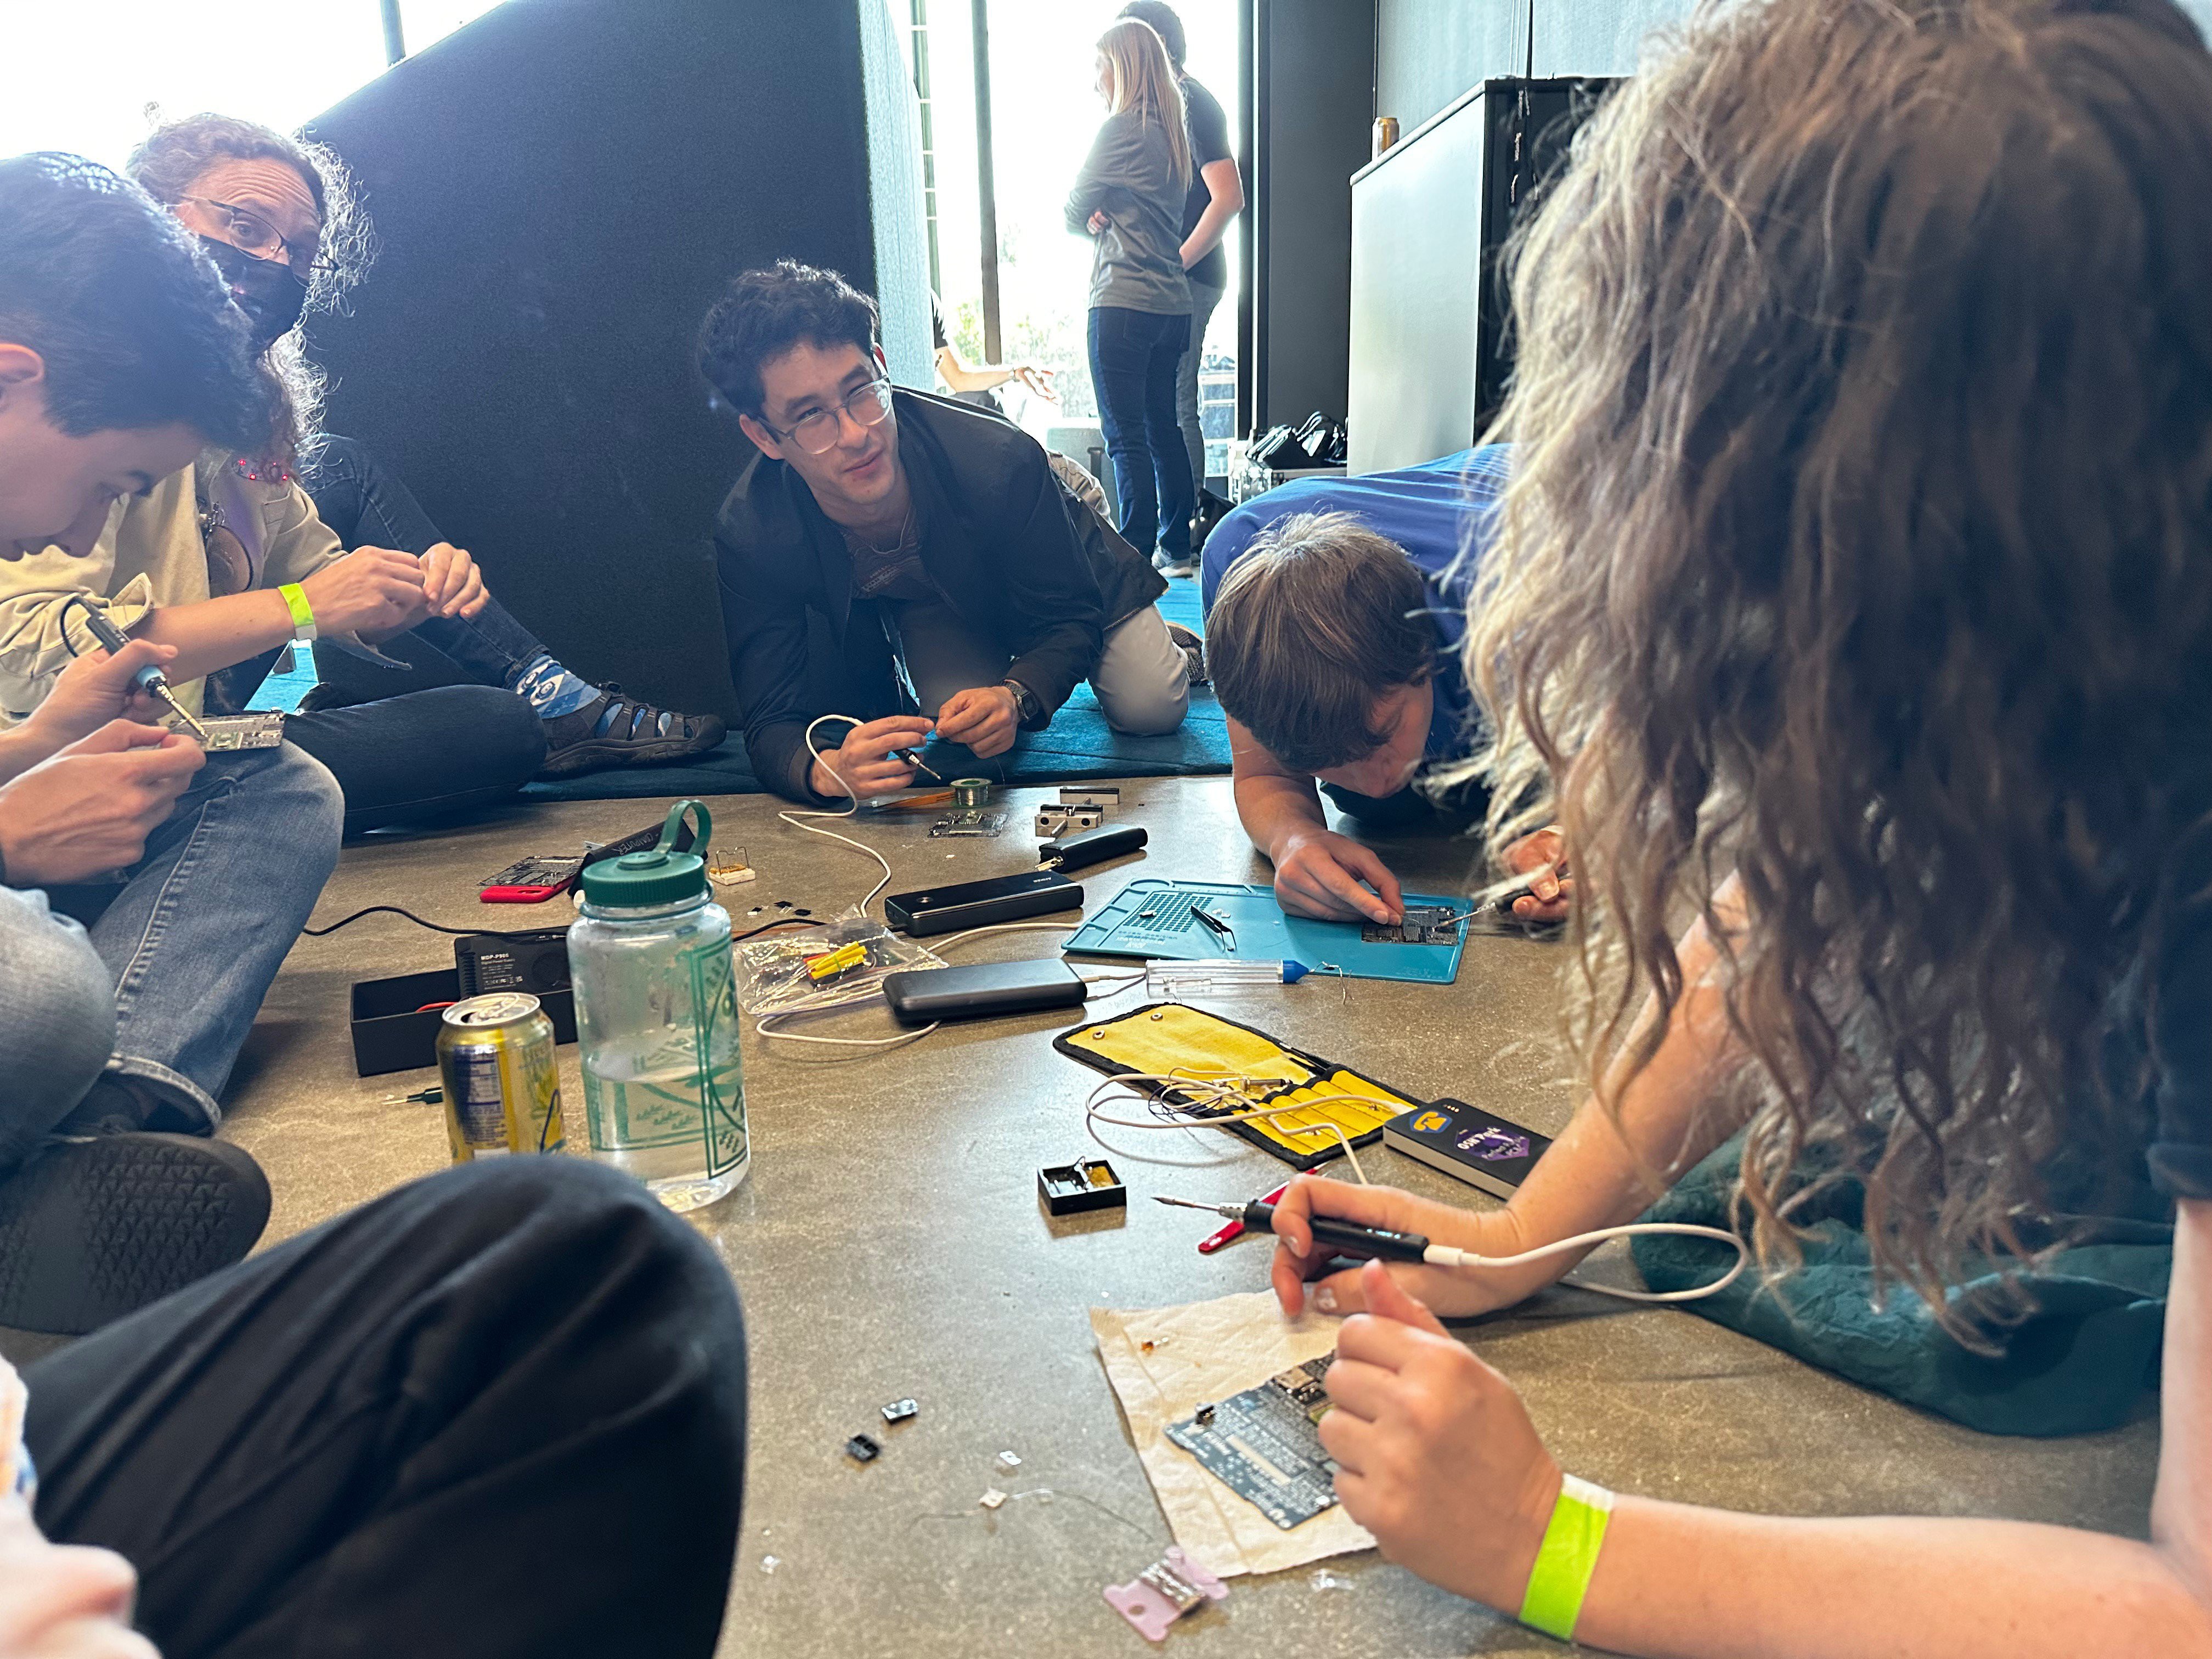
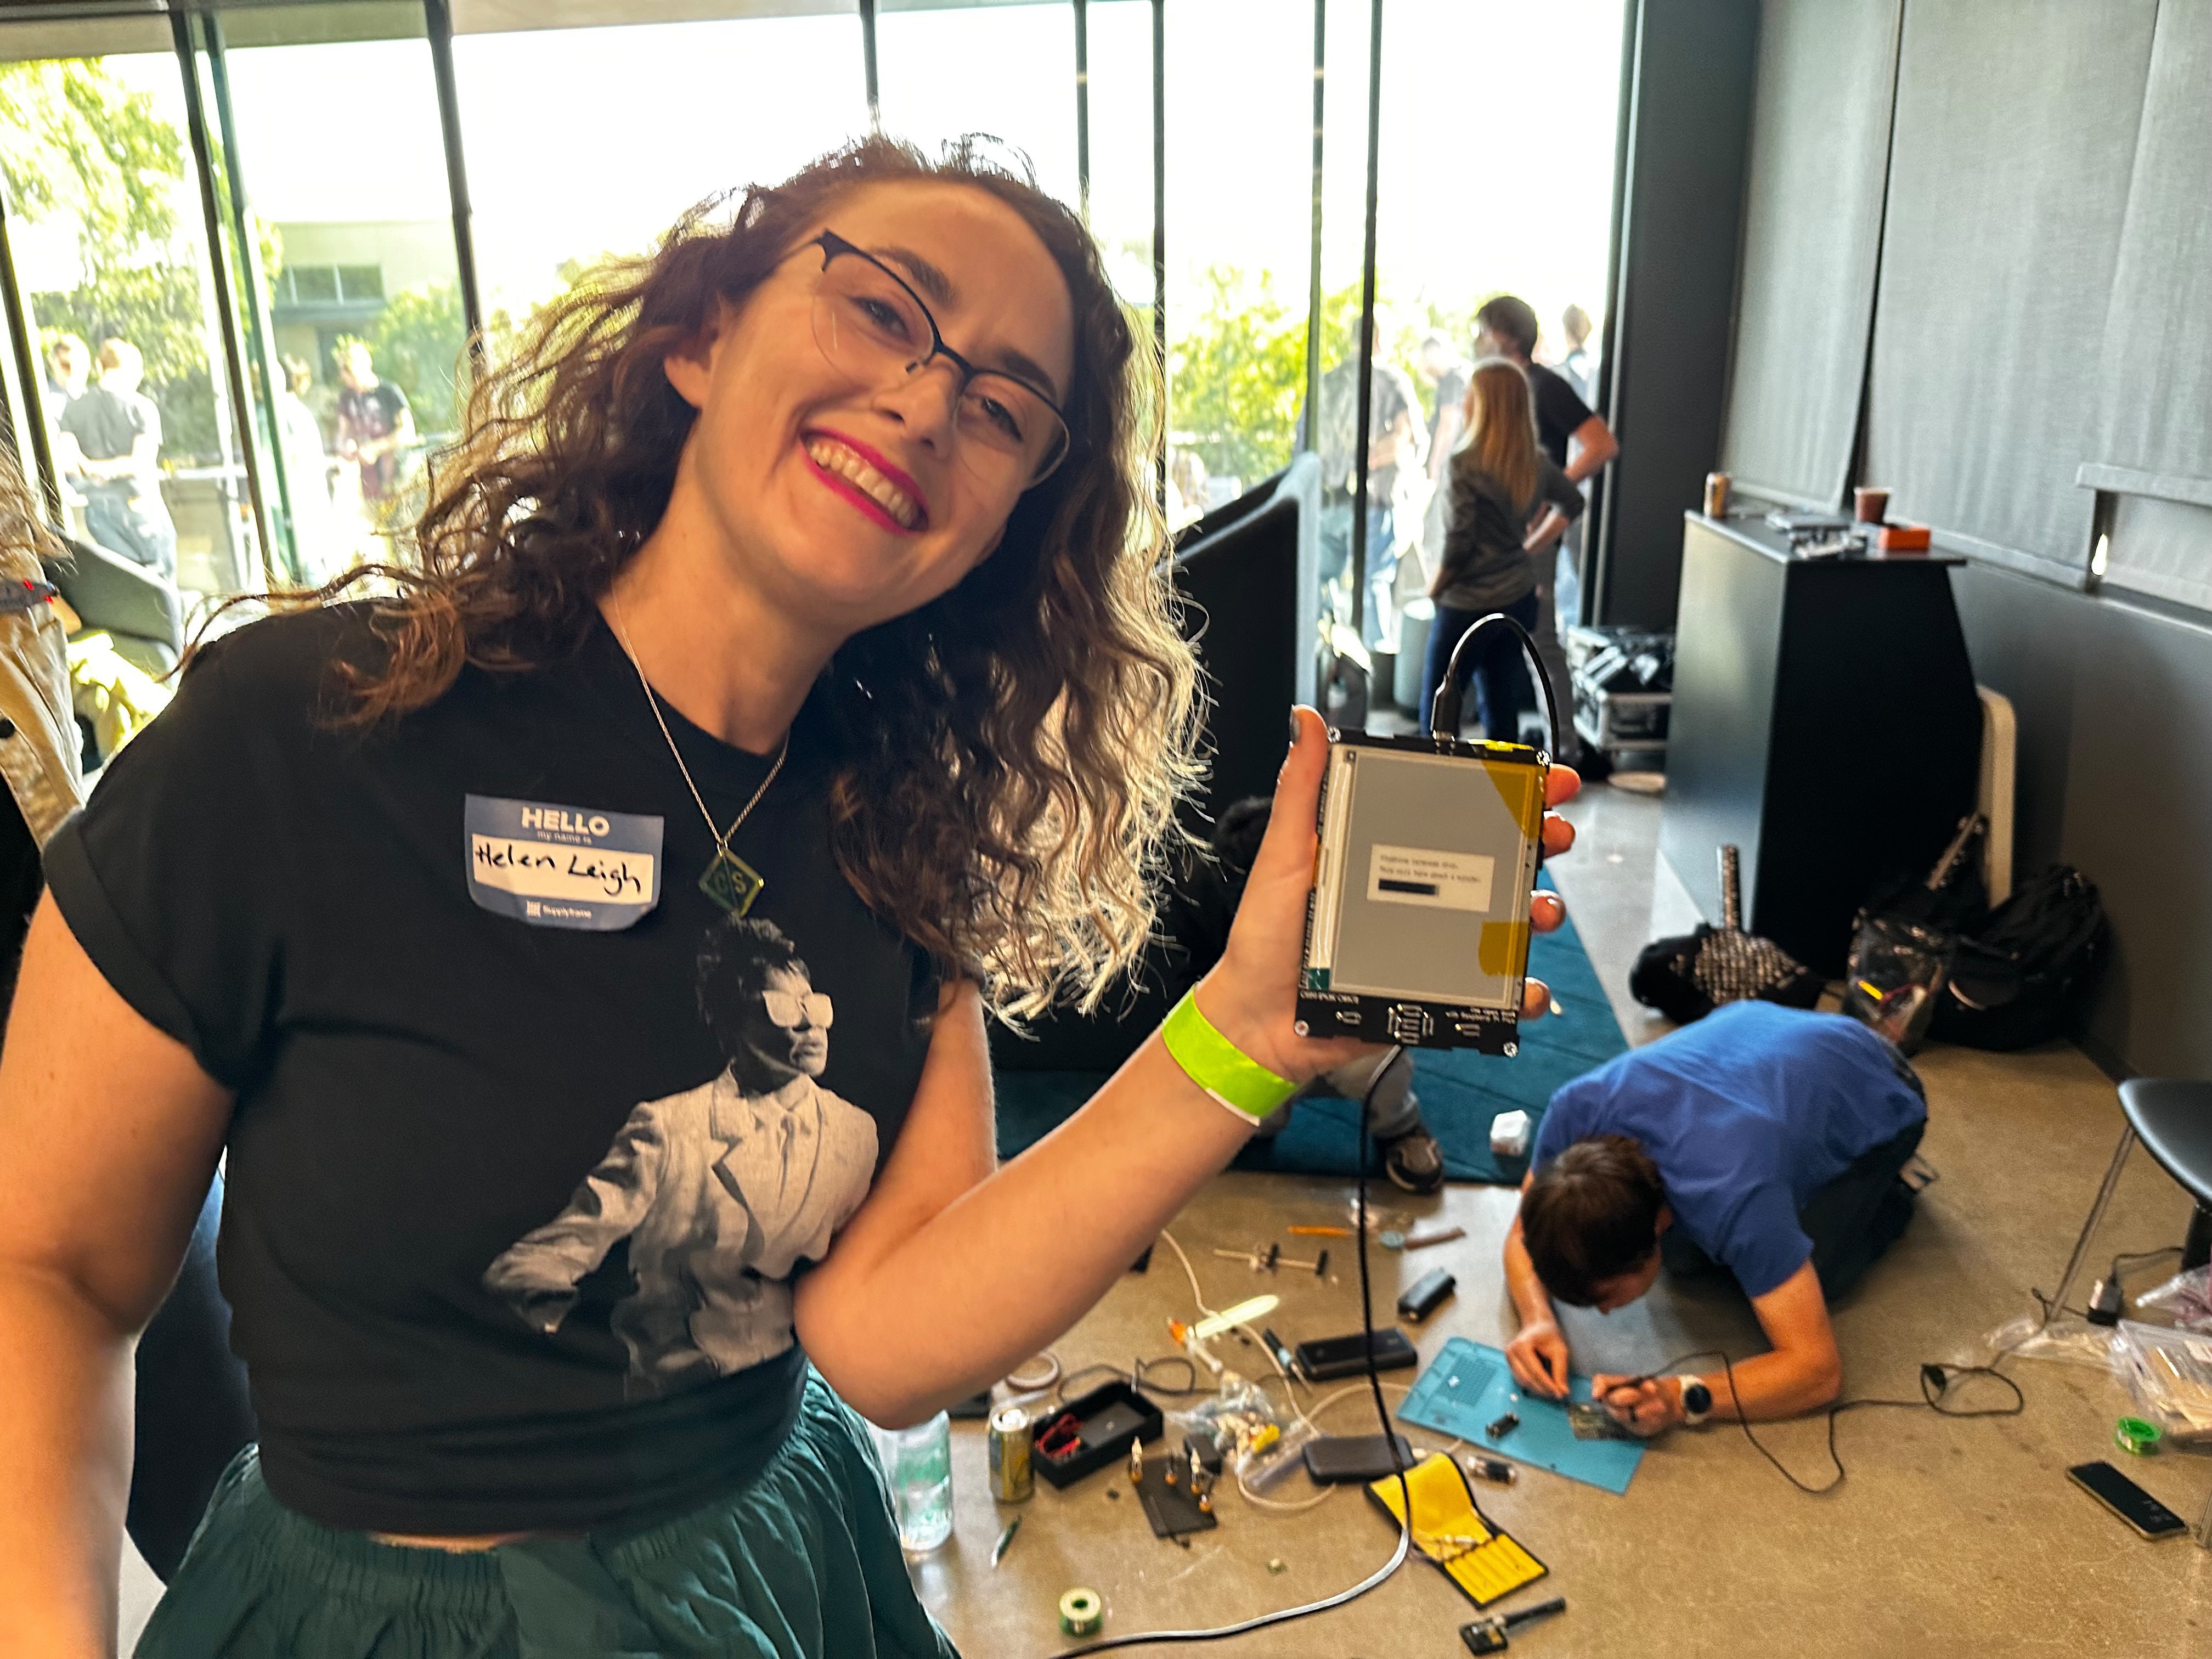
The Open Book's community has, over the course of years, enthusiastically embraced previous iterations of the Open Book: building and sharing alternative enclosure designs, forking the firmware to add functionality, and even helping each other to source circuit boards and trade parts so that they could build their own devices.
I believe that I can turn this version of the Open Book into an open hardware product that continues to fulfill the promise of the Open Book while putting this vision and this object into the hands of a larger community of readers.
License Info
The Open Book's hardware is released under a Creative Commons BY-SA 4.0 license. [link]
The Open Book's firmware is released under the MIT license. [link]


 Supplyframe DesignLab
 Victor Dedios
 Pavel Zhovner
 timonsku
Hello ! Has anyone created an interactive BOM like the one available for the old version on the website https://kitspace.org/interactive_bom/?github.com/joeycastillo/The-Open-Book/Open-Book-Abridged ? The new BOM is more difficult for me to understand... Is there also a Discord for this project? Thank you !