 Steph
Steph
Celebrate the spooky season in style with this simple project!
It's really easy to build because it uses very few parts. Other projects might use a microcontroller or a 555 timer to accomplish the fundamental job of this circuit- blinking an LED. Most others projects might also use parts like on/off switches, resistors, capacitors, etc, too.
Our pin uses none of those!
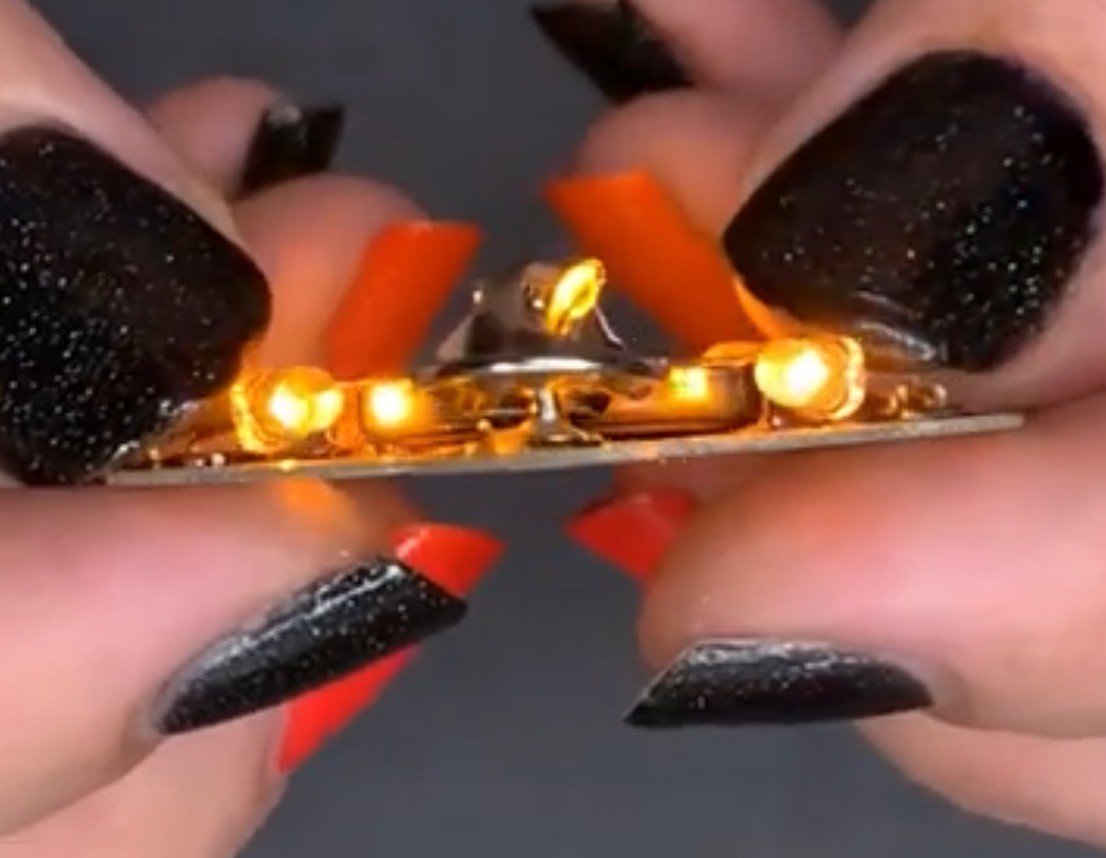
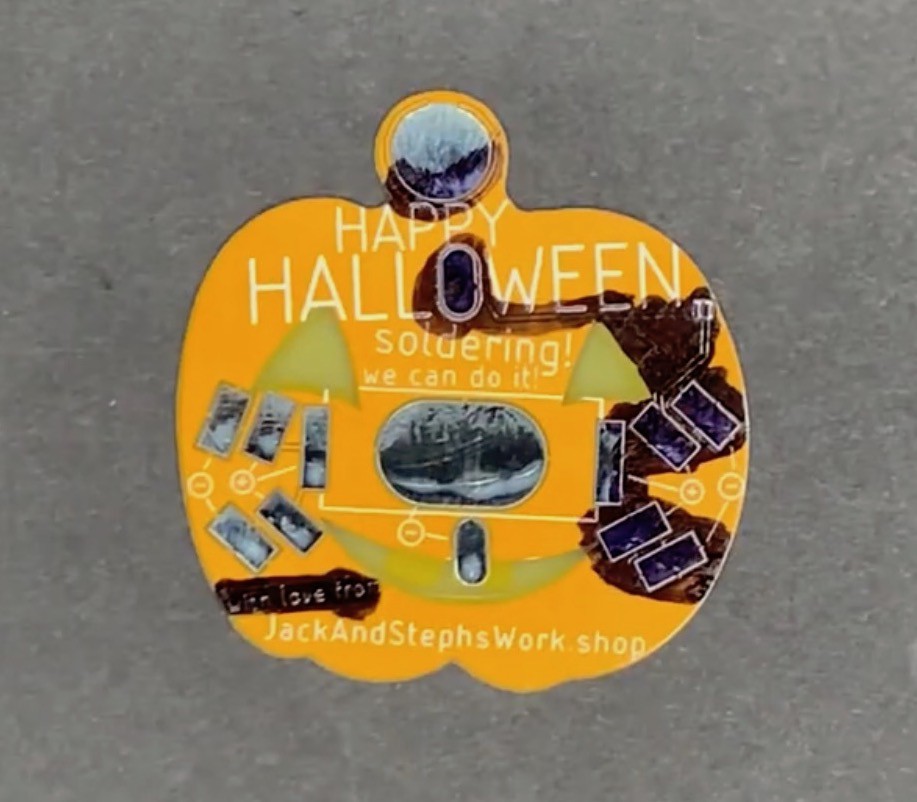
Instead, we achieve a realistic-ish candle effect by combining four yellow LEDs that come with flickering built-in. You may wonder if that's cheating, butI prefer to think of this technique as the trick that powers the treat :)
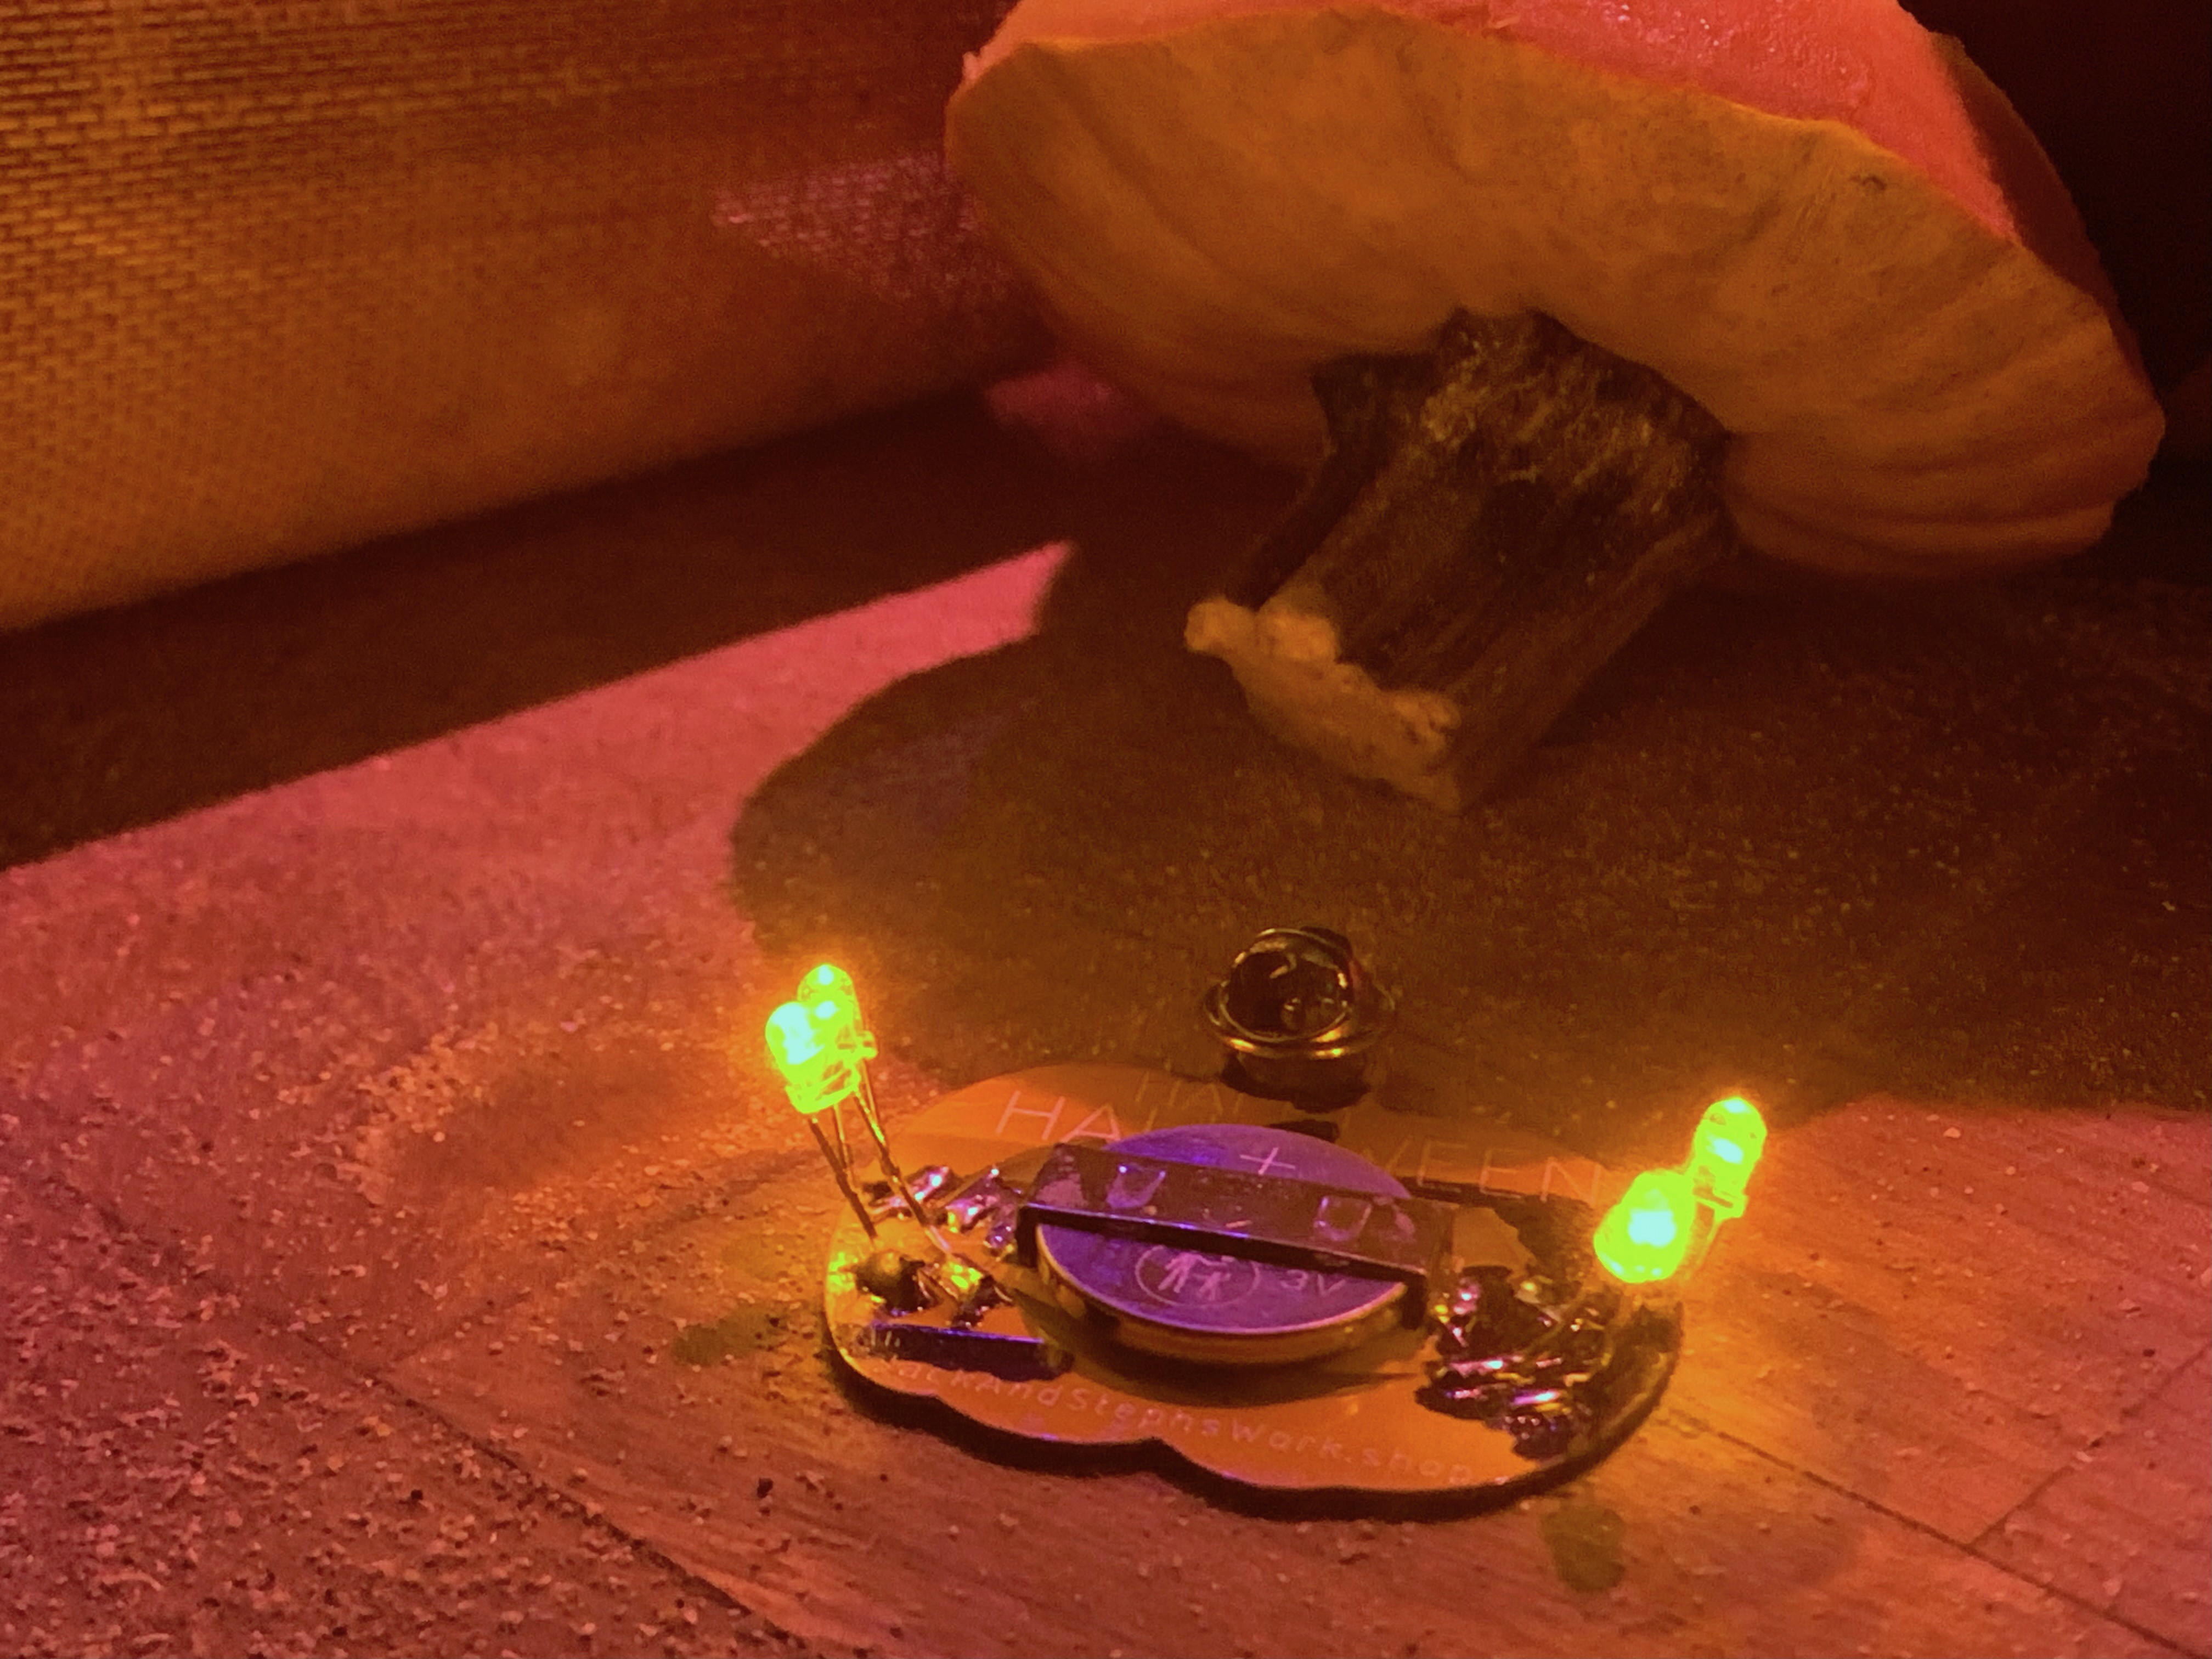
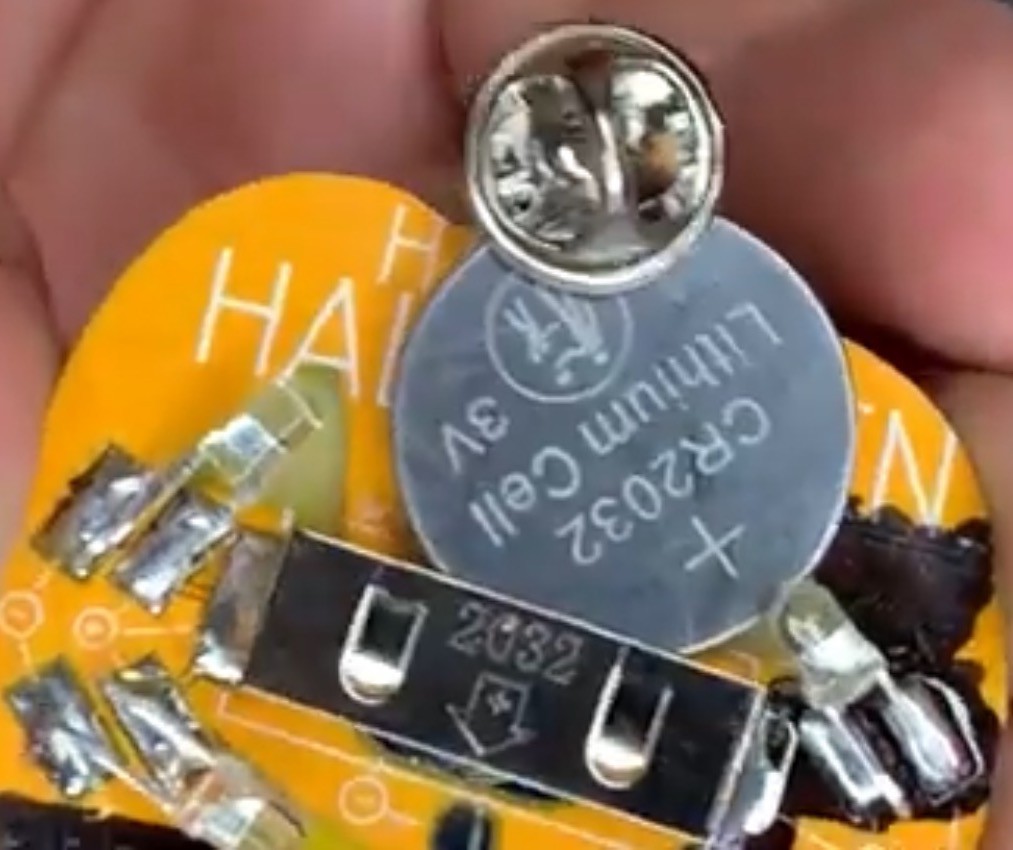
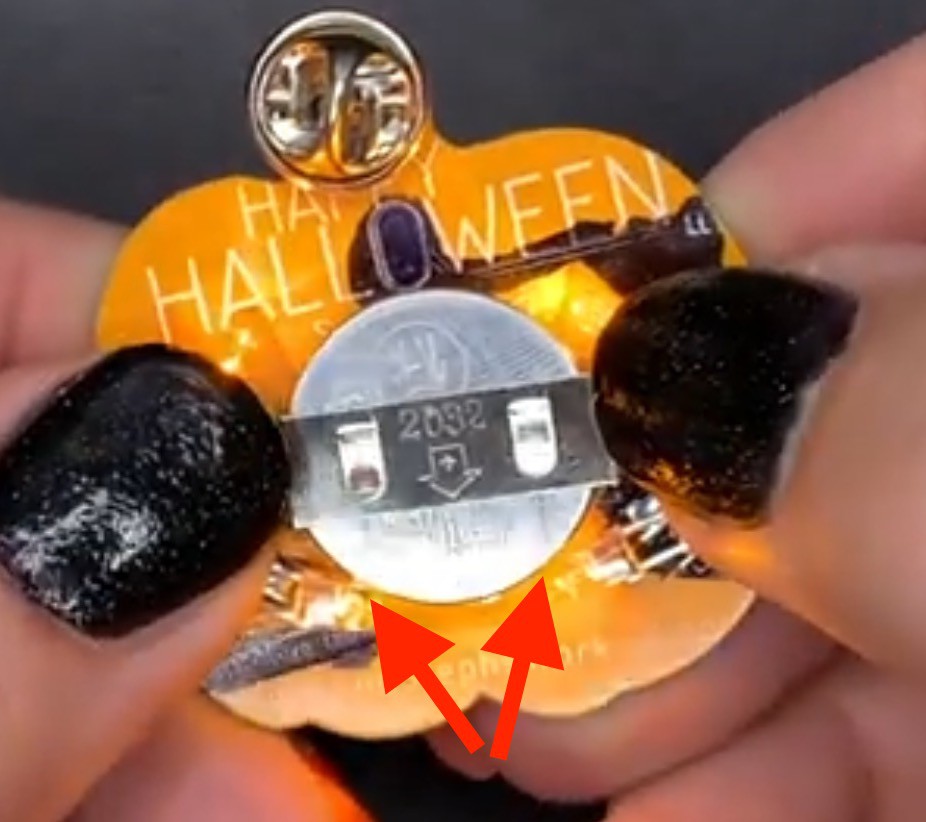
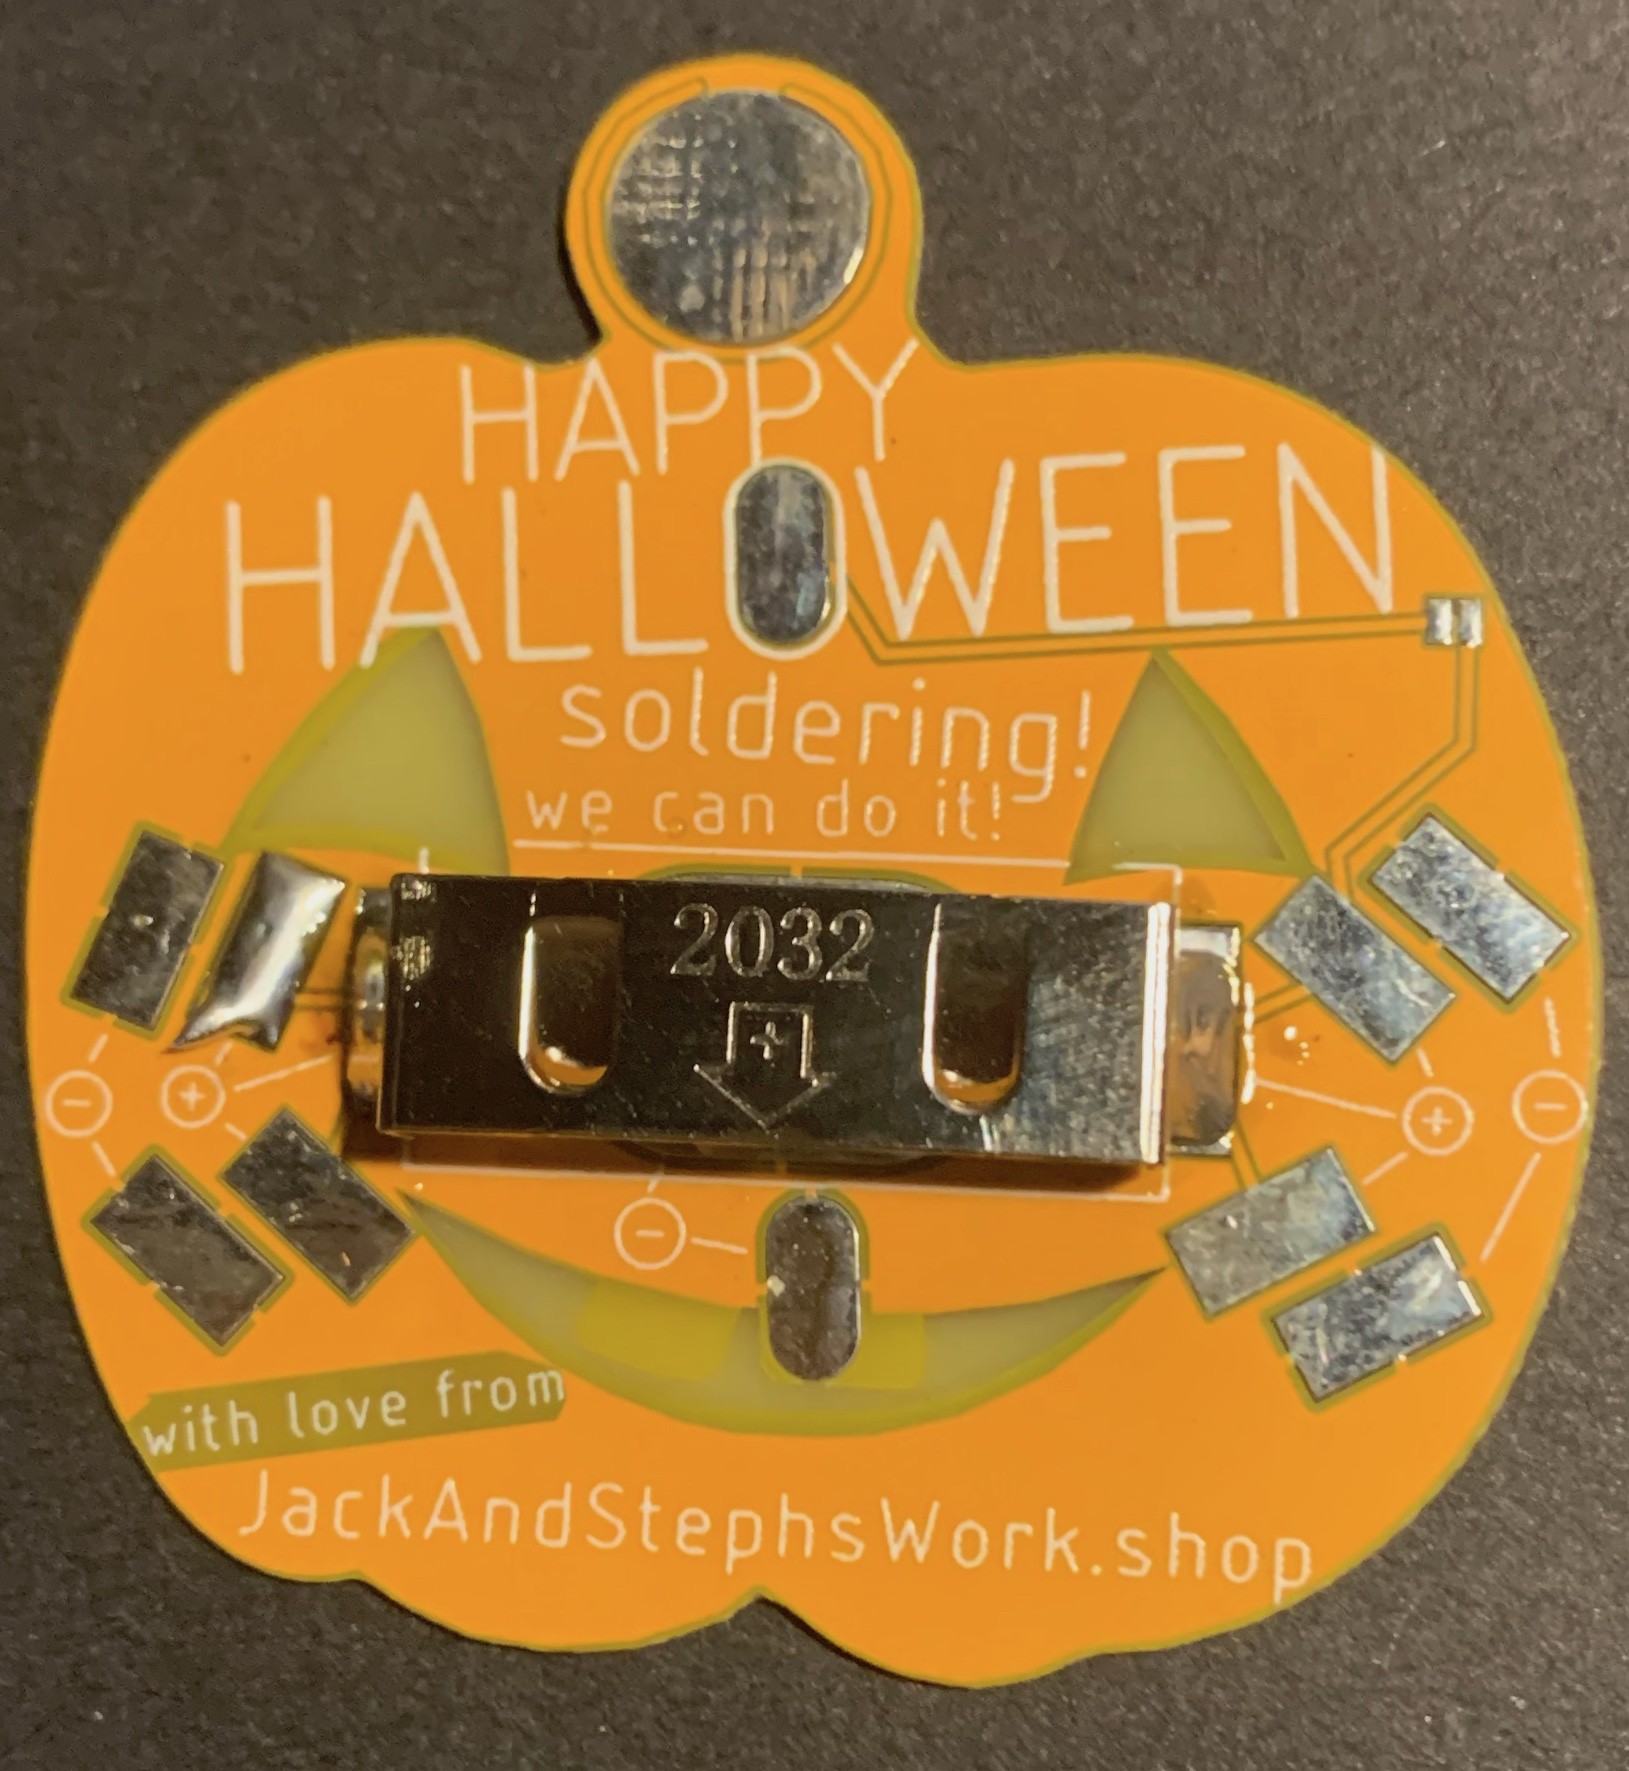
In fact, after the PCB and lights, there are only two other components on this pin: the battery holder and the actual pointy pin part that pokes through clothing. Most of these parts serve double duty to keep things minimalistic.
As such, this pin is lightweight at just 7 grams (including battery!), and just 4.5mm thick, so it's comfortable to wear and looks classy. When you're done wearing it, the pin can even be reused to illuminate your carved jack-o-lanterns!
It's super easy to assemble, with only twelve spacious and forgiving solder points. There's even a little video that explains the process:
I got carried away and ordered 200 of these PCBs, so now you can buy assembled pins or a build-it-yourself kits!
~why~
After finishing my first ever pcb design for a different project, I was thinking with great amazement about the precision and low cost of modern PCB manufacturing. I am old enough to remember buying etching kits from Radio Shack, which basically contained a blank board and a jug of acid, so my appreciation for accurate and beautifully finished professionally made PCBs is recent and strong.
I wanted to use my new knowledge of the various layers of a PCB (board, copper, paint and silkscreen) to make a little celebratory art piece, and it was the right season for that art to be of the pumpkin variety.
I also had some ideas about using uncoated sections of board (with an LED illuminating the backside) as display indicators for an upcoming project, so I wanted to create an opportunity for myself to test a few things, like the amount of transparency and diffusion given by different board thicknesses.
But most of all, I did this project because I love halloween.
~how~
My first attempt was meant to be more of a technical demo for experimenting with the PCB layers. However, the result was so dramatically lacking in aesthetic appeal, I knew I needed outside support.
- just look at that ugly boi
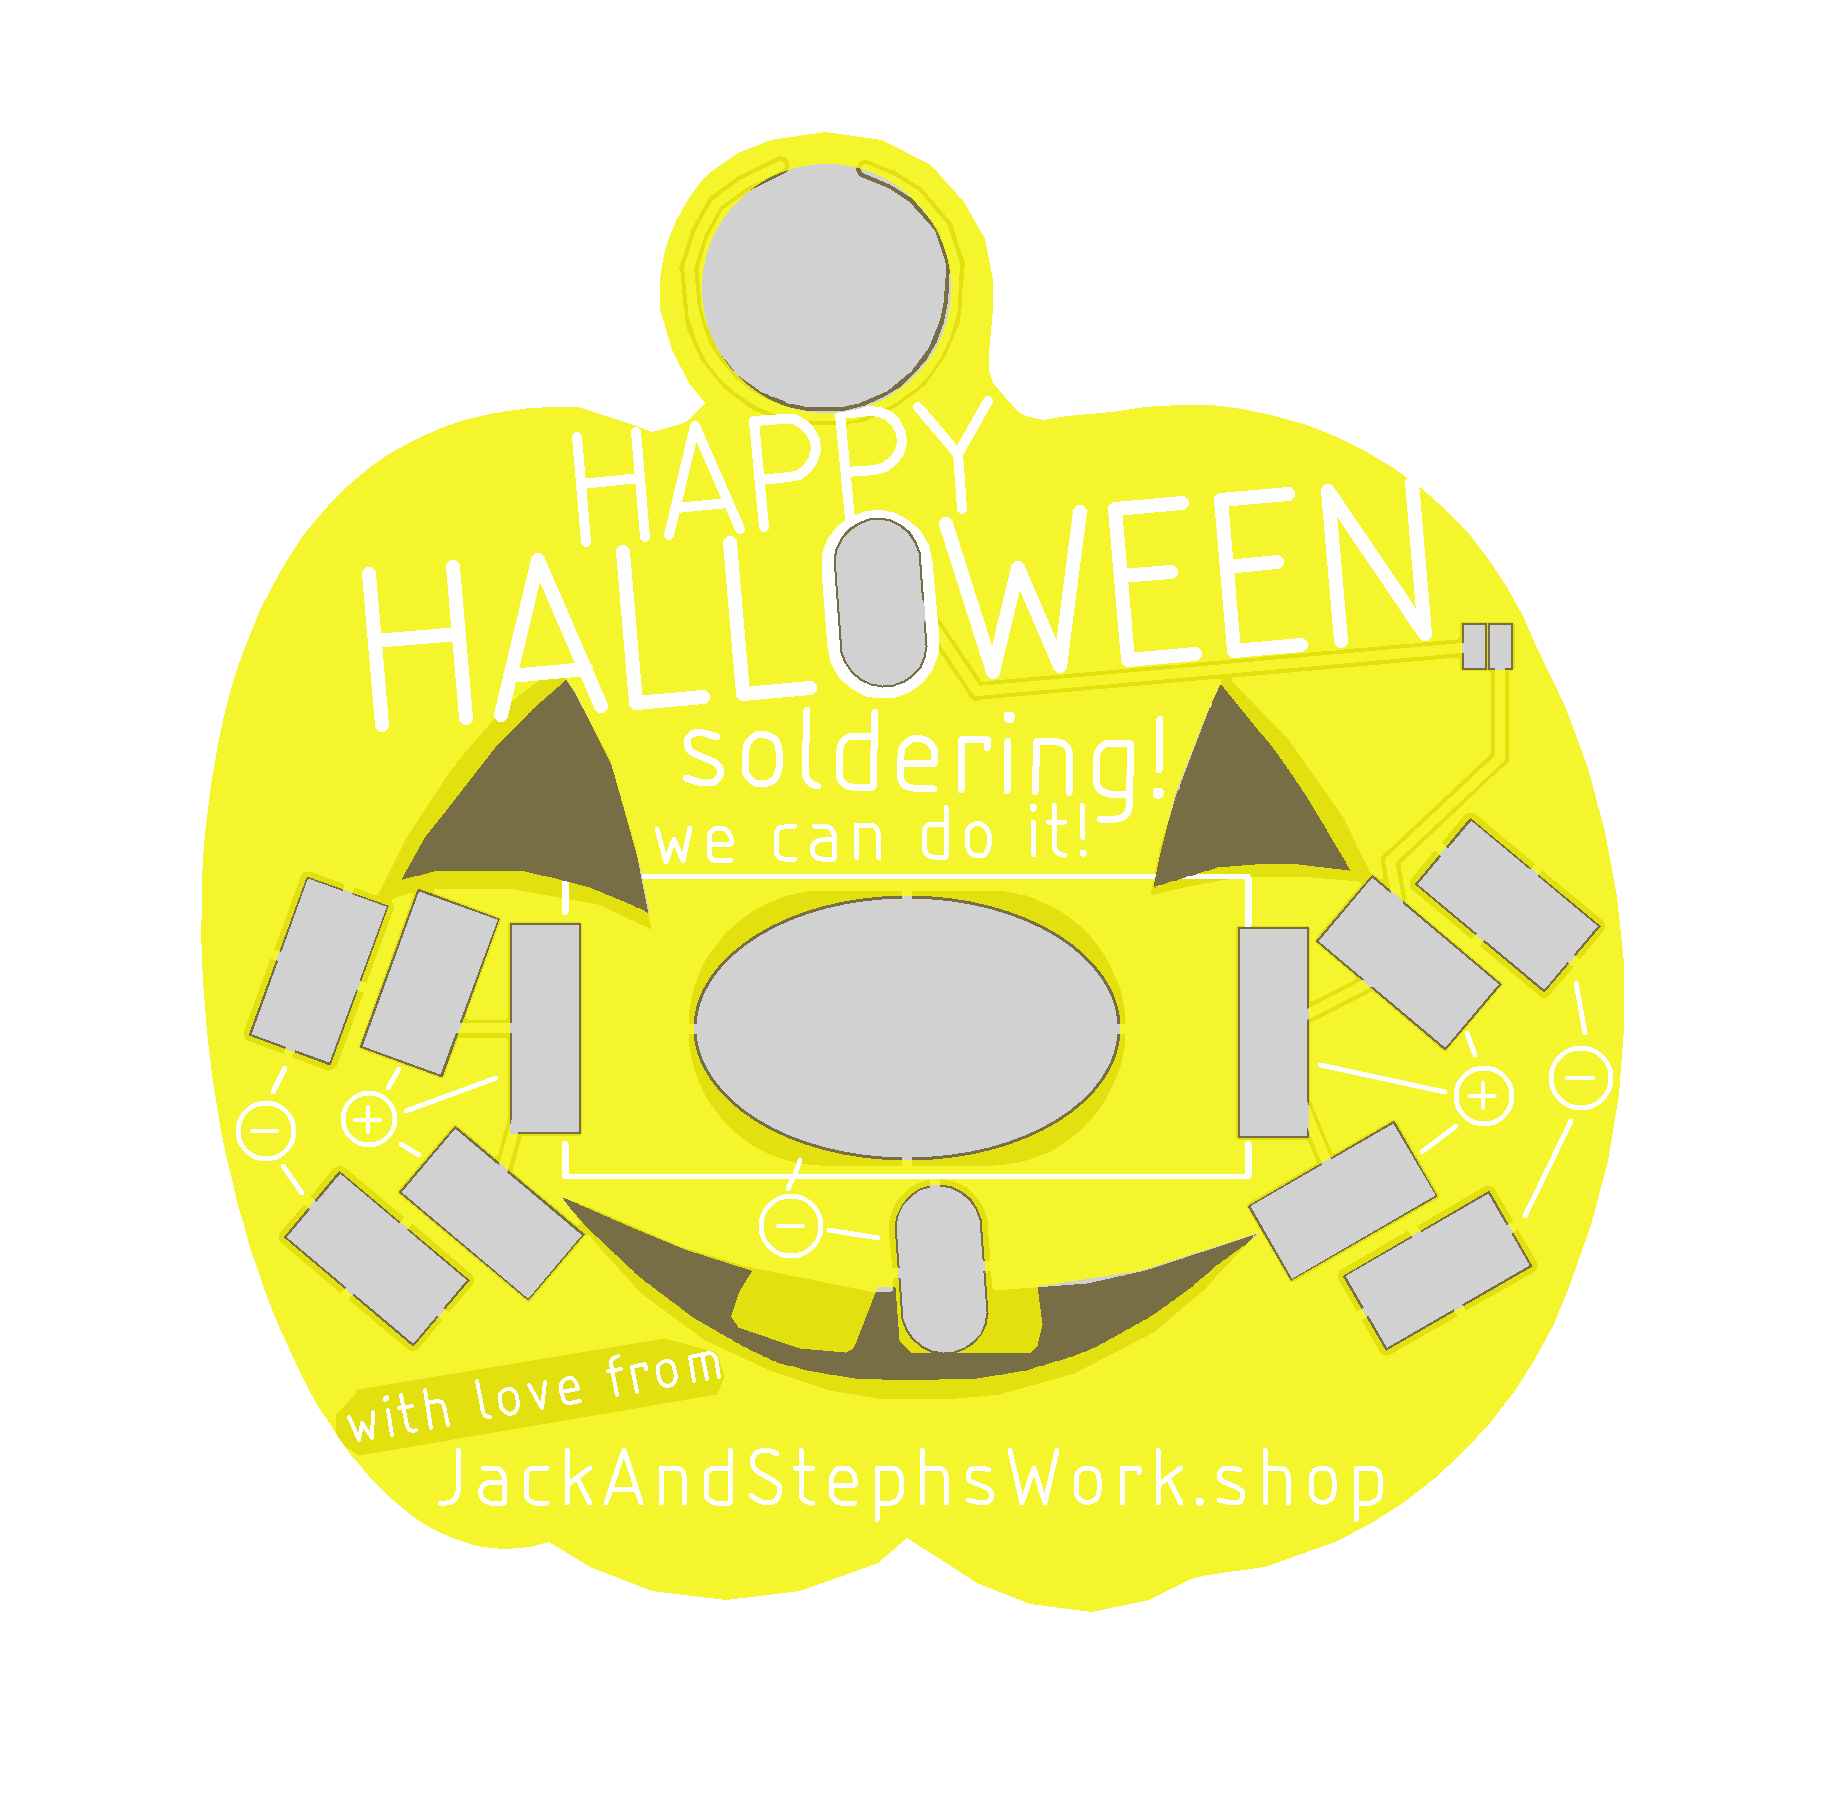
I enlisted the always delightful Jack to craft the design into looking less like something a disturbed child might carve into their desk during detention. Jack drew a pumpkin and after passing through bitmap penitentiary, we were able to import it into EAGLE.

Of course, considerations had to be made for the shape of the battery and placement of LEDs on the back side, as well as for the limited color palette available in PCB coatings, so while the final version is evocative of Jack's design, it became something entirely new.

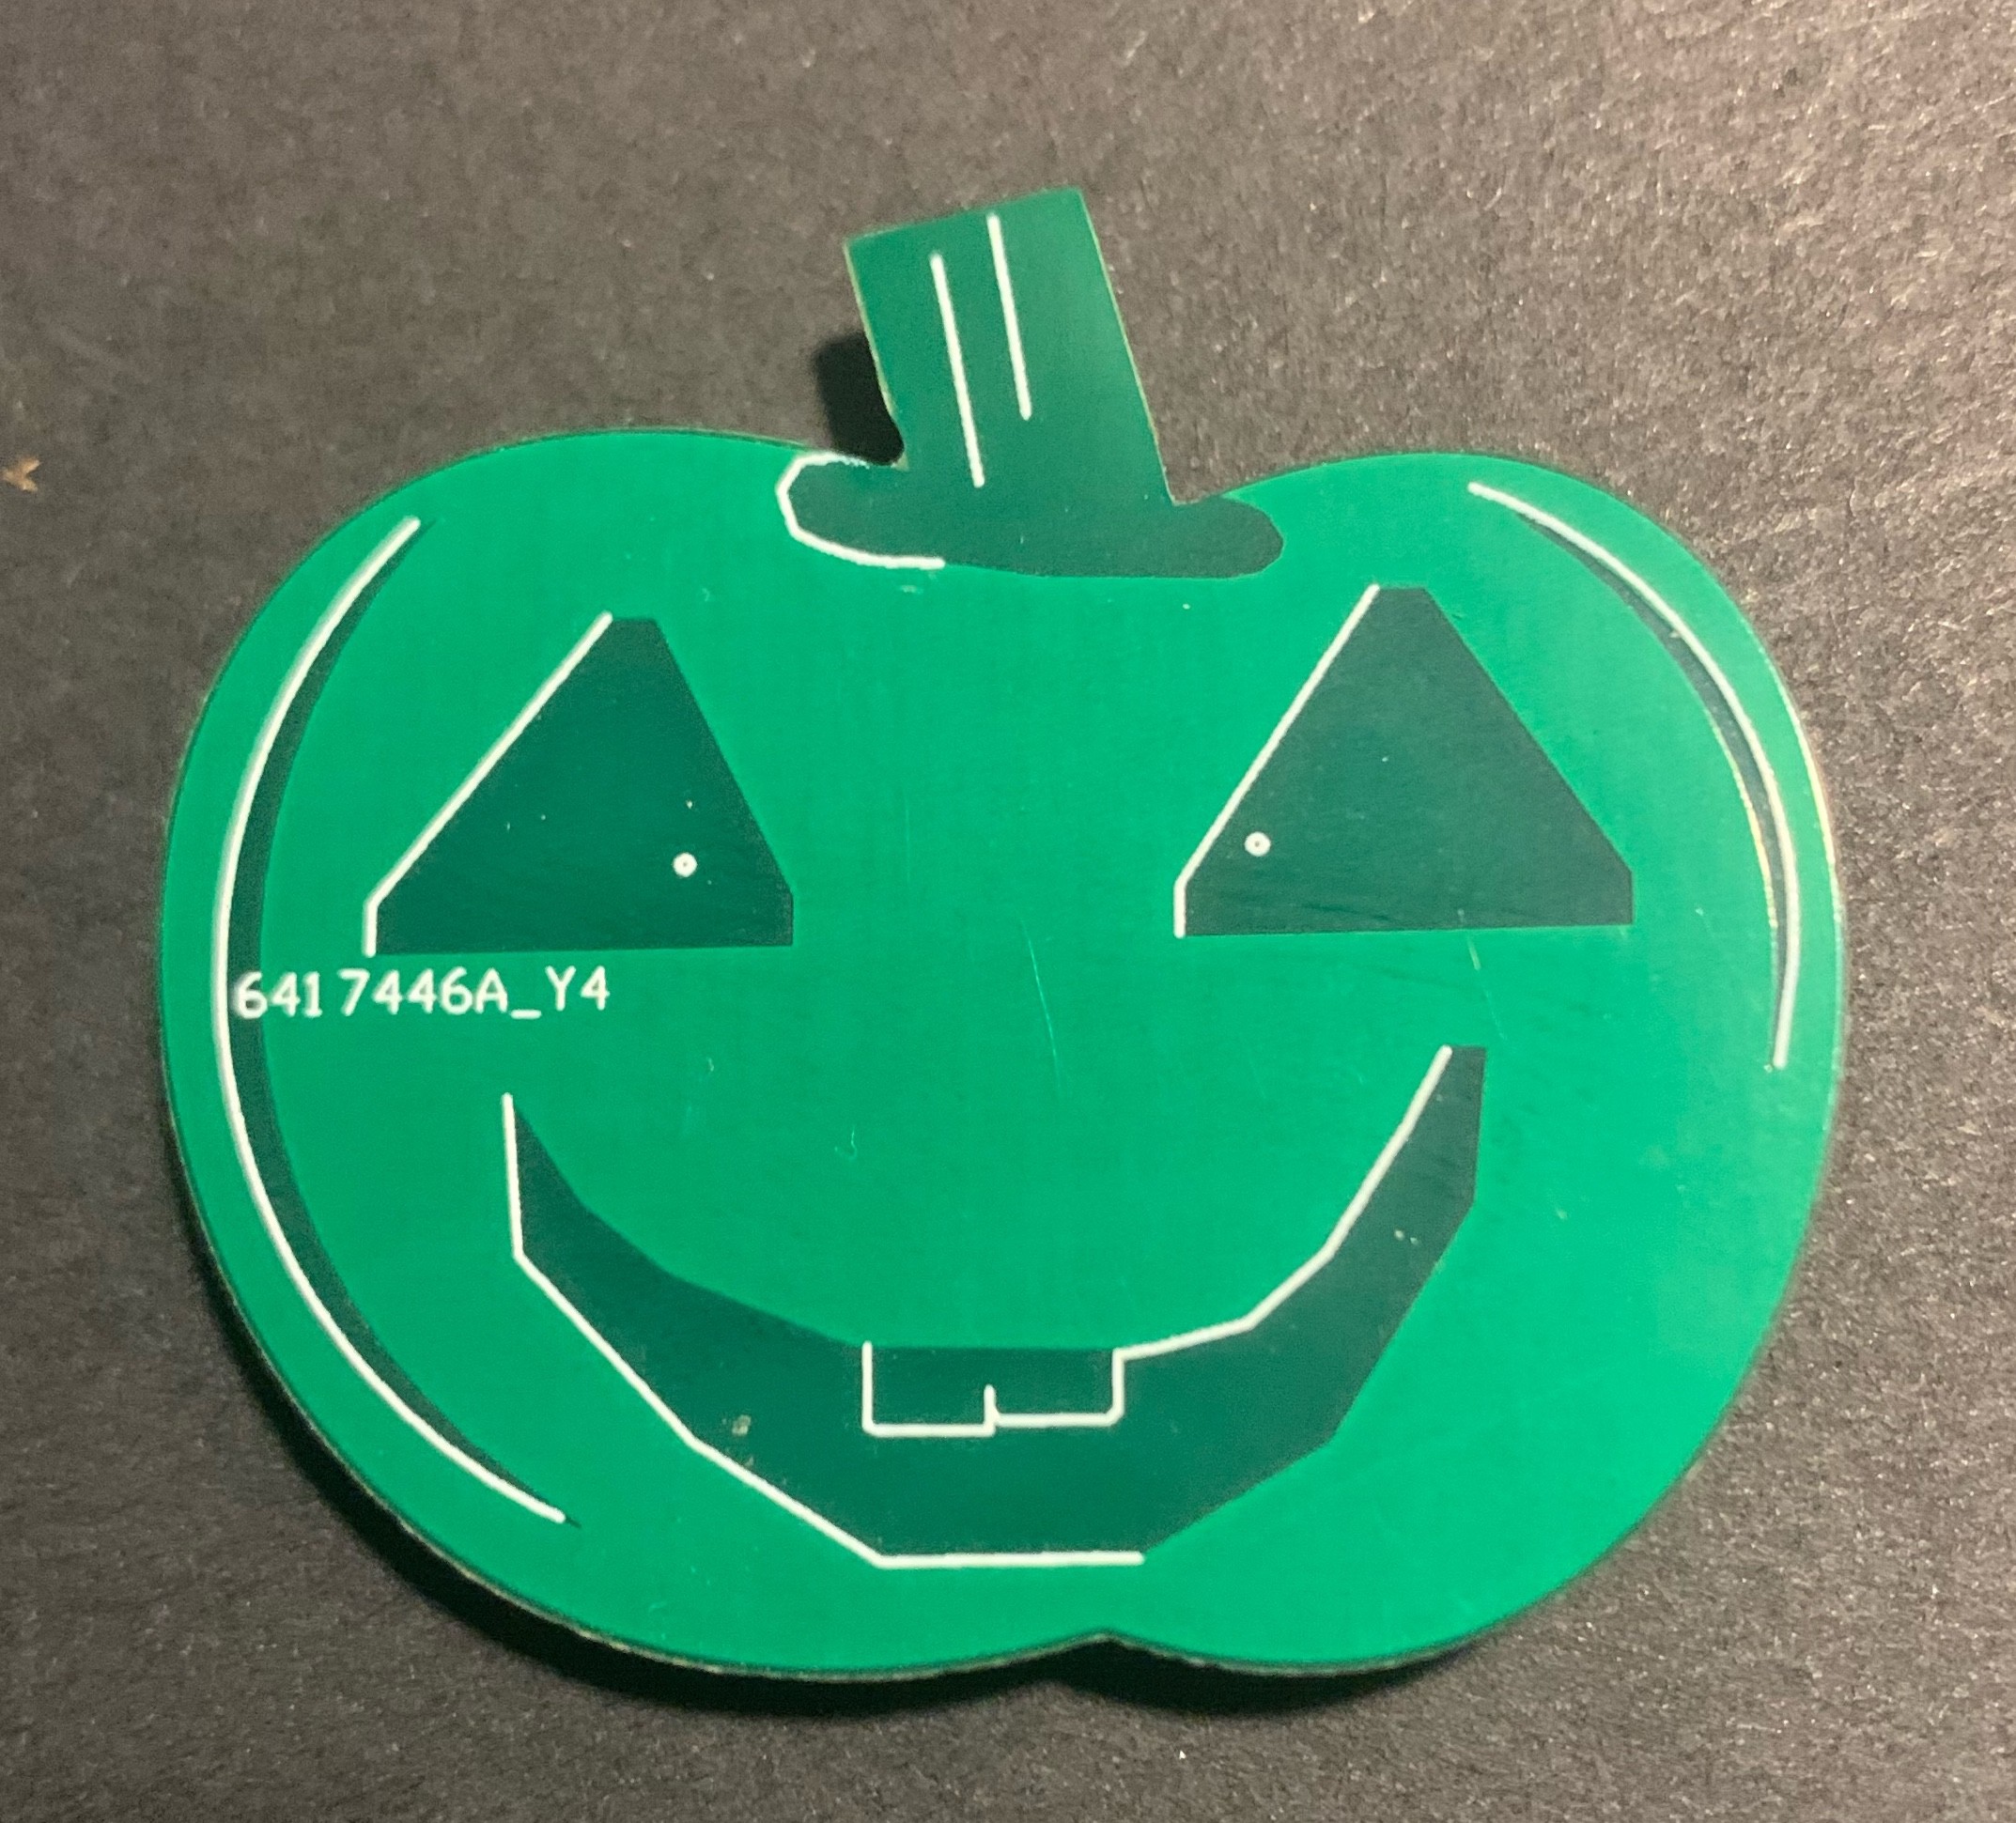
- front side
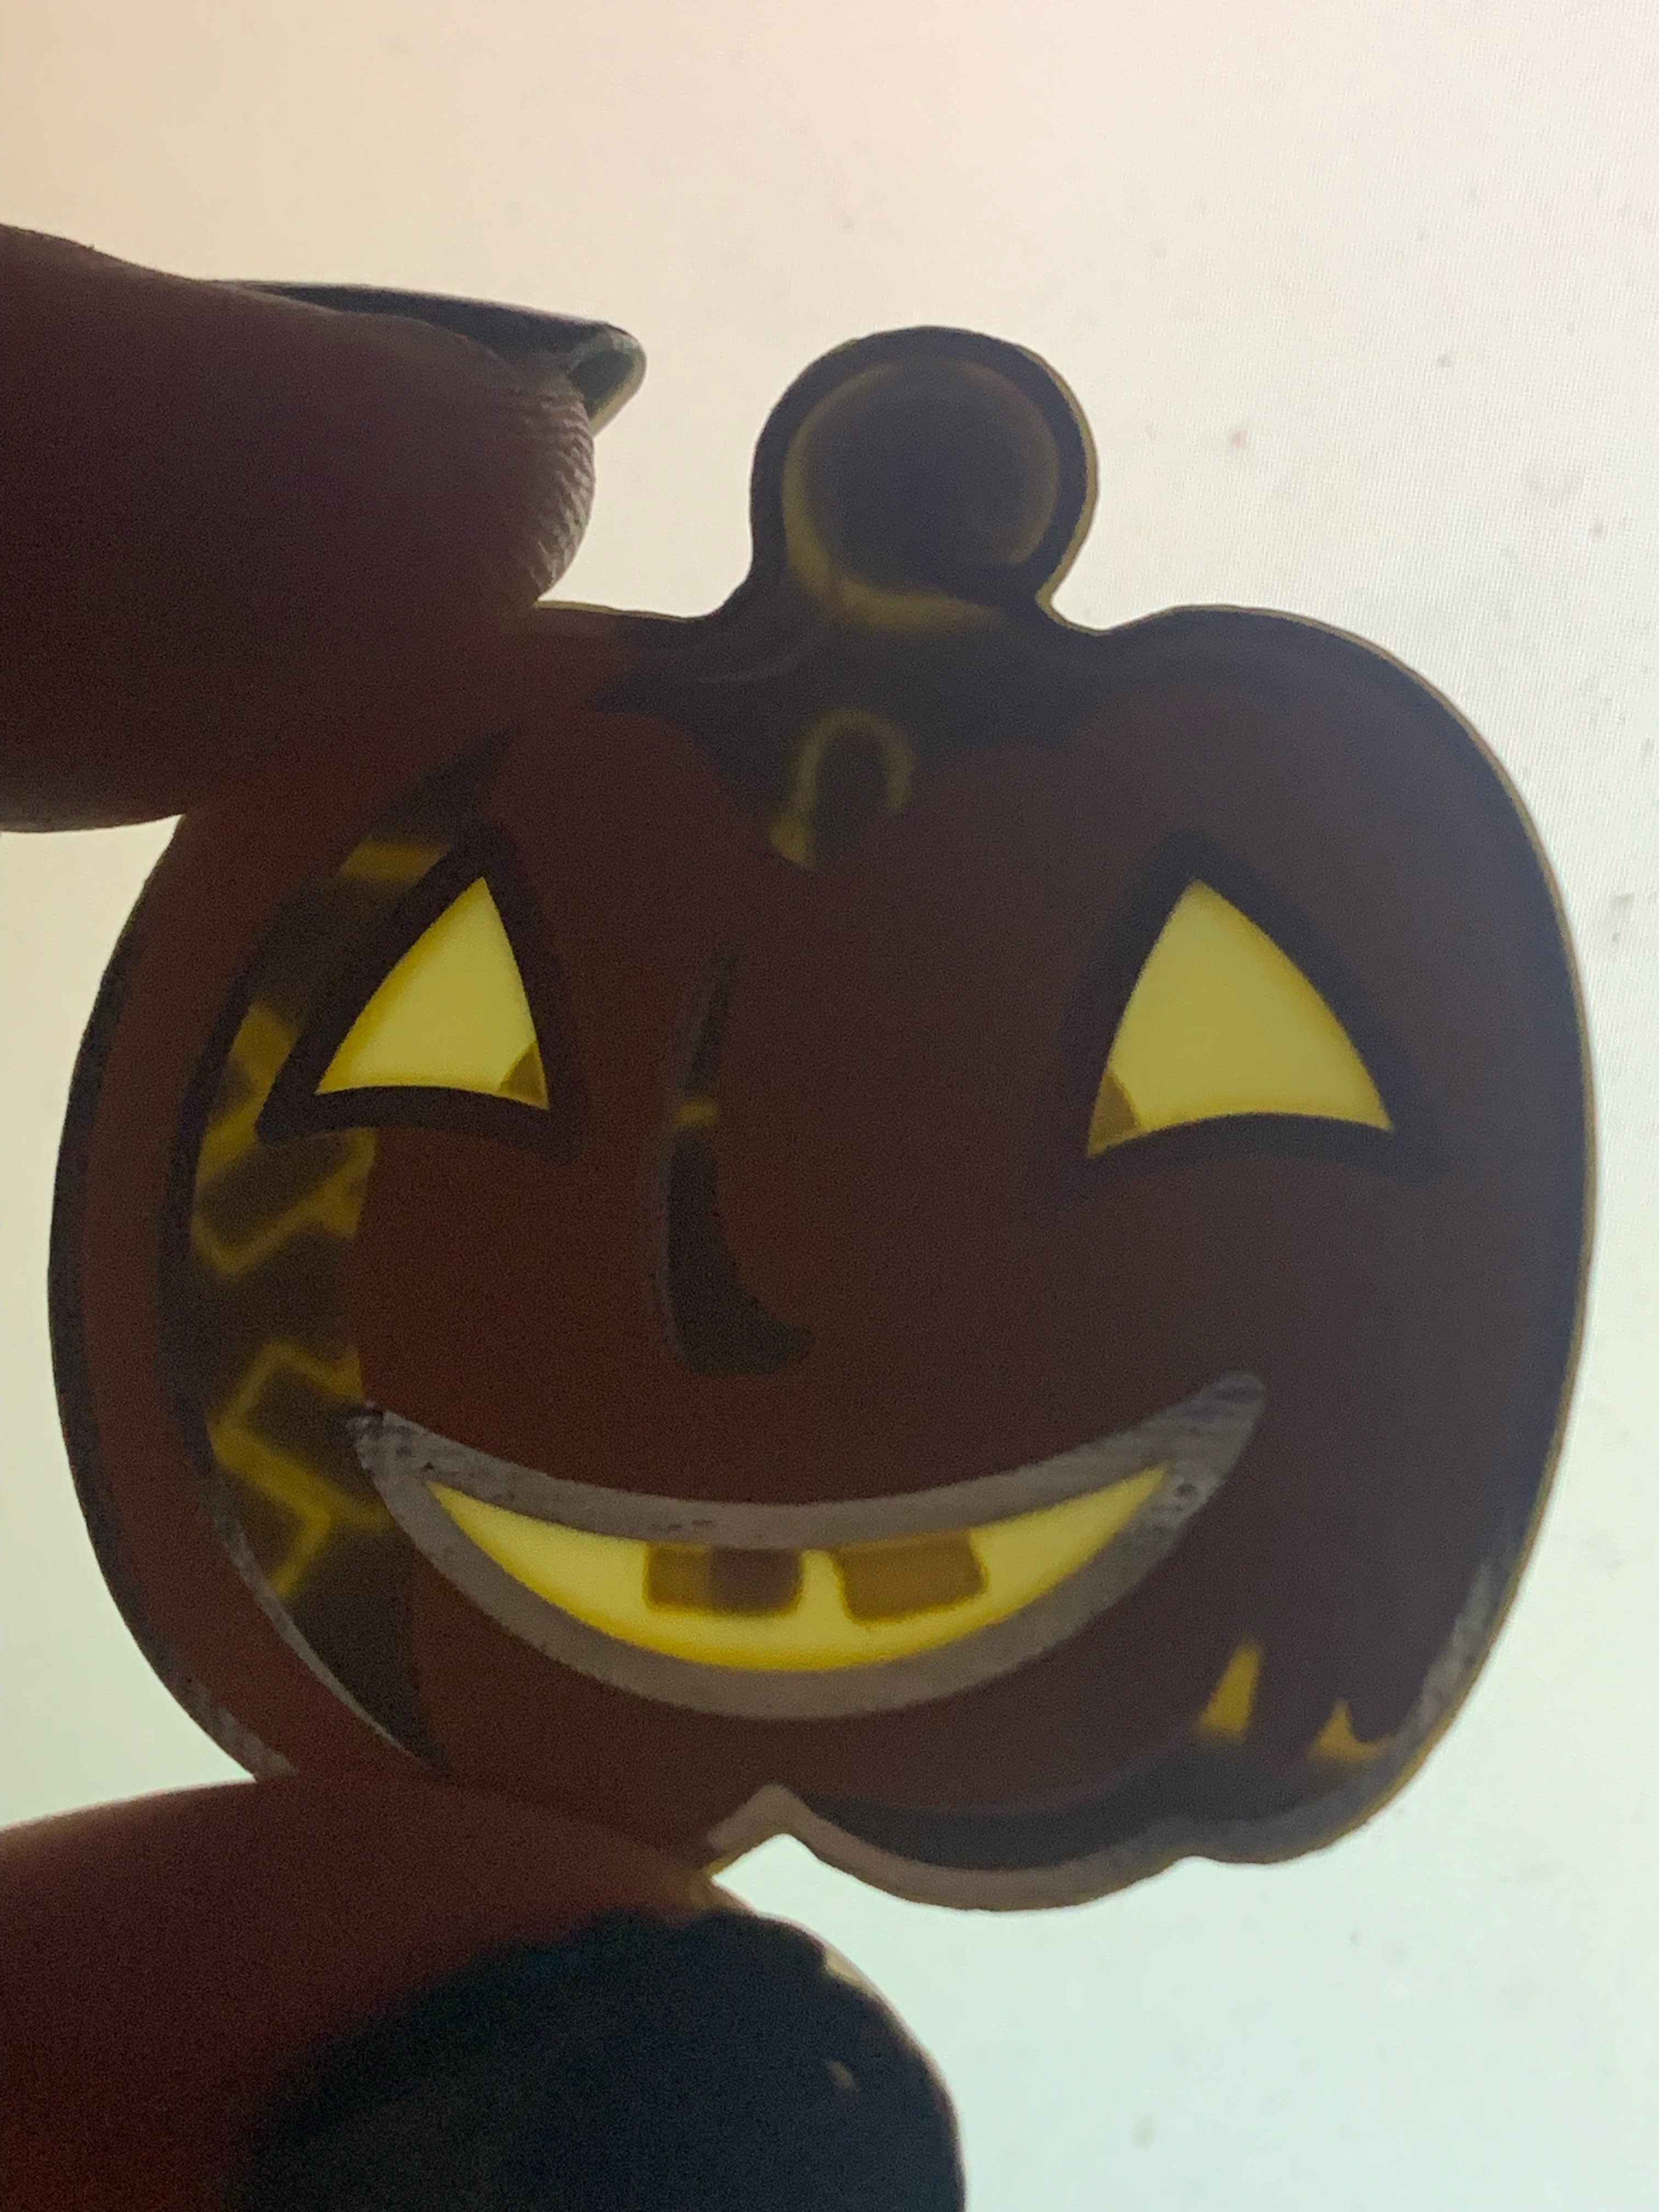
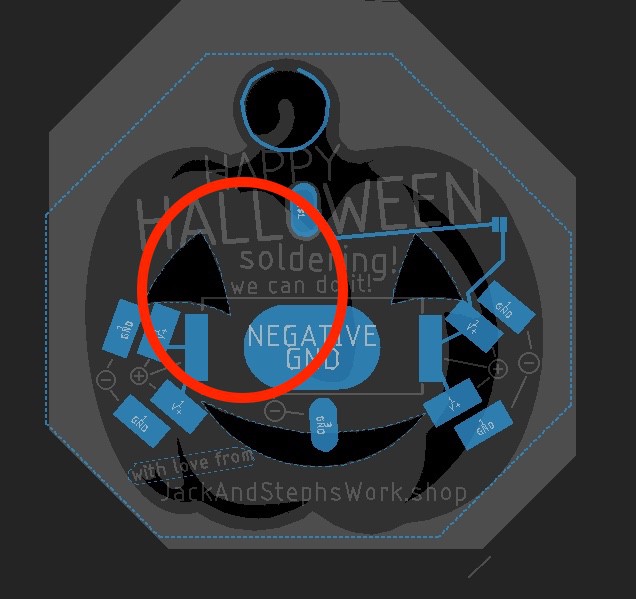
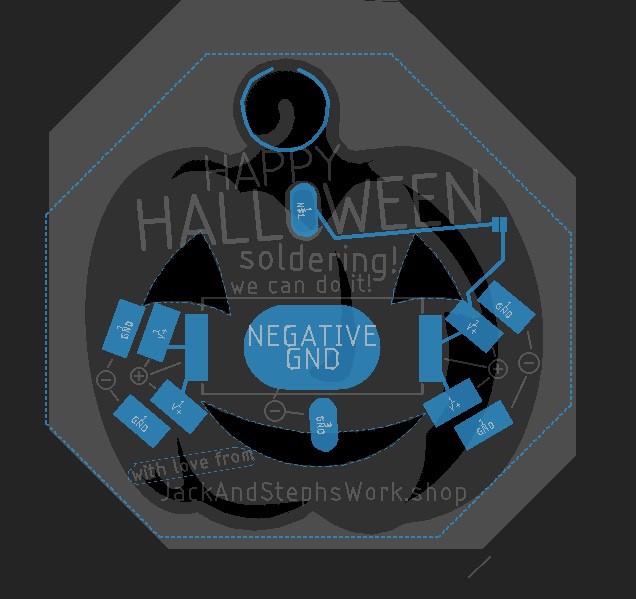
The design achieves its two-tone look by applying yellow soldermask over plain FR4 sections of the board (for the darker shadow tone) and over copper sections for the lighter, more saturated orange. The darkest parts in the images above, those inside the eyes and mouth, represent plain FR4 that has neither copper nor soldermask applied, which allows light to show through the back.
- back side
The through-hole LEDs are soldered sideways to the diagonal pads around the cheek areas, The large oval pad in the center is the negative battery connection, and the battery strap crosses horizontally over it.
Back on the front, elegant outlines are added by keeping the copper but restricting the soldermask, exposing the copper. This copper is coated...
Read more »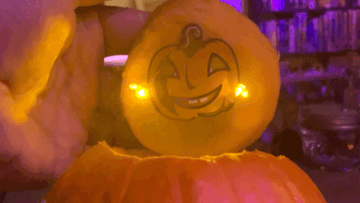
 Natalia
 Dillon Nichols