 mariz92
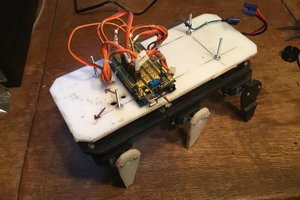
What we need so far :
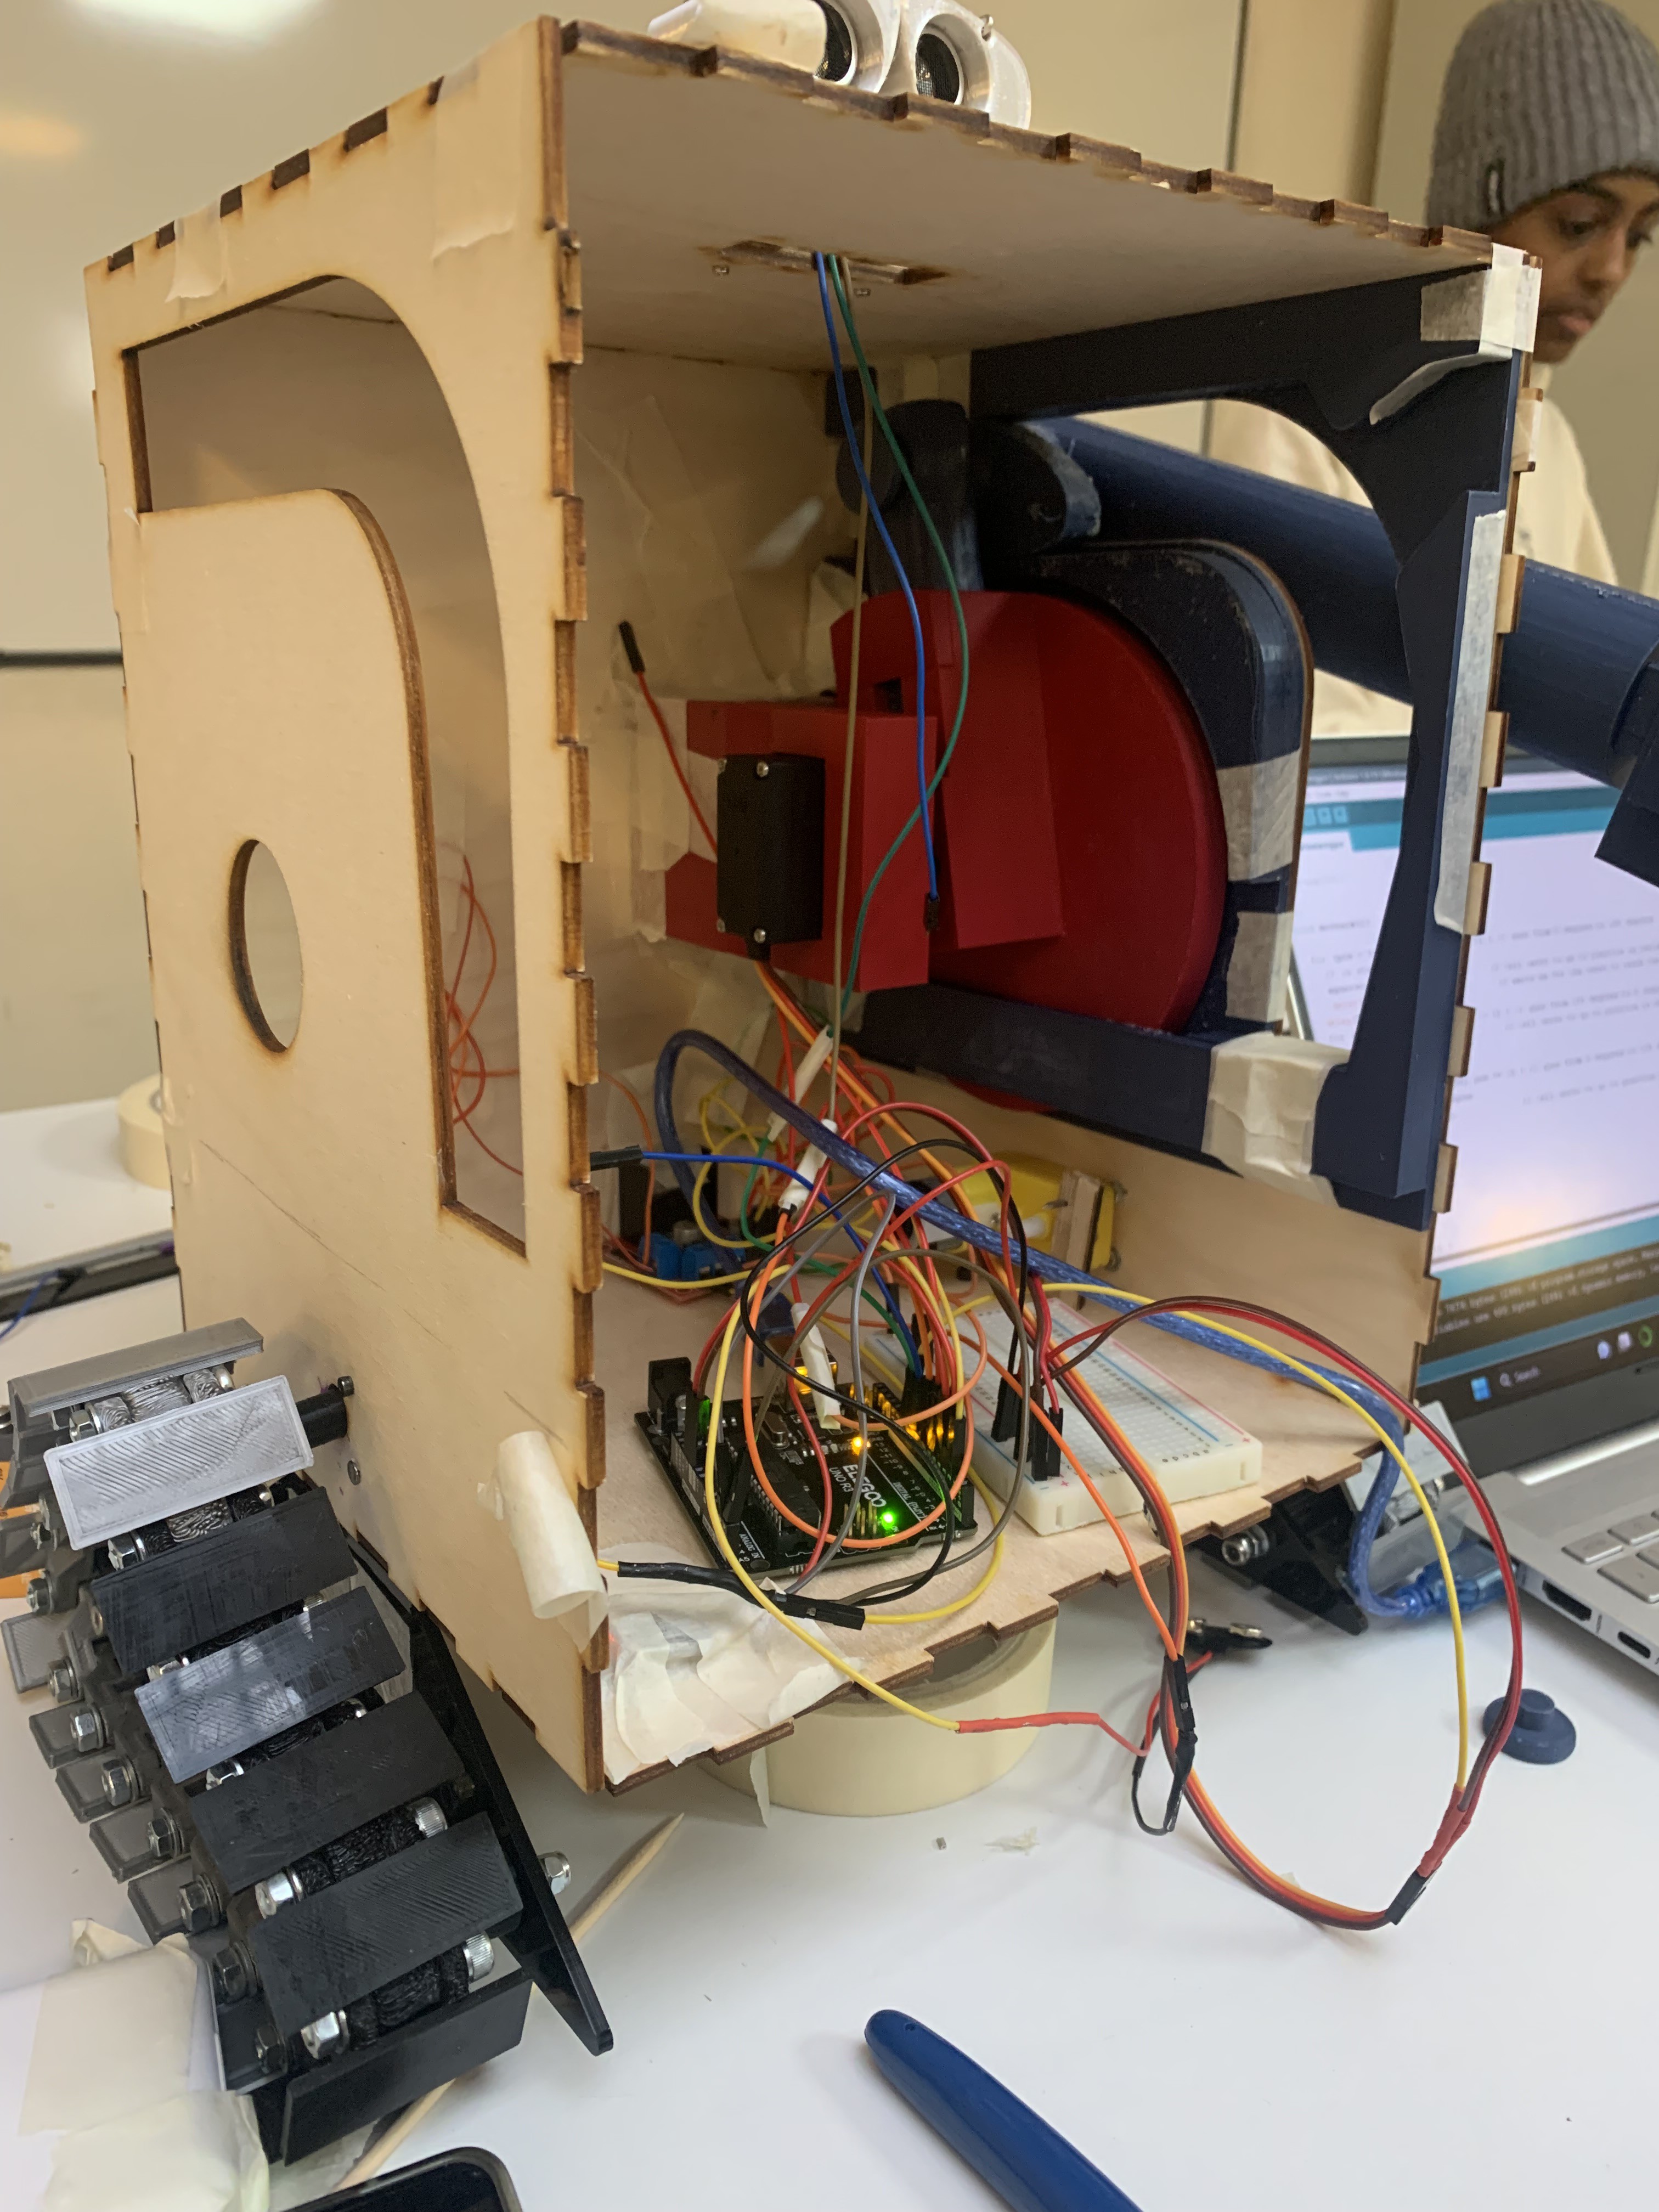
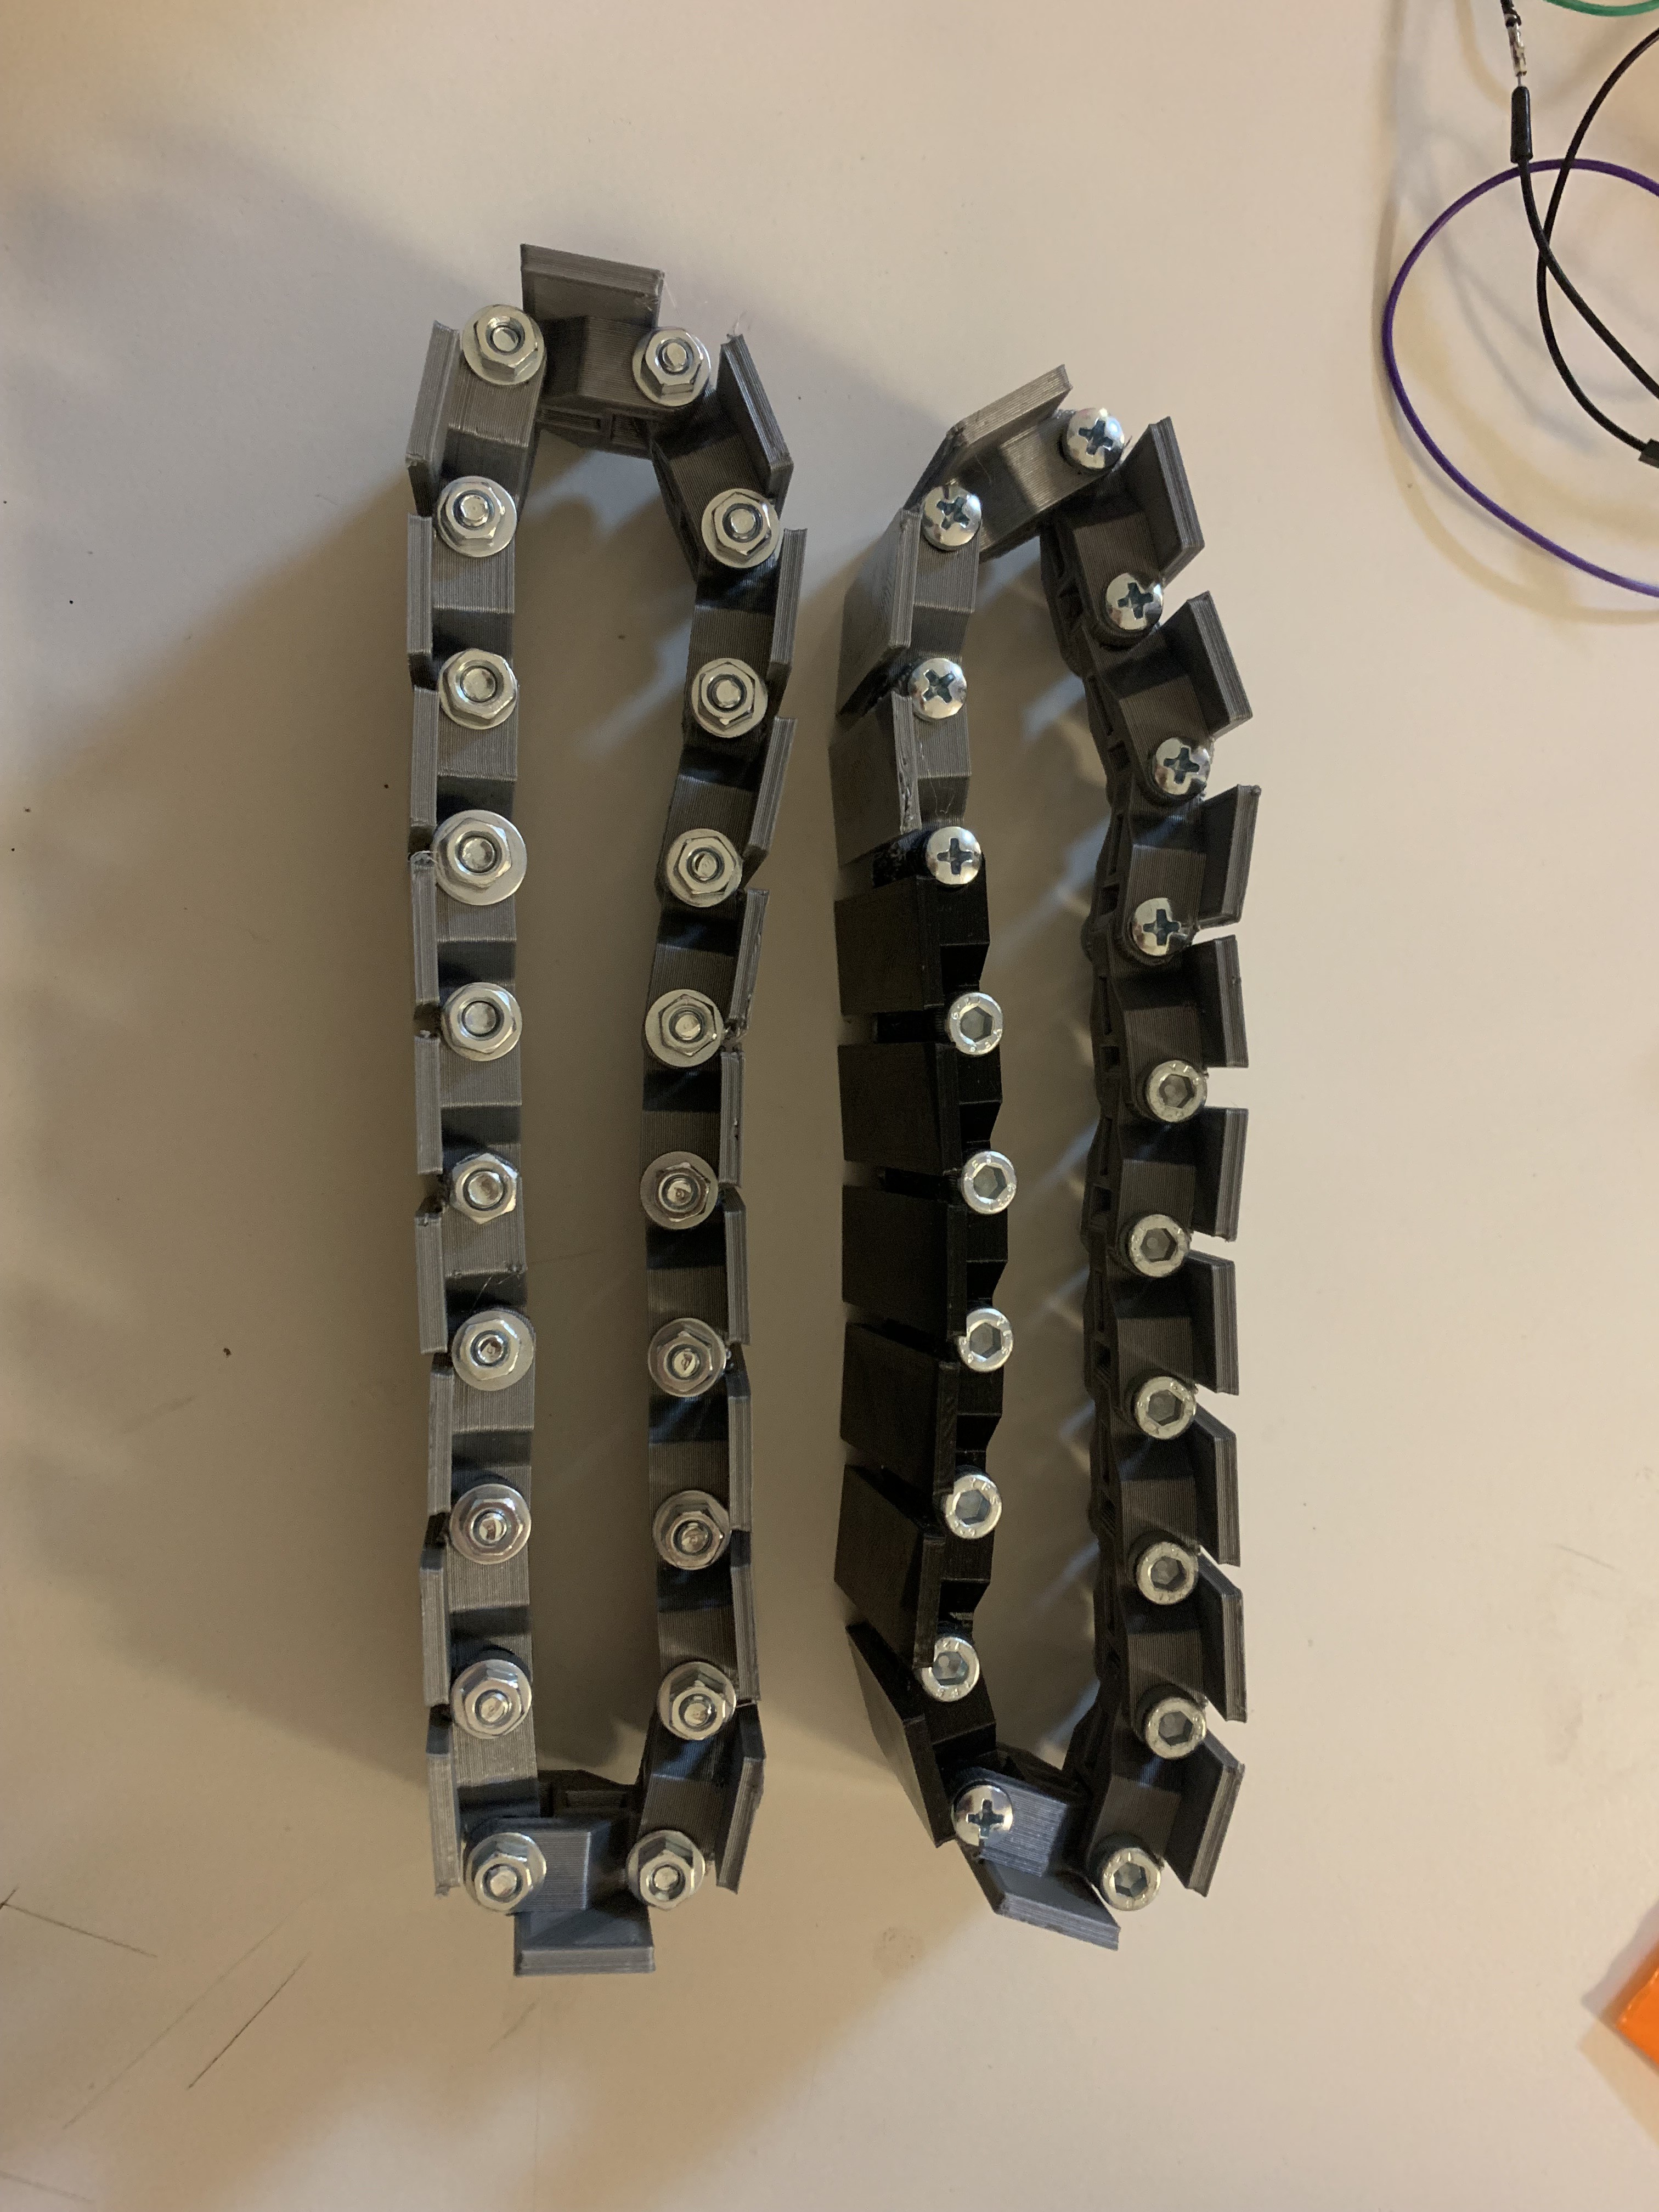
- [ ] 2 DC gear Motors + L298N (wheels)
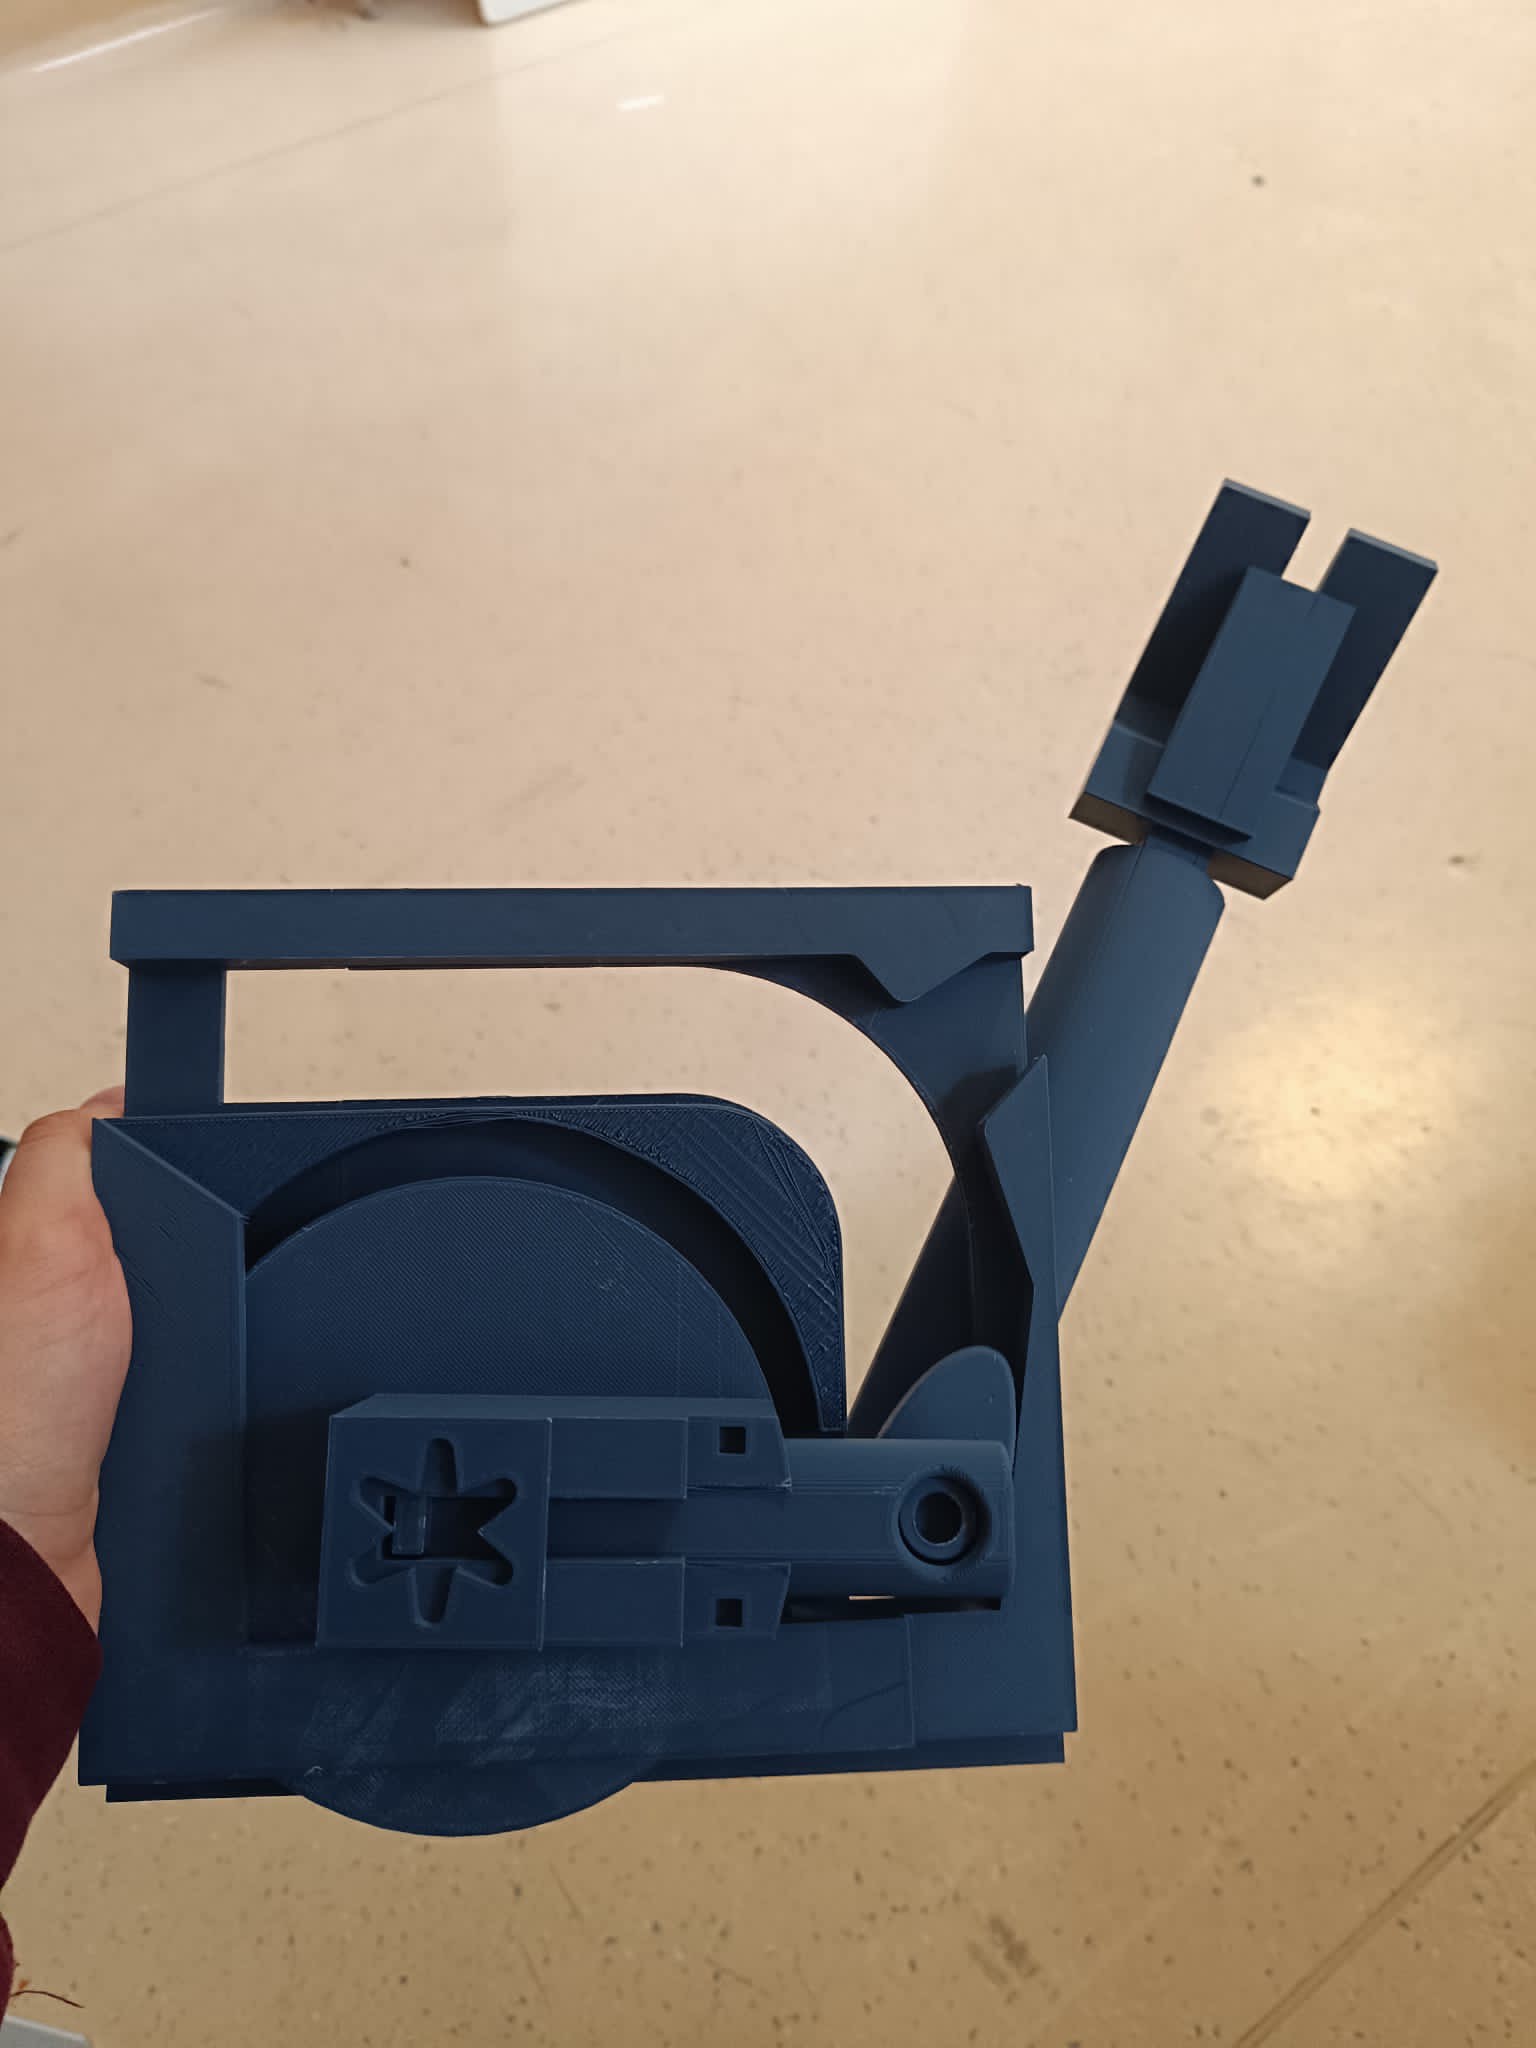
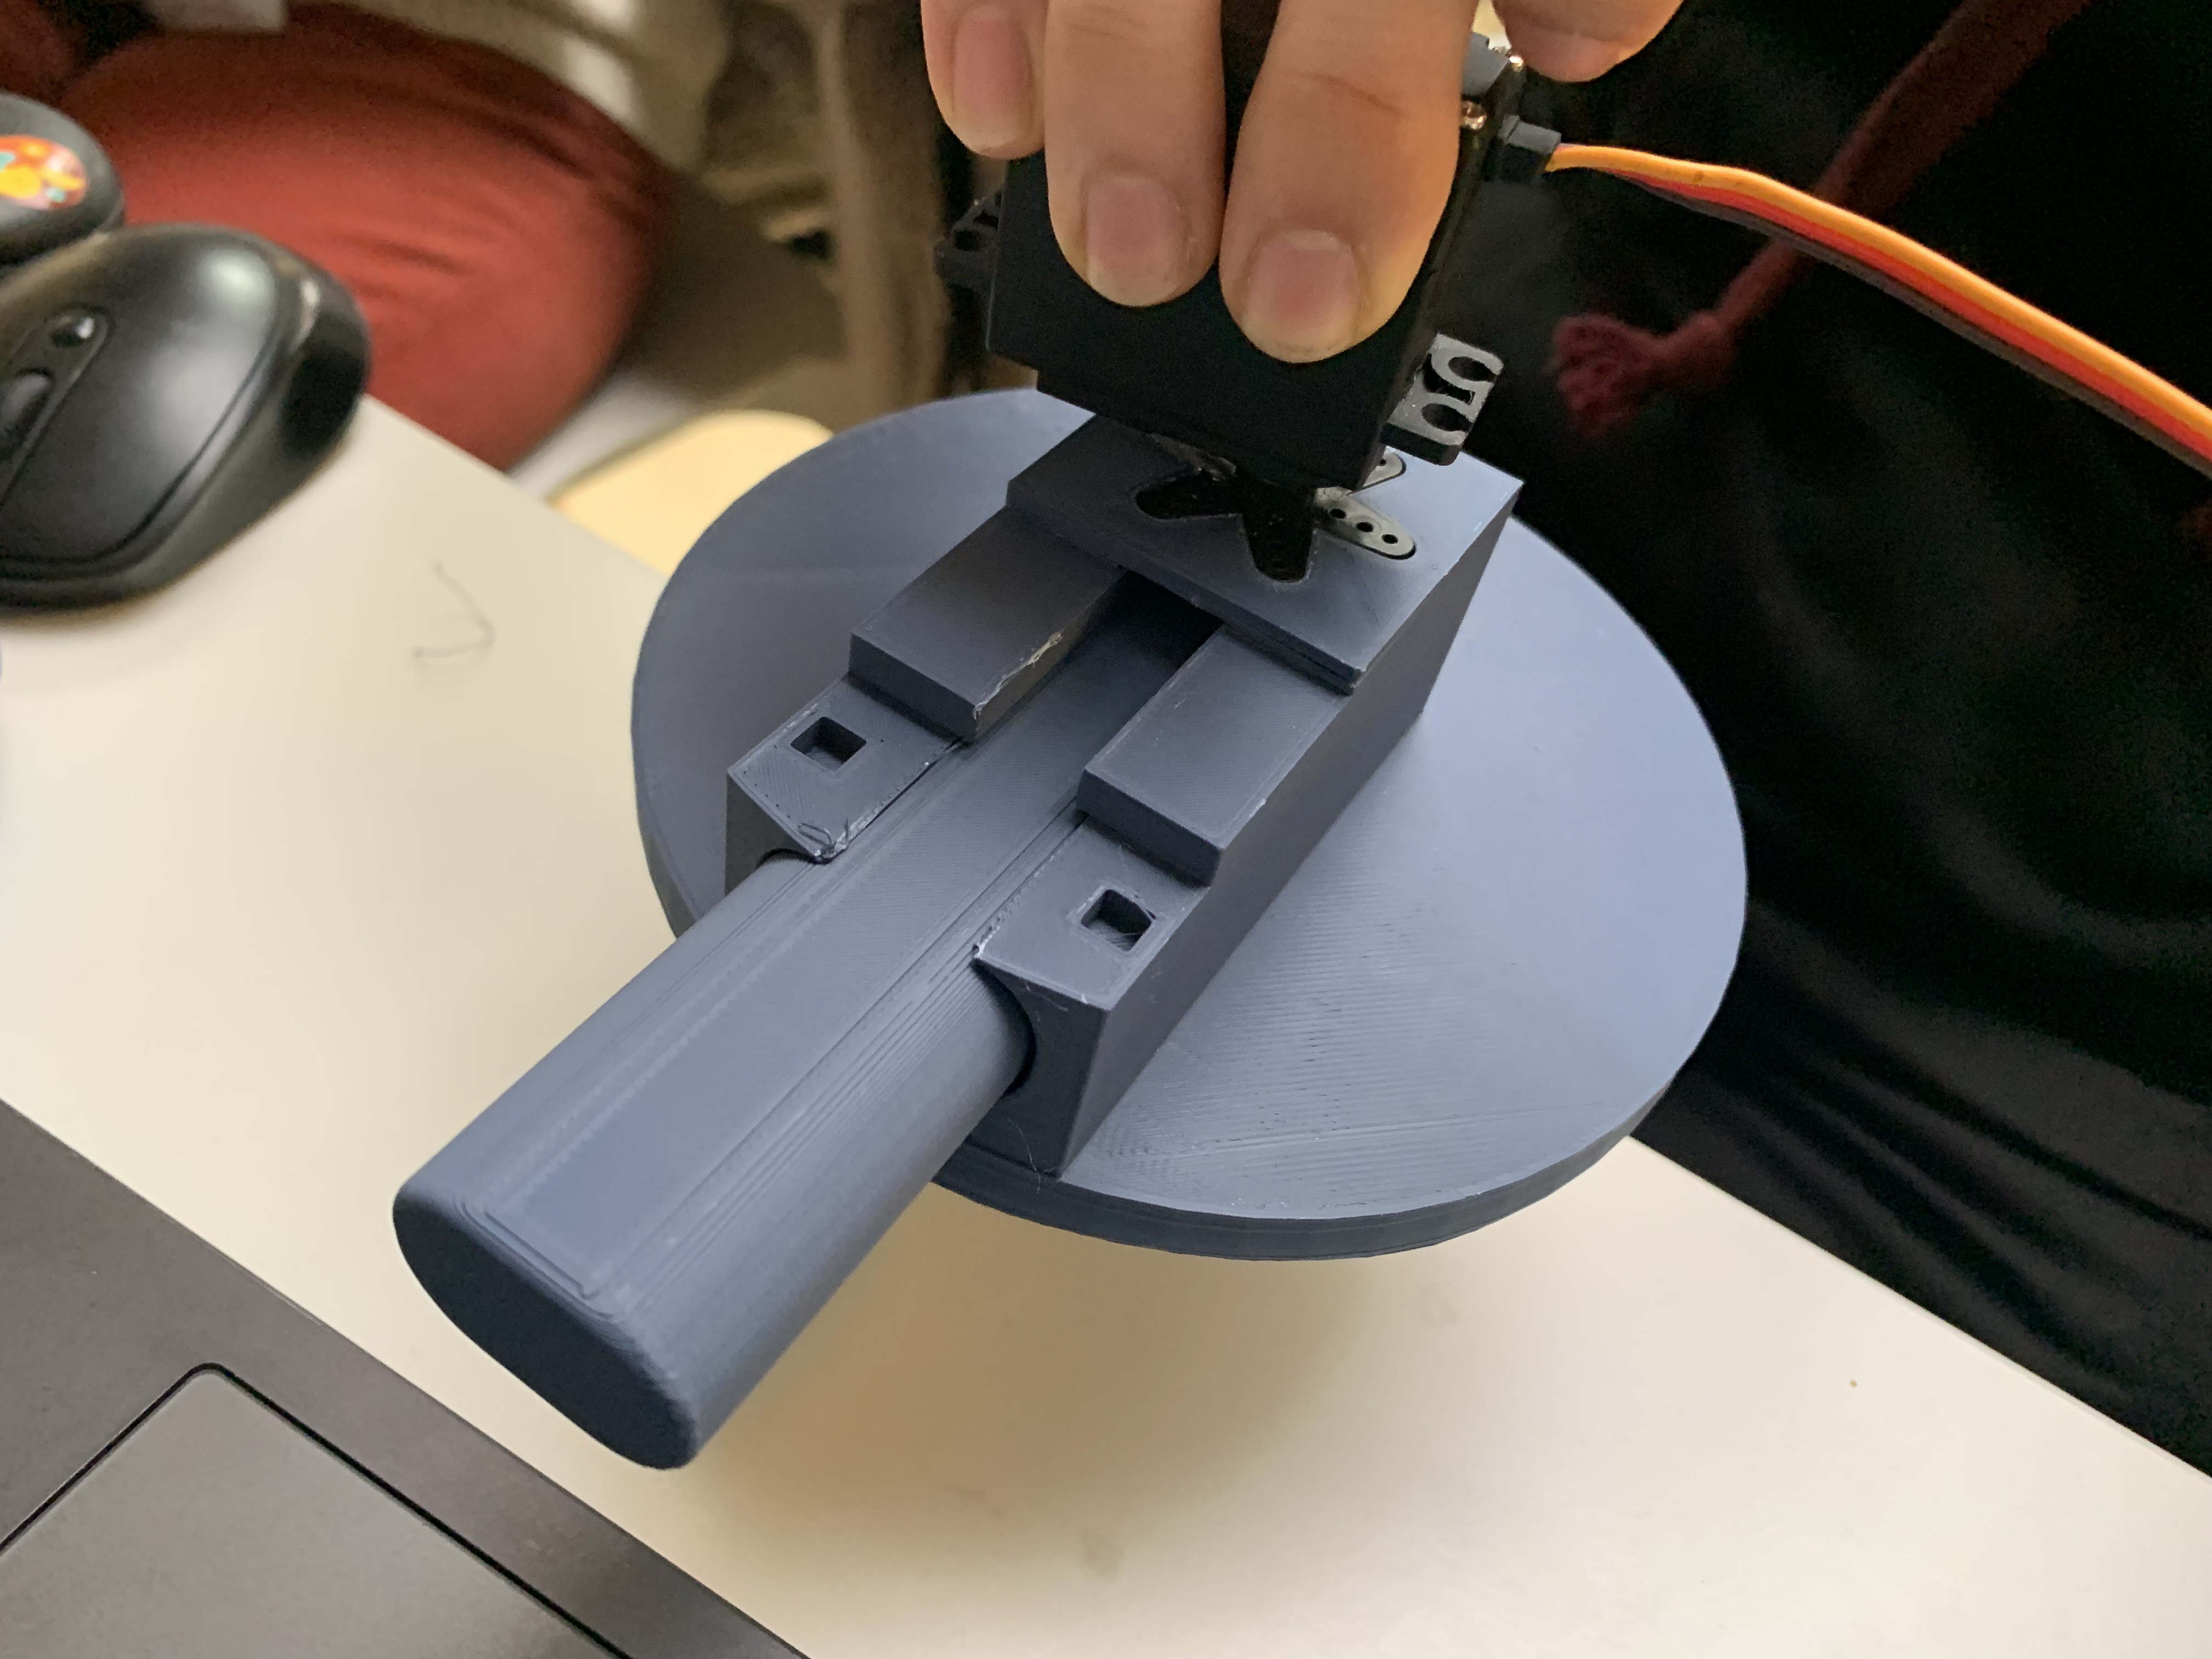
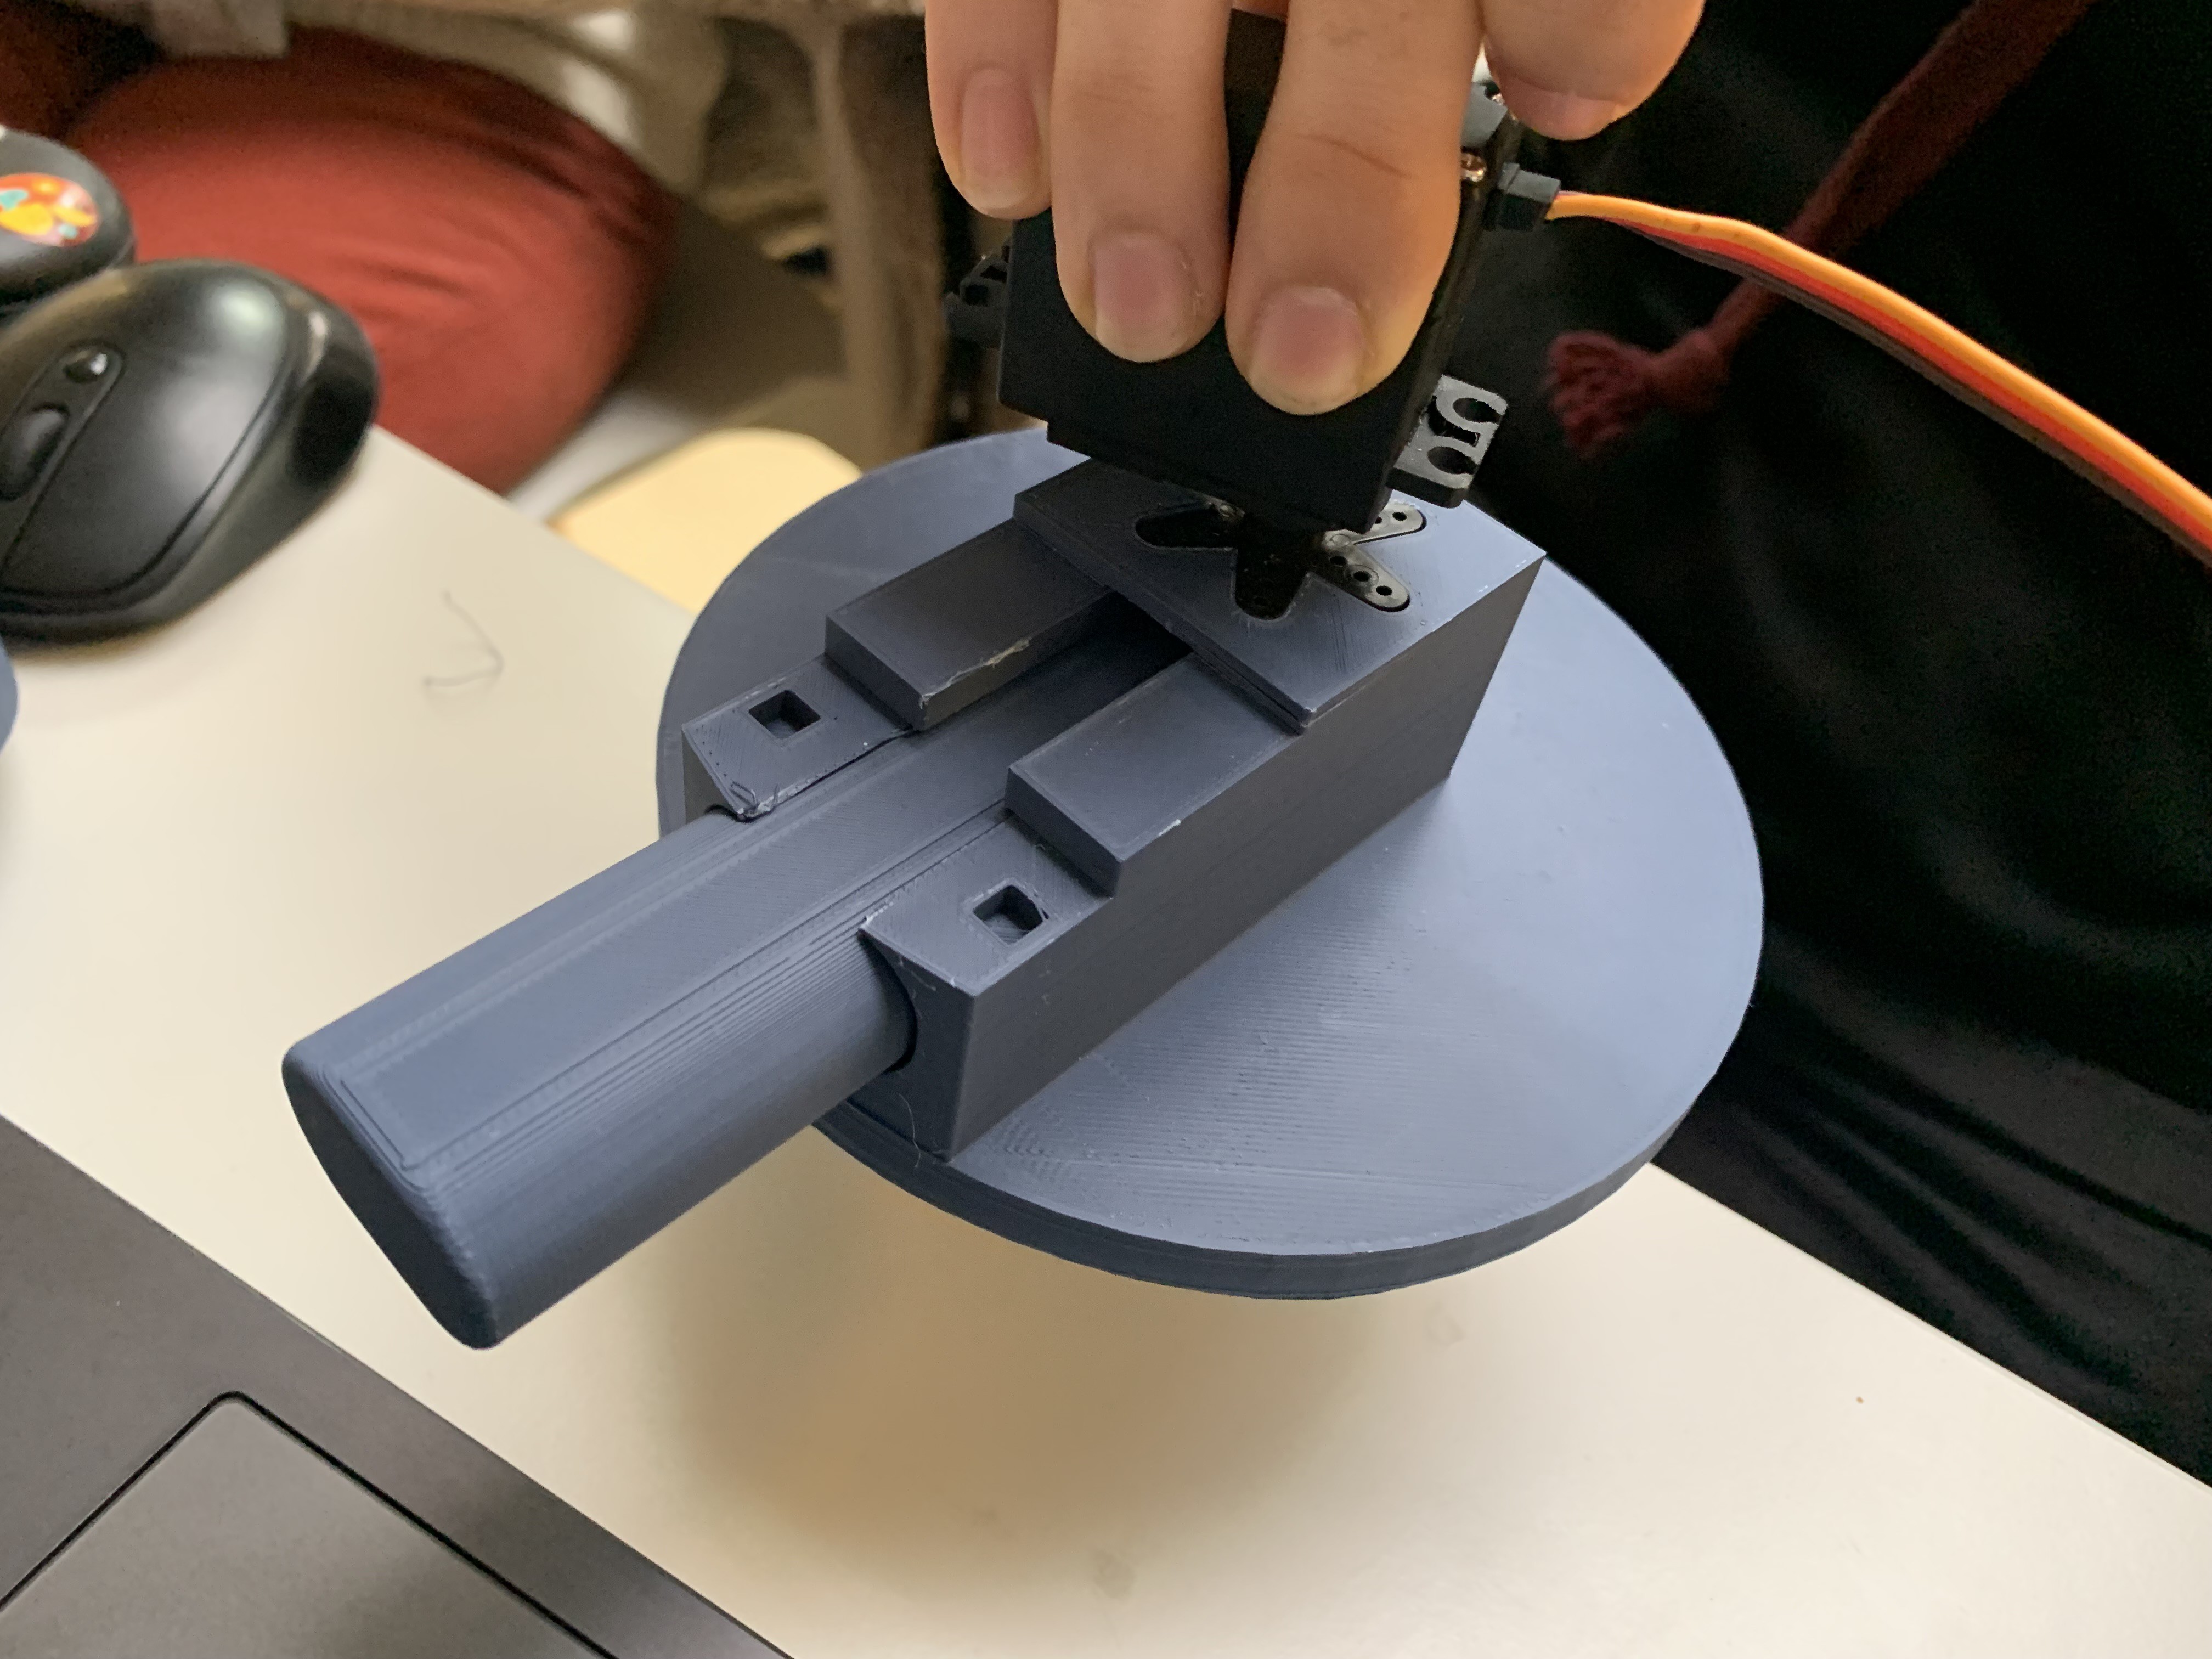
- [ ] 2 servos 180 (2 arms)
- [ ] ultrasound sensor
- [ ] breadboard
- [ ] arduino uno
- [ ] power bank/cell/thing battery ( battery for motor AND arduino )
- [ ] switch button
- [ ] acceleromater
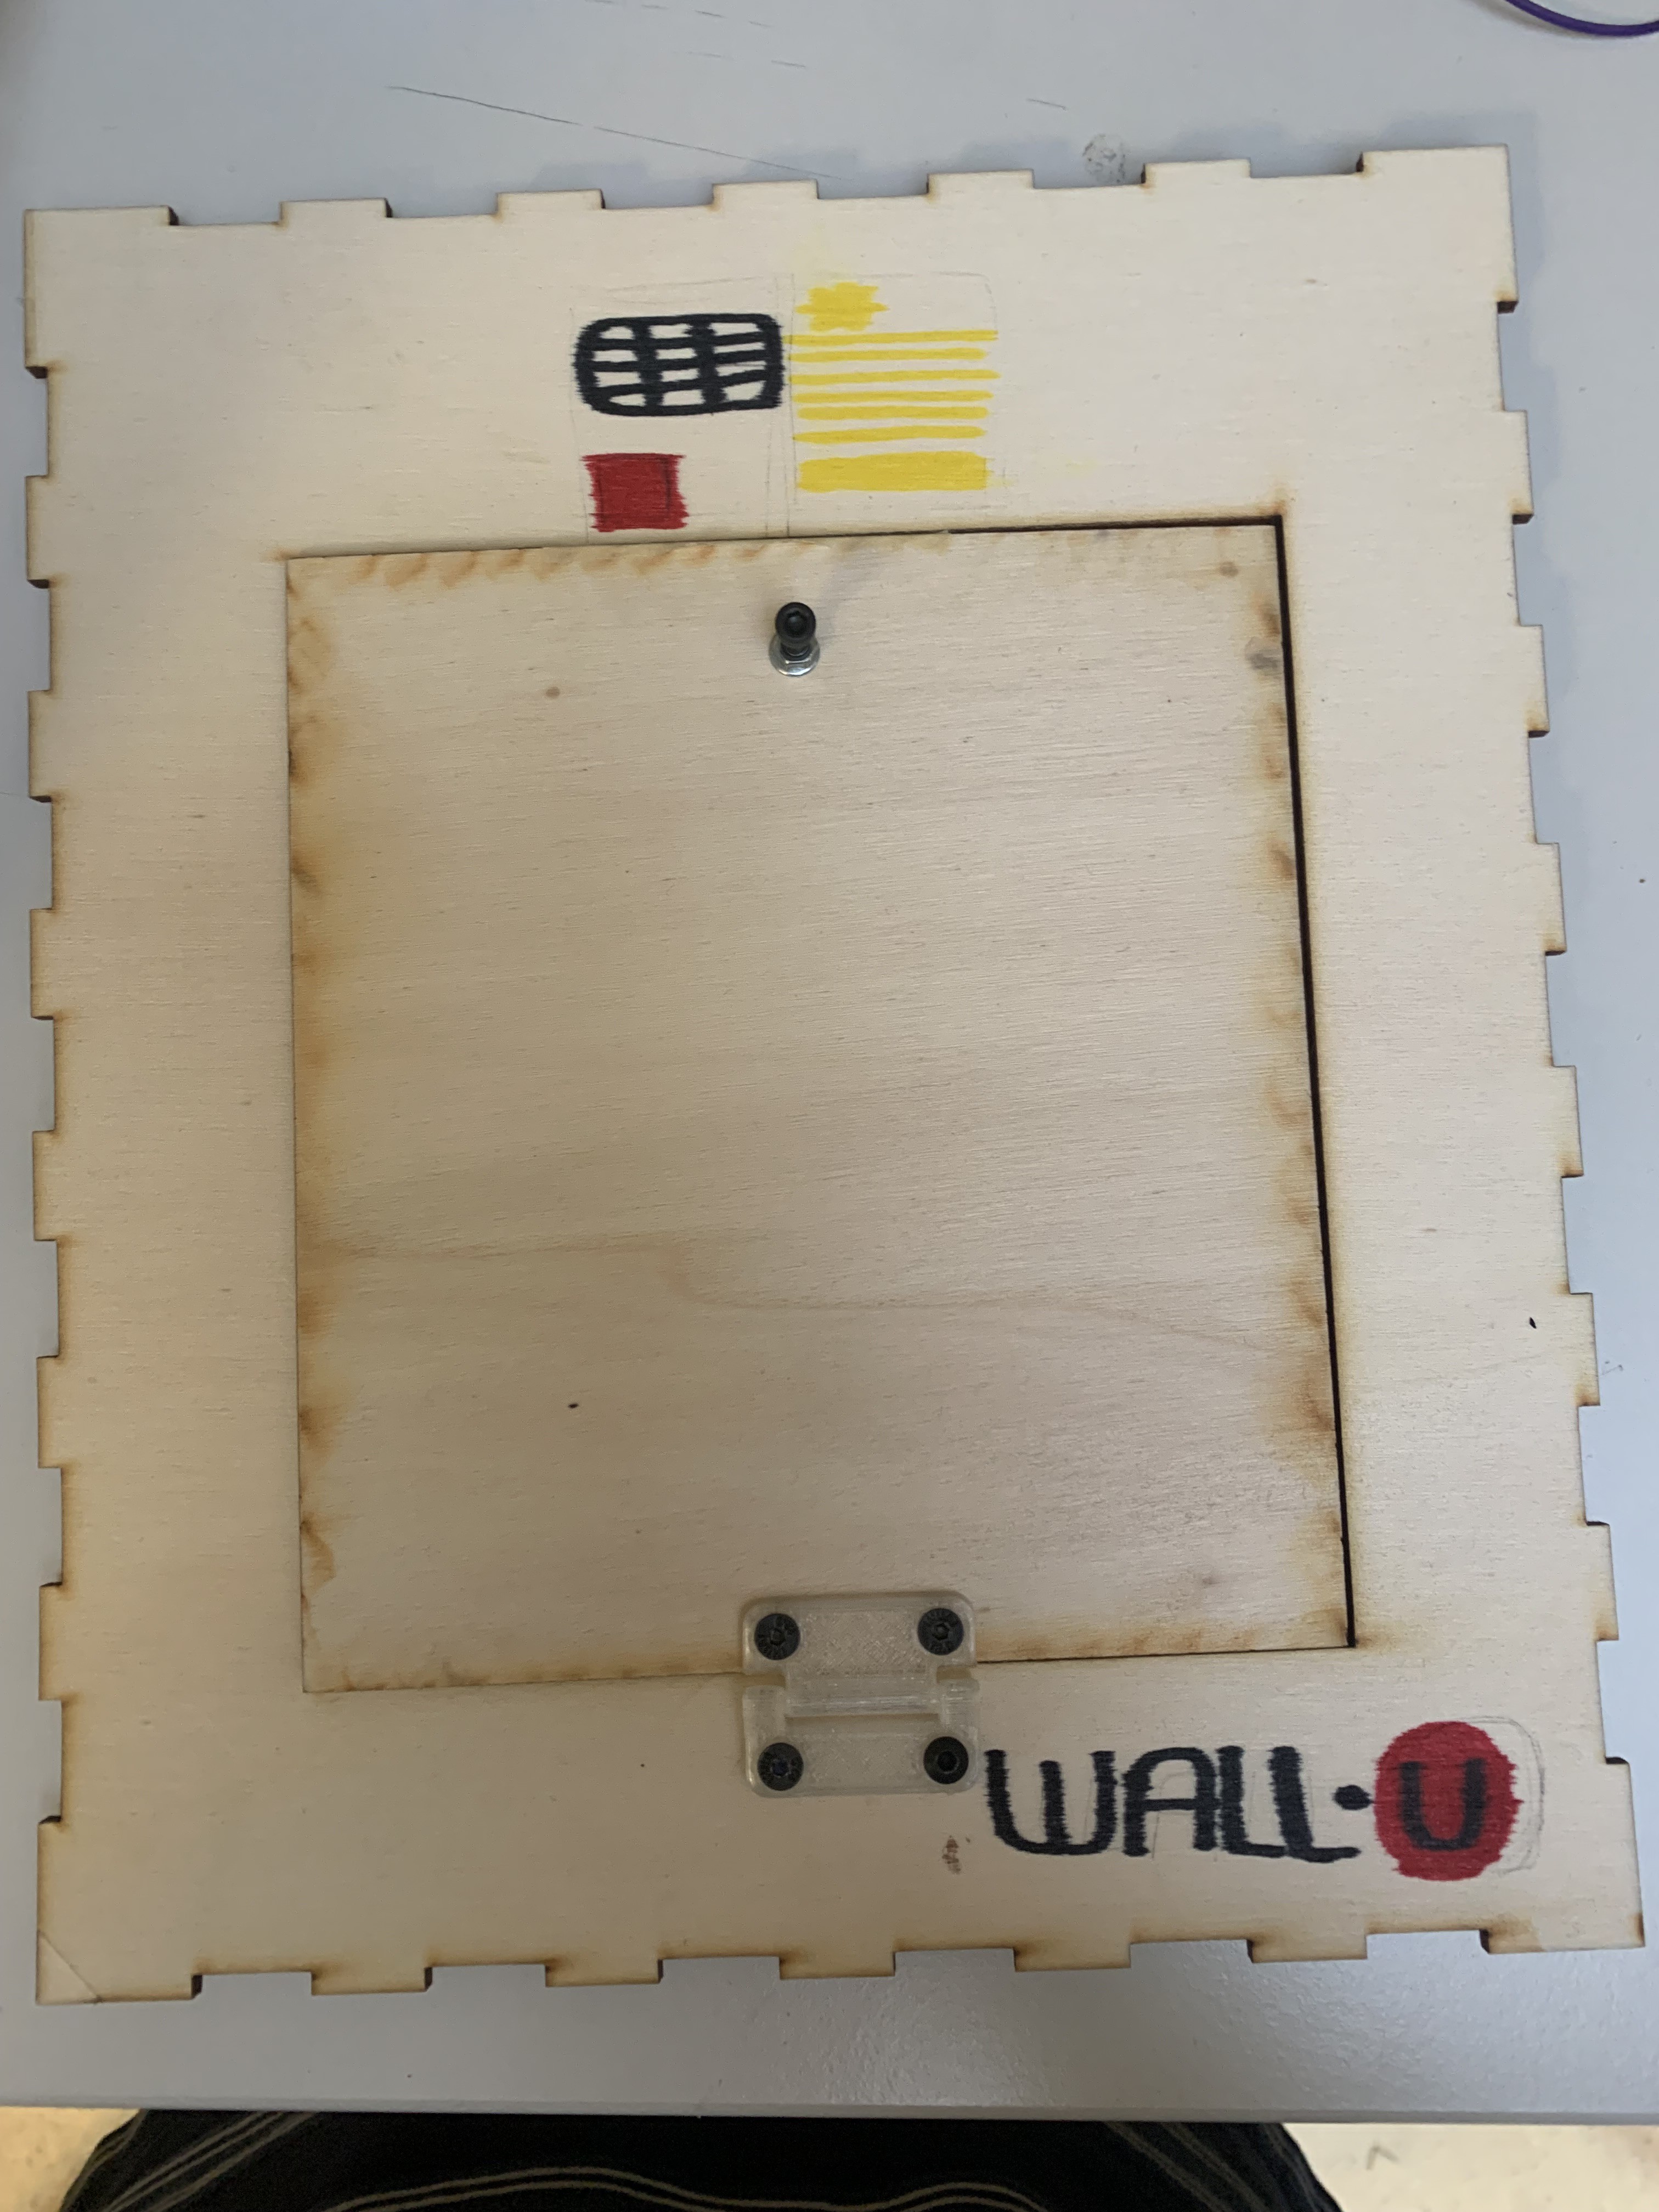
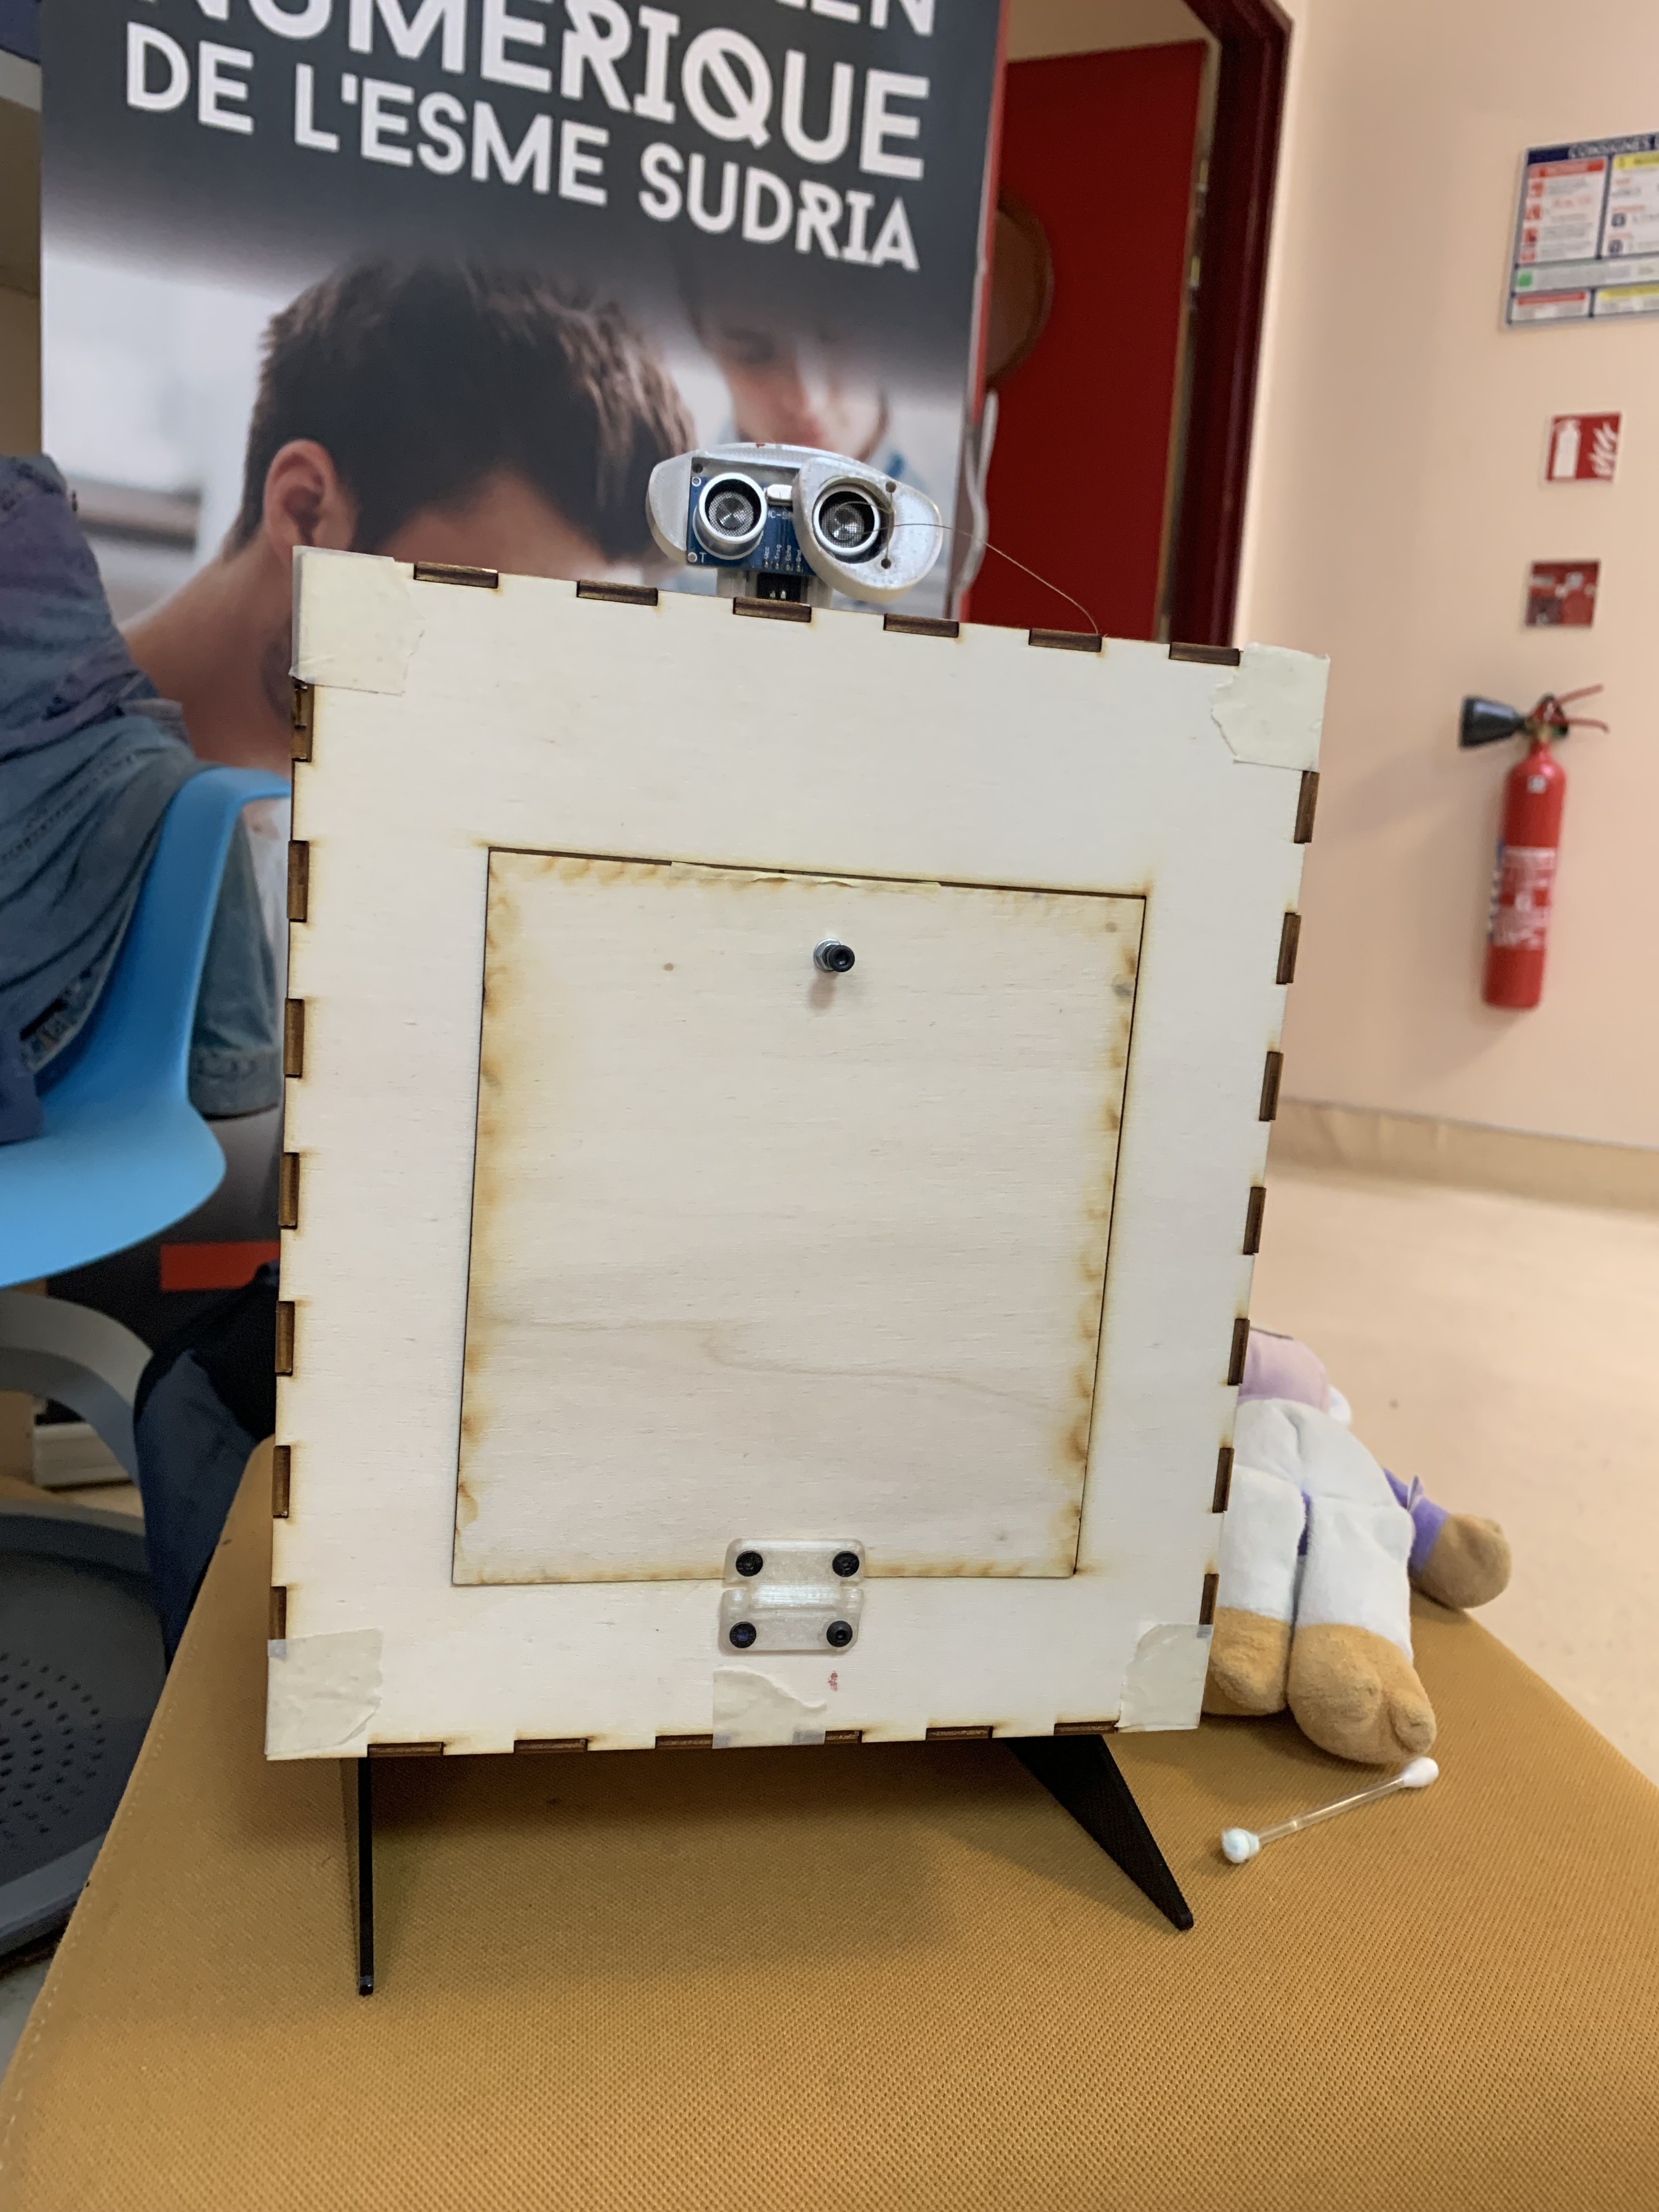
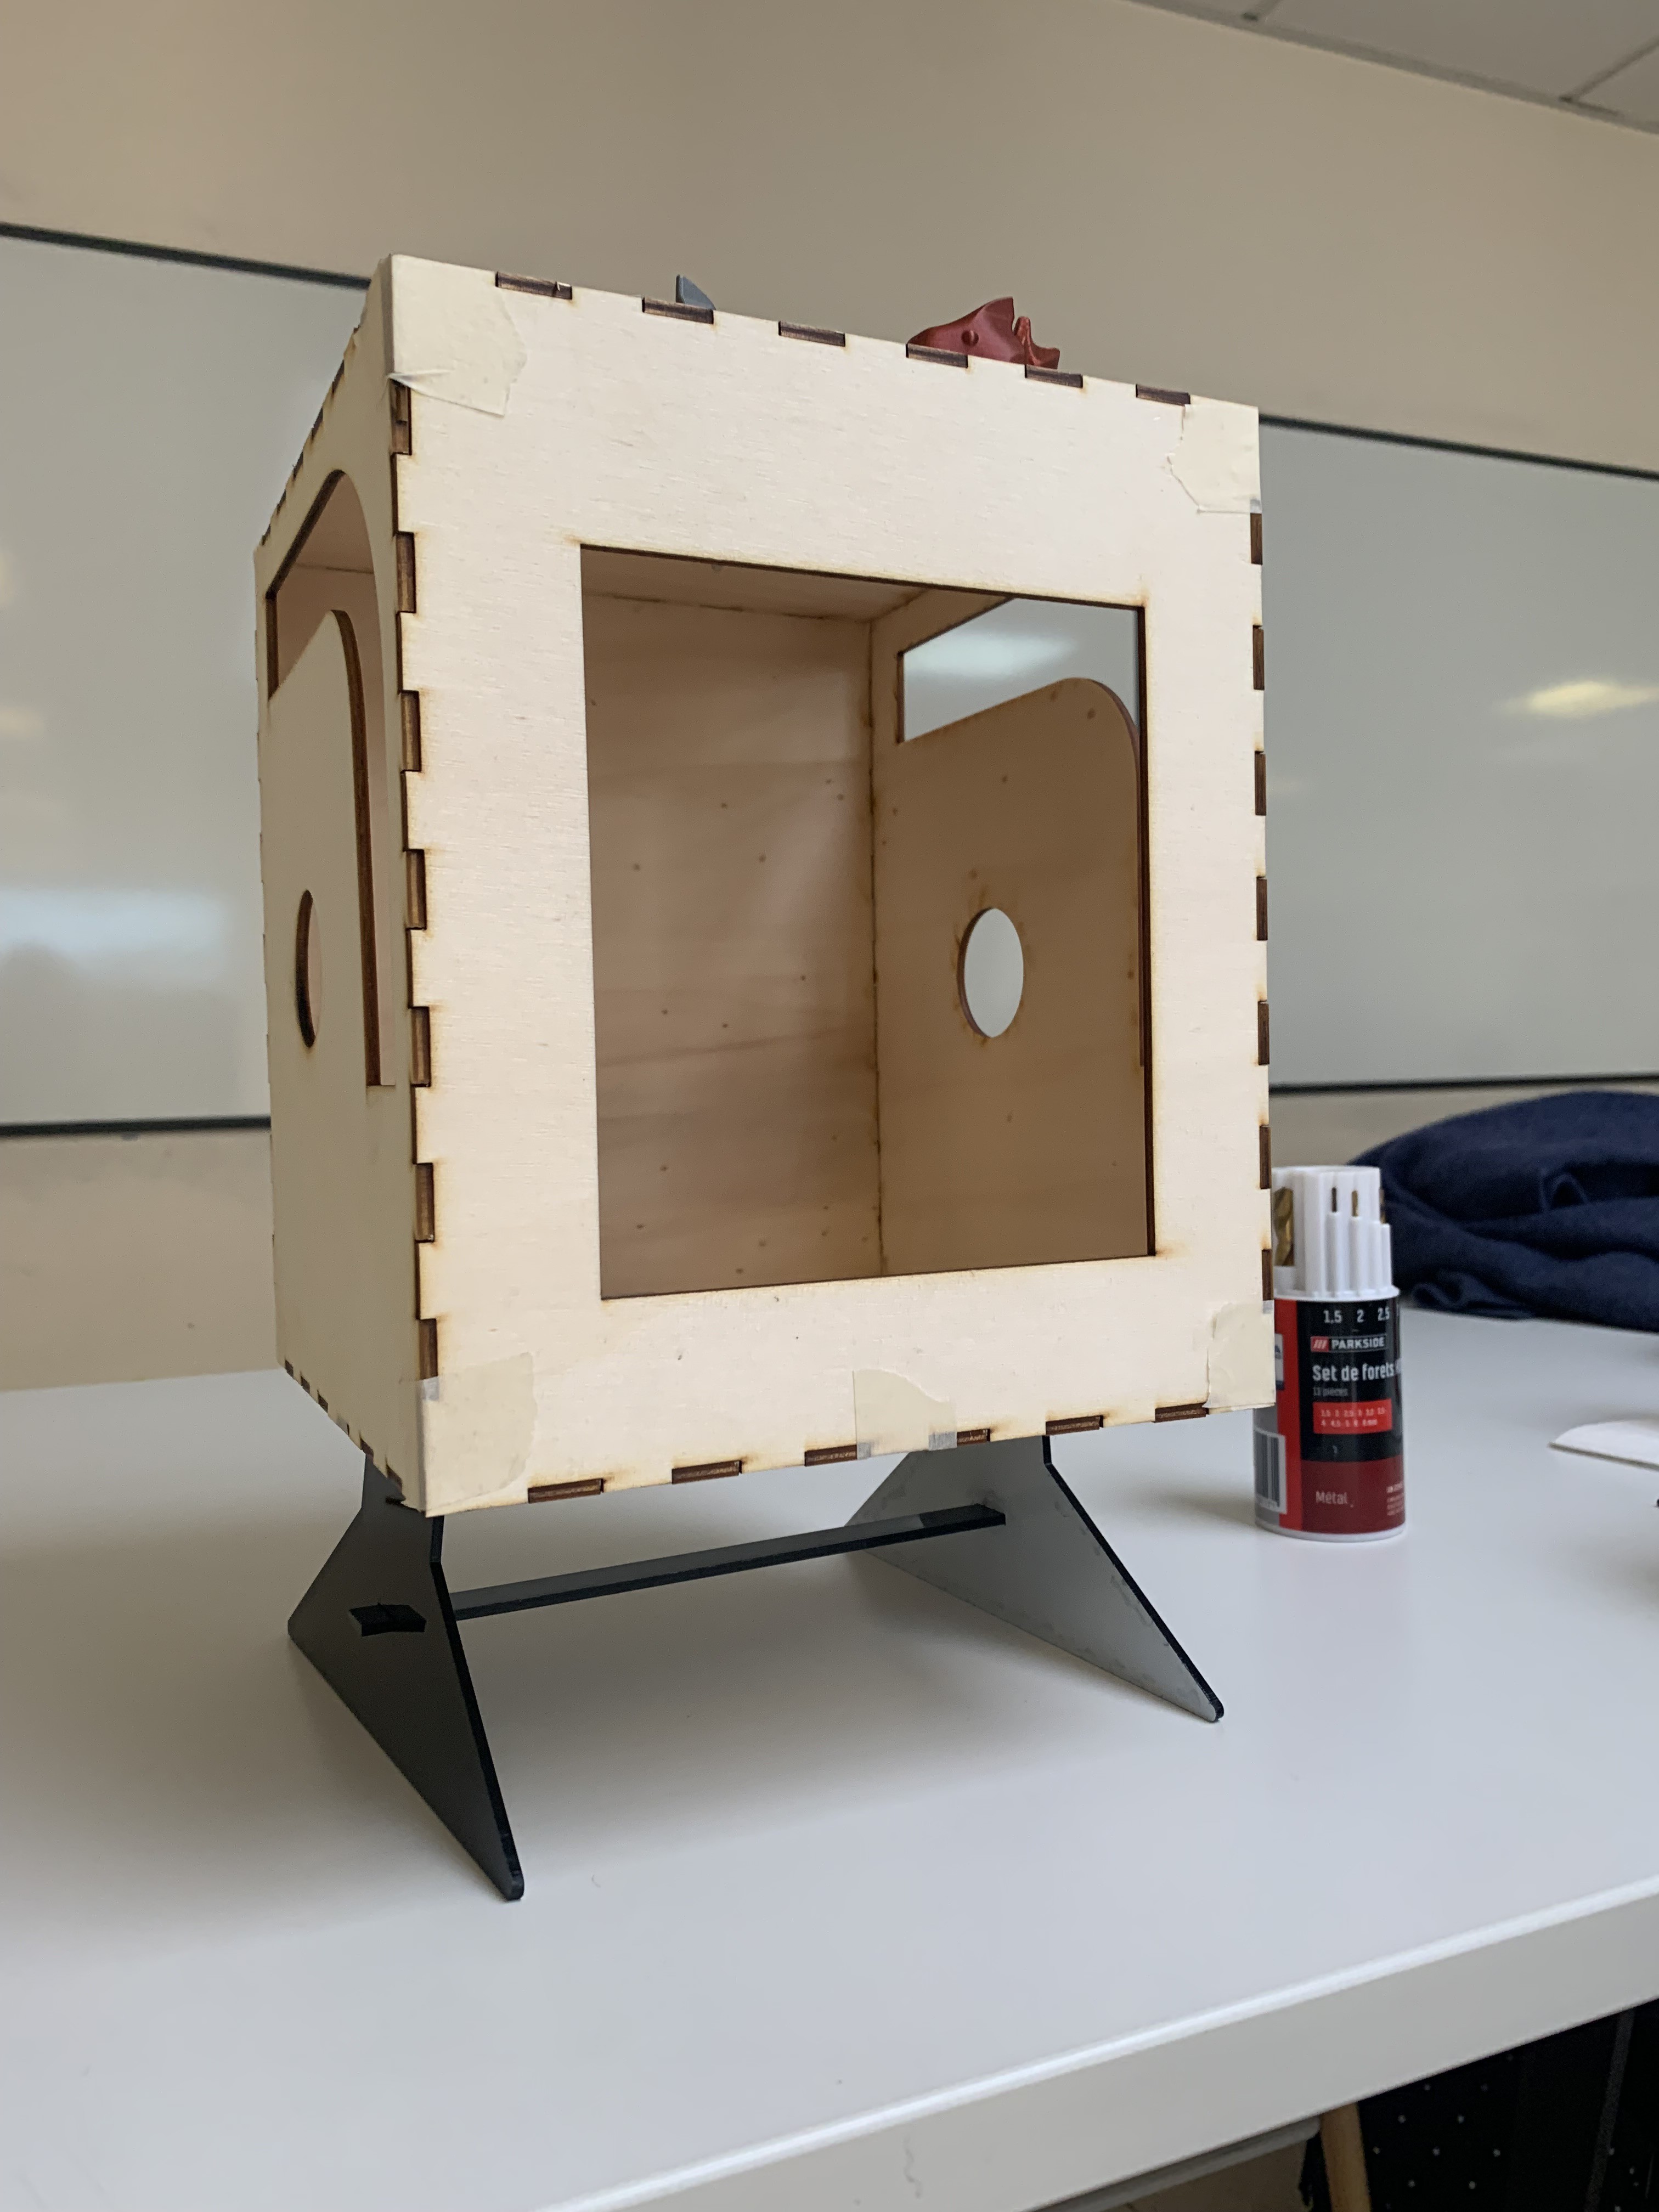
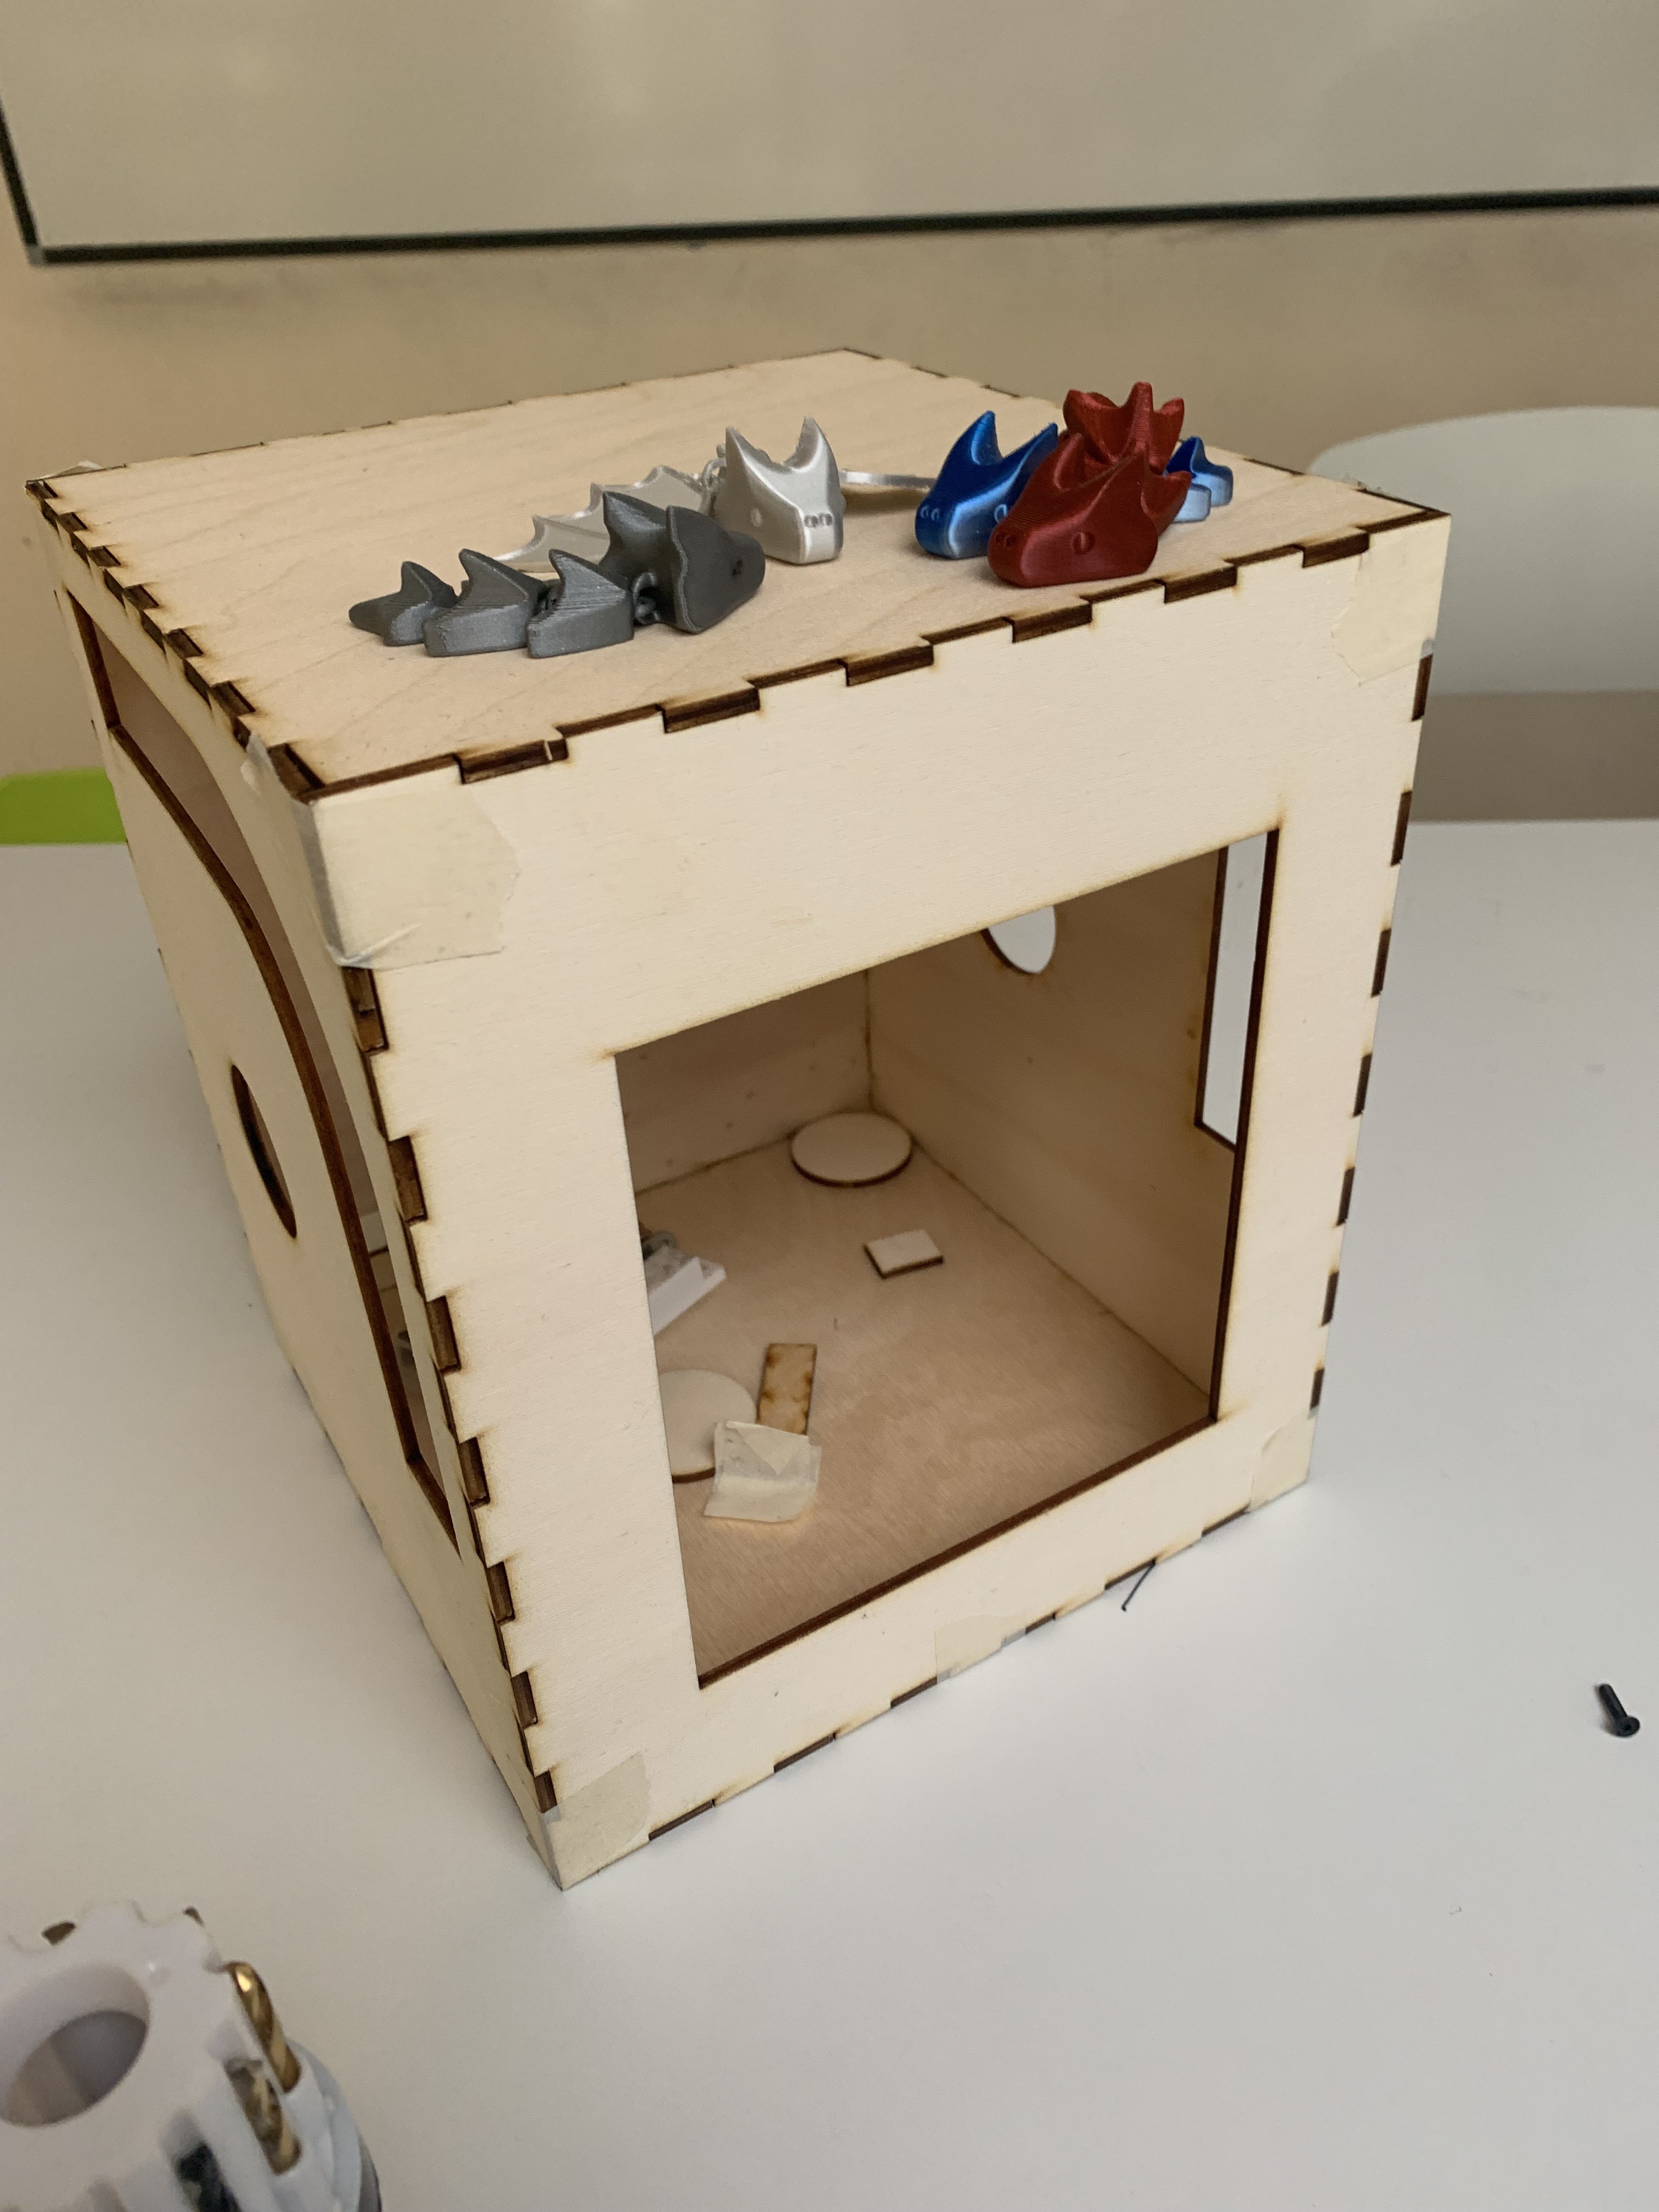
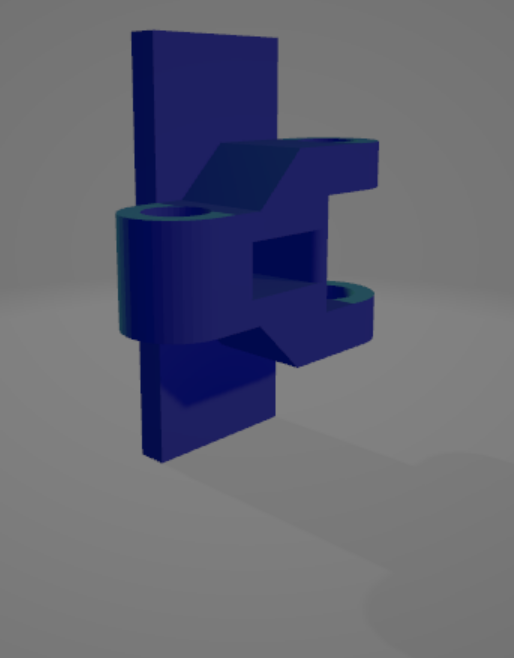
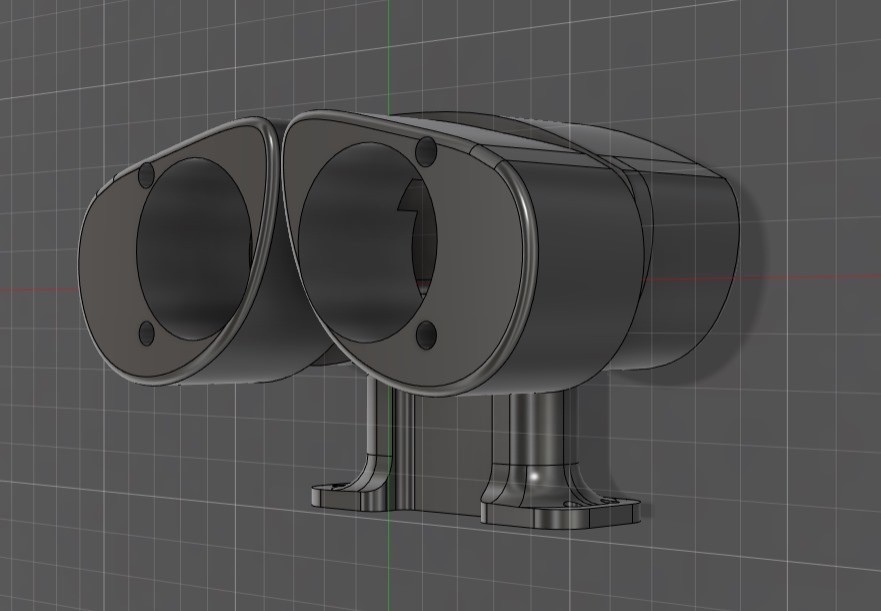
Wall-U V1 :
- wheels
- arms moving
- wood box
- detects walls and avoid them
- open its trap manually
- raise its arm when kicked or shakes
Wall-U V2 :
-eye moving
- cry when kicked
- make sounds
Wall-UV? :
- belly opening automatically
- head moving
- make it pretty
- telecommande
- makes noises
- painted


 ActualDragon
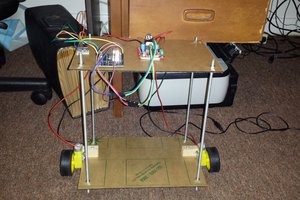
 Michael Vowles
 David
David
 Sarah Petkus