3D print the caterpillar tracks : we printed 40 pieces in total (20 for each side), 2 main wheels for the motors and 4 secondary wheels. We assembled the tracks using M4x25 screws and bolts.
3D print the arms and the mechanism that go with them. You will need one of each piece. ( more detail in the PDF concerning the arms in the files)
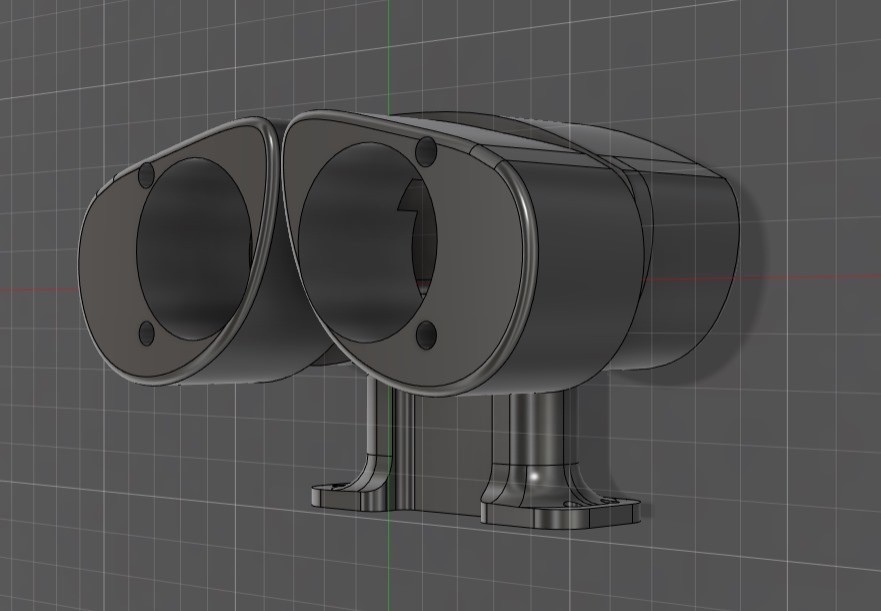
3D print the head and eyes. Place the ultrasonic sensor in the space and add the eyes.
You can find the models in STL in the file.
2
The box :
20X20X25 (inside)
Chassis : 3.5 cm high 20cm large
fold plastic and screw on the bottom
Laser cut the body and assemble it. It should click into place thanks to the finger joints. Our wood wasn't perfectly flat so we had to use a few pieces of tape to keep everything together. We also put the SVG (laser cuttable) file to your disposal.
3
The code
Upload the code into an Arduino board (we used a Uno). Plug in the components. To plus everything, you can follow the image of the wiring we posted.
4
Avengers ! Assemble !
Assemble everything! the chassis with the secondary wheels are placed under the body (make sure the tracks are parallel to each other).
The main wheels are attached to the motors through the small circular holes on the sides. The arms' mechanisms go on either side, inside of the body.
The head goes (of course) on top. The front of the robot is the face with the big rectangular hole which is a trapdoor that allows you to access the components inside.
Note : print/cut everything in the original size, every dimension was calculated to fit with each other and the electronics.
 mariz92
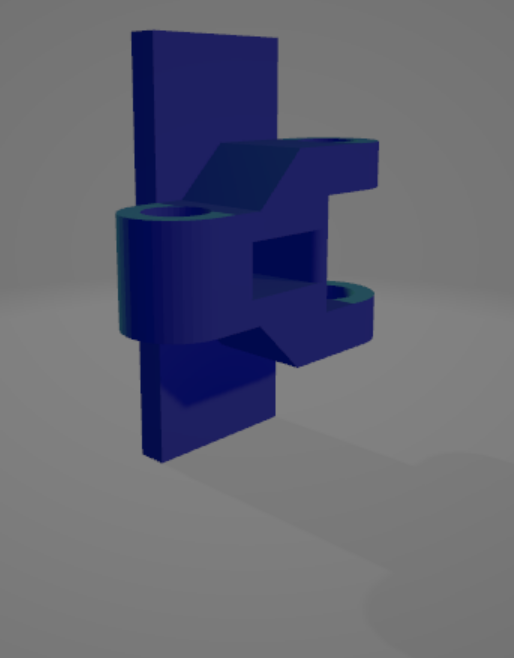

Discussions
Become a Hackaday.io Member
Create an account to leave a comment. Already have an account? Log In.