0%
0%
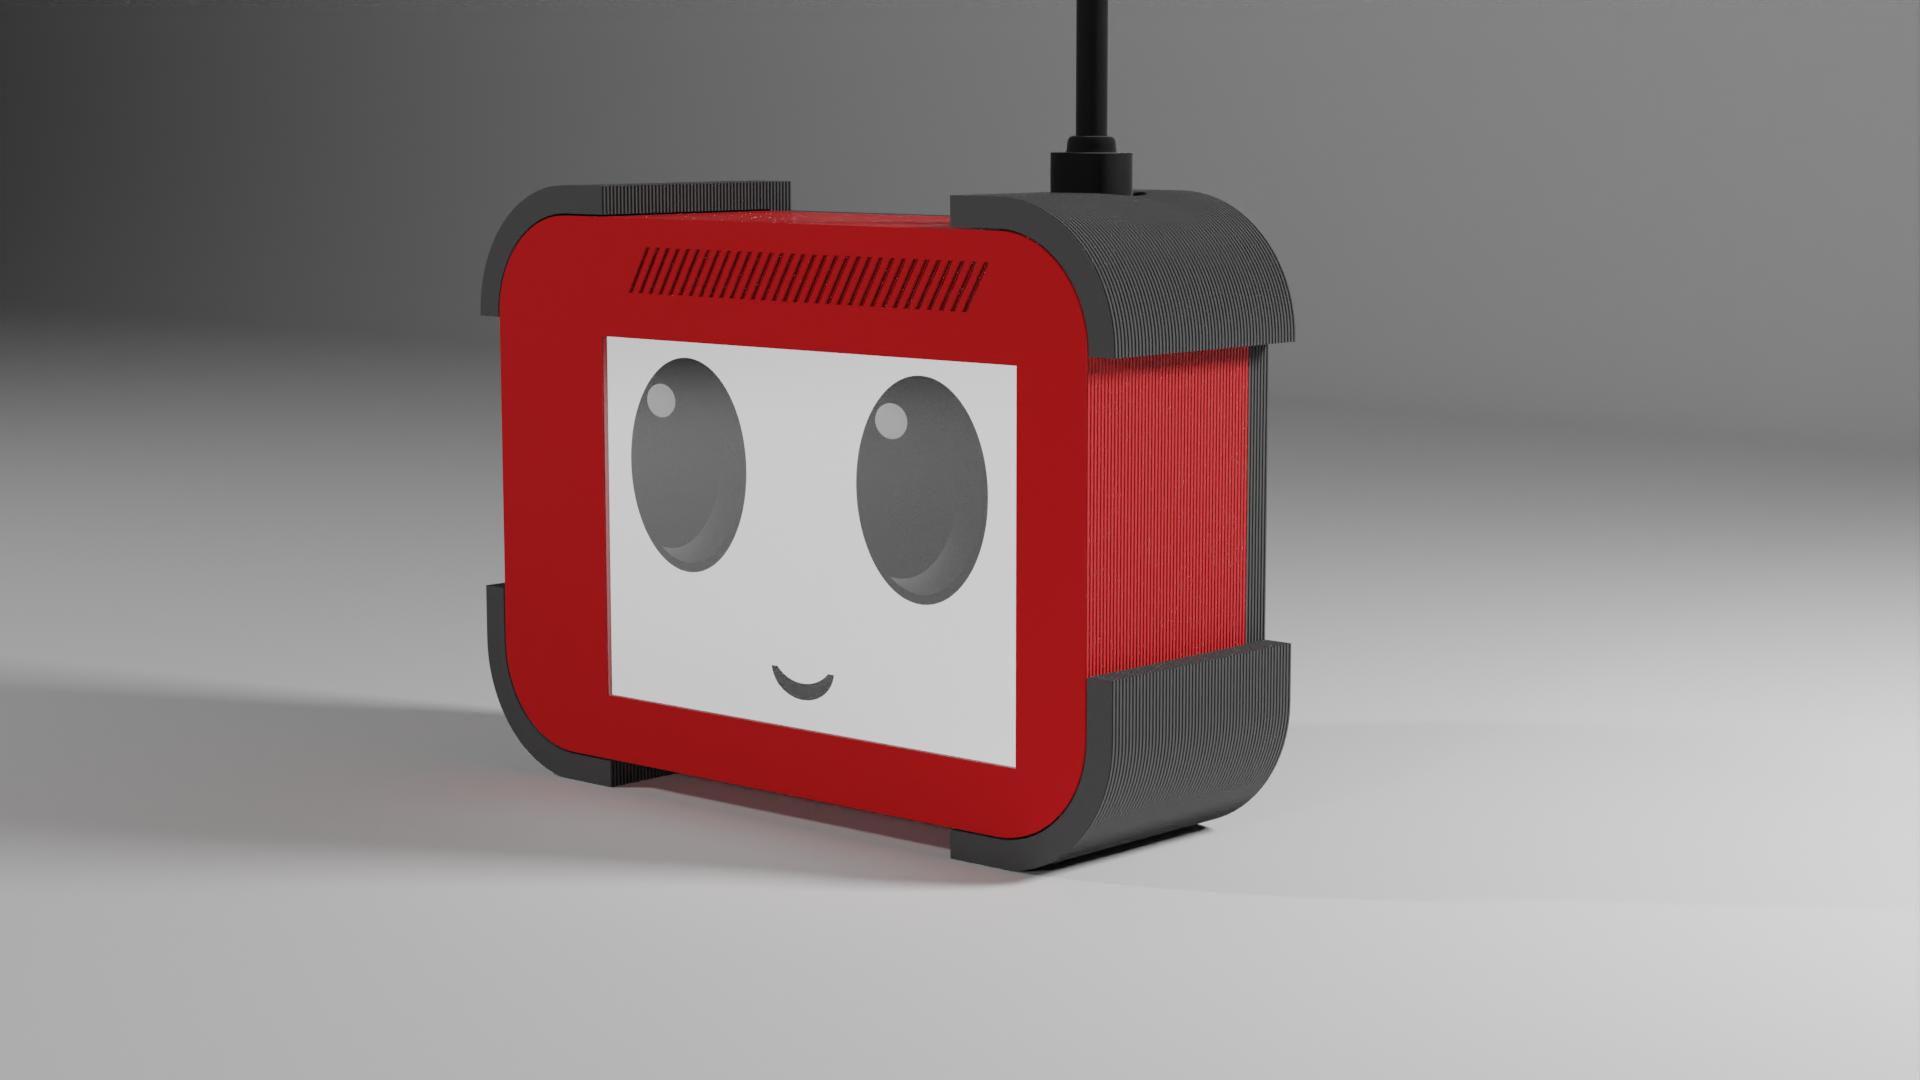
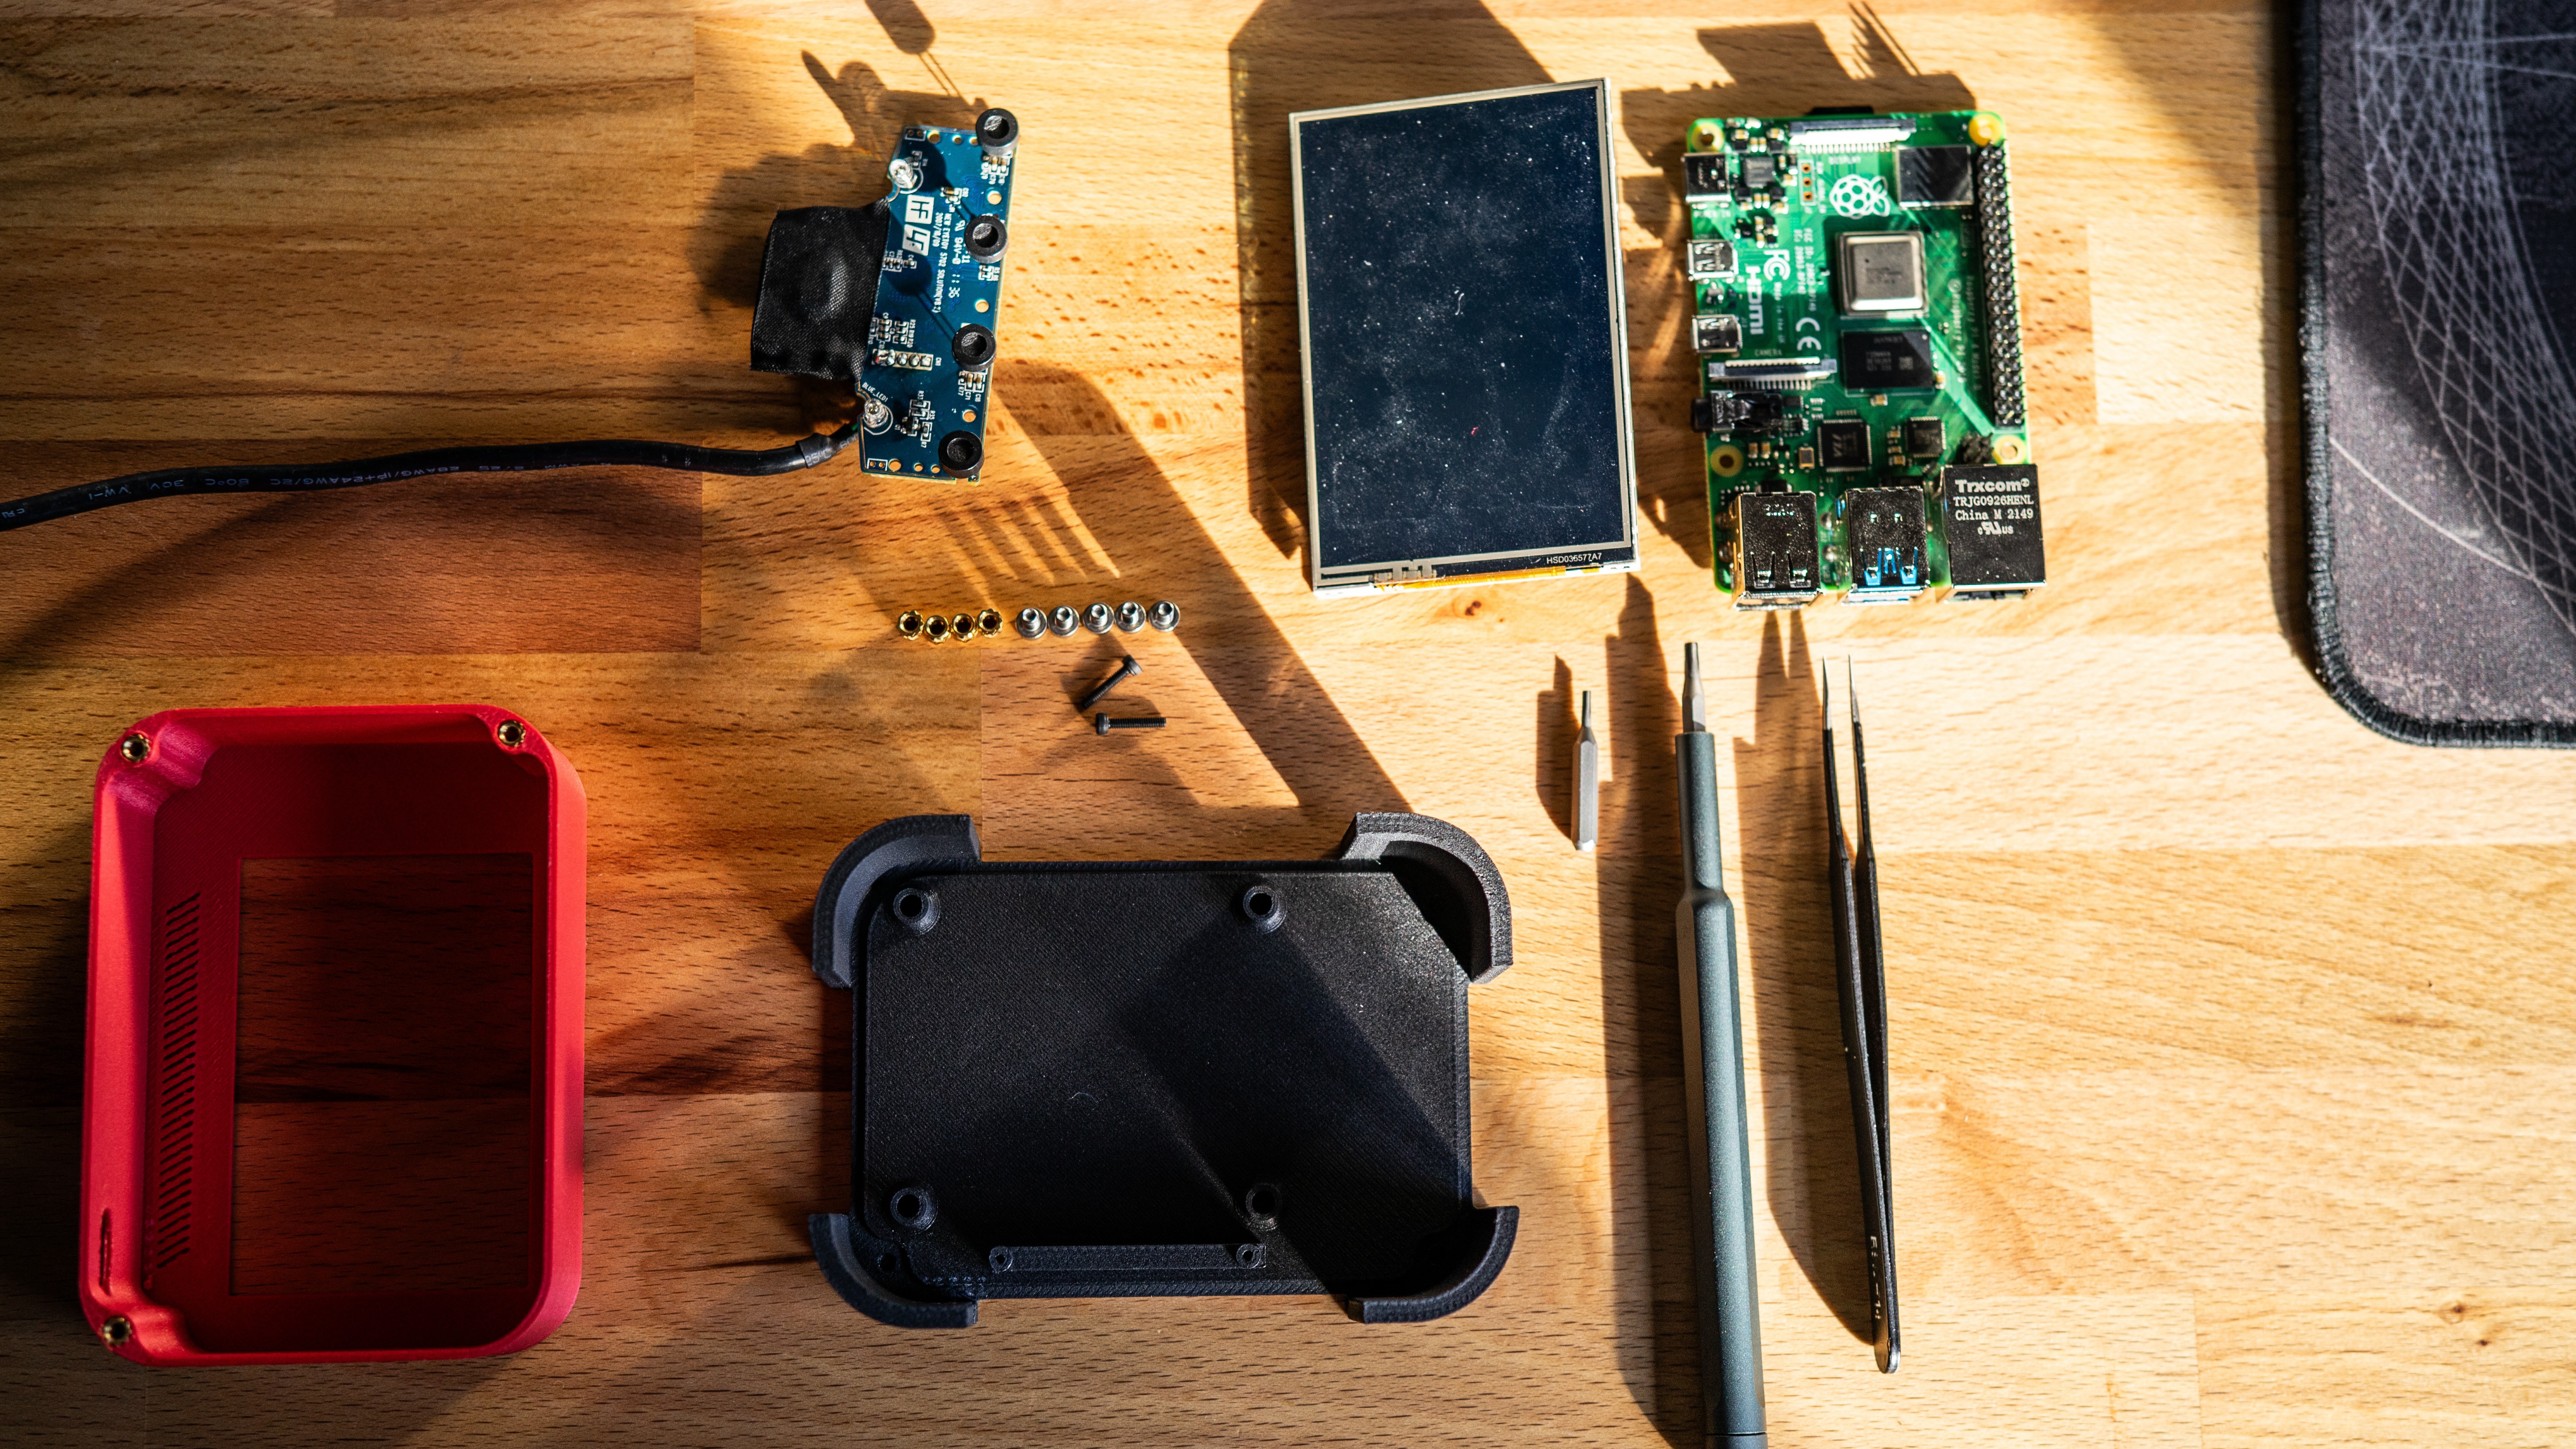
Automatic Speech Recognition AI Assistant
Turning a Raspberry Pi 4B into a satellite for self-hosted language model, all with a sprinkle of ASR and NordVPN Meshnet
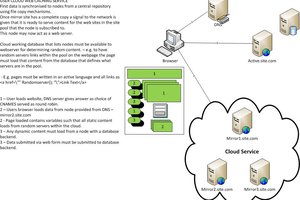
 Adam - Meshnet
Become a Hackaday.io member
Already have an account? Log in.
Just one more thing
To make the experience fit your profile, pick a username and tell us what interests you.
Pick an awesome username
hackaday.io/
Your profile's URL: hackaday.io/username. Max 25 alphanumeric characters.
Pick a few interests
Projects that share your interests
People that share your interests


 Leonard
 Alexander Hagerman
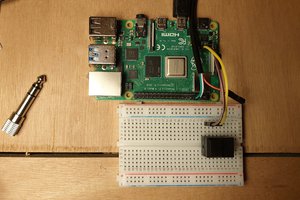
 Danny
Danny
it work with https://mycroft.ai/ ?