 mkdxdx
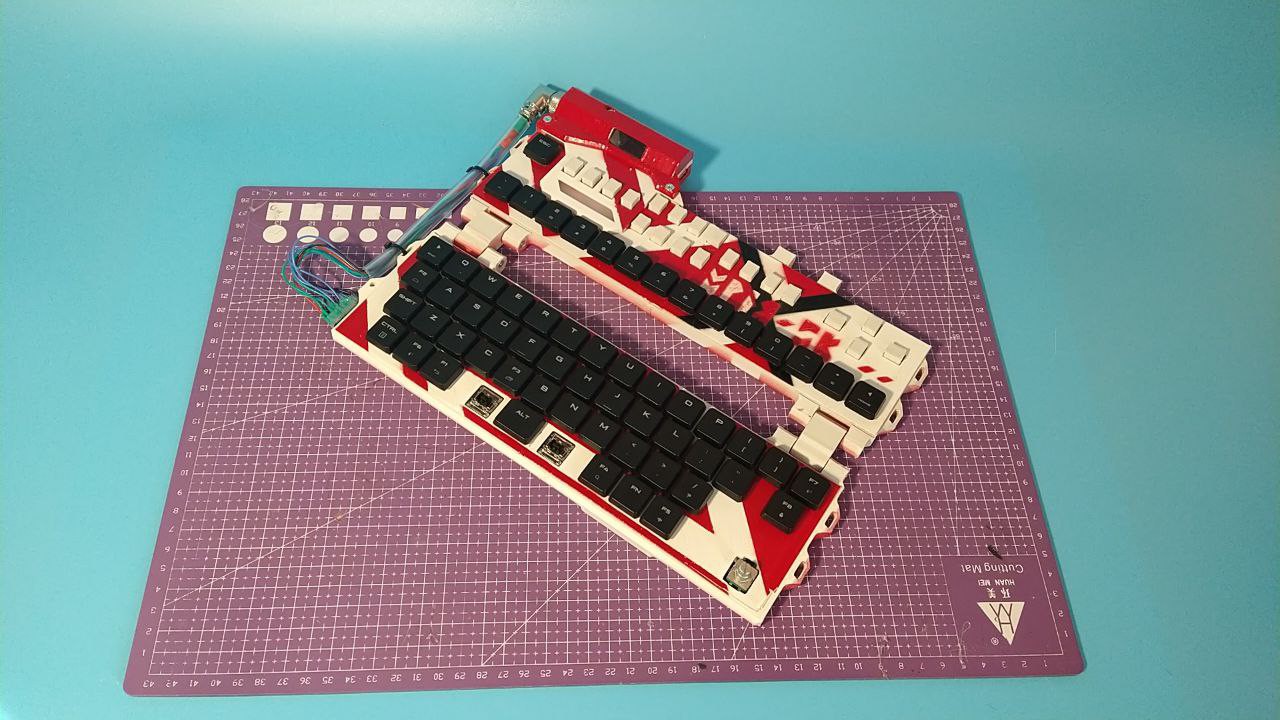
Let's try to build a foldable keyboard that:
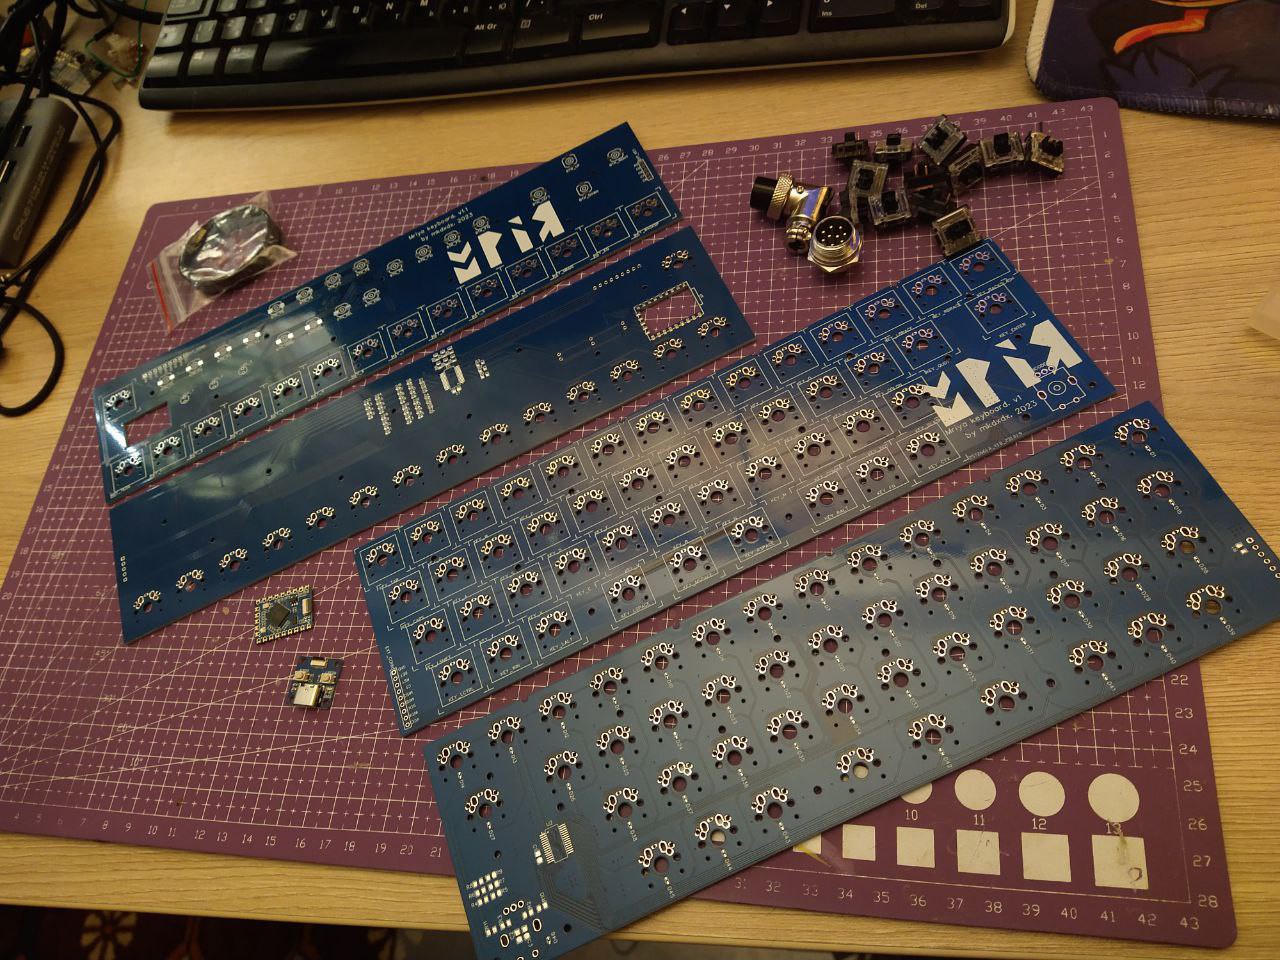
- Is RP2040 based.
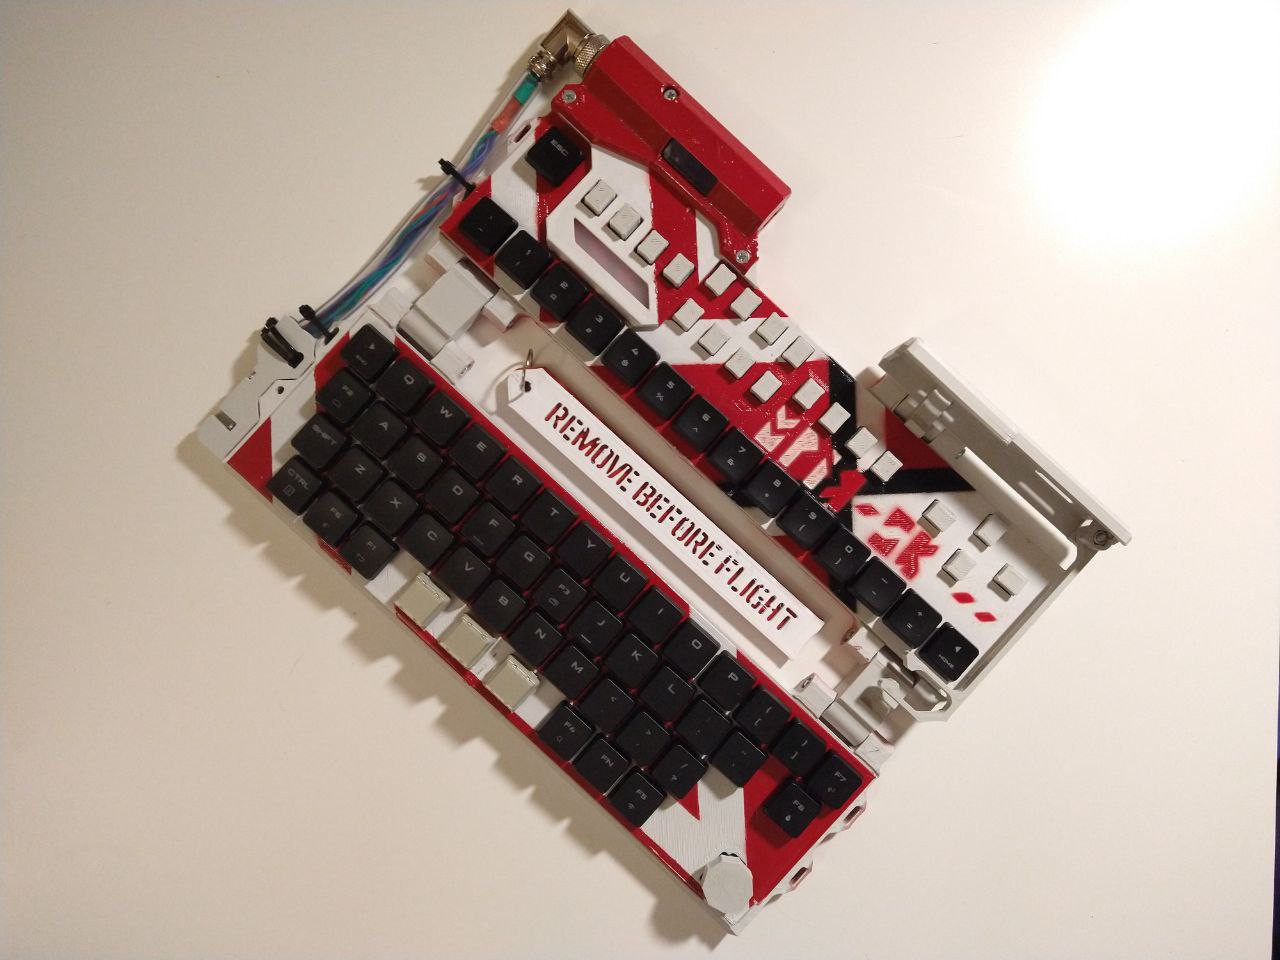
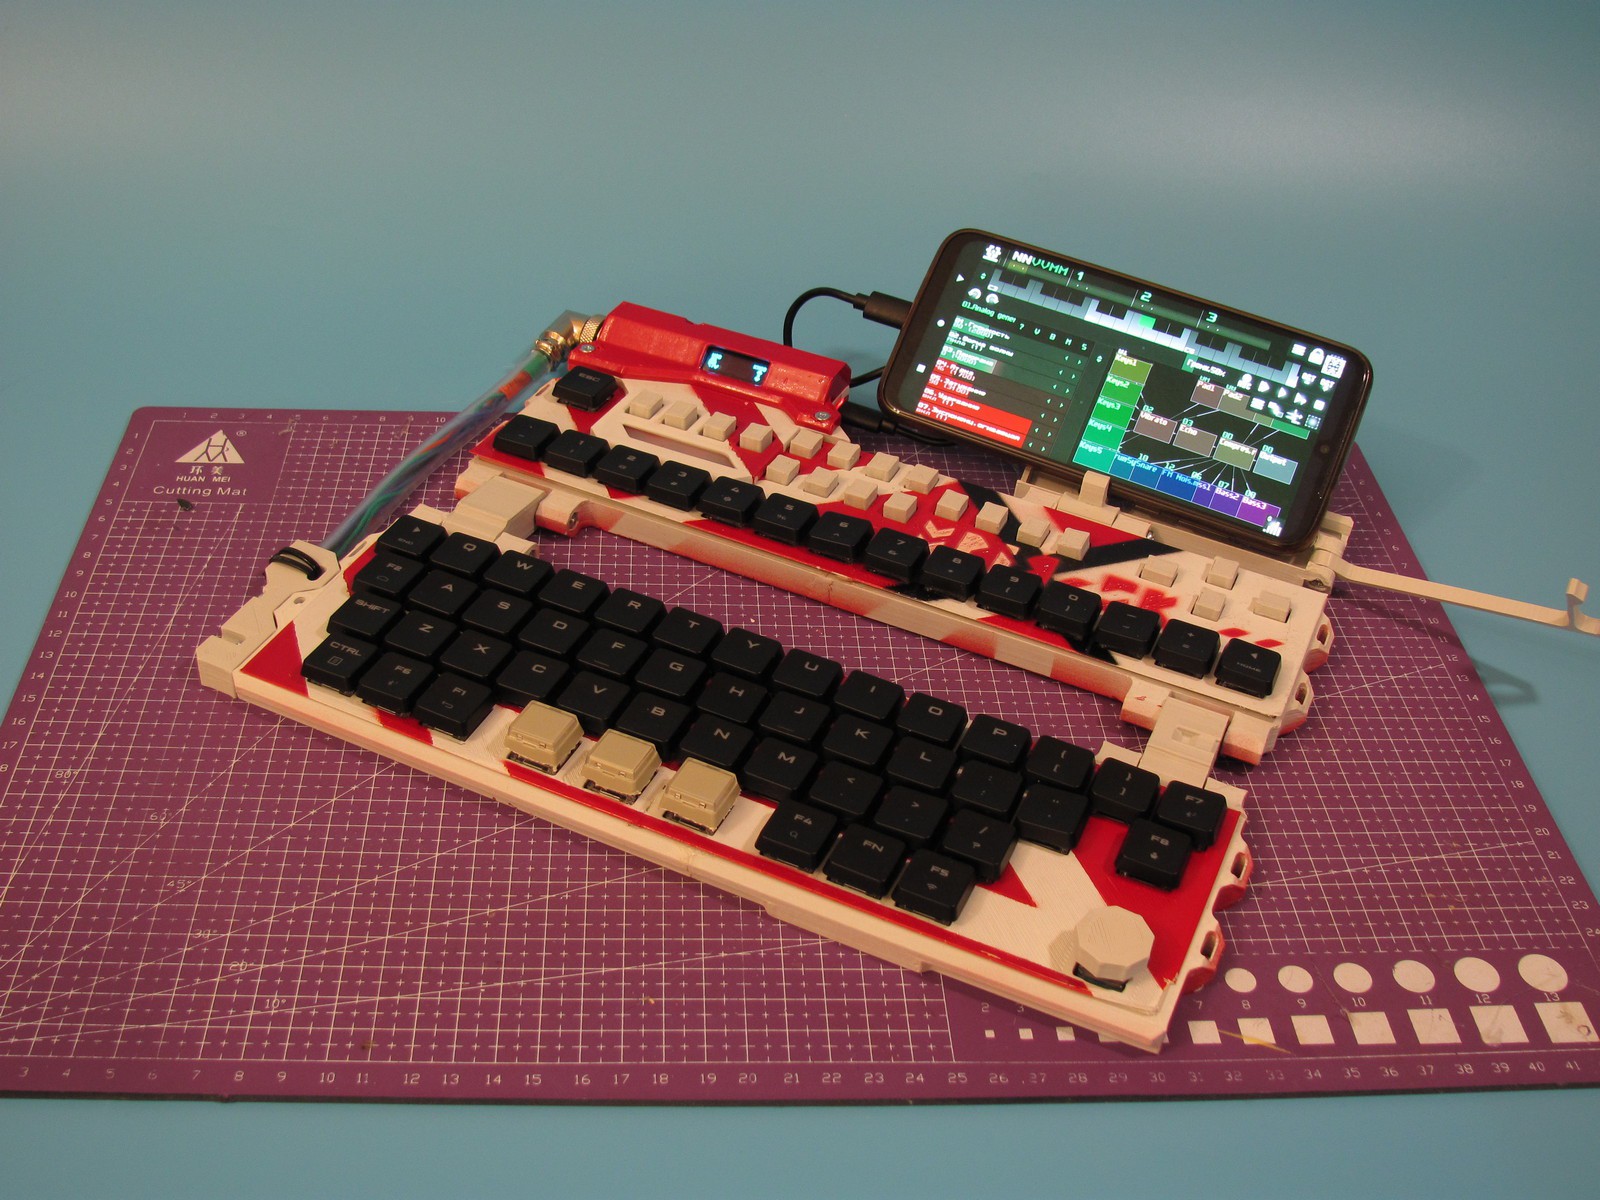
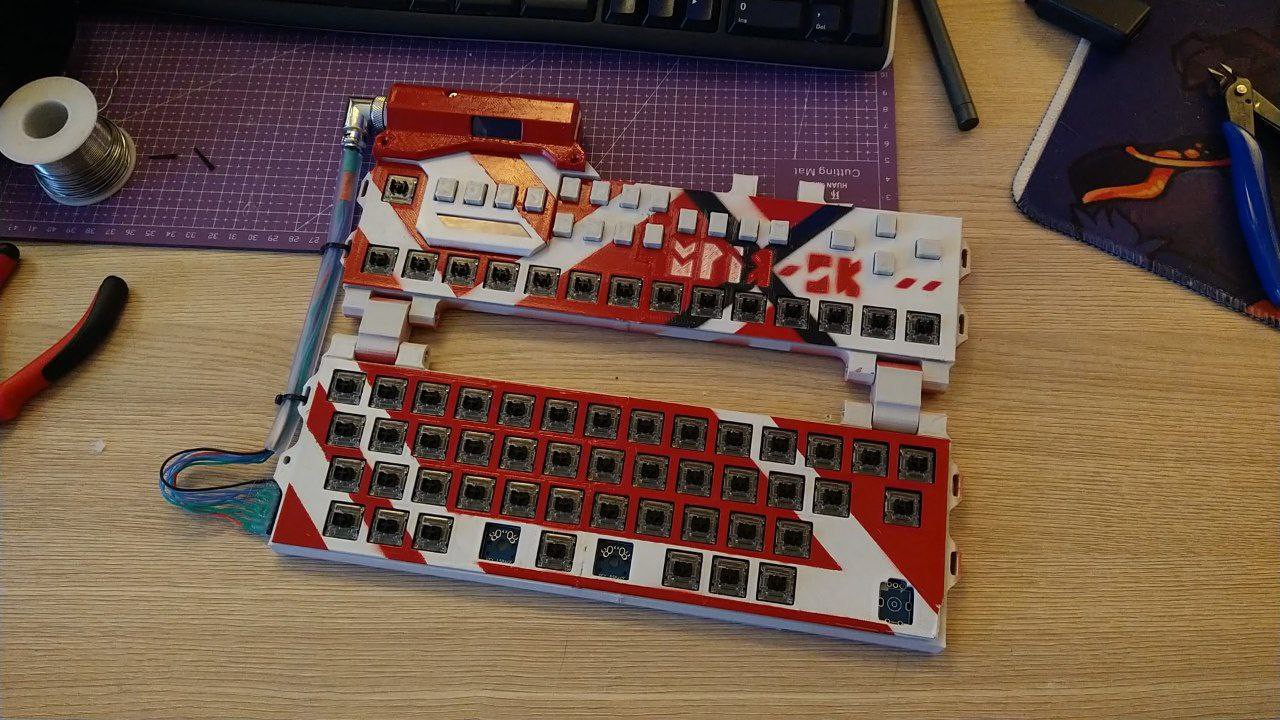
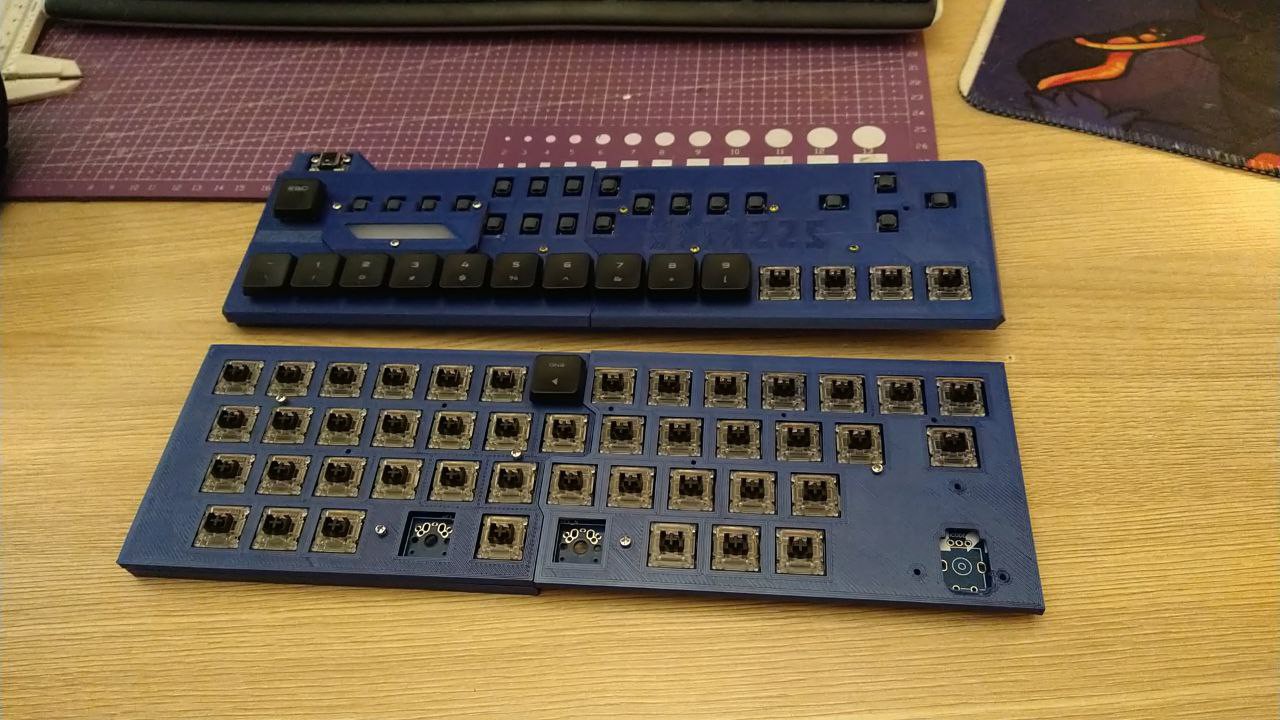
- Leans toward 60%-ish layout.
- Is two-part (to be hinged, enslidden, swiveled-on - whatever).
- Does not feature RGB in any way except a dinky smart LED on the Waveshare RP2040 board.
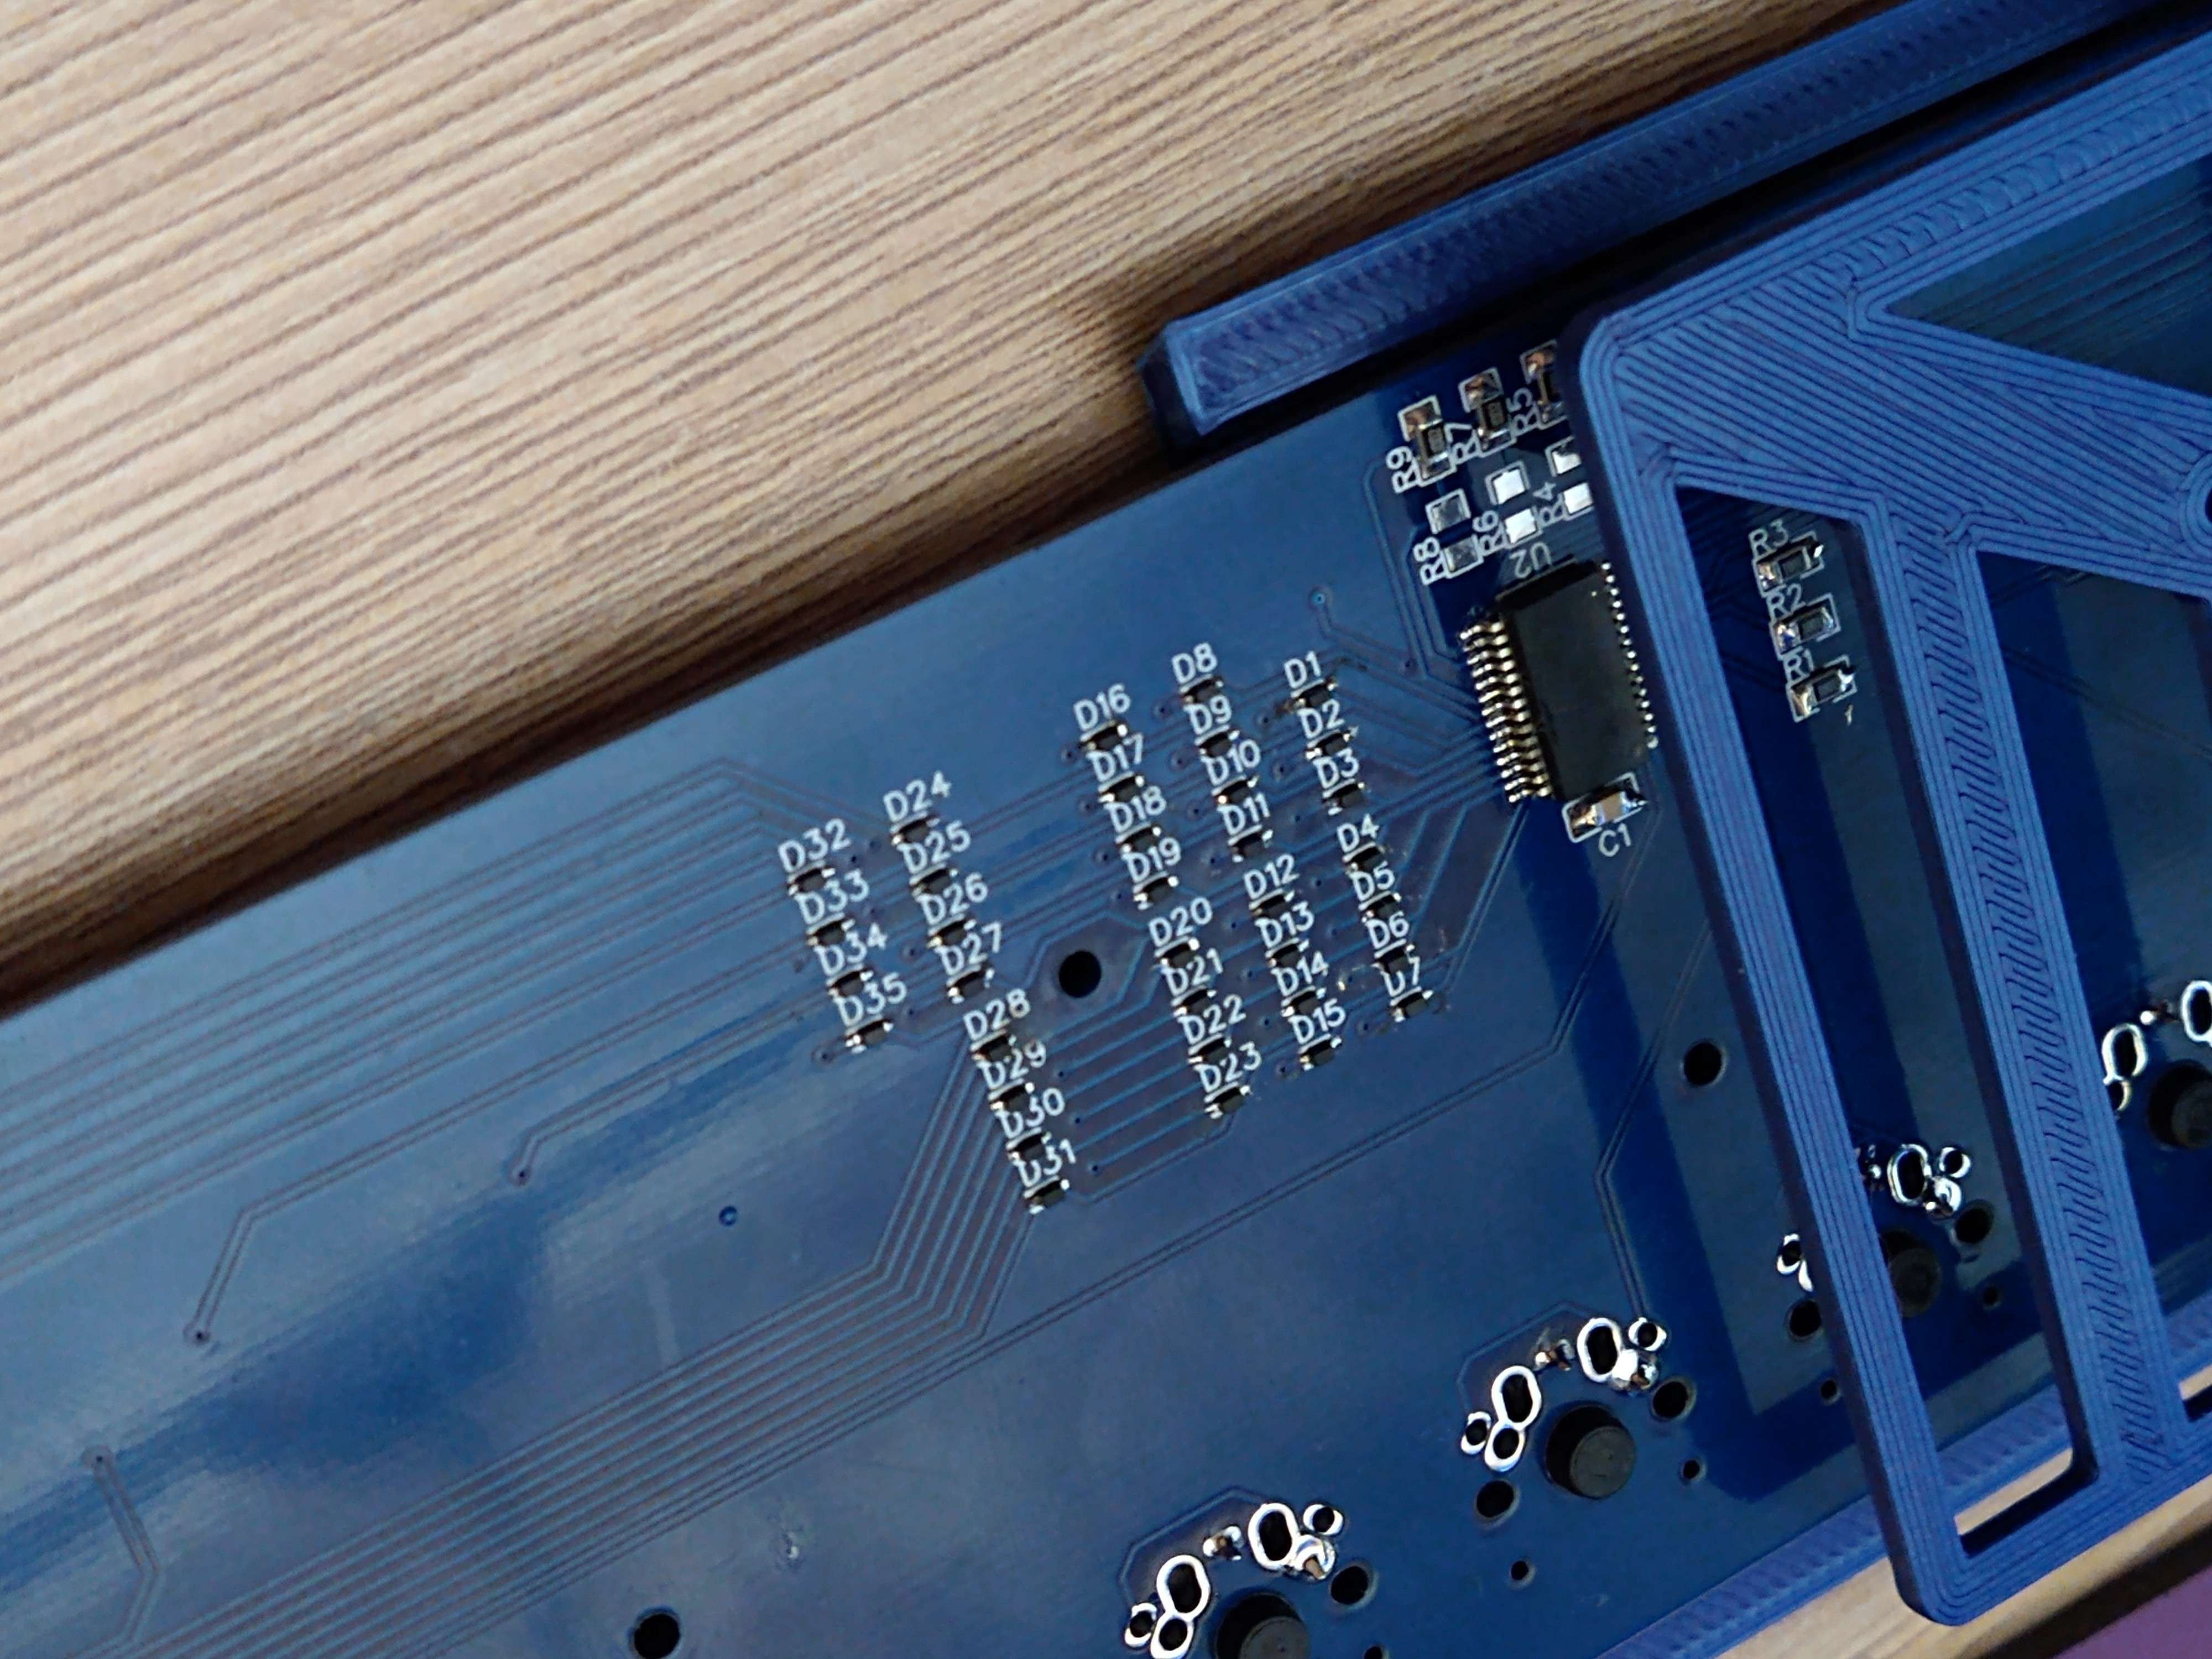
- But does feature three dumb single color, non-PWM driven LEDs to display basic stuff.
- Has a multifunction encoder (the placement of which might be a grave mistake).
- Has Fn-layer for extra functionality.
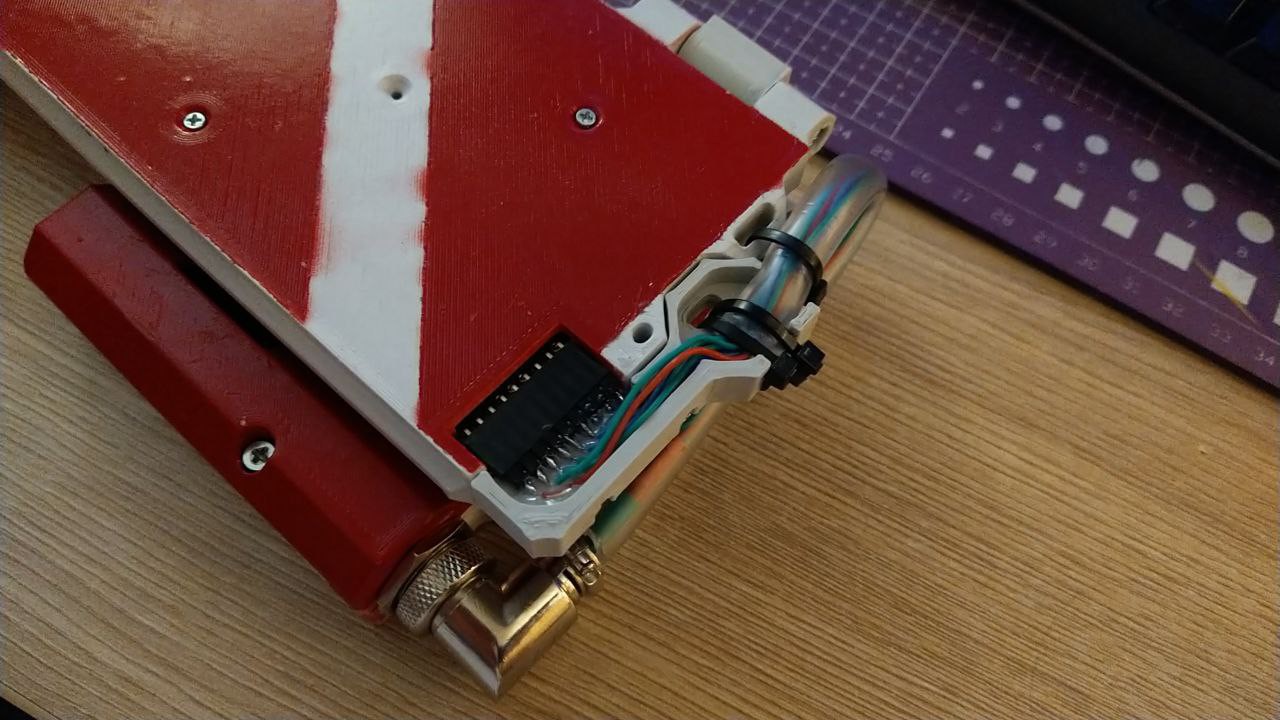
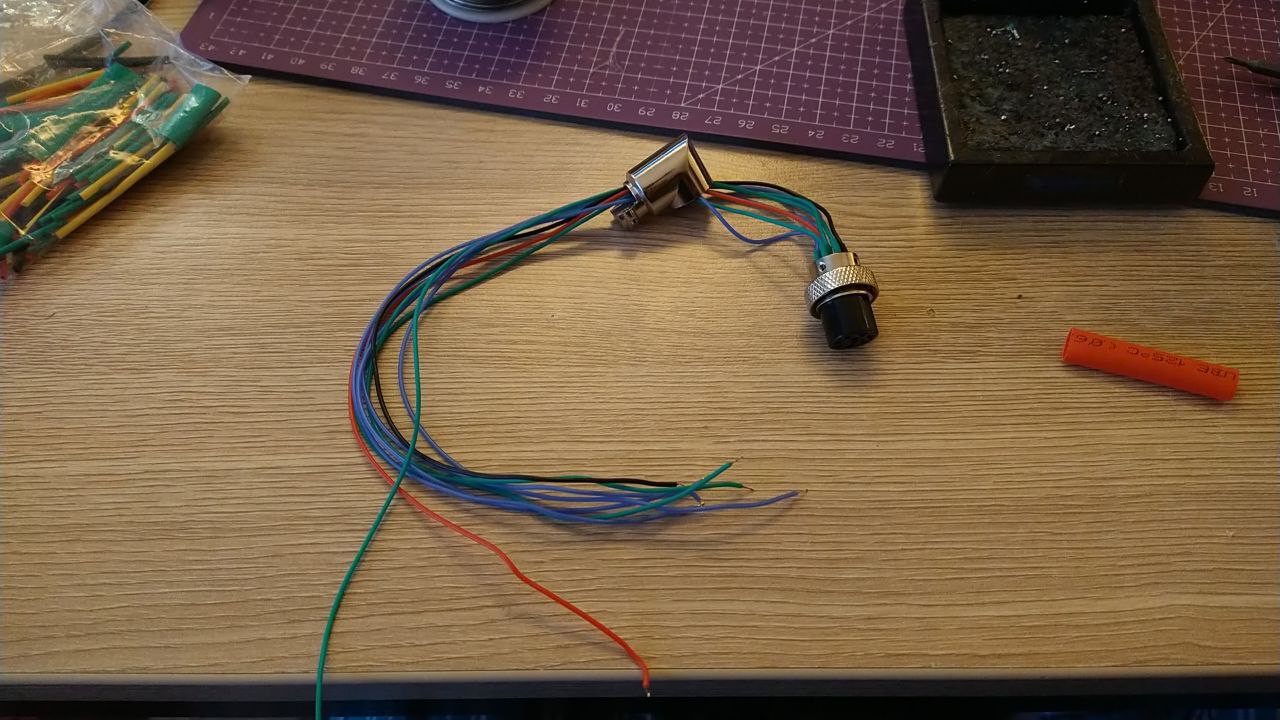
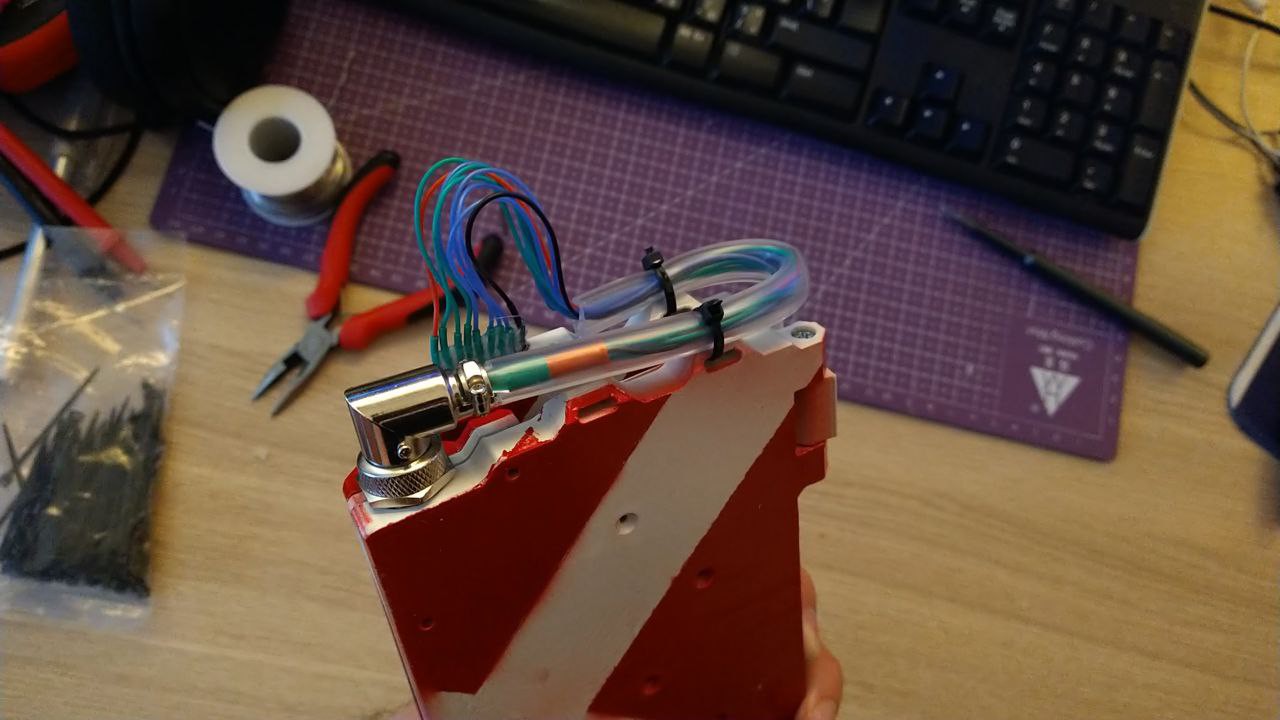
- Will have a 9 pin "aviation connector" somewhere.
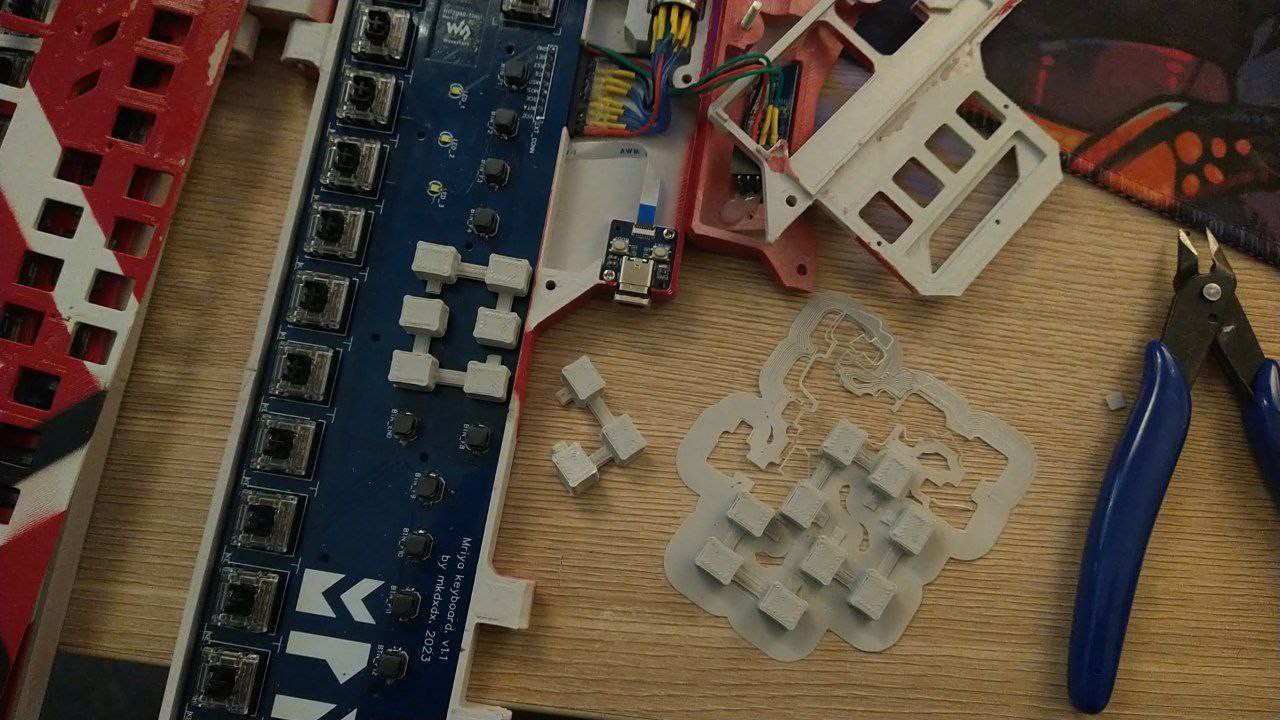
- Will have it's matrix driven by MCP23S17 I/O expanders.
- Is actually a part of a bigger project which may come later with any luck, but i think it can be a standalone thing too.
- Uses "universal" pin layout for key switches (by someone named [Sayantan98] on easyeda) so i'm able to fit either MXes or other sort of switches.
- Primarily aims to be as low profile as possible, but 4-5cm thick may not be too thin for someone.
- Sports a 128x32 OLED display, gotta have that.


 thpoll
 Pamungkas Sumasta
 Tom Nardi
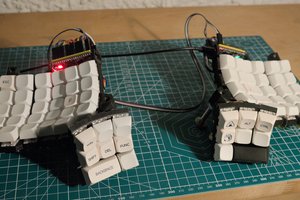
 David H. Bronke