 Just4Fun
* * HARDWARE OVERVIEW * *
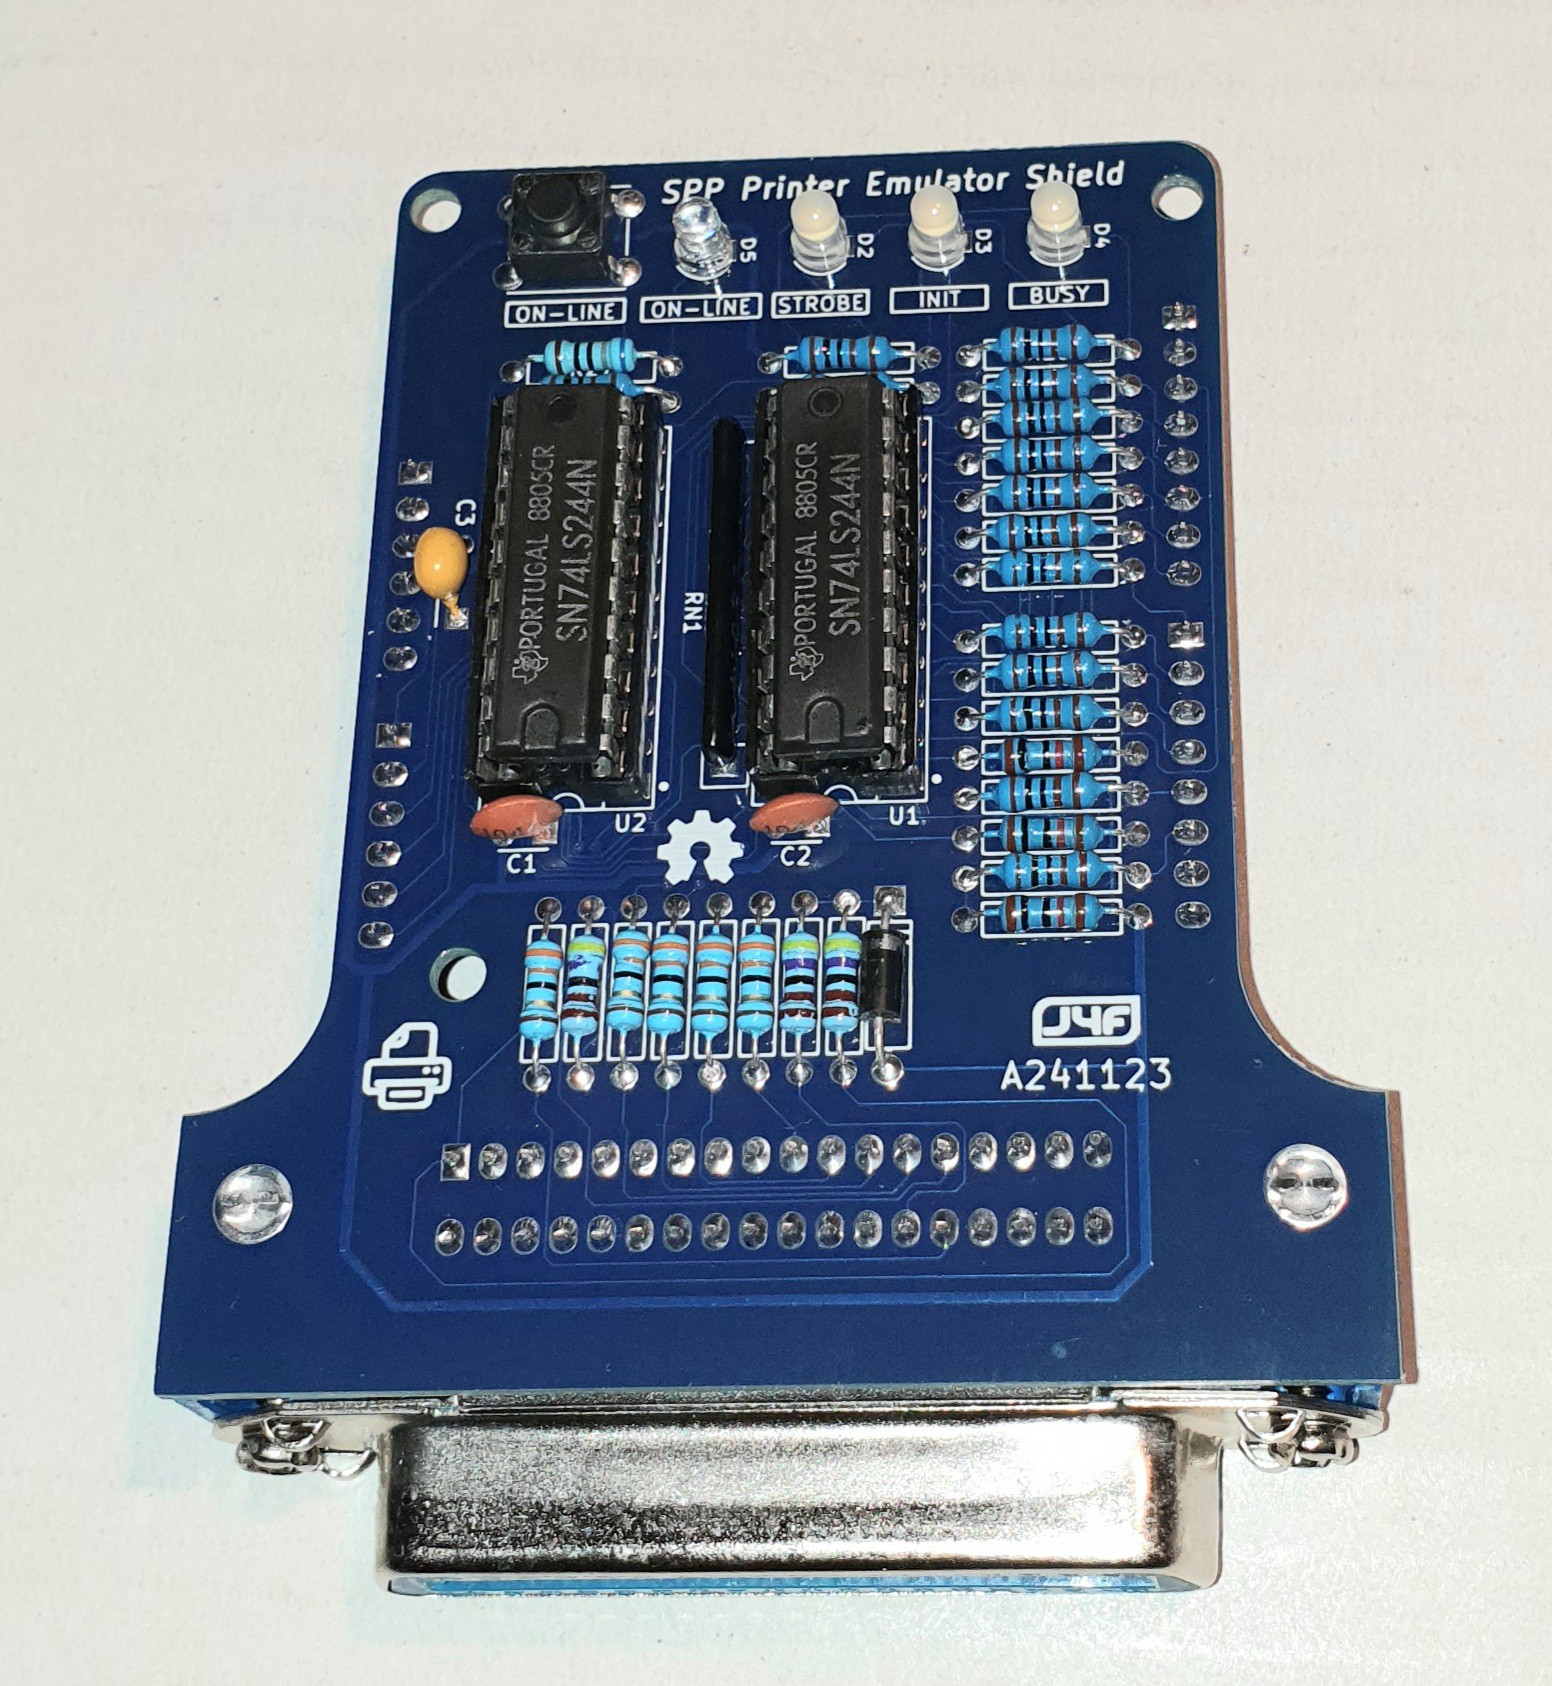
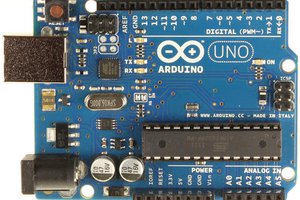
To lower down cost and complexity I decided to realize the emulator as a simple Shield for the ever green Arduino UNO board (Arduino UNO R3 or previous versions) using easy to find TH components. After all the SPP (Standard Parallel Port) has a very simple HW protocol so an Arduino UNO (based on an Atmega328 MCU running at 16MHz) is more then enough to deal with.
From a functional block point of view the Parallel Printer (SPP) Emulator Shield is a simple signal conditioning board, while the "management" is done inside the Arduino UNO:
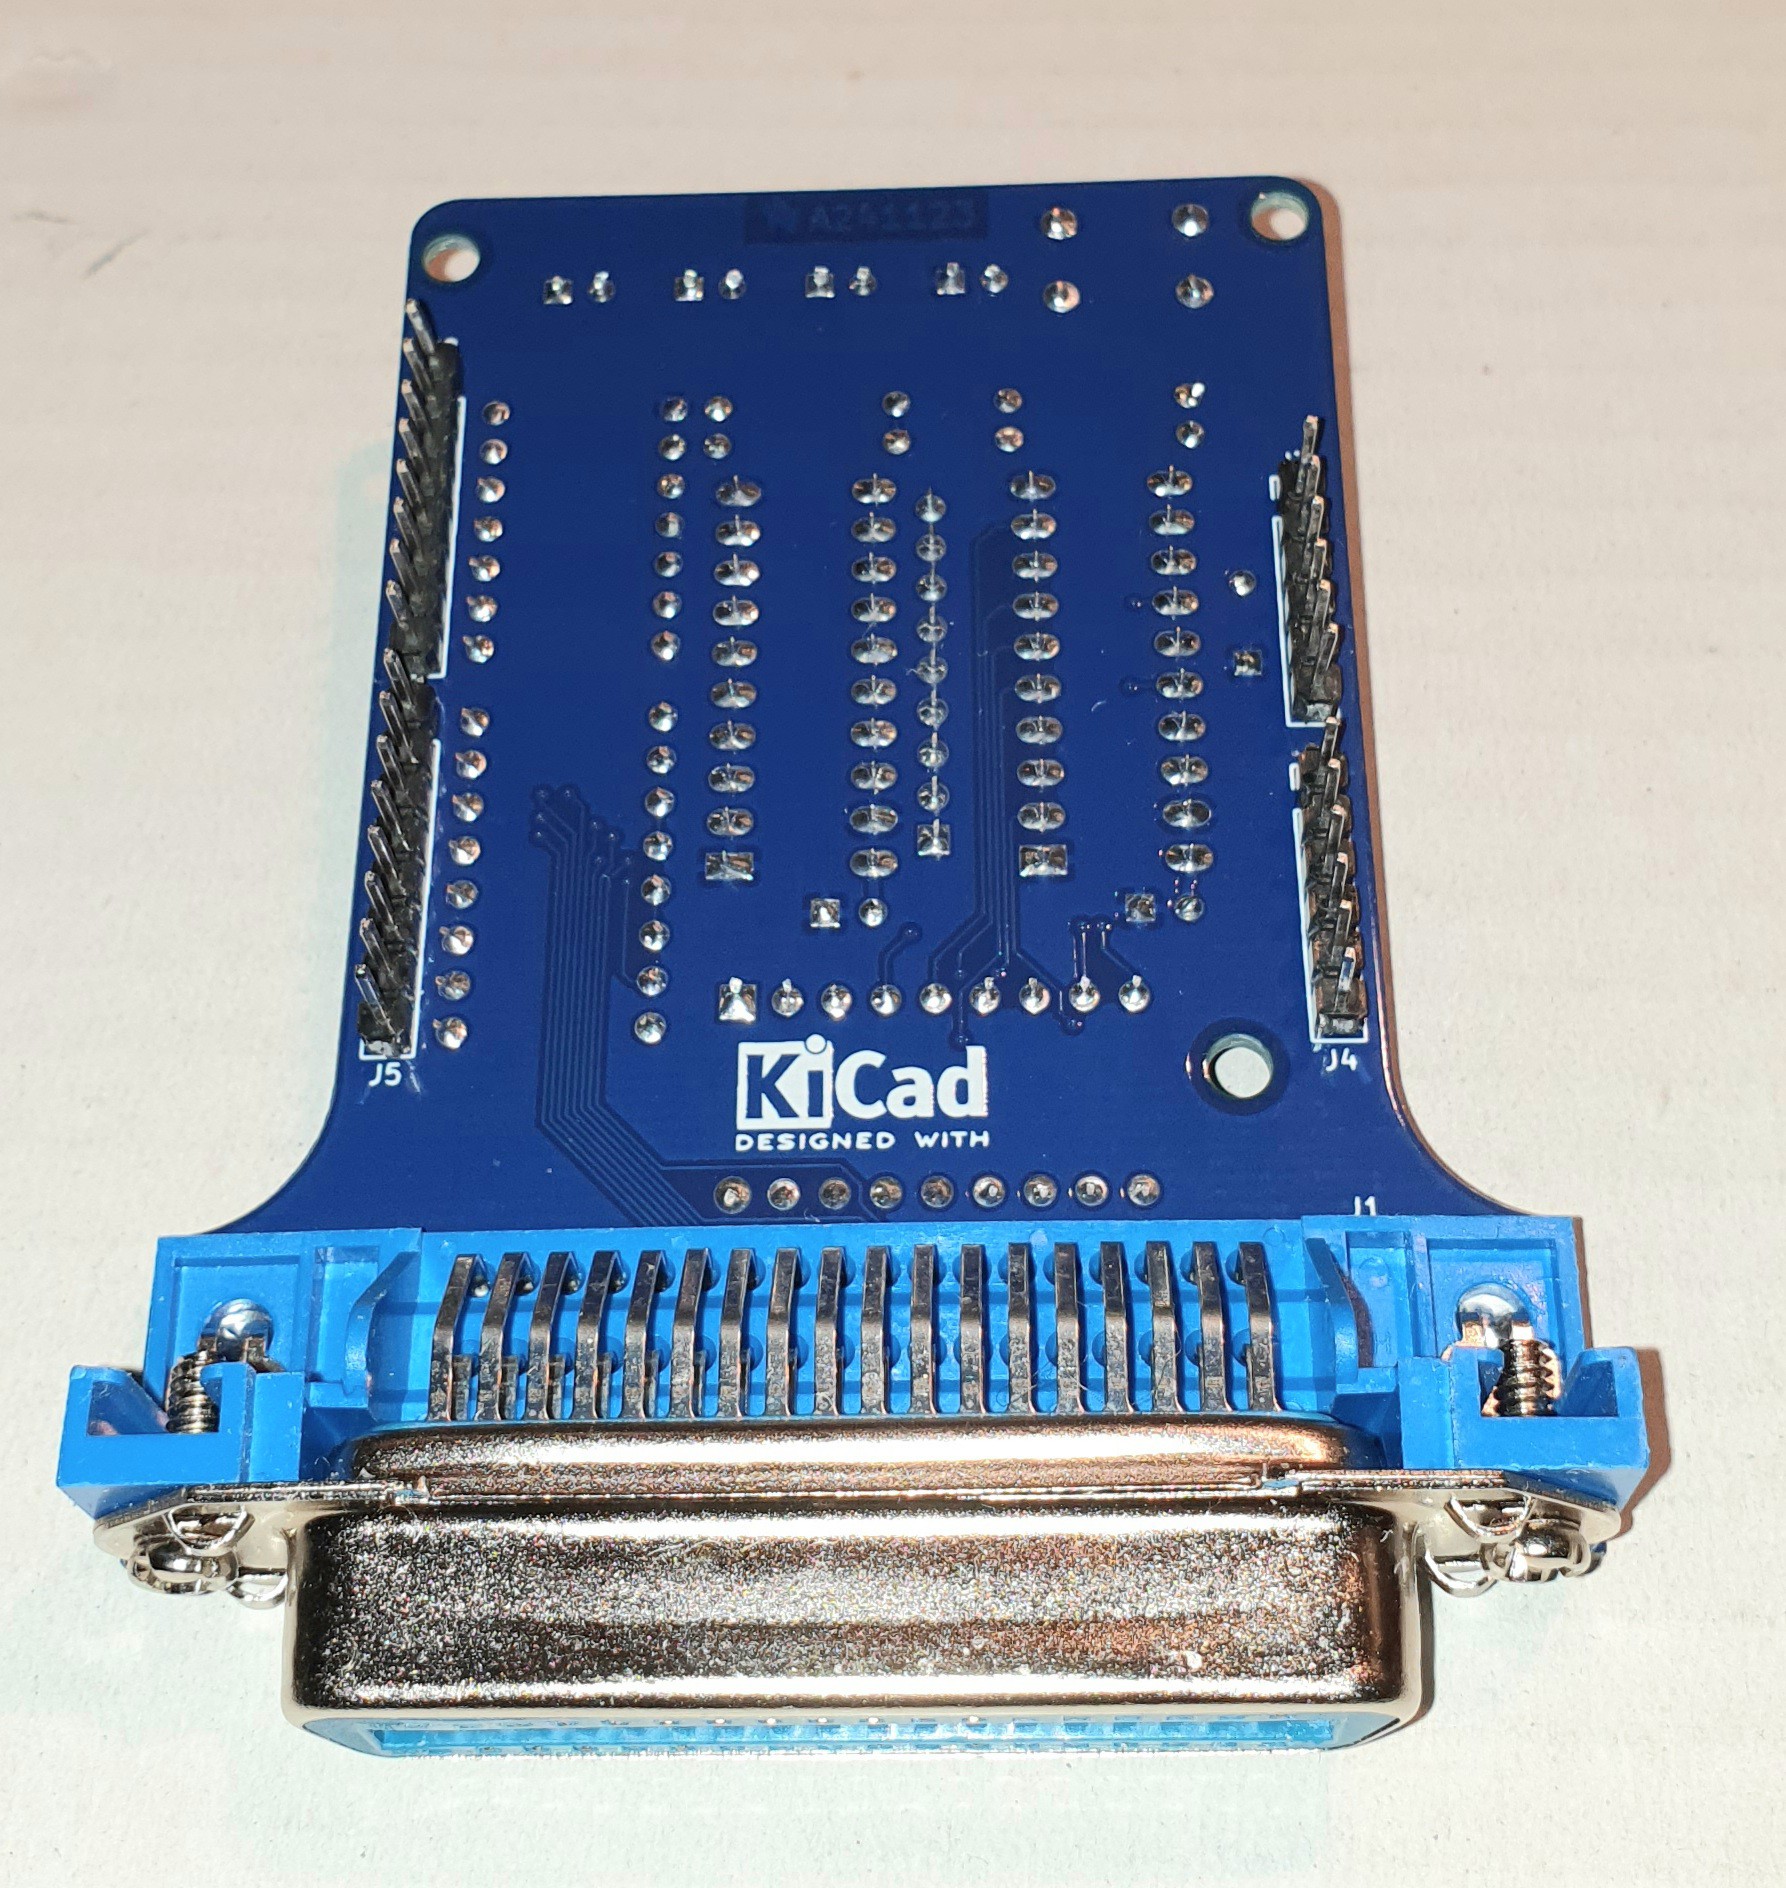
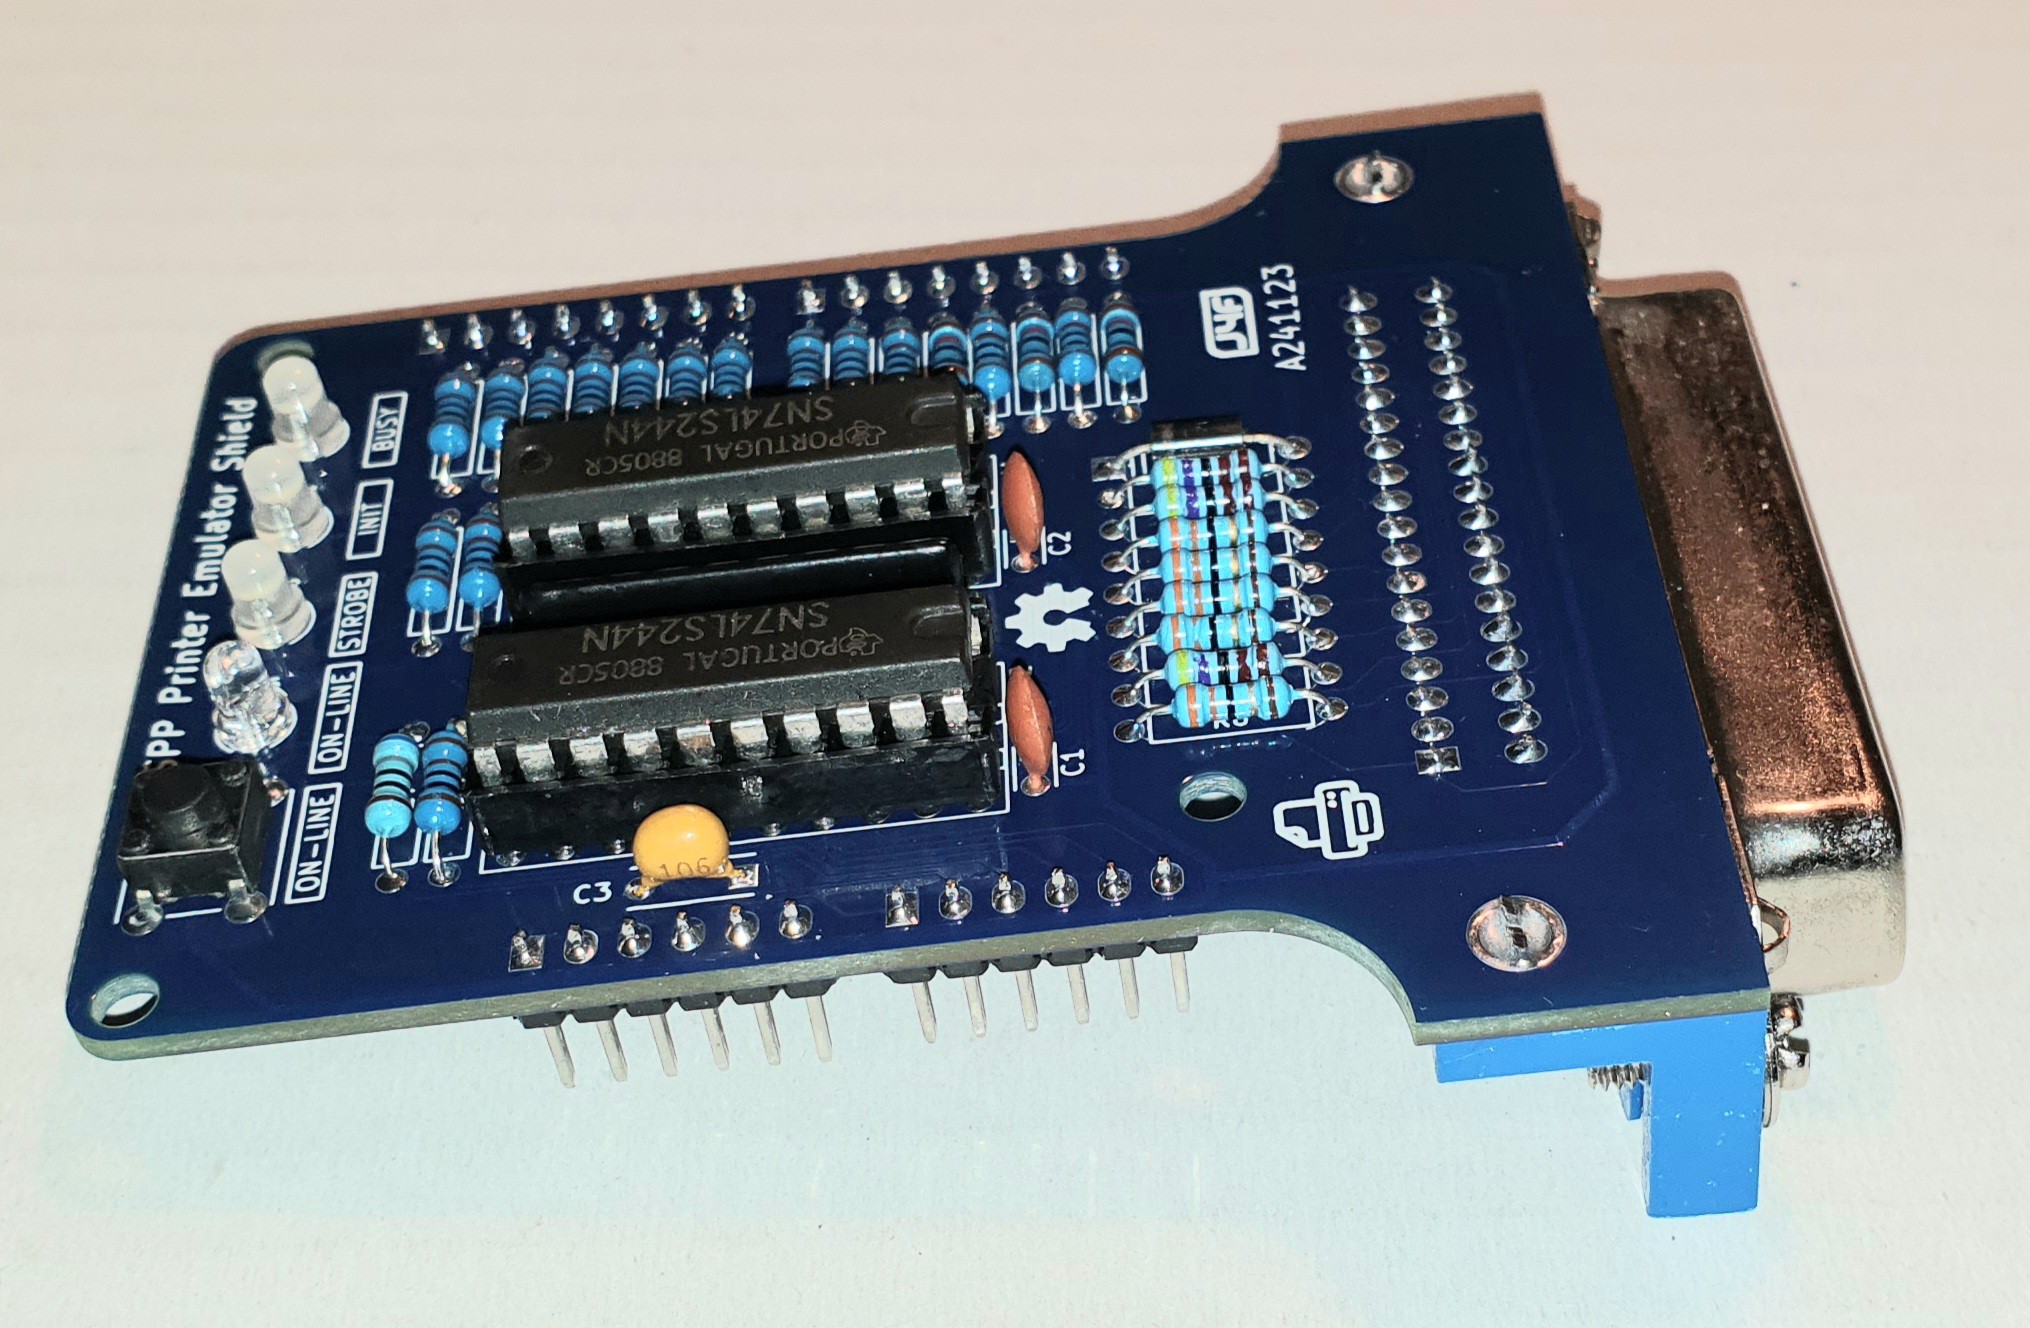
The Shield has a Centronics 36 pin female connector, the same used on parallel printers, so it can be used with the common legacy "parallel cable":
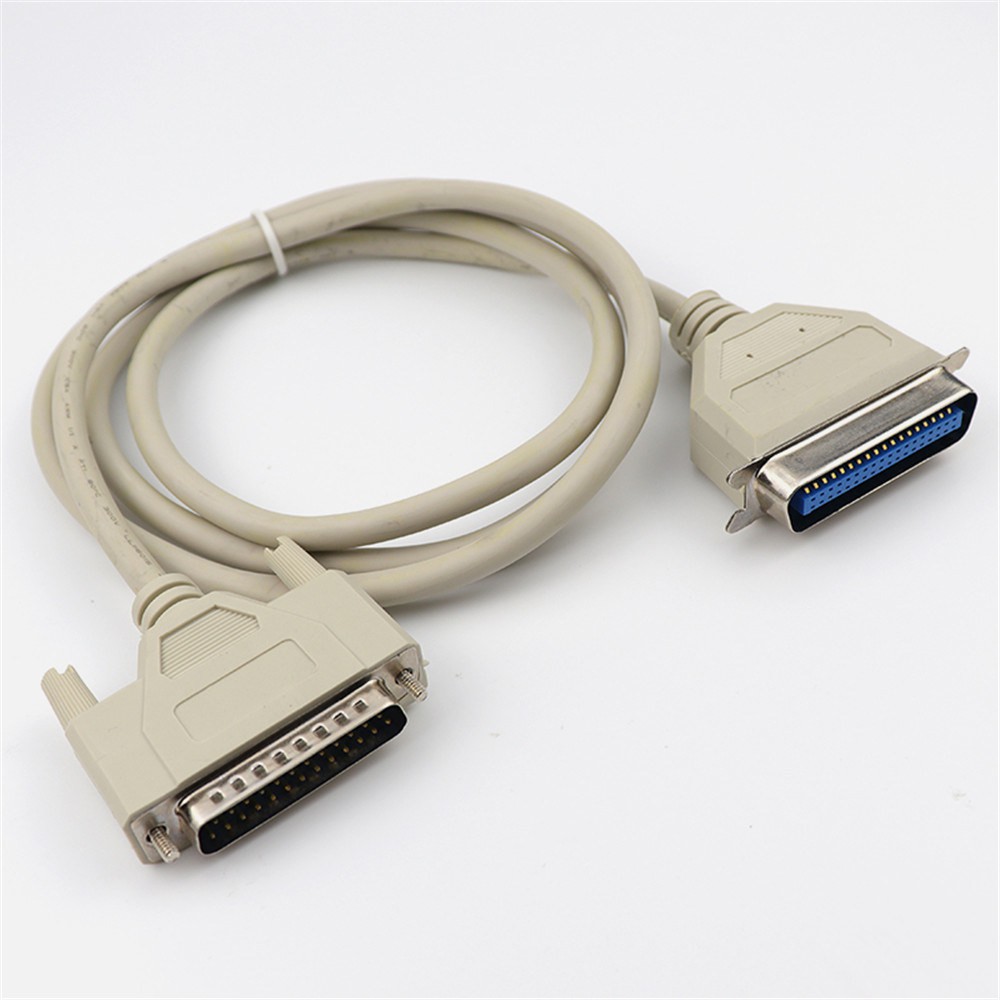
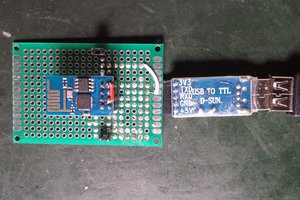
Here the SPP Shield mounted on top of an Arduino UNO and connected to an USB-Parallel adapter (very handy to use with virtual machines):
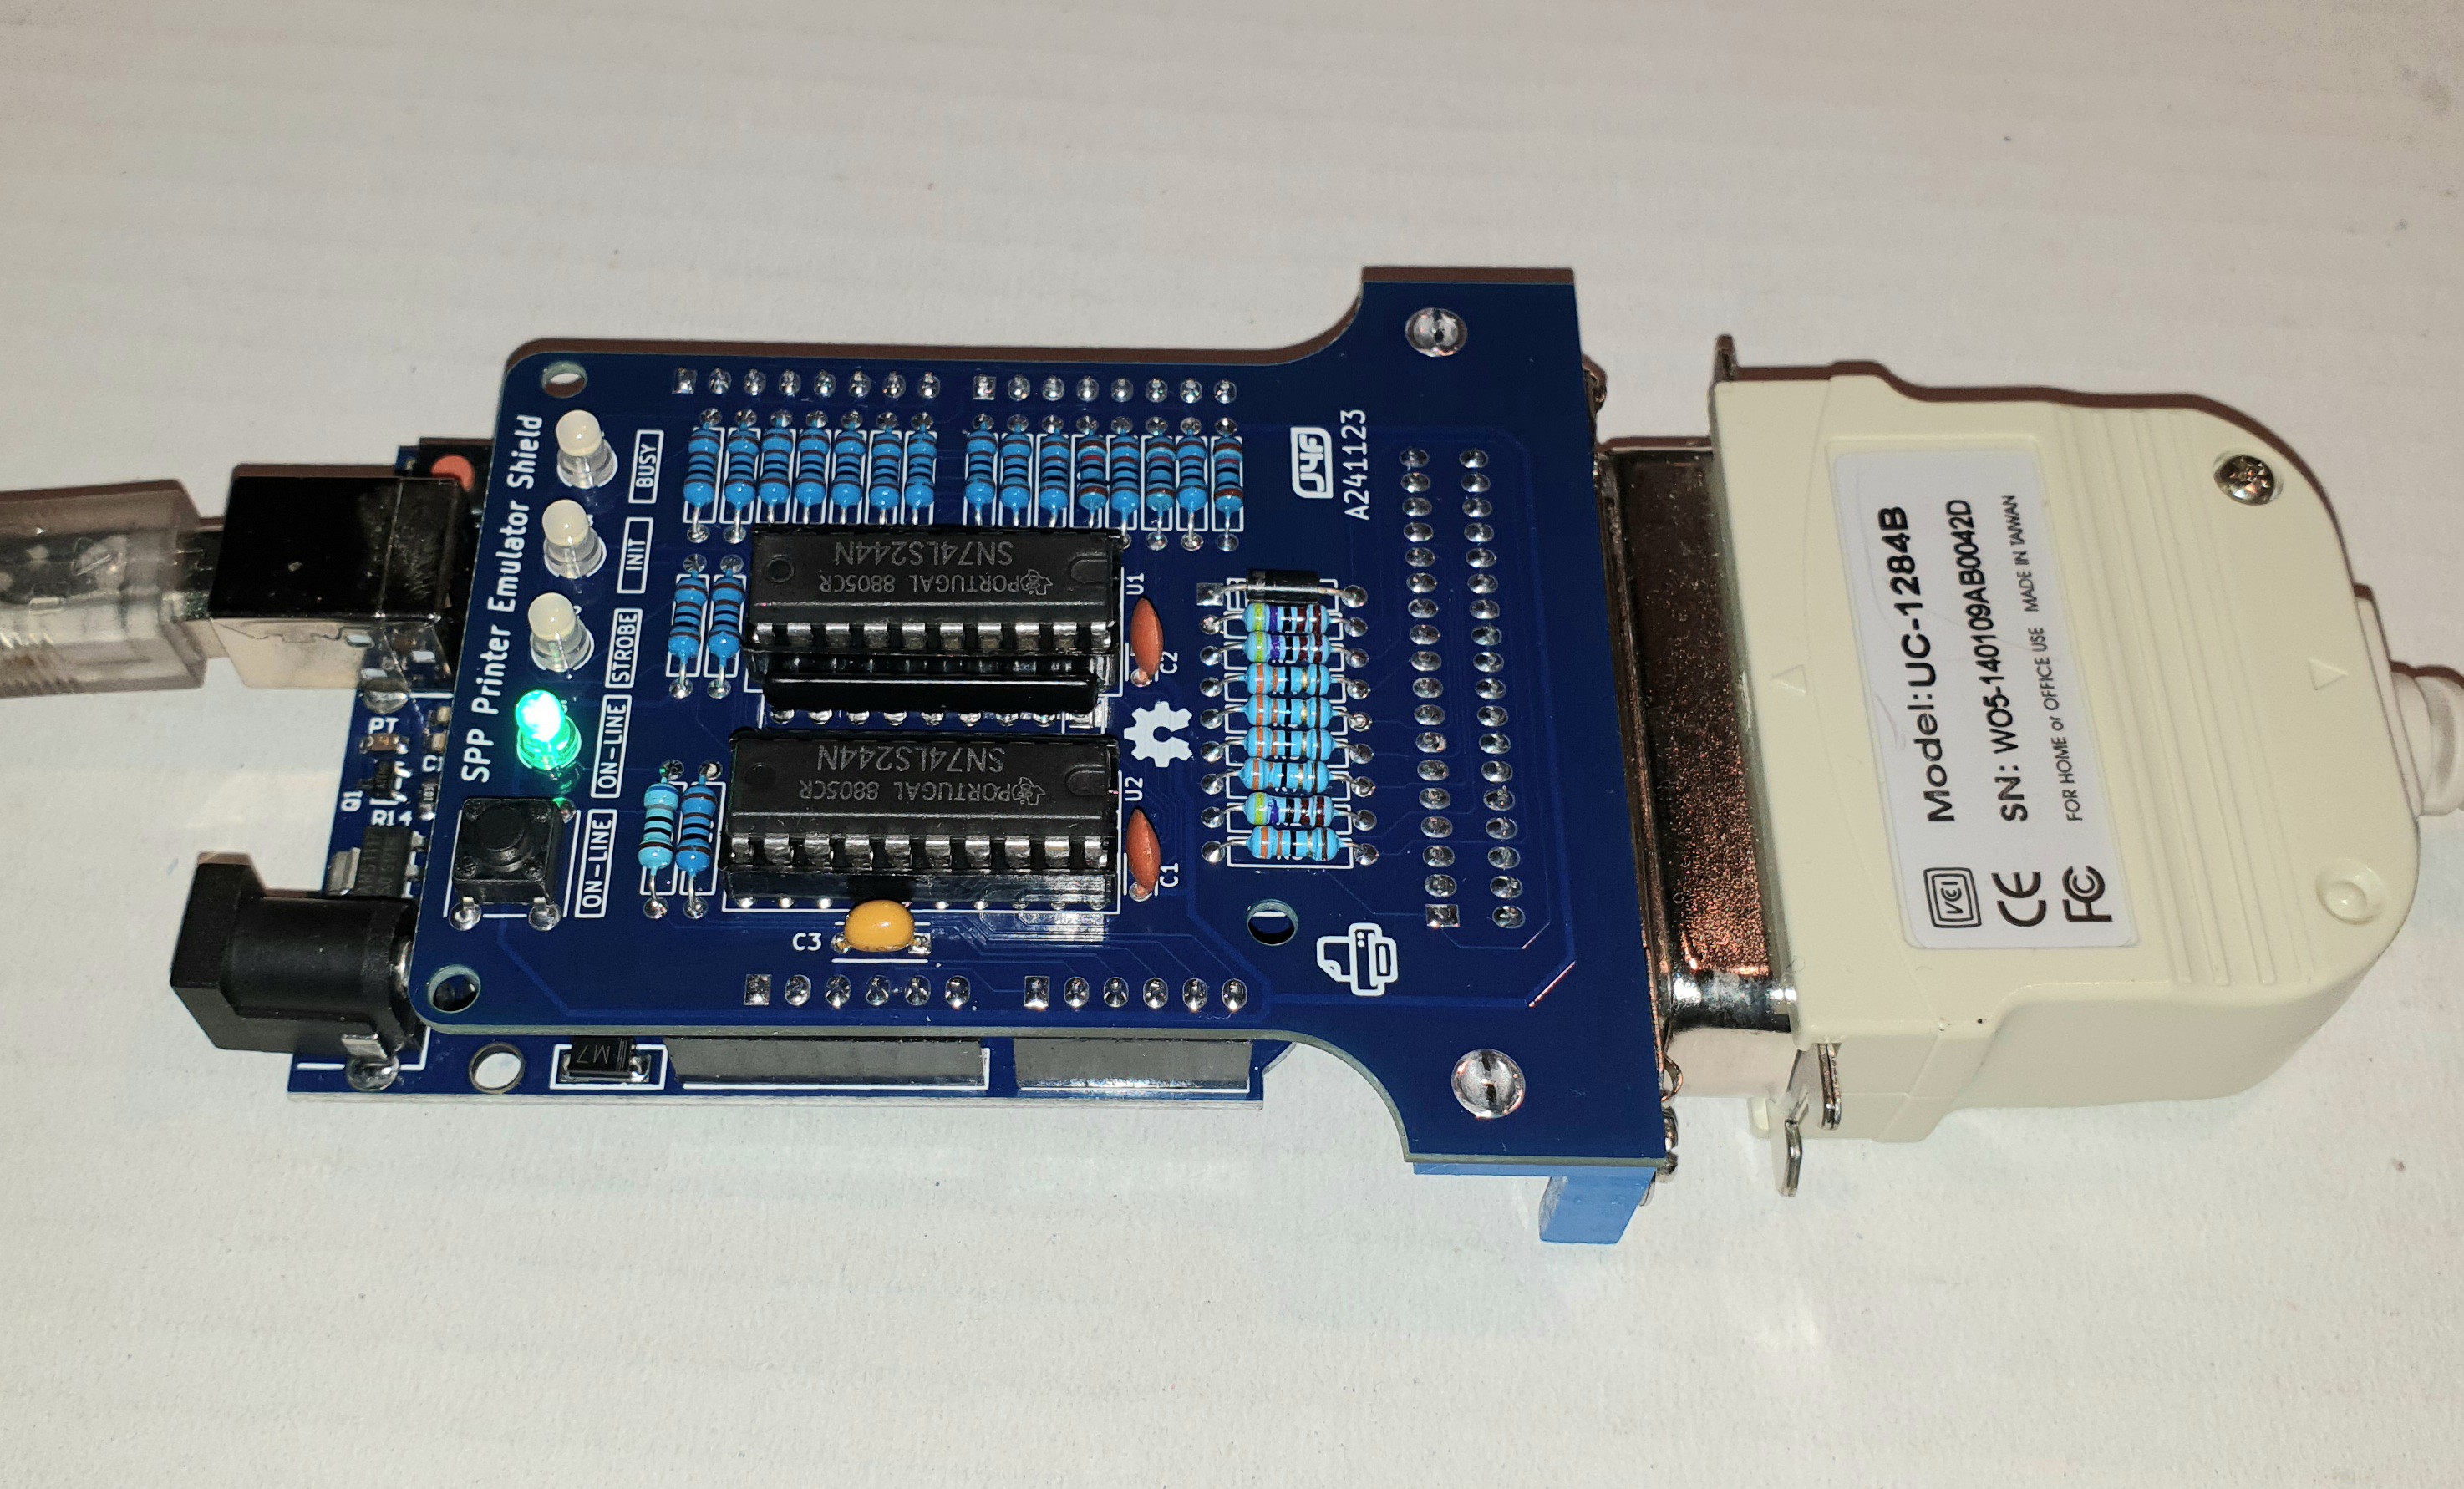
The resulting assembly acts as a parallel to serial-USB converter allowing to capture the data stream from a parallel port with a PC.
If the "print" contains only simple text (ASCII characters) you can simply display it using a terminal simulator, but if you want store it or it is a binary stream (e.g as using a "graphic" printer driver), it must be captured into a file and eventually converted in something readable as a pdf "virtual print".
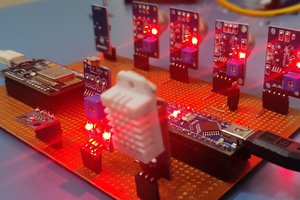
As in a real printer there is an ON-LINE button and LED to pause the "printing", and other LEDs for the main Centronics signals. I added these LEDs because they can be handy using the emulator as a tool, e.g. during the development of a printing driver for retro-computers.
* * SOFTWARE OVERVIEW * *
In the Files section there is a zip file with the needed "Sketch" to compile and upload into the Arduino UNO board using the Arduino IDE (tested on Arduino IDE 1.8.19 and with an Arduino UNO R3 and R2 board).
The default speed of the serial is set at 500000bps, but it is possible change/check it with the ON-LINE button with a simple procedure (see ahead).
To capture the stream from the parallel port into a file I've taken a python 3 script from a similar project and adapted it for the SPP Printer Emulator.
The script (fake_printer_v2.py) is in the Files section and was tested on a Linux Mint host. Copy it into the directory that you'll use to store the captured files.
To activate the capture script the command is (Linux):
python3 ./fake_printer_v2.py -p /dev/ttyACM0
You have always to specify the USB port used (in this case is /dev/ttyACM0).
The default serial speed setting of the script is 500000bps (to match the default serial speed set by the firmware on the Arduino UNO). To use a different speed, e.g. 1000000bps, the command is:
python3 ./fake_printer_v2.py -p /dev/ttyACM0 -b 1000000
The fake_printer_v2.py script will create a file named printer_capture_<n>.prtcap to store the output from the parallel port, and it will close it after 2 seconds of inactivity. This can be changed with the -t parameter in the command line.
To have a list of all options execute the script without any parameters:
python3 ./fake_printer_v2.py
For more info on the original script see their Github page.
HOW TO CHANGE/READ THE SERIAL SPEED
It is possible to change the serial speed choosing among six possible values. To enter into the speed setting mode press the ON-LINE button and holding it down press and release the RESET button on the Arduino UNO board (if you are using an Arduino UNO R2 board the reset button is under the shield and not accessible, in this case you can just keep the ON-LINE button pressed while powering off and on discontenting and reconnecting the USB cable).
Keep the ON-LINE button down until the ON-LINE led or the BUSY led (or both) starts to blink .
The following table shows how to read the blinking code:
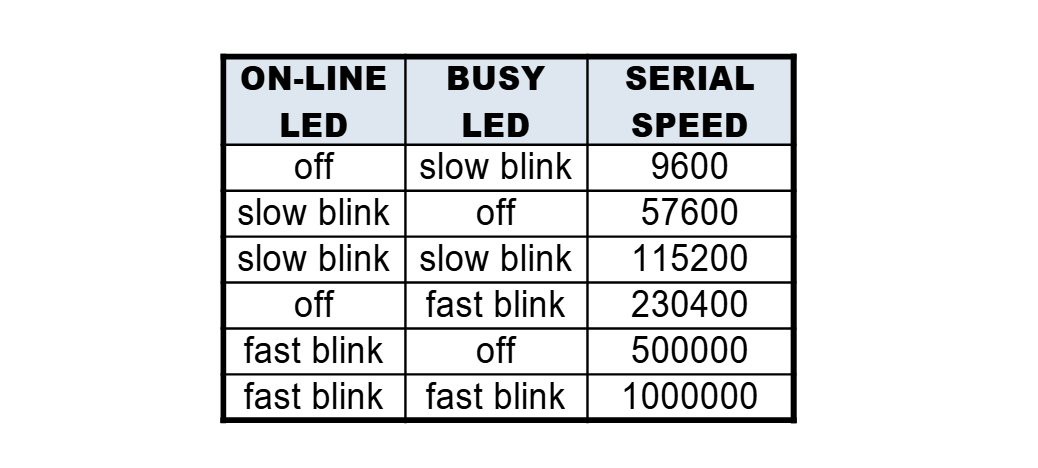
At this point you can "read" the current speed and then reset (or power off and on for an Arduino UNO R2) the Arduino UNO board to resume the normal operations, or change the current...
Read more »


 Mishel George
Hi! Im trying to build this same proyect using STM32 (ISR when nStrobe goes pulldown) and a USB-Parallel adapter with Windows Xp printer service (Epson 24 pin compatible driver).
The problem I face is that when trying to print, the interrupt only occurrs one time and just a byte is sent. (I also send a "Printing!" string each time the interrupt is called, thats why I know its called just one time)
Do you have any idea of why this could be happening?