My goal is to make rc car autonomous races
Videos of the project development :
Part 1 : Developping my own ESC.
It's based on an Atmega328P (same as Arduino UNO) and has the following characteristics :
- Works with BLDC motor with or without hall sensors
- Throttle setpoint or motor speed setpoint (rpm)
- Variable timing advance commutation
- Brakes and reverse


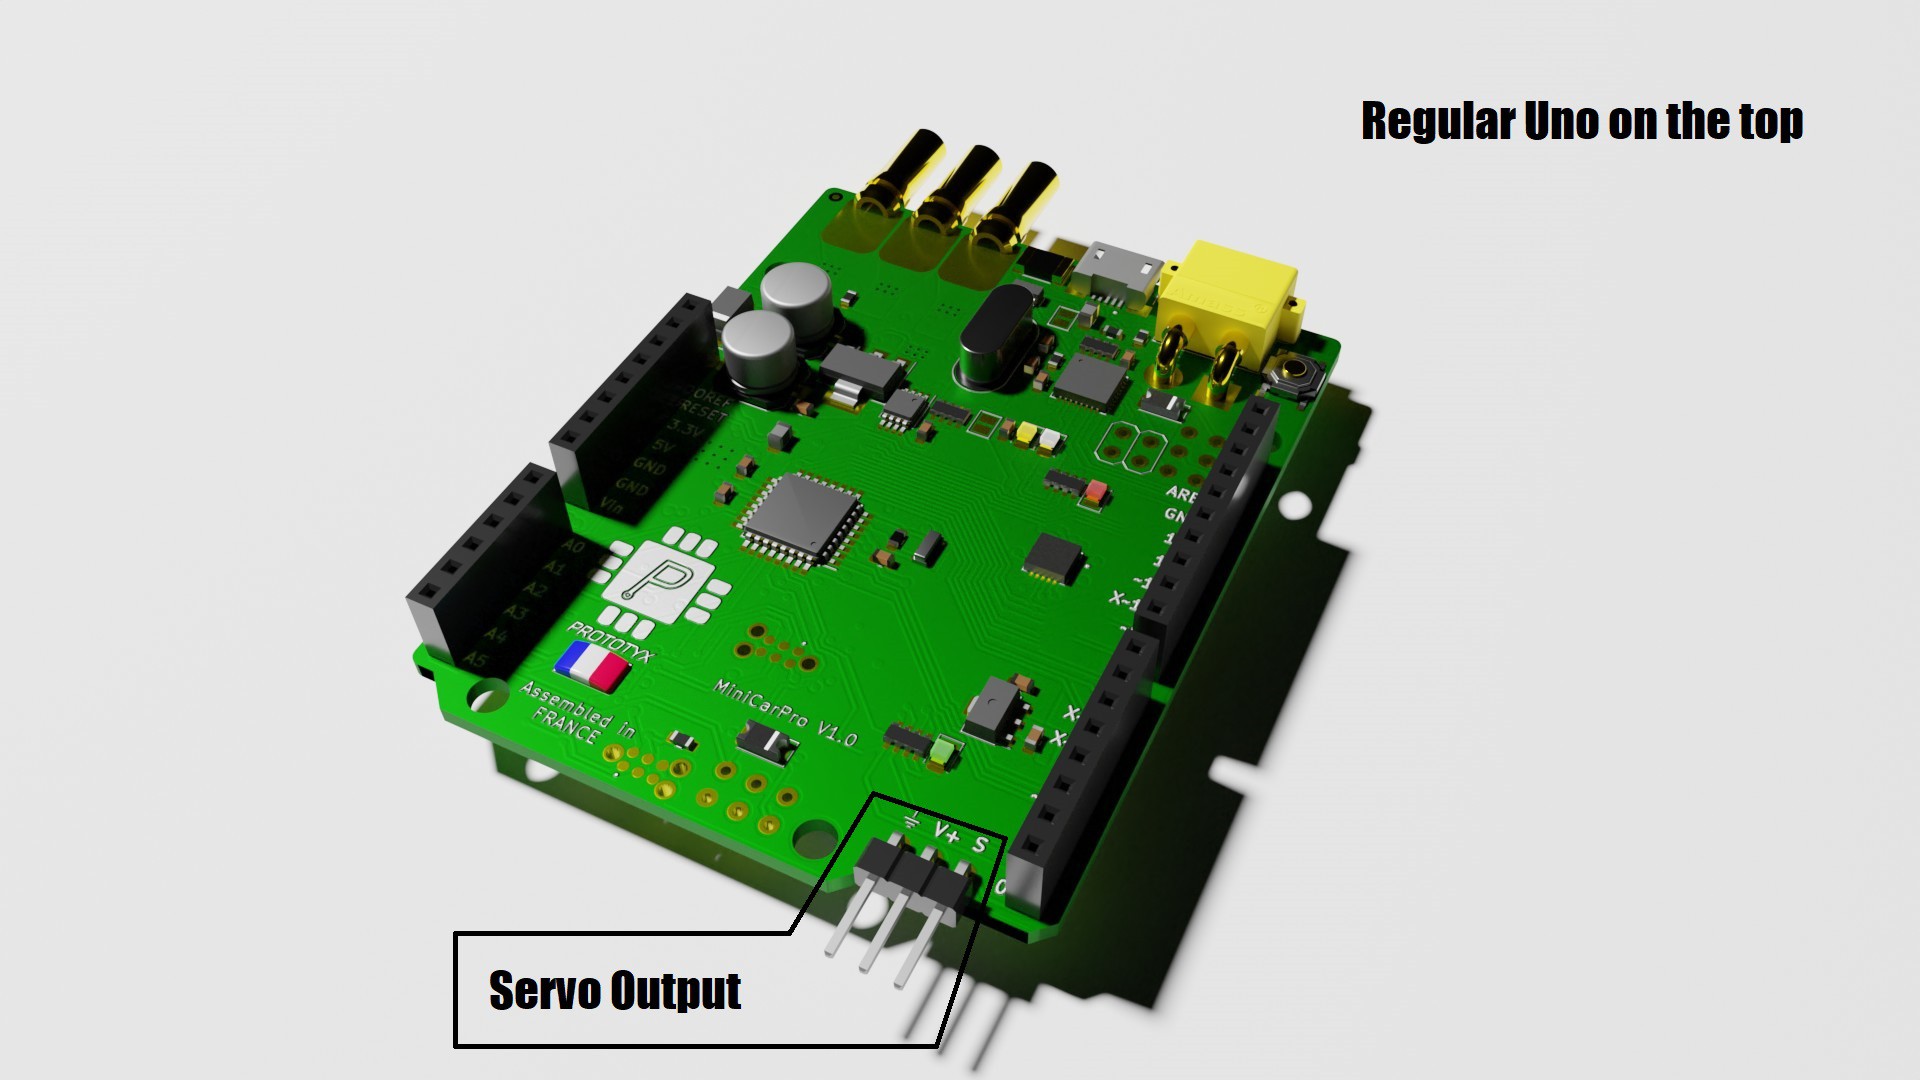
Part 2 : Integration of the ESC on a regular UNO board
This board will have the following characteristics :
- 1 Atmega328P for the Uno Board (Top Face) --> It will send the instruction to the Servo and ESC , will communicate with several sensors and a Raspberry Pi
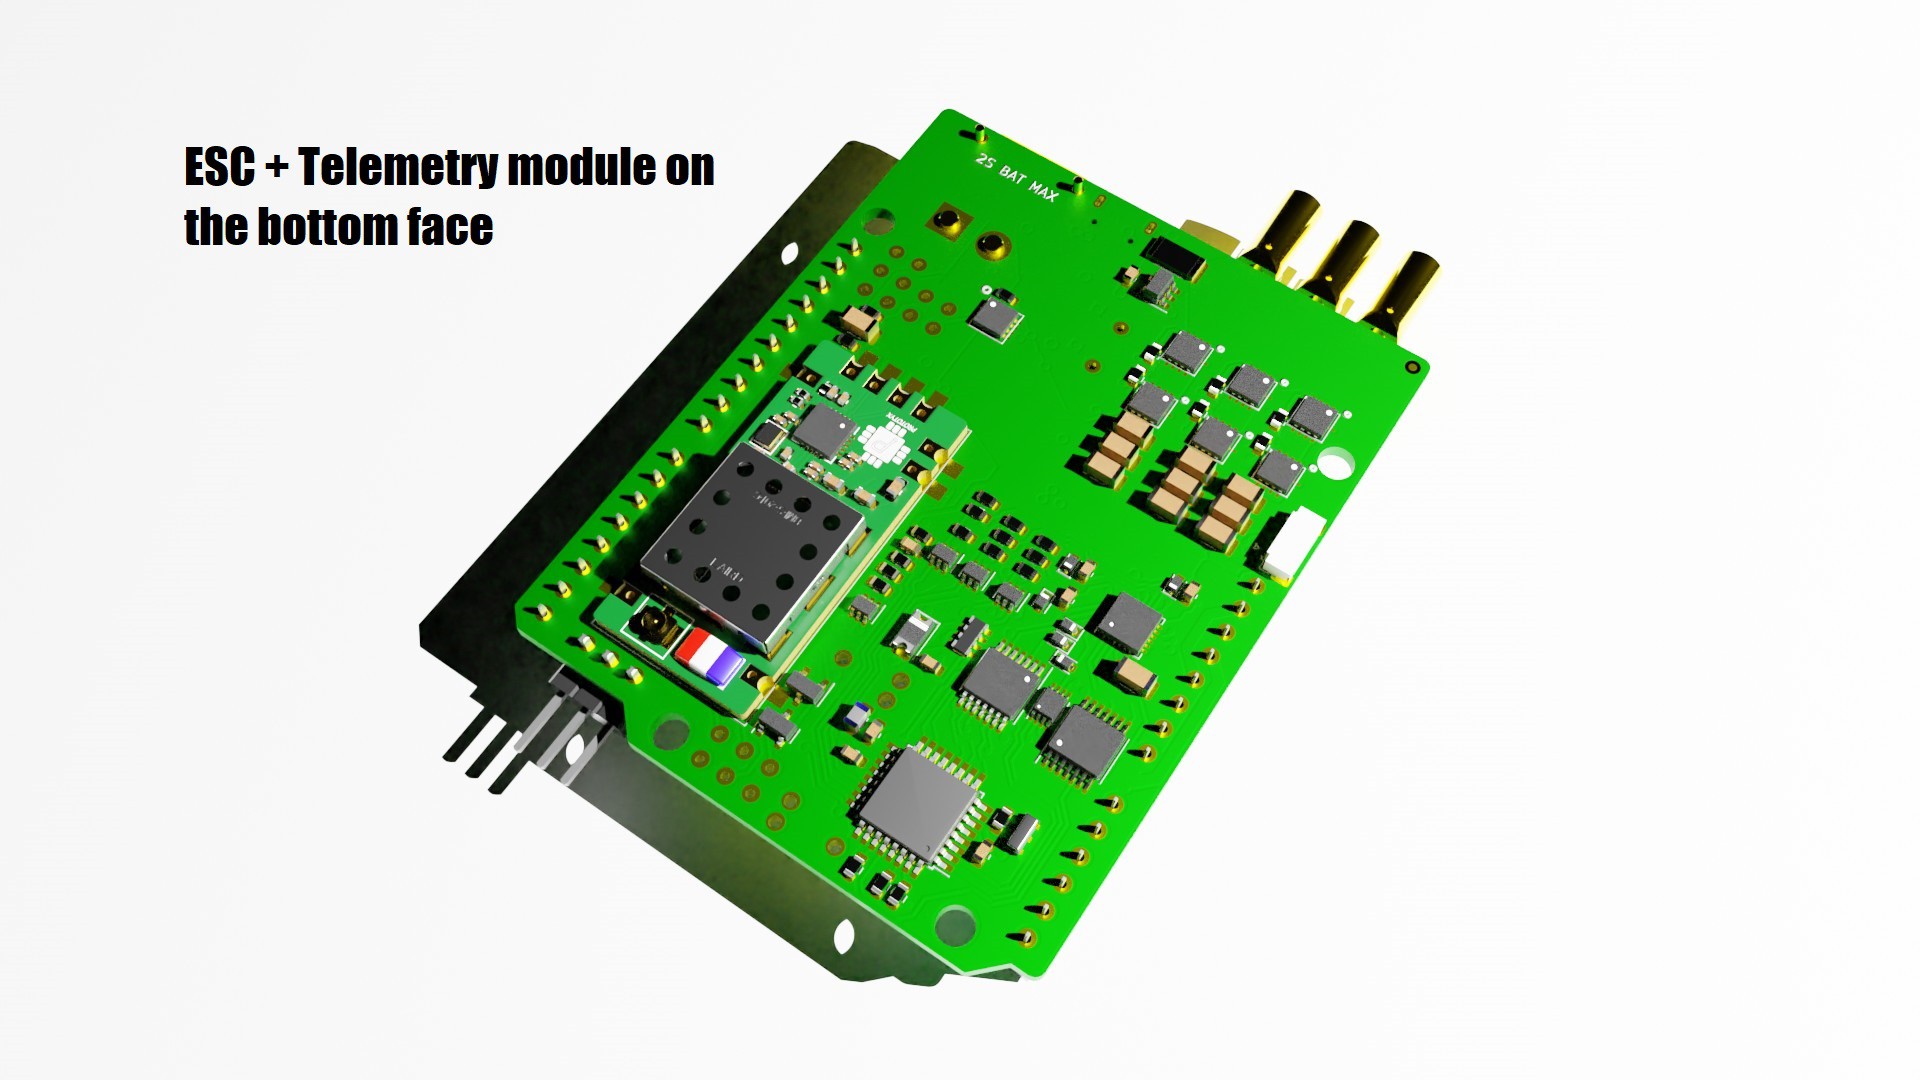
- 1 Atmega328P for controling the motor (throttle, brake) (bottom Face)
- 1 2.4Ghz telemetry module (CC2500 + PA / LNA) (bottom Face)
Top Face:
Bottom Face:
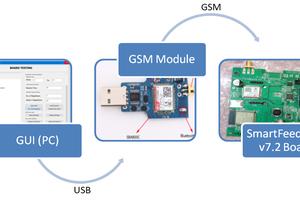
Radio controller for debugging :


 Parnika Gupta
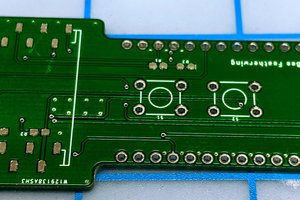
 Sai Yamanoor
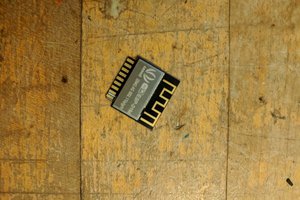
 Sophi Kravitz
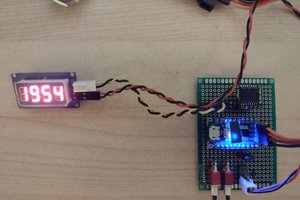
 Ken Yap
Creating an autonomous 1/28 micro car from scratch involves a comprehensive process that combines elements of mechanical engineering, electronics, software development, and robotics. You may also get idea from
Sindh